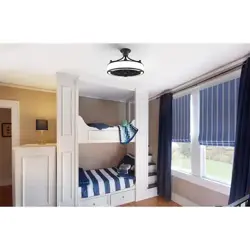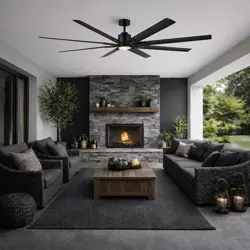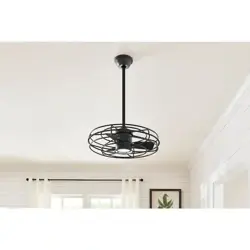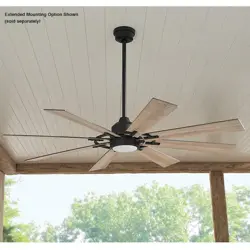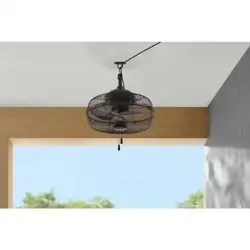
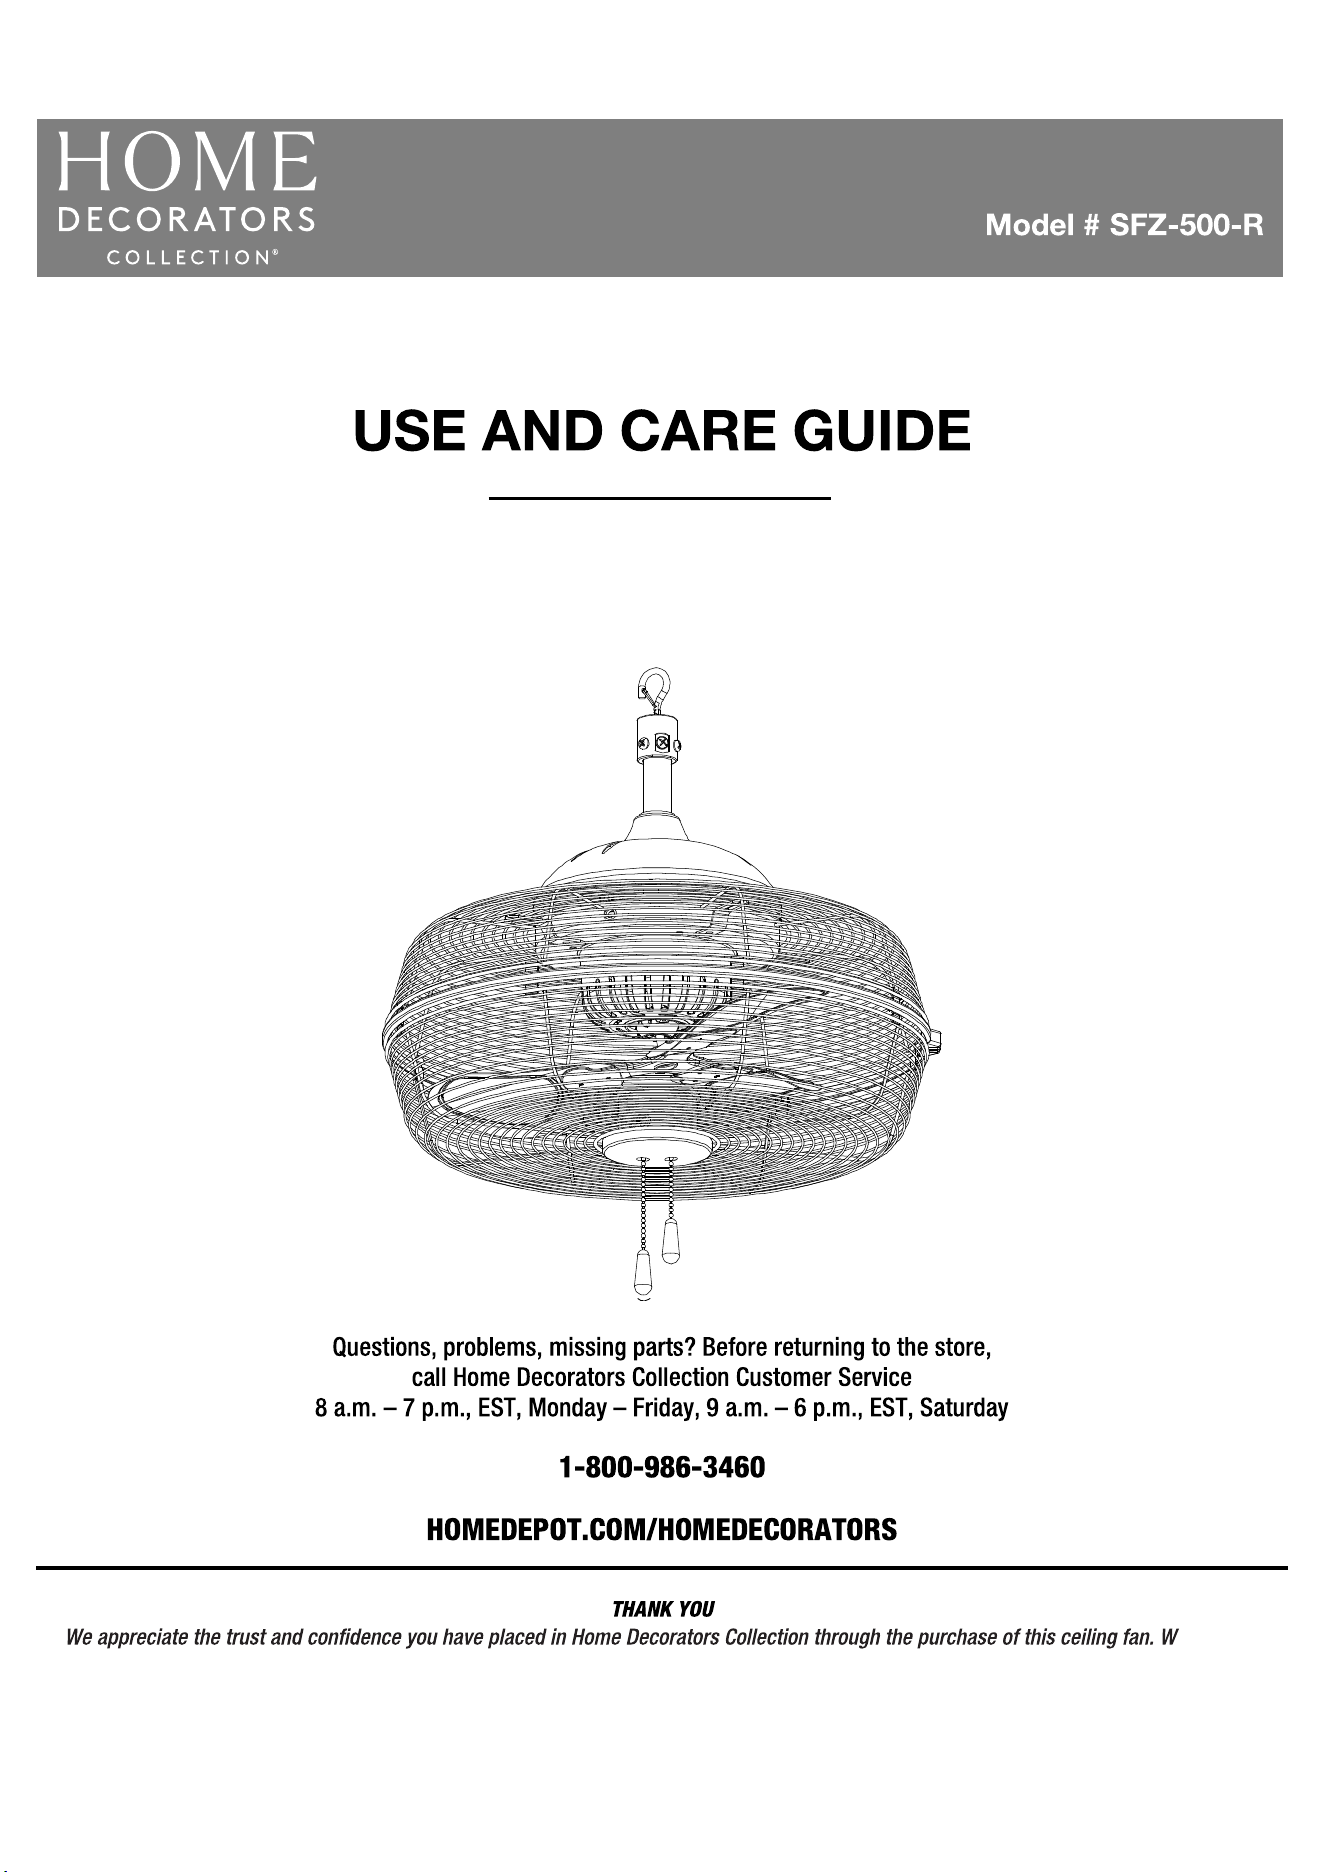
20 IN. INDOOR/COVERED OUTDOOR CEILING FAN
WITH PULL CHAIN SWITCH
e strive to
continually create quality products designed to enhance your home. Visit us online to see our full line of products available for your home
improvement needs. Thank you for choosing Home Decorators Collection!
Item # 1008674455
Table of Contents . . . . . . . . . . . . . . . . . . . . . . . . . . . . . . . . . . . .2
2 Year Limited Warranty . . . . . . . . . . . . . . . . . . . . . . . . . . . . .3
Safety Information . . . . . . . . . . . . . . . . . . . . . . . . . . . . . . . . . . .2
What is covered . . . . . . . . . . . . . . . . . . . . . . . . . . . . . . . . . . . 3
What is not covered . . . . . . . . . . . . . . . . . . . . . . . . . . . . . . . . 3
Warranty . . . . . . . . . . . . . . . . . . . . . . . . . . . . . . . . . . . . . . . . . . .3
Pre-Installation . . . . . . . . . . . . . . . . . . . . . . . . . . . . . . . . . . . . . .4
Planning Installation . . . . . . . . . . . . . . . . . . . . . . . . . . . . . . . 4
Package Contents . . . . . . . . . . . . . . . . . . . . . . . . . . . . . . . . . 5
Tools required . . . . . . . . . . . . . . . . . . . . . . . . . . . . . . . . . . . . 4
Installation . . . . . . . . . . . . . . . . . . . . . . . . . . . . . . . . . . . . . . . . .6
Operation . . . . . . . . . . . . . . . . . . . . . . . . . . . . . . . . . . . . . . . . . 8
Maintenance . . . . . . . . . . . . . . . . . . . . . . . . . . . . . . . . . . . . . . . . .10
Care and Cleaning . . . . . . . . . . . . . . . . . . . . . . . . . . . . . . . . . . .9
WARNING: When using electrical appliances, basic safety
precautions, including the following, should always be
injury to persons.
READ AND SAVE THESE INSTRUCTIONS
□ Pleases read and understand this entire manual before
attempting to assemble, install or operate the product.
Thoroughly review all assembly information and drawings and
be sure you understand the assembly requirements. Do not
use the fan unless you have read these instructions.
□ Use this appliance only as described in the manual. Any other
electric shock or injury to persons. The manufacturer assumes
no responsibility for damage or injury due to unauthorized use
will void the product warranty.
□ This fan is designed for indoor and covered outdoor use. This
product is intended for commercial use.
INTENDED USE
RISK TO CHILDREN AND IMPAIRED PERSONS
WARNING: Risk to Children and Impaired Persons
□ Close supervision is necessary when any appliance is used by
or near children.
□ Keep the fan out of reach of young children.
□ This fan is not intended for use by people (including children)
with reduced physical, sensory or mental capabilities or lack
of experience and knowledge unless they have been given
supervision or instruction concerning use of the fan by a
person responsible for their safety.
SAFETY OF OPERATION ENVIRONMENT
□ Do not use this fan in uncovered outdoor areas or expose it to
weather or elements.
□ Ensure power is off before beginning installation.
□ Ensure the hanging structure can support a minimum weight of
65 lb and allow enough depth for safety mounting. If you are not
sure the hanging structure can support the weight, do not
attempt to install this fan as it may fall and cause damage to the
fan or personal injury.
□ Make sure the ceiling angle is not steeper than 30 degrees and
the open end of the mounting bracket (not included) is up and
facing the ceiling, if angle mounting is adopted for the fan.
□ When installation is complete, make sure all connections are
secure to prevent ceiling fan from falling.
□
appliances. Do not operate in the presence of explosive and/or
□ Do not use the fan to exhaust hazardous or explosive materials
and vapors.
□ Make sure that the fan does not get wet (water splashes etc.).
Do not immerse the fan in water or other liquids or use near
sinks, baths, or showers.
□ Place this fan away from curtains, draperies, tablecloths and
other fabrics, since they may be drawn into the fan, damage the
□ Do not run the power cord under carpeting. Do not cover the
power cord with throw rugs, runners, or similar coverings. Do
not route the power cord under furniture or appliances. Arrange
tripped over.
□ Keep work area clean and well lit.
□
□ To reduce risk of electrical shock and injury to persons, do not
use in a window.
OPERATION SAFETY
□ Do not operate the fan until fully assembled with all parts
properly in place.
□ Do not leave the fan unattended when in use.
□ Always pull on the long chain switch to turn off the fan and
unplug the fan when not in use, before moving fan from one
location to another, before putting on or taking off parts, and
before cleaning or performing maintenance. To disconnect, grip
plug and pull from outlet.
□ All servicing, apart from ordinary cleaning, should be performed
by qualied personnel only. Those who are not certied
electricians should not disassemble, repair or rebuild the fan.
There are no user-serviceable parts inside.
□ Do not subject the fan to violent impacts.
□ Do not operate any appliance with a damaged cord or plug, or
after the appliance malfunctions, or if it has been dropped or
damaged in any manner. Discard fan or return to an authorized
service facility for examination and/or repair.
□ Do not use the fan when there is damage to the power cord or
plug. If the power cord is damaged, it has to be replaced by the
manufacturer, its service agent or similarly qualied persons.
□ Do not insert your hand or other objects into the guard or the
movable parts.
□ Do not touch the fan with wet hands.
□ Do not disassemble or modify the fan. Do not bend the fan
blade or the blade guard when cleaning.
□ To reduce the risk of re or electric shock, do not use this fan
with any solid-state speed control device.
□ Do not use this fan as a dryer. Make sure nothing is blocking
the airow outlet and air intake grille.
□ Always plug the fan directly into a wall outlet/receptacle. Never
use with an extension cord or outlet power strip.
□ Do not abuse the power cord. Do not use the cord for carrying,
pulling or unplugging fan. Do not let the cord hang over the
edge of a table, counter, sharp edges, moving parts or come in
contact with oil or hot surfaces.
DISPOSAL
□ We encourage you to participate in a recycling program, so
please observe local regulations for proper disposal of
discarded products.
□ Recycle raw materials instead of disposing of as waste.
The machine, accessories and packaging should be sorted
for environmentally friendly recycling.
WARNING: To reduce the risk of re, electric shock or
injury to persons, do not use replacement parts that have
not been recommended by the manufacturer (e.g. parts
made at home using a 3D printer).
NOTICE: Save these instructions. Refer to them frequently and use
them to instruct others who may use this fan. If you are to loan
someone this fan, loan them these instructions also.
Warranty
Safety Information (continued)
2-YEAR LIMITED WARRANTY
WHAT IS COVERED
The manufacturer warrants this product to be free from manufacturing defects in the material and workmanship under normal use for a
period of two years after the date of purchases by the original purchaser.
WHAT IS NOT COVERED
This warranty does not cover transit damages. This warranty does not apply to damages from accident, misuse, alteration of any kind to the
ortion of
the product. Servicing performed by unauthorized persons shall render the warranty invalid.
This warranty is not responsible for damages of any kind, including accident and consequential damages. Some states do not allow the
exclusion or limitation of the incidental or consequential damages, so the above exclusion or limitation may not apply to you. This warranty
Contact the Customer Service Team at 1-800-986-3460 or visit www.HOMEDEPOT.com/HOMEDECORATORS.
4
WARNING: Items in this section are not assembled to the product by the manufacturer and require installation. Use of a product that may
have been improperly assembled could result in serious personal injury.
WARNING:
the fan installation, cleaning, or servicing.
WARNING: To reduce the risk of personal injury, do not bend the blade brackets when installing the brackets, balancing the blades, or
cleaning the fan. Do not insert foreign objects in between rotating fan blades.
WARNING:
WARNING: If any parts are damaged or missing, do not operate this product until the parts are replaced. Use of this product with
damaged or missing parts could result in serious personal injury.
WARNING: Do not attempt to modify this product or create accessories not recommended for use with this product. Any such alteration
PLANNING INSTALLATION
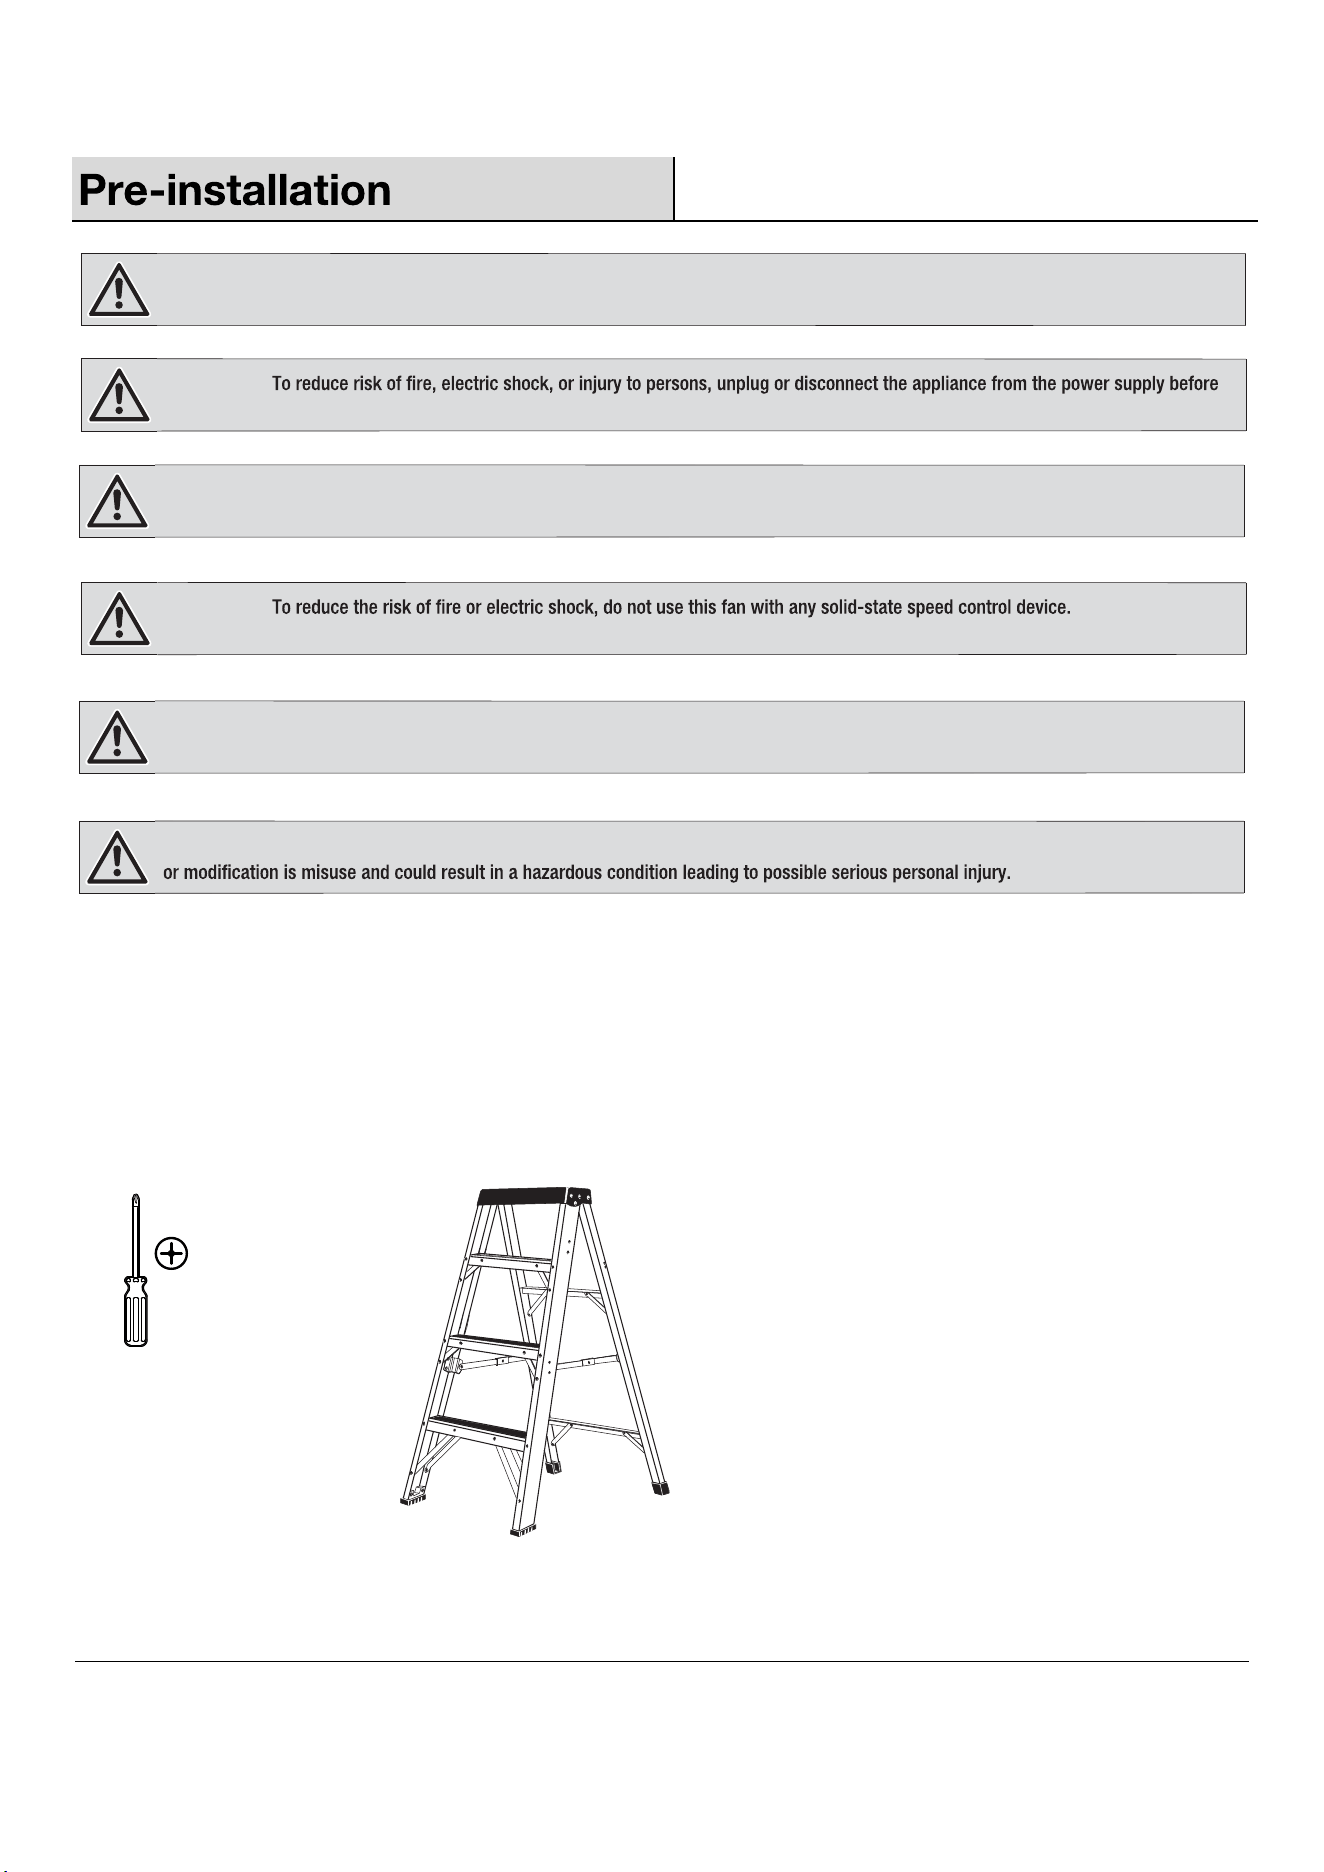
TOOLS REQUIRED
□ Remove all parts from the package, and verify that everything listed in the Package Contents section are present.
□ Inspect the product carefully to make sure no breakage or damage occurred during shipping.
□ Do not discard the packing material until you have carefully inspected and satisfactorily operated the product.
Phillips
screwdriver
Step
ladder
Product Specification: 120V 60Hz 0.73A Weight of the fan: approx. 13lbs
5
HOMEDEPOT.COM/HOMEDECORATORS
Please contact 1-800-986-3460 for further assistance.
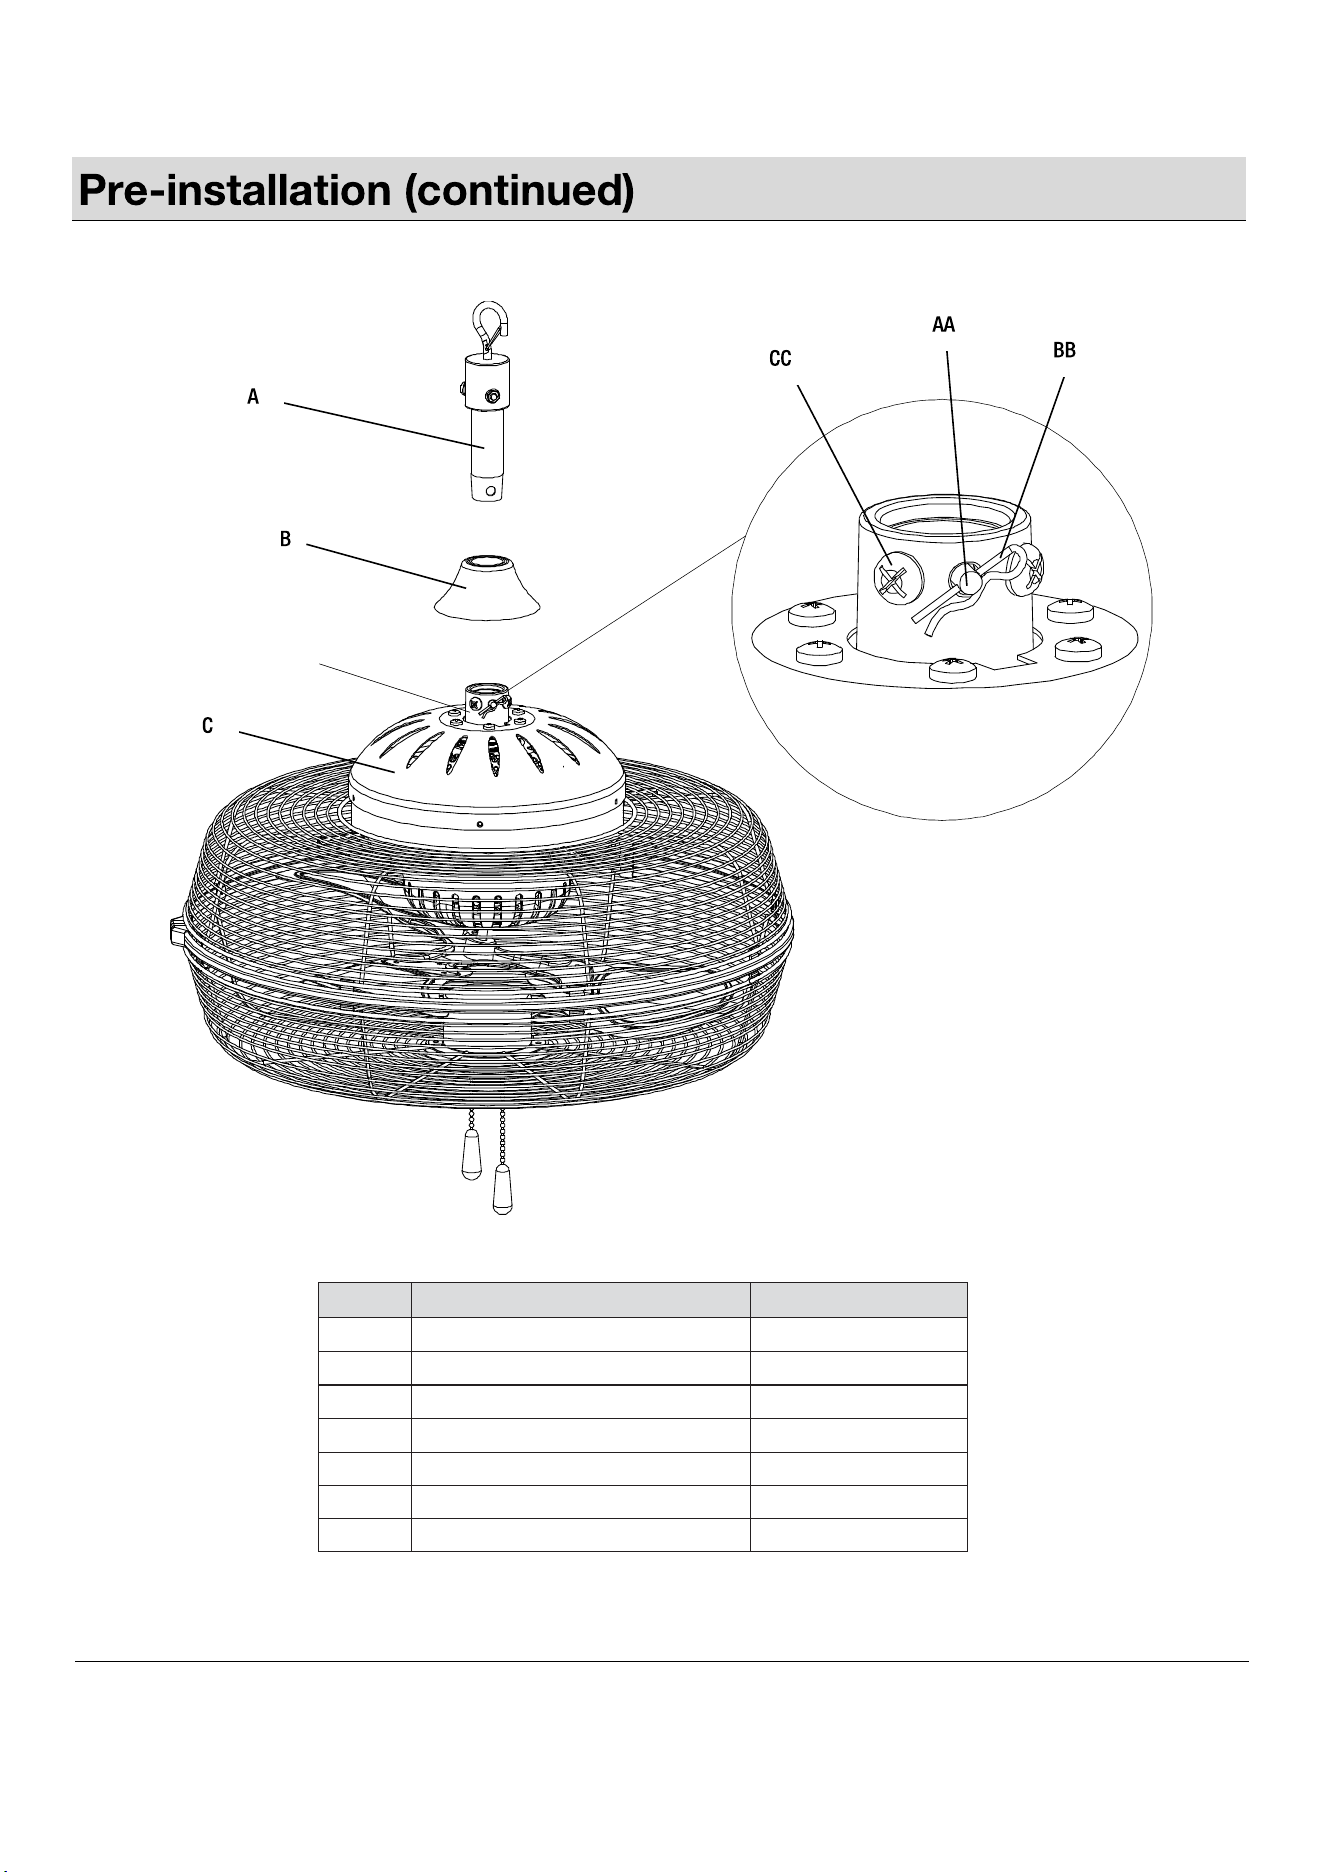
Part Description Quantity
A
D
Hanger Bracket Assembly
Decorative Cap
Fan Head
Mounting Collar
Hitch Pin
Lock Screw
Celvis Pin
1
B 1
C 1
D 1
AA 1
BB 1
CC 2
PACKAGE CONTENTS
6
1
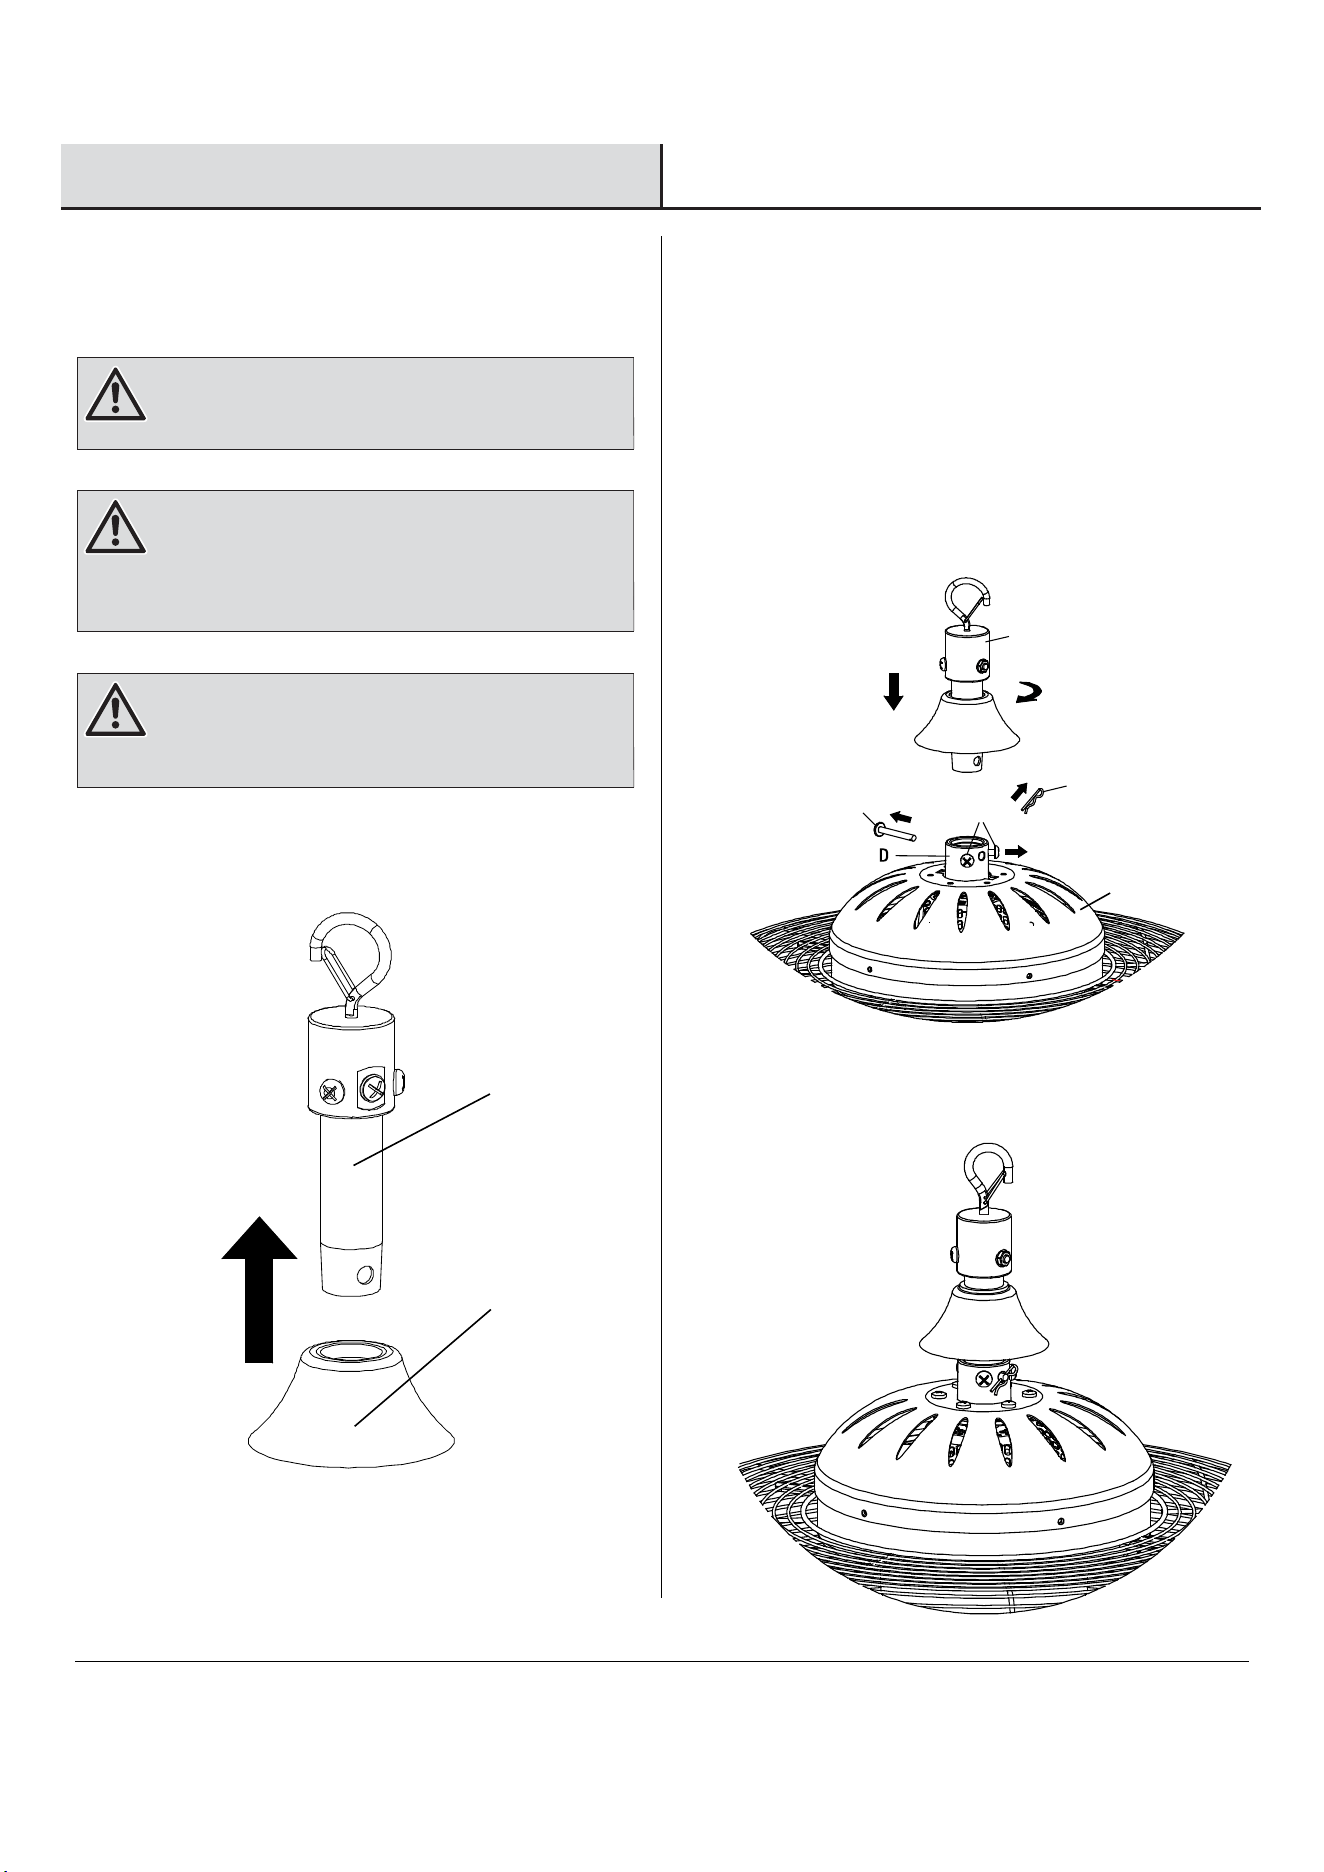
Attaching Hanger Bracket Assembly
and Decorative Cap
WARNING:
Installation
WARNING: Ensure the hanging structure can support a
WARNING: Make sure the ceiling angle is not steeper than
□ With the cupped side down, push up the decorative cap (B) to
top of the hanger bracket assembly (A) through the cap hole.
AA
A
A
BB
B
C
CC
□ Install the clevis pin (AA) througn the holes in the mounting
collar (D) and the hanger bracket assembly (A) and then secure
it with the hitch pin (BB). Retighten the lock screws (CC).
2
Attaching Fan Head to Hanger
Bracket Assembly
□ Pull out the hitch pin (BB) and then remove the clevis pin (AA)
from the mounting collar (D) of fan head (C). Loosen the lock
screws (CC).
□ Insert the hanger bracket assembly (A) into the mounting
collar (D) and then rotate clockwise to make sure the hole at
the bottom of the hanger bracket assembly (A) aligns with
the hole in the mounting collar (D).
To reduce risk of re, electric shock, or injury
to persons, turn off power to wall switch or make sure the
pull chain switch in off position before beginning installation.
30 degrees and the open end of the mounting bracket (not
included) is up and facing the ceiling, if angle mounting is
adopted for the fan.
minimum weight of 65 lb and allow enough depth for safety
mounting. If you are not sure the hanging structure can
support the weight, do not attempt to install this fan as it
may fall and cause damage to the fan or personal injury.
B
7
HOMEDEPOT.COM/HOMEDECORATORS
Please contact 1-800-986-3460 for further assistance.
D
3
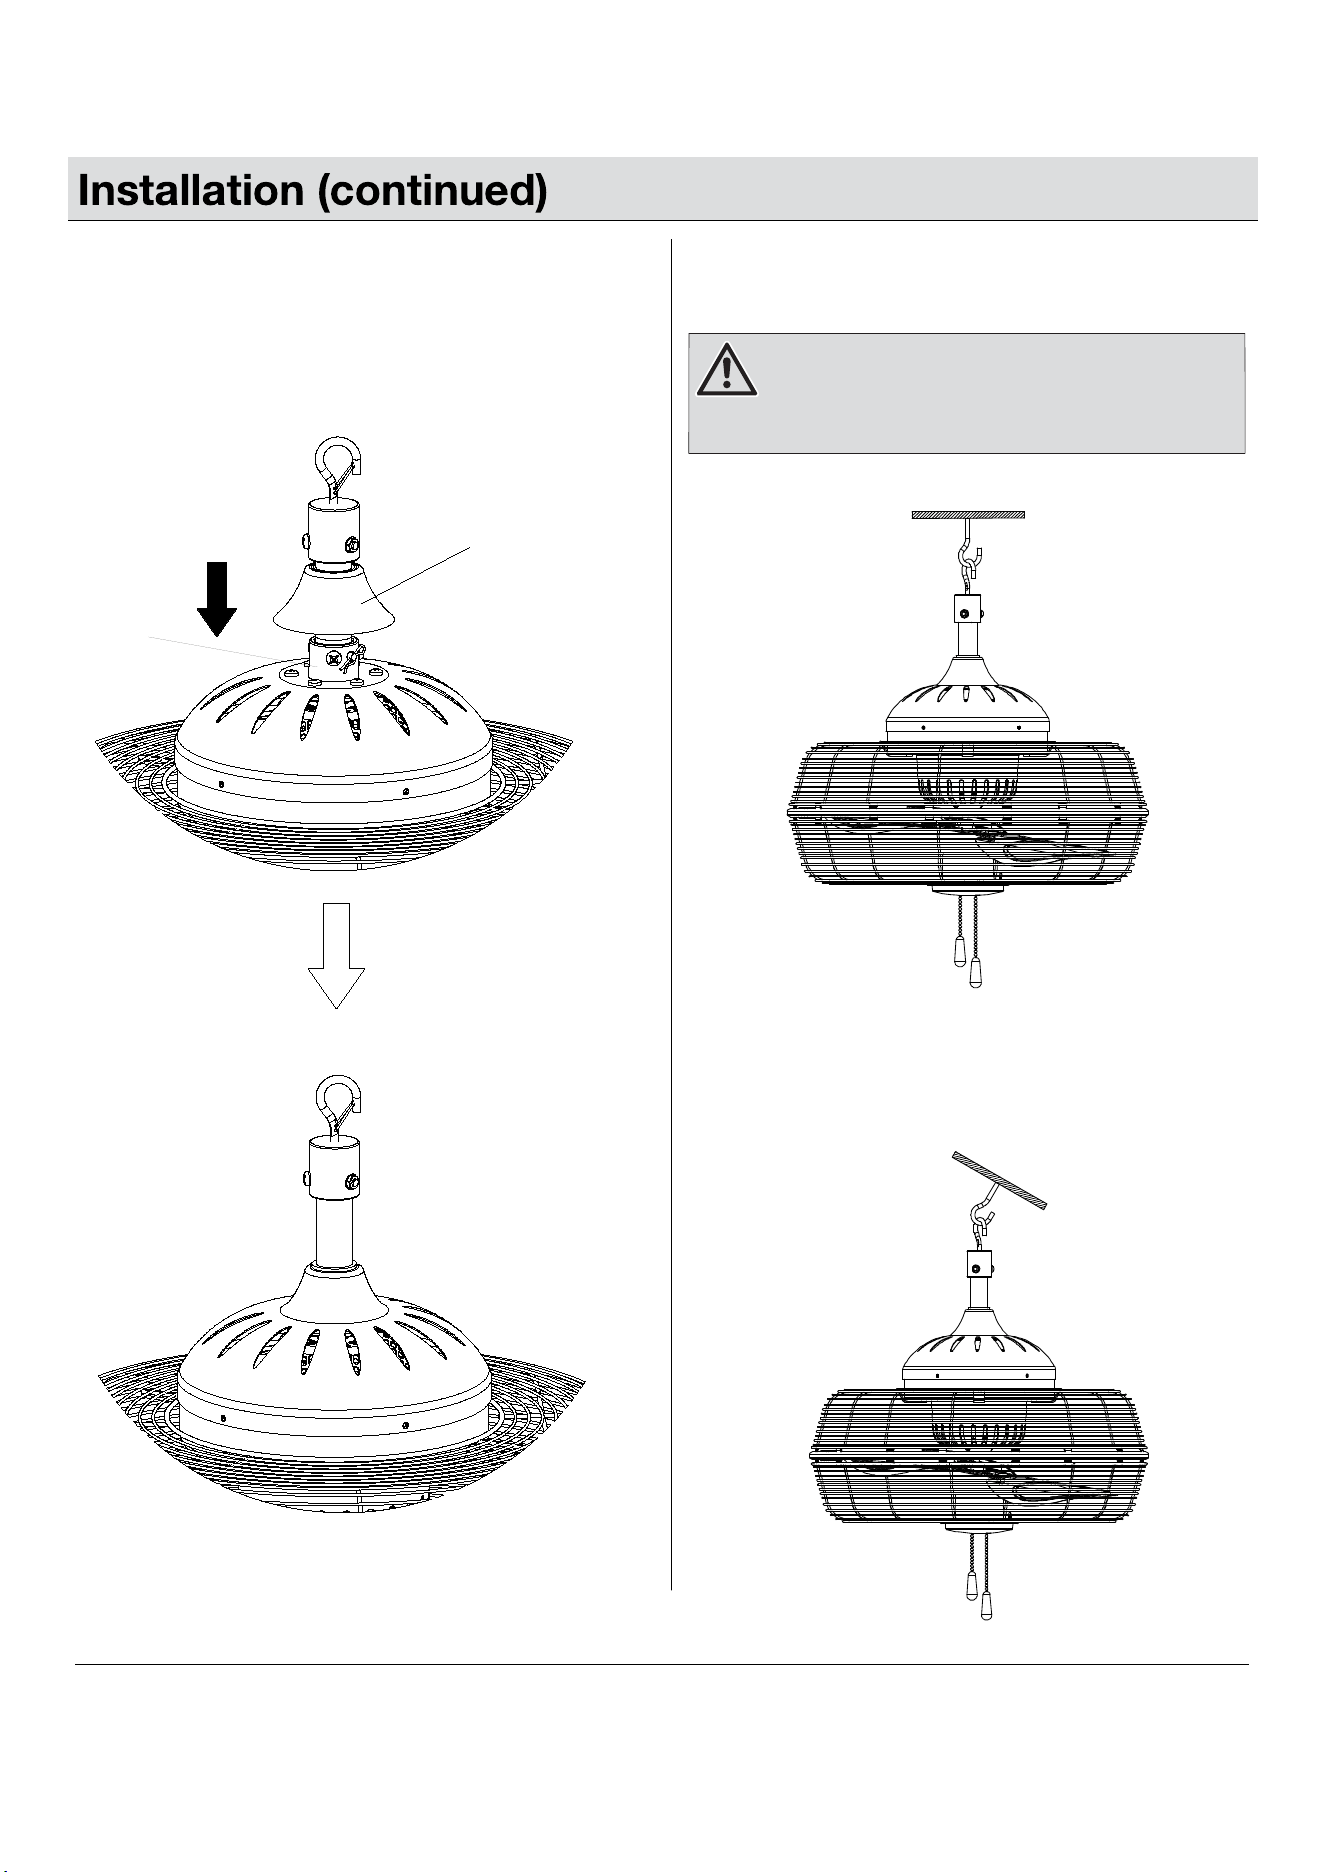
Positioning the Decorative Cap
□ Push down the decorative cap (B) to cover up the mounting
collar (D).
4
Mounting the Fan to the Ceiling
WARNING: Make sure the ceiling angle is not steeper
□ Standard Mounting
□ Angle Mounting: Angle mounting is used for vaulted or angled
ceilings. If using the angle mounting, make sure the ceiling
angle is not steeper than 30 degrees and the open end of the
mounting bracket (not included) is up and facing the ceiling.
than 30 degrees and the open end of the mounting bracket
(not included) is up and facing the ceiling, if angle mounting
is adopted for the fan.
8
WARNING: Do not operate the fan until fully assembled
with all parts properly in place.
1
2
WARNING: Always switch off and unplug the fan when
not in use, before moving fan from one location to another,
before putting on or taking off parts and before cleaning or
performing maintenance.
If you want to change the speed from low speed to middle
speed, you have to follow the setting order, rst turn off the fan
and then reset the desired speed.
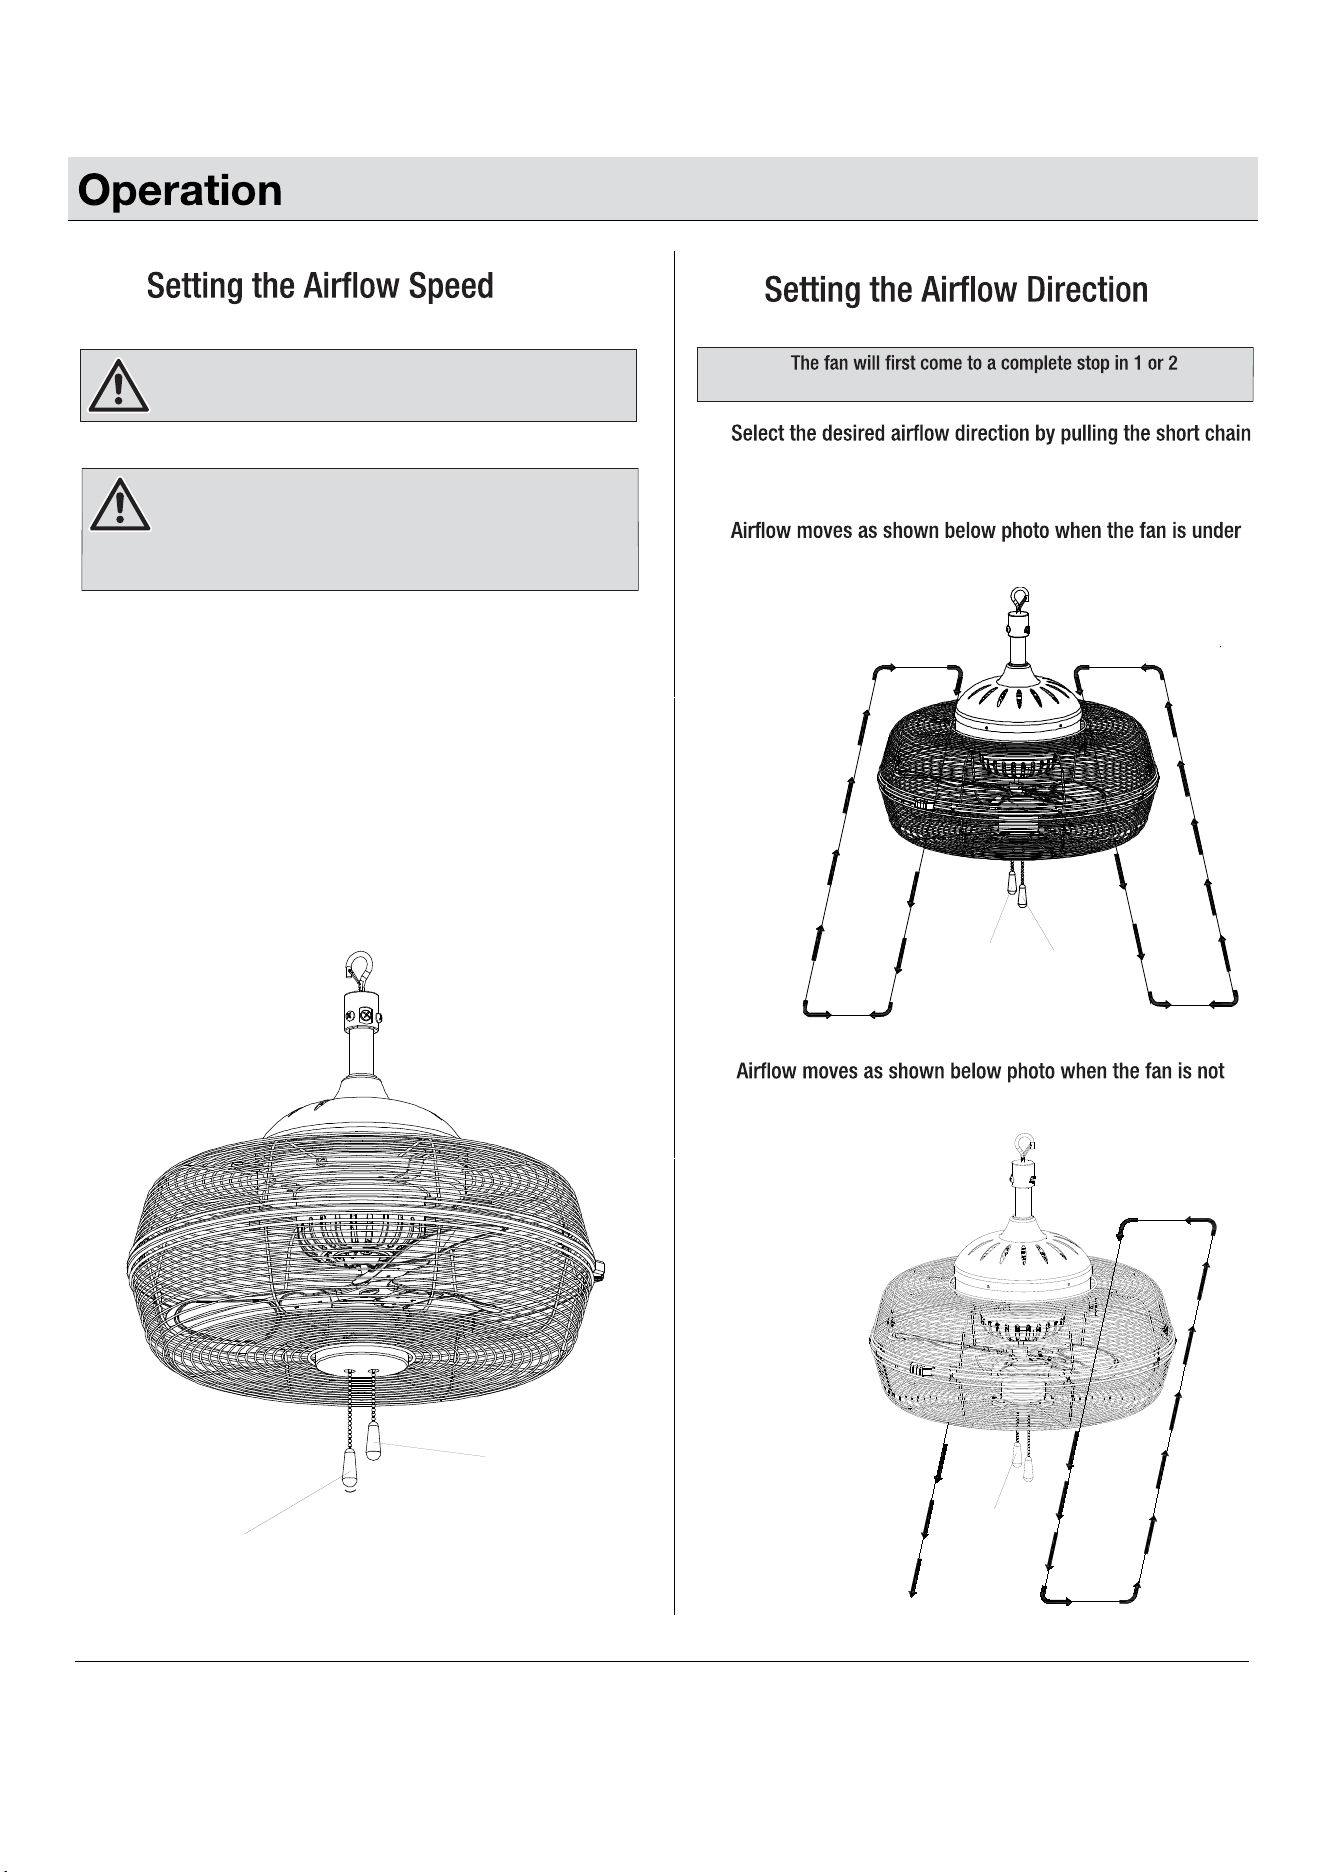
1st time pulling- Turn on the fan/High Speed
2nd time pulling- Middle Speed
3rd time pulling- Low Speed
4th time pulling- Turn off the fan
H
G
G
H
□
□
There are four settings for the long pull chain switch (G). Turn
the fan on or off as well as select a preferred speed by pulling
the long chain switch (G) at the bottom of the fan.
NOTICE:
seconds before changing the fan’s direction.
□
switch (H) to make the fan with internal oscillating or
non-internal oscillating.
□
internal oscillating.
□
under internal oscillating.
H
E
F
FF
Care and Cleaning
WARNING: Always switch off and unplug the fan before
cleaning. Never connect the fan to a power supply when
it is not in use, when moving fan from one location to
another, assembling parts, making adjustments, cleaning
or performing maintenance.
GENERAL CARE AND CLEANING
DISASSEMBLING THE FAN GUARD AND BLADE
□ Clean your fan periodically to help maintain its new
appearance over time.
□ Do not use any water for cleaning metal surfaces. Do not allow
water to drip on or enter into fan guard, as this could damage
the motor or cause an electrical shock.
□ Do not use a cleaning solution that is harmful to paints or
plastics. Avoid using solvents when cleaning plastic parts.
Most plastics are susceptible to damage from various types
of commercial solvents and can be damaged by their use.
gasoline, petroleum-based products, penetrating oils, thinner,
benzene, etc. at any time.
□ Slightly moisten a cloth and then wipe off the surfaces of
the fan. Use only a soft brush or lint-free cloth to avoid
□ In order to remove the dust from the grille, use a vacuum
cleaner or a small brush.
□
□
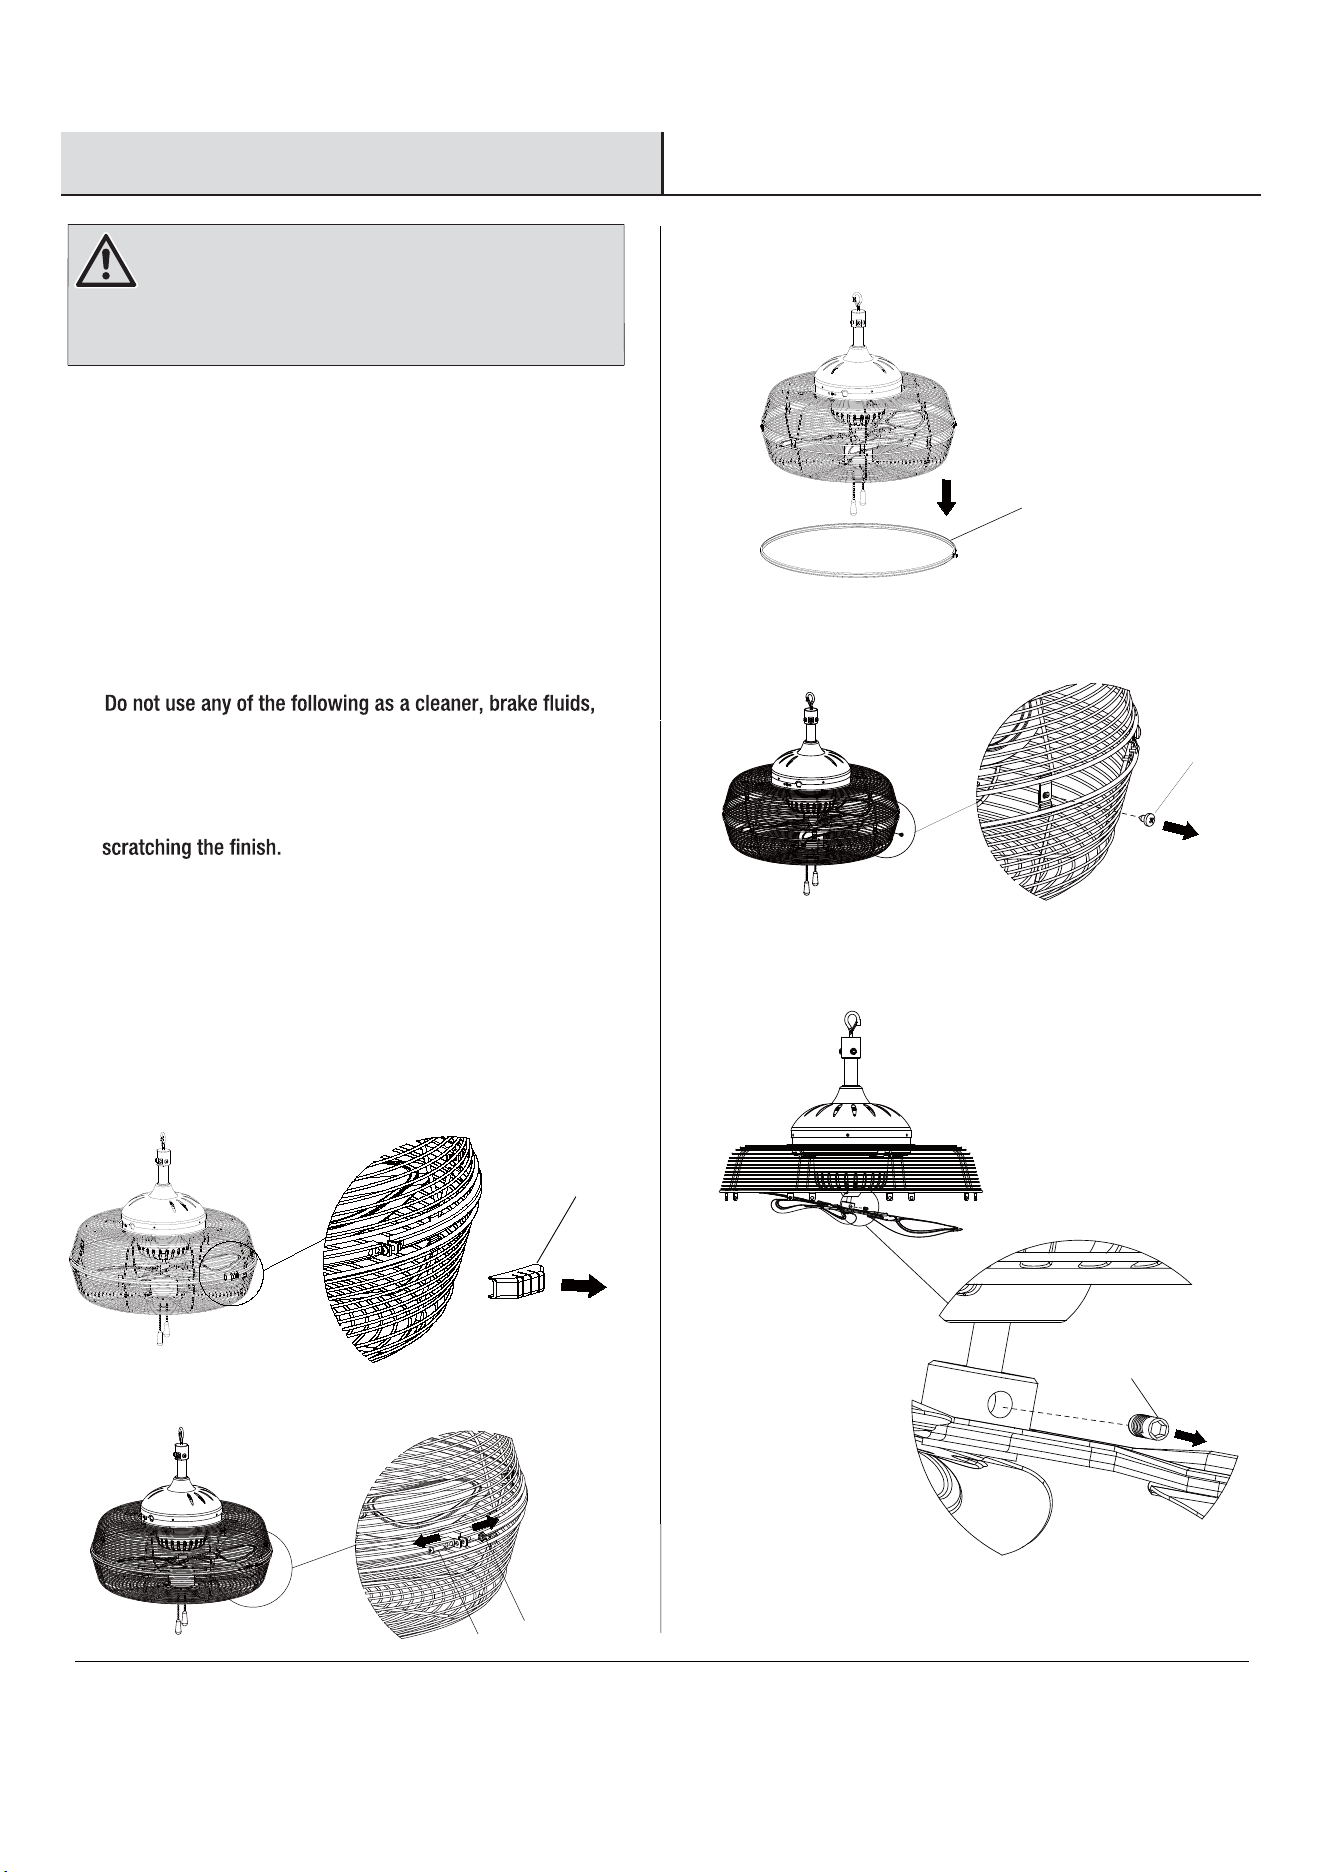
When shipped, the blade and guard on the fan are
preassembled. Follow below instructions to disassemble for
cleaning purposes.
□
Remove the securing screws (DD) and nuts (EE) on the rim.
□
Push down and take off the protecting rim (F).
□
Remove the eight securing screws (FF) on the guard and then
remove the front guard.
□
Use a hex wrench to remove the screw (GG) on the blade shaft
and then remove the fan blade.
□
After cleaning, reinstall the fan as previously installed and
fasten all the securing screws. Do not blend the blades.
Pull out the decorative cap (E) on the fan guard.
DD
EE
GG
9
HOMEDEPOT.COM/HOMEDECORATORS
Please contact 1-800-986-3460 for further assistance.

Maintenance
10
□ The fan has permanently lubricated sealed bearings, therefore no further lubrication is required.
□ After servicing, any safety device (including grilles and blades) must be reinstalled or remounted as previously installed.
□ All servicing, apart from ordinary cleaning, should be performed by qualied personnel only. Those who are not certied electricians
should not disassemble, repair or rebuild the fan.
□ Only use the original manufacturer’s replacement parts, accessories and attachments.