
FOLLOW ALL STANDARD SHOP SAFETY
PRECAUTIONS, INCLUDING:
• Keep children and visitors at a safe distance from work area.
• Keep work area clean. Cluttered work areas invite accidents.
Work area should be properly lit.
• Do not use power tools in dangerous environments. Do not
use power tools in damp or wet locations. Do not expose
power tools to rain.
• TURN OFF AND UNPLUG all power tools BEFORE making
any adjustments or changing accessories.
• Be alert and think clearly. Never operate power tools when
tired, intoxicated or when taking medications that cause
drowsiness.
• Wear proper apparel. Do not wear loose clothing, gloves,
neckties, rings, bracelets or other jewelry which may get
caught in moving parts of the tool.
• Wear protective hair covering to contain long hair.
• Wear safety shoes with non‑slip soles.
• Wear safety glasses complying with United States ANSI
Z87.1. Everyday glasses have only impact resistant lenses.
They are NOT safety glasses.
• Wear face mask or dust mask if operation is dusty.
• A guard or any other part that is damaged should be properly
repaired or replaced. Do not perform makeshift repairs.
• Use safety equipment such as featherboards, push sticks and
push blocks, etc., when appropriate.
• Maintain proper footing at all times and do not overreach.
• Do not force woodworking tools.
CAUTION
Think safety! Safety is a combination of operator common sense
and alertness at all times when tool is being used.
CAUTION
Do not use the Aluminum Pocket Hole Jig until completely
assembled and you have read and understood this entire
operating manual and the operating manual of the tool being
used with this Aluminum Pocket Hole Jig.
SAVE ALL WARNINGS AND INSTRUCTIONS
FOR FUTURE REFERENCE
SAFETY RULES
WARNING
For your own safety, read all of the rules and precautions before
operating tool.
WARNING
Always follow proper operating procedures as dened in this
manual even if you are familiar with use of this Aluminum
Pocket Hole Jig or any tool used with this Aluminum Pocket
Hole Jig. Remember that being careless for even a fraction of a
second can result in severe personal injury.
Before using another tool with this product, always read,
understand and follow the instructions and safety warnings in
the owner’s manual for that tool. If you do not have the owner’s
manual, obtain one from the tool’s manufacturer before using it
with this product.
You must be familiar with the use of any tool or accessory used
with this Aluminum Pocket Hole Jig. The supplier cannot be
held responsible for any accident, injury or damage incurred
while using this Aluminum Pocket Hole Jig with any tool.
It is the responsibility of the purchaser of this product to ensure
that any person using this product reads and complies with all
instructions and safety precautions outlined in this manual and
the operating manual of the tool being used prior to use.
WARNING
Some dust created by operation of power tool contains
chemicals known to the State of California to cause cancer,
birth defects or other reproductive harm. To reduce your
exposure to these chemicals, work in a well ventilated area and
work with approved safety equipment. Always wear OSHA/
NIOSH approved, properly tting face mask or respirator when
using such tools.
CAUTION
Do not modify or use this Aluminum Pocket Hole Jig for any
application other than that for which it was designed.
23‑0515
Model No. 71844INSTRUCTION SHEET
Aluminum Pocket Hole Jig
SPECIFIC SAFETY WARNINGS
• Before using the Aluminum Pocket Hole Jig, be sure
everyone using the product reads and understands all safety
instructions and other information contained in the drill
manufacturer's manual.
• The drill bit is sharp. Handle with care.
• Avoid awkward hand positions where a sudden slip could
cause contact with the rotating bit.
• Properly secure your workpiece before drilling. Do not attempt
to hold the Aluminum Pocket Hole Jig in place with your hand
while drilling. Secure it to the workpiece with a clamp.
• Do not allow familiarity gained from frequent use of tools
replace safe work practices. A moment of carelessness is
sufcient to cause severe injury.
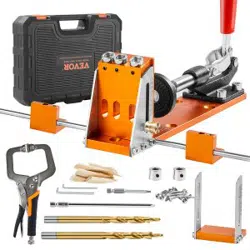
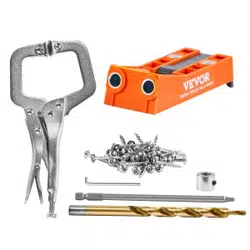
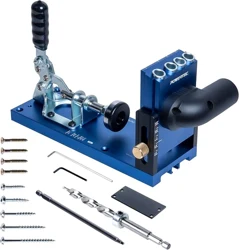
UNPACKING Refer to Figure 1
Check for shipping damage. Check immediately whether all
parts and accessories are included.
ITEM DESCRIPTION QTY
A
Aluminum Pocket Hole Jig Base 1
B
Countersunk Phillips Screws 4
C
Dust Port 1
D
Socket‑Head Screws (Dust Port) 2
E
Portable Steel Base Plate 1
F
3/8" Step Drill Bit
1
G
R2 Square Driver Bit 1
H
3/8" Stop Collar 1
I
Hex Keys 2
J
#7-1" L Coarse Square Drive Pan-Head Screws 10
K
#8-1-1/4"L Coarse Square Drive Washer-Head Screws 10
L
#8-1-1/2" L Coarse Square Drive Washer-Head Screws 10
M
#8-2"L Coarse Square Drive Washer-Head Screws 10
N
#8-2-1/2"L Coarse Square Drive Washer-Head Screws 10
WARNING
Before using the Aluminum Pocket Hole Jig, make sure to read
and understand this entire operating manual and the operating
manual of the drill being used.
Figure 1
SET UP THE JIG
Attach the Dust Port:
See Figure 2. Using two Socket‑Head Screws (D) secure Dust
Port (C) to the body of the Drill Guide. Do not over tighten the
screws. Doing so may cause damage to the Dust Port.
Figure 2
Secure the Jig:
Table Top Fitting Figure 3
Fasten the Pocket Hole
Jig to a table top using
the Countersunk Phillips
Screws (B) provided.
Locate the four predrilled
holes in the top of the
Base and secure to the
table top.
T-Slot Bolt Fitting Figure 4
As an alternative method,
a 5/16" bolt‑head or nut
can be used in the T‑slot
located on the bottom of
the base to secure the
Pocket Hole Jig.
Optional Portable Base (Included):
See Figure 5. The POWERTEC Aluminum Pocket Hole Jig
includes an additional Portable Steel Base Plate (E) allowing the
user the option of using this Jig as a portable unit.
1. Remove the four screws securing the Drill Guide Block from
the bottom of the Main Jig Base.
2. Attach Steel Base Plate (E) to the base of the Drill Guide
Block using the same four screws removed from the Main Jig
Base. This assembly now functions as a Portable Jig.
NOTE: Make sure the plate extends past the base on the side
opposite of the dust port.
3. Adjust the Jig for the workpiece thickness.
4. Place the Steel Base Plate over the edge of the workpiece
and secure into place with a clamp before drilling the
pocket holes.
Figure 5
Measure Material Thickness:
See Figure 6. On the side of the Aluminum Pocket Hole Jig are
material thickness alignment marks and measurements.
1. Place the workpiece against the Drill Guide Block. Workpiece
thickness can be quickly gauged from the scale markings on
the Jigs Base.
2. Example shows mark is aligned to 1/2" material thickness.
Figure 6
Adjust the Drill Guide Block:
See Figure 7. After the workpiece thickness has been
determined—adjust the Drill Guide Block with the same
measurement. In this example it is 1/2".
1. From the sides of the Drill Block Guide turn the two brass
knobs counterclockwise to loosen the guide block.
2. Choose the measurement from the scale to the left of the
dust port.
3. Tighten the two brass knobs to secure.
Figure 7
Set the Drill Depth Position:
1. See Figure 8. Slide the 3/8" Stop Collar (H) onto the 3/8" Drill
Bit (F). Do not tighten at this time.
2. A Drill Depth Scale is engraved on the base of the Jig.
Place the drill bit on the Drill Depth Scale as shown in Figure 8.
In this example using the 1/2" measurement. Slide the 3/8"
Stop Collar to the edge of Aluminum Pocket Hole Jig.
3. Once the drill bit is set—place the bit into the jig verifying the
setting. Make adjustments as needed.
CAUTION
If set too long the bit will drill into the base of the Jig.
Figure 8
4. Tighten the Stop Collar with the provided Hex Key ( I ).
Figure 9
Southern Technologies, LLC • Chicago, IL 60606
Put these instructions and the original sales invoice
in a safe, dry place for future reference.
Visit us on the web at www.powertecproducts.com
WARNING
When servicing, use only identical replacement parts. Use of
any other parts may create a hazard or cause product damage.
To ensure safety and reliability, all repairs should be performed
by a qualied service technician.
WARNING
Keep the Aluminum Pocket Hole Jig dry, clean, and free from oil
and grease. Always use a clean cloth when cleaning. Never use
brake uids, gasoline, petroleum‑based products or any strong
solvent to clean the Aluminum Pocket Hole Jig. Chemicals can
damage, weaken or destroy plastic which may result in serious
personal injury.
GENERAL MAINTENANCE
Set Up the Adjustable Clamp:
See Figure 10
1. With workpiece against the Drill Guide Block, loosen the
Hex Nut behind the Clamping Boot.
2. Ensure the Clamping Handle is Unlocked yet in the
downward position.
3. Adjust the Clamping Boot by rotating it clockwise until just
making contact with the workpiece.
4. Lift the Clamping Handle—make one clockwise turn of the
Clamping Boot.
5. Press down on the Clamping Handle to secure workpiece.
6. Adjust if needed. When set, tighten the Hex Nut.
7. The workpiece is now ready to be drilled.
CAUTION
Excessive pressure caused by improper settings may damage
the workpiece or the Jig.
Figure 10
NOTE: Always ensure the Pocket Hole Jig is properly adjusted
with enough pressure to secure the workpiece without putting
undo strain on the Jig or Clamp.
Figure 11
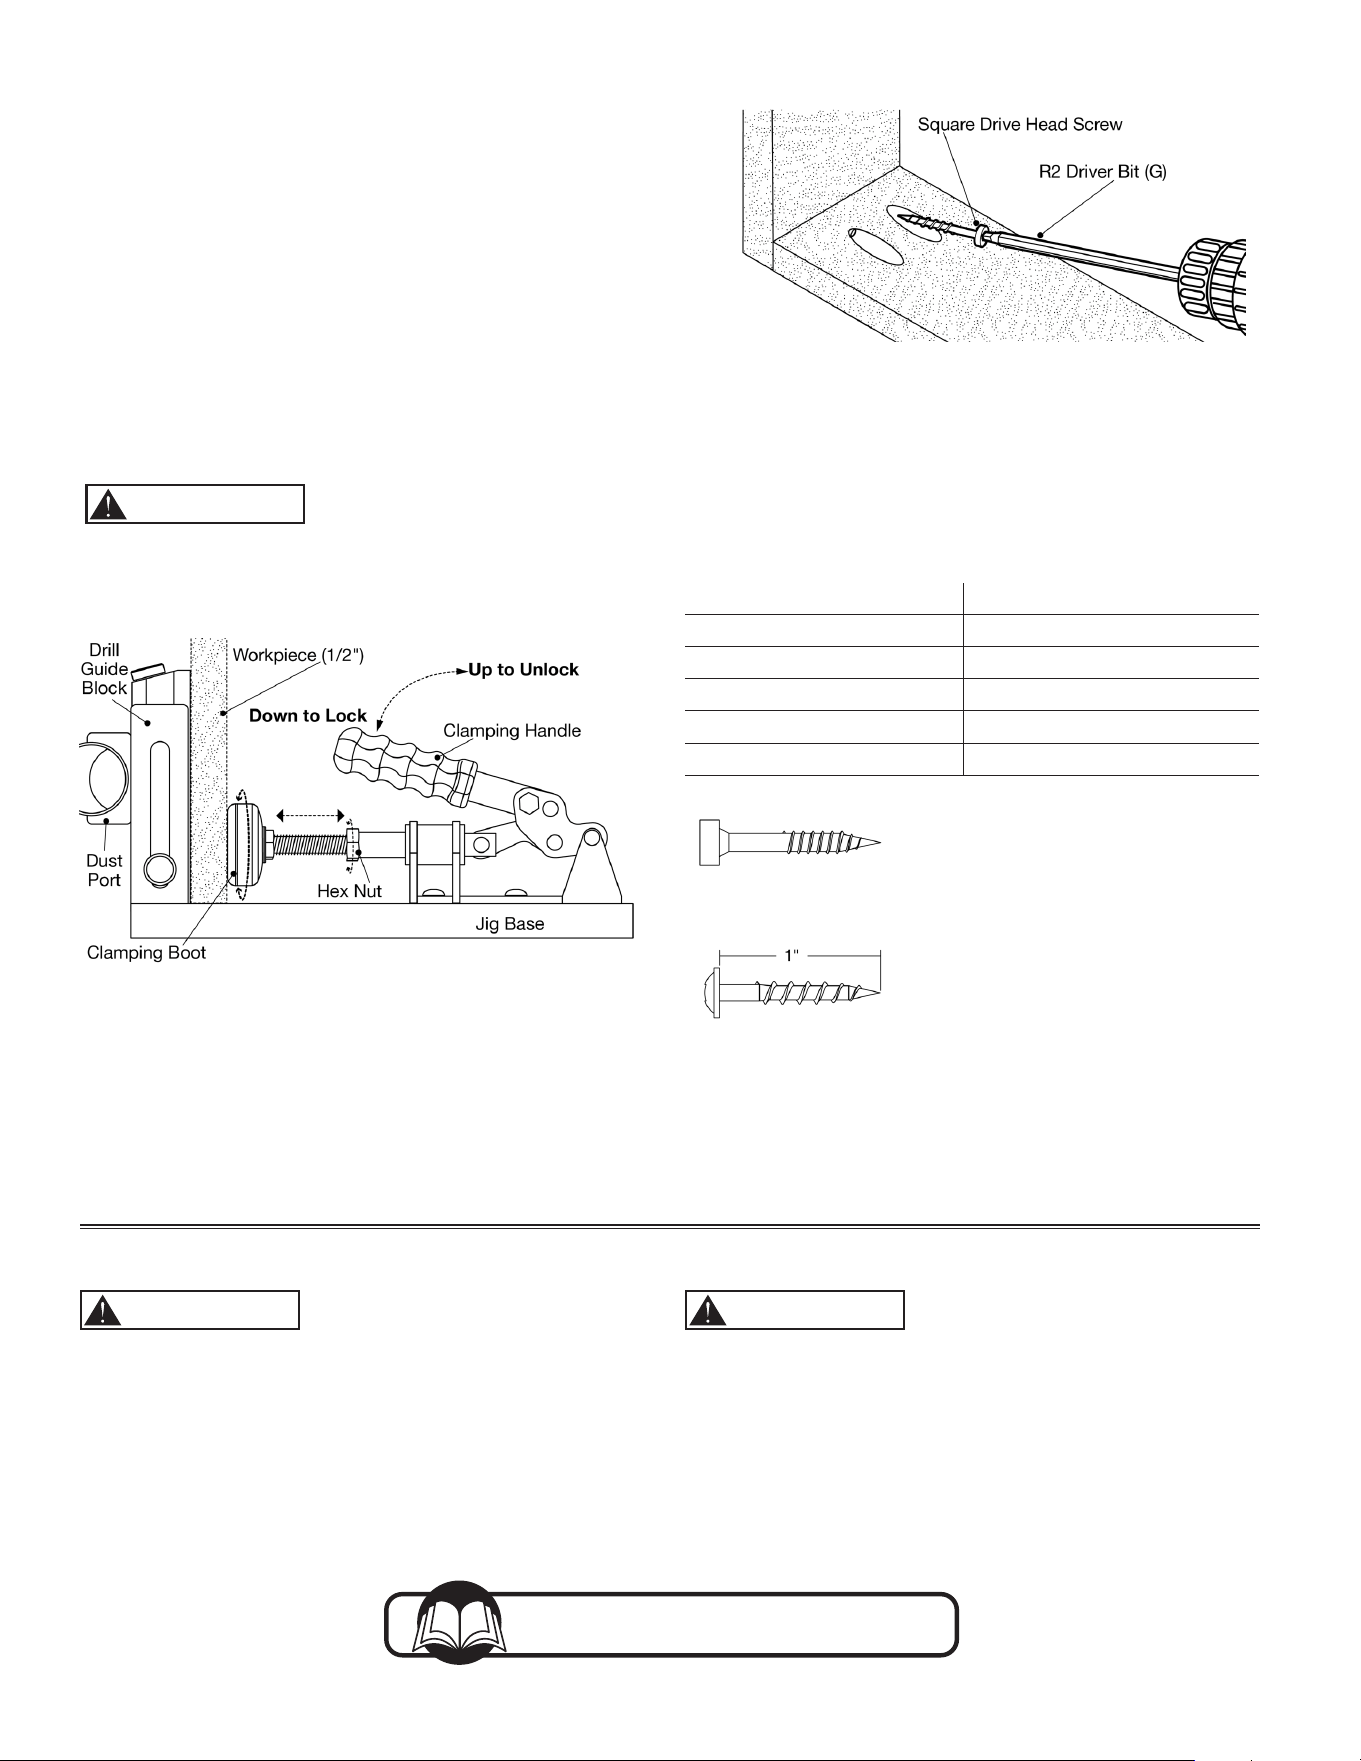
• Use the R2 Driver Bit (G) (supplied) to drive Square Drive
Head wood screws into the material.
DRIVE POCKET HOLE SCREWS
1. Reference the Recommended Screw Length chart for the
correct screw length for material thickness used.
Recommended Screw Length:
Material Thickness Screw Length
1/2" (13 mm) 1" * (25 mm)
3/4" (19 mm) 1‑1/4" (32 mm)
1" (25 mm) 1‑1/2" (38 mm)
1‑1/4" (32 mm) 2" (51 mm)
1‑1/2" (38 mm) 2‑1/2" (64 mm)
* Pan‑Head Pocket Screws recommended.
NOTE: Screw length is measured from the bottom of the head
to the tip of the screw.