Visit our website at: http://www.harborfreight.com
Email our technical support at: [email protected]
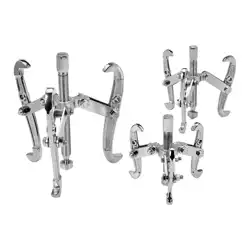
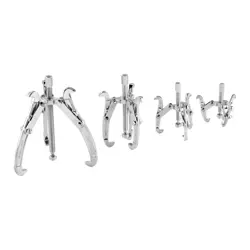
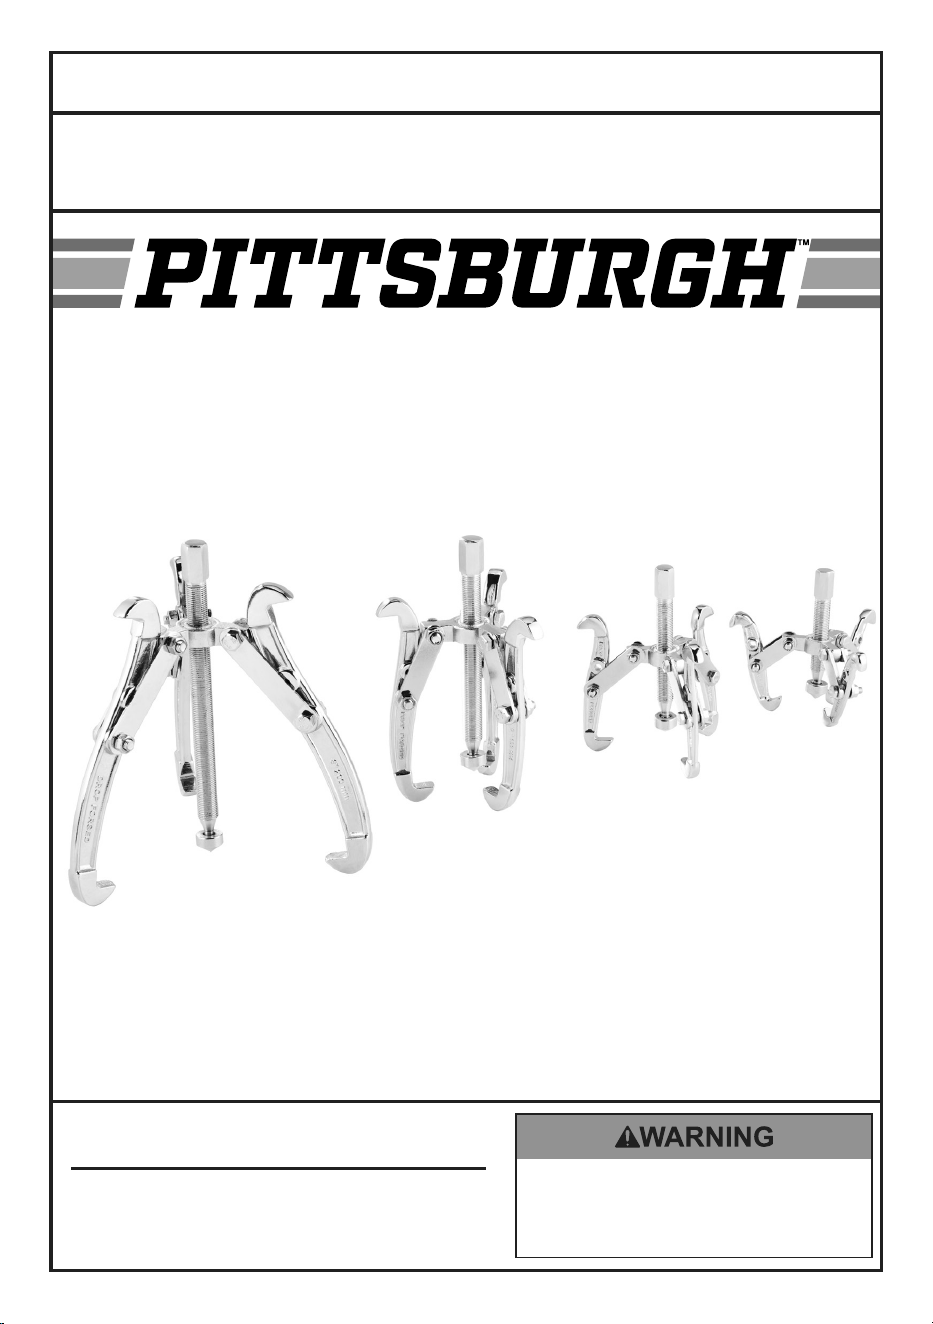
4 PC. 3 JAW PULLER SET
63760
Owner’s Manual & Safety Instructions
Save This Manual Keep this manual for the safety warnings and precautions, assembly,
operating, inspection, maintenance and cleaning procedures. Write the product’s serial number in the
back of the manual near the assembly diagram (or month and year of purchase if product has no number).
Keep this manual and the receipt in a safe and dry place for future reference. 23h
When unpacking, make sure that the product is intact
and undamaged. If any parts are missing or broken,
please call 1-888-866-5797 as soon as possible.
Copyright
©
2023 by Harbor Freight Tools
®
. All rights reserved.
No portion of this manual or any artwork contained herein may be reproduced in
any shape or form without the express written consent of Harbor Freight Tools.
Diagrams within this manual may not be drawn proportionally. Due to continuing
improvements, actual product may differ slightly from the product described herein.
Tools required for assembly and service may not be included.
Read this material before using this product.
Failure to do so can result in serious injury.
SAVE THIS MANUAL.
Page 2 For technical questions, please call 1-888-866-5797. Gear Puller
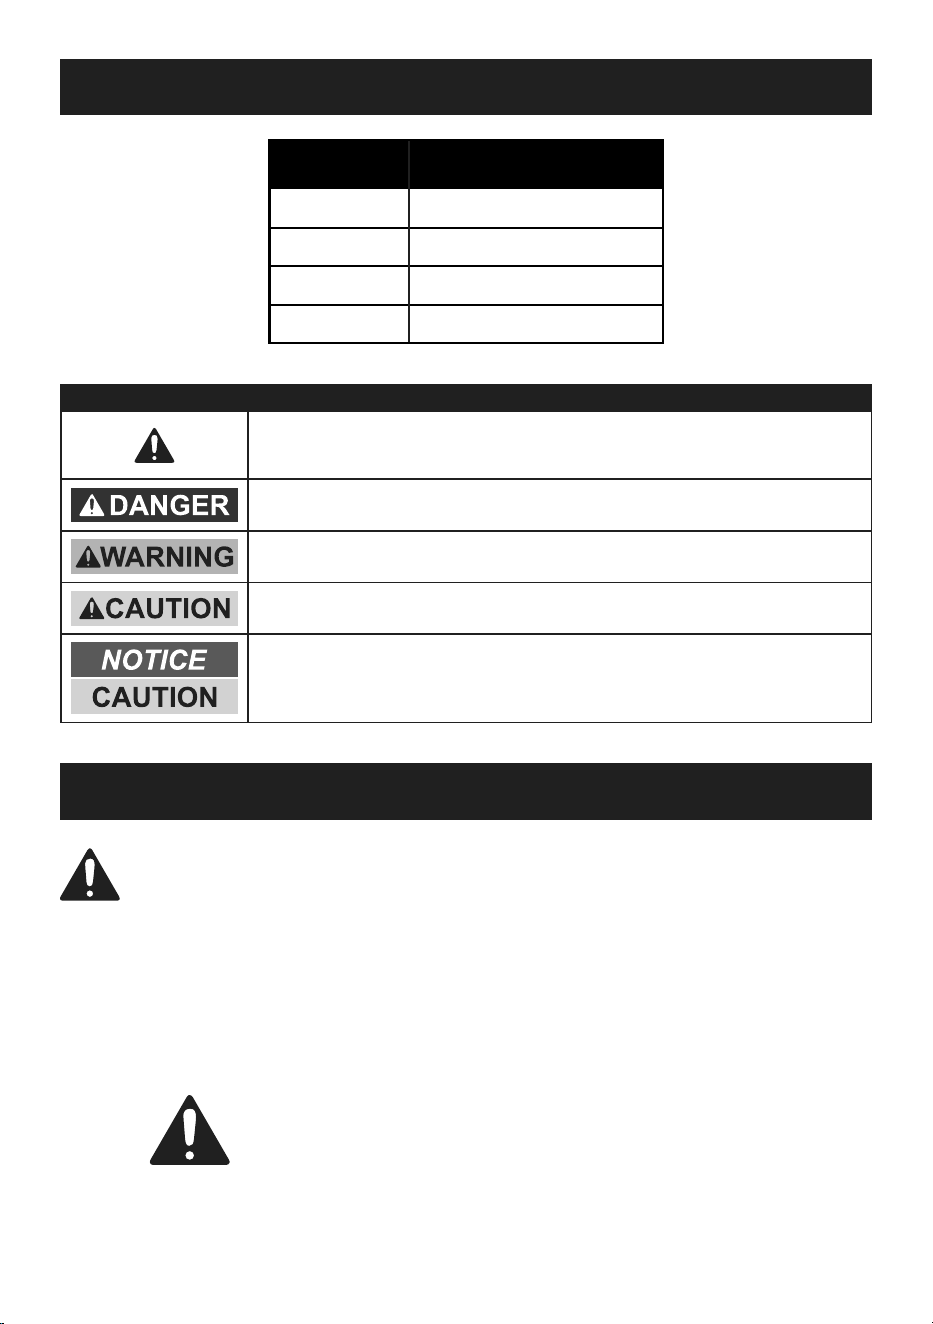
Specifications
Size
(Inches)
Jaw Size Range
(Inches)
3 2-4.5
4 3-6.25
6 5-8.75
8 7-10.75
WARNING SYMBOLS AND DEFINITIONS
This is the safety alert symbol. It is used to alert you to
potential personal injury hazards. Obey all safety messages
that follow this symbol to avoid possible injury or death.
Indicates a hazardous situation which, if not avoided,
will result in death or serious injury.
Indicates a hazardous situation which, if not avoided,
could result in death or serious injury.
Indicates a hazardous situation which, if not avoided,
could result in minor or moderate injury.
Addresses practices not related to personal injury.
Important Safety Information
WARNING Read all safety warnings and instructions.
Failure to follow the warnings and instructions may result in serious injury.
Save all warnings and instructions for future reference.
1. Wear ANSI-approved safety
goggles during use.
2. Use as intended only.
3. Inspect before use; do not use
if parts loose or damaged.
4. The warnings, precautions, and instructions
discussed in this instruction manual cannot
cover all possible conditions and situations
that may occur. It must be understood by
the operator that common sense and caution
are factors which cannot be built into this
product, but must be supplied by the operator.
SAVE THESE INSTRUCTIONS.
Page 3For technical questions, please call 1-888-866-5797. Gear Puller
Setup - Before Use:
Read the ENTIRE IMPORTANT SAFETY INFORMATION section at the
beginning of this manual before set up or use of this product.
Note: For additional information regarding the parts listed in the following pages,
refer to the Assembly Diagram near the end of this manual.
Assembly
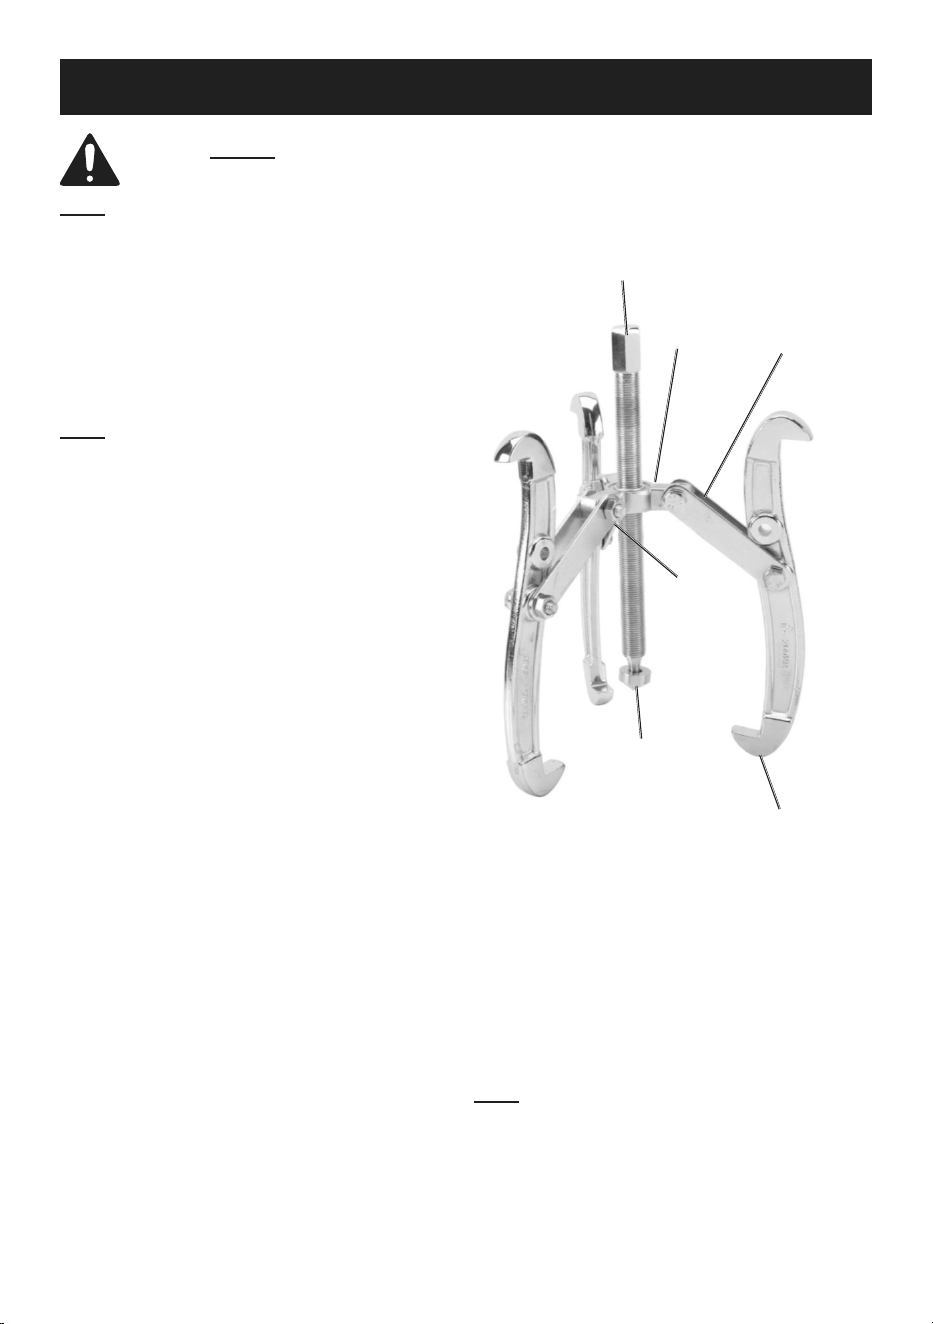
1. Install the Yoke Arms (7) on the Yoke (2) and
hand tighten using the Bolts (5) and Nuts (6).
2. Install Jaws (1) on the end of the Yoke Arms
and hand tighten using the Bolts and Nuts.
Note: Jaws have two holes for installation based
on the reach required in your application and
can be installed with the tips facing outward
so they can be used as an internal puller.
3. If using the Live Center Tip (3), thread
completely until the Live Center Tip spins
freely and moves from side to side.
4. Apply a liberal amount of anti-seize to
the Lead Screw (4) threads. This will
prolong the life of your Puller and make
turning the Lead Screw easier.
Lead Screw
Yoke
Yoke Arm
Bolt &
Nut
Yoke Arm
Puller Arm
Live Center
Tip
Functions
The tool is designed to pull items such as
bearings, pulleys, and chucks from shafts.
The Jaws can grip the object from the inside or
outside, whichever offers a better grip. The Lead
Screw will push on the center shaft while the
jaws pull away. This will remove the item from
the shaft by pulling it straight out evenly, without
hammering or binding from pulling at an angle.
Note: It is not recommended using these types of
pullers on engine harmonic balancers. The rubber
used in the harmonic balancer can be damaged.

Page 4 For technical questions, please call 1-888-866-5797. Gear Puller
Operating Instructions
Read the ENTIRE IMPORTANT SAFETY INFORMATION section at
the beginning of this manual before set up or use of this product.
1. Test fit the appropriate size Jaw making
sure the Lead Screw (4) is adjusted to
clear the shaft being pulled from.
Note: Make sure Jaws (1) are not open
too far. This can cause the Jaws to
slip loose from the gear or pulley.
Note: The Live Center Tip (3) can make the
Lead Screw (4) turn more easily and eliminate
damage to the end of the shaft being pulled from.
2. Hold the Jaws so they remain hooked
on the gear or pulley and turn the Lead
Screw by hand until it is snug against
the shaft you are pulling from.
3. Using a wrench, turn the Lead Screw (4)
until the gear of pulley is free from its shaft.
Note: Do not use an impact
gun to turn Lead Screw.

Page 5For technical questions, please call 1-888-866-5797. Gear Puller
Maintenance and Servicing
Procedures not specifically explained in this manual
must be performed only by a qualified technician.
TO PREVENT INJURY FROM TOOL FAILURE: Do not use damaged equipment. If abnormal
noise or vibration occurs, have the problem corrected before further use.
Cleaning, Maintenance, and Lubrication
1. BEFORE EACH USE, inspect the general
condition of the Gear Puller. Check for loose
screws, misalignment or binding of moving
parts, cracked or broken parts, and any other
condition which may affect its safe operation.
2. AFTER USE, clean external
surfaces with clean cloth.
3. Lightly oil the pivoting joints periodically
to keep them operating smoothly.
4. Before each use, lubricate the Lead
Screw threads with anti-seize.
5. If rust appears on any part of the tool,
remove it with a penetrating oil.
Page 6 For technical questions, please call 1-888-866-5797. Gear Puller
Record Product’s Serial Number Here:
Note: If product has no serial number, record month and year of purchase instead.
Note: Some parts are listed and shown for illustration purposes only,
and are not available individually as replacement parts. Parts may not be
interchangeable. Specify UPC 193175501226 when ordering.
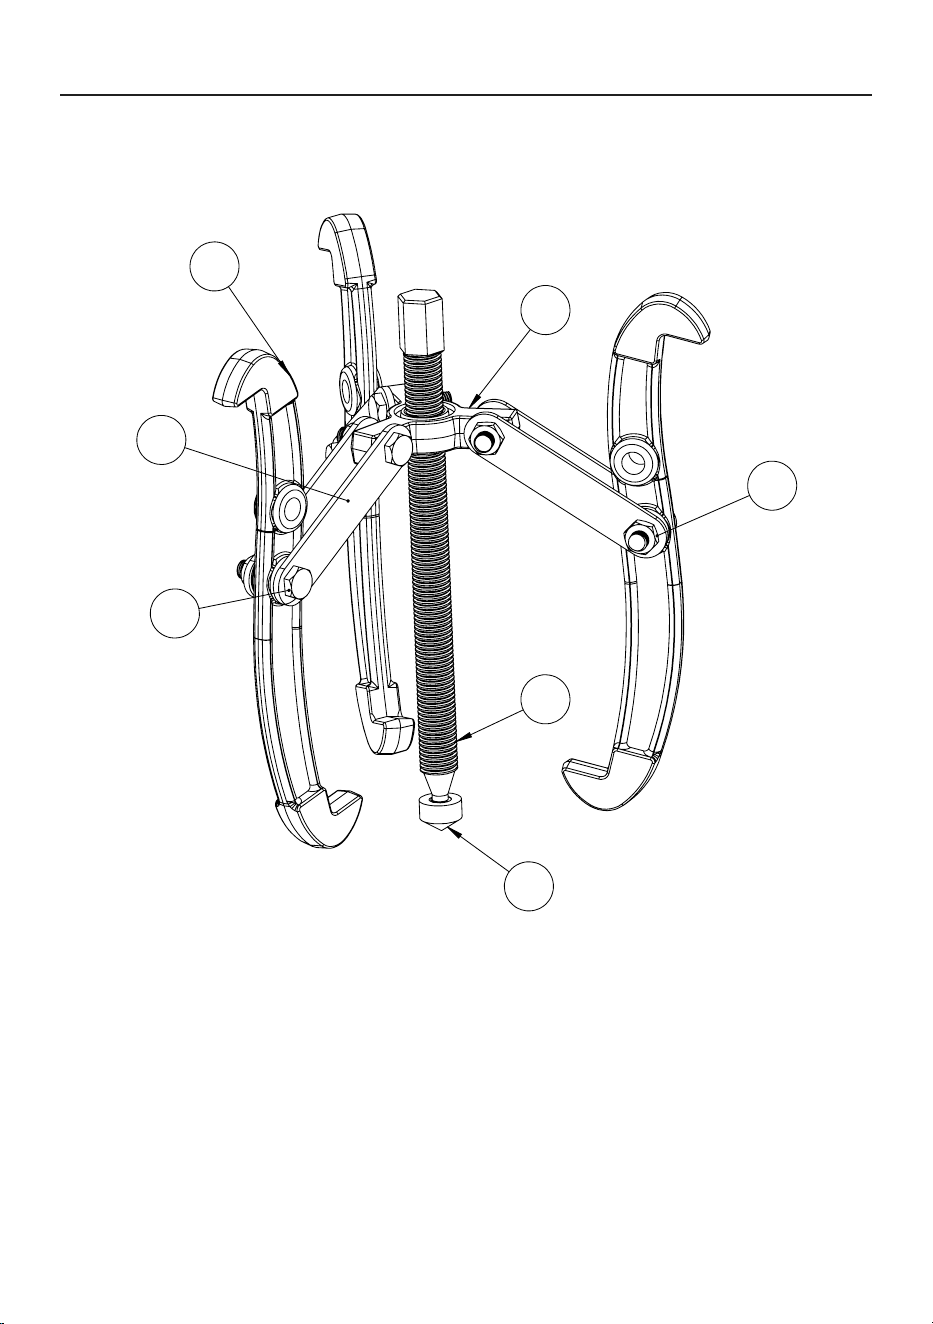
Part Description Qty.
1 Jaw 3
2 Yoke 1
3 Live Center Tip 1
4 Lead Screw 1
Part Description Qty.
5 Bolt 6
6 Nut 6
7 Yoke Arm 6
PLEASE READ THE FOLLOWING CAREFULLY
THE MANUFACTURER AND/OR DISTRIBUTOR HAS PROVIDED THE PARTS LIST AND ASSEMBLY
DIAGRAM IN THIS MANUAL AS A REFERENCE TOOL ONLY. NEITHER THE MANUFACTURER
OR DISTRIBUTOR MAKES ANY REPRESENTATION OR WARRANTY OF ANY KIND TO THE
BUYER THAT HE OR SHE IS QUALIFIED TO MAKE ANY REPAIRS TO THE PRODUCT, OR
THAT HE OR SHE IS QUALIFIED TO REPLACE ANY PARTS OF THE PRODUCT. IN FACT, THE
MANUFACTURER AND/OR DISTRIBUTOR EXPRESSLY STATES THAT ALL REPAIRS AND PARTS
REPLACEMENTS SHOULD BE UNDERTAKEN BY CERTIFIED AND LICENSED TECHNICIANS,
AND NOT BY THE BUYER. THE BUYER ASSUMES ALL RISK AND LIABILITY ARISING OUT OF
HIS OR HER REPAIRS TO THE ORIGINAL PRODUCT OR REPLACEMENT PARTS THERETO,
OR ARISING OUT OF HIS OR HER INSTALLATION OF REPLACEMENT PARTS THERETO.
Parts List and Diagram
Parts List
Page 7For technical questions, please call 1-888-866-5797. Gear Puller
Assembly Diagram
1
7
3
4
6
5
2

Limited 90 Day Warranty
Harbor Freight Tools Co. makes every effort to assure that its products meet high quality
and durability standards, and warrants to the original purchaser that this product is free from
defects in materials and workmanship for the period of 90 days from the date of purchase. This
warranty does not apply to damage due directly or indirectly, to misuse, abuse, negligence or
accidents, repairs or alterations outside our facilities, criminal activity, improper installation,
normal wear and tear, or to lack of maintenance. We shall in no event be liable for death,
injuries to persons or property, or for incidental, contingent, special or consequential damages
arising from the use of our product. Some states do not allow the exclusion or limitation of
incidental or consequential damages, so the above limitation of exclusion may not apply to
you. THIS WARRANTY IS EXPRESSLY IN LIEU OF ALL OTHER WARRANTIES, EXPRESS
OR IMPLIED, INCLUDING THE WARRANTIES OF MERCHANTABILITY AND FITNESS.
To take advantage of this warranty, the product or part must be returned to us with
transportation charges prepaid. Proof of purchase date and an explanation of the complaint
must accompany the merchandise. If our inspection verifies the defect, we will either repair or
replace the product at our election or we may elect to refund the purchase price if we cannot
readily and quickly provide you with a replacement. We will return repaired products at our
expense, but if we determine there is no defect, or that the defect resulted from causes not
within the scope of our warranty, then you must bear the cost of returning the product.
This warranty gives you specific legal rights and you may also
have other rights which vary from state to state.
26677 Agoura Road • Calabasas, CA 91302 • 1-888-866-5797