Instruction manual
Read this instruction carefully before using the product and keep it saf
DX12
Wireless Microphone
e
Product Description
Thank you for purchasing a wireless microphone, please read the
instructions carefully before using it
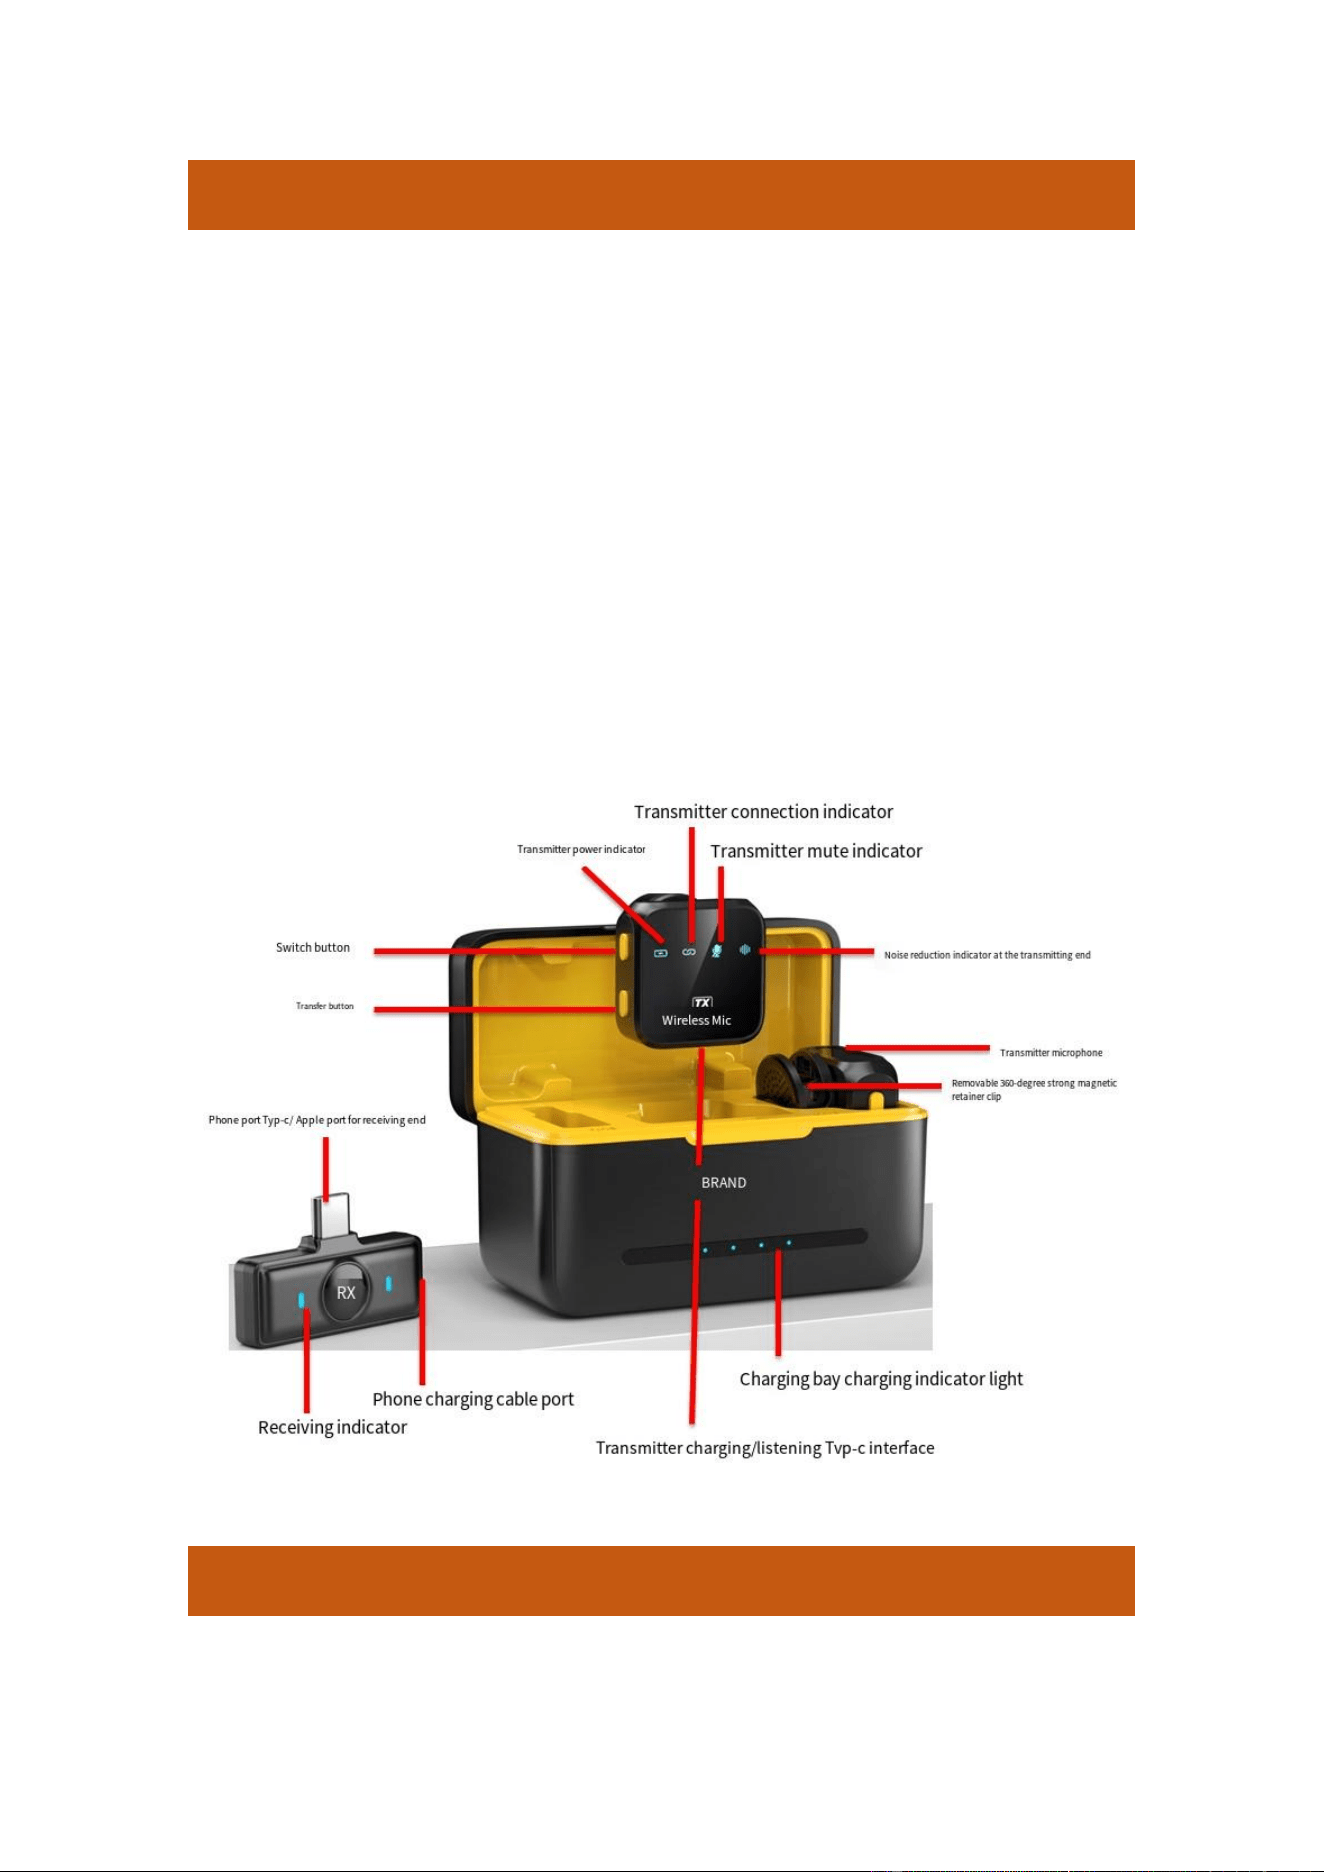
The product is a professional-grade recording device for a smart wireless
microphone, plug and play, and does not require any applications.
The transmitter is a tiny microphone that is small and light enough to clip
to your collar for use.
It can be used in different application scenarios: such as live broadcast,
video recording, interview, online teaching and so on.
Product Specification
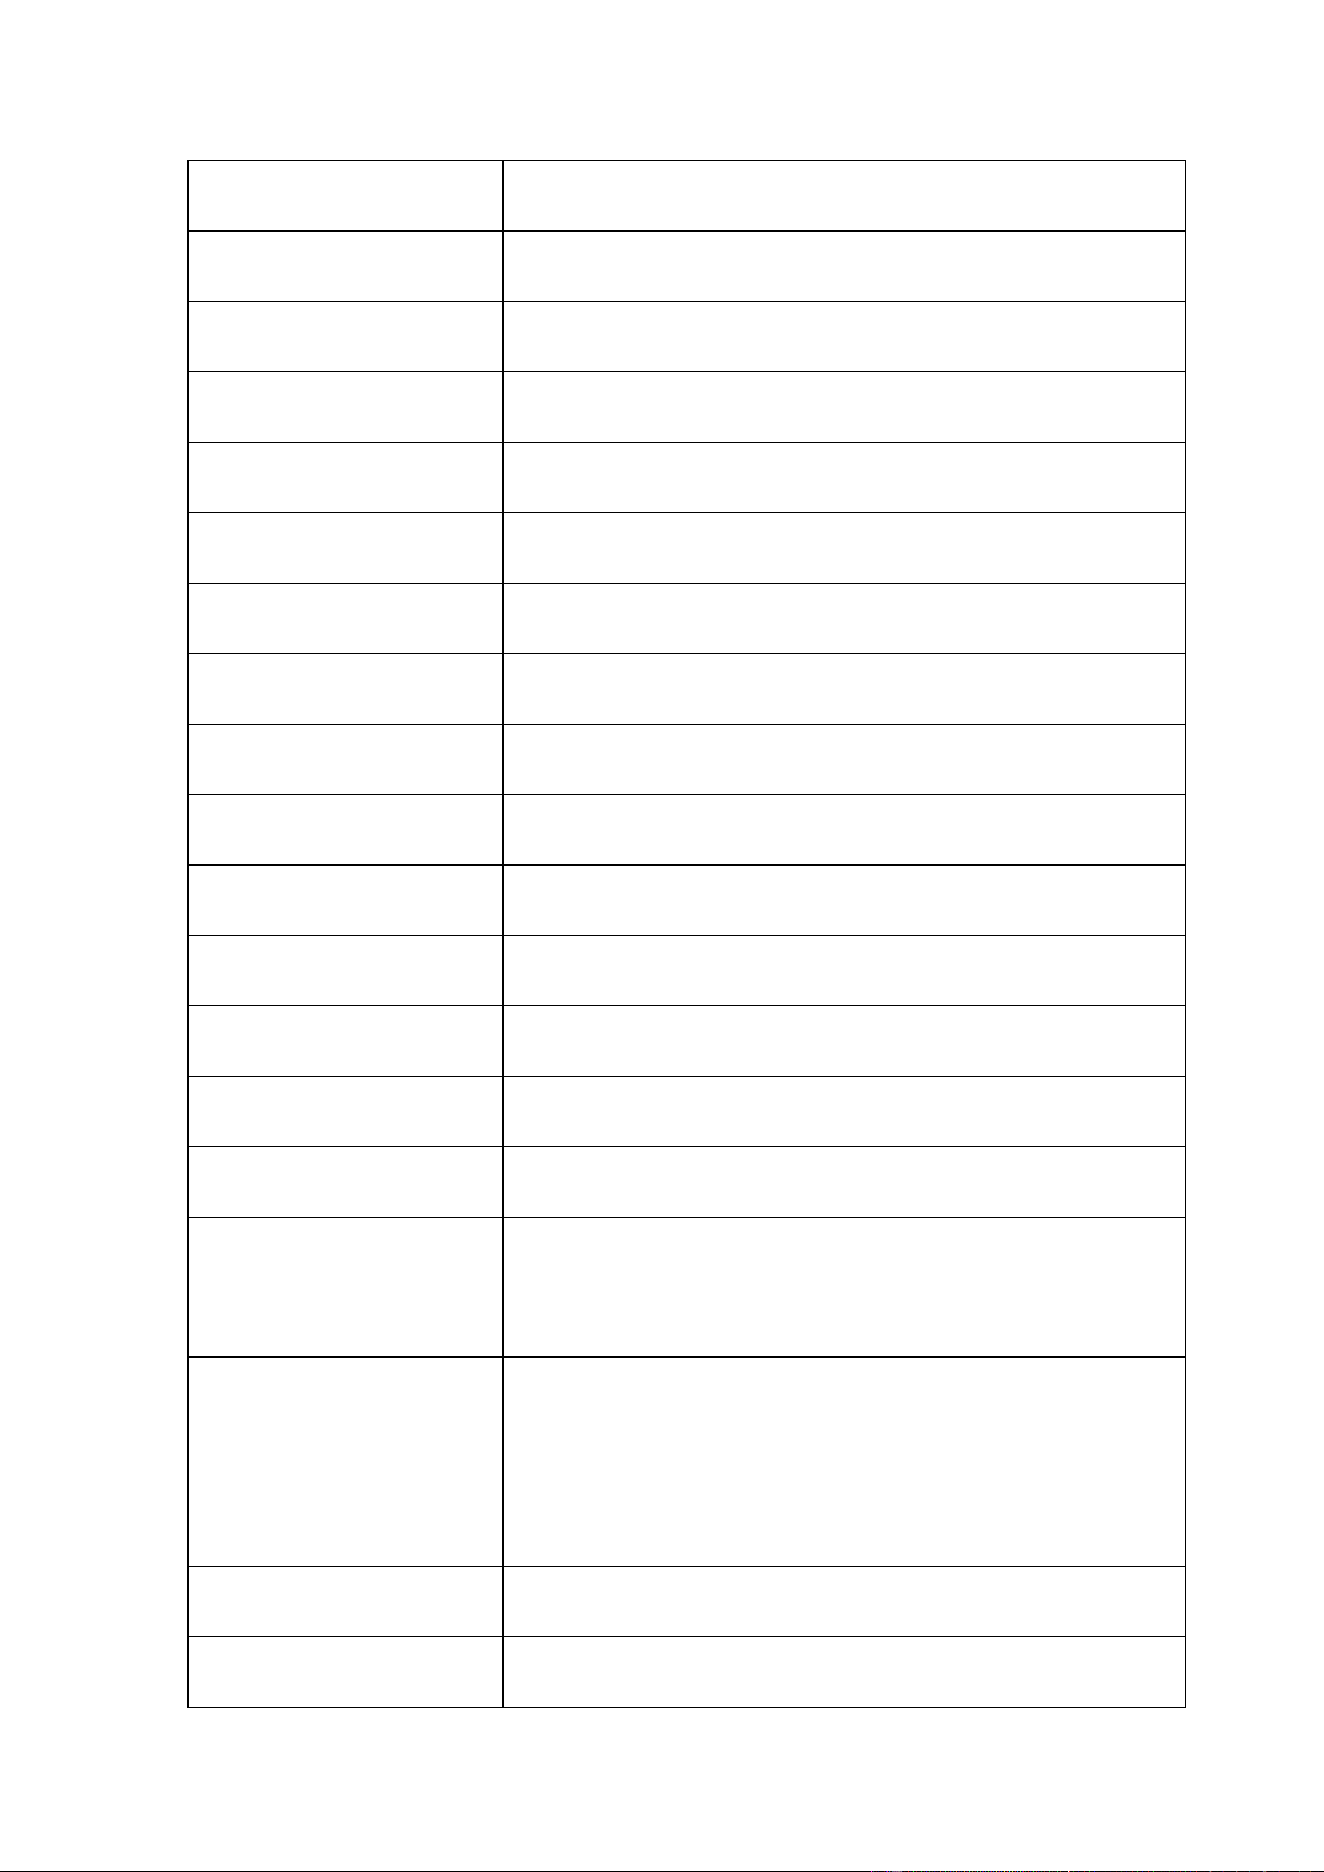
Transport Protocol
2.4G Bluetooth protocol
Transmission distance
≥
10 m (back greater than 10 m, forward 20 m)
Drag two
Support
Earphone monitor
Supported (for TYPE-C interface earphones)
Noise reduction
Support
Sound delay
≤
25ms
Microphone
-38dB
±
3dB all-pointing capacitor mics
Frequency response
20Hz-20KHz
Sampling rate
44.1 KHz
Signal-to-noise ratio
≥70dB
Working current
≤12mA
Shutdown current
≤
20uA
Firing end battery
120mAh 3.7V
Battery life
6H
Charging bin battery
1200 mah
Charging bin input
voltage
5V
Charging bay battery
overtemperature
protection
Support NTC function (charging 0℃ ~ 45℃;
Discharge -10℃ ~ 60℃)
Adapter
5V/1A
Operating
- 10 ℃ to 50 ℃
temperature
,
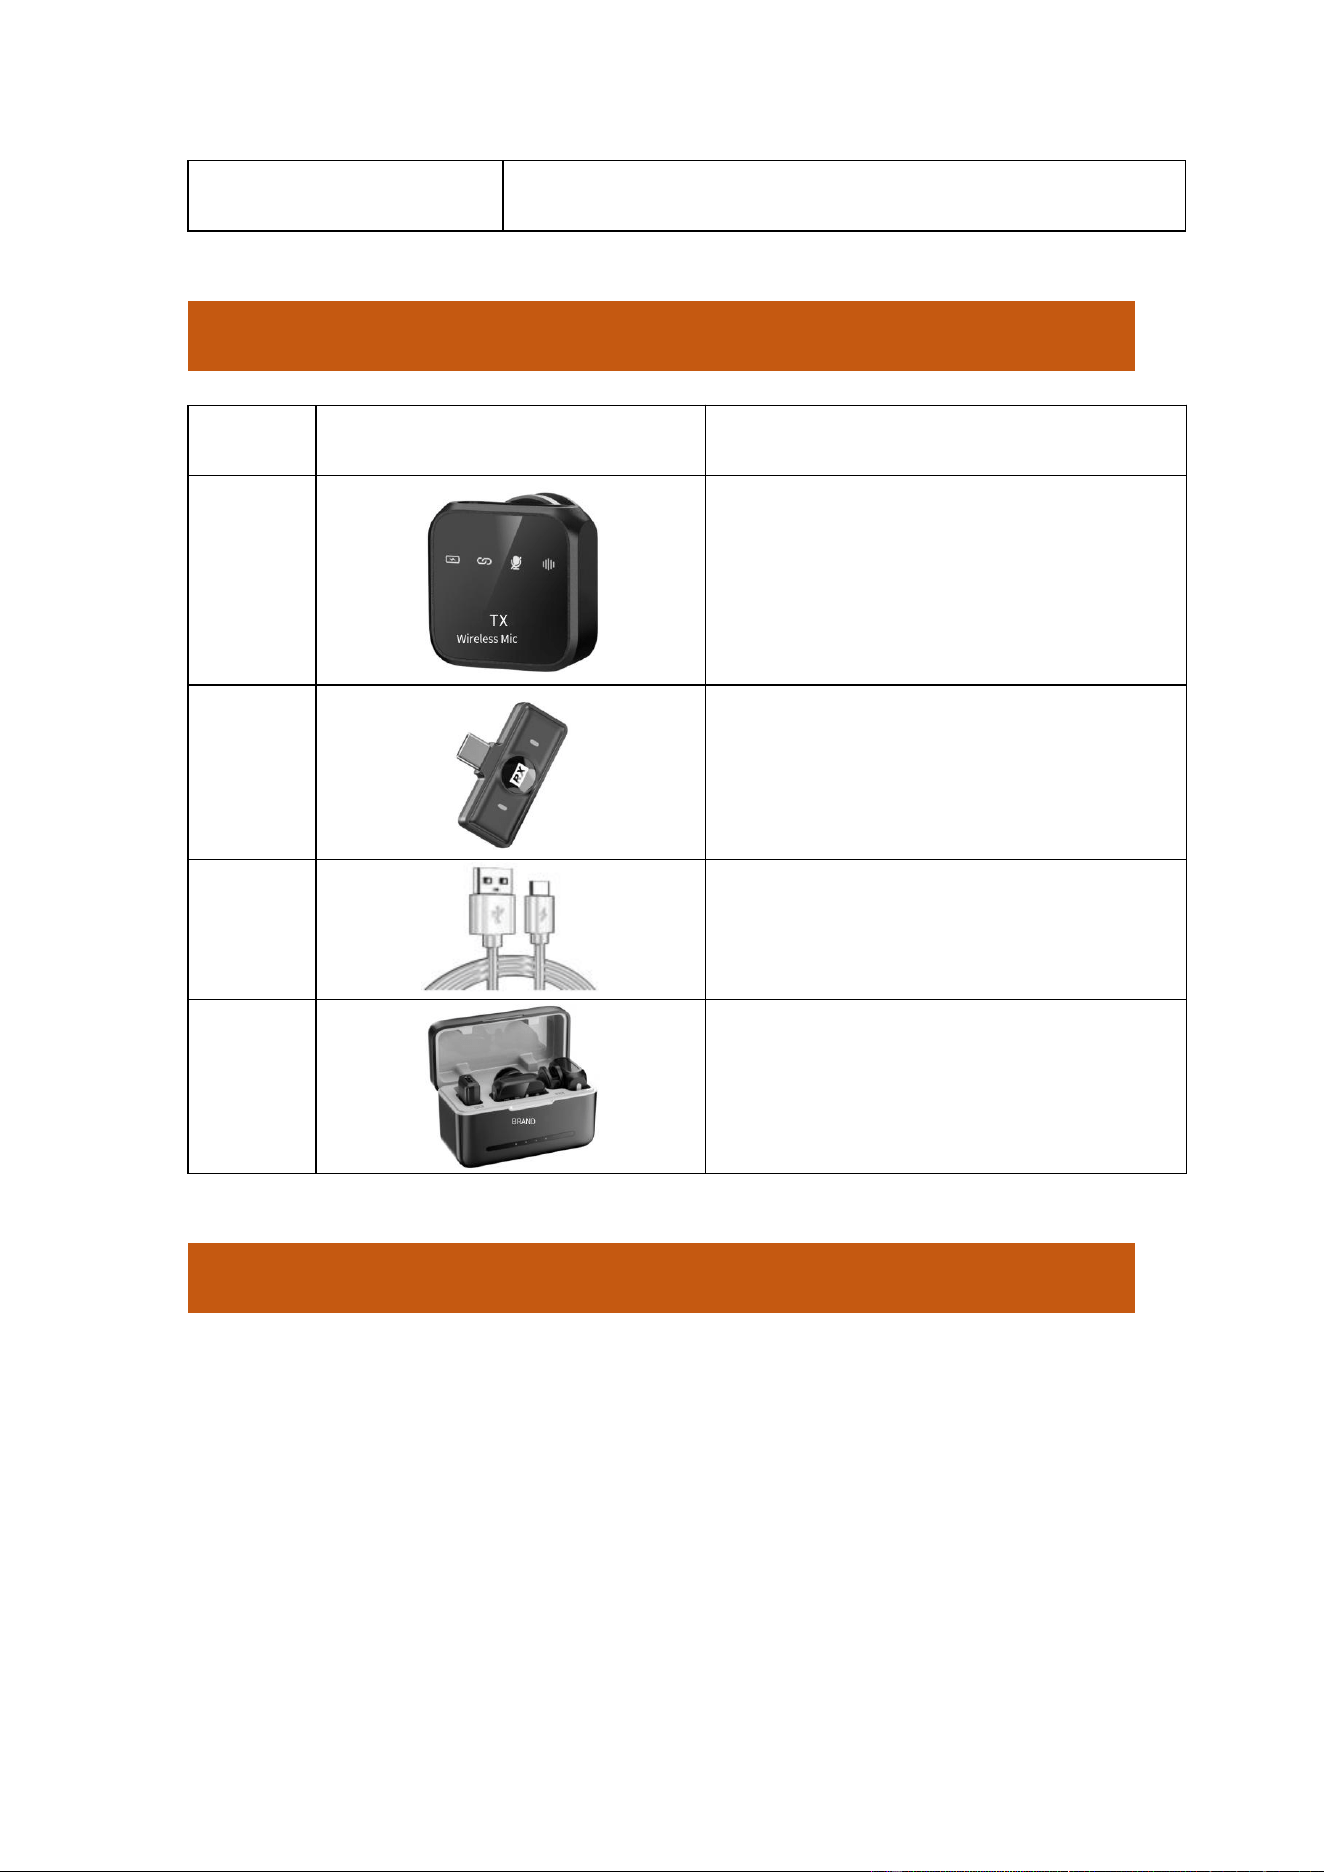
Packing list
Number
Product picture
Description
1
Launching end
2
Receiving end (Apple port or TYPE-C
port)
3
TYPE-C charging cable
4
Charging case
Instructions
1、For the first time, please keep the receiving end and the transmitting
end placed in the charging bin, check whether the transmitting end is in
normal contact charging, and then use the TYPE-C charging cable to
charge the charging box for 4 hours to ensure sufficient power for the
first time.

2、Connect the receiver to your mobile phone, and the receiver
indicator light flashes blue.
3、Take out the transmitter and long press the power button for 3
seconds to turn on the microphone. The blue light of the transmitter
connection indicator flashes.
4、The transmitter and receiver will automatically search for the pairing,
the pairing is successful, and the blue light will be on at the same time.
Each time the transmitter is turned on, it defaults to noise reduction
mode.
Note:
1、This product can plug in the charging cable to the mobile phone to
achieve live charging function.
2、This product has two scene modes to choose, please choose different
modes according to the actual situation.
The operation is as follows:
The startup connection is successful, the default scene mode is noise
reduction mode, and the indicator is blue and on; -- Noise reduction
mode is used to reduce a certain peripheral noise in a noisy
environment.
Click the power button, the scene mode is switched to the acoustic
mode, and the connection indicator is green and on; -- The acoustic
mode has the best recording quality in a quiet environment, and the

sound restoration is high.
3、Every single power button, cycle between noise reduction and
acoustic mode.
UI Features
Launching end:
Steps
Operation Description
Light Effects
Power on
Press and hold the switch button
for 3 seconds to turn on the
machine
The blue light of the
connection indicator is
blinking
Search
match
Automatically search for receiver
pairing after turning on the
phone (the corresponding
receiver is plugged into the
phone)
Connection indicator
light blue flashing
Pairing
successful
Automatic pairing
Connection indicator
light blue light on
Power Off
Press and hold the switch button
for 3 seconds to turn off the
machine, and put it into the
charging bin to shut down
All lights are off.

automatically.
Mode
switch
In the connection state, press the
switch button to switch
Noise reduction light
not on - acoustic
Green light - Noise
reduction
One-way
listening
Connect your listening
headphones and listen to the
status of your recorded voice
Silent
Mode
In the pickup state, double-click
the conversion button to enter
silent mode
In the mute state, double-click
the power button to enter the
pickup mode
In silent mode, the
silent indicator is
steady red
Charging
state
Charge the transmitter in the
charging bay or use the charging
cable to charge the transmitter
directly
The power indicator is
steady red
Full charge
After the power indicator is fully
charged, the red light of the
power indicator will be steady for
After the power
indicator is steady red
for 30 seconds, all

30 seconds
indicators will be
turned off
Low power
state
Enter low power mode below
3.4V
Lower than 3.2V automatically
shuts down
Below 3.2V you can't turn on
The power indicator
flashes red once for 3S
At the receiving end:
Steps
Operation description
Light Effects
Power on
Plug the receiving end into the
phone and turn it on
automatically (pay attention to
port adaptation)
Two blue lights flashing
Search for
pairs
Automatically search for
transmitter pairs when you turn
on
Two blue lights flashing
Pairing
successful
Automatic pairing
Pair one successfully,
one is steady on and
the other flashes; Pair
two two steady on
Power Off
Unplug the receiver from the
Indicator light goes off

phone to automatically shut down
and disconnect the connection
Charging case
Steps
Operation description
Light Effects
Charge the
charging
bin with a
charging
cable
Plug in the TYPE-C charging cable.
The charging
bay power
indicator blinks
corresponding
to the power
light
The
charging
bay is fully
charged
/
Full charge
indicator All
lights are on
, unplug the
charging cable
and turn off the
indicator light.
The
charging
bay charges
the
The microphone goes into the charging
bay
The red light is
steady on at the
transmitter end,
and the

microphone
indicator light of
the charging
bay is steady on
for 8 seconds
before it is
turned off
Low charge
in the
charging
bay
Battery voltage below 3.2V enters low
charge protection mode
The charging
bay light blinks
Troubleshooting
If the following problems still cannot be resolved, please contact
customer service
Serial
Number
Q&A
Possible Causes
Solutions
1
The signal stutters
intermittently
There may be
many other
devices around
working on the
same frequency
2
The microphone can
It is recommended

only hear me if it is
close to my mouth
to get close to the
mouth and point
the pickup hole at
the mouth
3
If the receiver or
transmitter is broken,
can I use another
receiver or
transmitter instead
B: Yes, but we
must make sure it
is the same model
produced by our
company
4
Often make sudden
jarring noises
Don't get too close
to audio devices,
high-pitched
sounds or ring
echoes
5
The
microphone/charging
bay will not charge
Can have
triggered the
battery protection
mechanism and
need to reactivate
the battery
Plug in the data
cable and charge
the device directly.
After charging for
a period of time, it
will return to the
normal state
6
The charging bay is
The charging bay
Please wipe and
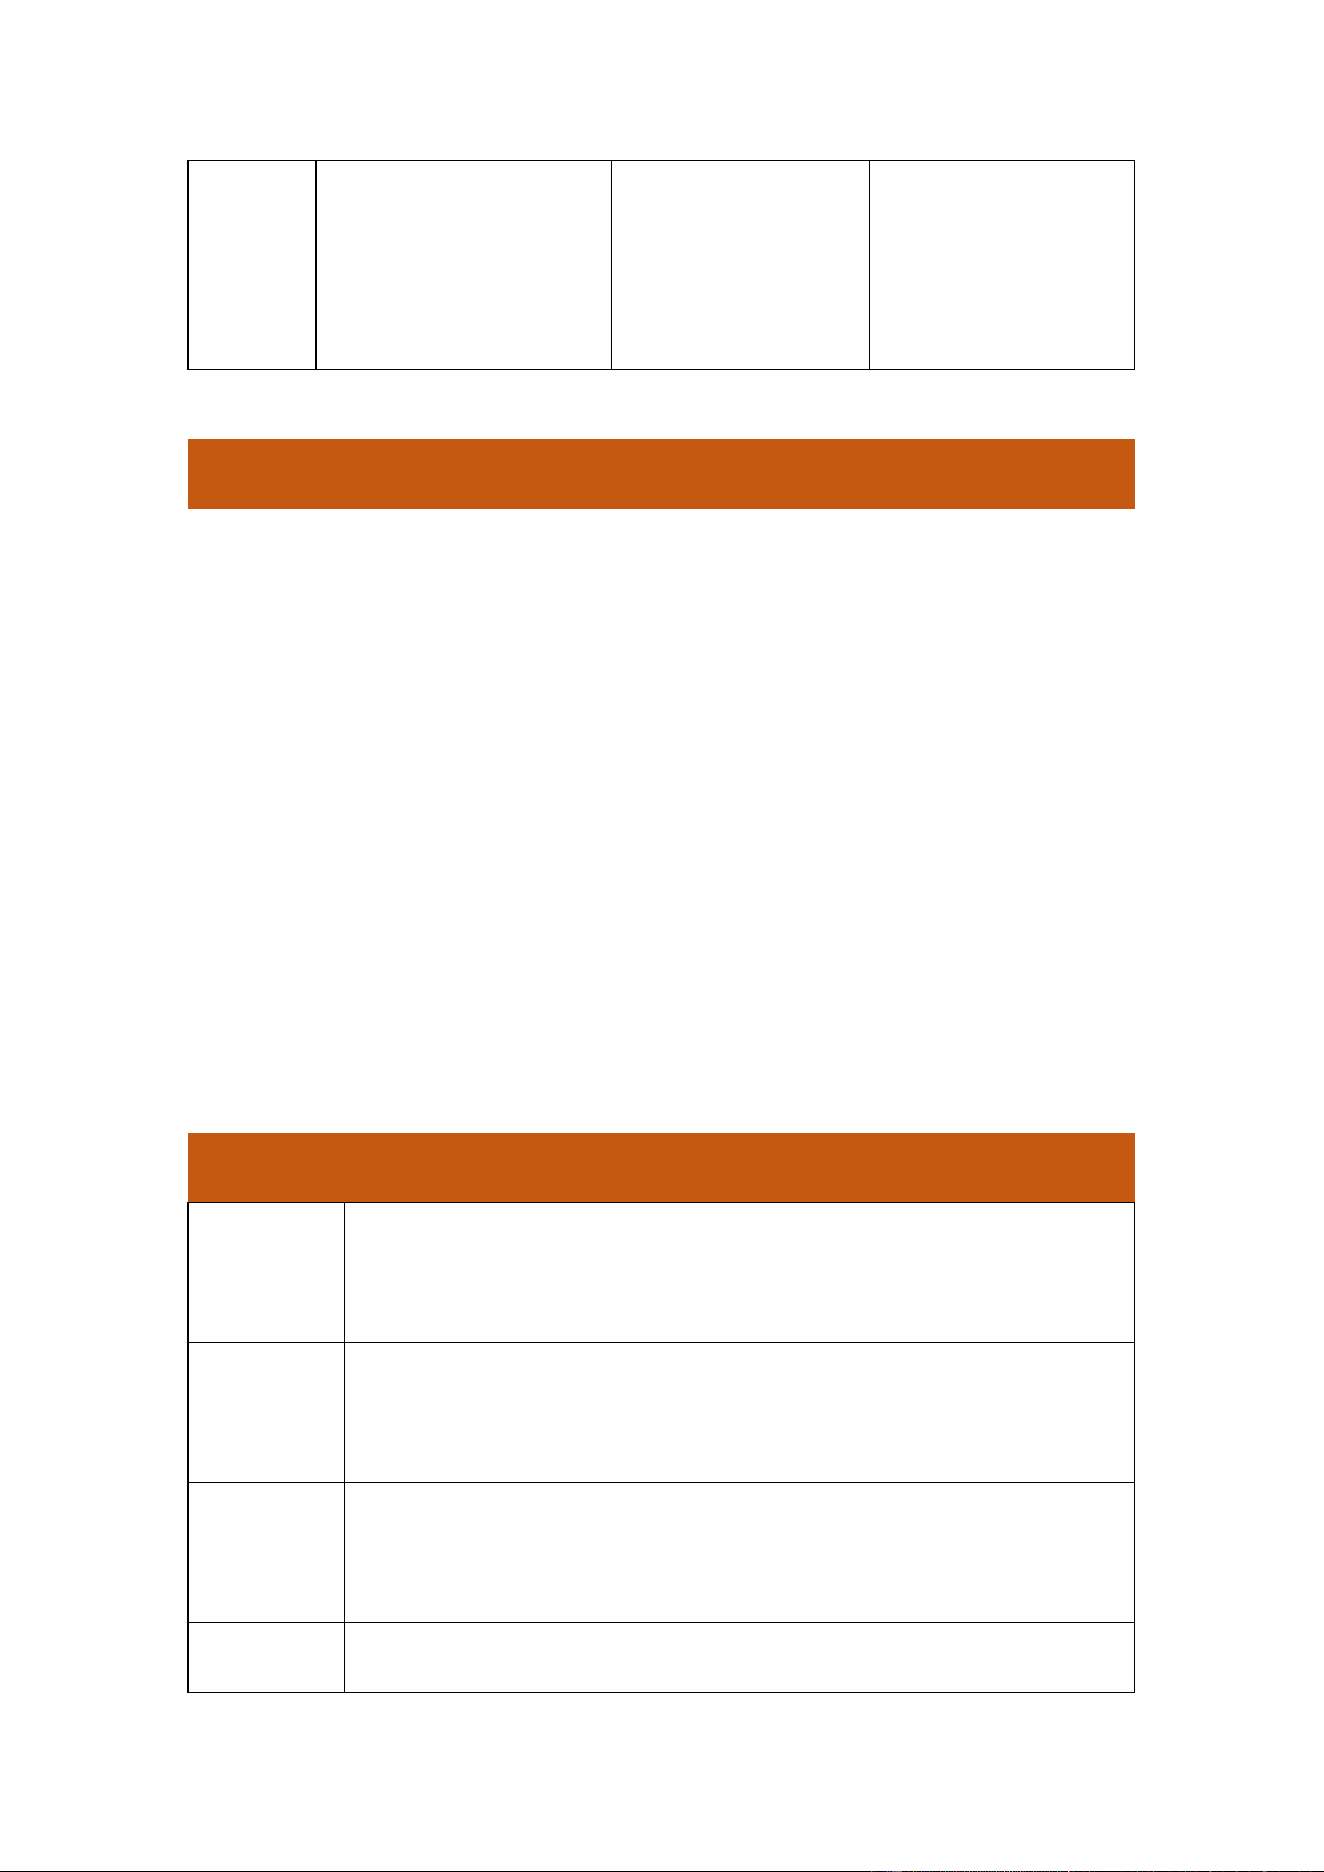
powered up, but the
microphone cannot
be charged
or microphone
contact points are
oxidized or dirty,
clean the charging
contact point
How to Care
Read on by following the instructions below.
1、Keep your receiver and transmitter dry and wipe them off
immediately if they get wet.
2、Use and store the device only in a room temperature environment.
3、Keep your microphone system free of dust and dirt and take care to
protect the device.
4、Do not attempt to modify this product, doing so may cause the
product to malfunction.
Warranty Service Card
Customer
name
Contact
number
Product
name
Date of

purchase
Location
Reserve
note
Any changes or modifications not expressly approved by the party responsible for compliance
could void the user
’
s authority to operate the equipment.
This device complies with Part 15 of the FCC Rules. Operation is subject to the following two
conditions:
(1) this device may not cause harmful interference, and
(2) this device must accept any interference received, including interference that may cause
undesired operation.
Note: This equipment has been tested and found to comply with the limits for a Class B digital
device, pursuant to Part 15 of the FCC Rules. These limits are designed to provide reasonable
protection against harmful interference in a residential installation. This equipment generates,
uses, and can radiate radio frequency energy, and if not installed and used in accordance with the
instructions, may cause harmful interference to radio communications. However, there is no
guarantee that interference will not occur in a particular installation. If this equipment does
cause harmful interference to radio or television reception, which can be determined by turning
the equipment off and on, the user is encouraged to try to correct the interference by one or
more of the following measures:
–
Reorient or relocate the receiving antenna.
–
Increase the separation between the equipment and receiver.
–
Connect the equipment into an outlet on a circuit different from that to which the receiver is
connected.
–
Consult the dealer or an experienced radio/TV technician for help.