Quick Start
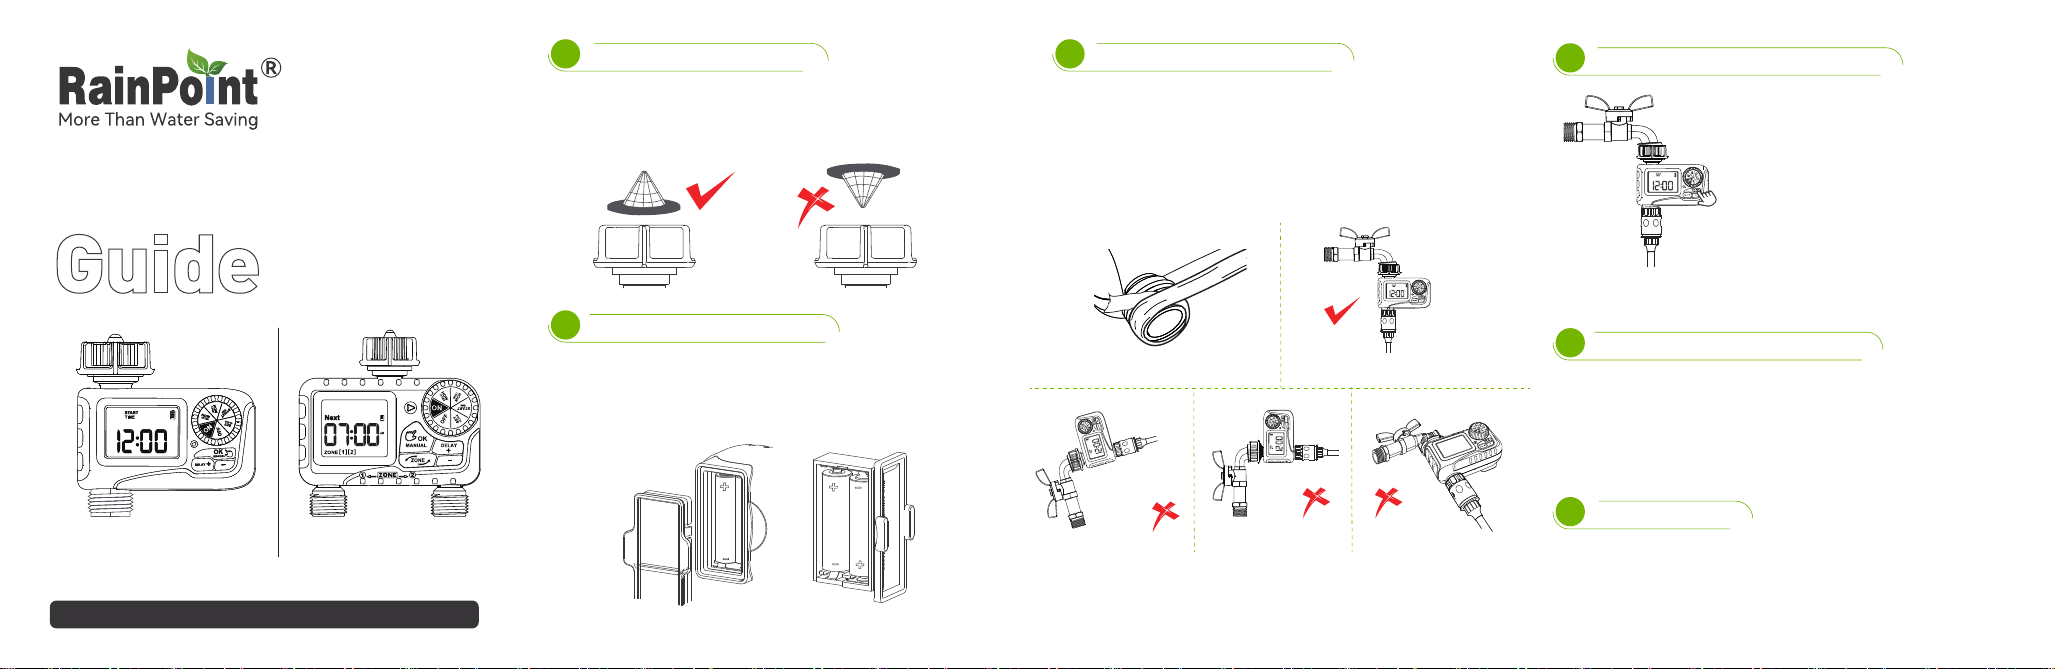
Check the water inlet lter
1
Inse the batteries correctly
2
The lter prevents impurities from entering and blocking the valve,
and its peripheral rubber ring seals the connection to avoid leaks.
Please install the water inlet lter correctly as shown below.
www.rainpointonline.com/pages/suppo
Requires 2 new 1.5V AAA alkaline batteries.
Inse them into the batte compament as directed.
Tightly close the batte compament to ensure waterproong.
Check for water leaks before use
5
① Check whether the water inlet is leaking.
② Repeat step 4 to check whether water ows out or
closes when the valve is opened or closed.
Keep away from the timer water outlet to avoid splashing
water, and turn on the faucet gently.
Install the timer on the faucet
3
Wrap Teon tape around the threads of the faucet or hose to
ensure no water leaks.
Keep the faucet o and install the timer on it (hand tight only).
Ensure the water inlet is higher than all water outlets.
The display should be as veical as possible to the ground to
prevent rainwater inltration.
Activate the timer valve before use
4
Keep the faucet o and turn the dial to
"ON". Press and hold the "MANUAL"
button to enter manual watering mode.
When the display ashes, immediately
press the "OK" button to open the valve.
After hearing a "click" or 5 seconds, turn
the dial to "OFF" to close the valve. Repeat
the above operation 3~5 times. If the
timer has 2 zone outlets, repeat the above
for each outlet separately (press the
"ZONE" button to switch zones).
*See the user manual for details.
Check:
Congratulations!
6
You have completed the installation of the timer.
Now please see the user manual to sta programming
your watering schedule.
Wrap Teon tape to prevent leaks
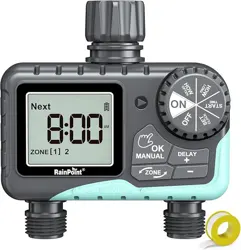
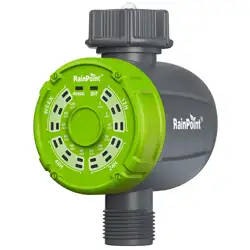
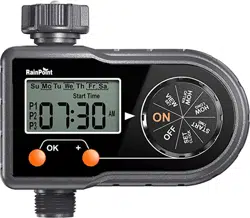
- Model: ITV105 -
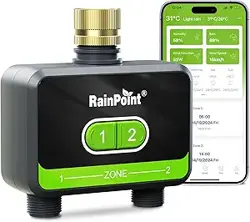
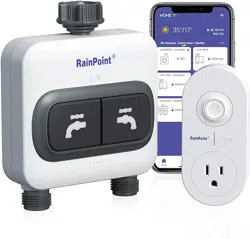
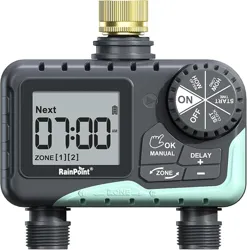
- Model: ITV205 -
or
Warranty
Welcome to join us!
Rainpoint provides a 1-year limited warranty on this product against
manufacturing defects in materials and workmanship.
If you contact us to register and activate the warranty, you can get a
longer warranty period.
Here are some gardening tips and tricks, as well as a lot
of inspiration to help us become better gardeners.
@Rainpointglobal
@Rainpointglobal
@Rainpointglobal
@RainPoint
@Rainpointglobal
@Rainpointglobal
Need help?
Email: seice@rainpointus.com
WhatsApp: +1 626-780-5952
US Free Hotline(English): +1 833-381-5659
(MON-FRI 9�30 AM-5�30 PM PST)
UK Free Hotline(English Deutsch): +44 800-808-5337
(MON-FRI 9�00 AM-5�00 PM CET)
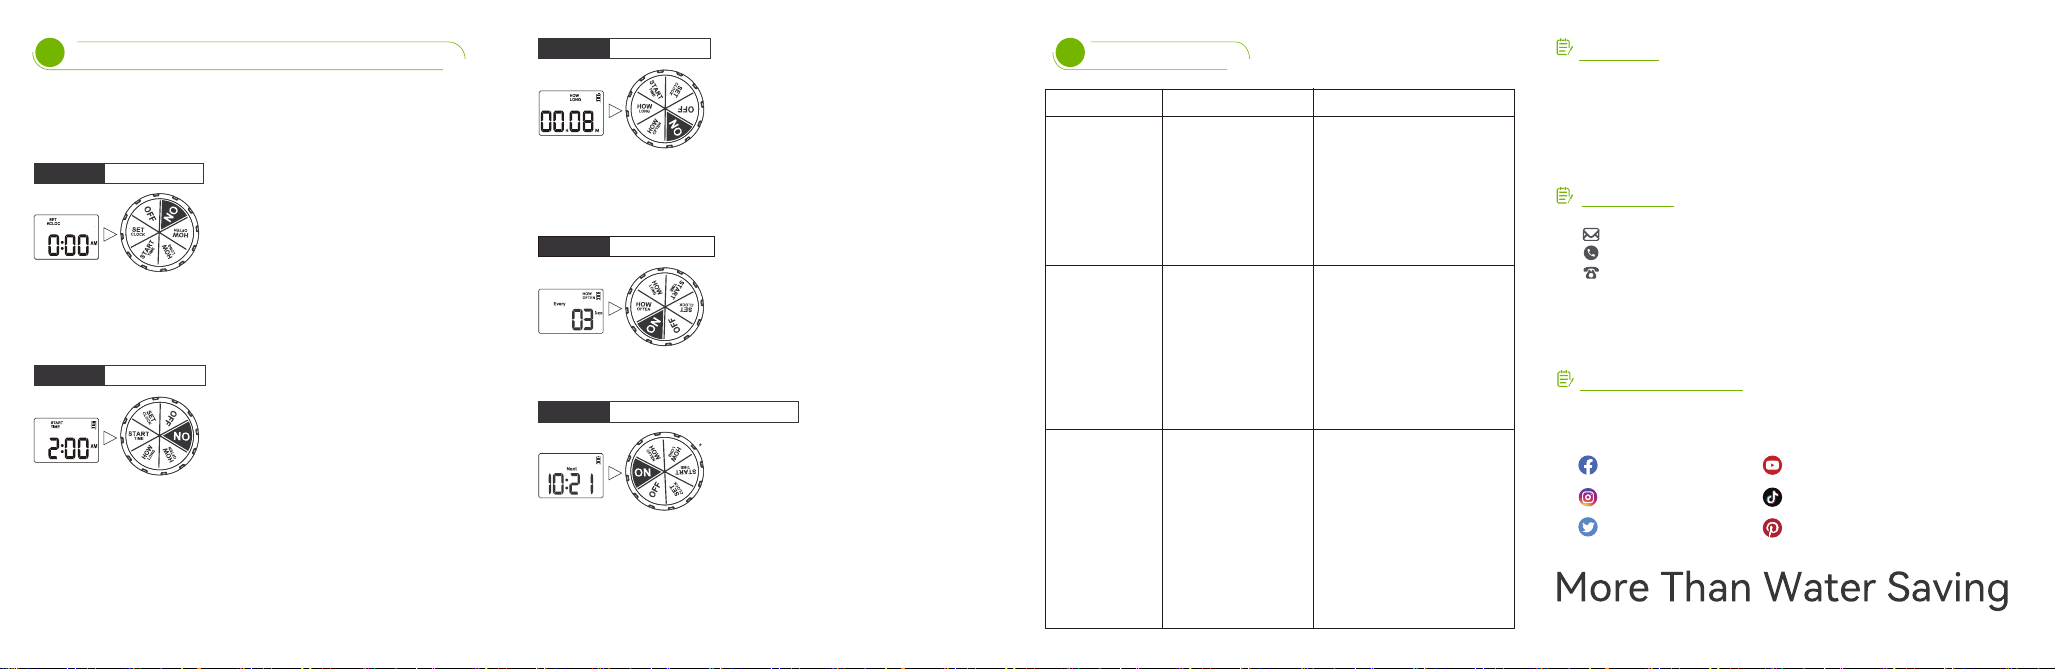
1. Turn the dial to "HOW OFTEN"
2. Press "+" and "-" buttons to set your
watering frequency
3. Turn the dial clockwise to save the
changes in this STEP and go to next
STEP
STEP 4: HOW OFTER
After complete step 1 to step 4, turn dial
to "ON".
It will sta watering automatically based
on the programmed.
STEP 5: AUTOMATIC WATERING
Now you can keep the faucet turned on and trust the timer
to do the watering !
1. Turn dial to "HOW LONG"
2. Press the "+" and "-" buttons to select
watering duration
3. Use the "OK" button to switch Hours
or Minutes
4. Turn the dial clockwise to save the
changes in this STEP and go to next
STEP
STEP 3: HOW LONG
7
5 steps to quickly program your watering plan
1. Turn the timer dial to "SET CLOCK"
2. Press the "+" or "-" to set the current
exact time
3. Use the "OK" button to switch Hours
or Minutes
4. Turn the dial clockwise to save the
changes in this STEP and go to next
STEP
1. Turn dial to "START TIME"
2. Press the "+" and "-" buttons to set the
time you want to sta watering
3. Use the "OK" button to switch Hours
or Minutes
4. Turn the dial clockwise to save the
changes in this STEP and go to next
STEP
STEP 2: START TIME
*ITV205 has two zones, please follow the steps below to set
ZONE 1 and then set ZONE 2(use "ZONE" button to switch zone).
*See the user manual for more details and functions.
STEP 1: SET CLOCK
ITV105 defaults to 12H (US)
or 24H (EU) clock
ITV205 selectable in 12H or
24 H clock
Troubleshooting
9
Problem Possible Cause Possible Solution
1. No lter or not
be placed
horizontally
2. The faucet is
not the
standard 3/4"
The water
inlet leakage
The water
won't stop
/ow out
1. Add a lter and make
sure it's s placed horizo
-ntally in the inlet.
2. Make sure the faucet
is a standard 3/4"
faucet.
3. Wrap Teon tape on
thetap making it tight.
Low water
pressure
1. Long time in
storage and
transpoation
make the valve
inactive
2. Valve blockage
1. Filter blockage
2. Inlet pressure
not sucient to
suppo
watering needs
1. Keep the tap turned
o and turn the timer
dial to ON;
2. Run the manual
watering for 5-7s and
stop it
3. Repeat the Step 2 for
3 to 5 times;
4. T using it normally.
1. Check if the lter is
clogged, if so, clean
orreplace the lter.
2. Make sure the timer
is installed properly
and not cross-
threaded.
3. Installation of a
booster pump or other
auxilia quipment of
increasing pressure