User Manual
English
V1.0
Note
⚠ Important Consideration
Recommendation
We recommend that users watch tutorial videos and read the user
manual first to understand the usage process.
https://www.obsbot.com/download
Reading Guide
Tutorial Video
Users can access and watch tutorial videos through the following
link and QR code to learn how to use the product correctly.
https://www.obsbot.com/explore/obsbot-tiny-3
2
4
About Tiny 3
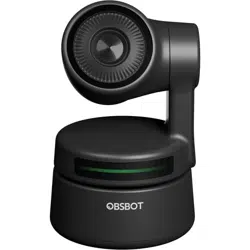
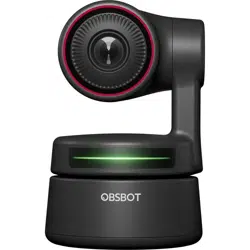
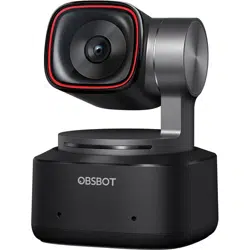
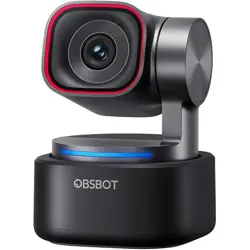
OBSBOT Tiny 3 is an AI-powered PTZ webcam equipped with a
two-axis gimbal. It further innovates the algorithm technology,
adds a variety of intelligent shooting modes, and is supplemented
by a variety of gesture control and voice control functions to meet
users’ needs from different scenarios.
OBSBOT Tiny 3 is connected to the computer via USB, plug and
play. It also comes with OBSBOT Center software to expand more
advanced functions.
⚠ System Requirements
Windows 10(64-bit) or later
macOS 11.0 or later
⚠ Recommended for 1080p 120fps and 4K
Recommended Apple computers:
➀ MacBook Pro (2020, M1 chip or later)
➁ MacBook Air (2020, M1 chip or later)
➂ Mac mini (2020, M1 chip or later)
➃ iMac (2021, M1 chip or later)
Recommended PC configuration:
➀ CPU: 10th Gen Intel® Core™ i5 Processors or later
➁ RAM: 8GB
OBSBOT Tiny 3 Overview
3
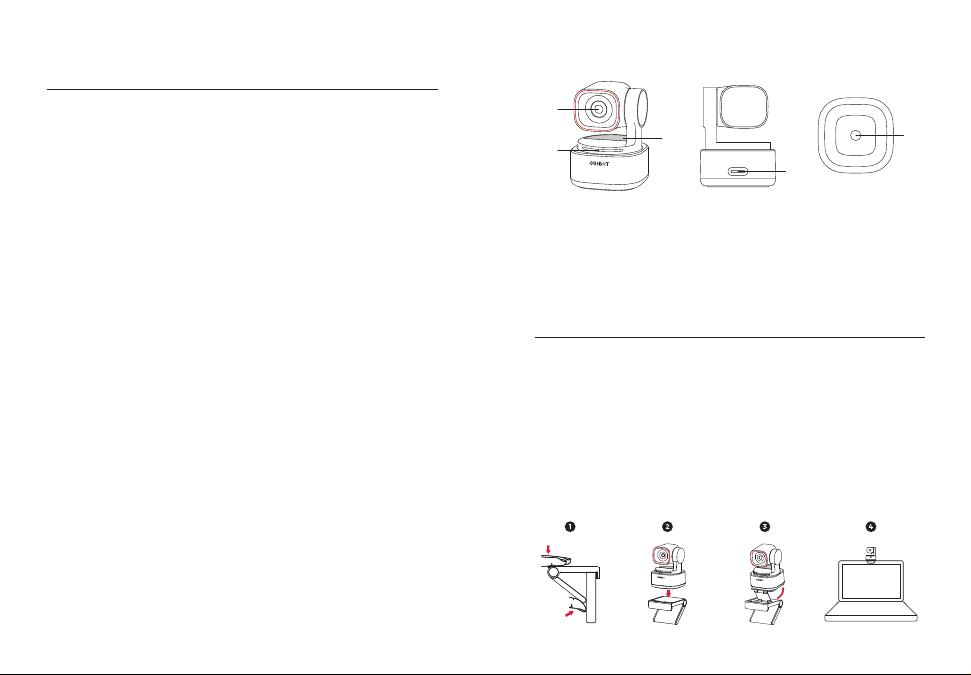
Parts Info
01. 4K Ultra HD Lens
02. Camera Indicator
03. Intelligent Directional Mic System
04. USB-C Port
05. UNC 1/4-20 Interface
Placement Instructions
1. Placement on a Monitor
Please operate as shown in the following figure:
➀ Open the adjustable stand and place it on the monitor.
➁ Put OBSBOT Tiny 3 on the adjustable stand.
➂ Adjust the camera to the best viewfinder position by tilting the
camera properly as needed.
Setting Up Tiny 3
01
02
03
04
05
2. Placement on a Desktop
Place Tiny 3 directly on your desktop.
3. Placement on a Tripod
OBSBOT Tiny 3 is equipped with a standard UNC 1/4-20 nut
connector on the base for mounting the camera to a stand/tripod.
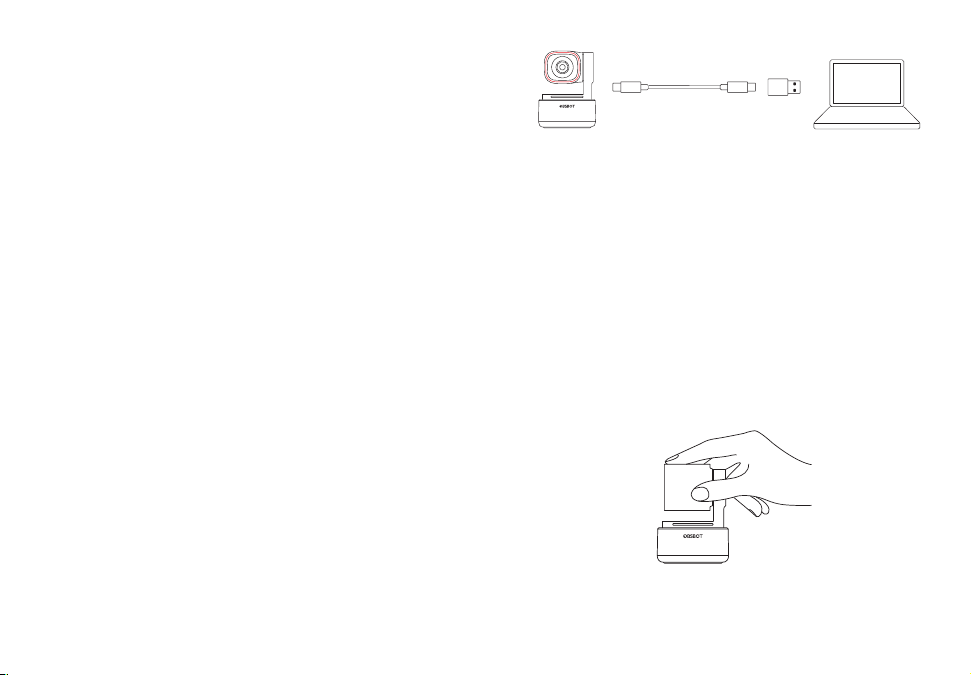
Connect to the Computer
OBSBOT Tiny 3 is compatible with both Windows and Mac
computers. To set up your OBSBOT Tiny 3, use the standard data
cable to connect it to your laptop or the USB port on your
desktop. If necessary, use the provided USB-C to USB-A adapter.
The webcam will automatically install on your device. Please wait
a few seconds for the installation to finish before attempting to
access the webcam. After the installation is complete, you can use
popular video call platforms such as Zoom, Microsoft Teams,
Skype, or Google Meet to start streaming with your Tiny 3.
⚠
➀ If the product is in working condition for a long time, the
bottom of the product will heat up, which is a normal situation.
➁ To avoid compatibility problems, be sure to use the standard
data cable to connect the computer.
➂ To prevent the product from malfunctioning due to insucient
power supply, please connect it directly to your computer or use
an expansion dock with an independent power supply.
➃ 4K streaming requires compatible third-party software.
Gimbal
OBSBOT Tiny 3 is equipped with a 2-axis brushless motor gimbal.
The controllable rotation range for the pan is ±130°, and for the tilt
is 32° to -60°.
Sleep Mode
➀ Manual Sleep
Please adjust the lens to point straight down. If the indicator light
is off, it means that the sleep mode is activated.
➁ Device Auto Sleep
You can use OBSBOT Center software to set the sleep time so
that it automatically enters sleep mode as needed.
65
7
Gesture Control 2.0
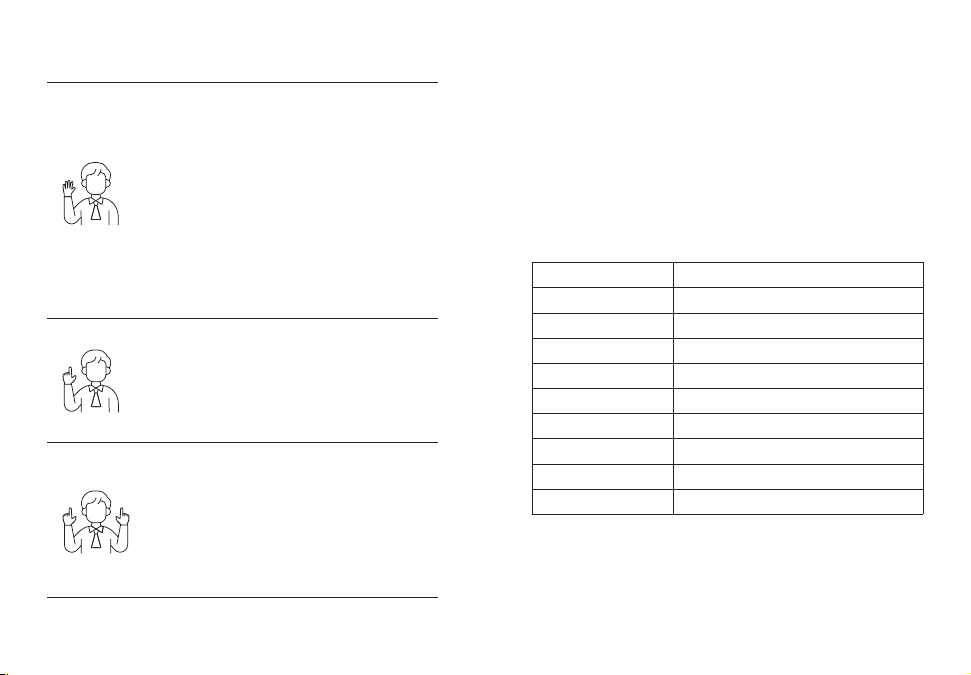
Turn on/off Human Tracking
To enter human tracking mode, perform the
gesture as shown in the figure. The current
status light will flash twice in succession and
then turn to a steady blue state, indicating that
you have successfully entered human tracking
mode.
To exit human tracking mode, perform the
same gesture again. The blue status light will
flash twice continuously and then turn to a
steady green state, indicating that you have
successfully exited human tracking mode.
Zoom to 2x (default) / Cancel
Perform the gesture control as shown in the
figure. The status light will flash twice
continuously to indicate that the zoom in/out
operation has been performed.
Dynamic Zoom
Perform gesture control as shown in the figure
until the status light starts flashing, at which
means the dynamic zoom function is activated.
Zoom in or out as the distance between your
hands changes, until no gesture is detected or
the zoom status can no longer be adjusted.
8
⚠ Please be careful not to cover your face with your hands and
keep your fingers open for the gesture control.
⚠ Please go to the link below to find the tutorial video for gesture
control. https://www.obsbot.com/explore/obsbot-tiny-3
⚠ After adding preset positions through OBSBOT Center, then
proceed with voice control.
⚠ The sound localization function for voice control can be
enabled or disabled via OBSBOT Center.
Voice Control
OBSBOT Tiny 3 revolutionizes the way video conferencing
cameras interact by adopting a new voice control technology that
enables active tracking of subjects based on sound source
localization.
Voice Commands
Hi, Tiny
Sleep, Tiny
Track Me
Unlock Me
Zoom in Closer
Zoom out Further
Position One
Position Two
Position Three
Paraphrase
Wake up Tiny 3
Enter sleep mode
Turn on human tracking
Turn off human tracking
Zoom to 2x (default)
Back to 1x
Update to preset position one
Update to preset position two
Update to preset position three

Zoom
OBSBOT Tiny 3 supports 4x digital zoom.
➀ Auto Zoom
Enable the Auto Zoom function via OBSBOT Center. Human
tracking supports: Off (default)/Full Body/Close-Up/Upper
Body/Headless/Lower Body. Object Tracking supports: Off
(default)/Close-Up.
➁ Gesture Control
By default, the zoom settings is 2x. Users can create customized
gesture zoom settings from 1x to 4x via OBSBOT Center software.
➂ Voice Control
By default, the zoom setting is 2x. Users can create customized
voice zoom settings from 1x to 4x via OBSBOT Center software.
➃ Manual Control
Users can do the manual control for zoom settings from 1x to 4x
via OBSBOT Center software.
Focus
The OBSBOT Tiny 3 supports two focusing methods.
➀ Auto Focus
Utilizing OBSBOT's advanced AI technology, the auto focus
feature intelligently adjusts the lens in real time, ensuring that
you remain in focus at all times, regardless of your proximity to
the camera.
➁ Manual Focus
Users can disable the auto focus feature and manually adjust
focus when using OBSBOT Center software.
HDR
By default, HDR feature is disabled. However, users have the option
to enable HDR on the OBSBOT Center software to enhance their
appearance on video, even in low light or direct sunlight.
9
10
Various Shooting Modes
The OBSBOT Tiny 3 offers four shooting modes, with landscape
mode being the default.
➀ Landscape Shooting
This mode is suitable for conventional mounted cameras.
➁ Portrait Shooting
By horizontally placing the camera through an external accessory,
it will automatically enter into the portrait mode.
⚠ The automatic rotation feature can only be used in software
that supports it, such as OBS. Some other software may require
manual rotation.
➂ Downward Shooting
By hanging the camera above the object to be photographed
through an external accessory, it will automatically enter the
downward mode, which is suitable for painting, making
handmade crafts, or playing the piano.
➃ Up-Side-Down Shooting
The camera can be installed upside down, and the screen will
automatically rotate for use.
Human Tracking
OBSBOT Tiny 3 tracking mode supports single mode and group
mode. Activate human tracking using gesture or voice control, or
OBSBOT Center software. OBSBOT Tiny 3 will automatically track
and ensure that the figure is in the best composition position.
Additionally, zone tracking can be enabled through the app for
more creative gameplay.
Hand Tracking
To enable hand tracking, simply use the OBSBOT Center software.
OBSBOT Tiny 3 will automatically detect and track your hand on
the screen, and you can adjust the tracking area as needed.

Sleep mode Light off
Device malfunction, such
as AI error
Red light keeps on
Whiteboard Mode
Using OBSBOT Center to enter or exit whiteboard mode, OBSBOT
Tiny 3 can intelligently recognize whiteboards in the screen and
enhance the display, improving the viewing experience of online
classes and conference presentations.
Desk Mode
By using OBSBOT Center to activate desk mode, the camera will
automatically tilt down 30 degrees to shoot the desk from above,
and automatically correct the shot for high-quality visual effects.
⚠ The adjustable stand that comes with the Tiny 3 can be
manually adjusted to ensure the best viewing angle.
11
Indicator Description
Equipment Status Indicator Statuses
Power on initialization
No target is selected Green light keeps on
Enable human tracking Blue light keeps on
Target losing Yellow light keeps on
Firmware upgrading Blue/Yellow flash alternately
Enable hand tracking/desk
mode/whiteboard mode
Purple light keeps on
Blue lights flash in a cycle, means
the product is being initialized
Execute
gesture/voice control
The indicator for the current state
blinks twice in succession and
then switches to the state of the
identified indicator light
12
Firmware upgrade failed Red light flash slowly

13 14
Software Overview
OBSBOT Center
OBSBOT Tiny 3 provides advanced users of Windows and Mac
with a control software for OBSBOT Center, which allows you to
perform a series of extended operations on the camera, such as
controlling the motion trajectory of the pan-tilt, selecting or
canceling tracking targets, setting presets or expanding various
creative gameplay.
Download and Installation
Download and install OBSBOT Center through
https://www.obsbot.com/download to further enhance your user
experience.
Please note that the content may be updated without prior
notice. To access the most recent version of the manual book,
please download it from:
https://www.obsbot.com
Firmware Upgrade
OBSBOT Tiny 3 upgrades through OBSBOT Center software.
When firmware is available for update, there will be correspond-
ing prompts after connecting the device. Please follow the info on
prompts.
⚠ Do not disconnect the camera during firmware upgrade
process.