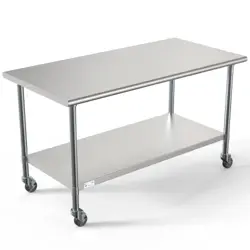
WORK TABLE
Stainless Steel Commercial Work Table with
Casters
INSTALLATION MANUAL
Please read these installation instructions carefully to ensure the
appliance is installed correctly and operates safely.
For any service related issues, please contact us:
718-576-6342
suppor[email protected]
Stay informed with the latest information for your
KoolMore Appliance.
Scan the QR code below to access the most recent Installation Manual
on our website, which is constantly being updated and improved.
If you need any assistance or have questions, our customer support
team is here to help.
Phone- 718-576-6342 Email- support@koolmore.com
Please write down the model number and serial number below for future reference. Both numbers are located on the
rating label on the back of your unit or inside of the unit and are needed to obtain warranty service. You may also
want to staple your receipt to this manual as it is your proof of purchase and may also be needed for service
under warranty.
Model Number:
Serial Number:
Date of Purchase:
To better serve you, please do the following before contacting customer service:
If you received a damaged product, immediately contact the retailer or dealer that sold you the product.
Read and follow this Installation Manual carefully to help you install, use, and maintain your unit.
Refer to the Troubleshooting section of this manual as it will help you diagnose and solve many common issues.

3
Contents
Parts .............................................................................................. 4
Installation ..................................................................................... 5
4
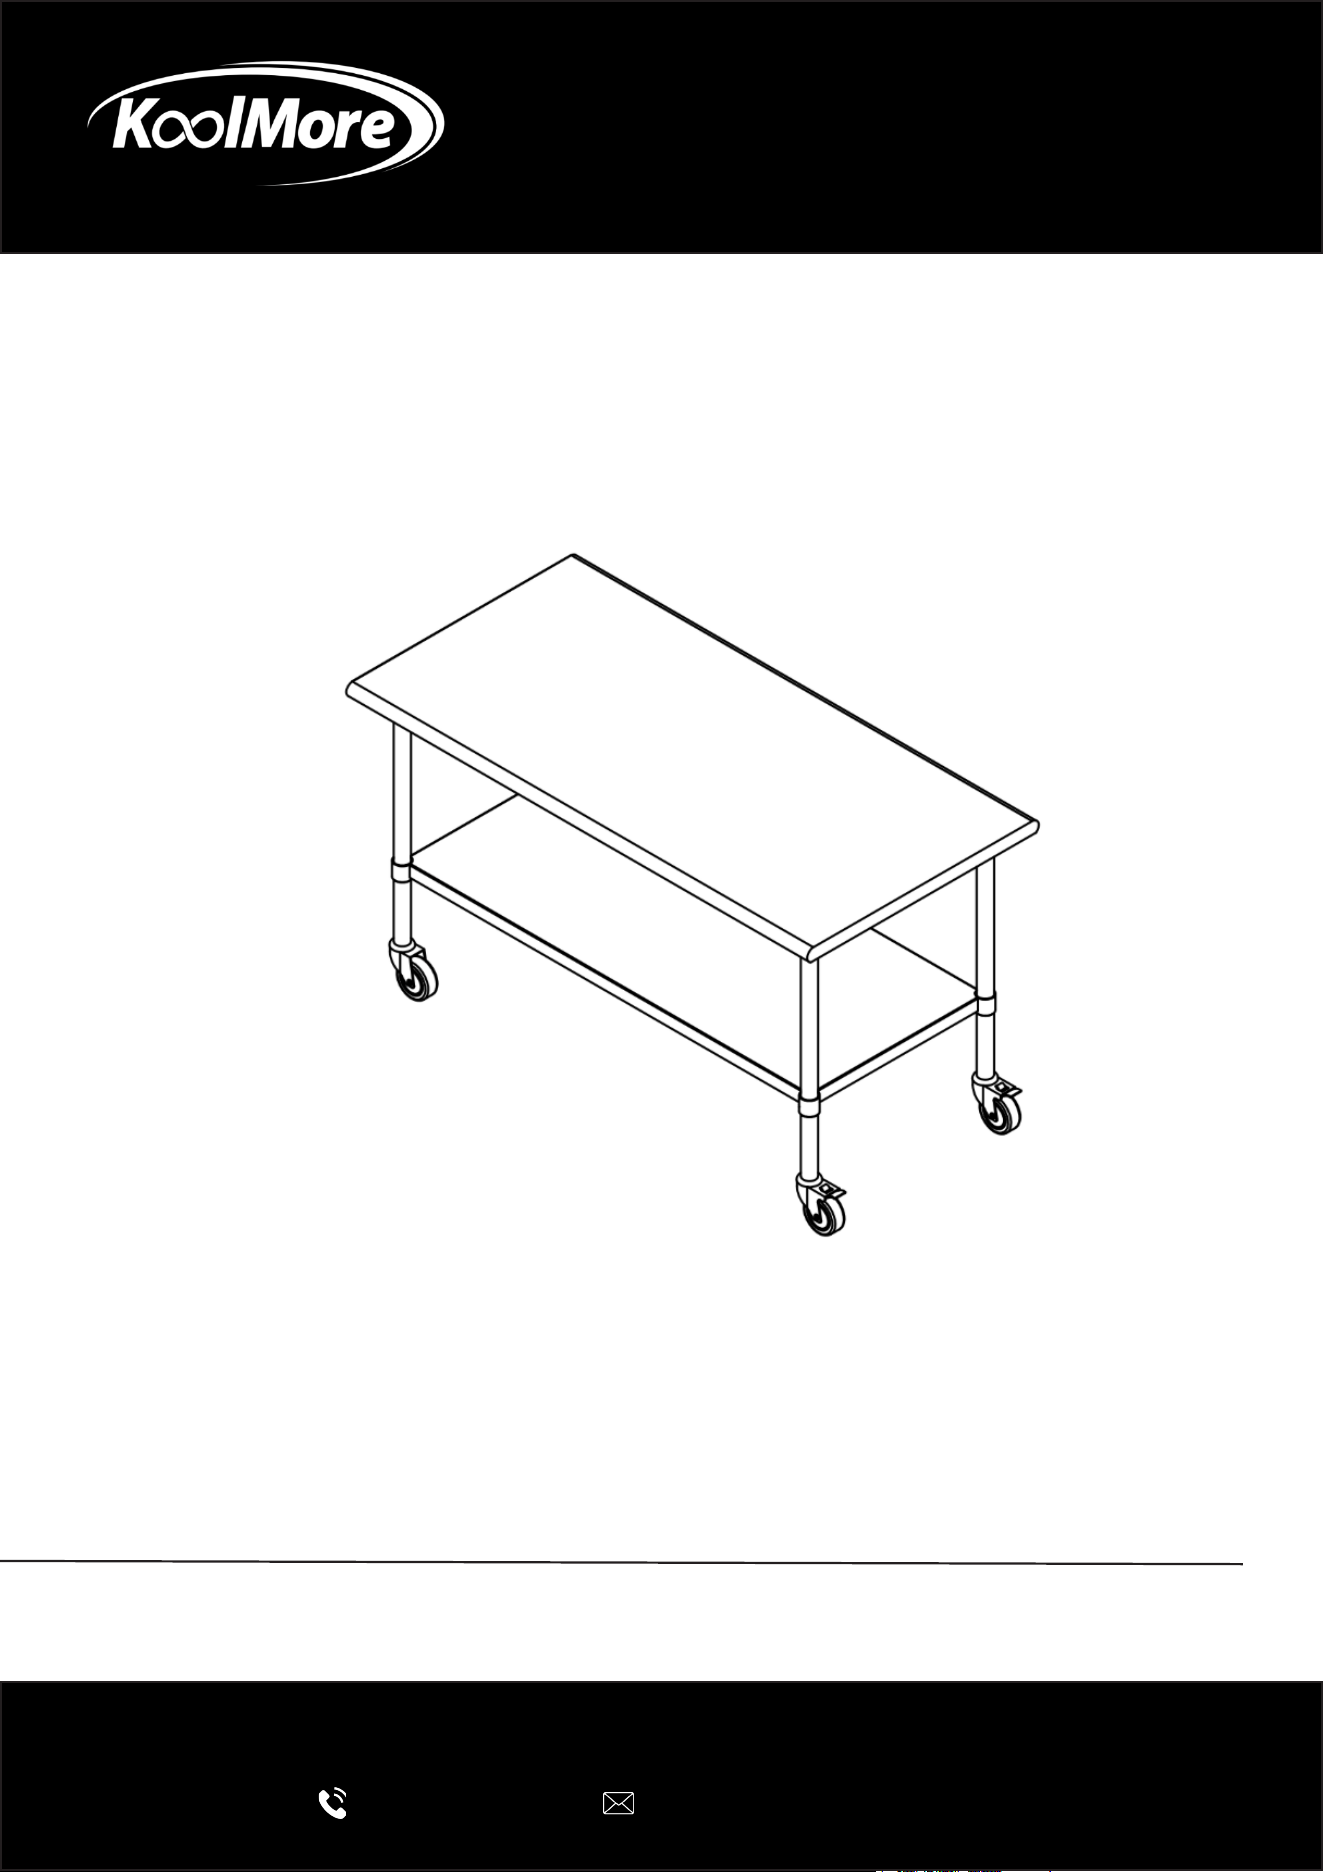
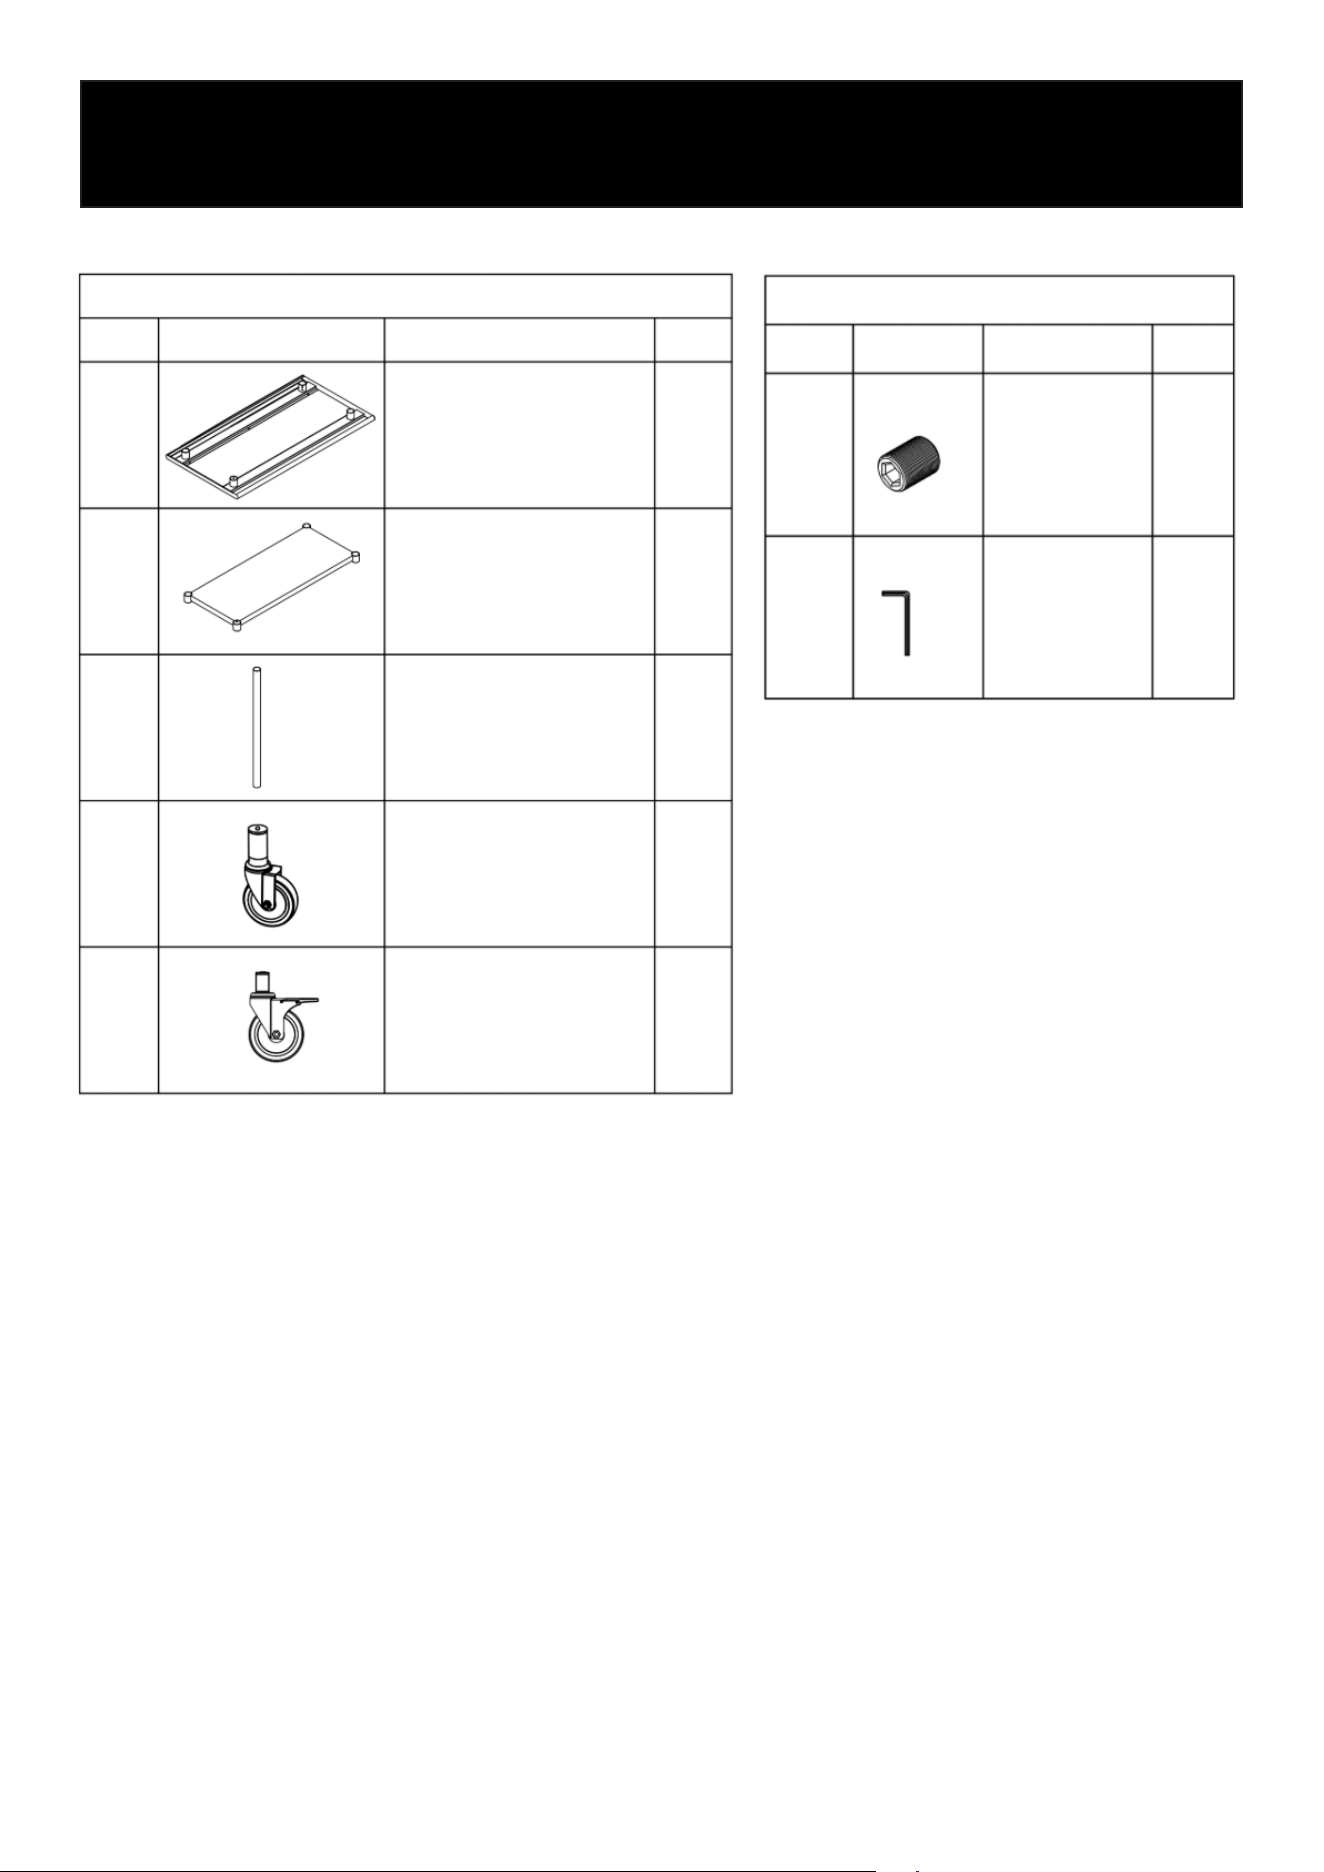
Parts
Before assembly, unpack all components and verify that all parts are included.
1
2
3
4
5
Top Shelf
Undershelf
Leg
Casters Without
Brake
Casters With
Brake
1
1
4
2
2
Main Parts
No. Pattern
Part Name QTY
Main Parts
No. Pattern Part Name QTY
1
2
M8×1×10
Screw
S4 Screw
Wrench
17
1
5
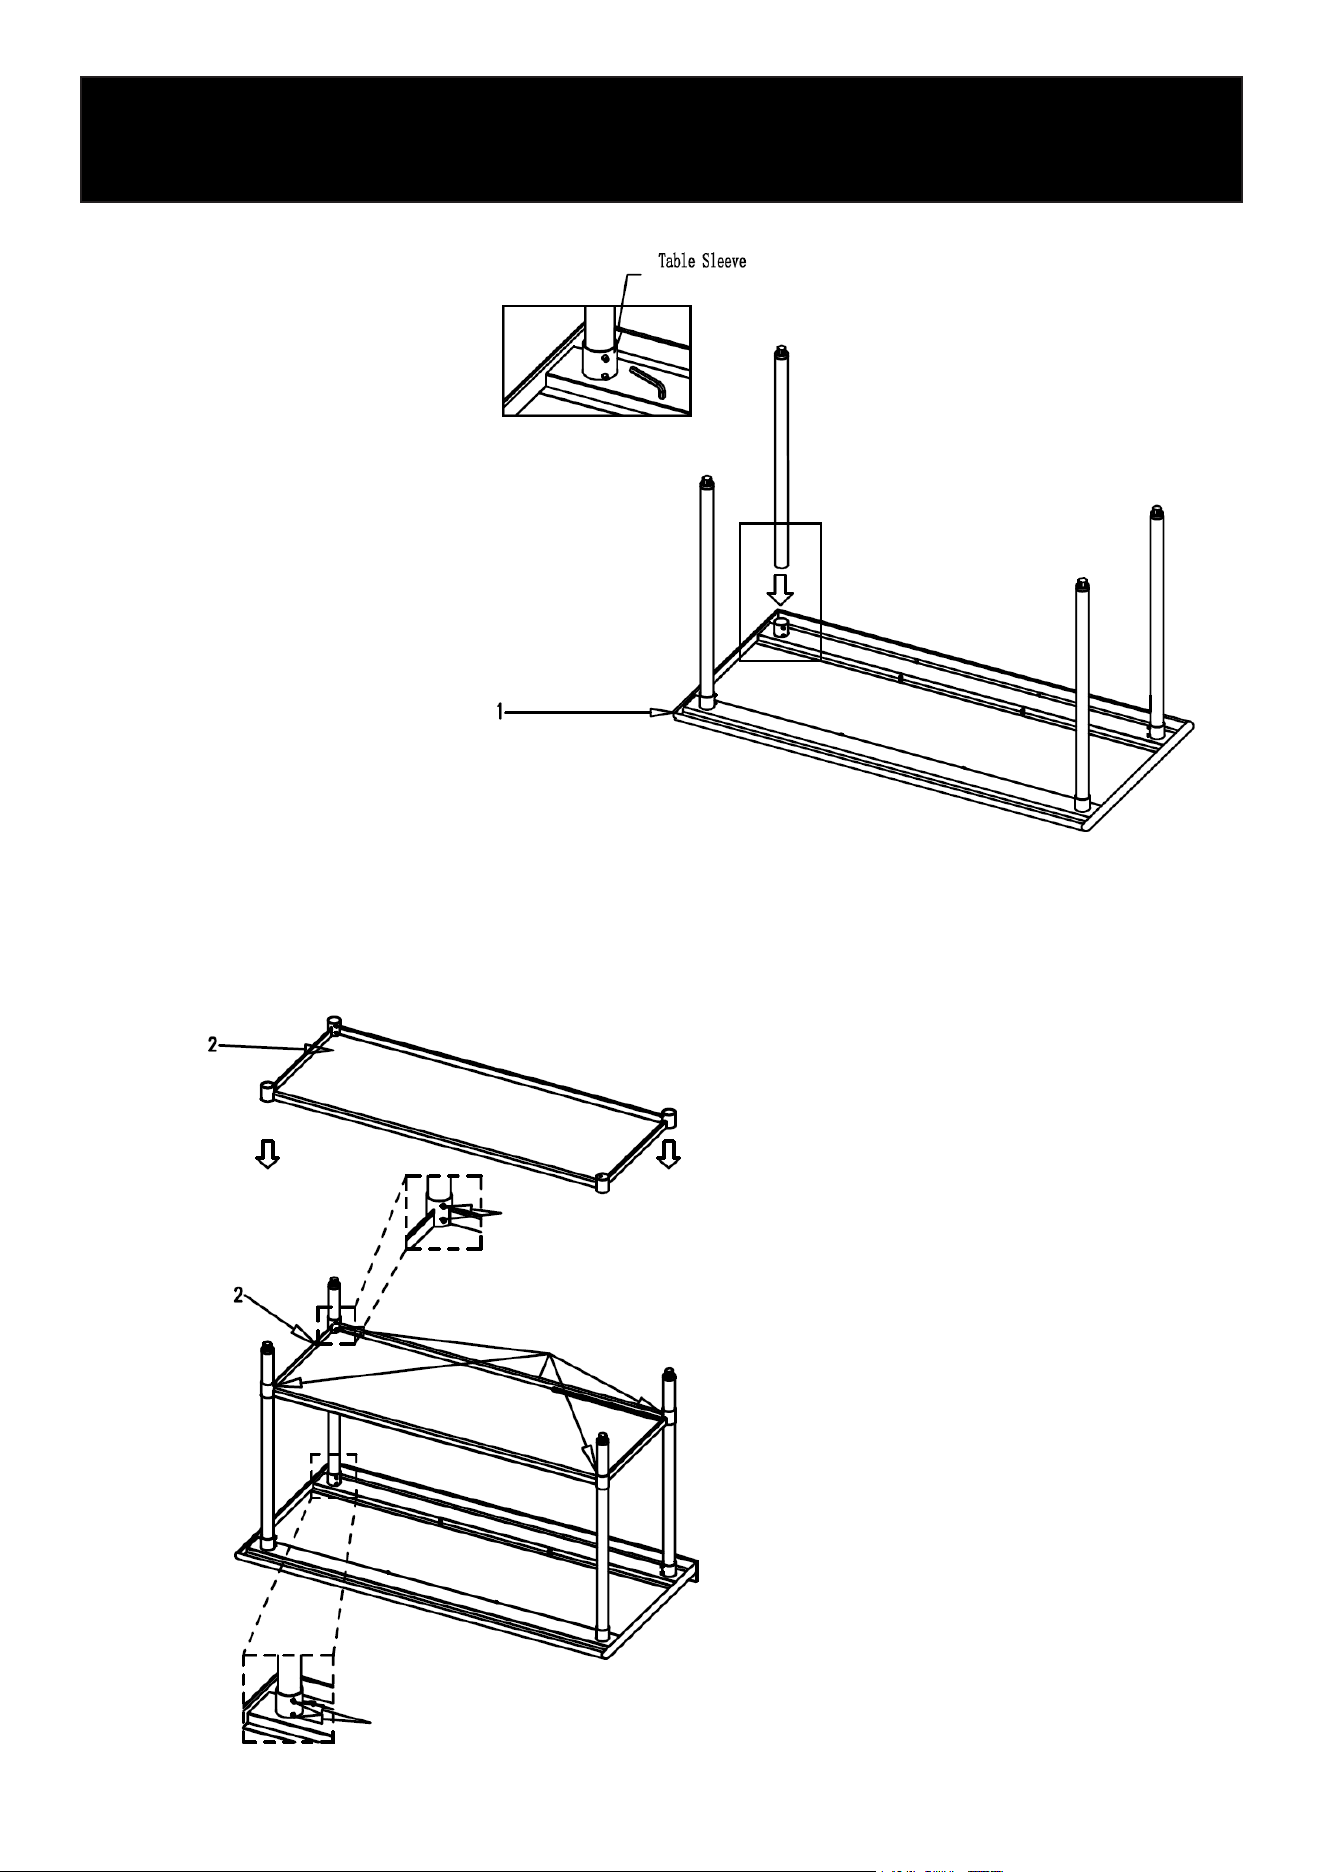
Installation
Step 1
Step 2
Table Sleeve
Set screw
Set Shelf at desired
height and tighten
all set screws
Set screw
Insert each leg into the table sleeves located at
the corners of the tabletop.
Ensure each leg is fully seated and aligned verti-
cally. Secure each leg using two set screws, then
tighten rmly with the included Allen wrench.
Slide the undershelf onto the legs and position
it at the desired height.
Once level, tighten all set screws securely
using the included Allen wrench.
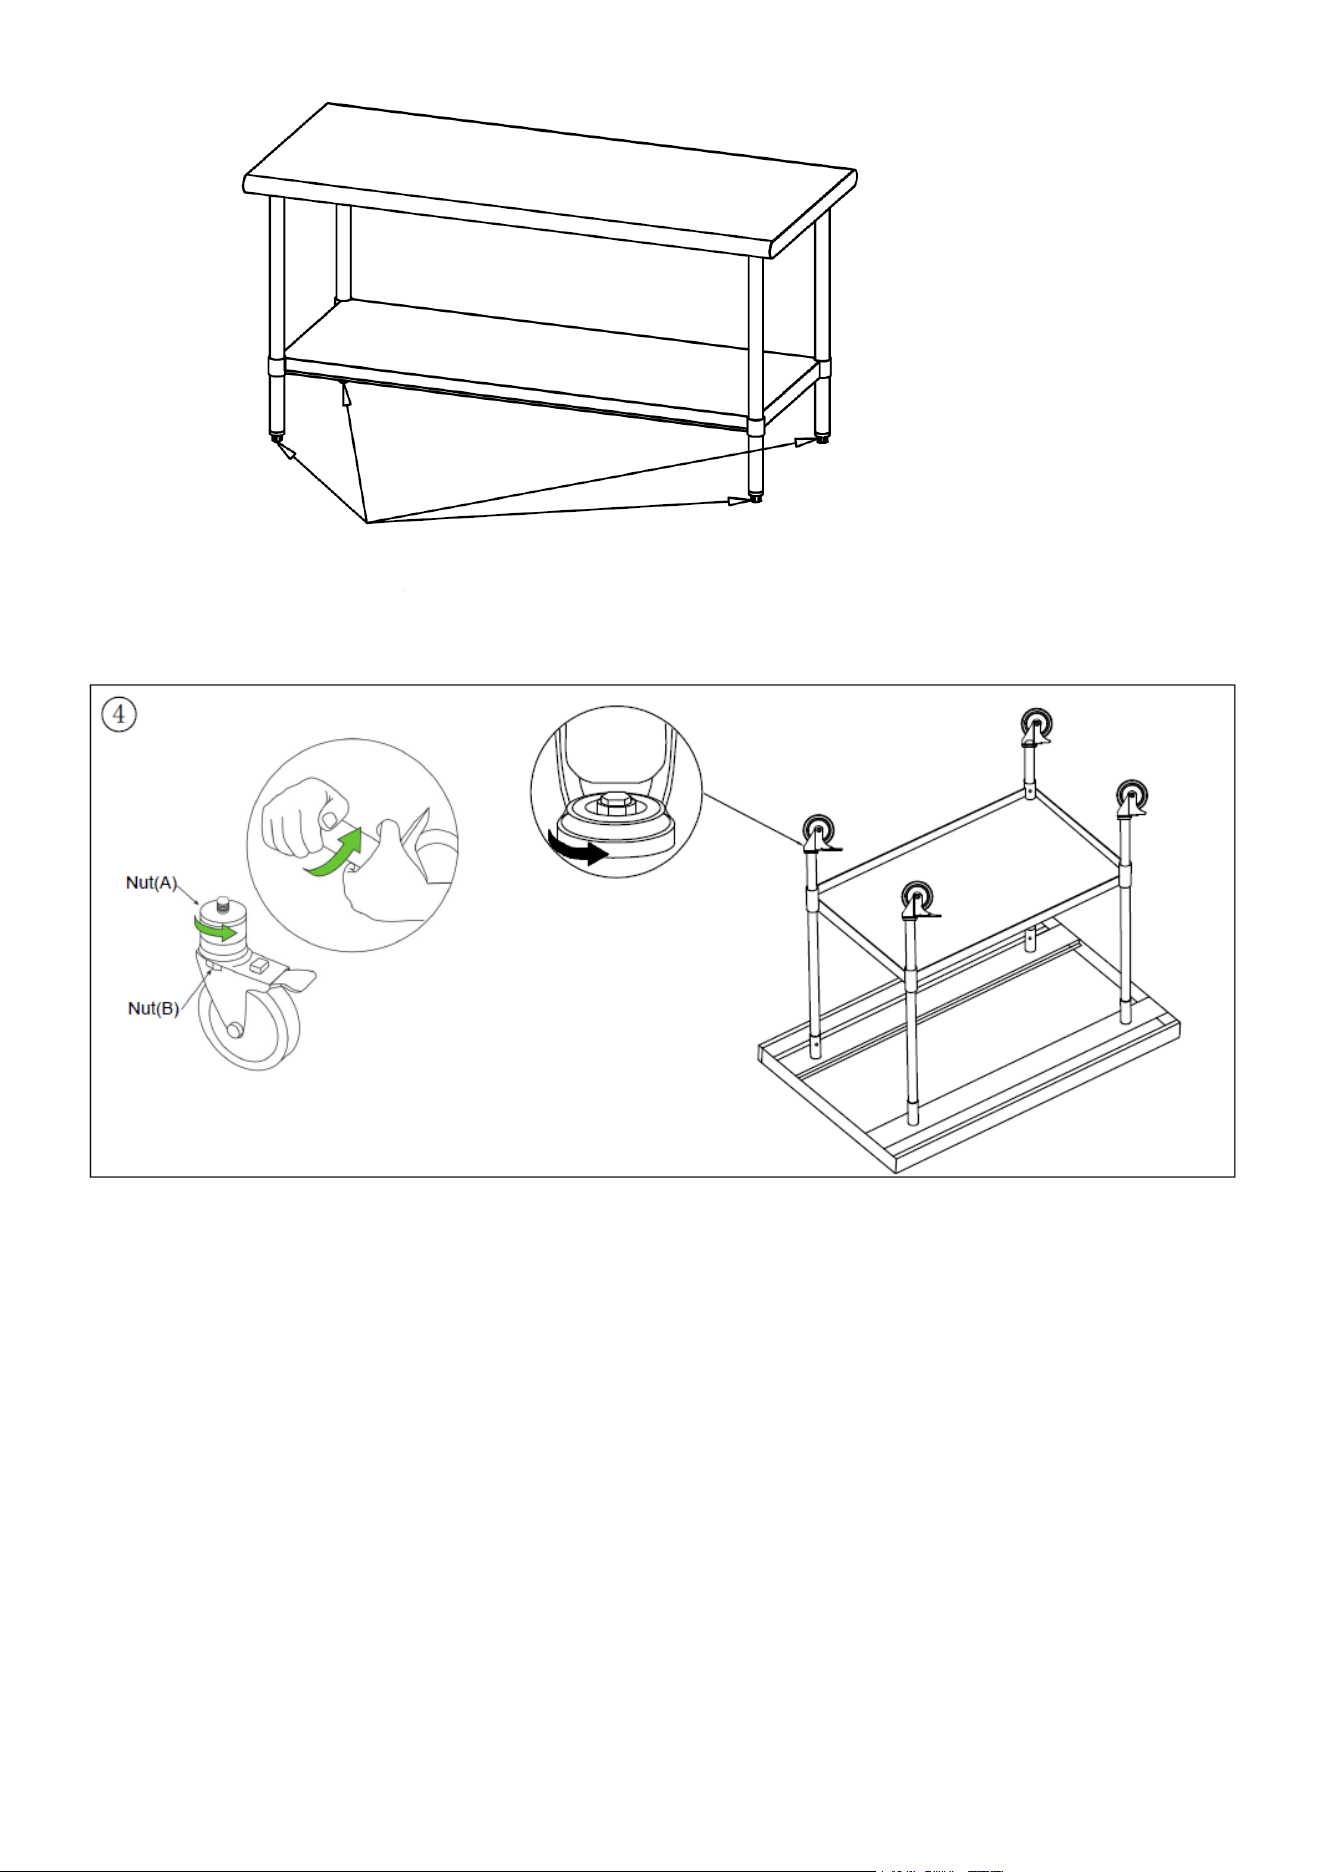
6
Step 3
Step 4
Adjust foot glides if
necessary
Place the equipment stand
upright.
Adjust the foot glides as
needed to level the stand on
uneven surfaces.
Insert the caster into the leg, if the rubber part is too large for the socket, please loosen the top nut
(A) by moving it counter clockwise. Once the stem successfully inserted into the leg, please use a
wrench to tighten nut (B) by moving it clockwise until the caster is rmly secured inside the leg.
NOTE: Mobile equipment stands should be secured or restrained when required by local codes.
Ensure all set screws are fully tightened before placing equipment on the table.

7
LIMITED WARRANTY
KoolMore Supply Inc. extends a limited warranty to the original purchaser, guaranteeing that this KoolMore product is
free from manufacturing defects in material or workmanship for one year from the date of purchase.
Should you discover any such defect within the warranty period, KoolMore Supply Inc. reserves the right to repair or re-
place the product without charge, or to cover the cost of replacement parts and repair labor needed to correct defects
present at the time of purchase or resulting from regular usage, when the appliance has been installed, operated, and
maintained as per the instructions provided.
At its sole discretion, KoolMore Supply Inc. may decide to replace the product. In such an event, your replacement
appliance will carry the warranty for the remaining term of the original unit’s warranty period.
This warranty is valid exclusively to the original purchaser of the product and only applicable within the United States.
The warranty commences from the date of original consumer purchase. Proof of the original purchase date will be
required to obtain service under this warranty.
Under this limited warranty, your sole and exclusive remedy will be product repair, as outlined above. All services must
be provided by a KoolMore designated service company.
To claim warranty or request repair service:
Email [email protected]. Please include your name, address, phone number, warranty repair request, and a copy
of your proof of purchase receipt. Alternatively, visit koolmore.com and use the Contact Us page. A KoolMore custom-
er service representative will promptly arrange service for your appliance.
We thank you for choosing KoolMore.
WARRANTY EXCLUSIONS
This limited warranty will not cover:
1. Failure of the product to perform during power failures or interruptions,
or due to inadequate electrical service.
2. Damage incurred during transportation or handling.
3. Damage caused by accidents, vermin, lightning, winds, re, oods, or acts of God.
4. Damage resulting from accidents, alterations, misuse, abuse, improper installation, repair, or maintenance. This
includes using any external device that alters or converts the voltage or frequency of electricity.
5. Unauthorized product modications, repairs by unauthorized centers, or use of non-approved replacement parts.
6. Abnormal cleaning and maintenance not aligned with the user’s manual.
7. Use of incompatible accessories or components.
8. Any costs associated with repairs or replacements under these excluded circumstances shall be the responsibility
of the consumer.
WARRANTY