Product Instructions
Product No. 2000341 / 2500888.2 / 2500887.2
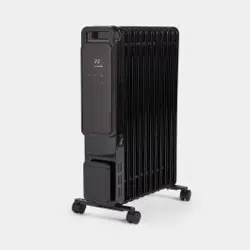
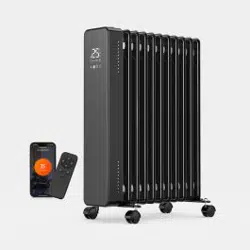
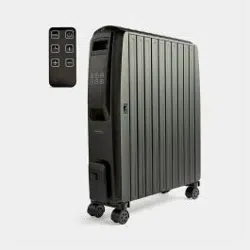
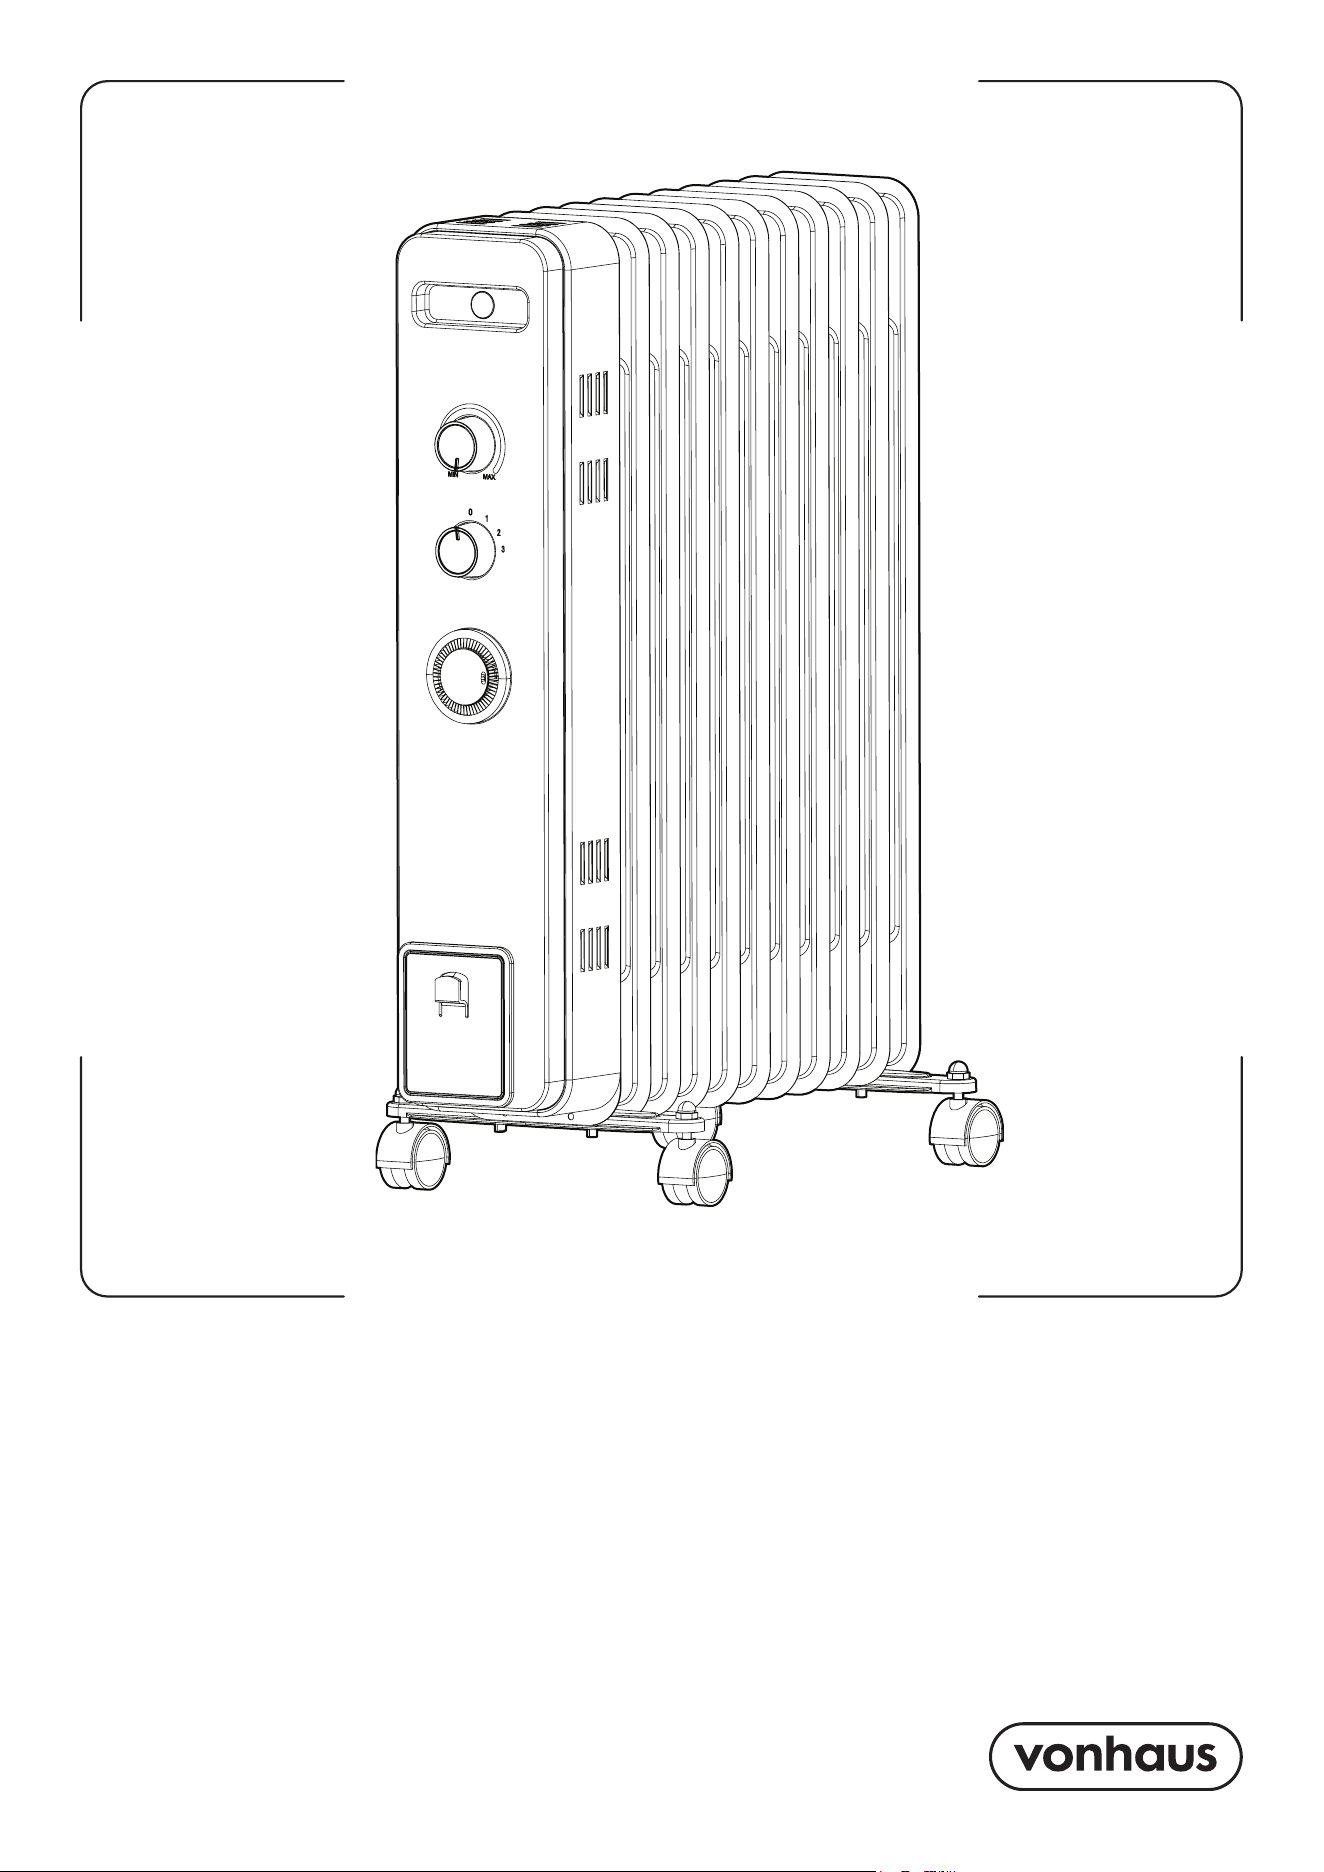
2500W 11 FIN OIL
FILLED RADIATOR
2 3
Need further help?
suppor[email protected]
See our full range at
www.vonhaus.com
Let’s get started!
Visit our product hub for
useful tips and tricks on
getting the most out of
your new product.
SCAN ME
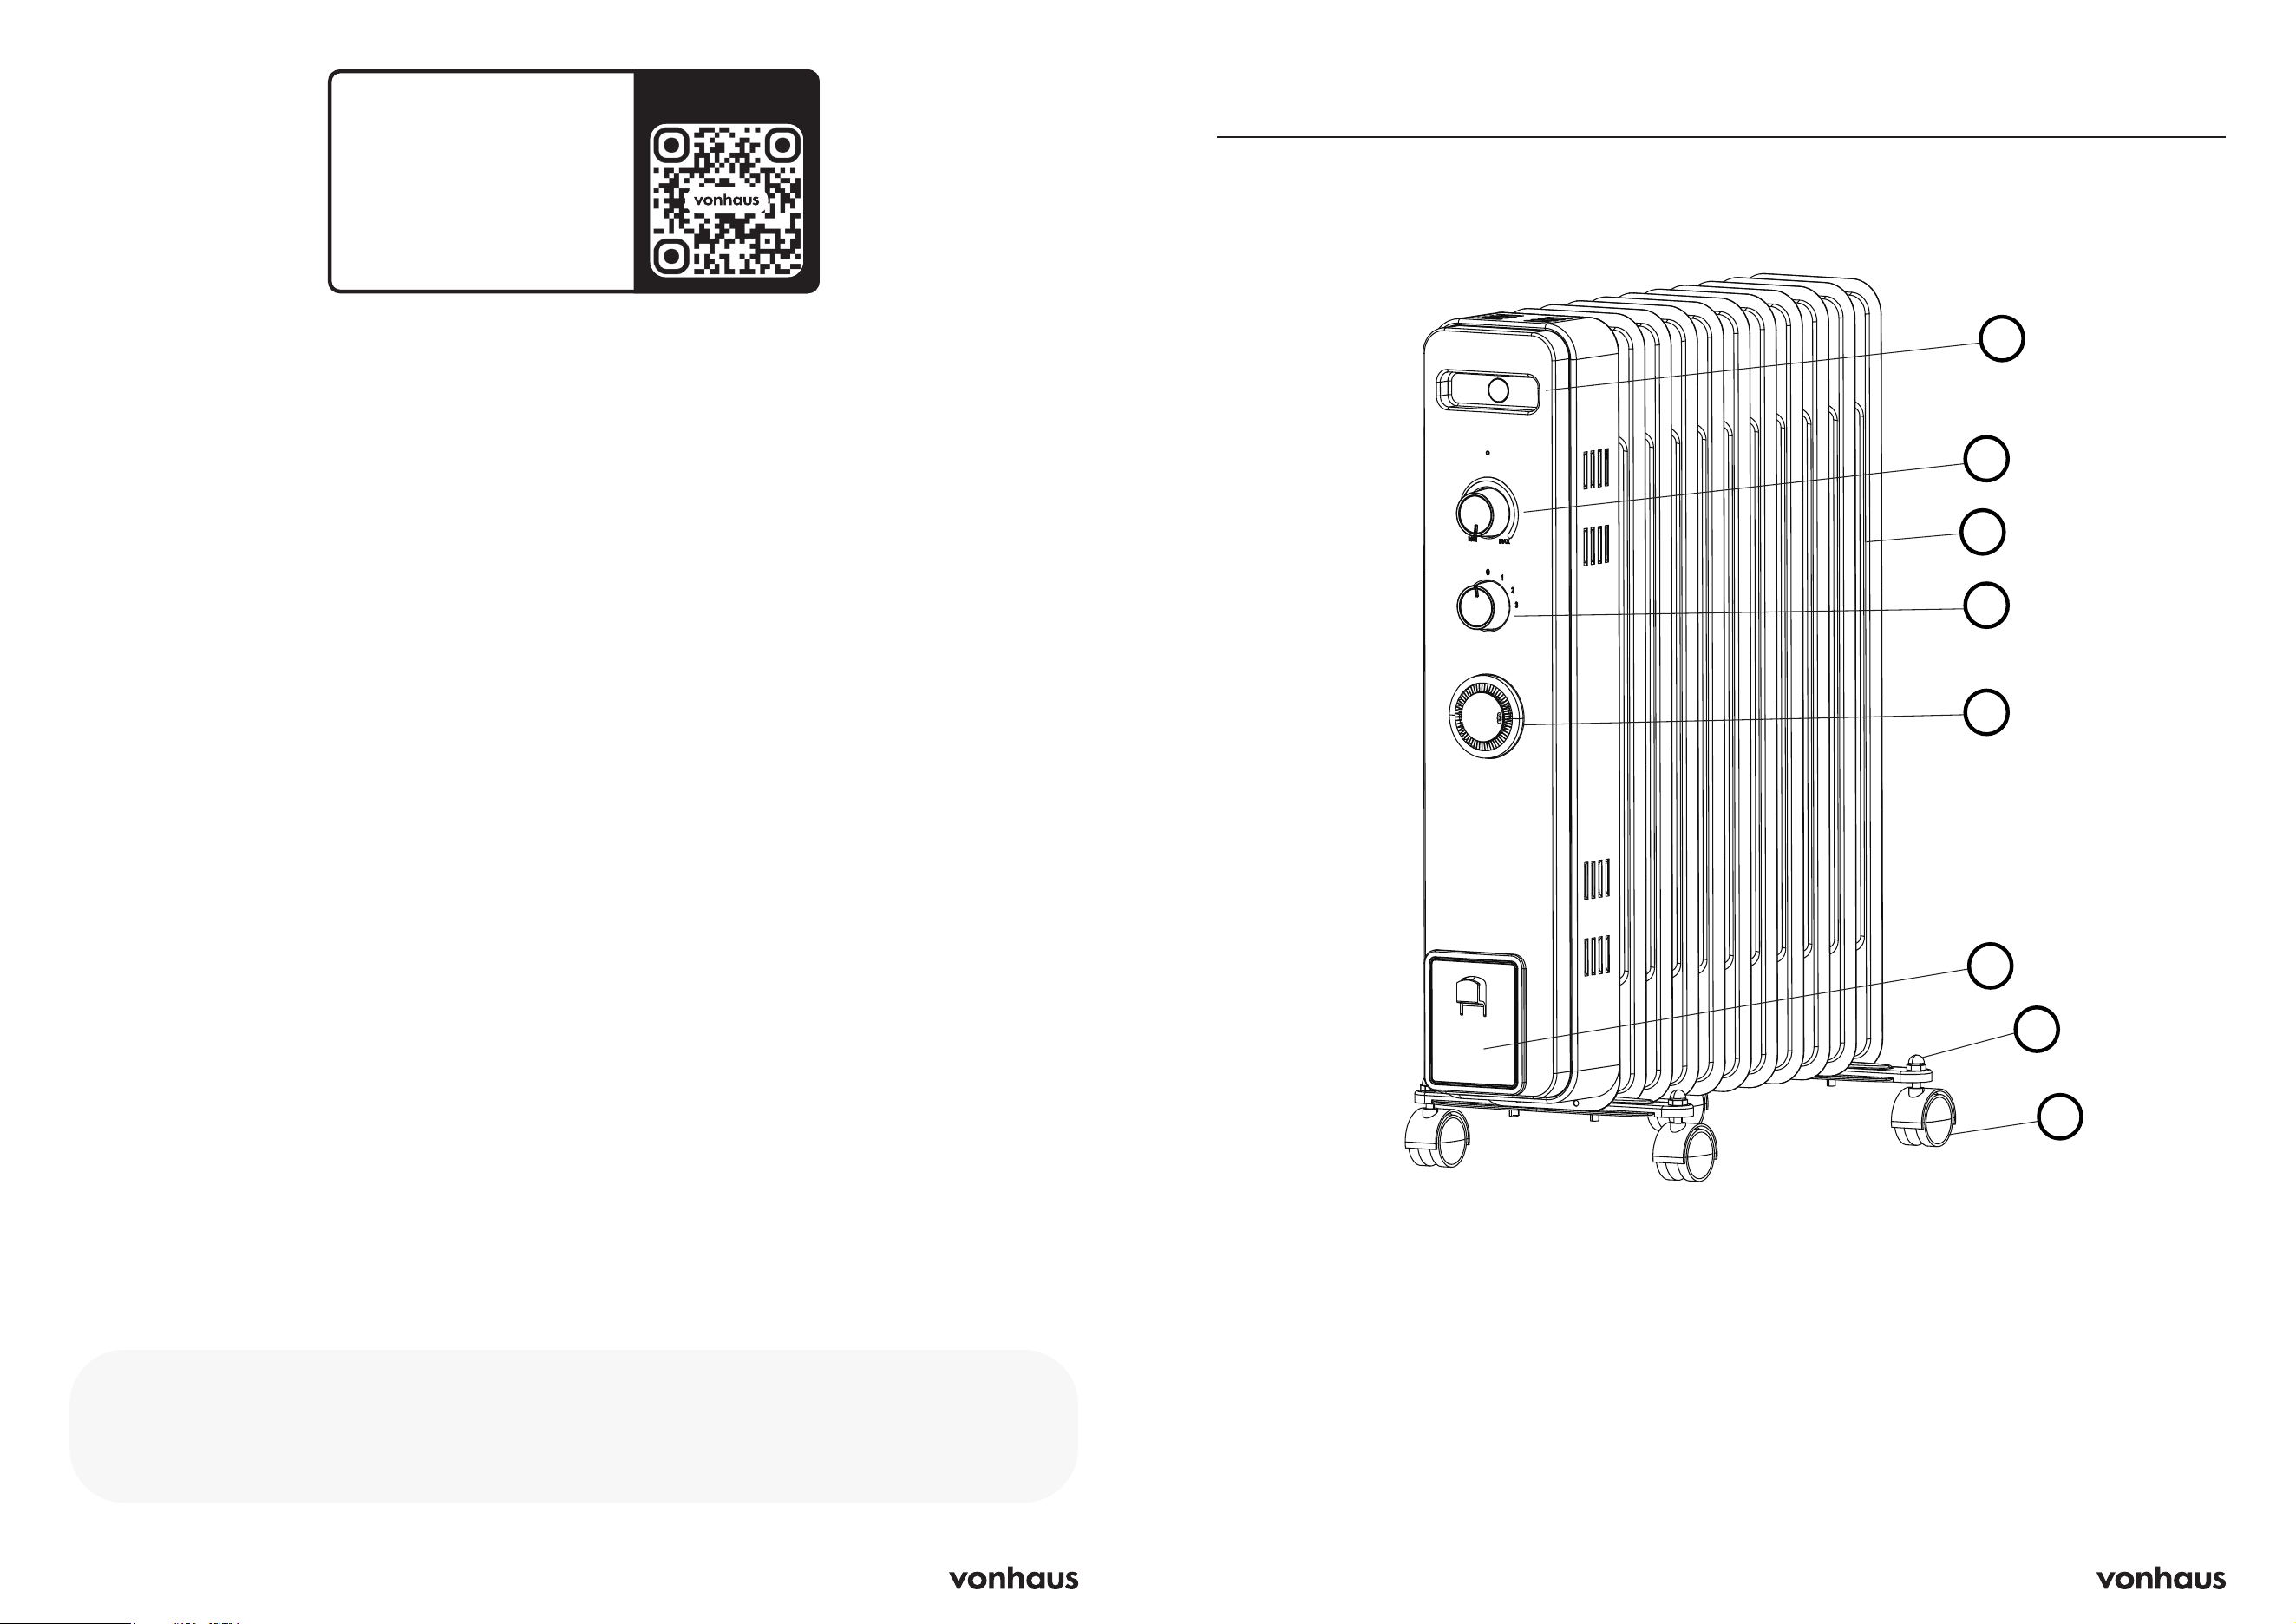
Components
A. Radiator Fins
B. Power Switch
C. Adjustable Thermostat.
D. Front handle
E. Timer.
F. Cable Holder
G. Wheel Base x2
H. Wheels
D
A
B
C
E
F
G
H
4 5
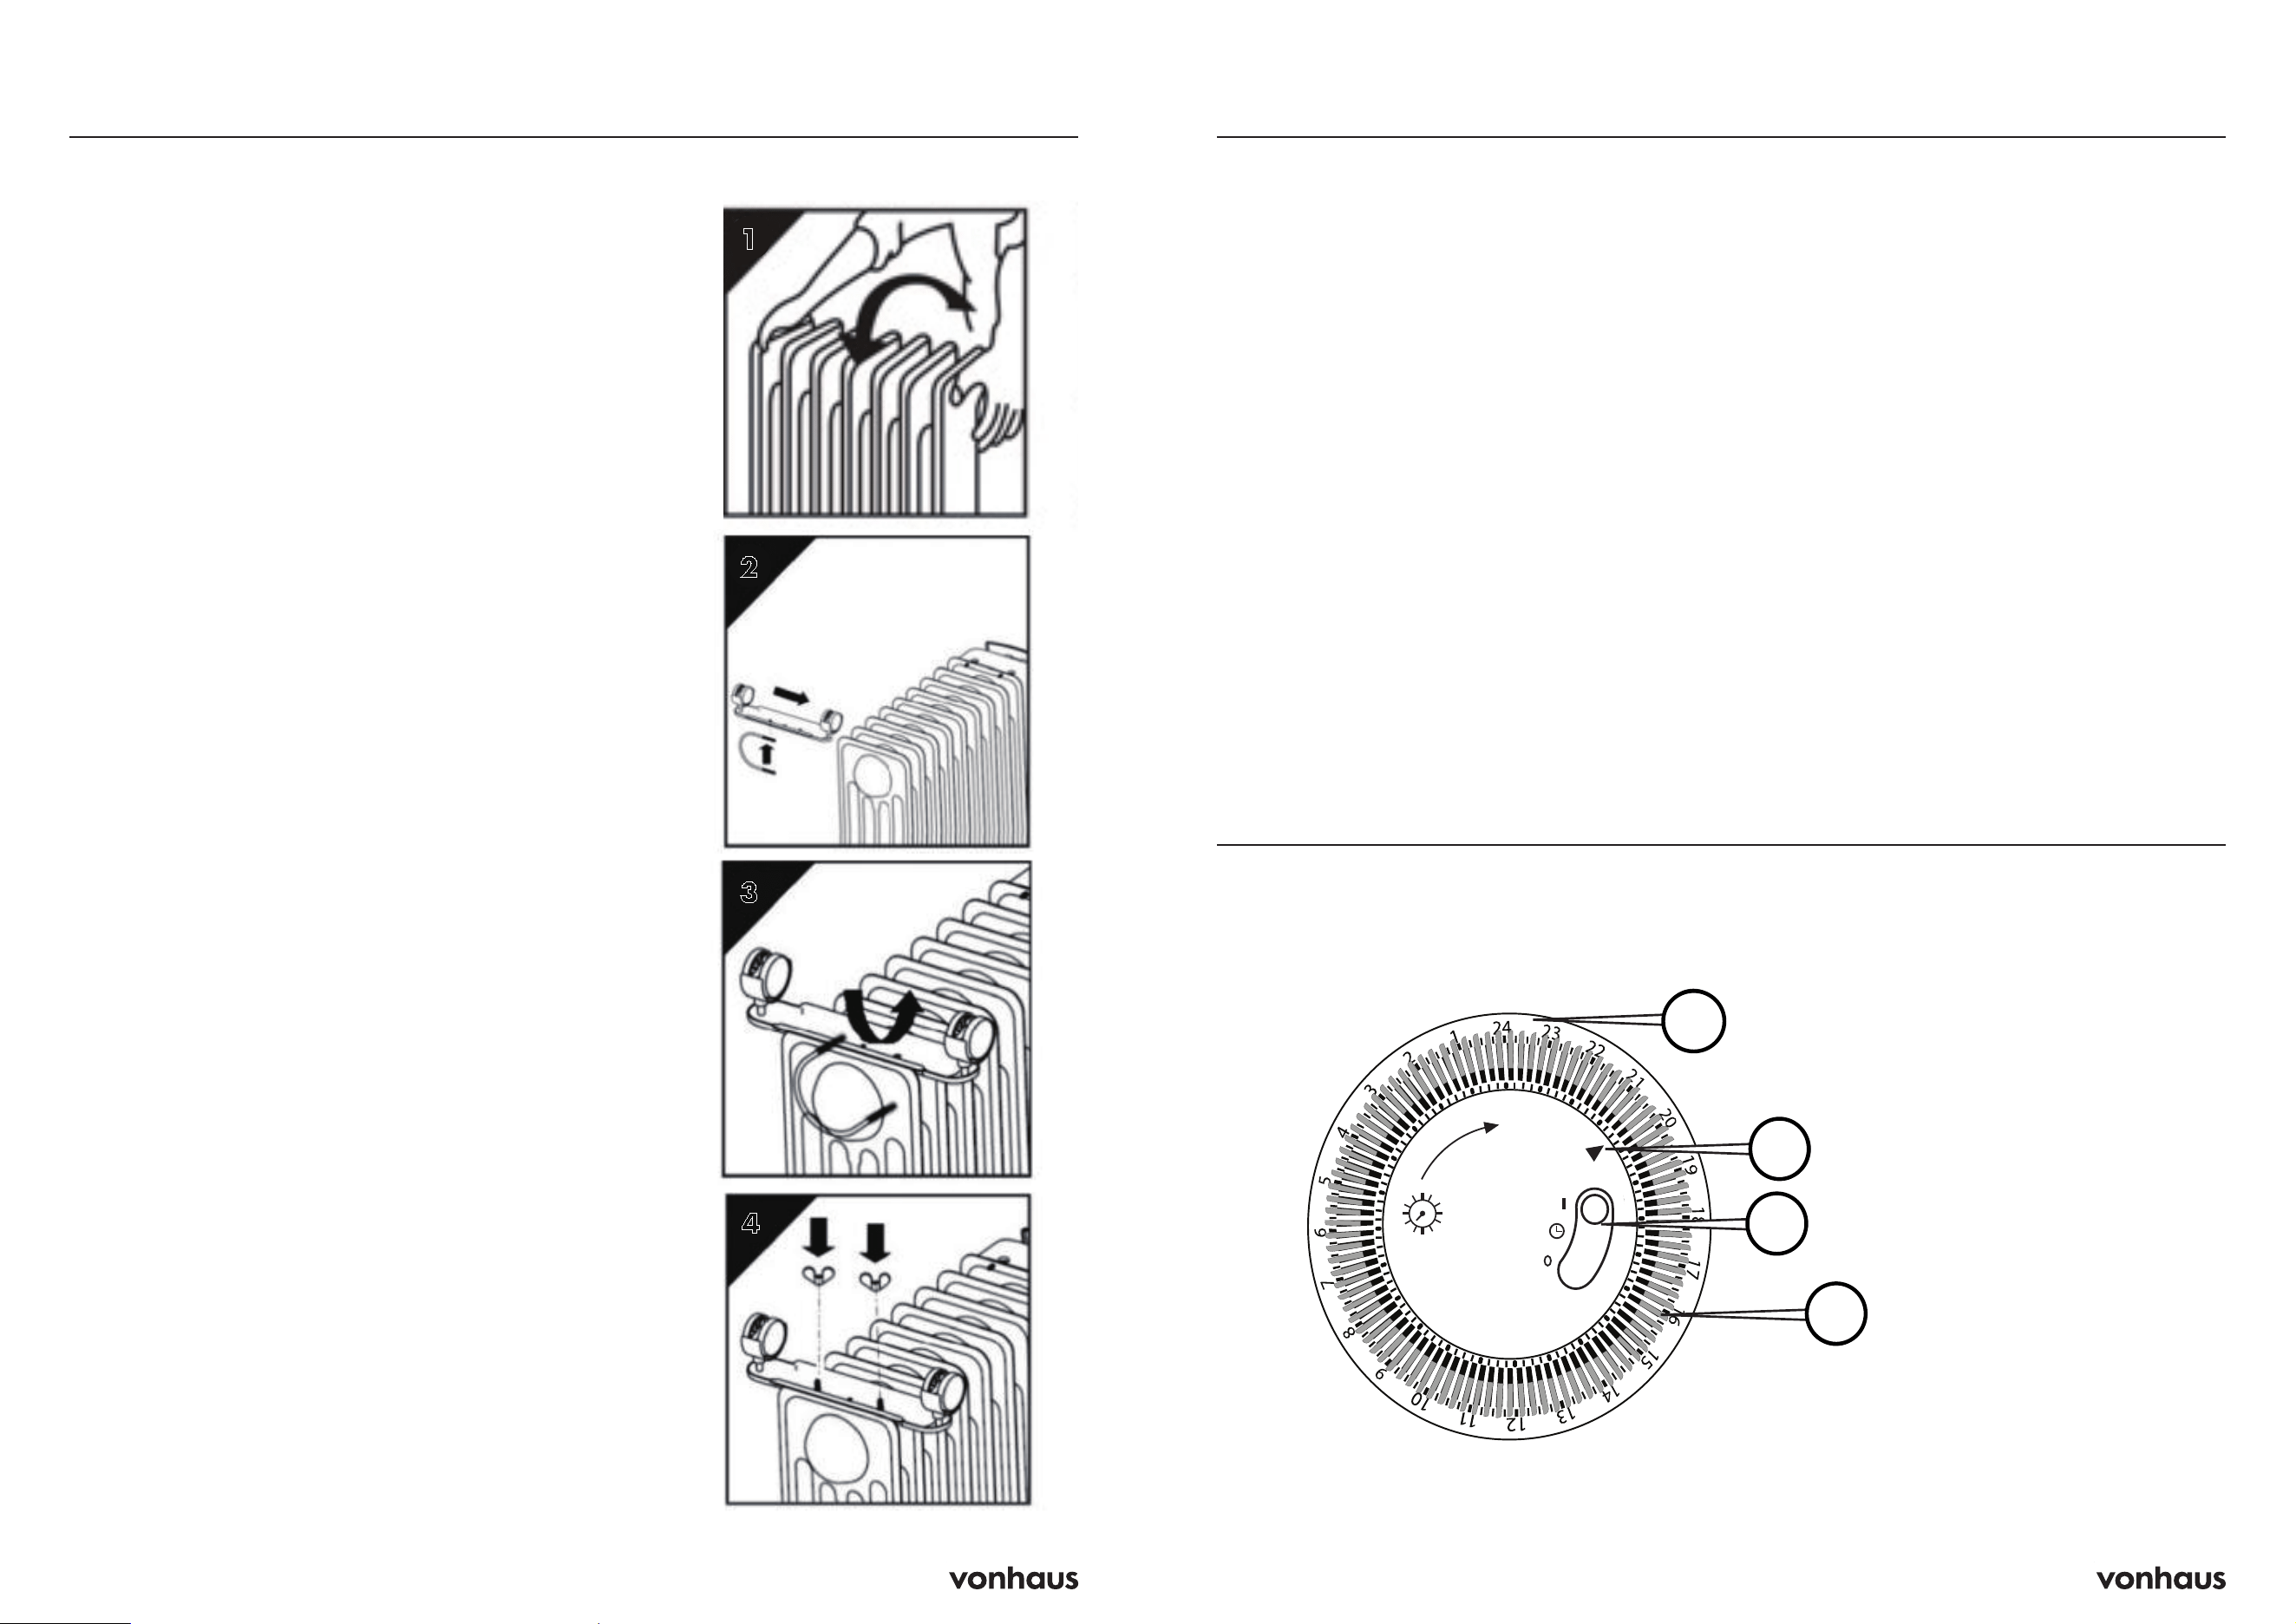
1. Turn the radiator upside-down on a scratch-
free and stable surface to prevent damage
to the paint finish or your floor surfacing
(see Fig 1).
2. Fit the wheels assemblies onto the radiator
by placing the U-shaped bolts between the
outermost fins on each side of the radiator
(see Fig.2-3).
3. Securely fasten the wheels assemblies onto
the radiator by screwing the wing nuts onto
the bolts (see Fig. 4).
Assembly
1. Place the product in an upright position on
a flat, steady, stable, heat-resistant surface.
Make sure there is nothing flammable or
heat sensitive within 1 meter (40 inches).
Operating the product in any other position
could cause a hazard.
2. Insert the plug into a suitable wall outlet
after turning the thermostat knob counter-
clockwise to the minimum position(-) and
setting the power switch to “0” for off. The
heater is suitable for operation on an A.C.
electricity supply having the same voltage
as that show on its rating label.
3. Turn the power switch from “0” to either
“●” (Minimum heating), “●●” (Medium
heating) or “●●●” (Maximum heating).
4. Turn the thermostat knob clockwise to
maximum position(+). When the room
temperature rises to a comfortable
level, slowly turn thermostat counter-
clockwise until the indicator light just
goes out. To adjust the room temperature
turn the thermostat clockwise to raise the
temperature, or counter-clockwise to lower
it. Thus
the heater will attempt to keep the
room temperature at the desired level.
5. To turn off the heater, set the power switch
to “0” position. Unplug the product from the
electrical outlet when it is left unattended or
is not in use.
Operation
1
2
3
4
Operation
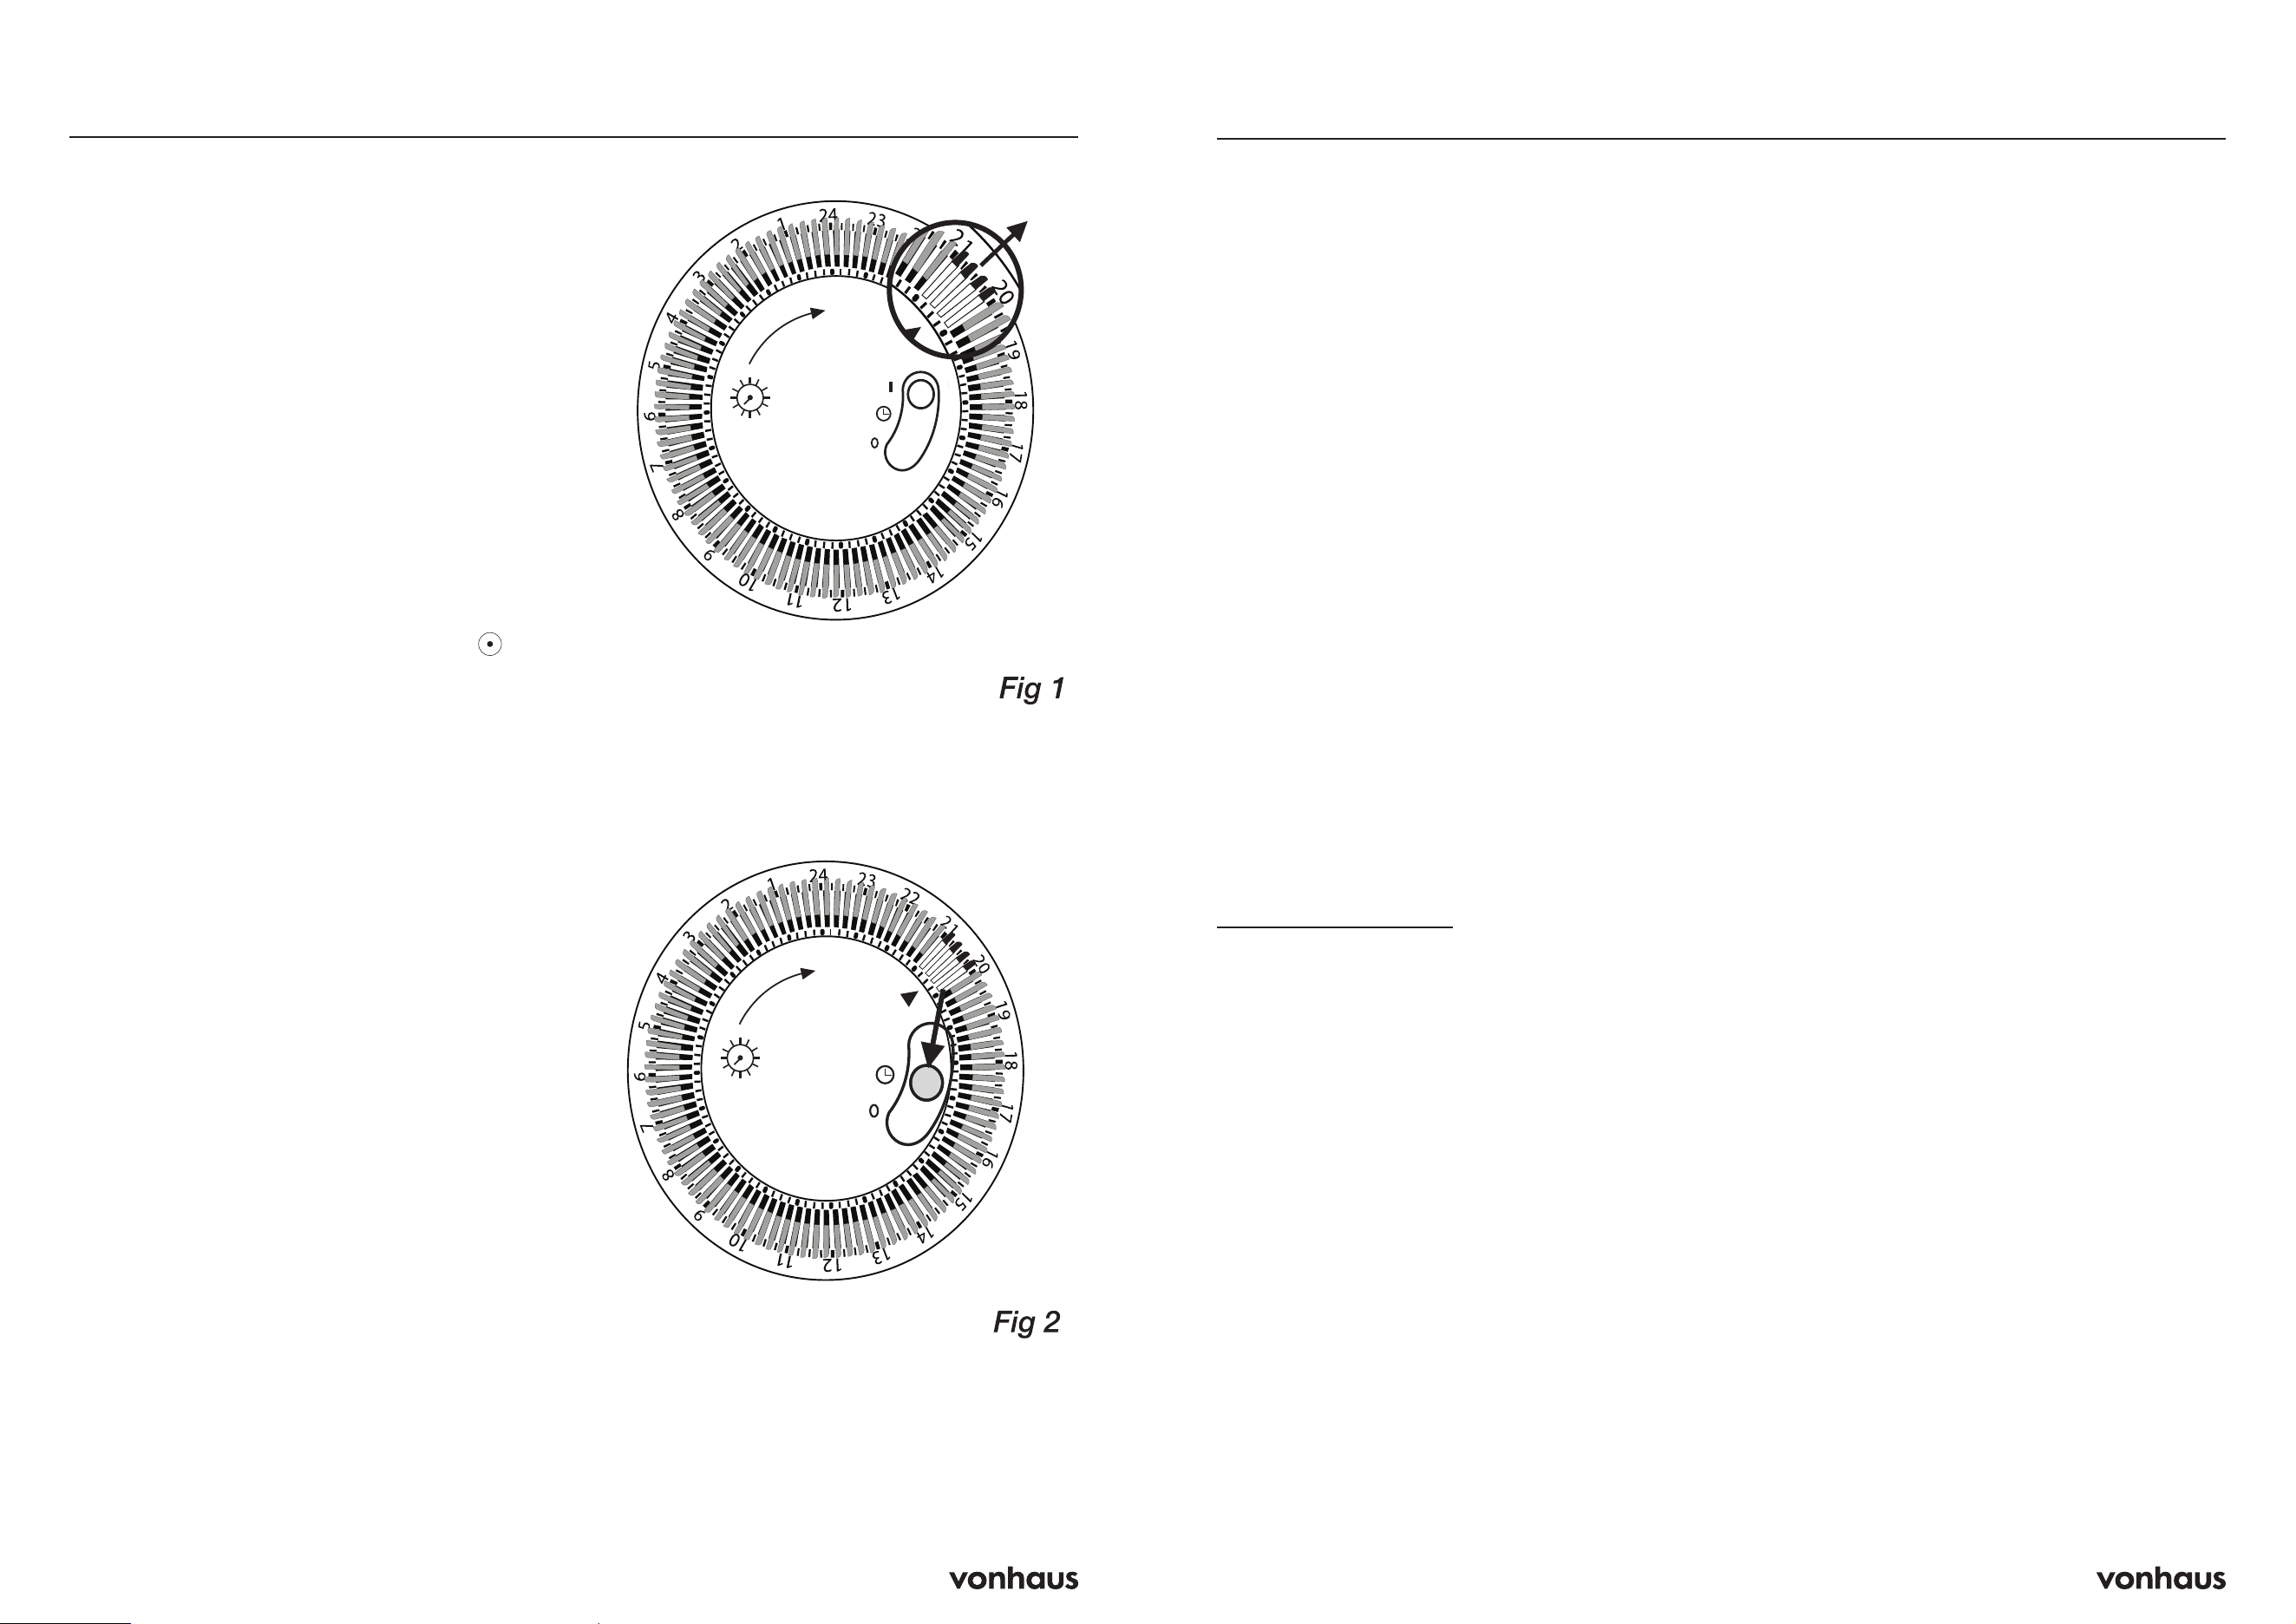
Timer
A. Clock (24 hour)
B. Live time arrow
C. Timer switch
D. Segments
A
B
C
D
6 7
Important Safety Notice
This product is not suitable for use by children
or by individuals with physical, sensory, or
mental impairments that may limit their ability
to operate the equipment safely, unless they
have been given supervision or instruction
concerning the safe use of the product by a
person responsible for their safety.
Failure to follow all instructions and safety
warnings may result in electric shock, fire, or
serious injury.
General Safety
Do not allow this appliance to be used as a
toy. Children should be supervised at all times
to ensure they do not play with it.
If the appliance is not functioning properly,
has been dropped, damaged, left outdoors
or immersed in liquid, do not use it. Contact
contact our customer services department at
suppor[email protected]
Do not use the appliance if any parts appear
to be faulty, missing or damaged.
Ensure all parts are securely attached as
instructed in this manual before use.
This appliance is intended for indoor domestic
use only.
Do not use in bathrooms, shower rooms, or
areas with high humidity.
Cables and Plugs
Check to ensure your electricity supply matches
that shown on the rating plate. This product
should only be used as rated. Preferably, the
socket outlet should be protected by a Residual
Current Device RCD (UK/EU) Ground Fault
Indicator (US).
Do not use with a damaged cable or plug. If the
supply cable is damaged, it must be replaced
by a qualified engineer or authorised service
agent in order to avoid a hazard. The use of an
extension cable is not recommended.
Do not handle the plug or appliance with wet
hands.
Keep the cable away from heated surfaces.
Do not let the cable hang over the edge of the
table or countertop where it could be pulled
on inadvertently by children or pets.
Do not pull the cable around sharp edges or
corners.
Do not leave unattended when plugged in.
Unplug from outlet when not in use.
Turn off all controls before unplugging.
Do not unplug by pulling on the cable. To
unplug, grasp the plug, not the cable.
Always unplug before performing user
maintenance, connecting or disconnecting
attachments, or changing accessories.
Ensure the cable is stored safely to prevent
hazards.
Risk of Personal Injury
Always place the appliance on a firm, flat,
heat-resistant surface, away from the edge
of the worktop, with sufficient space around
all sides. Do not insert any objects into the
openings or cover the appliance.
Keep away from curtains, furniture, and
flammable materials
Do not place or dry clothing, towels, or any
materials on or near the appliance. Do not use
near combustible surfaces, outdoors, or near
other heat sources.
Do not use the heater to dry laundry. Ensure
all air vents are kept clear and unobstructed.
Never operate inside cupboards or enclosed
spaces.
Take care not to touch surfaces that may
become hot during use or remain hot for a
InformationTimer Setting Operation
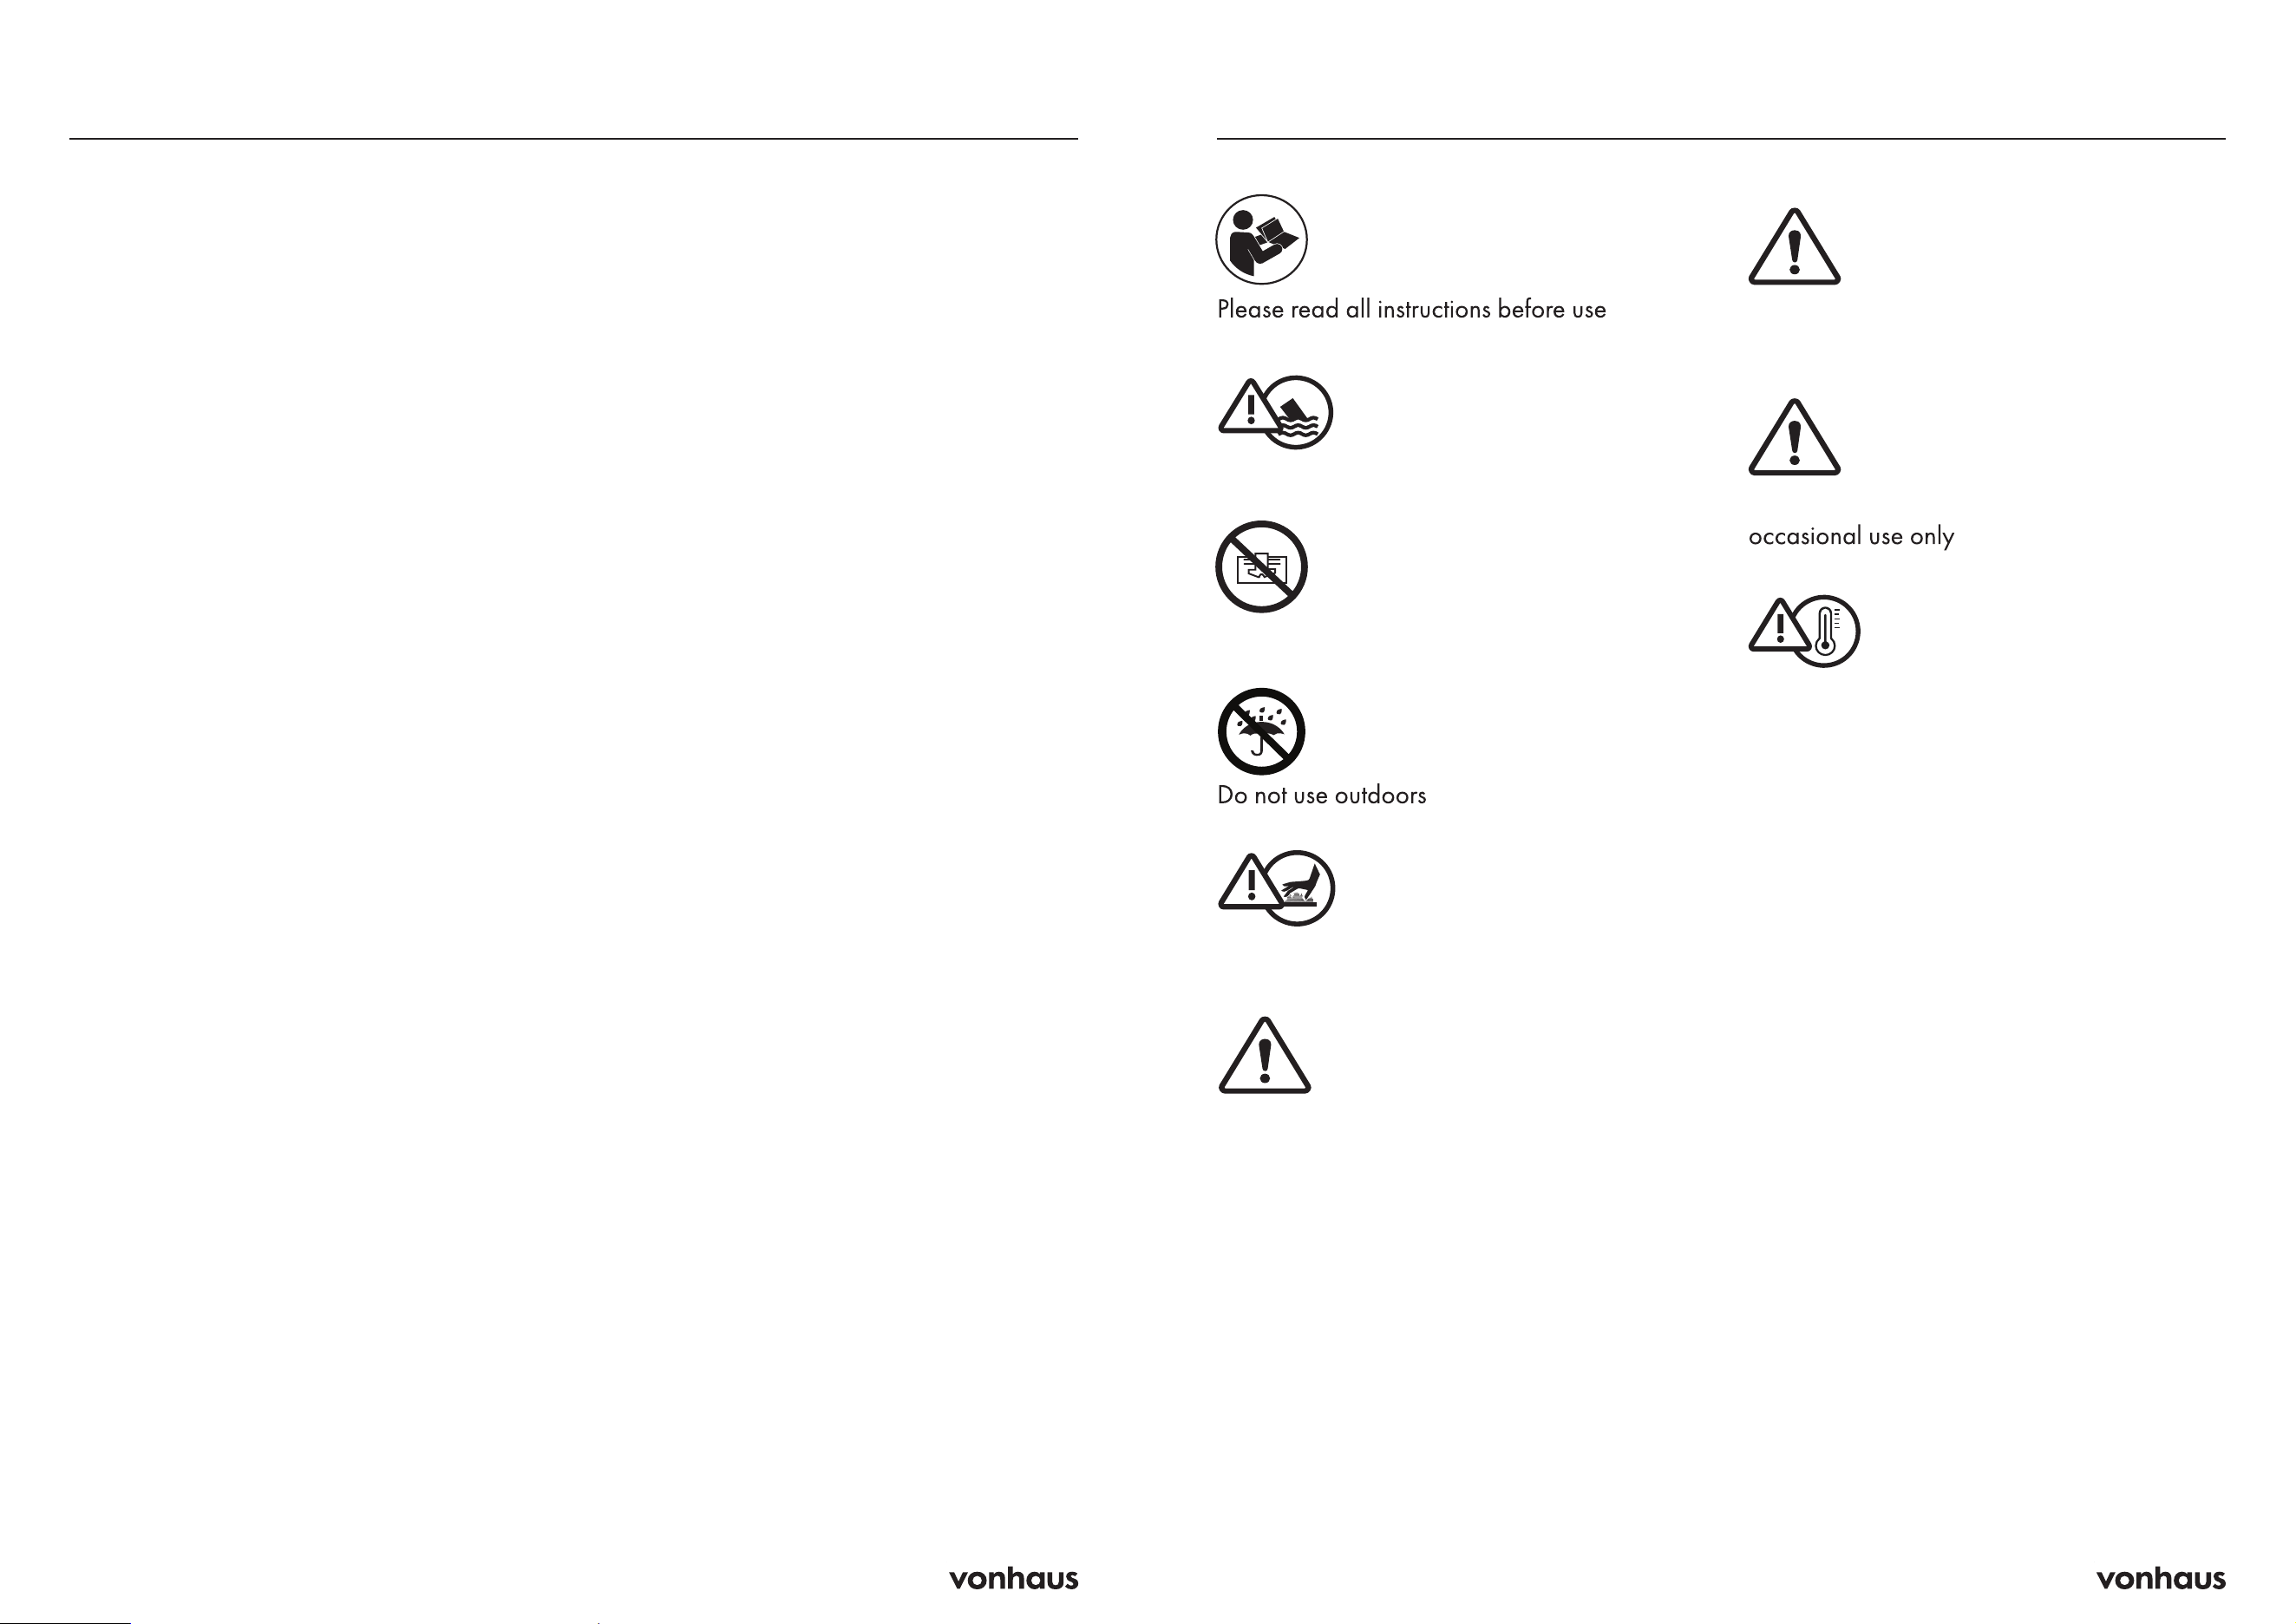
Note: This is a 24 hours timer. There are 96
segments, each segment represents 15 mins.
1. Firstly, turn the clock “A” clockwise to align
with arrow “B” to match the current time.
2. Segments which are pushed outwards will
represent the time where the heater will be
turned ON. Segments which are pushed
inwards will represent the time where the
heater will be turned OFF.
Note: To set the heater to turn on at 8pm and
turn off at 9pm, push 4 segments between 20
and 21 outwards (Fig 1).
3. Move the timer switch to symbol “ “ to
enable the timer (Fig 2).
4. If the timer switch is set at “I” position, the
unit starts working non-stop ignoring any
timer setting. If the timer switch is set at “0”
position, the unit stays off ignoring any
timer setting.
Note: The timer setting does not reset itself after
the Unit has been switched off, but any time
you unplug the Unit, th
e clock stops updating
the live time and at next turn-on the live time
must be set again as indicated in point “1”.
8 9
period after use. Never operate the appliance
when empty and do not overload or overfill it.
When using the appliance for the first time, it
may produce a ‘new’ smell or slight vapour
— this is normal and will dissipate after a few
uses. Do not lift or move the appliance whilst in
use. Do not operate continuously for extended
periods without supervision. Always switch
off and unplug before cleaning or changing
accessories. Use only as described in this
manual and with Vonhaus recommended
attachments.
Always switch off and unplug when not in use.
Do not use if air vents are blocked.
Safety features
This Radiator is fitted with an overheat
protection switch (thermal cut-out) which will
power off the appliance automatically in case
of overheating. Should this occur, unplug
the appliance and allow to cool fully for
approximately 30 minutes.
Follow the operation instructions to restart the
appliance after removing the source of the
overheating (poor ventilation, item covering
the Radiator etc.). The Radiator should
function
normally. Should the problem persist, please
contact customer services.
To avoid damage and to regulate the
temperature, this Radiator is fitted with a
thermostatic safety device. The safety device
will activate and cut out the power to the
Radiator once a certain temperature is
reached. The Radiator will start again once
the temperature has lowered. The Radiator is
also fitted with a tip switch which will cut off
the power to the Radiator if it is knocked over.
Should this happen, disconnect at the mains
and allow to cool fully before attempting to
move the Radiator. Inspect the Radiator for
damage. If - and only if - the Radiator is free
from damage, plug back into the mains. The
Radiator should function normally.
Maintenance
Caution: Switch off the Radiator and
disconnect the from the power socket. Wait
for the Radiator to cool
completely before
cleaning.
Vacuum-clean the Vents to remove dust from
these areas. To remove dust on external
surfaces, wipe the Radiator with a damp (not
wet) lint-free cloth rinsed in hot soapy water
only.
Caution: Do not use any harsh detergent or
abrasive cleaners.
Warning! Do not spray with liquids or
submerge in any liquid or water.
Warning! Do not attempt to clean the inside of
the Radiator. Do not attempt to open the casing
at any time. There are no user-serviceable
parts.
Troubleshooting
Radiator will not power on
Ensure the Radiator is switched on and
connected to mains power. Activate the Power
Selector Switches and Thermostat Knob. Check
the fuse by replacement.
The radiator is not heating up
Check that the Radiator is plugged in and
switched on at the mains outlet. Make sure
that the Radiator has not gone into overheat
protection mode. The Vents may require need
cleaning.
The radiator becomes damaged
Do not use and contact customer services.
Technical Specifications
Rated Voltage: 220–240V
Rated Power: 2
500W
Rated Frequency: 50Hz
Information
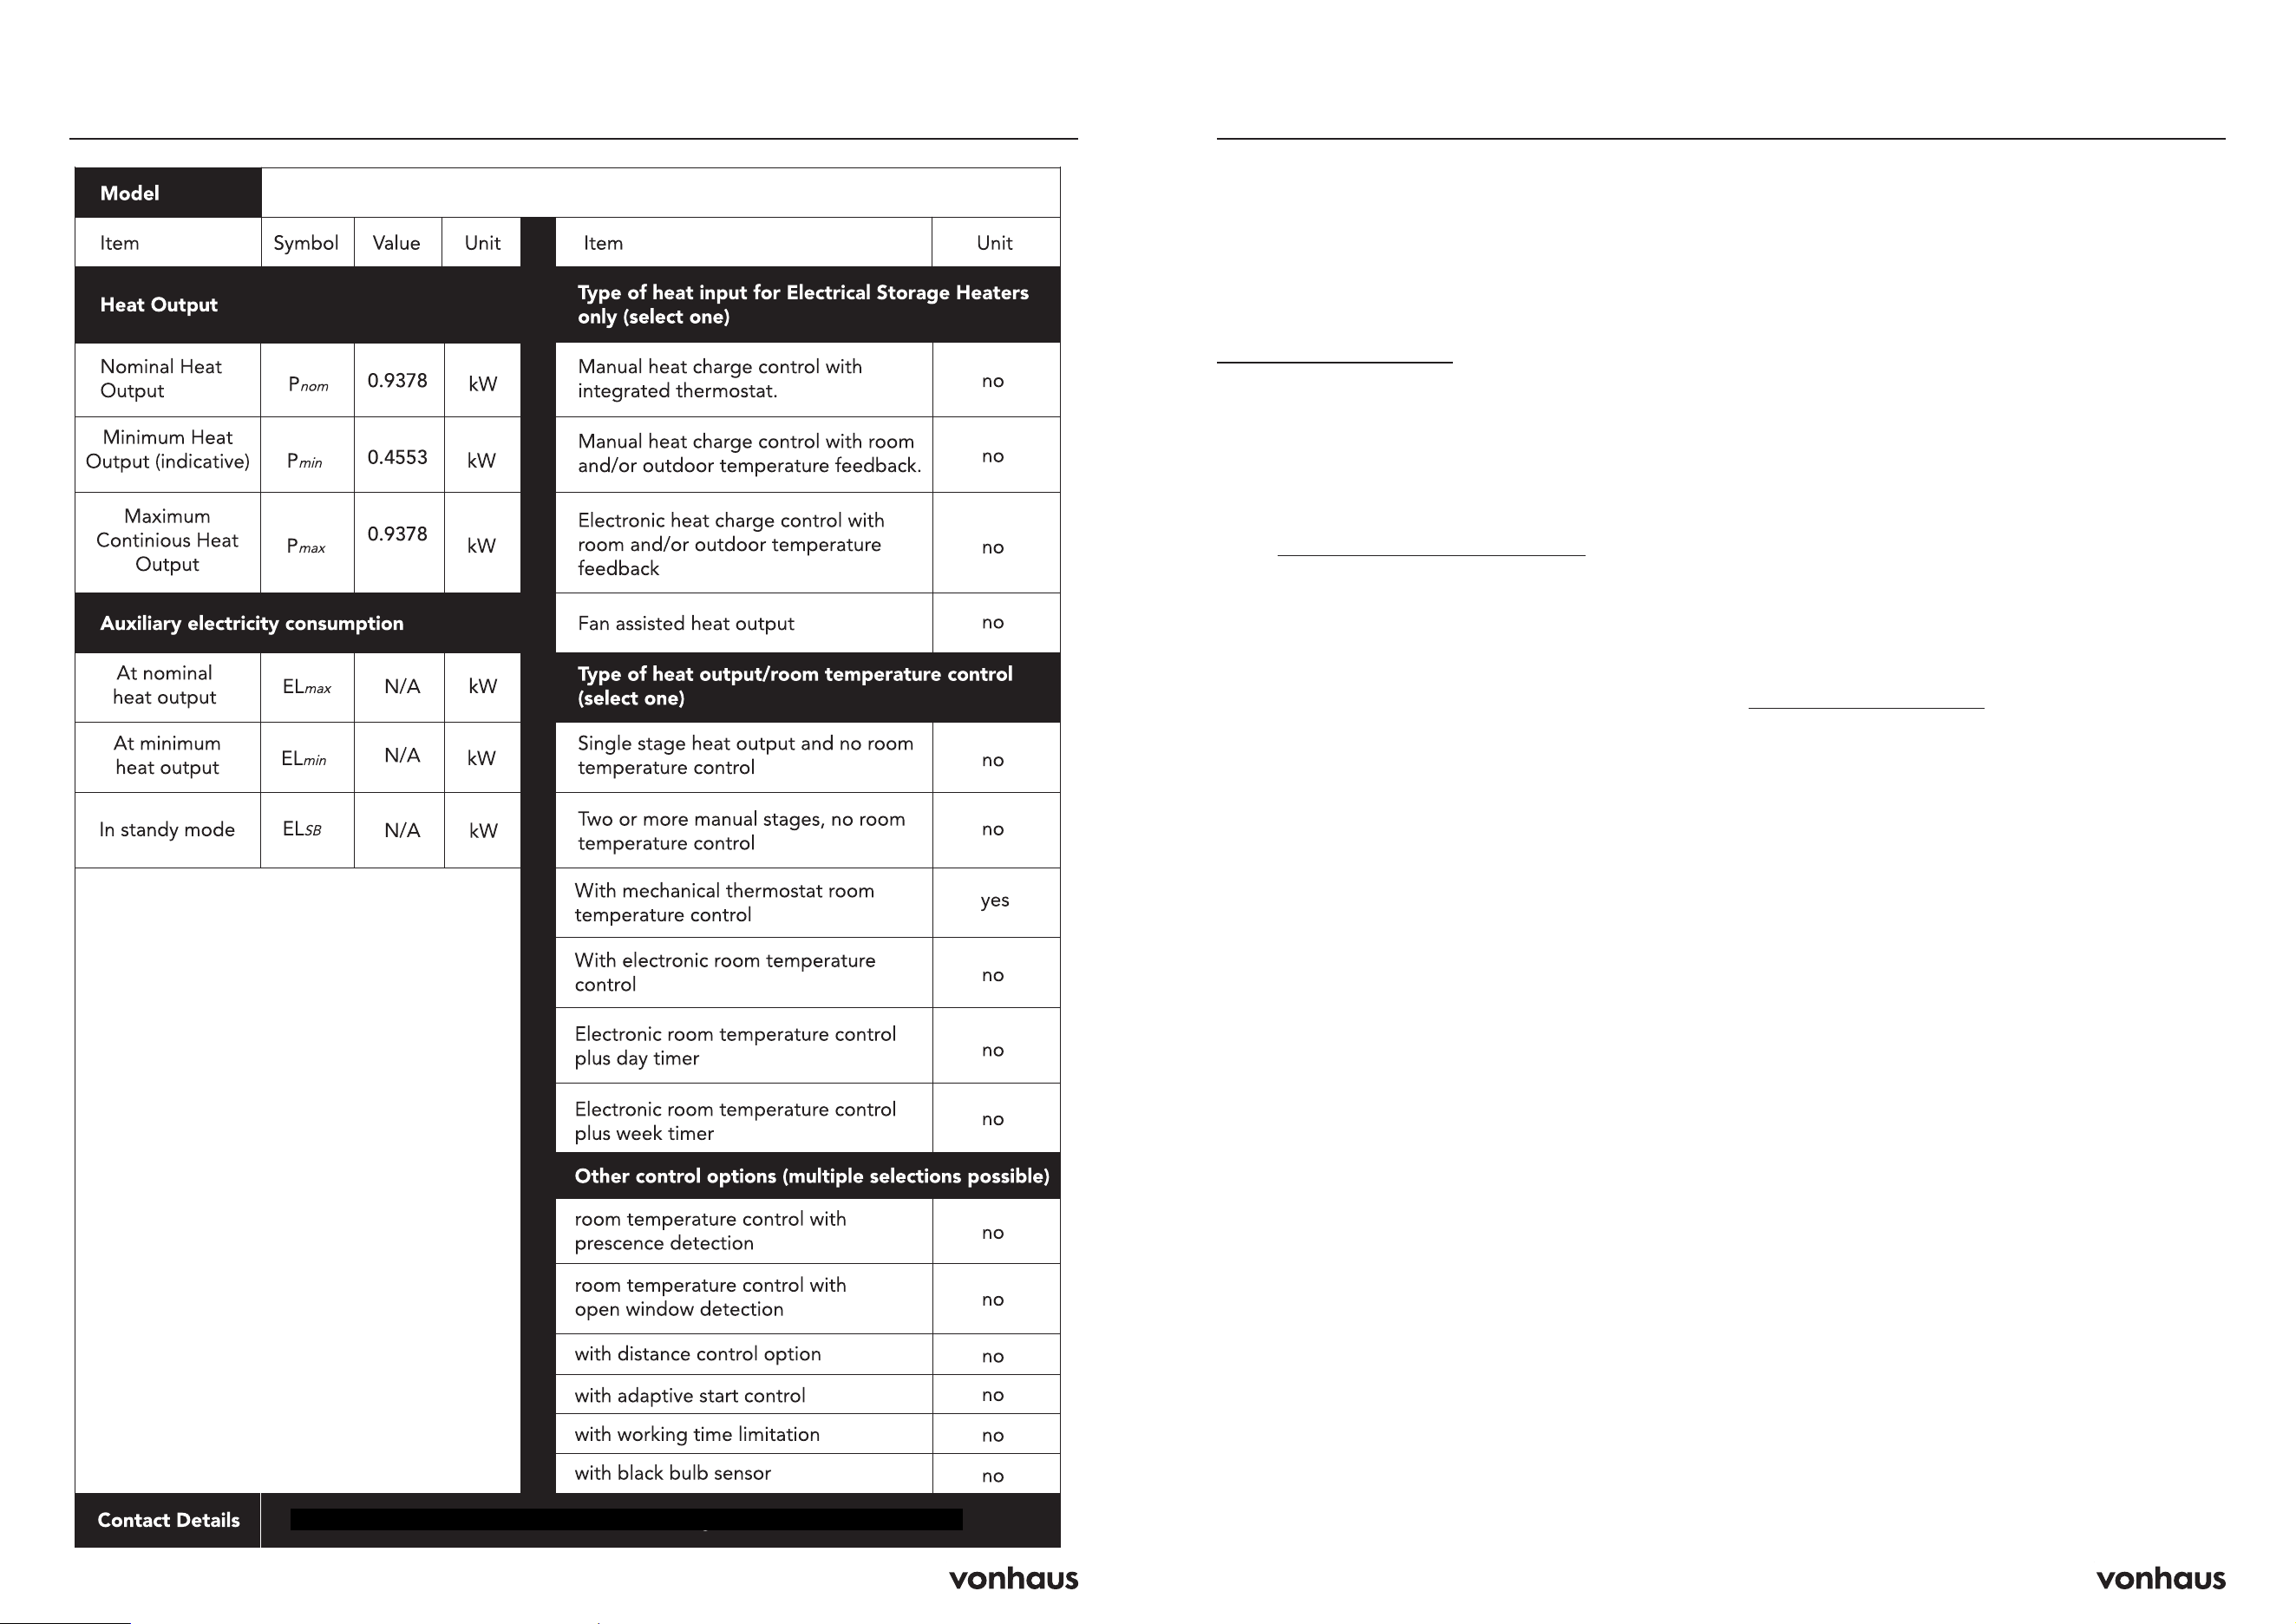
Do not immerse in water
Do not cover
WARNING: Hot surfaces
WARNING: Keep children and pets away
from the heater during use
WARNING: Risk of fire if instructions are not
followed
Suitable for well-insulated spaces or
This appliance has a thermal cut-out switch.
If the appliance overheats, it will shut down
automatically. Unplug and allow to cool for
15 minutes before restarting
Information
10 11
Information
2000341 / 2500888.2
DOMU Brands Ltd., Unit 30, Stakehill Industrial Estate, Middleton, Manchester, M24 2RW
Customer Service
If you are having difficulty using this product
and require support, please contact
suppor[email protected]
Warranty
To register your product and find out if you
qualify for a free extended warranty please
go to www.vonhaus.com/warranty
Please retain a proof of purchase receipt or
statement as proof of the purchase date.
The warranty only applies if the product is used
solely in the manner indicated in the warnings
page of this manual, and all other instructions
have been followed accurately.
Any abuse of the product or the manner in
which it is used will invalidate the warranty.
Returns
Returned goods will not be accepted unless
re-packaged in its original packaging and
accompanied by a relevant and completed
returns form. This does not affect your statutory
rights.
No rights are given under this warranty to a
person acquiring the appliance second-hand
or for commercial or communal use.
Copyright
All material in this instruction manual are
copyrighted by DOMU Brands.
Any unauthorised use may violate worldwide
copyright, trademark, and other laws.
Thank You
Thank you for purchasing your product/
appliance.
Should you require assistance with your
purchase, please contact us at
suppor[email protected]
Vonhaus is a registered trademark of DOMU
Brands Ltd.
Made in China for DOMU Brands Ltd.
Unit 30, Stakehill Industrial Estate
Middleton, Manchester, M24 2RW
EU Authorised Representative
Authorised Representative Service
77 Camden Street Lower
Dublin, D02 XE80
Ireland
Information
Product No. 2000341 / 2500888.2 / 2500887.2
Let’s get started!
Visit our product hub for
useful tips and tricks on
getting the most out of
your new product.
SCAN ME