Get connected
Connect your ring
Stu you
should know
Information
brochure
Oveiew and Packaging
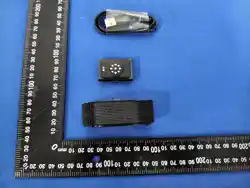
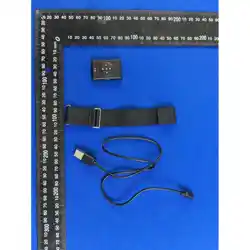
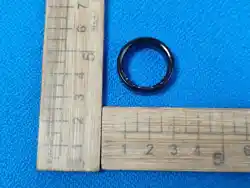
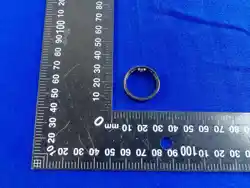
Sma Ring, Charging Cable, Charging Case, User Manual.
Power On
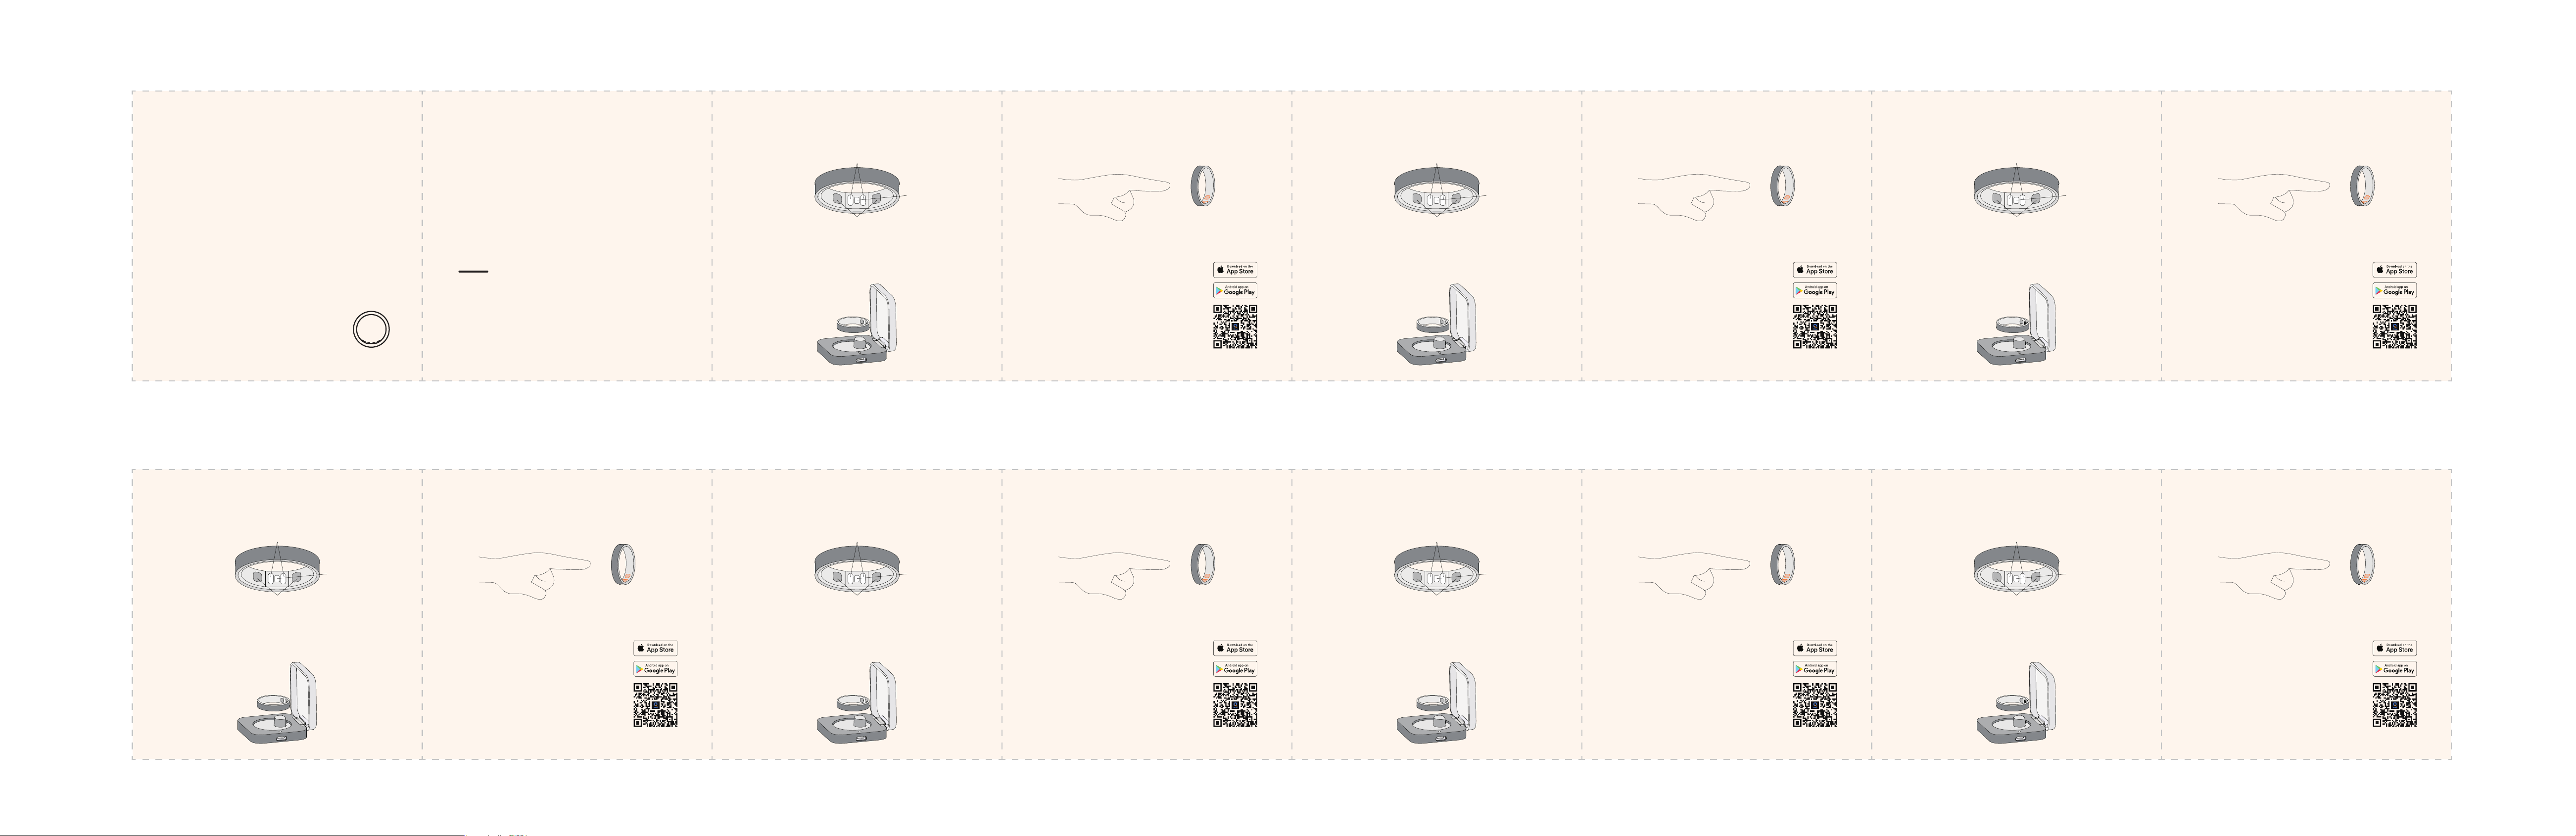
First‑time Charging: Remove the insulating sticker from the ring. Align the ring’s
magnetic connector with the charging case’s magnetic contact and place it
inside. The device will charge and power on.
Présentation et emballage
Bague intelligente, Câble de chargement, Boîtier de chargement, Manuel
d’utilisation.
Wearing Method
Poez la bague au doigt qui vous convient et choisissez une taille
confoable. Nous vous suggérons de la poer à l'index pour une meilleure
sueillance des données.données.
Mise sous tension
Première charge : Retirez l’autocollant isolant de la bague. Alignez le connecteur
magnétique de la bague sur le contact magnétique du boîtier de charge et placez-la à
l’intérieur. L’appareil se chargera et s’allumera.
Poez le capteur à l'intérieur de votre doigt pour une mesure
plus précise de la fréquence cardiaque et de l'oxygène dans le sang.
Übersicht und Verpackung
Intelligenter Ring, Ladekabel, Ladecase, Benutzerhandbuch.
Tragestil
Tragen Sie den Ring an einem passenden Finger und wählen Sie eine
bequeme Größe. Wir empfehlen, ihn am Zeigenger zu tragen, um die Daten
besser zu überwachen.
Einschalten
Erstes Auaden: Entfernen Sie den Isolierauleber vom Ring. Richten Sie den
magnetischen Anschluss des Rings am magnetischen Kontakt der Ladebox aus
und legen Sie ihn hinein. Das Gerät lädt sich auf und schaltet sich ein.
Bitte tragen Sie den Sensor auf der Innenseite Ihres Fingers,
um eine genauere Herzfrequenz- und Blutsauerstofmessung zu erhalten.
Panoramica e imballaggio
Anello intelligente, Cavo di ricarica, Custodia di ricarica, Manuale utente.
Stile di utilizzo
Indossa l'anello sul dito adatto e scegli una misura comoda. Suggeriamo di
indossarlo sull'indice per un migliore monitoraggio dei dati.
Accendi
Prima ricarica: Rimuovi l’adesivo isolante dall’anello. Allinea il connettore
magnetico dell’anello con il contatto magnetico della custodia di ricarica e
inseriscilo. Il dispositivo si caricherà e si accenderà.
Per una misurazione più accurata della frequenza cardiaca e
dell'ossigeno nel sangue, indossare il sensore sul lato interno del dito.
Descripción general y embalaje
Anillo inteligente, Cable de carga, Estuche de carga, Manual de usuario.
Estilo de uso
Usa el anillo en el dedo que te resulte más cómodo y elige una talla adecuada.
Sugerimos usarlo en el dedo índice para un mejor monitoreo de los datos.
Encender
Primera carga: Retire la pegatina aislante del anillo. Alinee el conector magnético
del anillo con el contacto magnético del estuche de carga y colóquelo dentro. El
dispositivo se cargará y se encenderá.
Lleve el sensor en la pae interior del dedo para obtener una medición
más precisa de la frecuencia cardiaca y el oxígeno en sangre.
概要とパッケージ
スマートリング、充電ケーブル、充電ケース、取扱説明書。
装着方法
指輪は適した指にはめ、快適なサイズを選んでください。データをよりよくモ
ニタリングするために、人差し指にはめることをお勧めします。
電源オン
初回充電:リングの絶縁シールを剥がします。リングのマグネット接続部を充電ケ
ースのマグネット接点に合わせてケースに入れてください。デバイスが充電され、
起動します。
より正確な心拍数と血中酸素の測定結果を得るには、
センサーを指の内側に装着してください。
概览与包装清单
智能戒指、充电线、充电仓、说明书。
开机
首次充电,撕掉戒指绝缘贴纸,将戒指磁吸接口对准充电仓磁吸位放入仓内,设备
即可充电开机。
充电触点
心率、血氧传感器
LED
充電接点
心拍数・SpO₂センサー
LED
Contactos de carga
Sensores de frecuencia cardíaca y SpO₂
LED
Contatti di ricarica
Sensori di frequenza cardiaca e SpO₂
LED
Wearing Method
Wear the ring on your suitable nger and choose a comfoable size. Suggest
wear it on the index nger for better monitoring of data.
Connection APP
Download the APP by scanning the QR code in the
manual, or by searching for "QRing" in the App Store
(iOS) or Google Play (Android).
After installation, register and log in to your account,
and grant the required permissions when prompted.
Tap “Bind Now” on‑screen to pair the device.
QRing
Please let the sensor on the inside of your ngers for more
accurate measurement of hea rate and blood oxygen when wearing it.
Charging contacts
Hea rate and SpO₂ sensors
LED
Contacts de chargement
Capteurs de fréquence cardiaque et de SpO₂
LED
Ladekontakte
Herzfrequenz‑ und SpO₂‑Sensoren
LED
1.
2.
3.
佩戴方式
将戒指佩戴在自己适宜的手指上,选择舒适尺寸。
建议佩戴在食指上,能够更好的监测数据。
请将传感器佩戴在手指内侧,心率、血氧测量结果更准确
APP 连接
扫描说明书中的二维码,在 App Store(iOS)或
Google Play(Android)中搜索"QRing",下载 APP。
安装完成后,注册并登录您的账户,并按提示授予所需
权限。
点击屏幕上的“立即绑定”配对设备。
QRing
1.
2.
3.
Verbindungs-App
Scannen Sie den QR‑Code im Handbuch oder suchen
Sie nach „QRing“ im App Store (iOS) oder Google
Play (Android), um die App herunterzuladen.
Registrieren und melden Sie sich nach der Installation
bei Ihrem Konto an und eeilen Sie die eorderlichen
Berechtigungen wie aufgeforde.
Tippen Sie auf „Jetzt binden“ auf dem Bildschirm, um
das Gerät zu koppeln.
QRing
1.
2.
3.
APP di connessione
Scansiona il codice QR presente nel manuale oppure
cerca « QRing » su App Store (iOS) o Google Play
(Android) per scaricare l’app.
Al termine dell’installazione, registrati e accedi al tuo
account, concedi le autorizzazioni richieste come
indicato.
Tocca « Associa ora » sullo schermo per abbinare il
dispositivo.
QRing
1.
2.
3.
APP de conexión
Escanee el código QR del manual o busque «QRing»
en App Store (iOS) o Google Play (Android) para
descargar la aplicación.
Tras la instalación, regístrese e inicie sesión en su
cuenta y conceda los permisos necesarios según se
solicite.
Pulse «Vincular ahora» en pantalla para emparejar el
dispositivo.
QRing
1.
2.
3.
接続する
取扱説明書の QR コードをスキャンするか、App Store
(iOS)または Google Play(Android)で「QRing」を検
索し、アプリをダウンロードしてください。
インストール完了後、アカウントを登録・ログインし、
画面の指示に従って必要な権限を許可してください。
画面の「今すぐバインド」をタップし、デバイスをペアリ
ングしてください。
QRing
1.
2.
3.
Application de connexion
Scannez le code QR du manuel ou recherchez
« QRing » sur l’App Store (iOS) ou Google Play
(Android) pour télécharger l’application.
Après l’installation, inscrivez‑vous et connectez‑vous
à votre compte, puis accordez les autorisations
requises selon les invites.
Appuyez sur « Lier maintenant » à l’écran pour
appairer l’appareil.
QRing
1.
2.
3.
英语
意大利语 西班牙语 日语 中文
法语 德语

Federal Communications Commission (FCC) Statement. This device complies with part 15 of the
FCC Rules. Operation is subject to the following twoconditions:
(1) This device may not cause harmful interference, and
(2) this device must accept any interference received,
including interference that may cause undesired operation. Note: This equipment has been
tested and found to comply with the limits for a Class B digital device, pursuant to part 15 of the
FCC Rules. These limits are designed to provide Reasonable protection against harmful
interference in a residential installation. This equipment generates, uses and can radiate radio
frequency energy and, if not installed and used in accordance with the instructions, may cause
harmful interference to radio communications. However, there is no guarantee that interference
will not occur in a particular installation. If this equipment does cause harmful interference to
radio or television reception, which can be determined by turning the equipment off and on, the
user is encouraged to try to correct the interference by one ormore of the following
measures:
•Reorient or relocate the receiving antenna.
•Increase the separation between the equipment and receiver.
•Connect the equipment into an outlet on a circuit different from that to which the receiver is
connected.
•Consult the dealer or an experienced radio/TV technician for help.
Warning: Changes or modifications made to this device not expressly approved by
Shenzhen YaWell Intelligent Technology Co.,Ltd.
m
a
y
v
o
i
d
t
h
e
F
CC
au
t
h
o
ri
z
a
t
i
o
n
t
o o
p
e
r
a
t
e
t
hi
s
device.Note: The manufacturer is not responsible for any radio or TV interference caused by
unauthorized modifications to this equipment. Such modifications could void the user’s authority
to operate the equipment.
RF exposure statement:
This device complies with FCC RF radiation exposure limits set forth for an uncontrolled
environment. The device is installed and operated without restriction.