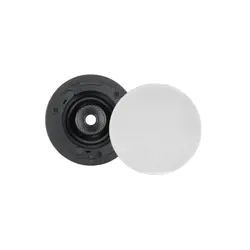
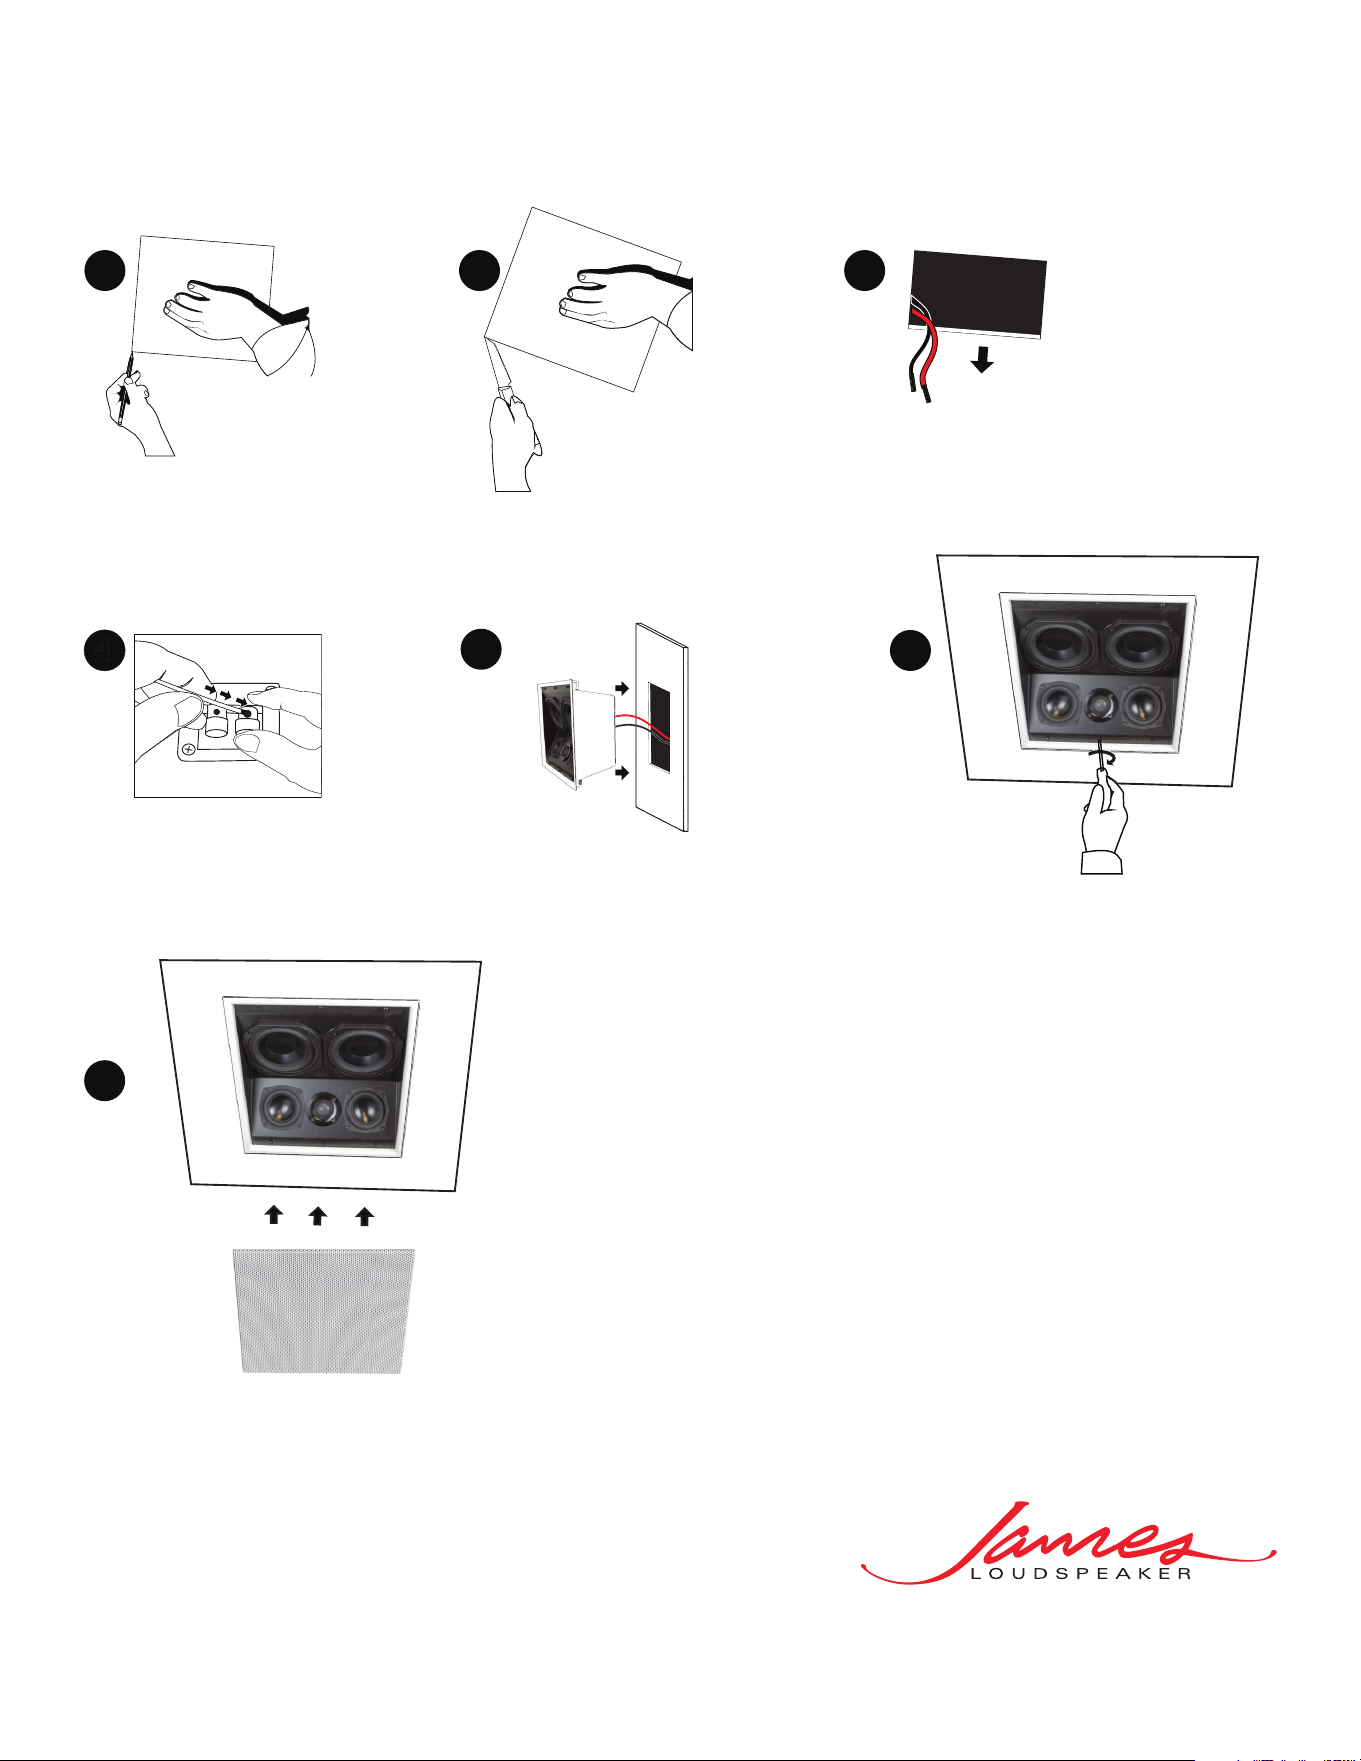
Tighten the 6 screws
using a Philips screw
driver so that the
attached brackets
securely clamp onto
the ceiling/wall material
(FXA550S shown).
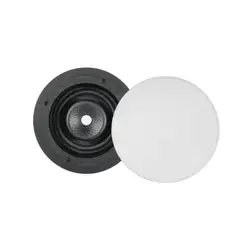
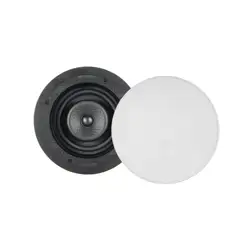
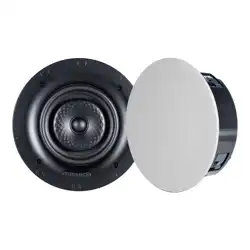
Attach press fit grille by aligning
grille with speaker enclosure then applying force
until grille is flush with speaker bezel.
(FXA550S shown).
6
4
7
2
Following your traced lines,
cut a hole in the ceiling/wall.
3
Locate the wire in
the ceiling/wall and
strip the wire ends ½”.
1
After determining the speaker location, mark a
cut-out area on the ceiling/wall as following:
• FXA550S: 12 1/8” x 12 1/8” (308mm x 308mm)
• FXAQ550S: 12 1/8” x 12 1/8” (308mm x 308mm)
Install the speaker by making sure that the brackets are
at the end of the screws.
Place the speaker assembly in the wall by angling the brackets towards
the center to clear the ceiling/wall material and inserting speaker
straight into the cut hole (FXA550S shown).
5
Connect the speaker
wire to the speaker
terminals observing
the correct polarity.
c
20170804
FXA SERIES INSTALLATION
®
535 Airpark Road, Napa, CA 94558
Ph: 707.265.6343
www.jamesloudspeaker.com