Wi-Fi
Add-on Switch
Users Manual
Thank you for your purchase!
See reverse for easy-to-follow
instructions and exclusive deals.
Instructions
made easy
Exclusive deals
Read instructions or
watch easy-to-follow
video. Scan code or visit
byjasco.com/49227i
For deals, to register your
purchase and to tell us how
we’re doing, simply scan
the code or visit
byjasco.com/deals
Having problems?
Let us know how we can
help. Call 1-800-654-8483
between 7AM-8PM, M-F,
Central Time.
Like our product?
Leave a review on your
favorite retailer website
or amazon.com
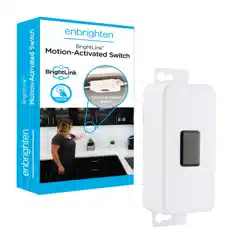
This Wi-Fi add-on switch is intended for use only with the
BrightLink™ system. It allows you to control power to a connected
series of compatible lighting fixtures. The entire connected series
of lights can be turned ON/OFF with this single module.
IMPORTANT: BEFORE INSTALLING, READ ALL SAFETY
INSTRUCTIONS LISTED AT THE END OF THIS MANUAL.
Home automation is in your
palm with Wi-Fi smart devices
and accessories at
www.enbrightenwifi.com
INSTALLATION OPERATION
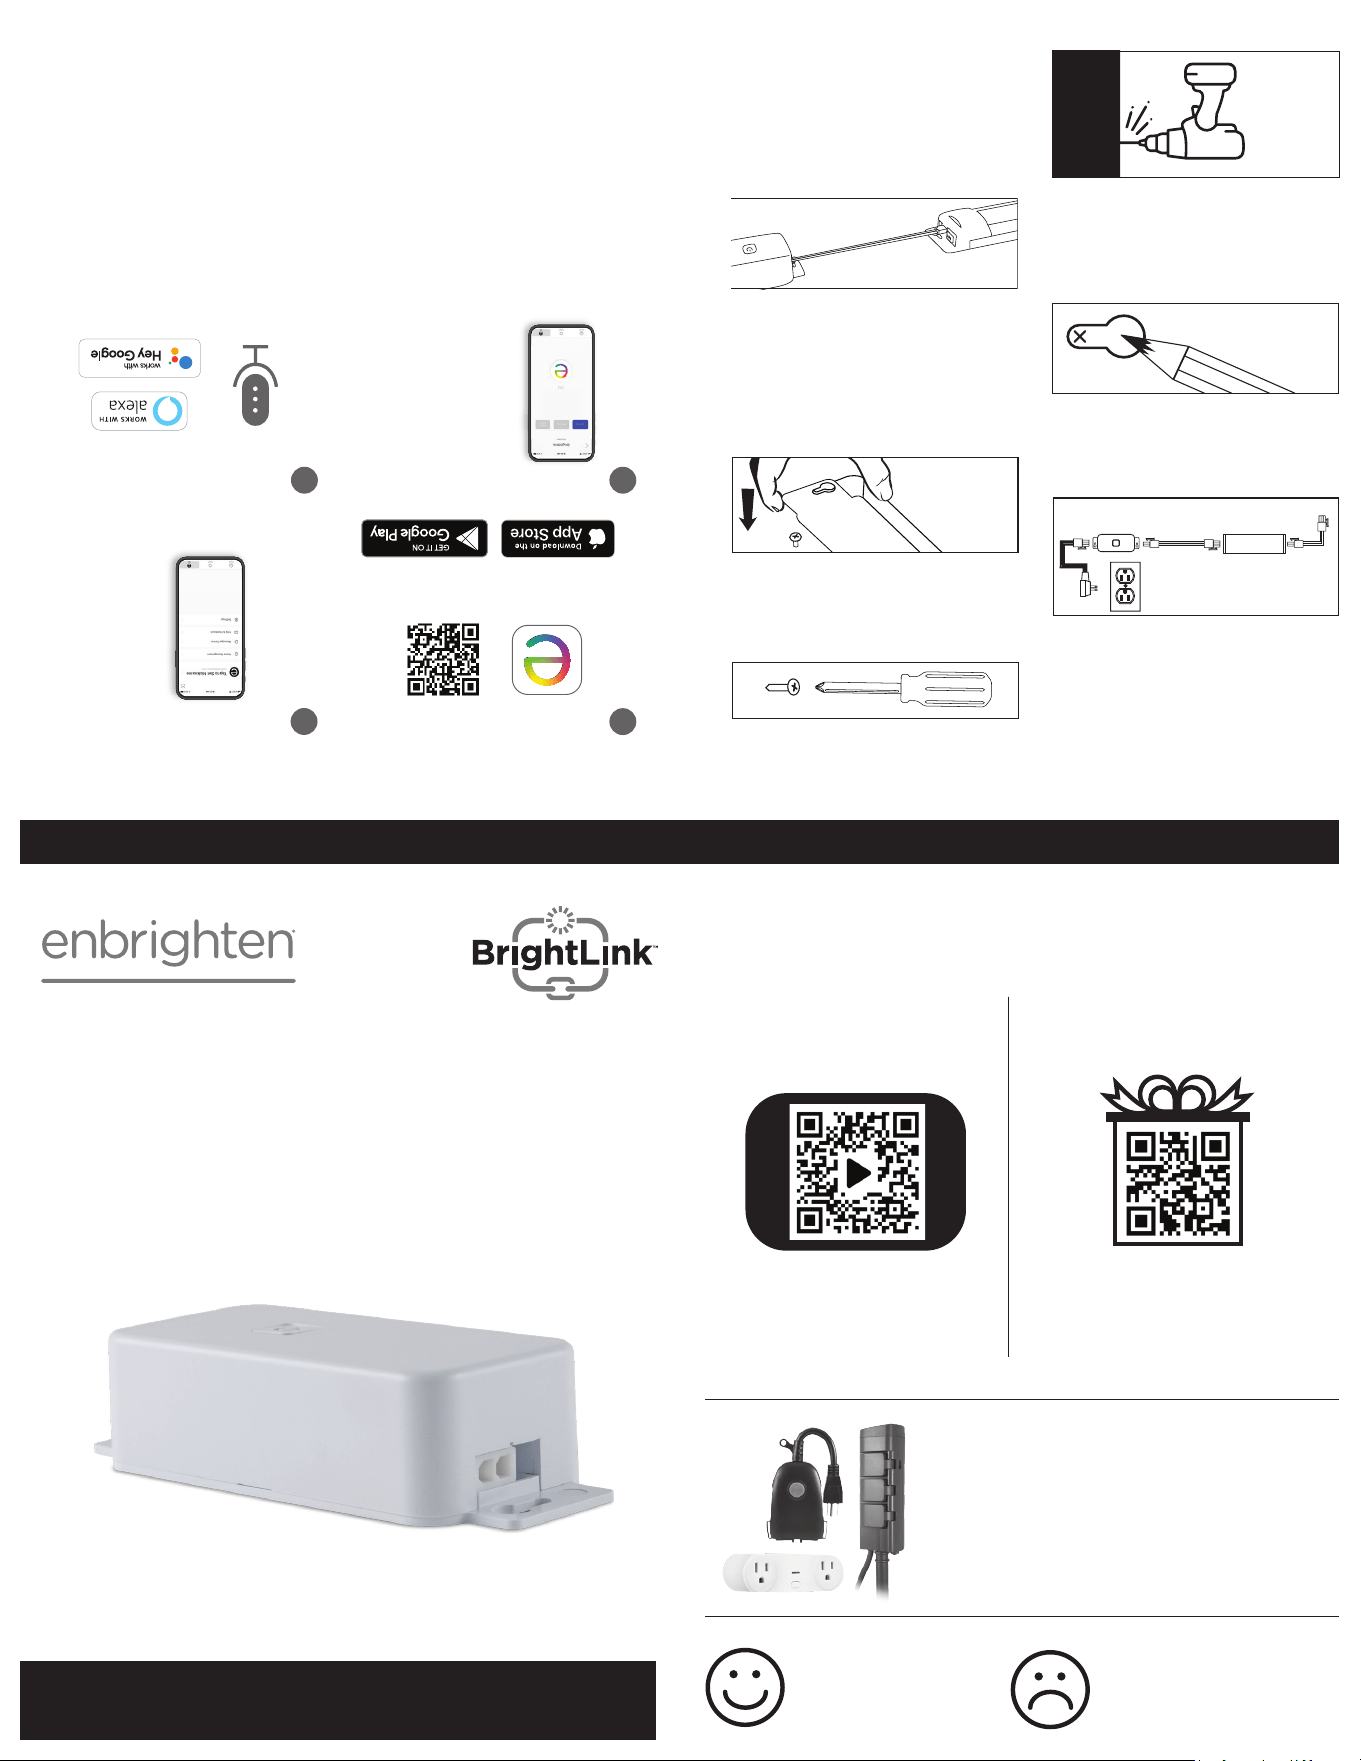
STEP 1: CHOOSE INSTALL LOCATION
This installation will use the power
and linking cords included with your
Enbrighten light fixture. Make sure that
the 5ft. power cord will reach the nearest
outlet, and that the linking cord will reach
the nearest light fixture. The mounting
location should be indoors, dry and able
to support the module.
STEP 2: MARK SCREW LOCATIONS
With a pencil, mark the screw locations
using the keyholes on either end of the
module for guidance.
STEP 3: PRE-DRILL HOLES
Pre-drill holes for the screws using the
pencil marking for guidance. Use a 1/16"
drill bit for soft woods and a 3/32" drill bit
for hard woods.
STEP 4: INSERT SCREWS
Insert the screws (included) with a
#1 Phillips screwdriver, leaving 1/8"
beyond the surface.
STEP 5: MOUNT SWITCH
Align the keyholes on the module
with the screws to secure it into place.
Fasten the screws as needed using only
the screwdriver.
STEP 6: CONNECT WITH A
LIGHT FIXTURE
Insert the 2-pin connector of the linking
cord (included with the light fixture)
into the 2-pin connector on the module.
Insert the 3-pin connector of the linking
cord into the 3-pin connector of the first
light fixture.
NOTE: Other linking cord lengths are available at
enbrightenme.com or byjasco.com.
STEP 7: PLUG INTO OUTLET
Insert the 3-pin connector of the power
cord into the 3-pin connector on the
module. Plug the power cord into a
120VAC 60Hz outlet.
IMPORTANT SAFETY INSTRUCTIONS
THIS PRODUCT IS INTENDED ONLY FOR
USE WITH LIGHTING FIXTURES THAT ARE
SPECIFICALLY COMPATIBLE WITH THE
BRIGHTLINK™ LINKING SYSTEM.
• DO NOT INSTALL THE SWITCH WHILE
PLUGGED IN OR WITH PLUGGED IN
LIGHTING FIXTURES.
• DO NOT ALTER THE CONNECTORS
IN ANY WAY.
• SAVE THESE INSTRUCTIONS
FOR FUTURE USE.
ELECTRICAL RATINGS: WI-FI MODULE
LINE VOLTAGE: 120V
MAXIMUM CURRENT: 0.4A
MAXIMUM WATTAGE: 48W
DO NOT EXCEED MAXIMUM ELECTRICAL
RATINGS LISTED ABOVE. TO MAKE SURE
YOUR INSTALLATION WILL NOT EXCEED
RATINGS, ADD THE CURRENT (A) OR
WATTAGE (W) RATING FOR ALL LIGHT
FIXTURES THAT WILL BE CONNECTED TO THE
SWITCH. THE TOTAL SUM OF THE CURRENT
OR WATTAGE FOR ALL CONNECTED LIGHT
FIXTURES CANNOT EXCEED THE MAXIMUM
LISTED ABOVE FOR THE TYPE OF MODULE
1
Scan the QR code above or search
Enbrighten on the Apple App Store or
Google Play.
Download the app
Create an account in
the Enbrighten app
Set up account
Pair the Switch
Compatible with Amazon
Alexa and Google Assistant
Follow the steps in the Amazon Alexa or
Google Assistant app to connect the
Enbrighten app, or select “Support” in
the Enbrighten app.
Voice control
43
2
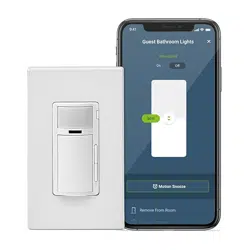
Remotely operate your Wi-Fi add-on switch with the easy-to-use
Enbrighten app. Follow the in-app instructions and available
resources to set up your smart device.
1. Manually turn every light
xture in the sequence ON.
2. Follow the on-screen
instructions to add the module.
The indicator light on the module
will ash while it is searching for
the network, and will turn solid
when connected to the app.
You will now be able to operate
the lights while using the app.
PRE-DRILL
MARK
CONNECT
MOUNT
BrightLink™
Wi-Fi Add-on
Switch
LED Light
Fixture
ELECTRICAL CORD CAN BE
ROUTED AROUND CORNERS
TO SUIT THE INSTALLATION
3 Pin
2 Pin
3 Pin
3 Pin
2 Pin
FCC STATEMENT:
Suppliers Declaration of Conformity | Model #: 49227 | Jasco Products Co.,
10 E. Memorial Rd., Oklahoma City, OK 73114, www.byjasco.com
This device complies with Part 15 of the FCC rules. Operation is subject to the following two
conditions: (1) this device may not cause harmful interference, and (2) this device must accept any
interference received, including interference that may cause undesired operation.
FCC NOTE: The manufacturer is not responsible for any radio or TV interference caused by
unauthorized modications to this equipment. Such modications could void the
user’s authority to operate the equipment.
NOTE: This equipment has been tested and found to comply with the limits for a Class B digital
device, pursuant to Part 15 of the FCC Rules. These limits are designed to provide reasonable
protection against harmful interference in a residential installation. This equipment generates, uses
and can radiate radio frequency energy and, if not installed
and used in accordance with the instructions, may cause harmful interference to radio
communications. However, there is no guarantee that interference will not occur in a particular
installation. If this equipment does cause harmful interference to radio or television reception,
which can be determined by turning the equipment off and on,
the user is encouraged to try to correct the interference by one or more of the following measures:
— Reorient or relocate the receiving antenna.
— Increase the separation between the equipment and receiver.
— Connect the equipment into an outlet on a circuit different from that
to which the receiver is connected.
—Consult the dealer or an experienced radio/TV technician for help.
DECLARACIÓN DE LA COMISIÓN FEDERAL DE COMUNICACIONES (FCC):
Declaración de conformidad del proveedor | Modelo #: 49227 | Jasco Products Co.,
10 E. Memorial Rd, Oklahoma City, OK 73114, www.byjasco.com
Este dispositivo cumple con las Especicaciones del apartado 15 de las normas de la FCC
y con las especicaciones de las normas radioeléctricas (RSS) del Ministerio de Industria de
Canadá aplicables a aparatos exentos de licencia. El funcionamiento está sujeto a las siguientes
dos condiciones: (1) este dispositivo no debe provocar interferencia perjudicial, y (2) este
dispositivo debe aceptar toda interferencia que reciba, incluso la que pudiera causar un
funcionamiento no deseado.
NOTA DE LA FCC: El fabricante no se hace responsable de ninguna interferencia de radio o TV
ocasionada por modicaciones no autorizadas efectuadas a este equipo. Dichas modicaciones
podrían anular la autoridad del usuario para utilizar el equipo.
NOTA: Este equipo ha sido probado y cumple con los límites para aparatos digitales de Clase B,
de conformidad con el apartado 15 de las normas de la FCC. Estos límites están diseñados para
proveer protección razonable contra interferencias perjudiciales en una instalación residencial.
Este equipo genera, usa y puede irradiar energía de radiofrecuencias y, si no se instala y usa según
las instrucciones, puede provocar interferencia perjudicial a las radiocomunicaciones. No obstante,
no hay garantías de que no ocurrirá interferencia en una instalación en particular. Si este equipo
provoca interferencia perjudicial a la recepción de radio o televisión, lo que puede determinarse
encendiendo y apagando el equipo, se recomienda que el usuario intente corregir la interferencia
por medio de la implementación de una o más de las siguientes medidas:
— Reorientar o reubicar la antena receptora.
— Incrementar la separación entre el equipo y el receptor.
— Conectar el equipo a un tomacorriente de un circuito diferente del circuito al que está
conectado el receptor.
— Consultar al distribuidor o a un técnico con experiencia en radio/televisión
para solicitar asistencia.
HECHO EN THAILAND
Distribuido por Jasco Products
Company LLC, 10 E Memorial Rd.,
Oklahoma City, Oklahoma 73114.
Este producto de Jasco tiene una
garantía de por vida limitada. Visite
www.byjasco.com para conocer los
detalles de la garantía.
¿Preguntas? Comuníquese al
1-800-654-8483 entre las 7AM y las
8PM CST(hora central estándar).
49227 v2 8/21
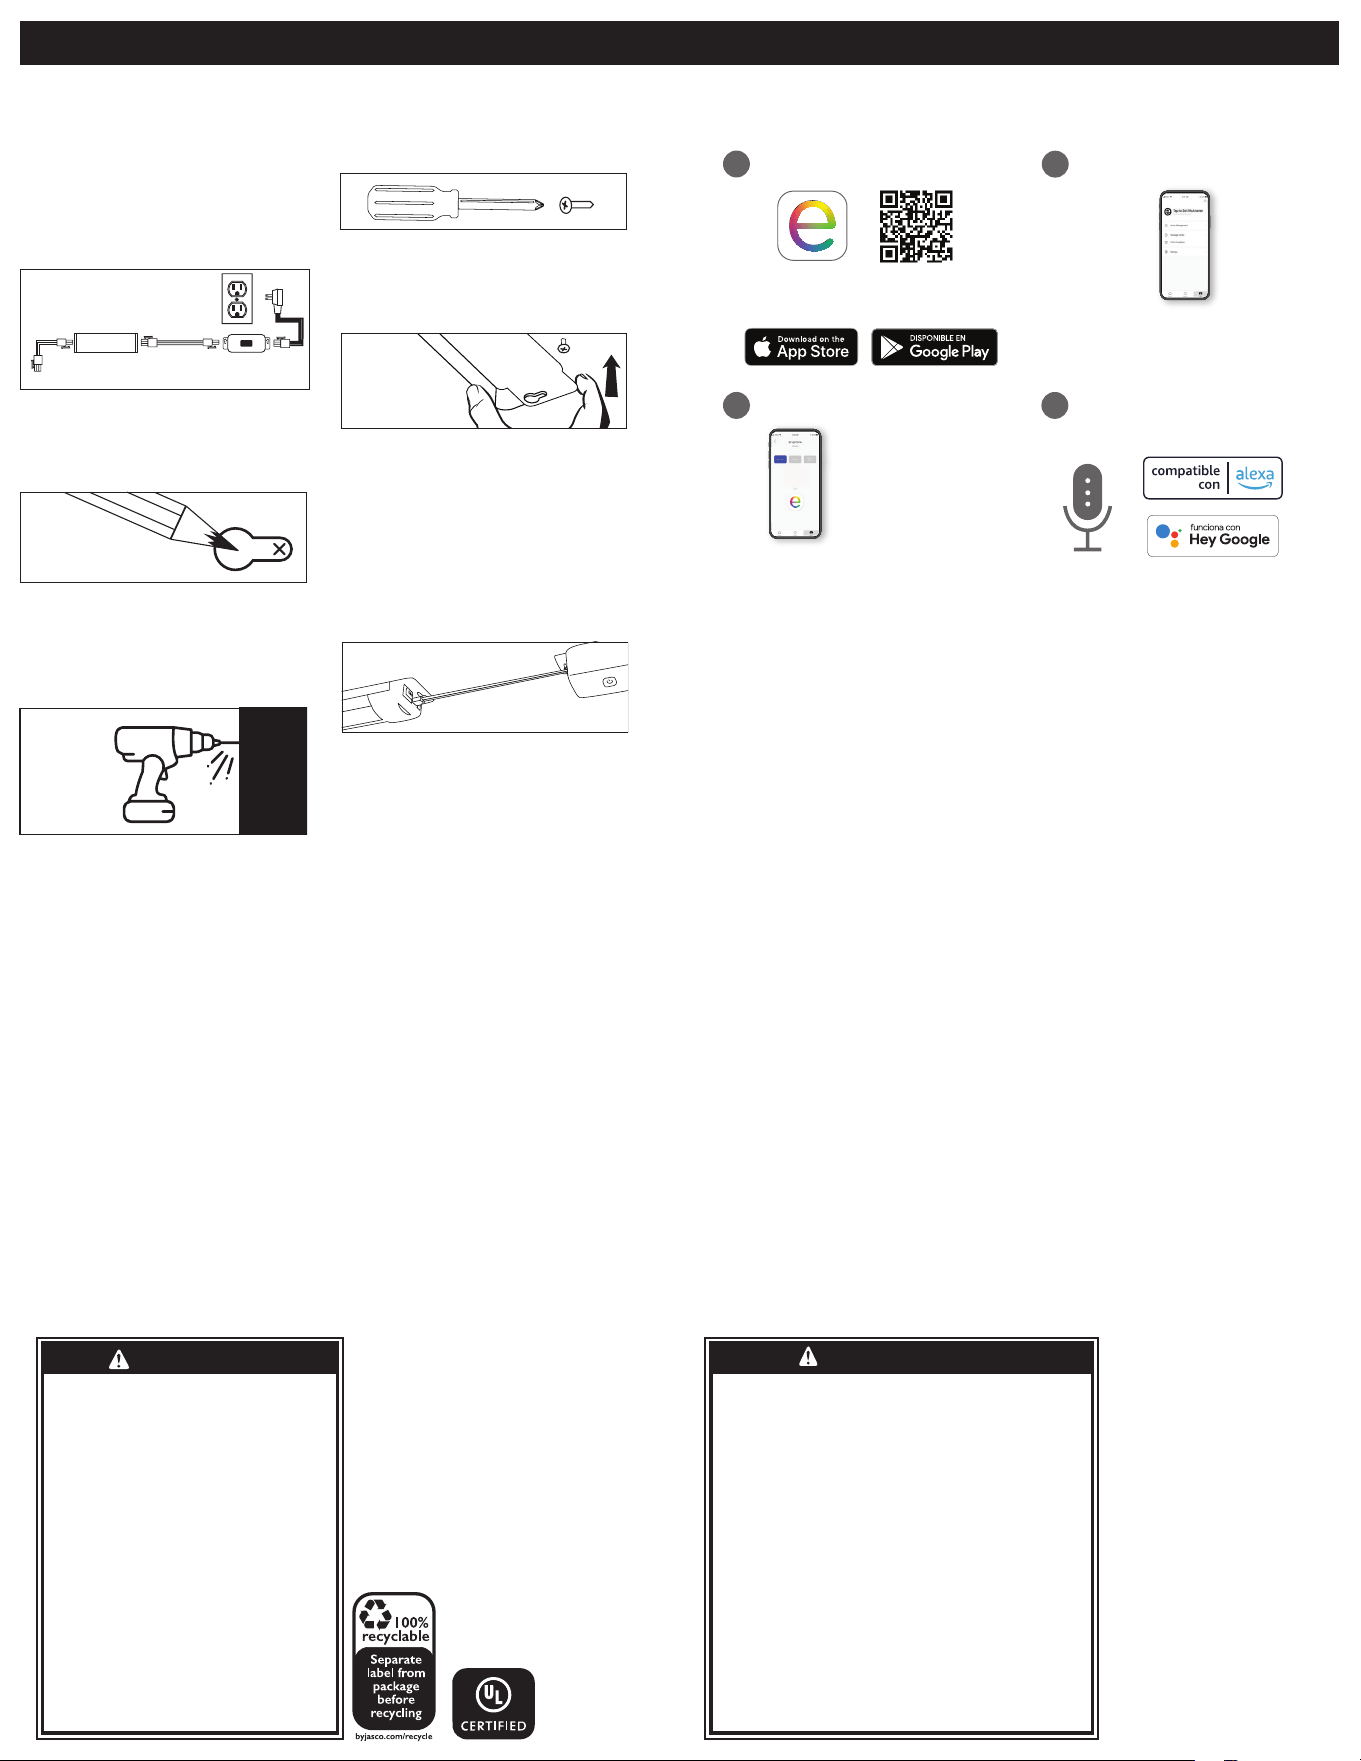
RISK OF ELECTRIC SHOCK
• DO NOT USE IN WET LOCATIONS.
• USE INDOORS ONLY.
• USE ONLY INSULATED STAPLES OR PLASTIC
TIES TO SECURE THE CORDS.
• ROUTE AND SECURE THE CORDS SO THAT
THEY WILL NOT BE PINCHED OR DAMAGED.
• NO SERVICEABLE PARTS
RISK OF FIRE
• DO NOT EXCEED ELECTRICAL RATINGS
• USE ONLY WITH BRIGHTLINK-COMPATIBLE
LIGHTING FIXTURES.
• NOT INTENDED FOR USE ABOVE STOVES,
COOK TOPS, SINKS OR OTHER HEAT
PRODUCING APPLIANCES, SUCH AS COFFEE
MAKERS, TOASTERS OR TOASTER OVENS.
- NOT INTENDED FOR RECESSED
INSTALLATION IN CEILINGS OR SOFFITS.
- DO NOT CONCEAL POWER SUPPLY CORD
OR LINKING CORDS INSIDE A WALL, CEILING,
SOFFIT, KITCHEN CABINET OR SIMILAR
PERMANENT STRUCTURE.
- DO NOT RUN POWER SUPPLY CORD OR
LINKING CORDS THROUGH HOLES IN
WALLS, CEILINGS OR FLOORS.
RIESGO DE DESCARGA ELÉCTRICA
NO UTILICE EN LUGARES HÚMEDOS.
- SOLO PARA USO EN INTERIORES.
- PARA FIJAR LOS CABLES, SOLO USE GRAPAS AISLADAS O
PRECINTOS DE PLÁSTICO.
- PASE Y FIJE LOS CABLES DE MODO QUE NO QUEDEN
APRETADOS NI SE DAÑEN.
- NO TIENE PIEZAS QUE EL USUARIO PUEDA REPARAR.
RIESGO DE INCENDIO
- NO SUPERE LOS VALORES NOMINALES ELÉCTRICOS.
- SOLO USE CON ARTEFACTOS DE ILUMINACIÓN
COMPATIBLES CON BRIGHTLINK.
NO SE DEBE USAR SOBRE HORNILLOS, PLACAS DE
COCINA, FREGADEROS NI NINGÚN OTRO DISPOSITIVO
QUE GENERE CALOR, COMO CAFETERAS, TOSTADORAS NI
HORNOS ELÉCTRICOS.
- ESTA UNIDAD NO ESTÁ DISEÑADA PARA MONTAJE
EMPOTRADO AL TECHO O EN UN SOFITO.
- NO OCULTE EL CABLE DE ALIMENTACIÓN ELÉCTRICA O
LOS CABLES DE CONEXIÓN DENTRO DE UNA PARED, EL
CIELO RASO, UN SOFITO, UN MUEBLE DE COCINA O UNA
ESTRUCTURA SIMILAR QUE SEA PERMANENTE.
- NO PASE EL CABLE DE ALIMENTACIÓN ELÉCTRICA NI LOS
CABLES DE CONEXIÓN POR ORIFICIOS EN PAREDES, EL
CIELO RASO O EL SUELO.
WARNING
ADVERTENCIA
FCC Declaration of Conformity is available on the support page in the Enbrighten app.
Google and Google Play are trademarks of Google LLC. App store is a service mark of Apple Inc.
Amazon, Alexa and all related logos are trademarks of Amazon.com, Inc. or its afliates.
Declaración de la comisión federal de comunicaciones (FCC) está disponible en la página de soporte de la aplicación
Enbrighten.Google y Google Play son marcas de Google LLC. App store es una marca de servicio de Apple Inc.
Amazon, Alexa y todos los logotipos relacionados son marcas registradas de Amazon.com, Inc. o sus liales.
INSTALACIÓN FUNCIONAMIENTO:
PASO 1: ELIJA EL LUGAR DE
Esta instalación usará la alimentación y los
cables de conexión incluidos con su aparato
de iluminación Enbrighten. Asegúrese de
que la longitud del cable de alimentación de
1,5 m (5 pies) será suficiente para alcanzar el
tomacorriente más cercano y de que el cable de
conexión llegue al aparato de iluminación más
cercano. La ubicación de montaje debe ser una
en interiores, seca y con capacidad de admitir
el módulo.
PASO 2: MARQUE LAS UBICACIONES DE
LOS TORNILLOS
Con un lápiz, marque las ubicaciones de los
tornillos usando los orificios en cada uno de los
extremos del módulo como guía.
PASO 3: PERFORE PREVIAMENTE
LOS ORIFICIOS
Perfore previamente orificios para los tornillos
guiándose por las marcas con lápiz. Use una
broca de 1/16” para maderas blandas y una broca
de 3/32” para maderas duras.
PASO 4: INSERTE LOS TORNILLOS
Inserte los tornillos (incluidos) con un
destornillador Phillips n.º 1, dejando 3 mm sobre
la superficie.
PASO 5: MONTE EL MÓDULO
Alinee los orificios tipo cerradura en el módulo
con los tornillos para fijarlo en su lugar. Ajuste
los tornillos según sea necesario usando solo
el destornillador.
PASO 6: CONECTE A UN
APARATO DE ILUMINACIÓN
Inserte el conector de 2 clavijas del cable de
conexión (incluido con el aparato de iluminación)
en el conector de 2 clavijas del módulo. Inserte el
conector de 3 clavijas del cable de conexión en
el conector de 3 clavijas del primer aparato de
iluminación.
NOTA: Puede encontrar cables de otras
longitudes en enbrightenme.com o byjasco.com.
PASO 7: ENCHUFE EN
EL TOMACORRIENTE
Inserte el conector de 3 clavijas del cable de
alimentación en el conector de 3 clavijas en el
módulo. Enchufe el cable de alimentación a una
toma de 120 VAC/60 Hz. 120VAC 60Hz outlet.
INSTRUCCIONES IMPORTANTES DE SEGURIDAD
ESTE PRODUCTO ESTÁ DISEÑADO SOLO PARA
USO CON APARATOS DE ILUMINACIÓN QUE
SEAN ESPECÍFICAMENTE COMPATIBLES CON
EL SISTEMA DE ENLACE BRIGHTLINK™.
• NO INSTALE EL INTERRUPTOR MIENTRAS
ESTÉ ENCHUFADO O CON APARATOS DE
ILUMINACIÓN ENCHUFADOS.
• NO ALTERE LOS CONECTORES DE
NINGÚN MODO.
• GUARDE ESTAS INSTRUCCIONES PARA
USARLAS EN EL FUTURO.
ESPECIFICACIONES ELÉCTRICAS: MÓDULO WIFI
VOLTAJE DE LÍNEA: 120 V
CORRIENTE MÁXIMA: 0,4 A
POTENCIA MÁXIMA: 48 W
NO SOBREPASE LAS ESPECIFICACIONES
ELÉCTRICAS MÁXIMAS INDICADAS ANTERIORMENTE.
PARA ASEGURARSE DE QUE SU INSTALACIÓN NO
SOBREPASE LAS ESPECIFICACIONES, SUME LA
CAPACIDAD DE CORRIENTE (A) O POTENCIA (W)
DE TODOS LOS APARATOS DE ILUMINACIÓN QUE
ESTARÁN CONECTADOS AL INTERRUPTOR. LA SUMA
TOTAL DE LA CORRIENTE O POTENCIA DE TODOS LOS
APARATOS DE ILUMINACIÓN CONECTADOS NO PUEDE
SOBREPASAR EL MÁXIMO INDICADO ANTERIORMENTE
PARA EL TIPO DE MÓDULO QUE SE INSTALARÁ.LISTED
ABOVE FOR THE TYPE OF MODULE BEING INSTALLED.
1
Escanee el código QR anterior o
busque Enbrighten en App Store de
Apple o en Google Play.
Descargue la app
Cree una cuenta en
la app Enbrighten
Cree la cuenta
Empareje el módulo
Compatible con Amazon
Alexa y Google Assistant
Siga los pasos en la app de Amazon
Alexa o Google Assistant para conectar
la app Enbrighten o seleccione
"Apoyo" en la app Enbrighten.
Control por voz
43
2
Opere de forma remota su interruptor inteligente con la app
Enbrighten fácil de usar. Siga las instrucciones en la app y los
recursos disponibles para configurar su dispositivo inteligente.
Encienda manualmente
cada uno de los aparatos de
iluminación en la secuencia. Siga
las instrucciones en pantalla
para agregar el módulo. La
luz indicadora en el módulo
destellará mientras busca la red y
se mantendrá encendida cuando
se conecte a la app. Ahora podrá
operar las luces usando la app.
PERFORE
PREVIAMENTE
MARQUE
CONECTE
MONTE
Módulo conactivación por
movimiento BrightLink™
EL CABLE ELÉCTRICO PODRÁ SER
COLOCADO ALREDEDOR DE ESQUINAS
PARA ACOMADARSE A SU INSTALACIÓN
2 Postes
3 Postes
2 Postes 3 Postes 3 Postes
MADE IN THAILAND
Distributed by Jasco Products Company LLC,
10 E. Memorial Rd., Oklahoma City, OK 73114.
This Jasco product comes with a limited-lifetime
warranty. Visit www.byjasco.com for
warranty details.
Questions? Contact our U.S.-based Consumer
Care at 1-800-654-8483 between 7AM-8PM,
M-F, Central Time.