One remote is all you need to control all your IR appliances. Simply open the Tapo app, go to the Status page of the Tapo Hub to add a remote control with
your preferred method.
04/ Add Remote Controls for Infrared Appliances
*Images may dier from your actual product.
7100001180 REV1.1.0 ©2024 TP-Link
Quick Start Guide
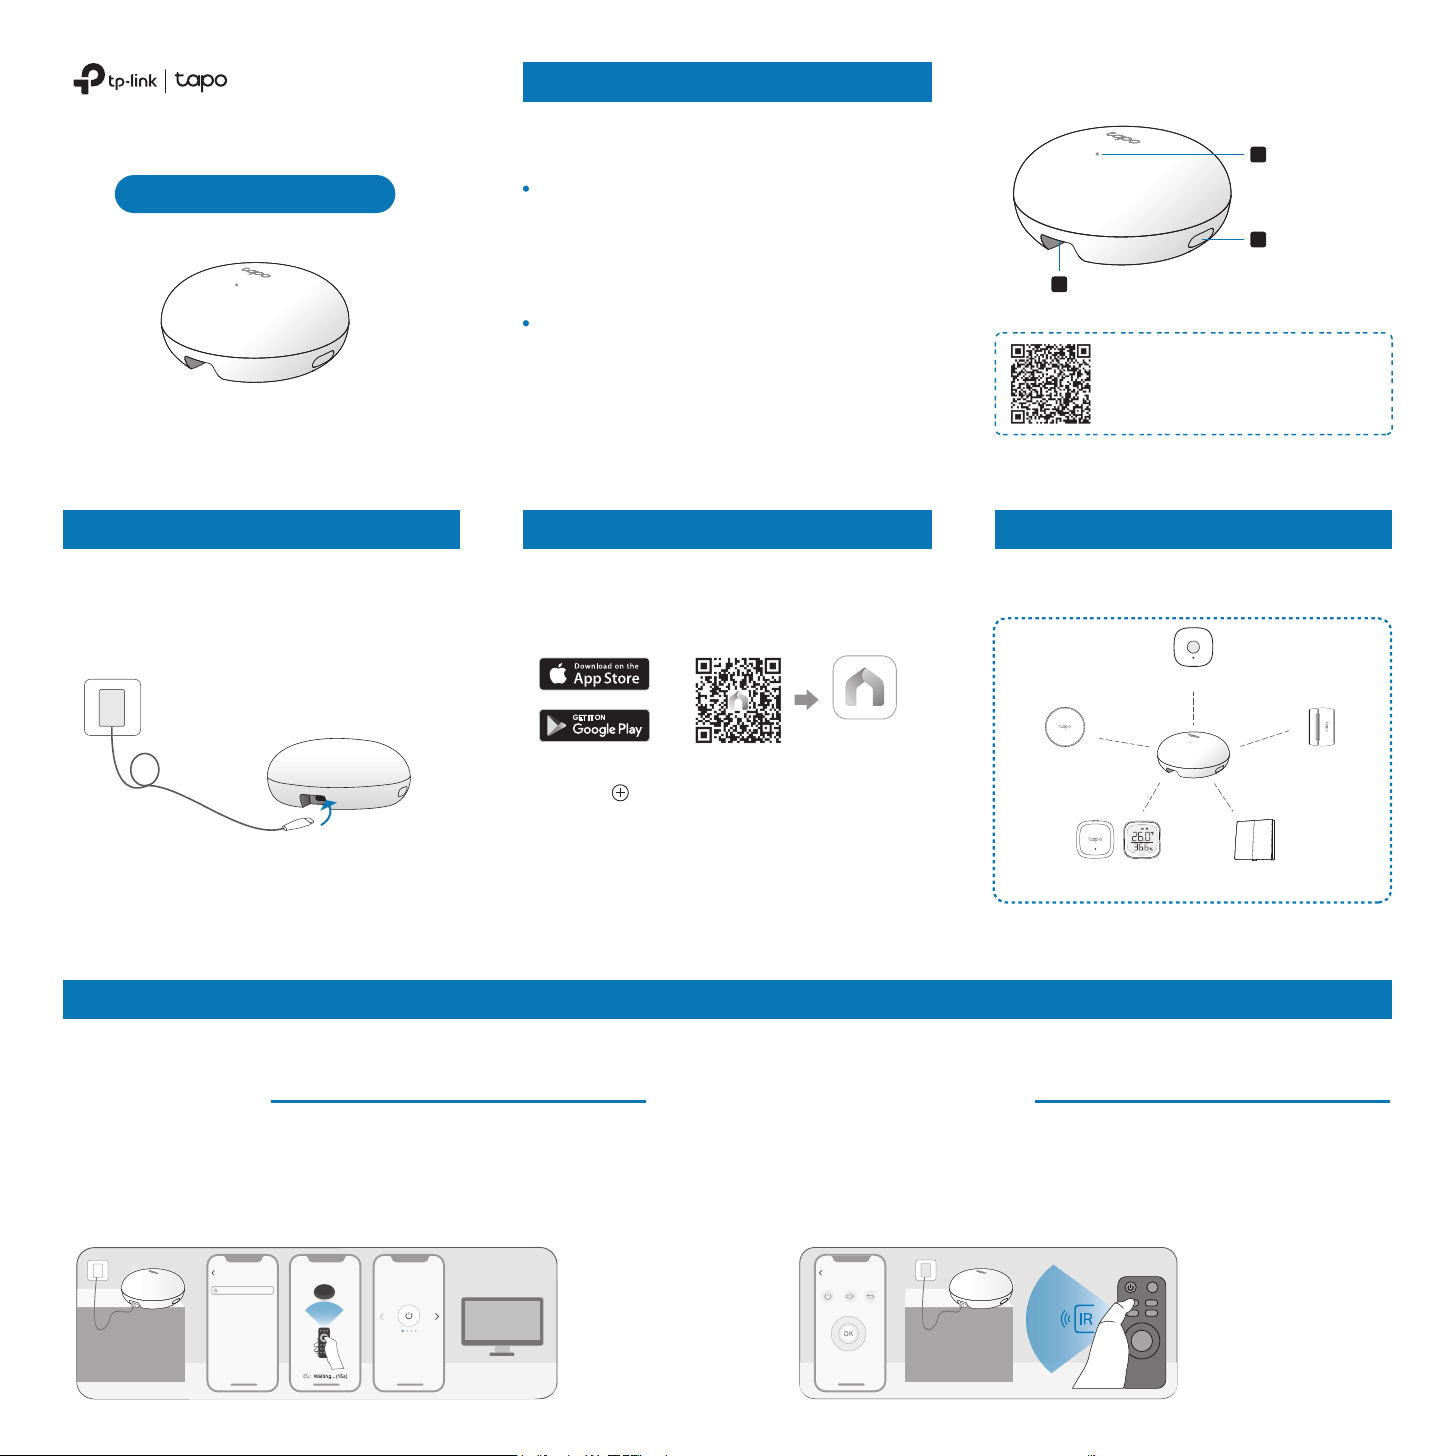
Plug the provided USB-A to USB-C power
cable into the Type-C port, then connect it to
a power outlet using a 5V/2A (or higher
current) adapter.
01/ Power Up Your Hub 02/ Set Up Your Hub 03/ Add Tapo Accessories
2. Tap the button in the app. Select
Hubs/HomeBase and then your model. Follow
the app instructions to complete setup.
1. Get the Tapo app from the App Store or
Google Play and log in with your TP-Link ID. If
you do not have an account, create one rst.
Tapo App
OR
Smart IoT & IR Hub
Note: The USB adapter is not provided.
1. Search your appliance's brand.
3. Test a few buttons in the app for a more accurate match.
4. Save the remote control. The remote control setup is complete.
2. (Optional) Point your physical remote control at the Hub and press
any button to match your appliance.
Method 1: Smart Match
Transform your home into a smart haven with
the Tapo Hub.
Manage Your Tapo Accessories
After the Tapo Hub is successfully added,
connect your Tapo devices to your hub.
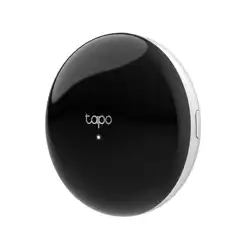
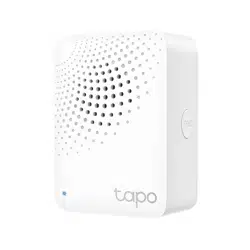
Motion Sensor
Smart Button
Window/Door
Sensor
Customize your remote control by learning the buttons on it one by
one. This is ideal for uncommon remotes or when only specic
buttons are needed.
Method 2: Button Learning
Temperature & Humidity
Sensor/Monitor
2
1
Type-C Port
3
Status LED
SYNC Button
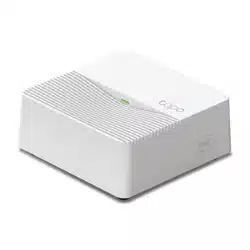
The Sub-1G ultra-low-power performance
ensures seamless wireless connections with a
variety of Tapo accessories, allowing you to
control and monitor your home from anywhere.
Manage Your IR Home Appliances
For frequently asked questions
about the Tapo Hub, please visit
https://www.tp-link.com/support/
faq/4128/
Meet Your Tapo Hub
The built-in infrared transmitter enables you to
manage IR appliances like TVs and air
conditioners, turning traditional devices into
smart ones eortlessly.
5V/2A (or higher current)
*More is coming soon.
TV
Search
Select Brand
Smart Match Match Appliance
Light switches
(Sub-1G)
Bind to Matter
Once added to Tapo, you can
integrate the Tapo Hub and
its connected devices with
other Matter-compatible
ecosystems.
1. Update the hub’s rmware
to the latest version.
2. Go to Device Settings >
Bind to Matter to nd the
Matter setup code and add to
an ecosystem.
To ensure optimal performance, avoid placing
your infrared appliances directly behind the
Tapo Hub.
Third-Party Services
Infrared Signal Direction
Control home appliances via voice commands.
Go to Me > Third-Party Services in the Tapo app
to link Tapo to Alexa, Google Assistant, and
other third-party services.
For detailed instructions, please visit:
• Google Home Assistant:
https://www.tp-link.com/support/faq/2779/
• Amazon Alexa:
https://www.tp-link.com/support/faq/2780/
LED Indications
0
cm
105
4321
Safety Information
• Keep the device away from water, re, humidity or hot environments.
• Do not attempt to disassemble, repair, or modify the device. If you need service,
please contact us.
• Do not use the device where wireless devices are not allowed.
• This equipment can be powered only by equipment that complies with Power
Source Class 2 ( PS2) or Limited Power Source(LPS) dened in the standard of
IEC 62368-1.
• Operating Temperature: -10 °C ~ 40°C (14°F ~ 104°F)
Please read and follow the above safety information when operating the device.
We cannot guarantee that no accidents or damage will occur due to improper
use of the device. Please use this product with care and operate at your own risk.
Solid white
Blinking amber quickly
Blinking white slowly
Solid amber
Connecting to Wi-Fi;
Oine
Connected to Wi-Fi
Starting up;
Connected to Cloud
Ready for setup
Hub updating
Factory resetting
Blinking white once Emitting IR signal
Blinking white & amber quickly
Blinking white & amber slowly
Device Settings
Bind to Matter (Beta)
Blinking white twice
Learning button succeeded
Pairing with Tapo accessoryBlinking white slowly
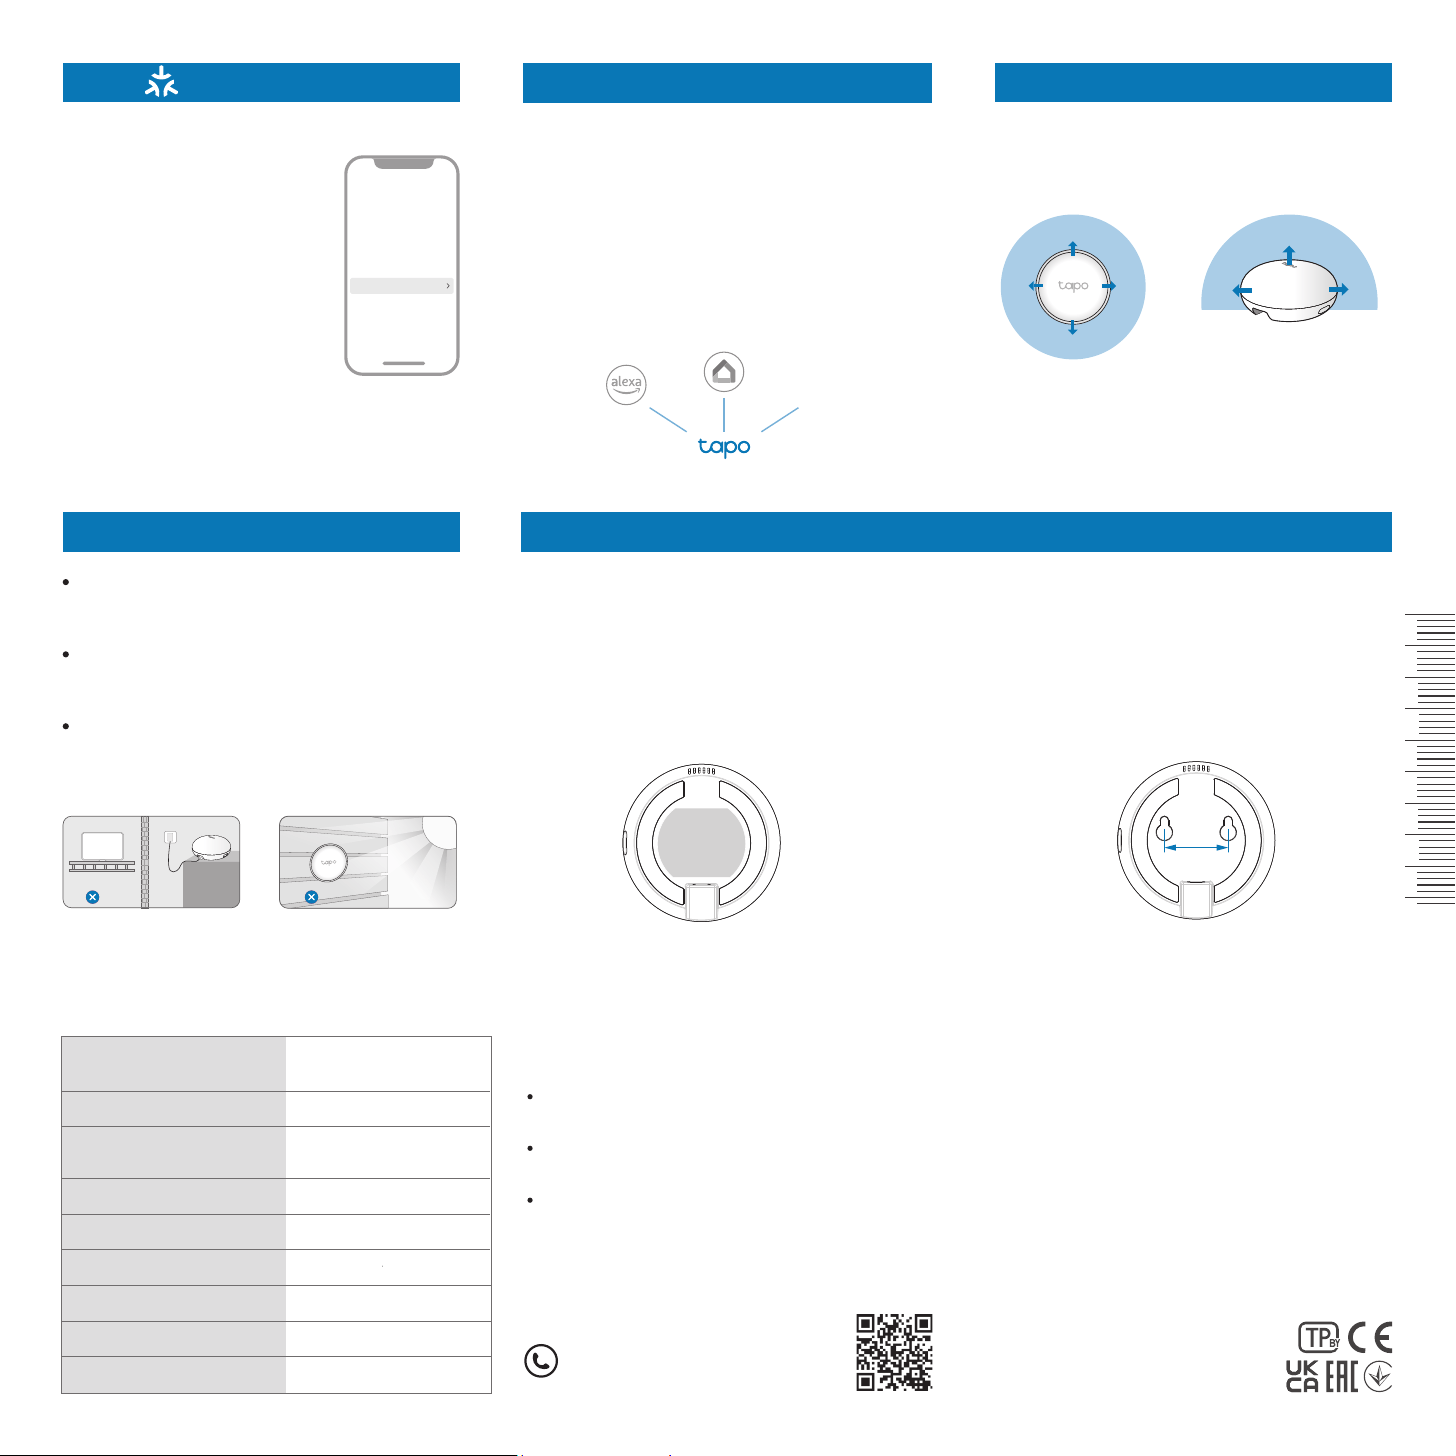
Position your hub within the infrared signal range. You can place it on a at surface or mount it on a
wall. There are two mounting options for wall installation:
1. Attach the included adhesive to the back of
the Tapo Hub.
2. Clean the wall surface, then rmly press the
hub with the adhesive onto the clean wall.
1. Mark two screw hole locations on the wall,
spaced 32 mm apart.
2. Drill two screws (M3-M4 size) into the wall,
then securely attach the hub.
Placement Tips Mount to the Wall
32 mm
Keep the hub and your appliances free from
walls or obstacles that may block infrared
signals.
Avoid direct sunlight or placing the front of
the hub too close to incandescent lamps to
prevent interference.
Keep the hub away from large metal
surfaces, as they may weaken the Sub-1G
signal strength.
Method 1: Adhesive Mount Option 2: Screw Mount
More...
360° 180°
TV
TP-Link hereby declares that Smart IoT & IR Hub is in compliance with the
essential requirements and other relevant provisions of directives 2014/53/EU,
2009/125/EC, 2011/65/EU and (EU) 2015/863.
The original EU declaration of conformity may be found at
https://www.tapo.com/en/support/ce/
TP-Link hereby declares that Smart IoT & IR Hub is in compliance with the
essential requirements and other relevant provisions of the Radio Equipment
Regulations 2017.
The original UK declaration of conformity may be found at
https://www.tapo.com/support/ukca/
For EU/UK Region:
Operating Frequency / Nominal Operating Frequency / Max Output Power:
2400MHz~2483.5MHz / 20dBm
863~865MHz / 863.35MHz / 25mW (e.r.p)
863~865MHz / 864.35MHz / 25mW (e.r.p)
868~868.6MHz / 868.35MHz / 25mW (e.r.p)
For US: 920.9 MHz /921.7 MHz /922.3 MHz
Button Explanations
SYNC Button
Press for 1s: Enter pairing mode to connect your
Tapo accessory.
Press and hold for 5s: Reset Wi-Fi settings while
retaining other congurations.
Press and hold for 10s: Restore all settings to
factory defaults.
For technical support, the user guide,
warranty, and more information, please
visit www.tapo.com/support/