©2024 Dorel Juvenile Group, Inc. (800) 544-1108 www.coscokids.com. Styles, colors, and labeling may vary. Los estilos,
colores y etiquetado pueden variar. Made in CHINA. Hecho en CHINA. Distributed by (distribuido por) Dorel Juvenile Group, Inc.,
2525 State St., Columbus, IN 47201-7494. Dorel Juvenile Canada, 2233 Argentia Road, Suite 110, Mississauga, ON L5N 2X7.
Representante exclusivo en Chile: DOREL JUVENILE CHILE S.A. Av. del Parque 4161, oficina 602 A, Huechuraba, Santiago, Chile
- Fono: 56 2 24971500 - www.infanti.cl - www.dorel.cl. Importado y distribuido en Perú por: COMEXA COMERCIALIZADORA
EXTRANJERA S.A. SUCURSAL DEL PERÚ - Los Libertadores 455, San Isidro, Lima 27, Lima, Perú RUC 20431062870 – Fono:
4413029 – www.infanti.com.pe. En Centro América, Caribe y Ecuador por: Best Brands Group S.A. – Av. Balboa, Bay Mall Plaza,
Planta Baja, local 9, Panamá. - Fono: (507) 300 2884. En Colombia por: Baby Universe S.A.S. - Vía 40 No. 77-29, Barranquilla,
Colombia - Fono: (575) 353 1110 Importador: DJGM, S.A. DE C.V. Gabriel Mancera No. 1041 Col. Del Valle, Benito
Juárez C.P. 03100 México, Ciudad de México R.F.C. DJG140305GN9 Tel. (55) 6719920 11/24 4358-8627
• WARNING
: Remove and discard all packaging materials
before use.
• Do not return this product to the place of purchase. To address any
issues, visit www.coscokids.com, text 812-652-2525, call Consumer
Care at 800-544-1108, or email [email protected]. Have ready
the model number (HC291) and the date of manufacture located on
the back of the seat.
• No tools needed.
• Before Assembly: Wipe down the tray with a soft cloth and
warm soapy water.
1
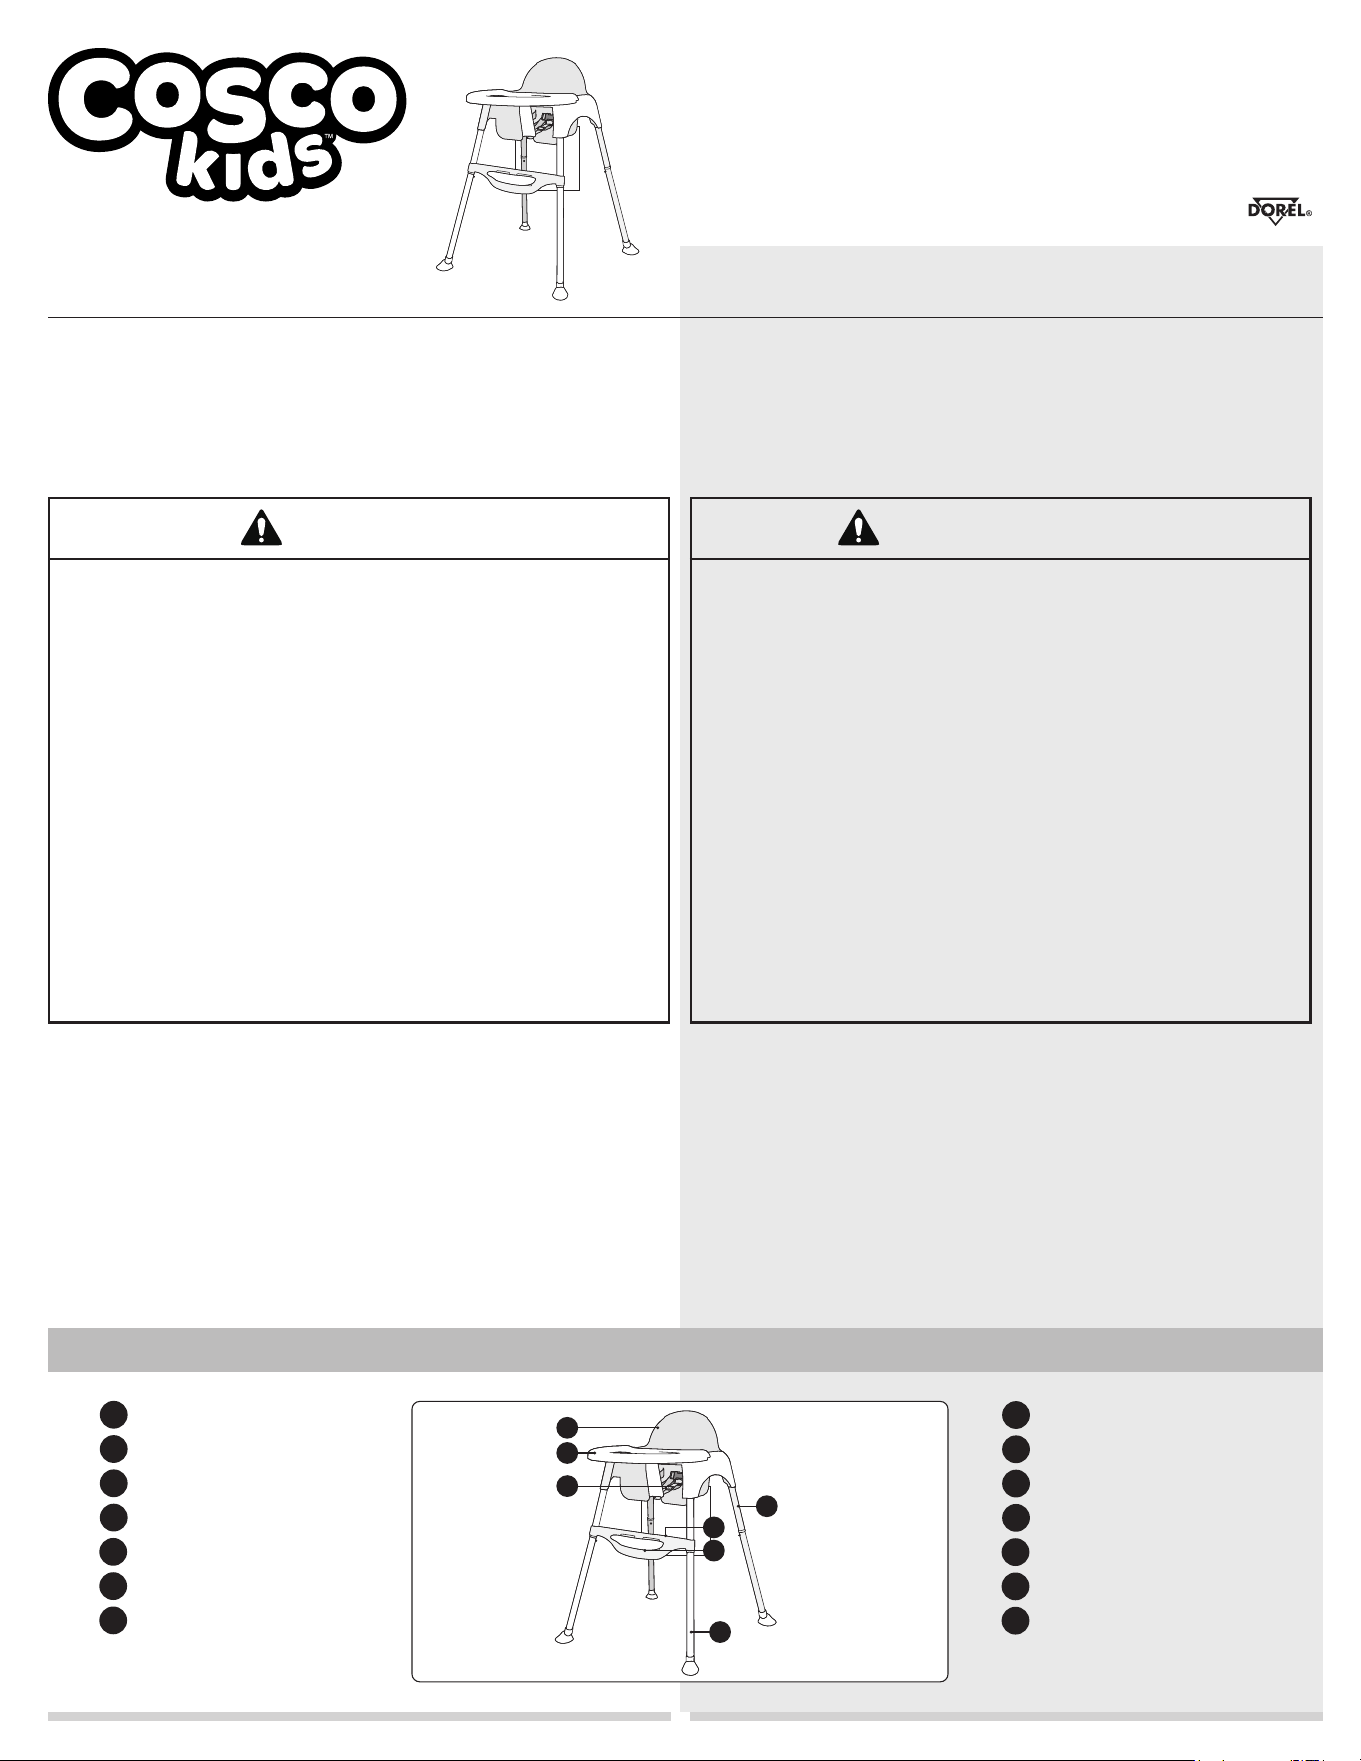
Canteen High Chair
HC291
User Guide
Weight: Up to 33 lb (14.9 kg)
High Chair: Suitable for child who can sit up unassisted
up to 33 lb (14.9 kg)
Parts List
High chair frame
Tray (made without BPA)
Restraints
Upper legs
Footrest bar
Footrest
Lower legs
A
B
C
D
E
F
G
A
B
D
• Adult assembly required.
• READ all instructions before assembly and use of high chair.
• KEEP instructions for future use.
C
FALL HAZARD: Children have suffered severe head injuries
including skull fractures when falling from high chairs. Falls can
happen suddenly if child is not restrained properly.
• ALWAYS use restraints, and adjust to fit snugly.
• Tray is not designed to hold child in chair.
• Stay near and watch child during use. This product is not safe for
sleep or unsupervised use. If baby falls asleep, remove baby as
soon as possible and place baby on a firm, flat sleep surface such
as a crib or bassinet.
• DO NOT lift or move high chair with child in it.
• The child should be secured in the high chair at all times by the
restraint system.
• It is recommended that the high chair be used only by children
capable of sitting upright unassisted.
WARNING
• ADVERTENCIA: Antes de su uso, retire y deseche todos los
materiales de empaque.
• No devuelva este producto al lugar donde lo compró. Para
solucionar cualquier problema, visite www.coscokids.com, envíe
un mensaje de texto al 812-652-2525, llame a Atención al
consumidor al 800-544-1108 o envíe un correo electrónico a
[email protected]. Tenga a mano el número de modelo (HC291) y
la fecha de fabricación que se encuentran en el respaldo del asiento.
• No se necesitan herramientas.
• Antes de armar: Limpie la bandeja con un paño suave y agua
tibia y jabón.
Periquera para comedor
HC291
Guía del Usuario
PELIGRO DE CAÍDA: Algunos niños han sufrido lesiones graves en la
cabeza, incluyendo fracturas de cráneo, al caer de sillas altas. Las caídas
pueden ocurrir de repente, si el niño no está sujeto de forma adecuada.
• SIEMPRE utilice sistemas de sujeción y ajústelos para que queden
cómodos.
• La bandeja no está diseñada para sujetar al niño en la silla.
• Permanezca cerca y observe al bebé durante su uso. Este
producto no es seguro para dormir o usarse sin supervisión. Si el
bebé se duerme, retírelo lo antes posible y colóquelo sobre una
superficie para dormir firme y plana, como una cuna o un moisés.
• NO levante ni mueva la periquera si hay un niño en ella.
• El niño debe estar asegurado en la periquera en todo momento
mediante el sistema de retención.
• Se recomienda que la periquera la utilicen únicamente niños
capaces de sentarse erguidos sin ayuda.
ADVERTENCIA
E
F
G
Estructura de la periquera
Bandeja (hecho sin BPA)
Restricciones
Parte superior de las patas
Barra de reposapiés
Reposapiés
Parte inferior de las patas
Lista de piezas
Peso: Hasta 33 lb (14.9 kg)
Periquera: adecuada para niños que pueden sentarse
sin ayuda hasta 33 lb (14.9 kg)
• El montaje debe realizarlo un adulto.
• LEA todas las instrucciones antes de armar y usar la periquera.
• GUARDE estas instrucciones para su uso futuro.
A
B
C
D
E
F
G
2
To Assemble
Wipe the high chair and tray with a soft cloth dampened with soapy water and
towel dry. Surface wash and air dry the restraint and buckle straps.
High Chair Care and Maintenance
Buckle Strap
Waist Strap
Correa a la
cinturas
Correa de hebilla
1a
Using High Chair
Always secure child in the restraint belt. Adjust to
fit snugly.
1a
2a
1b
1c
1b
WARNING
Para armar
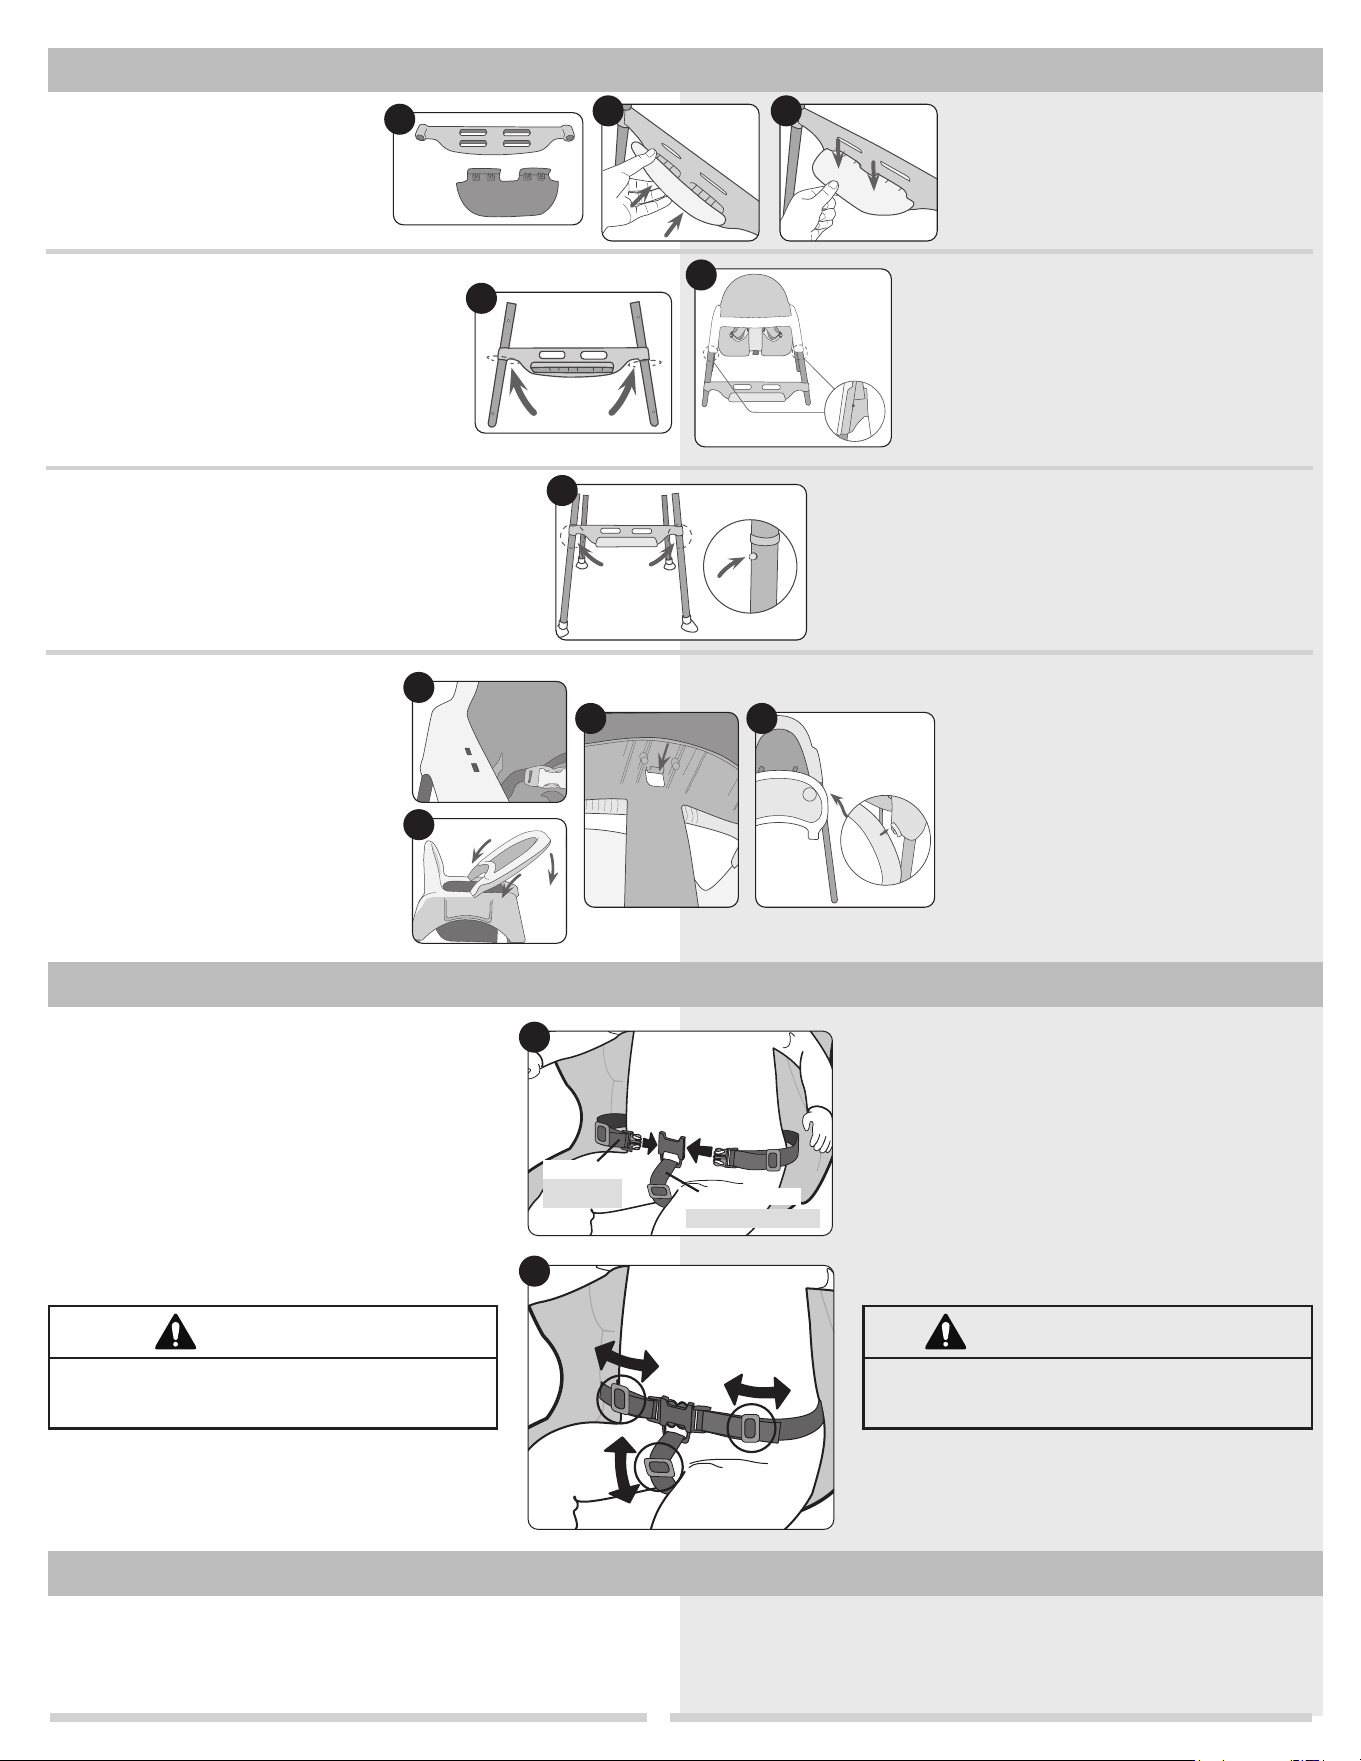
1. Footrest: Insert the footrest into one
of the two height positions in the
footrest bar and push down to lock it
(Figure 1a–1c).
2. Upper legs: Fit the two upper legs into the
footrest bar. The upper legs are shorter and
have a plastic ring at the tip (Figure 2a).
Snap the upper legs into the seat, with the
footrest assembly facing forward. Rotate
the legs until the locking pins engage in the
opening (Figure 2b). Snap all four upper
legs into seat. Note: Pull on each leg to
ensure all legs are assembled securely.
3. Lower legs: Fit the four lower legs into the
tips of the upper legs. Ensure the pins have
emerged from all the legs correctly (Figure 3).
Note: Pull on each leg to ensure all legs are
assembled securely.
4. Tray: The tray can be fitted in two
different positions using the seat
inserts (Figure 4a). Choose the desired
distance, align the front latch, insert the
tray, and push down (Figure 4b). Pull up
on the tray to ensure it is secure.
To remove the tray: Press the latch
located at the bottom of the tray forward
(Figure 4c).
The tray can be stored on the back of
the chair, fitted by the edges (only in high
chair mode) (Figure 4d).
2b
3
4a
4b
4c
4d
Uso de la periquera
1. To use the restraint system: Place the child in
the seat with the buckle strap between the child’s
legs and fasten both waist clips into the buckle
(Figure 1a). Slide the waist adjusters left or right
and the buckle strap adjuster up or down to tighten
snugly so that you can comfortably slide your finger
between the strap and your child (Figure 1b).
Note: To unfasten the restraint system, squeeze the
top and bottom of the waist clips to release them
from the center buckle.
Cuidado y mantenimiento de la periquera
Asegure siempre al niño con el cinturón de
sujeción. Ajústelo para que quede bien.
ADVERTENCIA
1. Para usar el sistema de sujeción: Coloque al niño
en el asiento con la correa de la hebilla entre las
piernas del niño y asegure ambos clips de la cintura
en la hebilla (Figura 1a). Deslice los ajustadores de
cintura hacia la izquierda o la derecha y el ajustador
de la correa de la hebilla hacia arriba o hacia abajo
para ajustar cómodamente de modo que pueda
deslizar cómodamente su dedo entre la correa
y el niño (Figura 1b). Nota: Para desabrochar el
sistema de sujeción, apriete la parte superior e
inferior de los clips de la cintura para liberarlos de la
hebilla central.
Limpie la periquera y la bandeja con un paño suave humedecido con agua
jabonosa y seque con una toalla. Lave la superficie y seque al aire las correas
de sujeción y hebilla.
3. Parte inferior de las patas: Coloque las
cuatro patas inferiores en las puntas de las
patas superiores. Asegúrese de que los
pasadores hayan salido correctamente de
todas las patas (Figura 3). Nota: Tire de
cada pata para asegurarse de que todas
se hayan armado de forma segura.
2. Parte superior de las piernas: Coloque las dos
patas superiores en la barra del reposapiés. La
parte superior de las patas es más corta y tiene un
anillo de plástico en la punta (Figura 2a). Encaje las
patas superiores en el asiento, con el conjunto del
reposapiés hacia adelante. Gire las patas hasta que
los pasadores de bloqueo encajen en la abertura
(Figura 2b). Encaje las cuatro patas superiores en
el asiento. Nota: Tire de cada pata para asegurarse
de que todas se hayan armado de forma segura.
1. Reposapiés: Inserte el reposapiés
en una de las dos posiciones de
altura en la barra del reposapiés y
empuje hacia abajo para bloquearlo
(Figura 1a–1c).
4. Bandeja: La bandeja puede colocarse en
dos posiciones diferentes utilizando los
insertos del asiento (Figura 4a). Elija la
distancia deseada, alinee el pestillo frontal,
inserte la bandeja y empuje hacia abajo
(Figura 4b). Tire hacia arriba de la bandeja
para asegurarse de que esté segura.
Para quitar la bandeja: Presione el pestillo
ubicado en la parte inferior de la bandeja
hacia adelante (Figura 4c).
La bandeja se puede guardar en el
respaldo de la silla, ajustada por los bordes
(solo en el modo periquera) (Figura 4d).
