4321
2000
LUMENS
RECHARGEABLE
SWISS TECH High-Powered Smart Bike Light Combo
with Handlebar Remote
Vendor Stock Number: 88347
Questions, problems, or missing parts?
Before returning to the store, contact
GreatStar Customer Service
9AM-4PM CST, M-F
Call: 1-855-782-3013 or Email: [email protected]
Safety and visibility go hand-in-hand when on the trail or on the road.
Paar has you covered front to back with a high-powered, multi-mode
front light that features 2,000 max lumens on turbo mode, smart auto
dimming, and a long-lasting 24-hour survival mode - all in a durable,
weatherproof body made to withstand any ride. Paar’s multi-mode tail
light can be controlled by handlebar remote and features 4 safety mode
options, smart brake sensing, and laser ground lanes to ensure you are
seen on every night ride. Cut through the darkness and stay safe on any
path with the Paar smart light combo.
Discover more of Paar at swisstechoutdoors.com
PAAR
High-Powered Smart Bike Light Combo
with Handlebar Remote
White Light for Front Visibility x 1PC Smart Tail Light x 1PC
USB wall adapter not included.
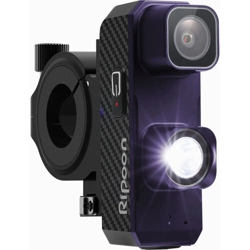
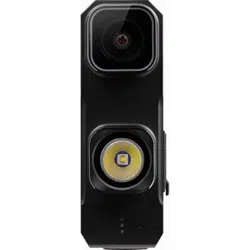
High-Powered Smart Bike Light
Combo with Handlebar Remote
PAAR
HIGH POWER. SMART SAFETY.
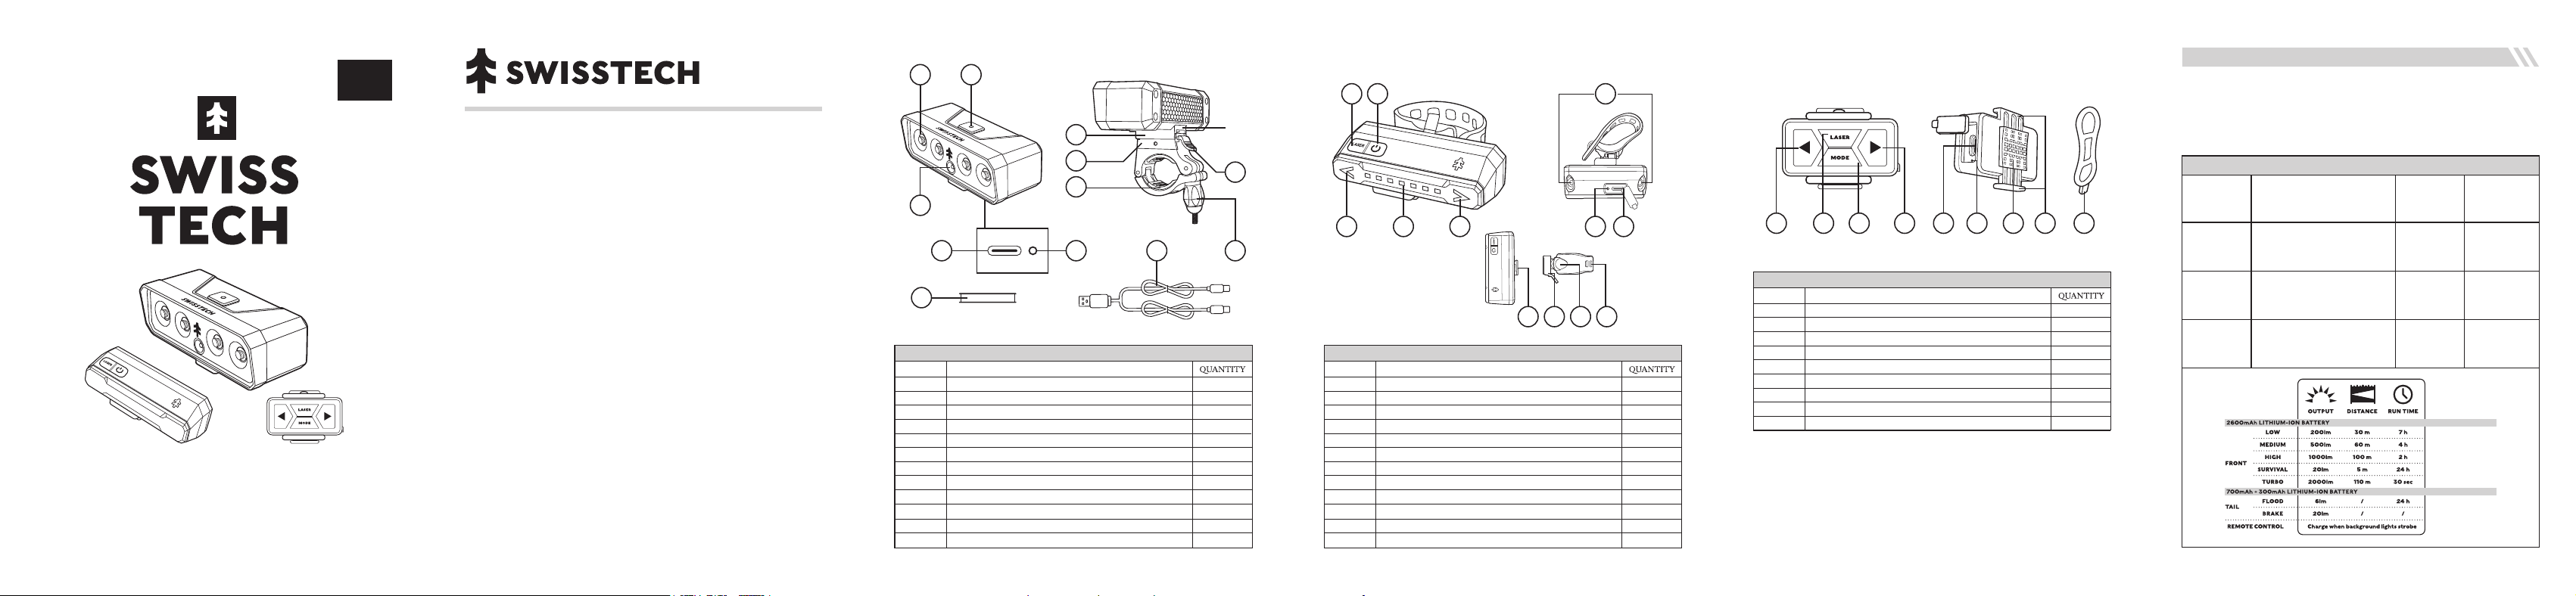
CONTENT
DESCRIPTIONPART
CREE High-Quality LED
Smart Sensor
Power/Mode Shi Button with Battery Indicator
Charging Port
Charging Indicator
Connector with Female Plug
Mount Connector with Male Plug
Quick-release push tab
Mounting Adjustment Screw
Integrated Anti-slip Silicone
Optional Silicone Insert for Optimal Fit
Two-In-One Charging Cord
4
1
1
1
1
1
1
1
1
1
1
1
A
B
C
D
E
F
G
H
I
J
K
L
CONTENT
DESCRIPTIONPART
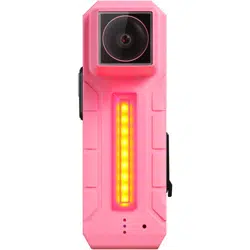
LED Light
Le Turn Signal Light
Right Turn Signal Light
Laser
Power/Mode Shi Button
Laser On/Off Button
Charging Port
Charging Indicator
Connector with Male Plug
Mounting Connector with Female Plug
Adjustable Hinge
Silicone Strap
7
1
1
2
1
1
1
1
1
1
1
1
A
B
C
D
E
F
G
H
I
J
K
L
A
F E
B
I J K L
A C H G
D
B
D
K
E
L
F
H
I
G
J
C
5
CONTENT
DESCRIPTIONPART
Power/Mode Shi Button
Laser On/Off Button
Le Turn Signal Light Button
Right Turn Signal Light Button
Charging Port
Charging Indicator
Anti-Slip Silicone Pad
Silicone Strap
Integrated Strap holder
1
1
1
1
1
1
1
1
2
A
B
C
D
E
F
G
H
I
Remote Controller for Tail Light x 1PC
C B A D E F G I H
6
The charging cord is compatible with any USB wall adapter that has an
output no less than 5V/1A.
• To ensure proper charging, use the enclosed USB charging cable.
• Pull by plug rather than cable when disconnecting light to avoid damage
to electric plug and cable.
ELECTRICAL INFORMATION
SPECIFICATIONS
140g (front light)
51g (tail light)
27g (remote controller)
Product
Weight
19.7 inches
Charging
Cable
Length
4.0-inches (front light)
3.2-inches (tail light)
2.3-inches(remote controller)
Product
Width
3 feet
Impact
Resistance
1.3-inches (front light)
1.3-inches (tail light)
1.1-inches (remote controller)
Product
Height
2-4 hours
Recharge
Time
1.8-inches (front light)
1.1-inches (tail light)
0.7-inches (remote controller)
Product
Depth
Input: 5V, 1A
Rated
Voltage
87
• Fully charge the front light before turning on.
• Mode Cycle: press the Power/Mode Shi button to turn on the light
and adjust the brightness from survival low medium ligh ash.
(the battery indicator in the center of button shows the actual capacity:
red light for low battery life – less than 10%; orange light for 10%-60%
battery life; green light for more than 60% battery life).
• Turbo: press and hold for 2 seconds when light turns on to activate turbo
mode (temporary) - cannot be activated a third time within a 90 seconds
timeframe due to safety and hazard concerns.
• Smart dimming: double press when light turns on to active smart
dimming mode, the sensor detects the ambient light level. When the light
is strong, it turns off the two middle LEDs to save energy, and when the
light is weak, it turns on all four LEDs to ensure enough front visibility.
• Power Off: If the light stays in a certain mode for 5 seconds or longer,
press once to turn off.
• Mode Memory: The front light remembers the last mode used before
powering off.
• Use the integrated adjustable holder to mount the light.
• Fix the light to the holder by connecting the male & female plug.
• Use the screw on the holder and the removeable silicone inserts to adjust
for correct t on different handlebars.
OPERATING FRONT LIGHT
• Fully charge the tail light and remote controller before turning on.
• Press the Power/Mode Shi button to turn on the light and shi modes
from steady, quick ash, slow ash, ow, steady + laser to off.
• Press the Laser Button to turn on or turn off laser.
• Automatic brake warning: when you suddenly brake while riding, the
light will instantly brighten to 20 lumens, then return to its previous
brightness level aer braking.
• Each product has been paired with its remote controller before leaving
the factory.
• Pair the remote controller and tail light:
- Step 1. press the power/mode shi button on light to turn it on.
- Step 2. press and hold the button on light until the le and right turn
signal lights ash.
- Step 3. press and hold the mode button on remote until the le and
right turn signal lights turn off.
- Now you can use the remote to control the tail light.
• Unpair: you cannot manually unpair the remote. Pairing the remote with
another tail light is required to unpair. Follow the above pairing steps
and once the new pairing is complete, the previously paired remote
controller will automatically be unpaired.
• Aer pairing, once the light is turned off, press the Power/Mode Shi
button on the light to turn it on, and then press and hold the mode button on
the remote controller for 0.5 seconds to activate the remote before use.
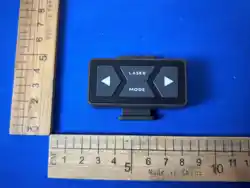
• Use the integrated clip-on silicone strap to mount the light where
preferred, and use the additional silicone strap to mount the remote
controller to handlebar.
• Fix the light to the connector by connecting the male & female plug.
• Adjust the light on strap’s hinge to the proper angle as needed for
optimal visibility.
OPERATING TAIL LIGHT &
REMOTE CONTROLLER
11 1210
• Battery charging indicator around the port is red when charging and is
green when fully charged.
• When the battery is completely drained, allow the light to charge for
about 2-4 hours.
• Low battery indicator for remote controller: press any button on remote,
and if the background light under the 4 button strobes for 3 times
simultaneously, then power is below 10% - charge it before use.
RECHARGING THE BATTERY
• Never use this light around ammable liquids such as gasoline.
• To avoid electrical shock, do not put light in water or any other liquids.
• Do not store this light where it can easily fall into tub/sink/pool of water.
• Do not operate this light aer it has malfunctioned.
• Always make sure the power source conforms to the rating on this light.
Hence, it must always be used in accordance with all electrical and
safety codes and ordinances, including the most recent National Electric
Code (NEC) and with the Occupational Safety and Health Act (OSHA)
Volume 1 on General Industry Standards and interpretations.
• Do not use or permit use of the light in beds or sleeping bags as this
xture can melt fabric and may result in burn injury.
SAFETY INFORMATION
Changes or modications not expressly approved by the party responsible
for compliance could void the user's authority to operate theequipment.
CAUTION
• Always keep the battery fully charged when not in use.
• Do not subject the unit to excessive force, shock, dust or extreme
temperature.
• Do not tamper with the external and internal components of the unit.
• Clean your unit with a dry cloth. Solvent or detergent should never be used.
• Avoid leaving your unit in direct sunlight or in hot, humid or dusty places.
• Keep your unit away from heating appliances and sources of electrical
noise such as uorescent lamps or motors.
CARE AND MAINTENANCE
If the light does not work, check the following:
• Fully charge the light before use.
• Ensure the cord is properly plugged into the power source to charge the battery.
• The battery may be depleted, allow the light to charge for about 2-4 hours.
• Make sure the light is in power-on mode by pressing the Power/Mode
Shi button.
If the remote controller does not work and the background light of button
is constantly on, please press and hold the MODE button on the remote
controller for 0.5 seconds until background light turn ash, to activate it.
CARE AND MAINTENANCE
This equipment has been tested and found to comply with the limits for a
Class B digital device, pursuant to Part 15 of the FCC Rules. These limits
are designed to provide reasonable protection against harmful interference
in a residential installation. This equipment generates, uses, and can
radiate radio frequency energy, and if not installed and used in
accordance with the instructions, may cause harmful interference to radio
communications. However, there is no guarantee that interference will not
occur in a particular installation. If this equipment does cause harmful
interference to radio or television reception, which can be determined by
turning the equipment off and on, the user is encouraged to try to correct
the interference by one or more of the following measures:
• Reorient or relocate the receiving antenna.
• Increase the separation between the equipment and receiver.
• Connect the equipment into an outlet on a circuit different from that to
which the receiver is connected.
• Consult the dealer or an experience radio/TV technician for help.
FCC STATEMENT
9
• Read all instructions before using this light.
• This product is IP54 dust & weather proof.
• Never modify the product or any of its parts as this may result in serious
personal injury.
• This light is not intended for use in potentially dangerous locations such
as places with explosives or ammable atmospheres.
• Never look directly into the light sources as they are extremely bright
and may cause eye damage from prolonged exposure.
• Place the light away from any heat source.
• The light head may get hot during use. To avoid the risk of burns, do not
touch it.
• Do not place anything on top of the light during or aer each use to
prevent potential re.
• Always ensure the light is turned off or placed on a heat-resistant stand
when not in use.
• Never allow the light beam to come into contact with ammable
materials, liquids, or gases. The concentrated heat from the beam may
cause ignition, resulting in re or explosion.
• Never use this light if the transparent lens is damaged or removed.
• Keep this light away from children.
• Store this light in room temperatures below 86°F.
• Keep the light clean and free from oil and grease.
• Do not leave the lithium-ion battery powered unit in direct sunlight.
WARNING
Thisdevice complies with part 15 of the FCC Rules. Operation is subject
to the following two conditions:
(1) This device may not cause harmful interference,
(2) This device must accept any interference received, including
interference that may cause undesired operation.