BEFORE USING YOUR PRODUCT: Please read this manual carefully & follow all safety rules
& operating instructions. Keep this manual for future reference.
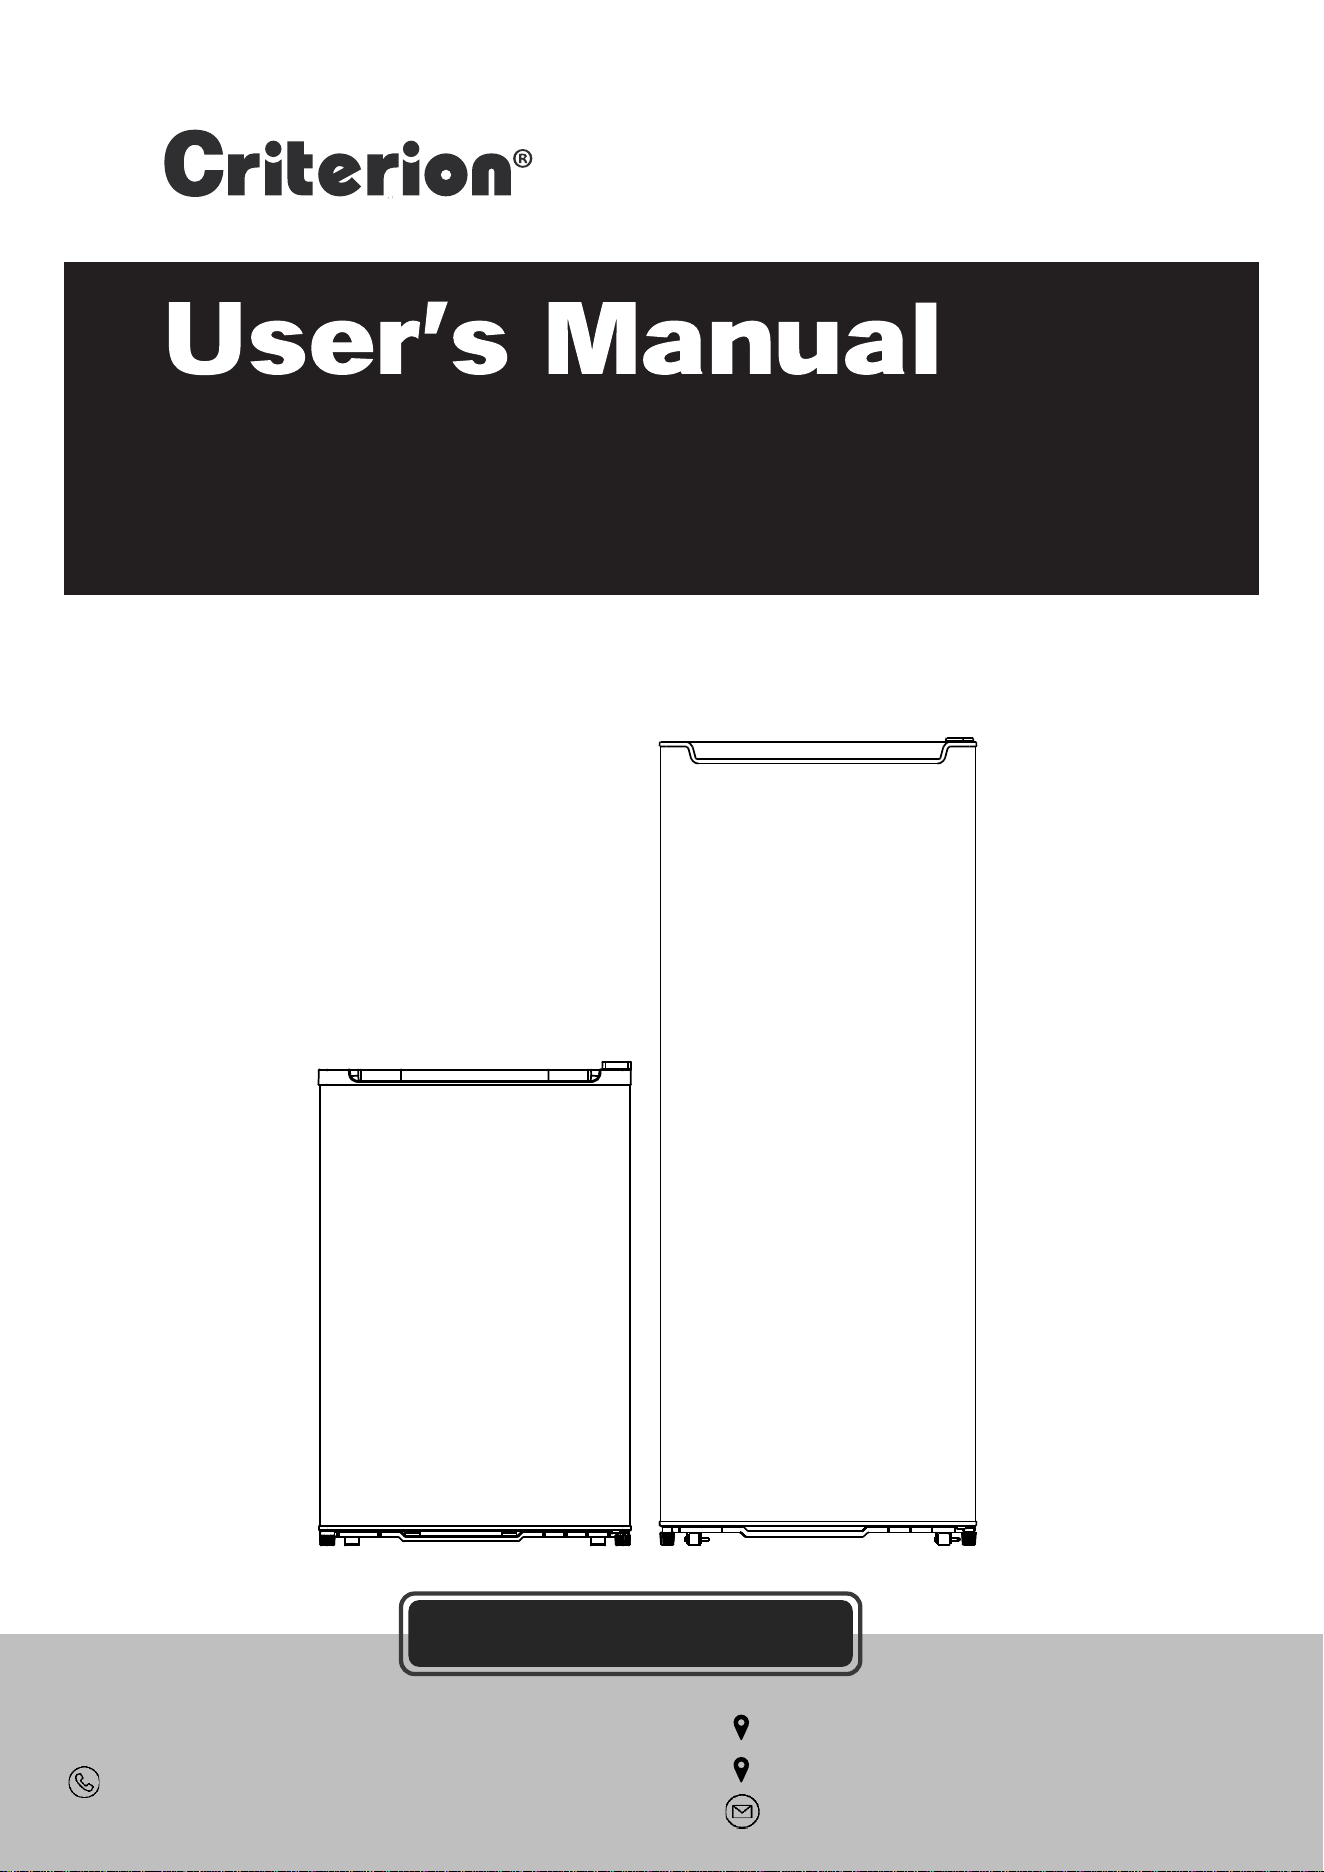
Upright Freezer
OPERATION MANUAL
Service Support
833-953-1758
24445 Northwestern Hwy, Ste. 101,
Southfield, MI 48075 833-953-1758
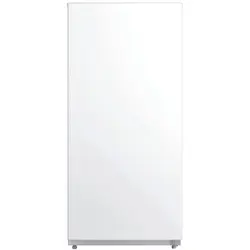
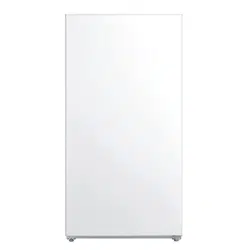
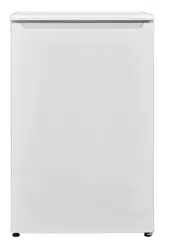
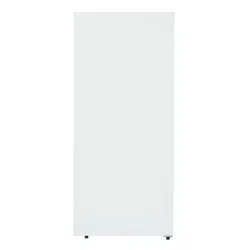
3.2 cu.ft. (453-6054)
6.3 cu.ft. (453-6055)
1
Dear customer:
Thank you for buying your new freezer. To ensure that you get the best results from your new
freezer, please take time to read through these simple instructions in this booklet.
Please ensure that the packaging material is disposed of in accordance with the current
environmental requirements.
If the freezer is visibly damaged, do not connect it to the power supply, Contact the store from
where you purchased the appliance.
CONTENTS
IMPORTANT SAFETY INSTRUCTIONS…………………………………………………………… 2
Before Putting Into Use…………………………………………………………………………………3
Tips for Energy Savings ……………………………………………………………………………….4
Important…………………………………………………………………………………………………4
NAMES OF THE PARTS………………………………........…………………………………………5
How to operate………………………………………………………………………………………… 7
Temperature control…………………………………………………………………………………... 7
How to Defrost…………………………………………………………………………………………..7
How to clean……………………………………………………………………………………………..7
How to install ………………………………………………………………………………..…………. 8
What to do…………………………………………………………………………………..……………8
How to dispose of the packing materials ……………………………………………..……………... 9
Correct Disposal of this Product ……..…………………………………………………...…………...9
One Year Limited Warranty ………………………………………………………………...……….…9
For questions or assistance, please contact Customer Service at: 1-833-953-1758 between
8:00 am and 4:00 pm EST or email: Criterion@customer-appliance.com
Reversing the Freezer Door………………………………........…………………………………..…6
1. Please read Owner's Manual.
2. Stand Refrigerator or Freezer upright for 24 hours and level appliance prior to plugging in.
3. DO NOT RETURN TO STORE before calling Customer Service with questions or problems.
IMPORTANT SAFETY INSTRUCTIONS
To reduce the risk of fire, electrical shock, or injury follow
these basic precautions when using your product.
1) WARNING----Keep ventilation openings, in the appliance enclosure or in the built-in structure, clear of
obstruction.
2) WARNING----Do not use mechanical devices or other means to accelerate the defrosting process, other
than those recommended by the manufacturer.
3) WARNING----Do not damage the refrigerant circuit to increase the risk of a leak when handling,
moving, cleaning and using the product.
4) WARNING----Do not use electrical appliances inside the food storage compartments of the appliances,
unless they are of the type recommended by the manufacturer.
5) WARNING----DANGER: Never allow children to play with, operate, or crawl inside the product. Keep
all packaging materials away from children to avoid the risk of suffocation. Protect children from
touching the compressor at the rear bottom of the appliance to avoid burns. Do not place items on top
of the appliance. They could fall and cause injury. Supervise children to ensure they do not play with
the appliance. Never allow children to climb, hang, or stand on the door, shelves, or drawer, etc. of the
appliance.
Risk of child entrapment. Before you throw away your old product:
6) WARNING: When positioning the appliance, ensure the supply cord is not trapped or damaged.
7) WARNING: Do not locate multiple portable socket-outlets or portable power supplies at the rear of the
appliance.
8) The appliance has to be unplugged before carrying out user maintenance on the appliance.
9) This appliance is not intended for use by persons (including children) with reduced physical, sensory or
mental capabilities, or lack of experience and knowledge, unless they have been given supervision or
instruction concerning use of the appliance by a person responsible for their safety. Children should be
supervised to ensure that they do not play with the appliance. Cleaning and maintenance should not be
made by children without supervision.
10) If the SUPPLY CORD is damaged, it must be replaced by the manufacturer, its service agent or similar
qualified persons in order to avoid a hazard.
11) Please abandon the product according to local regulations as the unit contains flammable
blowing gas and refrigerant.
12) Follow local regulations regarding disposal of the appliance due to flammable refrigerant and blowing gas.
All refrigeration products contain refrigerants, which under the guidelines of federal law must be removed
before disposal. It is the consumer's responsibility to comply with federal and local regulations when
disposing of this product.
13) This appliance is intended to be used in household and similar environments; such as:
Staff kitchen areas in shops, offices and other working environments;
farm houses and by clients in hotels, motels and other residential type environments;
bed and breakfast type environments;
catering and similar non-retail applications.
2
Take off the doors.
Leave the shelves in place so that children may not easily climb inside.
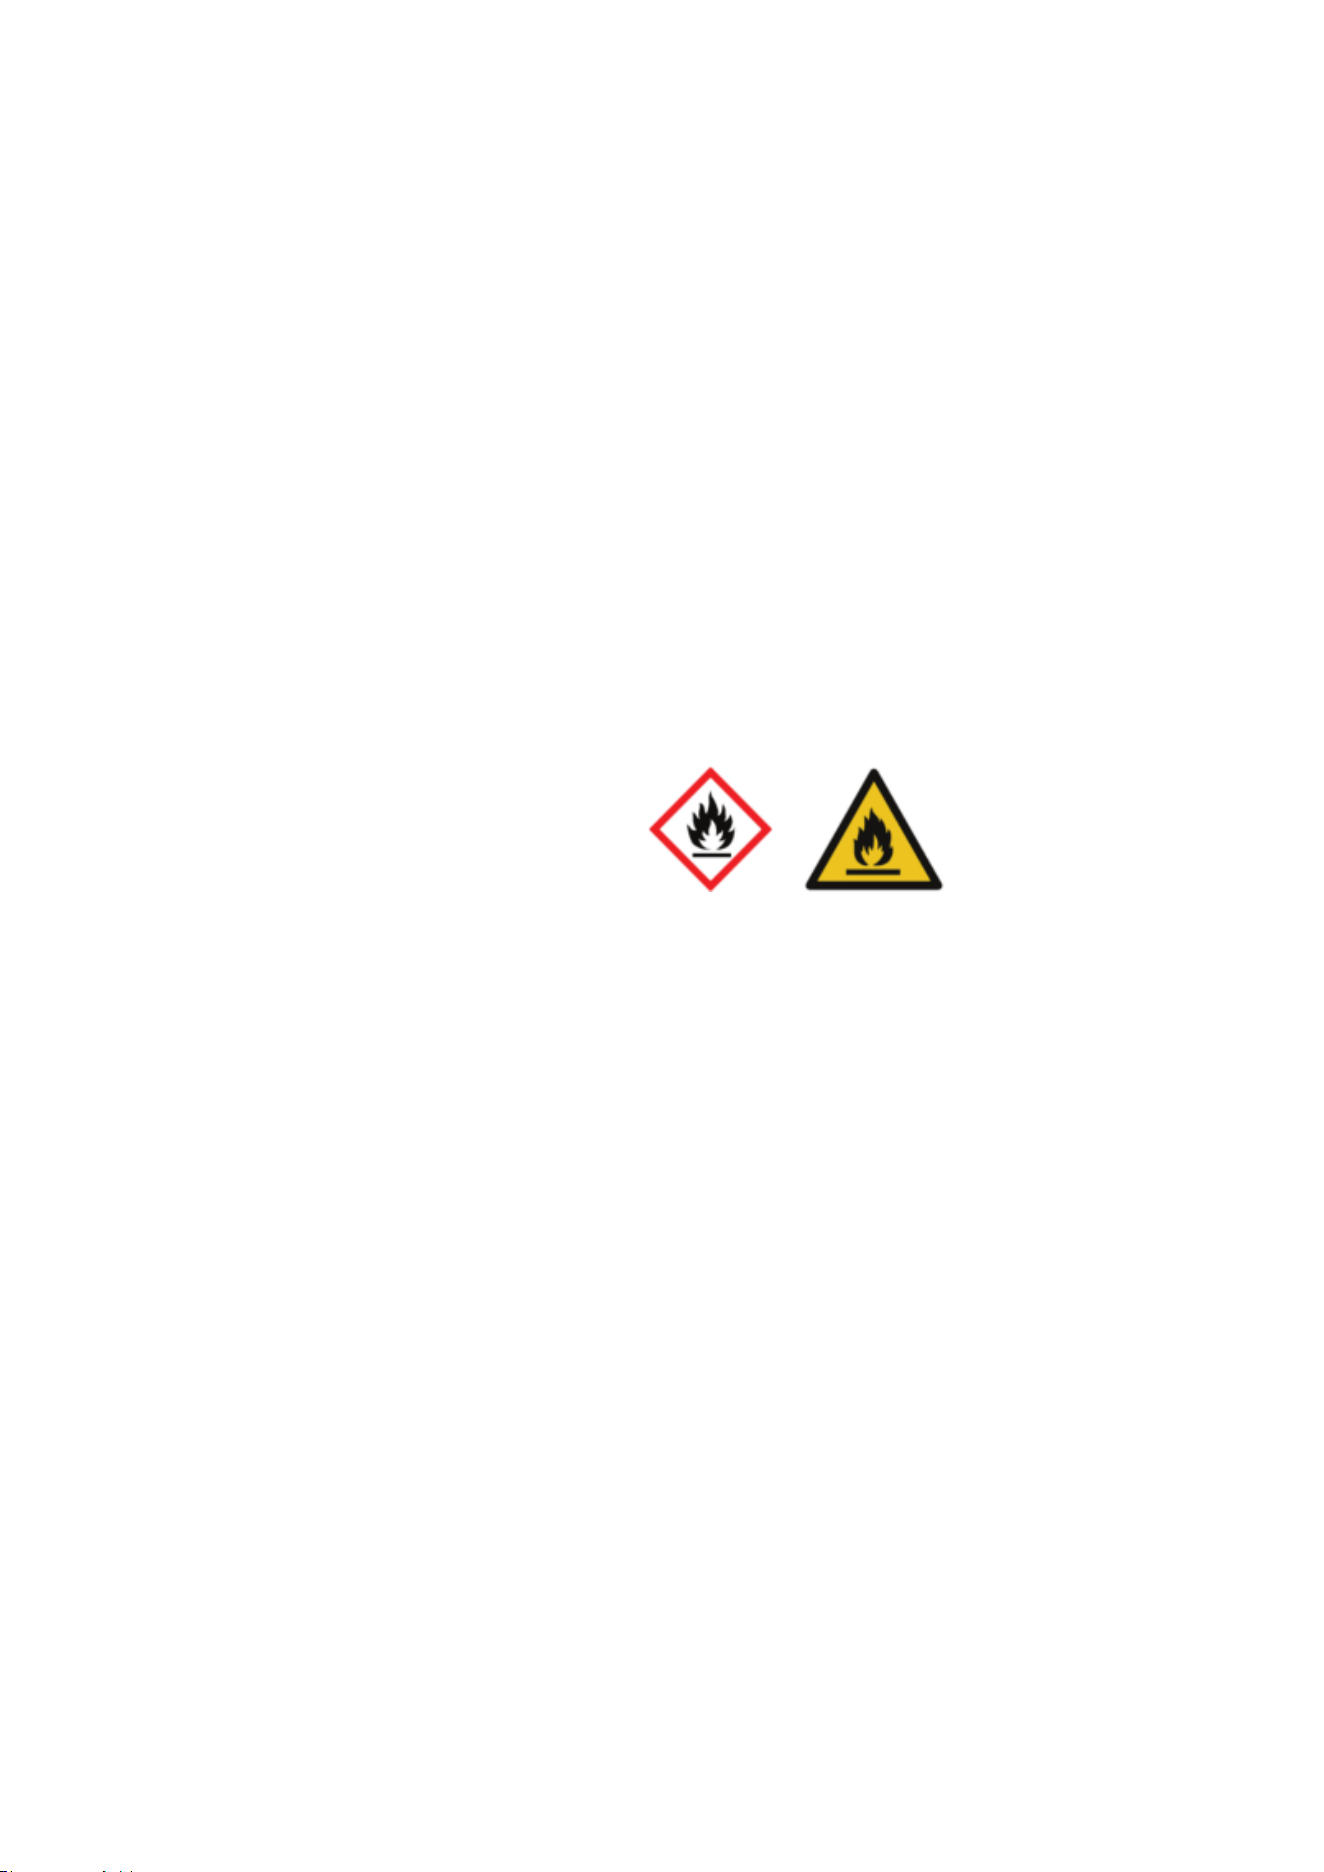
Do not store explosive substances such as aerosol cans with a flammable propellant in this appliance.
Warning: This appliance can not be used in camping.
Warning: This appliance can not be used in public transportations.
Warning: The appliance shall be used for indoor only.
The refrigerant and insulation blowing gas are flammable. When disposing of the appliance, do so only
at an authorized waste disposal centre. Do not expose to flame.
Cleaning and user maintenance shall not be made by children without supervision.
Refrigerant
The refrigerant isobutane (R600a) is contained within the refrigerant circuit of the appliance, a
natural gas with a high level of environmental compatibility, which is nevertheless flammable. During
transportation and installation of the appliance, ensure that none of the components of the
refrigerant circuit becomes damaged.
If the refrigerant circuits become damaged:
Avoid open flames and sources of ignition.
Thoroughly ventilate the room in which the appliance is situated.
Warning:Risk of fire/
flammable materials
3
Before connecting the appliance to the power supply, let it stand for At least 4 hours, which will
reduce a possibility of malfunctions in the cooling system due to transport handling.
Clean the appliance, and be thorough, especially in the interior (See “HOW TO CLEAN”).
In case the interior accessories are not correctly placed, rearrange them as described in
chapter.
FLAMMABLE REFRIGERANT SAFETY WARNINGS
DANGER—Fire or Explosion Hazard. This appliance uses a flammable refrigerant. Do not use
mechanical devices or tools to defrost. Do not puncture or damage the refrigerant tubing. Repairs must
be performed only by qualified service personnel.
CAUTION—Fire or Explosion Hazard. Refer to the service manual or owner's guide before attempting
any service. Follow all safety precautions and handling instructions carefully. Dispose of the unit properly
according to federal and local regulations. Avoid damaging or puncturing refrigerant tubing during
handling or repair.
Instructions for Use
These instructions for use are intended for the user. They describe the appliance and its correct
and safe use. They were prepared for various types/models of freezers therefore you
may find in it description of some functions and accessories that your appliance does not have.
BEFORE PUTTING INTO USE
14) Do not store or use gasoline or any inflammable liquors and liquids inside or in the vicinity of product.
15) Do not use extension cords or ungrounded (two prong) adapters with this appliance. If the power cord is
too short, have a qualified electrician install an outlet near the appliance. Use of an extension can
negatively affect the performance of this appliance.
4
IMPORTANT
The appliance must be correctly connected to the power supply. (See: “HOW TO INSTALL”).
Do not use extension cords or ungrounded (two prong) adapters.
Do not touch the cooled surfaces while the appliance operates, especially not with wet hands,
because the skin may stick to the cold surfaces.
Do not freeze bottles containing liquid, especially soft drinks, such as mineral water, sparkling
wine, beer, cola etc., because liquid expands during freezing and the glass bottle is very likely
to blow up.
Do not eat frozen food (bread, fruit, vegetables), because you can get frostbites.
If the food has strange smell or color, throw it away, because it is very likely that it is spoiled
and therefore dangerous to eat.
Disconnect the appliance from the power supply before repairing it (only a qualified technician
should repair it), before cleaning.
Do not defrost the appliance with other electric devices (hair dryer etc.) and never scrape the
ice or frost layer with sharp tools.
The rating plate is inside the appliance or outside on the rear wall.
1. This freezer requires a standard 115V A.C.~/60Hz electrical outlet with three-prong ground.
2. Avoid the use of three plug adapters or cutting off the third grounding in order to accommodate a
two plug outlet. This is a dangerous practice since it provides no effective grounding for the freezer
and may result in shock hazard.
3. Use a surge protector if possible.
Try not to open the door too often, especially when the weather is wet and hot. Once you open
the door, mind to close it as soon as possible.
Every now and then check if the appliance is sufficiently ventilated (adequate air circulation
around the appliance).
Set thermostat from higher to lower settings as soon as possible (depends on how loaded the
appliance is, ambient temperature, etc).
Before loading the appliance with packages of fresh foods, make sure they are cooled to
ambient temperature.
Ice and frost layer increase energy consumption, so defrost the appliance as soon as the layer
is 1/8 inches thick.
TIPS FOR ENERGY SAVING
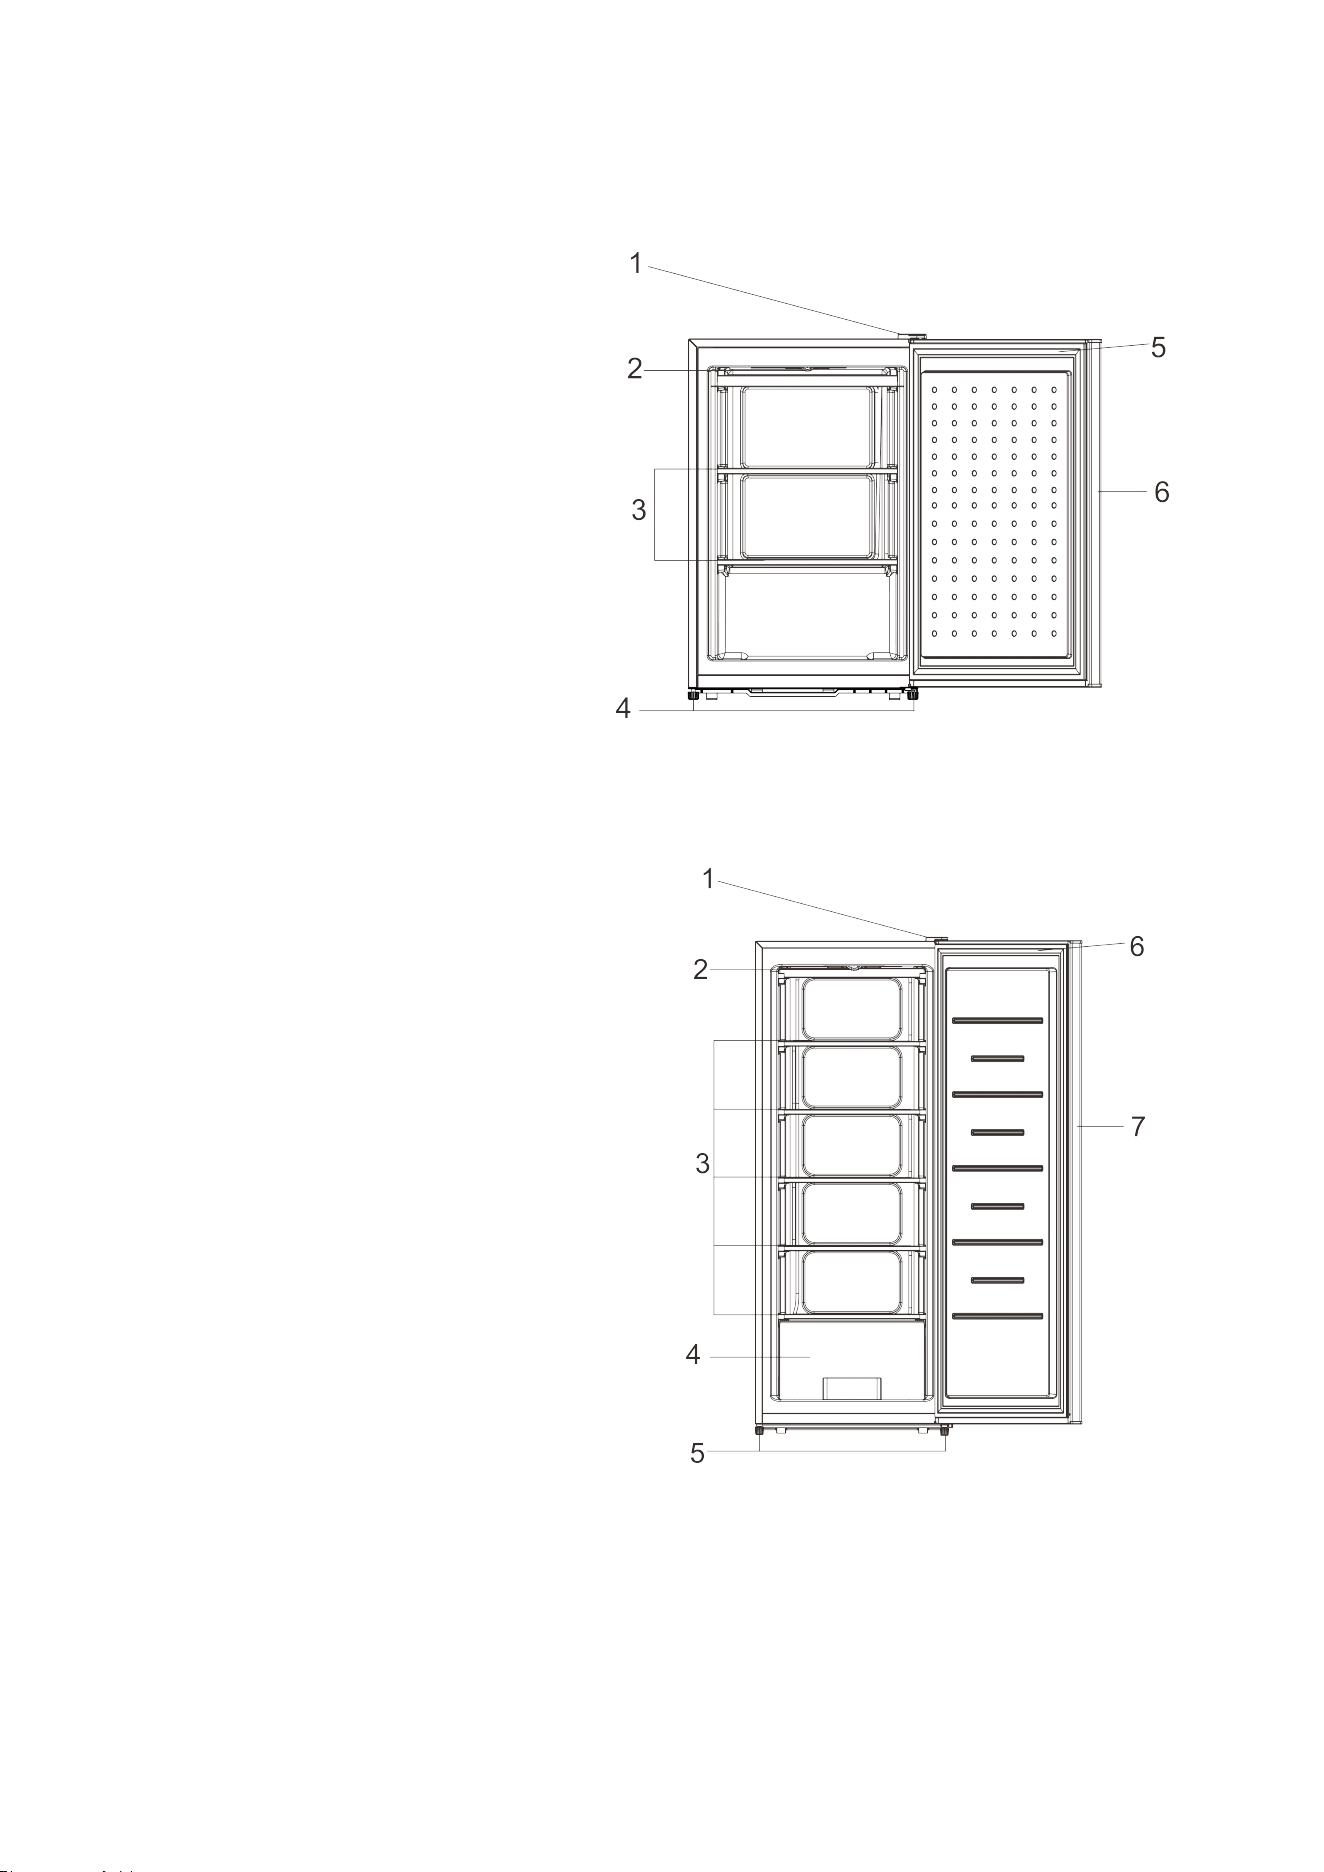
(1) Top hinge cover
(2) Temperature Control Box
(3) Evaporator and decorative strips
(4) Lower drawer
(5) Adjustable feet
(6) Door gasket
(7) Door
NAMES OF THE PARTS
(1) Top hinge cover
(2) Temperature Control Box
(3) Evaporator and decorative strips
(4) Adjustable feet
(5) Door gasket
(6) Door
5
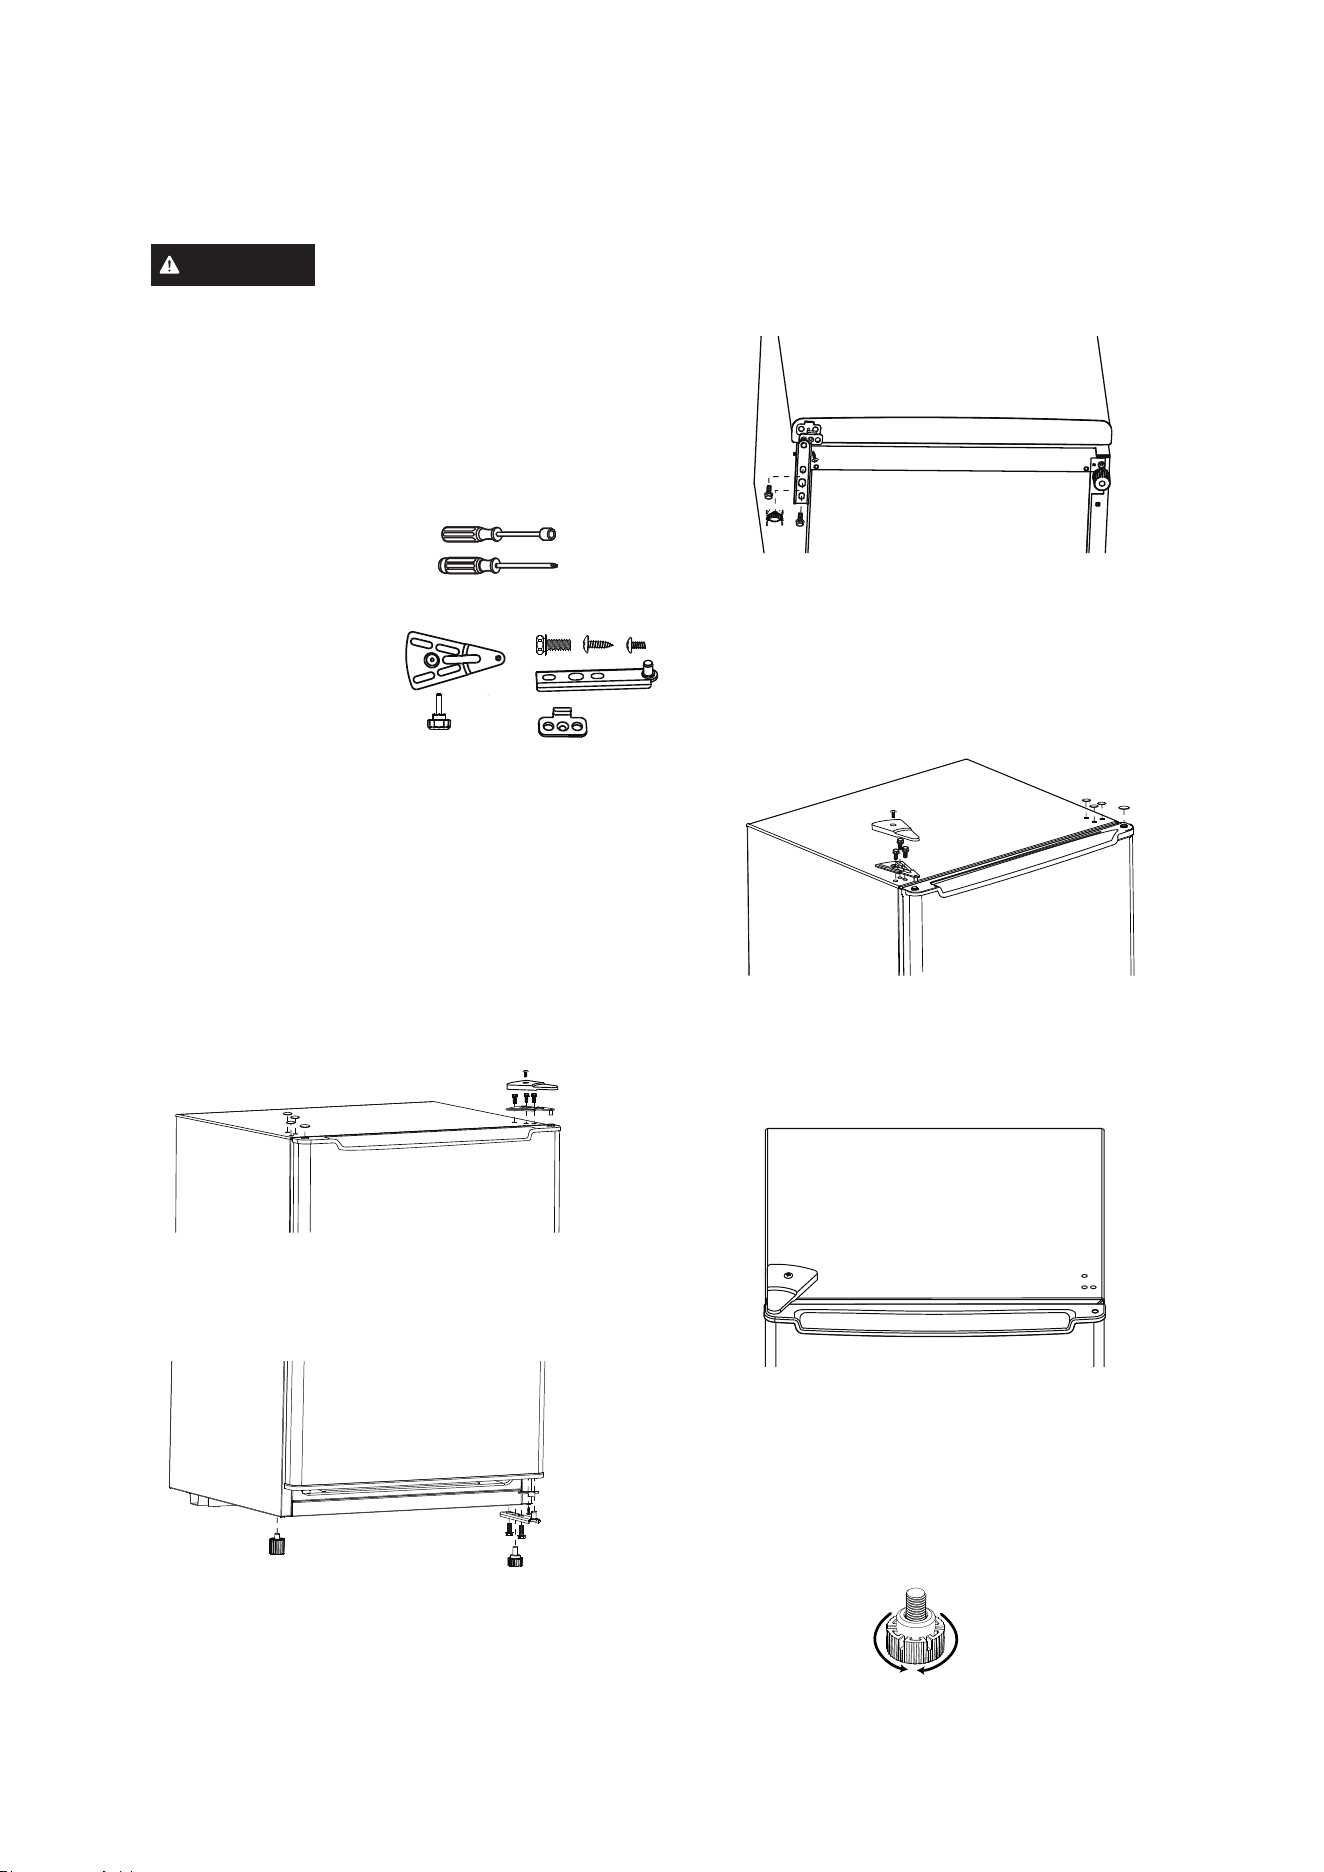
Reversing the Freezer Door
WARNING
Follow all steps when reversing the
door swing. Failure to follow these instructions, leaving
off parts, or overtightening screws, can lead to the door
falling off and result in injury and property damage.
• Ensure the appliance is unplugged and empty.
• Adjust the two adjustable feet to their highest position.
• We recommend you have someone assist you.
TOOLS REQUIRED
• 10 mm socket screw driver
• Phillips style screw driver
PARTS INCLUDED
1.
Upper Hinge Bracket
2. Adjustable Feet
3. Machine Screws
4. Lower Hinge Bracket
5. Door Stopper
1. Unscrew the top hinge cover screw and remove cover.
Unscrew the upper hinge bracket screws and remove
hinge. Take off the left side screw covers. Pull the
appliance door upward to remove.
2. Remove left adjustable foot and door stopper by
unscrewing the mounting screws.
3.
Install the adjustable foot, door stopper, and bottom
hinge bracket on the opposite bottom side. Tighten the
screws on the door stopper and bottom hinge bracket.
4. Slide the door onto the bottom hinge pin. Replace the
upper hinge bracket on the opposite side and check to
make sure the door/hinge is moving smoothly. Tighten
the screws of the upper hinge bracket. Replace the
hinge cover and right side screw covers. Tighten the
hinge cover screw.
5.
Check that the door is aligned, horizontally and
vertically, and that the seals are closed on all sides
before finally tightening the upper hinge screws and
hinge cover screw. Readjust the adjustable feet.
Adjustable feet
Feet at the front corners of the freezer should be set so
the freezer is firmly positioned on the floor, and the
front is raised just enough so the door closes easily
when opened about halfway.
6
Turn right
to lower
Turn left
to raise
NOTE : To remove the door, tilt the appliance
backward and support it on a solid object (e.g., a
sturdy and heavy table) just below the top panel.
DO NOT lay the appliance completely flat as this may
damage the coolant system.
7
HOW TO OPERATE
Starting Your New freezer
1. Clean the freezer thoroughly. Wipe the outside with a soft dry cloth, the interior with a clean
moist cloth.
2. Insert the power supply cord into the socket.
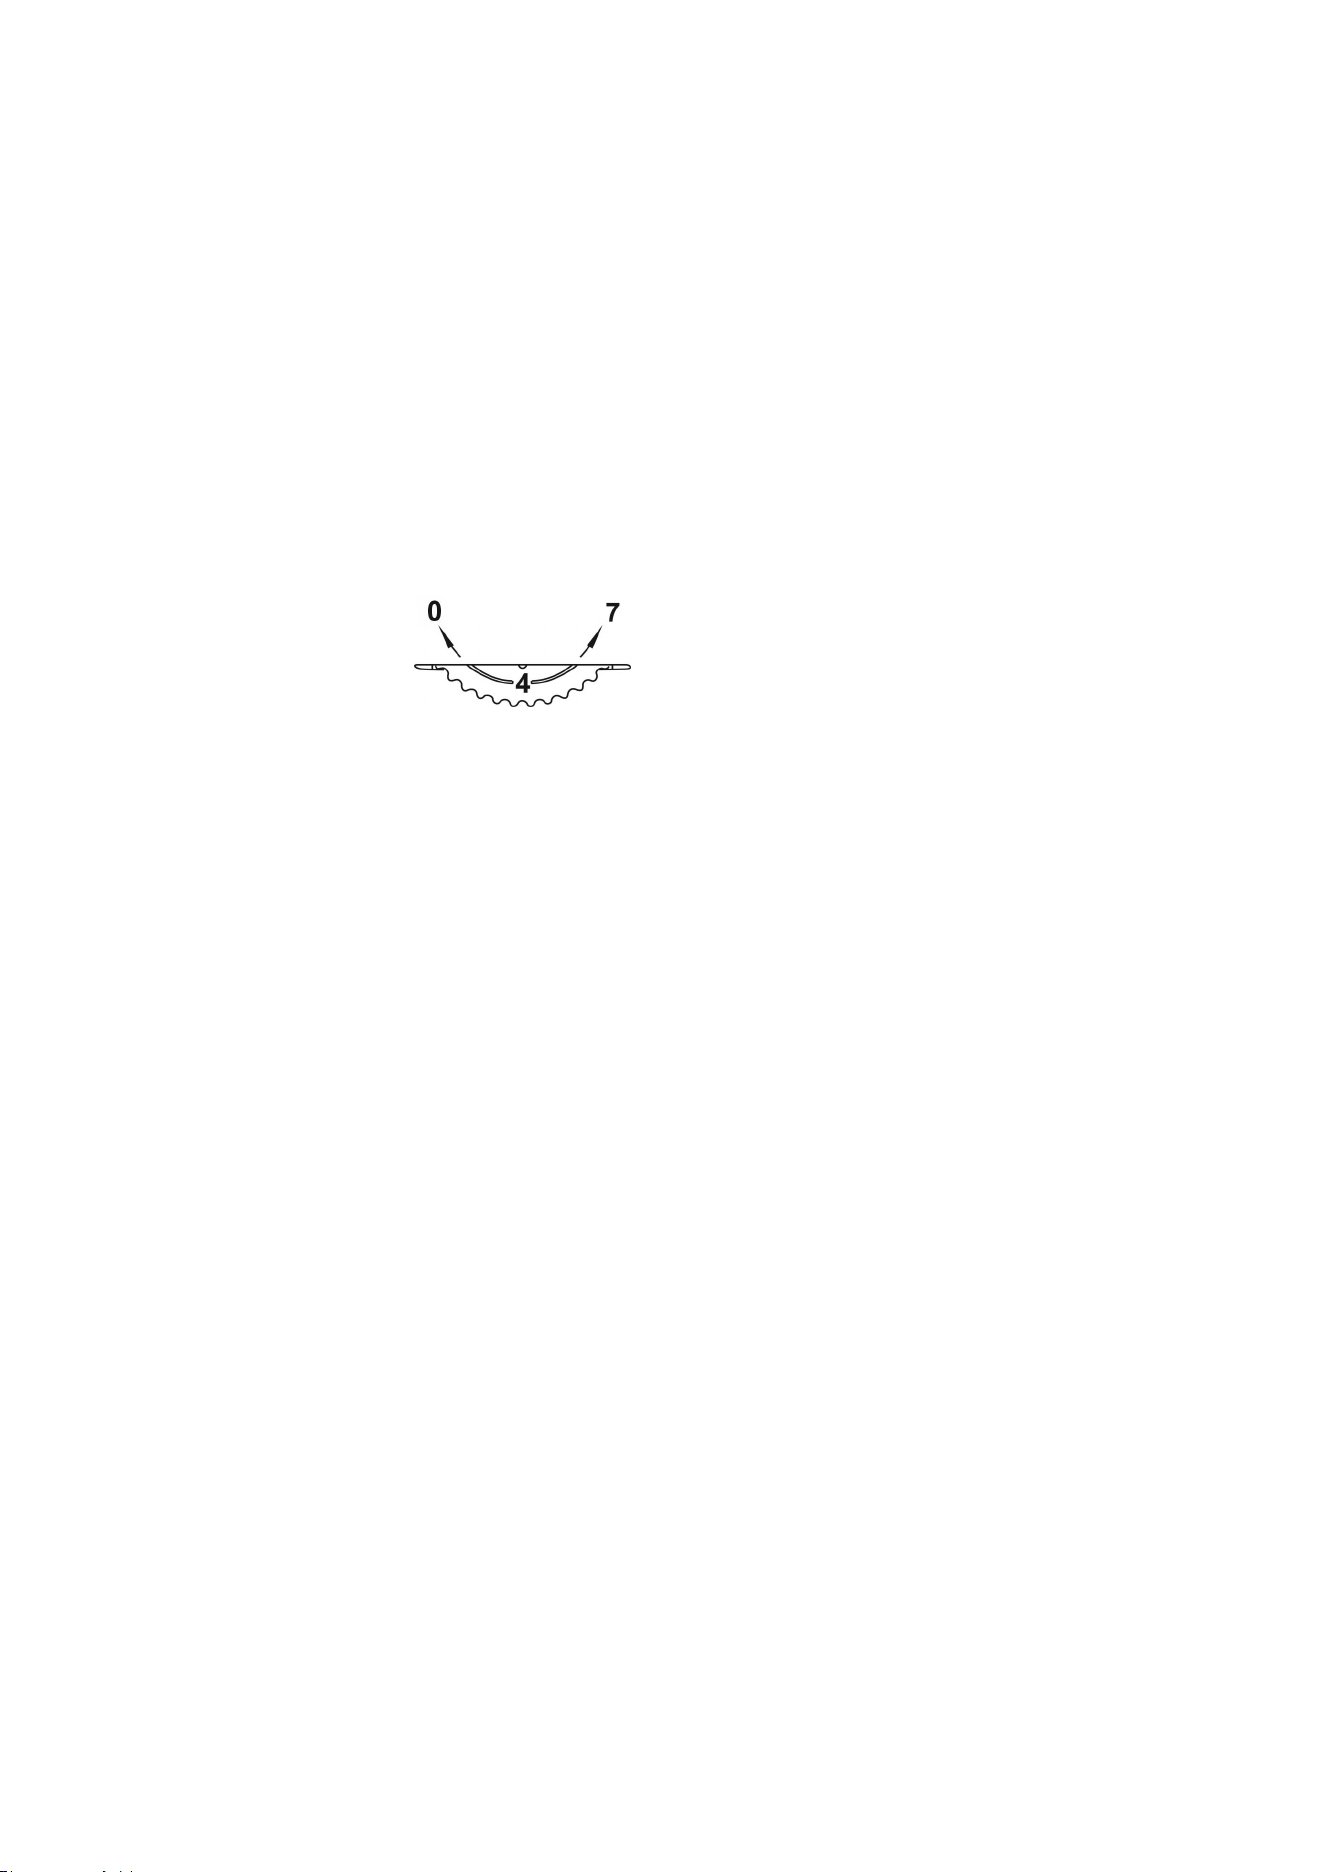
3. Turn the thermostat dial to “7”. Close the door and let the freezer operate for 15-20 minutes.
Temperature Control
To control the internal temperature, adjust the thermostat dial. “0” indicates shutdown. “1” is the
warmest setting. “7” is the coldest. The Dial may be set any place on the scale. It does not have to
be set exactly on a number. To make ice cubes in the freezer compartment, adjust the thermostat to
the coldest setting.
Note: If the freezer has been placed in a horizontal or tilted position for any period of time wait 24
hours before plugging the unit in.
Note: Avoid keeping the temperature control set to “7” extended periods. Continuous operation at
this settings may cause excessive cooling and unnecessary energy use.
Note: Wait 3-5 minutes before restarting if you unplug the freezer. The unit may fail to
operate properly if restarted too quickly.
How To Defrost
Defrost the freezer when the frost accumulated on the evaporators about 1/8 inches thick.
(See the illustration on page 5 for the evaporator’s location.)
Set the thermostat dial to “0” to remove the external power plug of the freezer. Remove all contents
from the freezer compartment. Leave the freezer door open to allow accumulated ice/frost to melt.
Remove large pieces of ice needed. Do not use hot water or other electric heating devices to melt
the accumulated ice. After defrosting, remove accumulated ice/water and wipe the freezer
compartment with a soft cloth. Restart the unit per starting instructions.
Never use a knife or other sharp instrument to scrape ice/frost from the inside of the unit.
HOW TO CLEAN
Cleaners: Never use harsh, abrasive cleaners, heavy-duty cleaners, or solvents on any surface.
Exterior: Wipe with damp, sudsy cloth, rinse and dry. For stubborn stains and for periodic waxing,
use silicon wax.
Interior: Wash drawers and other removable parts in warm sudsy water, rinse and dry. Wash
interior with baking soda solution (3 tablespoons to I liter of water) or warm sudsy water,
rinse and dry.
Magnetic Door Seals: Wash with warm sudsy water.
The Finishing Touch: Replace all parts and return thermostat dial to desired setting.
8
POWER CORD REPLACEMENT
If the freezer's power cord is damaged, have it replaced by a qualified repair agent.
WHAT TO DO …
When the freezer is not in use for a prolonged period:
Remove the power plug from the power point.
Remove all contents from the freezer.
Dry the interior and leave the door open for a few days.
When you wish to move the freezer:
Secure all movable parts and contents. (Package them separately if necessary.)
Transport the freezer only in an upright position. In any other position you may damage
the compressor.
Before calling service, please follow the checklist below.
This may save you an expensive service call.
If the freezer seems too warm inside:
Check that the door has not been opened too frequently or for long.
Check that the interior circulation is not obstructed by having too many goods stored. (The
freezer is overloaded)
Did you store anything hot, without first cooling it to room temperature?
Is there sufficient clearance around all sides and above the freezer?
If the freezer starts making any unusual noises:
Is it wobbling? Re-level it and check if it now operates normally.
Have any objects fallen behind the freezer? If so, remove them and check if operation is
now normal.
Are any containers inside the freezer vibrating or resonating? If so, rearrange them then check
to see if operation has returned to normal.
HOW TO INSTALL
1.Location & Clearance
Install the freezer in a convenient location away from extreme heat and cold.
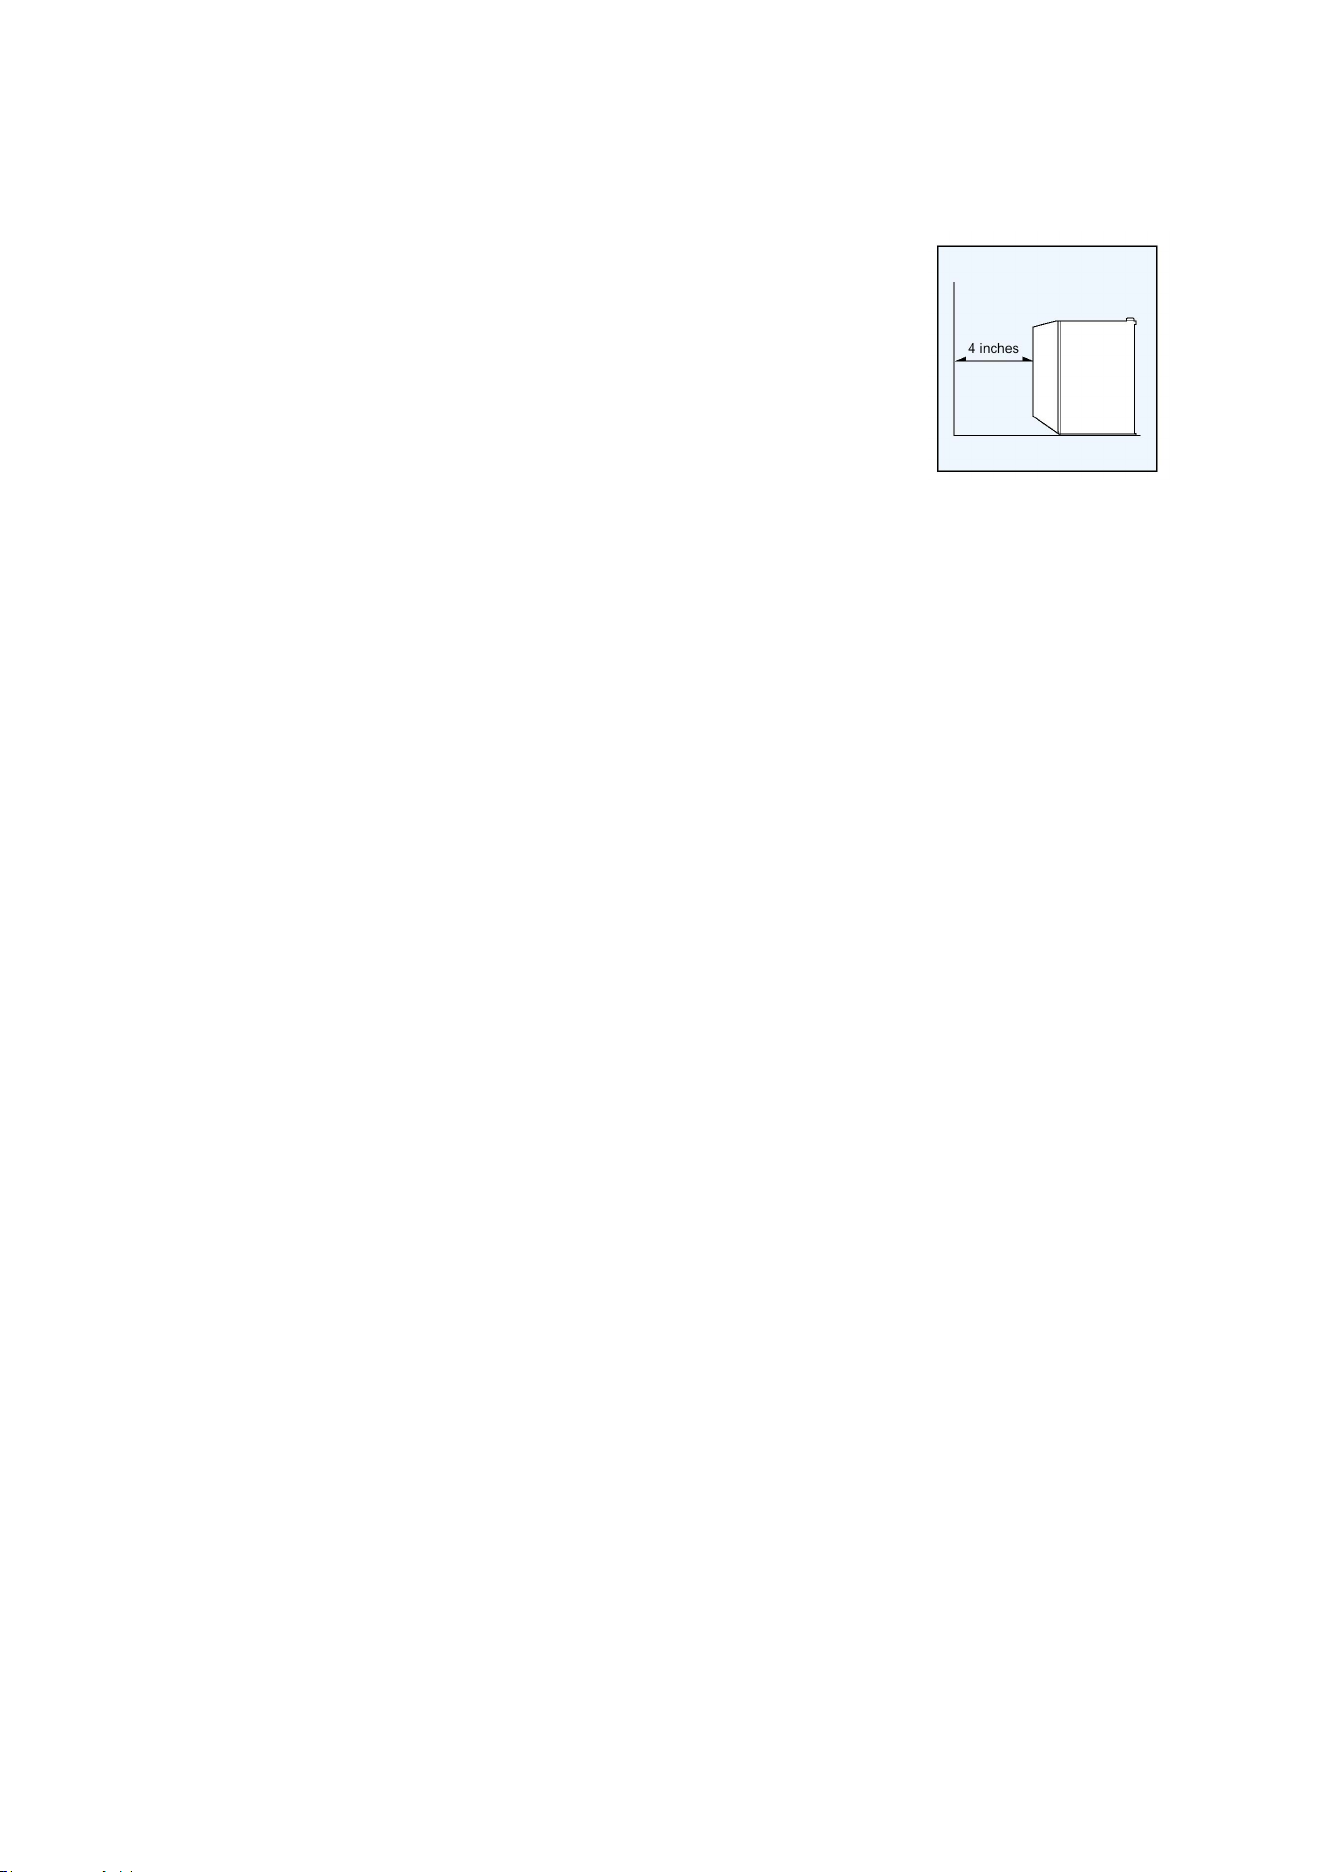
Allow sufficient clearance between the freezer and side wall so the door will
open without obstruction. Freezer is not designed for recessed installation.
Select a space with strong level floor.
Allow 4 inches of space between the freezer’s side and the wall.
The appliance must be correctly connected to the power supply.
2.Garage Ready
Garage ready in ambient temperatures of 0°F to 110° F (-17.8° C to 43.3°C).
9
HOW TO DISPOSE OF THE PACKING MATERIAL
The packing material is recyclable.
The following procedure is recommended:
- dispose of paper, card and carton in the relative containers;
- dispose of plastics in the relative containers.
- If you have no recycling bins in your area then you can put this material in the ordinary bins and/or
take it to the appropriate collection centers.
Note :Damaged supply cords to be replaced by the manufacturer, service agent or similar
qualified person to avoid hazard.
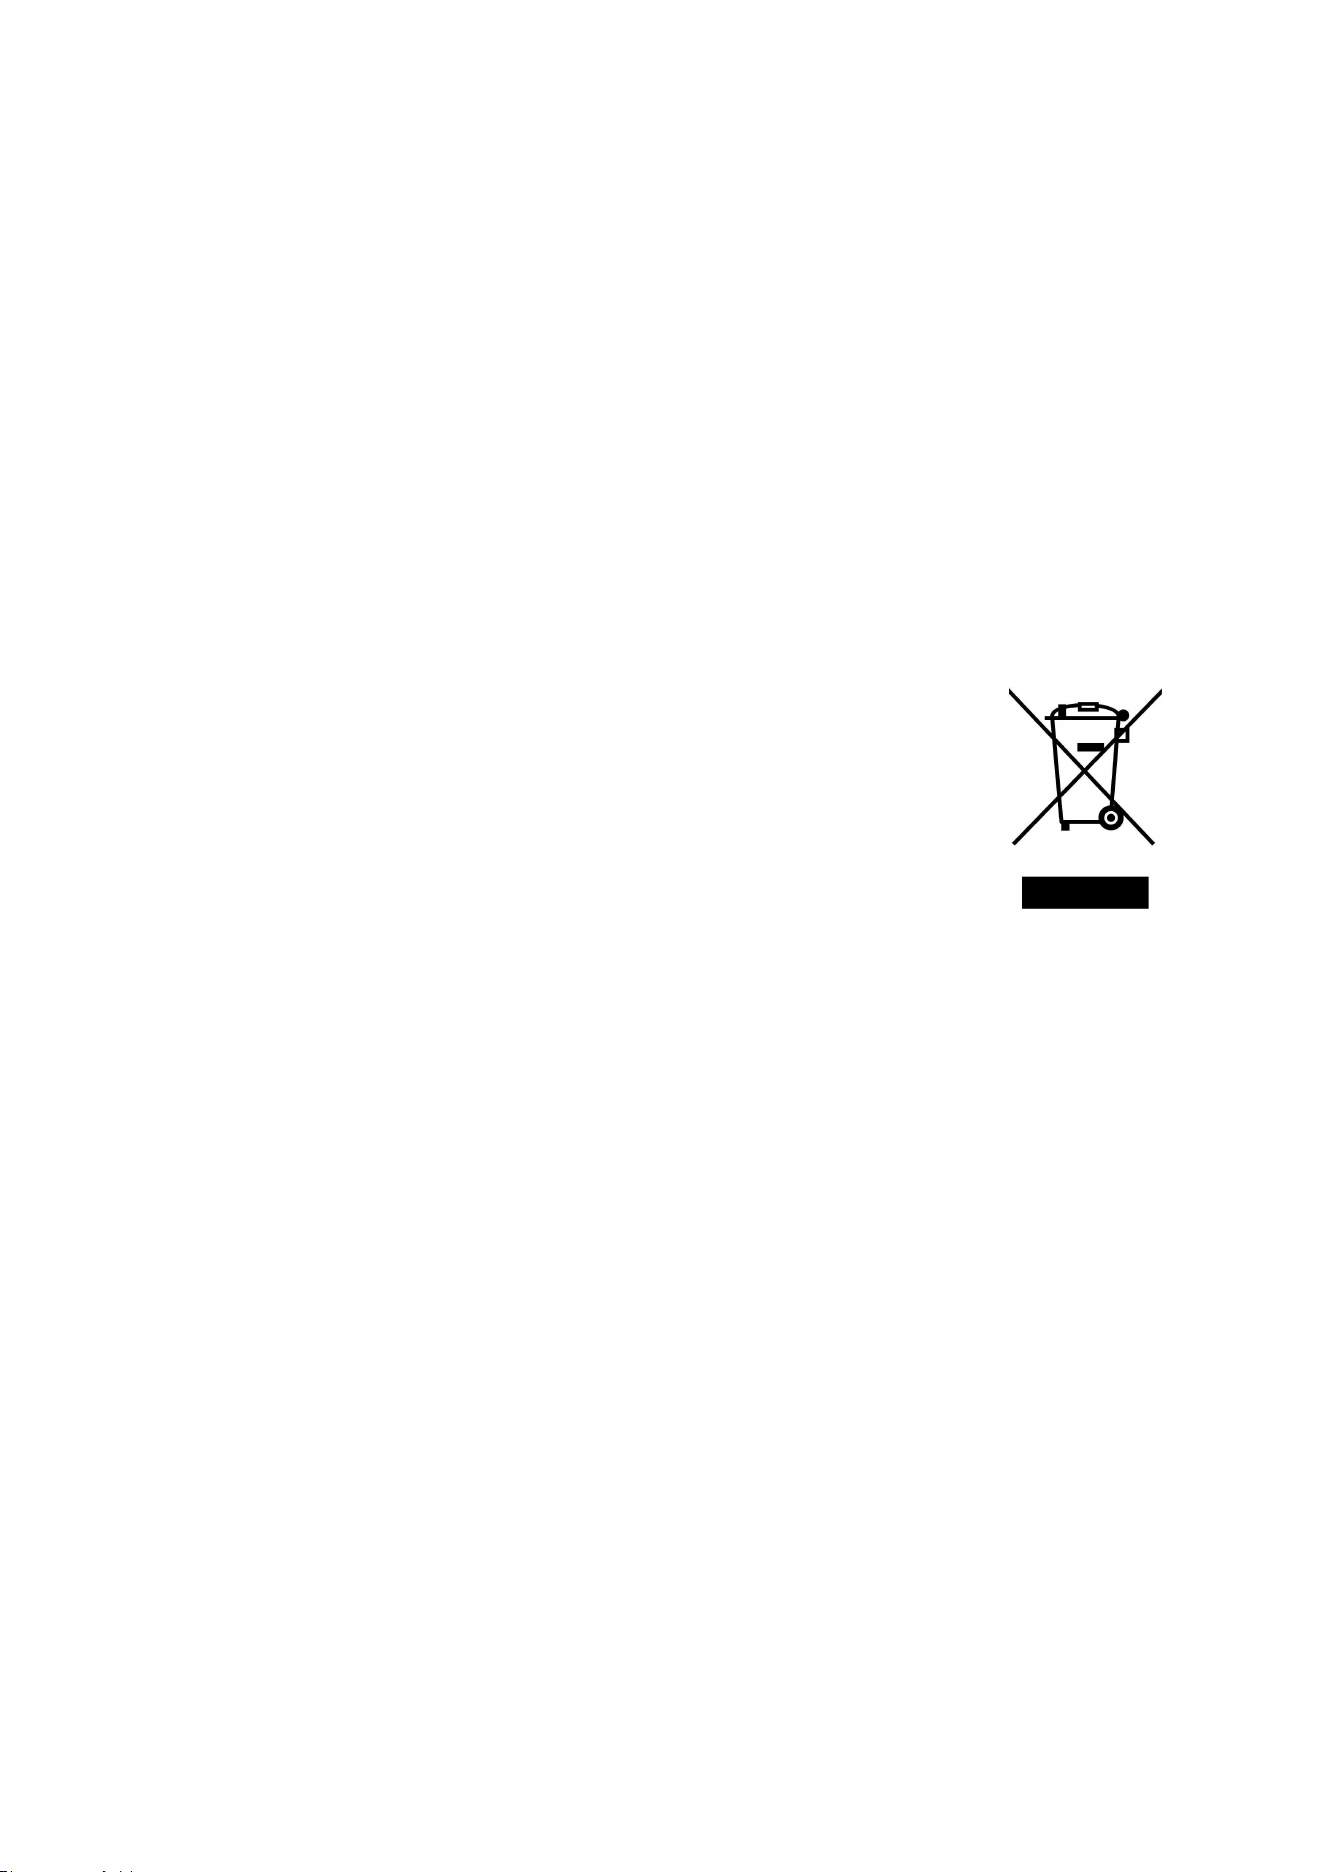
Correct Disposal of this Product
DISPOSAL:Do not dispose of this product as unsorted municipal waste. Collection of such
waste separately for special treatment is necessary.
Meaning of crossed-out wheeled dustbin: Do not dispose of electrical appliances as
unsorted municipal waste, use separate collection facilities.
Contact your local government for information regarding the collection systems
available.
If electrical appliances are disposed of in landfills or dumps, hazardous substances
can leak into the groundwater and get into the food chain, damaging your health and
well-being.
One Year Limited Warranty
Manufacturer provides a limited warranty for each new upright freezer to be free from defects in
material and workmanship for a period of 1 year from the date of purchase. Manufacturer
agrees to remedy any such defective inside accessory components such as door panels,
door shelves, racks, handles, casters, bins and drawers or to furnish a new unit if the unit proves
to have failed, at the company's option, for one year from your original date of purchase. Buyer
must register unit at plasticdevelopmentgroup.com/applianceregistration.
In the event the unit requires replacement or refund under the terms of this limited warranty, the
Buyer is responsible for all transportation expenses to return the unit prior to receiving a
replacement unit or refund. A copy of the dated sales receipt/invoice is required to receive
benefits of this limited warranty.
See following page for full 1 Year Limited Warranty

One Year Limited Warranty
This limited warranty covers appliances in use within the continental United States, Alaska, and
Hawaii, and Puerto Rico. This limited warranty does not cover the following:
1. Products with original serial numbers that have been removed, altered or cannot be readily
determined.
2. Products that have been transferred from its original owner to another party or removed outside
the USA.
3. Rust on the interior or exterior of the unit.
4. Damages due to shipping damage or improper installation.
5. Damages due to misuse or abuse.
6. Service calls, repairs, and labor expenses for any purpose.
7. Content losses and food spoilage due to failure of the unit.
8. Punctures to the evaporation system due to improper defrosting of the unit.
9. Replacement or resetting of house fuses or circuit breakers.
10. Failure or defects of this product if used for other purposes than its intended purpose or used
other than in accordance with the provided instructions.
11. Disposal costs for failed unit not returned to Manufacturer.
12. Any delivery/installation costs incurred as the result of a unit that fails to perform as specified.
13. Expenses for travel and transportation for product if you are exchanging or returning the unit.
14. Expenses related to the removal and re-installation of your unit or for making the unit accessible,
such as removal of trim, cupboards, shelves, etc. or if not installed in accordance with the
provided installation instructions.
15. Damages to the finish of the unit or home incurred during installation, including but not limited to
floors, cabinets, walls, etc.
16. Damages caused by external causes such as abuse, misuse, inadequate power supply,
accidents, fires, or acts of God.
17. Refunds for returned products are limited to the price paid for the unit per the sales receipt.
10
Disclaimer of Implied Warranties, Limitation of Remedies and Exclusions:
EXCEPT FOR THE EXPRESS WARRANTIES SET FORTH HEREIN, MANUFACTURER MAKES NO
WARRANTY WHATSOEVER (OR THE SHORTEST PERIOD ALLOWED BY LAW) REGARDING
THE GOODS, INCLUDING ANY (1) WARRANTY OF MERCHANTABILITY; (2) WARRANTY OF
FITNESS FOR A PARTICULAR PURPOSE; (3) WARRANTY OF TITLE; OR (4) WARRANTY
AGAINST INFRINGEMENT OF INTELLECTUAL PROPERTY RIGHTS OF A THIRD PARTY;
WHETHER ARISING BY LAW, COURSE OF DEALING, COURSE OF PERFORMANCE, USAGE OF
TRADE, OR OTHERWISE. BUYER ACKNOWLEDGES THAT IT HAS NOT RELIED ON ANY
REPRESENTATION OR WARRANTY MADE BY MANUFACTURER, OR ANY OTHER PERSON ON
MANUFACTURER'S BEHALF. REPLACEMENT OF UNIT AND LISTED PARTS IN ACCORDANCE
WITH THE TERMS HEREIN, IS YOUR SOLE AND EXCLUSIVE REMEDY UNDER THIS LIMITED
WARRANTY. MANUFACTURER IS NOT LIABLE FOR INCIDENTAL OR CONSEQUENTIAL
DAMAGES AND NO REPRESENTATIVE OR PERSON IS AUTHORIZED TO ASSUME FOR
MANUFACTURER ANY OTHER LIABILITY IN CONNECTION WITH THE SALE OF THIS PRODUCT.
UNDER NO CIRCUMSTANCE IS THE CONSUMER PERMITTED TO RETURN THE UNIT TO
MANUFACTURER WITHOUT THE PRIOR WRITTEN CONSENT OF MANUFACTURER.
Customer Service, (toll free: 1-833-953-1758) between the hours of 8:00 am and 4:00 pm EST
EMAIL: [email protected]
Product Registration: plasticdevelopmentgroup.com/applianceregistration
CALIFORNIA RESIDENTS ONLY-WARNING:
Cancer and Reproductive
Harm-www.P65Warnings.ca.gov
Criterion6.3-A
Criterion3.2-A