GB
Version 1
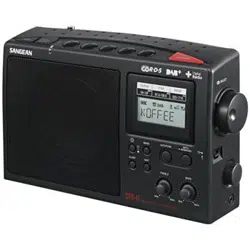
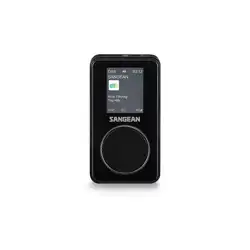
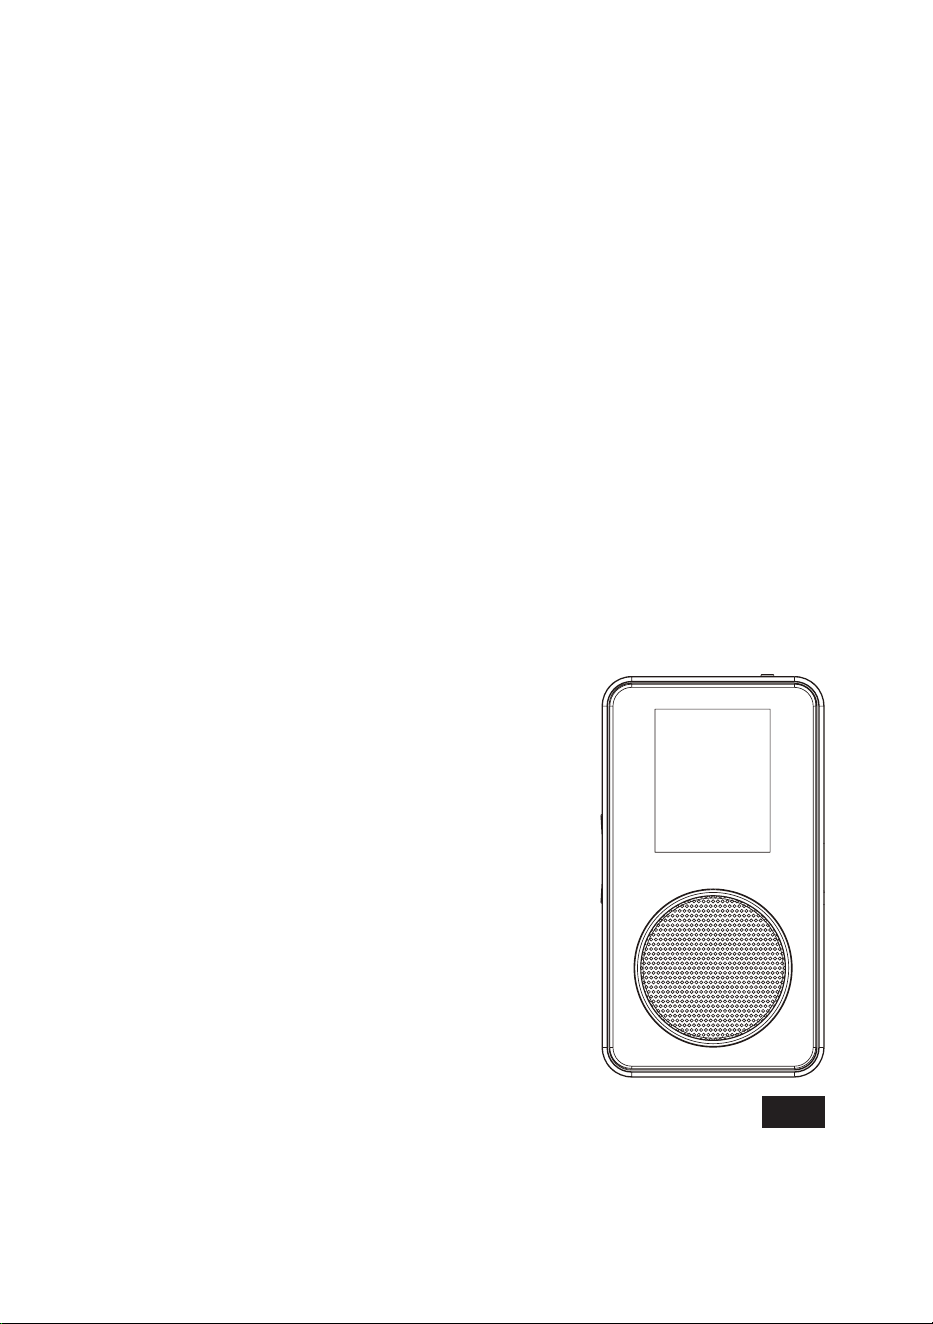
DPR-35BT
02
03
GB
Safety Information for the Internal Rechargeable
Lithium-Ion Battery
The internal rechargeable lithium-ion battery used in this
device is designed to provide power for an extended period.
However, like all lithium-ion batteries, it will eventually reach
the end of its service life and may no longer hold a charge.
If the battery does not recharge after several attempts, it
may have reached the end of its service life. Please contact
[email protected] for repair information.
If you choose not to have the battery replaced, please
dispose of the used battery or device in accordance with
local laws and regulations. You may also contact your
local electronics retailer or recycling centre for proper
disposal.
User Safety Precautions
●
Ensure the ambient temperature is between 5°C and
45°C (41°F–113°F) before charging the battery.
●
Do not attempt to disassemble the device or its plastic
casing, as internal materials may be hazardous and
could cause injury or damage to clothing.
●
Do not puncture, crush, modify, throw, or subject the
battery to excessive shock. Improper handling may
result in fire, explosion, or chemical burns.
●
Do not leave, charge, or use the battery in a vehicle
exposed to direct sunlight, fire, or other heat sources.
●
Do not immerse the battery in water or seawater, or
expose it to moisture.
●
Do not use or charge the battery if it becomes
abnormally hot, discolored, deformed, or shows any
other unusual signs during use, charging, or storage.
●
Do not leave a charging battery unattended, and keep
it out of the reach of children.
NOTE:
Any changes or modifications not expressly approved by
the responsible party for compliance may void the user’s
authority to operate the equipment and all associated
warranties.
WARNING:
– Replacement of a battery with an incorrect type that can
defeat a safeguard (for example, in the case of some
lithium battery types).
– Disposal of a battery into fire or a hot oven, or
mechanically crushing or cutting of a battery, that can
result in an explosion.
– Leaving a battery in an extremely high temperature
surrounding environment that can result in an explosion
or the leakage of flammable liquid or gas.
– A battery subjected to extremely low air pressure that
may result in an explosion or the leakage of flammable
liquid or gas.
CAUTION:
Risk of fire or explosion if the battery is replaced by an
incorrect type.
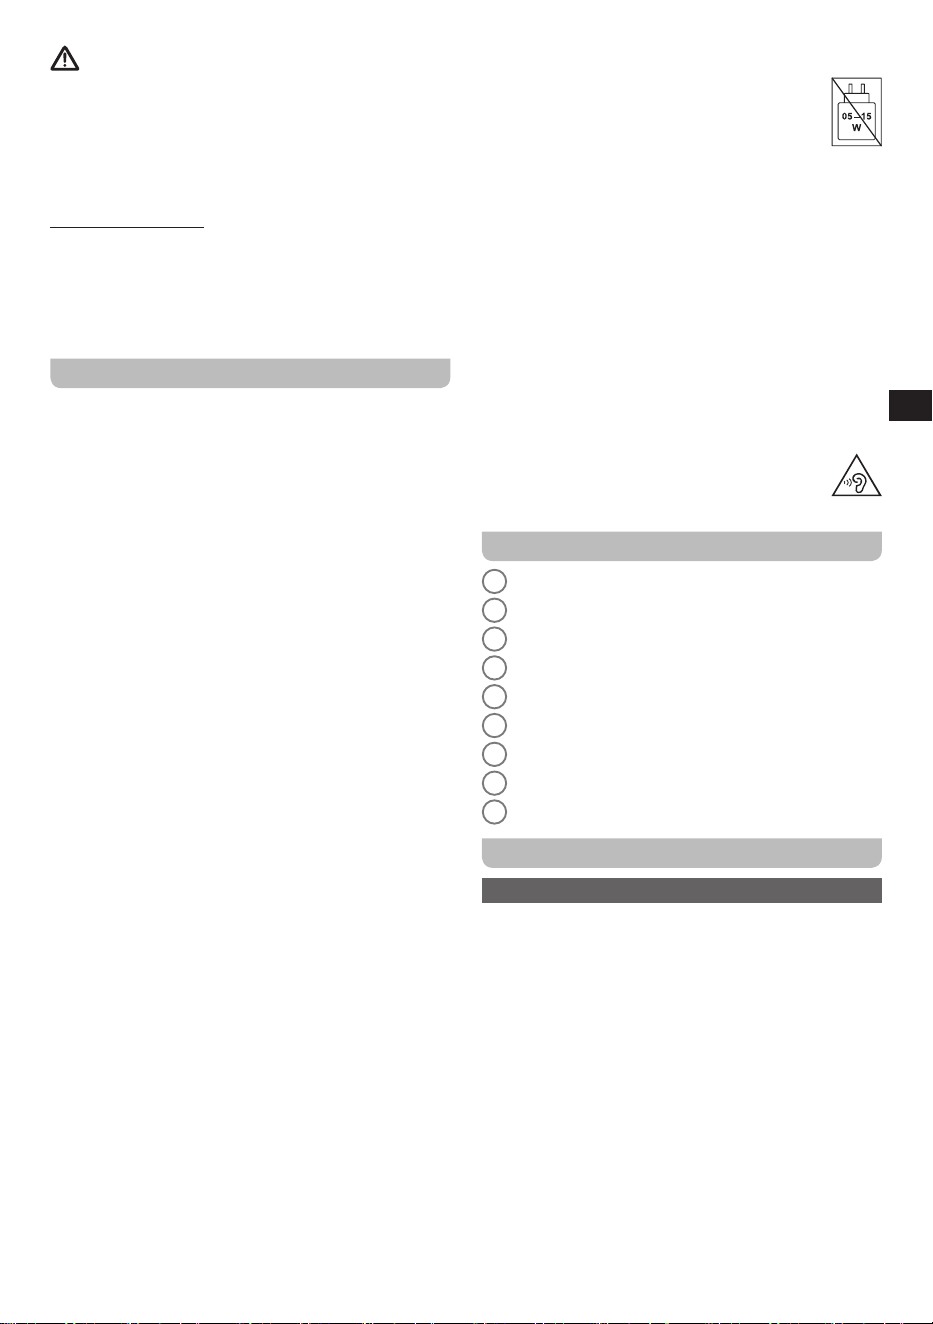
Important Notes:
1.
It is recommended to purchase an
adapter from SANGEAN that matches the
power range indicated on the gift box.
2.
When using a non-SANGEAN adapter, the functionality
of the radio may be aected, such as the reception of
radio stations.
3.
When using an adapter that does not fall within the
power range indicated on the gift box, please pay
attention to the following:
(a)
A higher-power PD adapter may be used, but the
radio functionality, such as receiving radio stations,
may be impacted.
(b)
A lower-power adapter should not be used to avoid
unforeseen risks.
WARNING:
High sound pressure may cause hearing loss. To
prevent possible hearing damage, avoid listening
at high volume levels for extended periods.
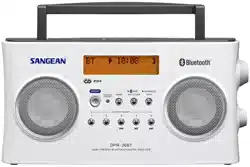
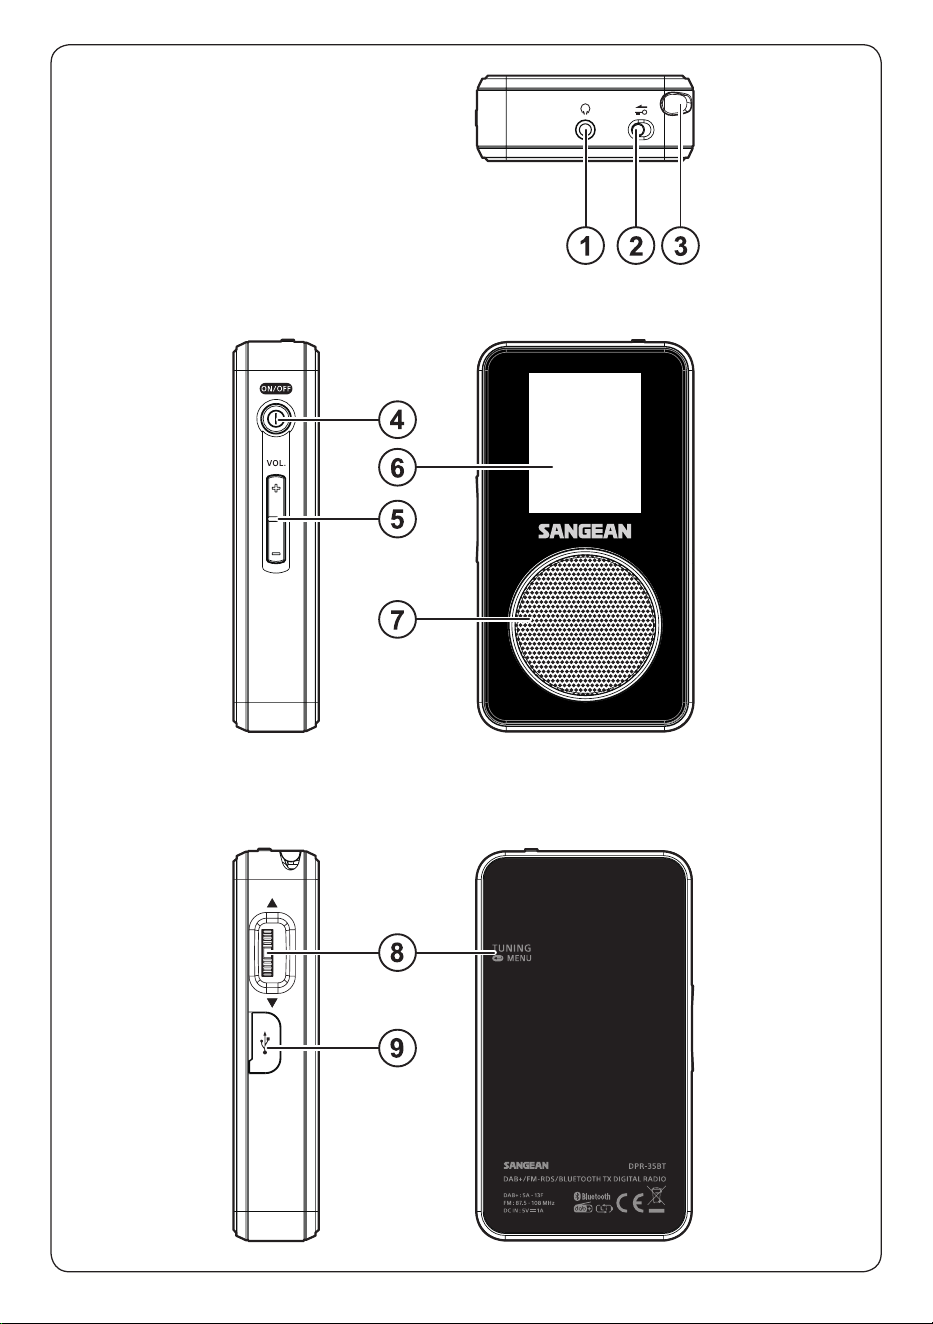
Controls
1
Headphone socket
2
Lock switch
3
Antenna
4
Power button
5
Volume + / - button
6
TFT LCD display
7
Speaker
8
Tuning / Menu / Select / Info jog wheel
9
USB-C port for charging and software updates
Getting started
Charging the radio
The Sangean DPR-35BT features a built-in rechargeable
lithium-ion battery.
We recommend fully charging the battery before the
radio’s first use.
To charge the battery, follow the steps below
1.
Connect the USB-C end of the supplied USB cable to
the radio’s USB-C port.
2.
Connect the USB-A end of the supplied USB cable to
a certified USB power source (e.g., a wall adapter, a
computer’s USB port, or a power bank) rated at DC 5V
/ 1A that complies with applicable safety standards.
Notes:
●
The radio can be charged while powered on or off.
●
Fully charging the battery takes approximately 4 hours.

04
GB
●
If the radio is turned on while charging, the battery icon
at the top of the radio’s display will show an animation
indicating that the battery is being charged.
Turning the radio on and o
After charging, turn the radio on by simply pressing the
Power button
. After the radio is turned on, it will briefly
display the Sangean logo, after which it will resume
operation in the last used mode. To turn the radio off,
press the
Power button
again.
Note:
If the radio becomes unresponsive or if the software
update process is accidentally initiated, press and hold the
Power button
for 5 seconds to perform a forced restart.
Using the radio menu
The radio menu can be opened by pressing and holding
the
Jog wheel
for 2 seconds while the radio is turned on.
The menu displays items for the current mode (DAB or
FM), as well as the
Bluetooth TX
,
Sleep
and
System
Settings
submenus.
To navigate the radio menu, move the
Jog wheel
up or
down to highlight an item, and then press the
Jog wheel
to confirm your choice. After entering a submenu, select
[Back]
to go back to the previous menu. To exit the radio
menu, either select
[Back]
from the main menu of the
current mode or wait 10 seconds without operating the
Jog wheel
.
In some menus, a check mark (√) is shown. This indicates
the currently selected setting.
The main menu items for DAB and FM mode are
described in their respective chapters later in this manual.
The list below provides an overview of the
Bluetooth
TX
,
Sleep
and
System Settings
submenus, which are
accessible from both DAB and FM mode.
●
[Bluetooth TX]:
Select this item to enable or disable
the radio’s Bluetooth transmitter (TX) feature. Refer to
the “Streaming radio to Bluetooth devices” section for
more information on this feature.
●
[Sleep]:
Select this item to configure the radio’s sleep
timer. The radio will turn off after the selected time has
elapsed. The available options are
[120 minutes]
,
[90
minutes]
,
[60 minutes]
,
[45 minutes]
,
[30 minutes]
,
[15 minutes]
, and
[Sleep Timer Off]
. After setting the
sleep timer, the sleep icon and remaining time will be
shown at the bottom of the display.
●
[System Settings]:
Select this item to configure the
radio’s
System Settings
:
●
[Backlight Settings]:
Select this item to configure
the behavior and brightness of the backlight through
the following submenus:
●
[Backlight Auto]:
Select this item to enable or
disable the automatic backlight dimming feature.
When enabled, the backlight will be automatically
dimmed after 10 seconds of inactivity.
●
[Brightness]:
Select this item to configure the
brightness of the radio’s backlight. The available
options are
[High]
,
[Medium]
and
[Low]
.
●
[Language]:
Select this item to configure the language
in which the radio’s menus appear.
●
[Factory Reset]:
Select this item to reset the radio to
its factory default settings. After confirmation, all user
settings and preset stations will be erased.
●
[Software Update]:
Select this item to update the
radio’s software. After confirmation, the radio will attempt
to connect to the PC wizard* to perform the update.
●
[Software Version]:
Select this item to view the radio’s
current software version.
*: To update the radio’s software, download the latest
software for the DPR-35BT from the official Sangean
website to your PC. When the radio displays the “Waiting
for PC wizard…” message, connect the PC to the radio
using a compatible USB cable, and then follow the on-
screen instructions on the PC to complete the update.
Setting the clock
The clock does not need to be set manually and will
automatically update each time the radio is turned on and
tuned into a DAB station or an FM station that broadcasts
time information via RDS.
The time is shown in the top-right corner of the display a
few seconds after the radio receives a DAB or FM RDS
time signal.
Using the keylock feature
The keylock feature can be enabled using the
Lock
switch
on the top of the device. When the
Lock switch
is set to the locked position, the radio will not respond to
any input controls. This prevents accidental operation, for
instance when the radio is in your pocket.
Listening to DAB radio
Tuning into DAB stations
To tune into DAB radio stations, follow the steps below:
1.
Turn on the radio using the
Power button
.
2.
If the radio is in FM mode, switch to DAB mode by
pressing and holding the
Jog wheel
for 2 seconds,
selecting the
[DAB Mode]
item, and then pressing the
Jog wheel
.
3.
If this is the rst time DAB mode is used, the radio will
automatically perform a full scan to find all available
DAB radio stations. During the scan, the station
counter increases as new stations are detected, and
the stations are added to the station list which is stored
in the radio. The progress bar indicates the progress of
the scan.
4.
When the scan is complete, the radio will display all
stations that were found.
5.
Move the
Jog wheel
up or down to scroll through the
list of stations and press the
Jog wheel
to tune into a
station.
6.
Use the
Volume + / - button
to adjust the volume to a
comfortable listening level.

05
GB
Notes:
●
Before selecting DAB mode and tuning into stations,
make sure the antenna on top of the radio is fully
extended or the earphones are connected to ensure
optimal reception.
●
When earphones are connected, an ear protection
feature limits the volume to level 10. A warning
message will appear when attempting to exceed this
volume level. To override this protection, press the
Jog
wheel
and then use the
Volume + / - button
to adjust
the volume to a comfortable listening level.
The DAB radio menu
The main menu for DAB mode contains the following
mode-specific items:
●
[Favourite]:
Select this item to store and recall presets.
Refer to the “Preset Stations” section below for more
information.
●
[FM Mode]:
Select this item to switch to FM mode.
●
[Station List]:
Select this item to access the station list
and tune into a DAB station.
●
[Full scan]:
Select this item to perform a full scan and
store all available DAB stations in the station list.
●
[Manual tune]:
Select this item to manually tune into a
specific DAB channel / frequency.
●
[Prune Invalid]:
Select this item to remove all
unavailable stations from the station list.
●
[DRC]:
Dynamic Range Control (also known as DRC)
can make quieter sounds easier to hear when your
radio is used in a noisy environment by reducing the
dynamic range of the audio signal. Select this item to
configure the DRC level. The available options are:
●
[High]:
DRC is set as sent by broadcaster.
●
[Low]:
DRC level is set to 1/2 that sent by broadcaster.
●
[Off]:
DRC is switched off. Broadcast DRC will be
ignored. This is the default setting.
●
[Station Order]:
Select this item to configure
the DAB station order. The available options are
[Alphanumeric]
, and
[Ensemble]
.
●
[Back]:
Select this item to exit the menu and return to
the radio playback screen.
Showing DAB information on the display
When listening to a DAB radio broadcast, repeatedly
press the
Jog wheel
to cycle through the following
information on the radio's display:
●
Text
●
Program type
●
Multiplex name
●
Frequency
●
Strength & Signal error
●
Bit rate & Audio type
●
Date and day of the week
●
Slideshow*
*: Slideshow availability depends on the DAB station.
If the icon is shown below the DAB station name
on the radio’s display, no slideshow image is available,
and the radio will skip the slideshow item when cycling
through information.
If the icon is shown below the DAB station name,
a slideshow image is available and will appear after the
date and day of the week screen.
Listening to FM radio
Tuning into FM stations
To tune into FM radio stations, follow the steps below:
1.
Turn on the radio using the
Power button
.
2.
If the radio is in DAB mode, switch to FM mode by
pressing and holding the
Jog wheel
for 2 seconds,
selecting the
[FM Mode]
item, and then pressing the
Jog wheel
.
3.
Move and hold the
Jog wheel
up or down for 2
seconds to automatically tune into the next FM station
with a higher or lower frequency respectively. The radio
will stop scanning when it nds a station with sucient
signal strength. The display will show the frequency
of the station found. If the signal is strong enough and
RDS data is available, the radio may display the station
name after a few seconds.
4.
Move the
Jog wheel
up or down to fine-tune the
frequency with steps of 0.05 MHz if needed.
5.
Use the
Volume + / - button
to adjust the volume to a
comfortable listening level.
6.
Repeat steps 3 and 4 to tune into other radio stations.
Notes:
●
Before selecting FM mode and tuning into stations,
make sure the antenna on top of the radio is fully
extended or the earphones are connected to ensure
optimal reception.
●
When earphones are connected, an ear protection
feature limits the volume to level 10. A warning
message will appear when attempting to exceed this
volume level. To override this protection, press the
Jog
wheel
and then use the
Volume + / - button
to adjust
the volume to a comfortable listening level.
The FM radio menu
The main menu for FM mode contains the following mode-
specific items:
●
[Favourite]:
Select this item to store and recall presets.
Refer to the “Preset Stations” section below for more
information.
●
[DAB Mode]:
Select this item to switch to DAB mode.

06
GB
●
[Scan Setting]:
Select this item to configure whether
the radio only scans for stations with a strong signal or
for all signals when moving and holding the
Jog wheel
up or down for 2 seconds. The available options are
[Strong Stations Only]
, and
[All Stations]
.
●
[Audio Setting]:
Select this item to configure if the
radio should play FM stations in stereo when available.
Select
[Stereo Allowed]
to enable stereo playback, or
select
[Forced Mono]
to force mono playback. Forcing
the radio to play FM broadcasts in mono can help
reduce noise when listening to weak FM broadcasts.
●
[Back]:
Select this item to exit the menu and return to
the radio playback screen.
Showing FM information on the display
When listening to a FM radio station that is also
broadcasting RDS information (the RDS indicator is
shown on the radio’s display), repeatedly press the
Jog
wheel
to cycle through the following information on the
radio's display:
●
Radio text message
●
Program type
●
Frequency
●
Audio mode (stereo / mono)
●
Date and day of the week
If no RDS information is available, the radio will be unable
to display the station name, text message, and program
type. If the stereo speaker icon is shown at the bottom
of the display, this indicates that the radio is receiving a
stereo broadcast.
Preset stations – DAB & FM
Storing preset stations
The DPR-35BT features 10 preset stations for both DAB
and FM. Follow the steps below to store a station as a
preset:
1.
Turn on the radio using the
Power button
.
2.
Select DAB or FM mode, and tune into the required
station using the instructions in the previous sections.
3.
Press and hold the
Jog wheel
for 2 seconds to open
the menu of the selected mode, select
[Favourite]
, and
then select
[Preset Store]
.
4.
Use the
Jog wheel
to select your desired preset
number and press the
Jog wheel
. The radio’s display
will confirm that the station has been saved to the
selected preset number.
5.
After a station has been saved as a preset, its preset
number will appear at the bottom center of the radio’s
display.
6.
Repeat steps 2-4 to store additional preset stations.
Recalling preset stations
To recall a preset station, follow these steps:
1.
Turn on the radio using the
Power button
.
2.
Select DAB or FM mode using the instructions in the
previous sections.
3.
Press and hold the
Jog wheel
for 2 seconds to
open the menu of the selected radio mode, select
[Favourite]
, and then select
[Preset Recall]
.
4.
Use the
Jog wheel
to select your desired preset
number and press the
Jog wheel
. The radio will now
tune into the selected preset station.
5.
If the radio is tuned into a preset station, its preset
number will appear at the bottom center of the radio’s
display.
Streaming radio to Bluetooth devices –
DAB & FM
The DPR-35BT is equipped with a Bluetooth transmitter
(TX), allowing you to stream the radio’s audio to external
Bluetooth devices such as headphones or speakers. To
use this function, pair the radio with a receiving device.
Pairing establishes a connection between the two devices.
Pairing your Bluetooth device for the first
time
1.
Turn on the radio by pressing the
Power button
.
2.
Press and hold the
Power button
for 2 seconds to
open the Bluetooth TX menu.
Alternatively: Press and hold the
Jog wheel
for 2
seconds to open the main menu of the selected mode,
then select
[Bluetooth TX]
and press the
Jog wheel
to confirm.
3.
Select
[On]
and press the
Jog wheel
to enable the
Bluetooth TX feature. A blinking Bluetooth icon will
appear at the bottom of the display.
4.
Make sure Bluetooth is activated on your external
Bluetooth device (refer to the manual of the external
Bluetooth device if you are unsure about how to
activate Bluetooth).
5.
Select
[Scan Device]
on the radio to search for your
external Bluetooth device and select your device when
it appears in the list, or alternatively select “DPR-35BT”
from your external device’s Bluetooth list.
Note:
If prompted for a pass code (on older devices
with Bluetooth version 2.1 or earlier), enter “0000”.
6.
Once connected, the Bluetooth icon will stop ashing.
The radio’s internal speaker will mute and audio will be
streamed to your Bluetooth device.
Notes:
●
After enabling Bluetooth TX, a blinking Bluetooth icon
will appear on the radio’s playback screen. This indicates
that the radio is available for pairing. If no connection is
established within 5 minutes, the Bluetooth TX feature
will automatically turn off to save power.
●
If two Bluetooth devices are searching for the radio at
the same time, the radio may appear in both device

07
GB
lists. However, once a device is connected, the radio
will no longer be available for pairing with another
device. To pair a different device, disconnect the
current device first and restart the pairing process.
●
If your Bluetooth device is taken out of range, the
connection between the device and the radio will be
temporarily lost. The radio will automatically reconnect
when the device is brought back into range.
●
When playback is paused on the receiving Bluetooth
device (such as headphones or a speaker), the radio's
audio is muted. Press the Play button on the receiving
device to unmute and resume listening.
●
If “DPR-35BT” shows up in your Bluetooth device
list, but your Bluetooth device cannot connect with
it, please delete the item from your list and pair the
Bluetooth device with the radio again following the
steps described previously.
●
The effective operation range between the radio and
the paired Bluetooth device is approximately 10 meters
(30 feet). Any obstacle between the system and the
device can reduce the operational range.
●
Bluetooth connectivity performance may vary
depending on the connected Bluetooth device. Please
refer to the Bluetooth capabilities of your device before
connecting it to your radio. Not all features may be
supported, depending on the Bluetooth device used.
●
With some mobile phones, making / receiving calls, text
messages, e-mails or any other activities unrelated to
audio streaming may mute Bluetooth audio streaming
or even temporarily disconnect from your device. Such
behavior is a function of the Bluetooth device and does
not indicate a problem with your DPR-35BT.
Bluetooth device memory
The DPR-35BT can memorize up to 10 previously paired
Bluetooth devices. Once more than 10 devices are
memorized, the earliest device with which the radio was
paired will be overwritten in the radio’s memory.
Disconnecting your Bluetooth device
To disconnect your external Bluetooth device from the
radio, follow these steps:
1.
Press and hold the
Power button
for 2 seconds to
open the Bluetooth TX menu.
Alternatively: Press and hold the
Jog wheel
for 2
seconds to open the main menu of the selected mode,
then select
[Bluetooth TX]
and press the
Jog wheel
to confirm.
2.
Select
[O]
to disable the Bluetooth TX feature.
3.
Once disconnected, a conrmation tone will be played
and the Bluetooth indicator will no longer be shown on
the radio’s playback screen.
Note:
The Bluetooth connection can also be disconnected
on the external device by turning off the Bluetooth feature
(refer to the manual of the external Bluetooth device for
detailed instructions).
The Bluetooth TX menu
The main menu for the Bluetooth TX feature contains the
following items:
●
[Off]:
Select this item to turn off the Bluetooth TX
feature.
●
[On]:
Select this item to turn on the Bluetooth TX
feature. Once enabled, a submenu containing the
following additional items will appear:
●
[Device List]:
Select this item to view the list of
previously paired Bluetooth devices. If no paired device
is available, the radio will automatically start scanning
for Bluetooth devices.
●
[Scan Device]:
Select this item to scan for Bluetooth
devices.
●
[Forget Device]:
Select this item to erase all previously
paired Bluetooth devices (requires confirmation).
●
[Back]:
Select this item to go back to the previous
menu.
●
[Back]:
Select this item to go back to the previous
menu.
08
GB
Specifications
Power Requirements
Battery Lithium-ion rechargeable battery, 3.7V, 1850mAh
Battery Life
Playback via the speaker: approx. 23 hours
Playback via earphones: approx. 29 hours
Playback via Bluetooth TX: approx. 18 hours
Note:
Battery life is based on playback at a moderate volume for 4 hours per day. Actual performance may vary
depending on usage conditions, volume level, battery age, and ambient temperature.
Frequency Coverage
FM 87.5-108 MHz
DAB+ Band III (5A-13F)
Bluetooth TX
Bluetooth Version Bluetooth
®
5.4
Supported Profiles A2DP, AVRCP
Audio Codec SBC
Transmitting Power Class 2
Line-of-sight Range Approx. 10 m (30 ft)
Bluetooth Function Transmit only (Bluetooth reception not supported)
Circuit Features
Speaker 32Ω, 36mm diameter
Earphones 32Ω, in-ear type
Output Power 0.8mW (earphones); 200mW (speaker)
USB Port
USB Type-C (DC IN 5V 1A)
This symbol indicates DC voltage
Operating Temperature Range
0°C to +45°C (32°F~ 113°F)
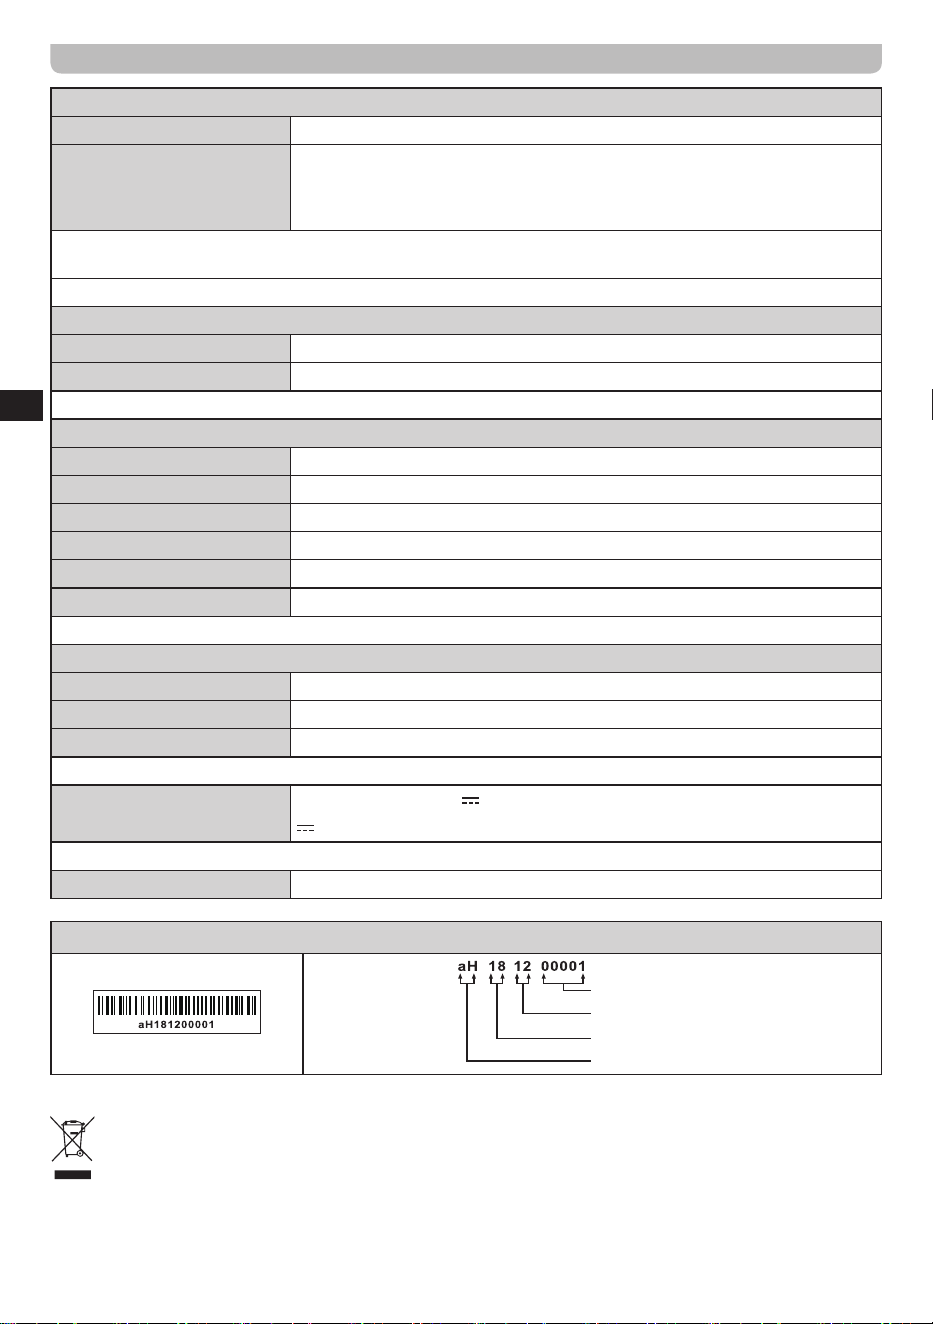
※
The barcode label on the product is defined as below:
Serial number
Production month
Production year
Product code
Sangean reserves the right to amend the specifications without notice.
RECYCLING This product bears the selective sorting symbol for Waste electrical and electronic equipment (WEEE).
This means that this product must be handled pursuant to European directive 2012/19/EU in order to be recycled or
dismantled to minimize its impact on the environment.