Silent
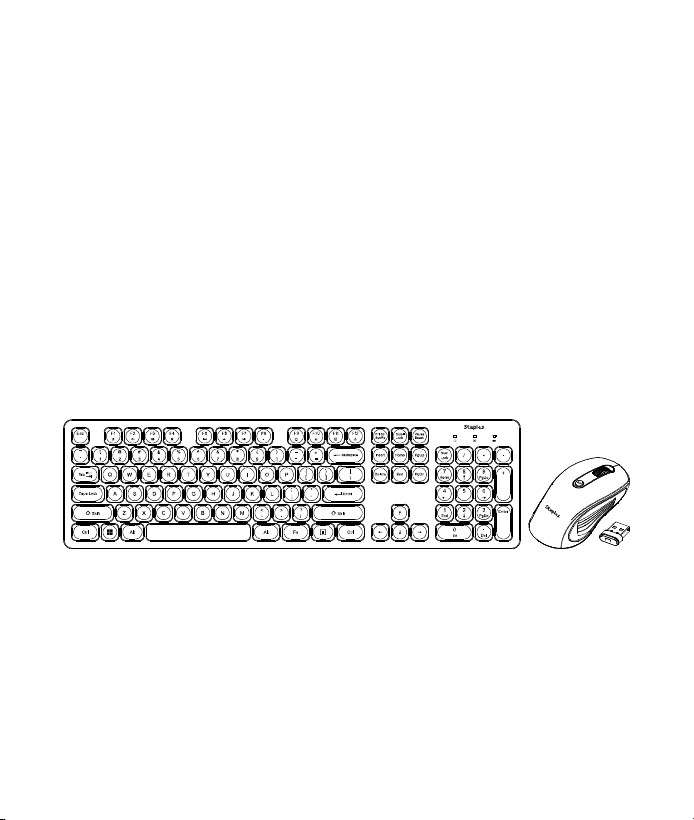
Wireless Keyboard & Mouse
w/Nano Receiver
USER'S GUIDE
Ver.:1.00
CAUTION: To use this product properly, please read the user's guide before installation

1
Federal Communication Commission Interference Statement
This equipment has been tested and found to comply with the limits for a
Class B digital device, pursuant to Part 15 of the FCC Rules. These limits
are designed to provide reasonable protection against harmful interference in
a residential installation. This equipment generates, uses and can radiate
radio frequency energy and, if not installed and used in accordance with the
instructions, may cause harmful interference to radio communications.
However, there is no guarantee that interference will not occur in a particular
installation. If this equipment does cause harmful interference to radio or
television reception, which can be determined by turning the equipment off
and on, the user is encouraged to try to correct the interference by one of the
following measures:
- Reorient or relocate the receiving antenna.
- Increase the separation between the equipment and receiver.
- Connect the equipment into an outlet on a circuit different from
that to which the receiver is connected.
- Consult the dealer or an experienced radio/TV technician for help.
FCC Caution: Any changes or modifications not expressly approved by the
party responsible for compliance could void the user's authority to operate
this equipment.
This device complies with Part 15 of the FCC Rules. Operation is subject to
the following two conditions: (1) This device may not cause harmful
interference, and (2) this device must accept any interference received,
including interference that may cause undesired operation.
Radiation Exposure Statement:
The product comply with the FCC portable RF exposure limit set forth for an
uncontrolled environment and are safe for intended operation as described in
this manual. The further RF exposure reduction can be achieved if the
product can be kept as far as possible from the user body or set the device to
lower output power if such function is available.
2
Functional Introduction
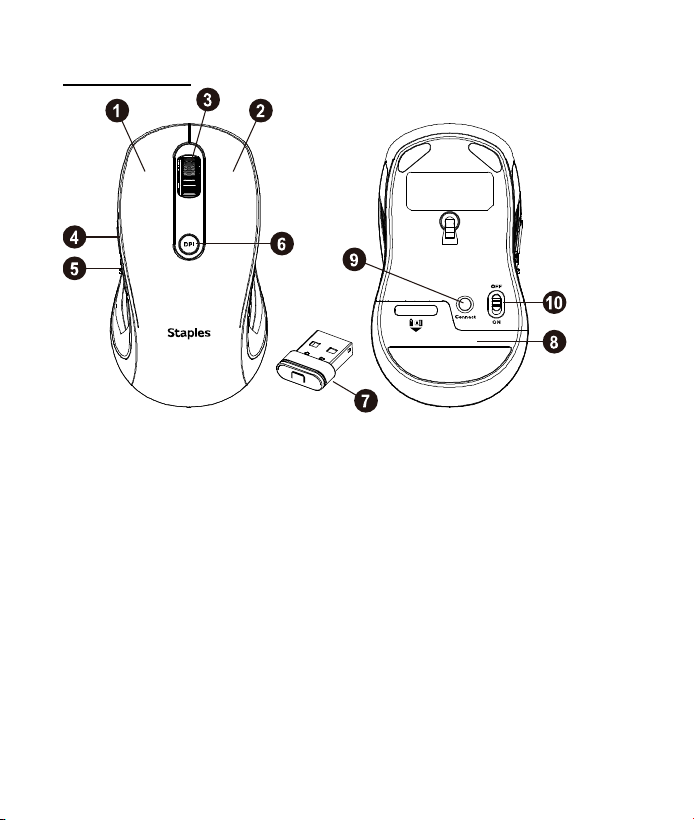
Mouse Buttons
1.
Left button
6
DPI Switch button & LED Indicator
2.
Right button
7.
Nano Receiver
3.
Scrolling Wheel
8.
Battery Cover
4.
Forward
9.
Connect Button
5.
Backward
10
ON / OFF Switch
Forward
Press this button to view the next page in your Internet browser
Backward
Press this button to view the previous page in your Internet browser
DPI Switch
The LED indicator will light up when you plug the mouse into the USB
port. The brightness of the indicator indicates the DPI setting in use.
3
a) 5 adjustable DPI settings.
The number of blinks indicates the DPI setting in use
DPI
# of Blinks
800 dpi
1
1000 dpi
2
1600 dpi
3
2400 dpi
4
3600 dpi
5
b) The default setting is 1600 DPI.
You can easily switch between DPI settings.
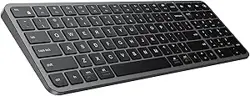
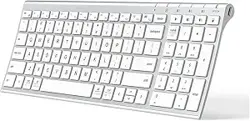
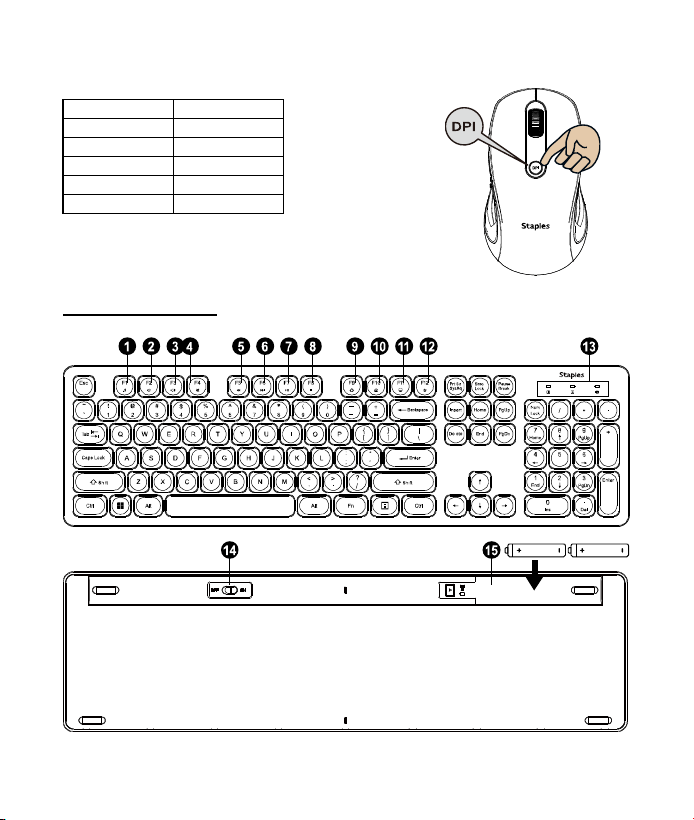
Keyboard Buttons
4
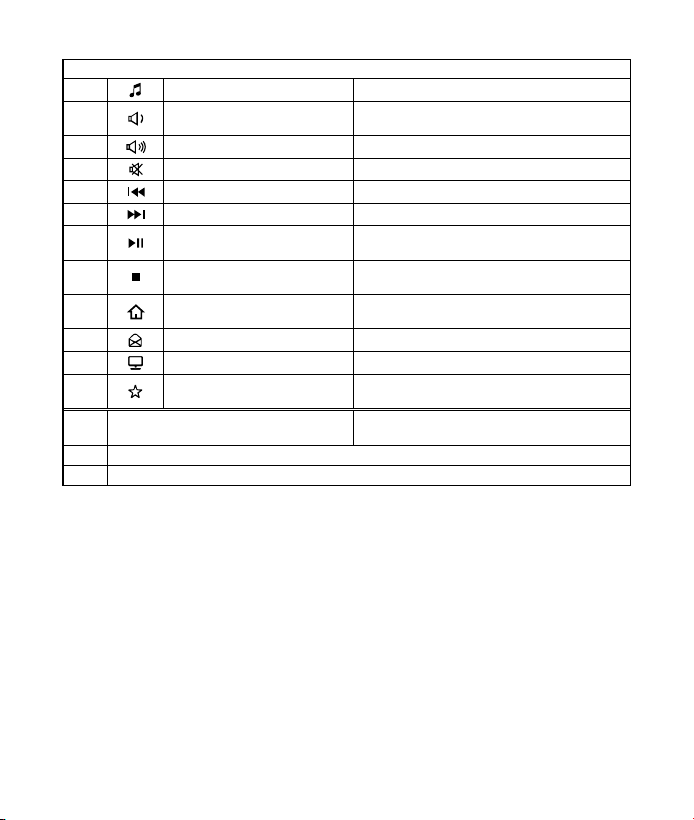
Key Function (* compound key, Press with Fn key)
1.
Media Player on
Turn on the Media player program
2
Volume down (Voice-)
Decrease the computer's sound
volume.
3.
Volume up (Voice+)
Increase the computer's sound volume.
4.
Mute
Mute (turns off) the computer's sound
5.
Previous
Switch to the previous media track
6.
Next
Switch to the next media track
7.
Play/Pause
Switch between playing and pausing
media
8.
Stop(Media)
Stop playing the media in the media
player
9.
Homepage(www/e)
Start the default Web browser and
loads the home Web page
10.
Outlook(E-mail)Default
Start the default e-mail program
11.
My Computer
My Computer
12.
My Favorites
Open My favorite after into Internet
browser application
13.
LED Indicator
Num Lock / Caps Lock /
Low Battery(Pairing Indicator)
14
ON/OFF Switch
15
Battery Cover
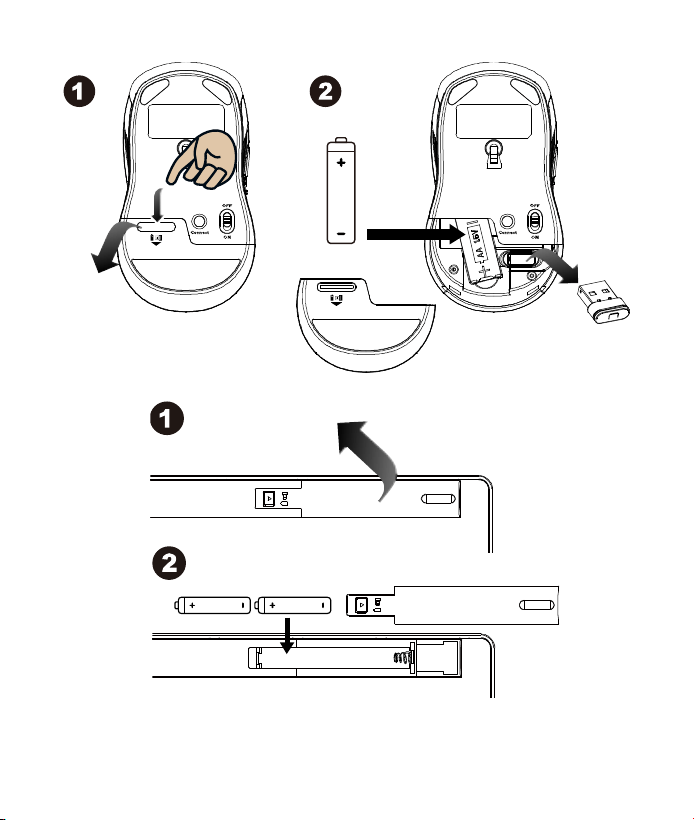
Installing the batteries
Step 1: Take the battery cover off.
Step 2: Insert the battery as shown inside the battery compartment.
5
AAA Battery X 2
Pull
AA Battery
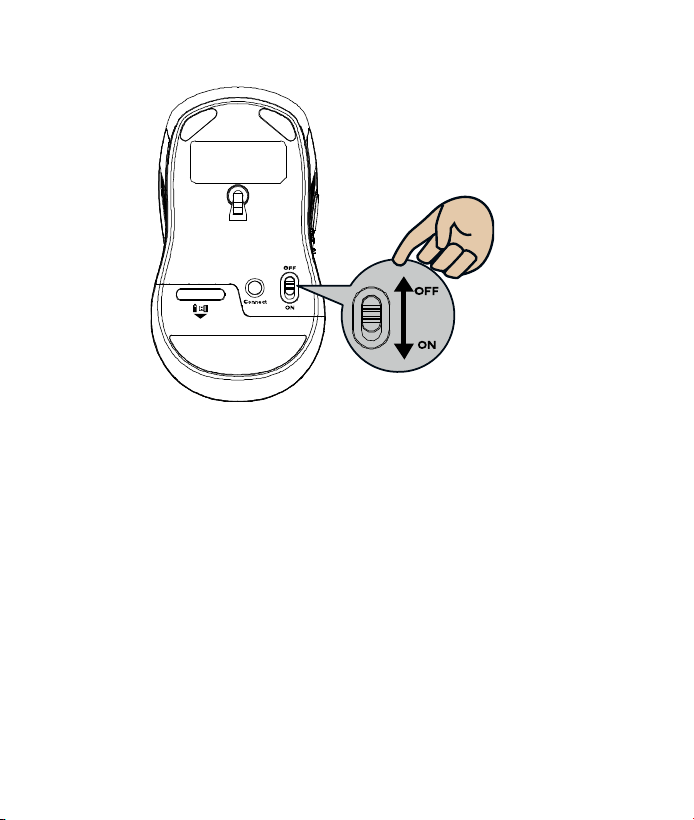
6
Step 3: Replace the cover.
Step 4: Turn on power switch.
**Warning:
*Please insert the battery with the correct position according to the instruction
labeled on the mouse & Keyboard.
Setup the Connection between the Receiver and
the Mouse & Keyboard
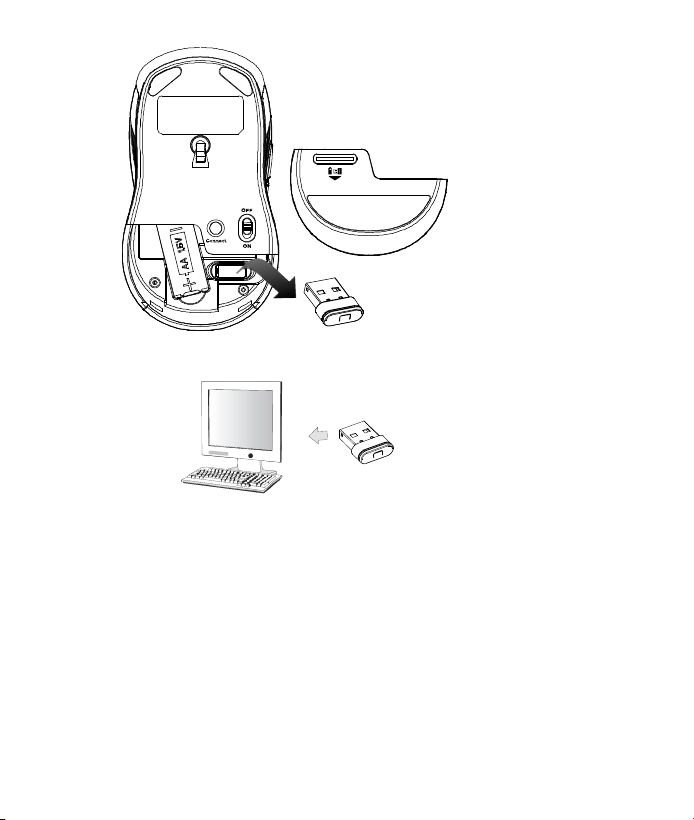
1. Insert the battery into the mouse & Keyboard, then follow the steps
below.
2. In the meantime, to open the cover under the mouse, take the nano
receiver out.
7
3. Plug the Nano receiver into the USB port on your computer.
4. If the device does not work, please turn it into pairing mode.
5. Pairing: Re-plug the receiver into the USB port on your computer, then
press connect button of the mouse and keyboard “ESC + K “. If the
mouse or keyboard does not work after 10 seconds, pair them again.
(The receiver has auto pairing function).
6. The LED indicator on the mouse & Keyboard flashes steadily when it
is in pairing mode and stops blinking when it is successfully paired
with the receiver.
7. When low battery, the battery indicator on the keyboard or the mouse
will start to blink.
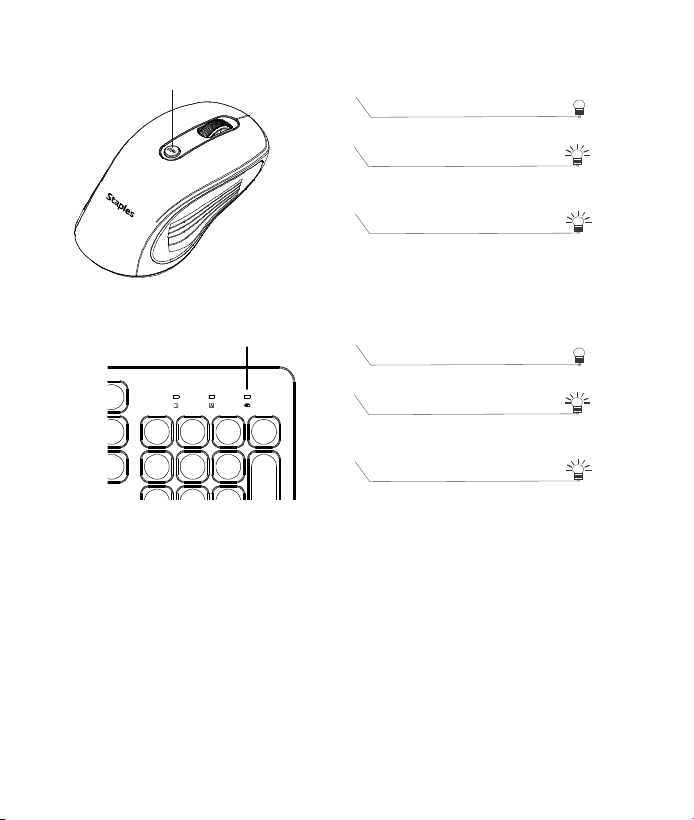
8
*Mouse Indicator
LED is on for 10 sec.
Power ON
LED Blinking
During Pairing (LED OFF when
paired or failed after 10 sec.)
LED Blinks for 10 sec.
Low Battery Warning
*Keyboard Indicator
LED is on for 10 sec.
Power ON
LED Blinking
During Pairing (LED OFF when
paired or failed after 10 sec.)
LED Blinks for 10 sec.
Low Battery Warning
LED Indicator
LED indicator