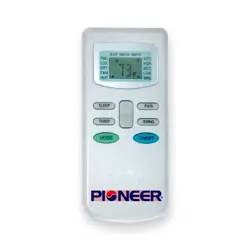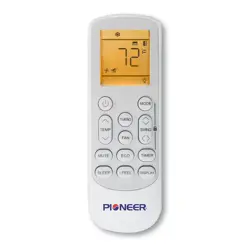
Operating Instructions
The display and some features of the remote control may
vary according to the model of the system.
The shape and positions of the buttons and indicators may
vary according to the model of the system, but the features
and functionality would remain the same.
The unit will confirm the successful reception of each button
command with a beep.
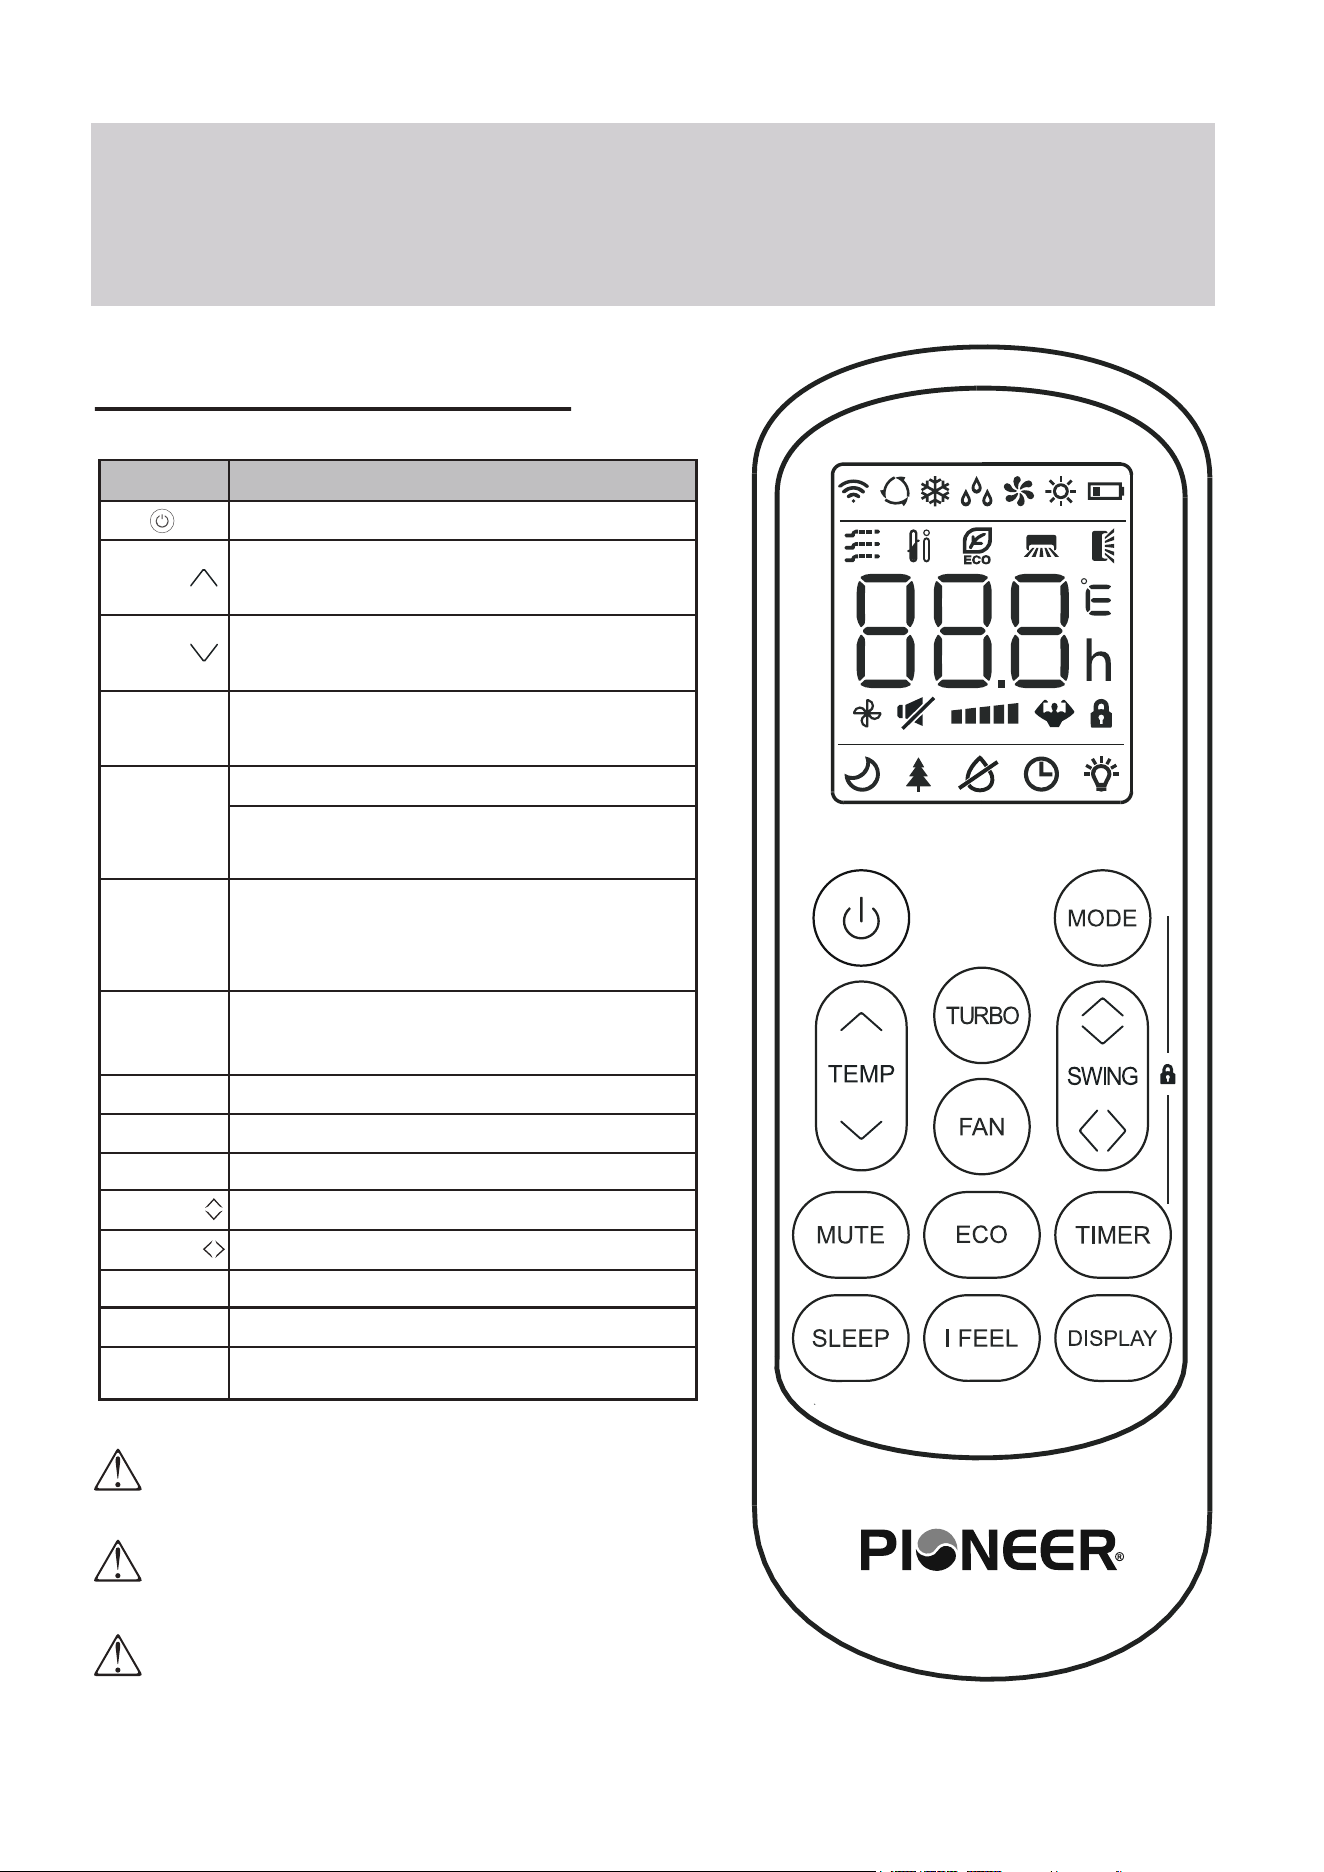
Remote Buttons Overview
Button Description
Turns the air conditioner on or off
Activates/deactivates the ECO feature
Configures the automatic on/off times
Toggles the system’s Sleep Mode
Turns the LED display on or off
Activates the up-down louver motor
Activates the left-right louver motor
Puts the system into silent mode
Press MODE+TIMER for child-lock
Activates the system’s Follow Me mode
Long press to activate the 46°F “Away
from Home” freeze protection setting.
Decreases set temperature, set timing,
or navigates the functional menu
Increases set temperature, set timing,
or navigates the functional menu
Selects the mode of operation (Auto,
Cool, Dry, Fan, and Heat modes)
Configures the fan speed
(Auto, Low, Mid, and High)
Activates/deactivates the TURBO
feature, which allows the system to
reach set temperatures quicker
MODE
TEMP
TEMP
DISPLAY
SWING
MUTE
LOCK
I FEEL
TURBO
FAN
TIMER
SLEEP
ECO
SWING
NOTE ON ILLUSTRATIONS
The illustrations in this manual are strictly for explanatory purposes. The actual display and some
functions of the remote controller may vary according to the model purchased.
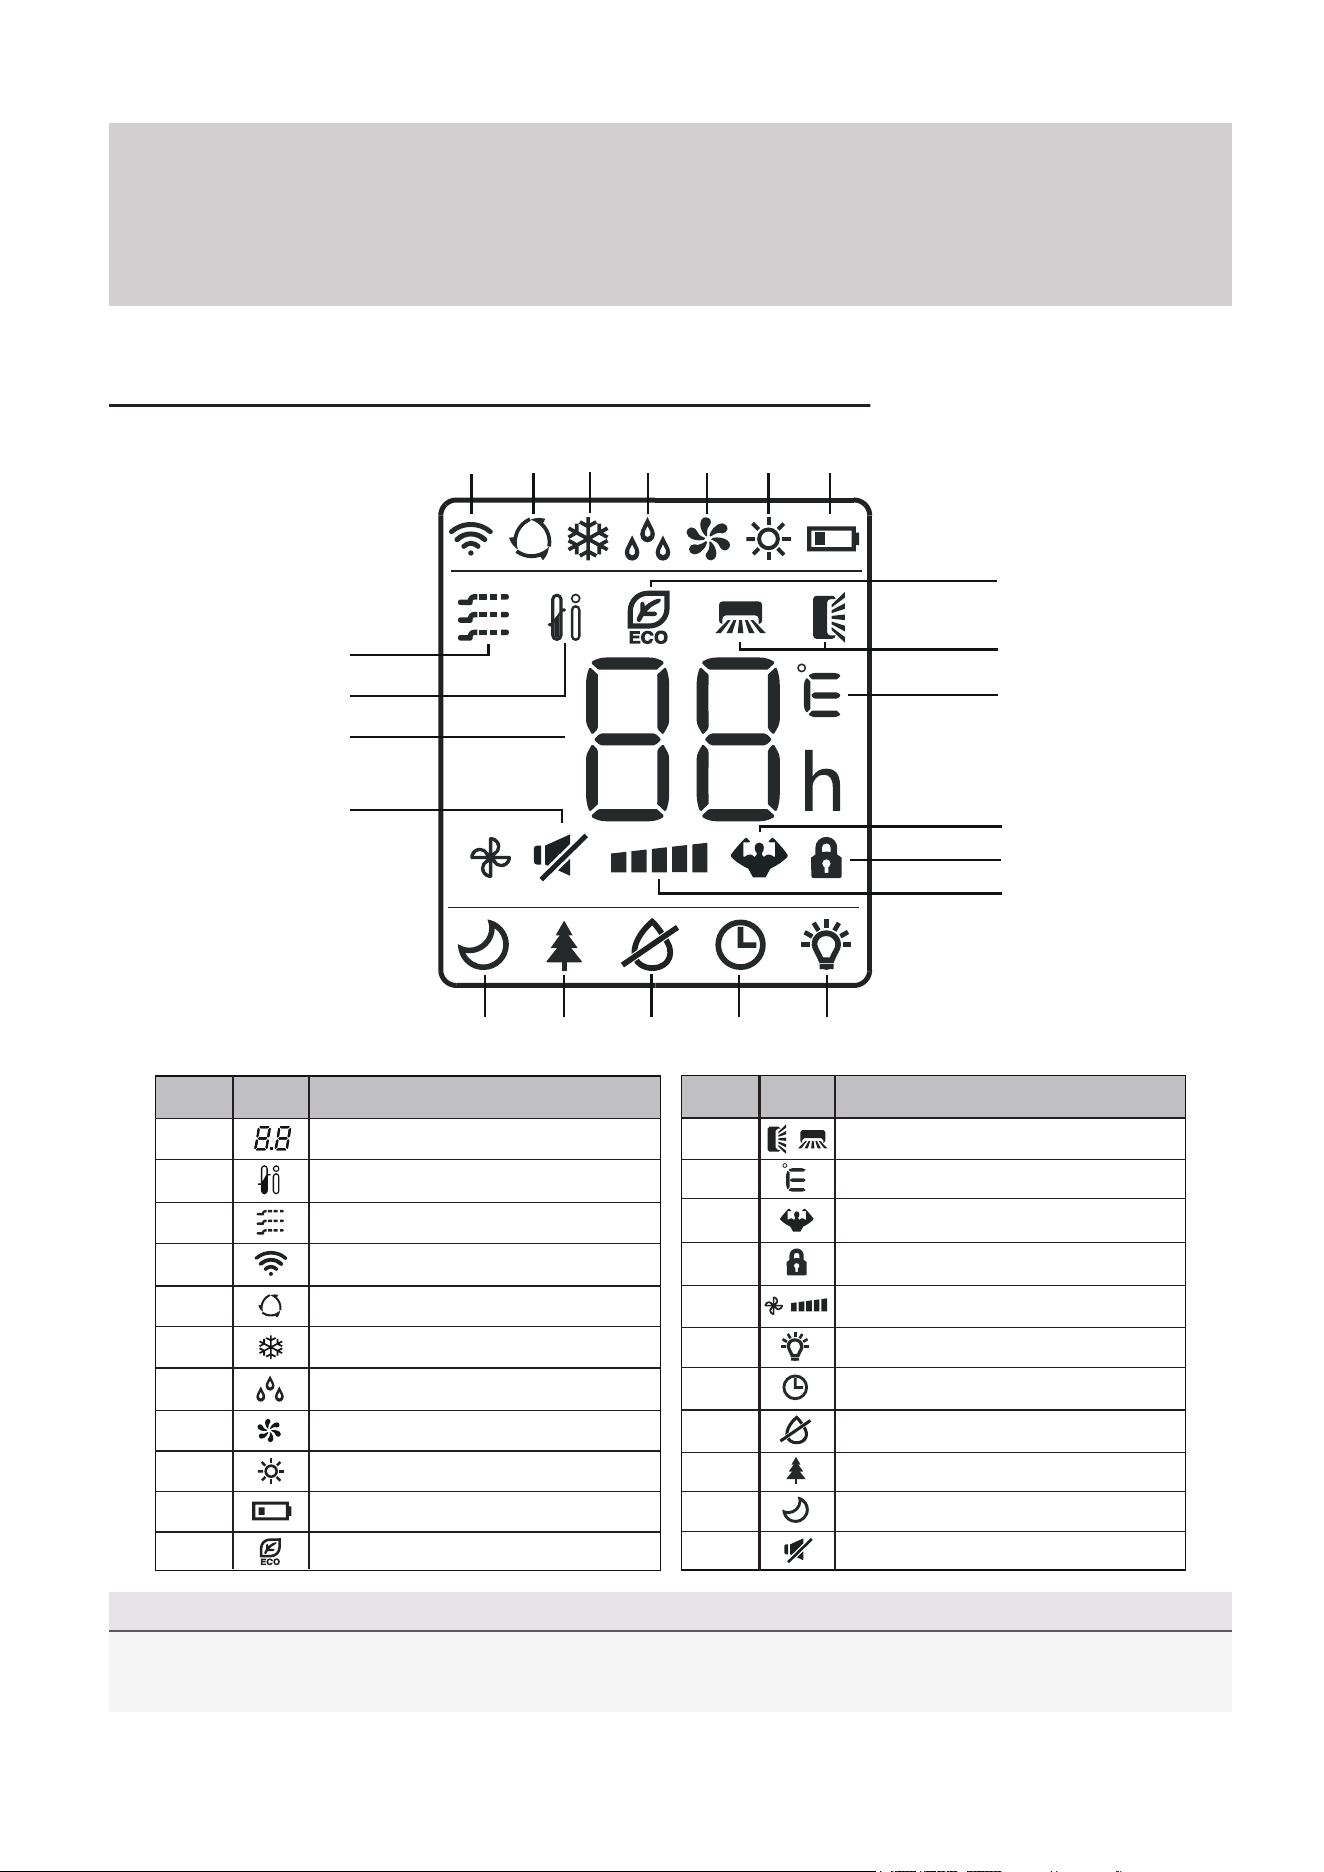
Operating Instructions
No.
Description
Icon
10
3
4
5
6
Auto Mode
Cooling Mode
Signal Transmit Indicator
Dry Mode
Fan Only Mode
7
8
9
Heating Mode
ECO Mode
Unit of Temperature (°C/°F)
Remote Controller LED Screen and Icons
No.
Description
Icon
2
1
12
11
Temperature Indicator
Battery Level Indicator
Mute Function
Turbo Mode
Child Lock Indicator
15
16
18
17
13
14
21
22
19
20
Directional Swing Indicators
Timer Active Indicator
LED Display On/Off
Health Funct. (Some Models)
Anti-Mildew (Some Models)
Sleep Function
I Feel/Follow Me Mode
Gentle Wind (Some Models)
Fan Speed (Auto or Fixed)
4
5
6
7
8
9
10
1
2
3
11
12
13
14
15
16
192021 1718
22
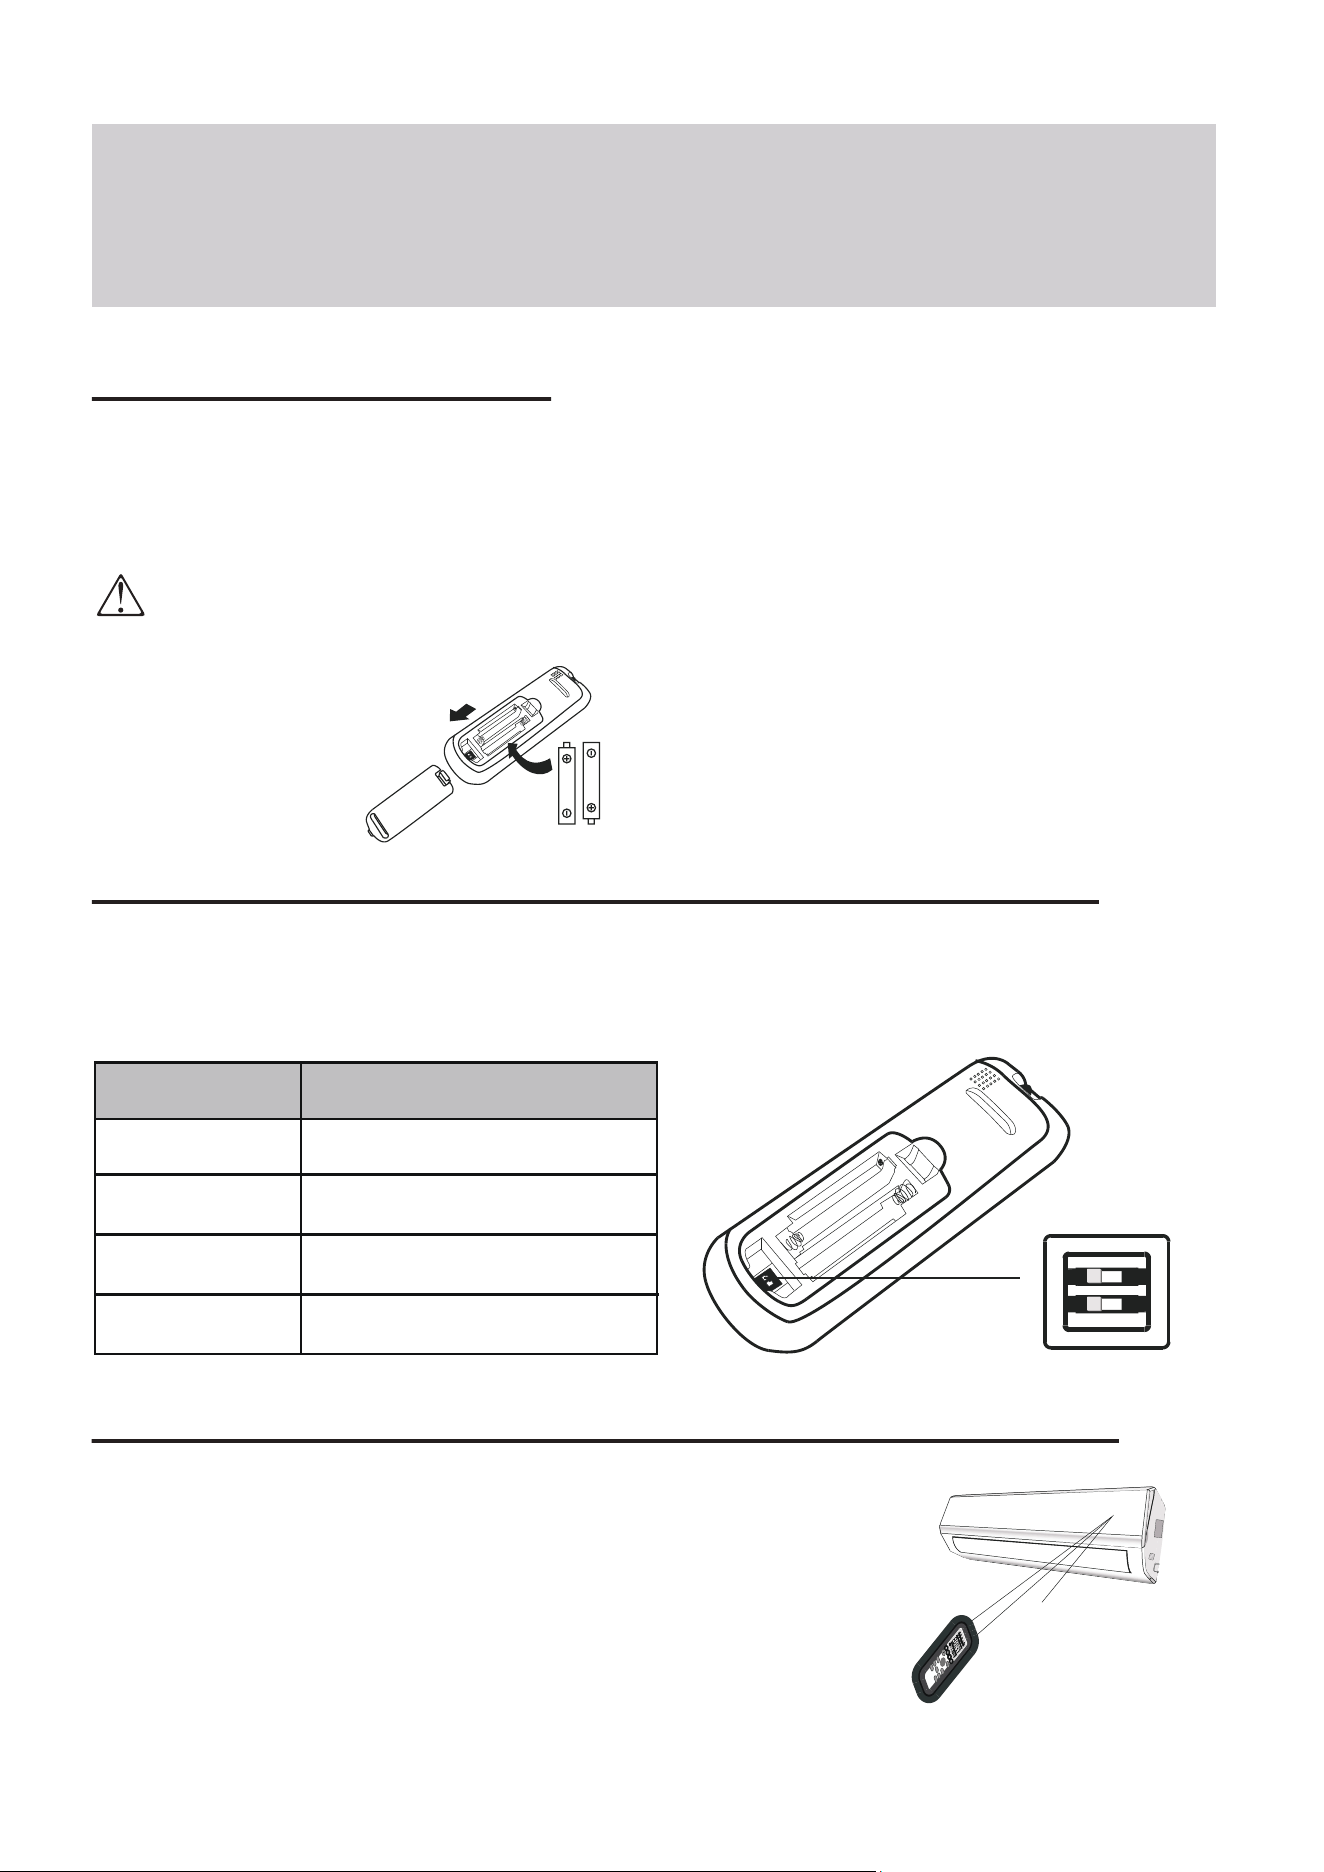
Depending on the system, the control type (Cooling Only or Heat Pump) and the unit of
Temperature (°C or °F) can be configured using the manual dip-switches below the battery
compartment. Operate as below:
Operating Instructions
Replacement of Batteries
Remove the battery cover from the rear of the remote controller, by sliding it downward in
the direction of the arrow as depicted below. Install batteries according to the depicted
directions (+ and -) as shown on the remote controlller. The cover then slides back into place.
Configuring Remote Controller Settings (some models)
Use 2x AAA batteries. Do not use re-chargeable batteries. Replace old batteries with new ones of the same type when the
display is no longer legible. Do not dispose of batteries as unsorted municipal waste. Disposal of such waste separately
for special treatment is necessary. If the system will not be used for a long time, remove batteries to prevent leakage.
Note
Please remove batteries to avoid
leakage damage when not
being used for a long time.
Signal
receptor
DIS
P
LA
Y
3D
HEAL
T
H
Y
O
N/O
FF
SW
ING
FAN
TIMER
SU
PER
SL
EE
P
M
OD
E
EC
O
CL
O
CK
Operating the Remote Controller Sucessfully and Safely
• Ensure no objects come between the remote controller and signal
receptor of indoor unit.
• Keep the remote at least 3 ft away from televisions and other
electrical appliances.
• Always direct the remote controller toward the air conditioner.
• Don’t leave the remote exposed to sunrays.
Switch Position
°C
°F
COOL
HEAT
Functional Result
Temp. Units are Celsius
Temp. Units are Fahrenheit
Cooling Only Operation
Heating + Cooling Operation
Operating Instructions
CAUTION
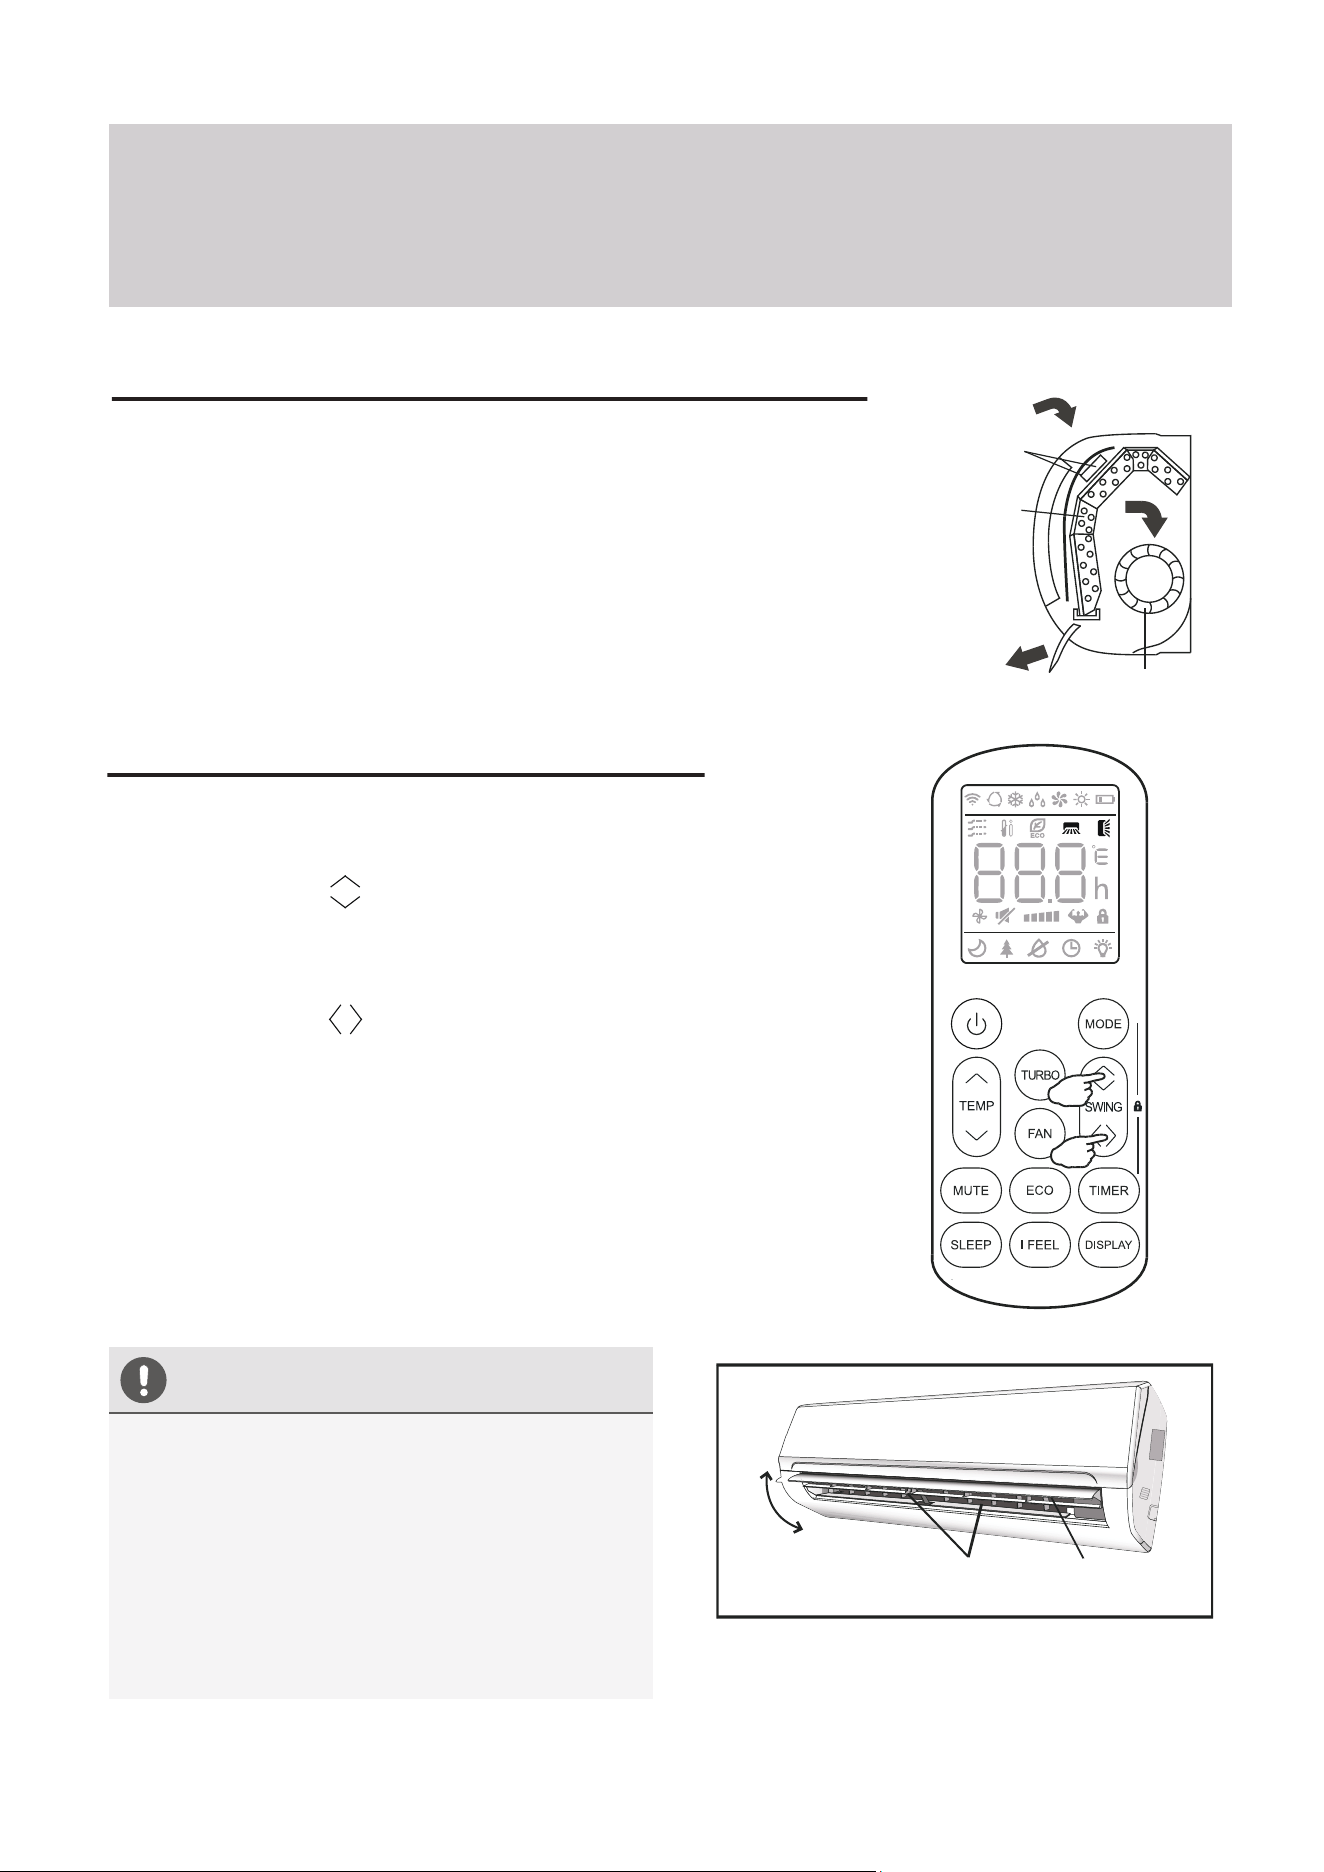
Regarding the Airflow of the Indoor Unit
The air that is pulled in by the fan (the “return air”) enters the
grille and is passed through the filter. It is then
cooled/dehumidified/heated through the heat exchanger.
The direction of the air output is manipulated up and down by the
motorized louver, and left to right via manually controlled vertical
deflectors. Some models may come with “dual-swing” capability,
which offers both a horizontal and vertical motorized air flow swing.
Controlling the System’s Airflow
1. Pressing the SWING buttons activates the louver.
• Press the Swing button to trigger the horizontal
flaps to swing up and down. Press this button again
to stop swing movement at the current angle.
• Press the Swing button to trigger the vertical
flaps to swing left and right. Press this button again
to stop swing movement at the current angle.
2. If the vertical deflectors (which are located
underneath the flaps) are adjusted manually,
they can be used to fix the airflow in a certain
vertical position before turning the system on.
Filter
Heat
Fan
• Do not manipulate the louvers themselves
manually, or serious damage may occur.
• Deflector adjustments should be made
only when the system is switched off.
• Never poke fingers, sticks, or other
objects into the air inlet/outlet vents.
Horizontal
Flaps
Flap
Movement
Vertical
Deflectors
Note: Some models possess a self-clean mode which is activated
by pressing and holding these two buttons together.
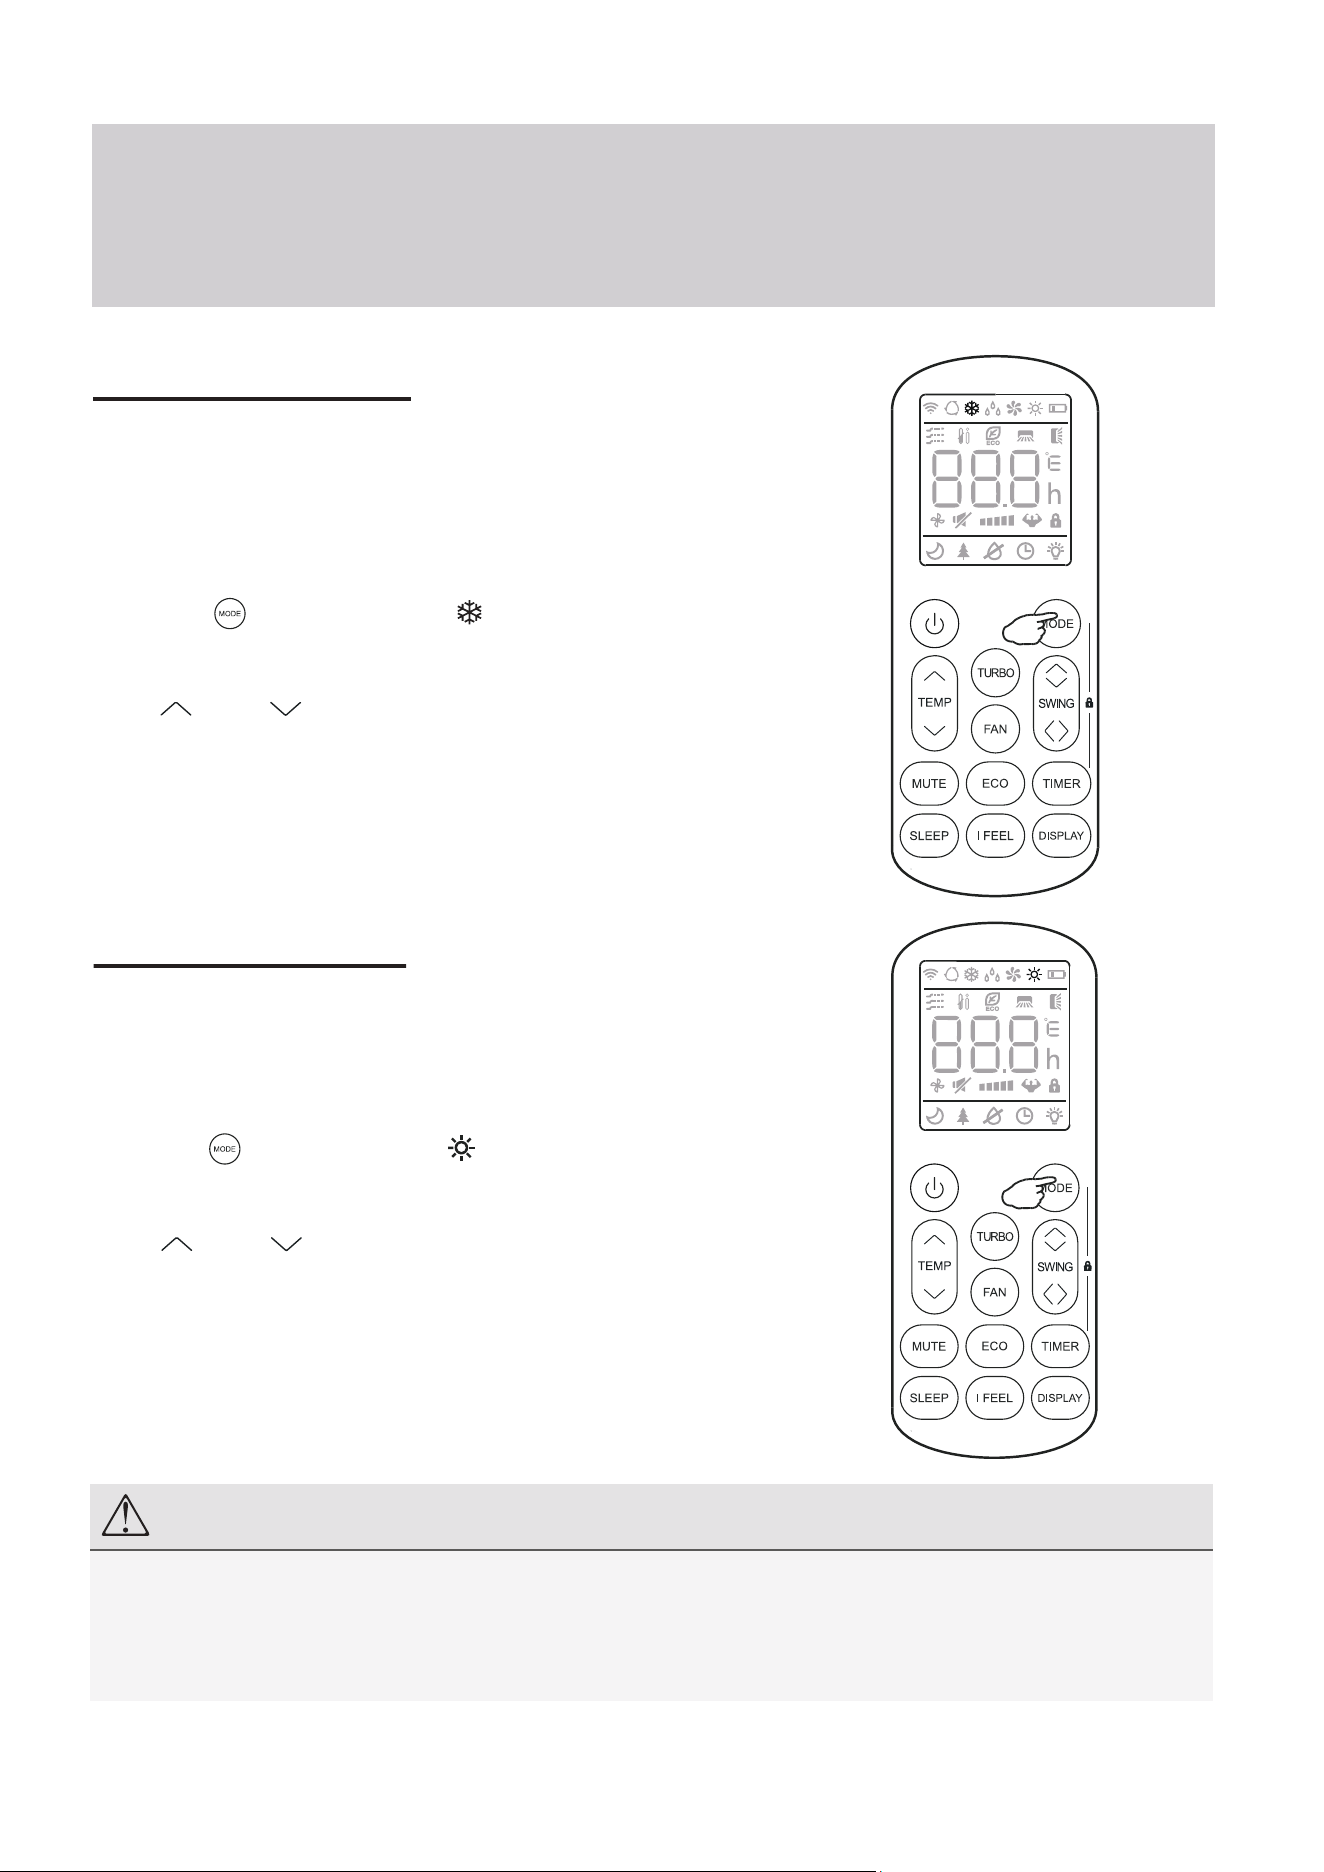
COOLING Mode
Cooling mode allows the air conditioner
to cool the room while also reducing
the humidity of the air in the room.
To put the system into cooling mode,
press the button until the symbol
appears on the remote’s display.
The and buttons can then be used to
set a temperature lower than that of the room.
Operating Instructions
HEATING Mode
Heating mode allows the air conditioner
to heat the room.
To put the system into heating mode,
press the button until the symbol
appears on the remote’s display.
The and buttons can then be used to
set a temperature higher than that of the room.
NOTE
In heating mode, the appliance will periodically enter a defrost cycle, which is essential in order to clean frosting
off the condenser and recover heat exchange capability. This process is normal and lasts for 2-10 minutes.
During defrosting, the indoor unit’s fan will cease operation. After the cycle is completed, the system will resume
its normal heat mode operation automatically. Press ECO 10 times within 8 seconds to trigger a forced defrost.
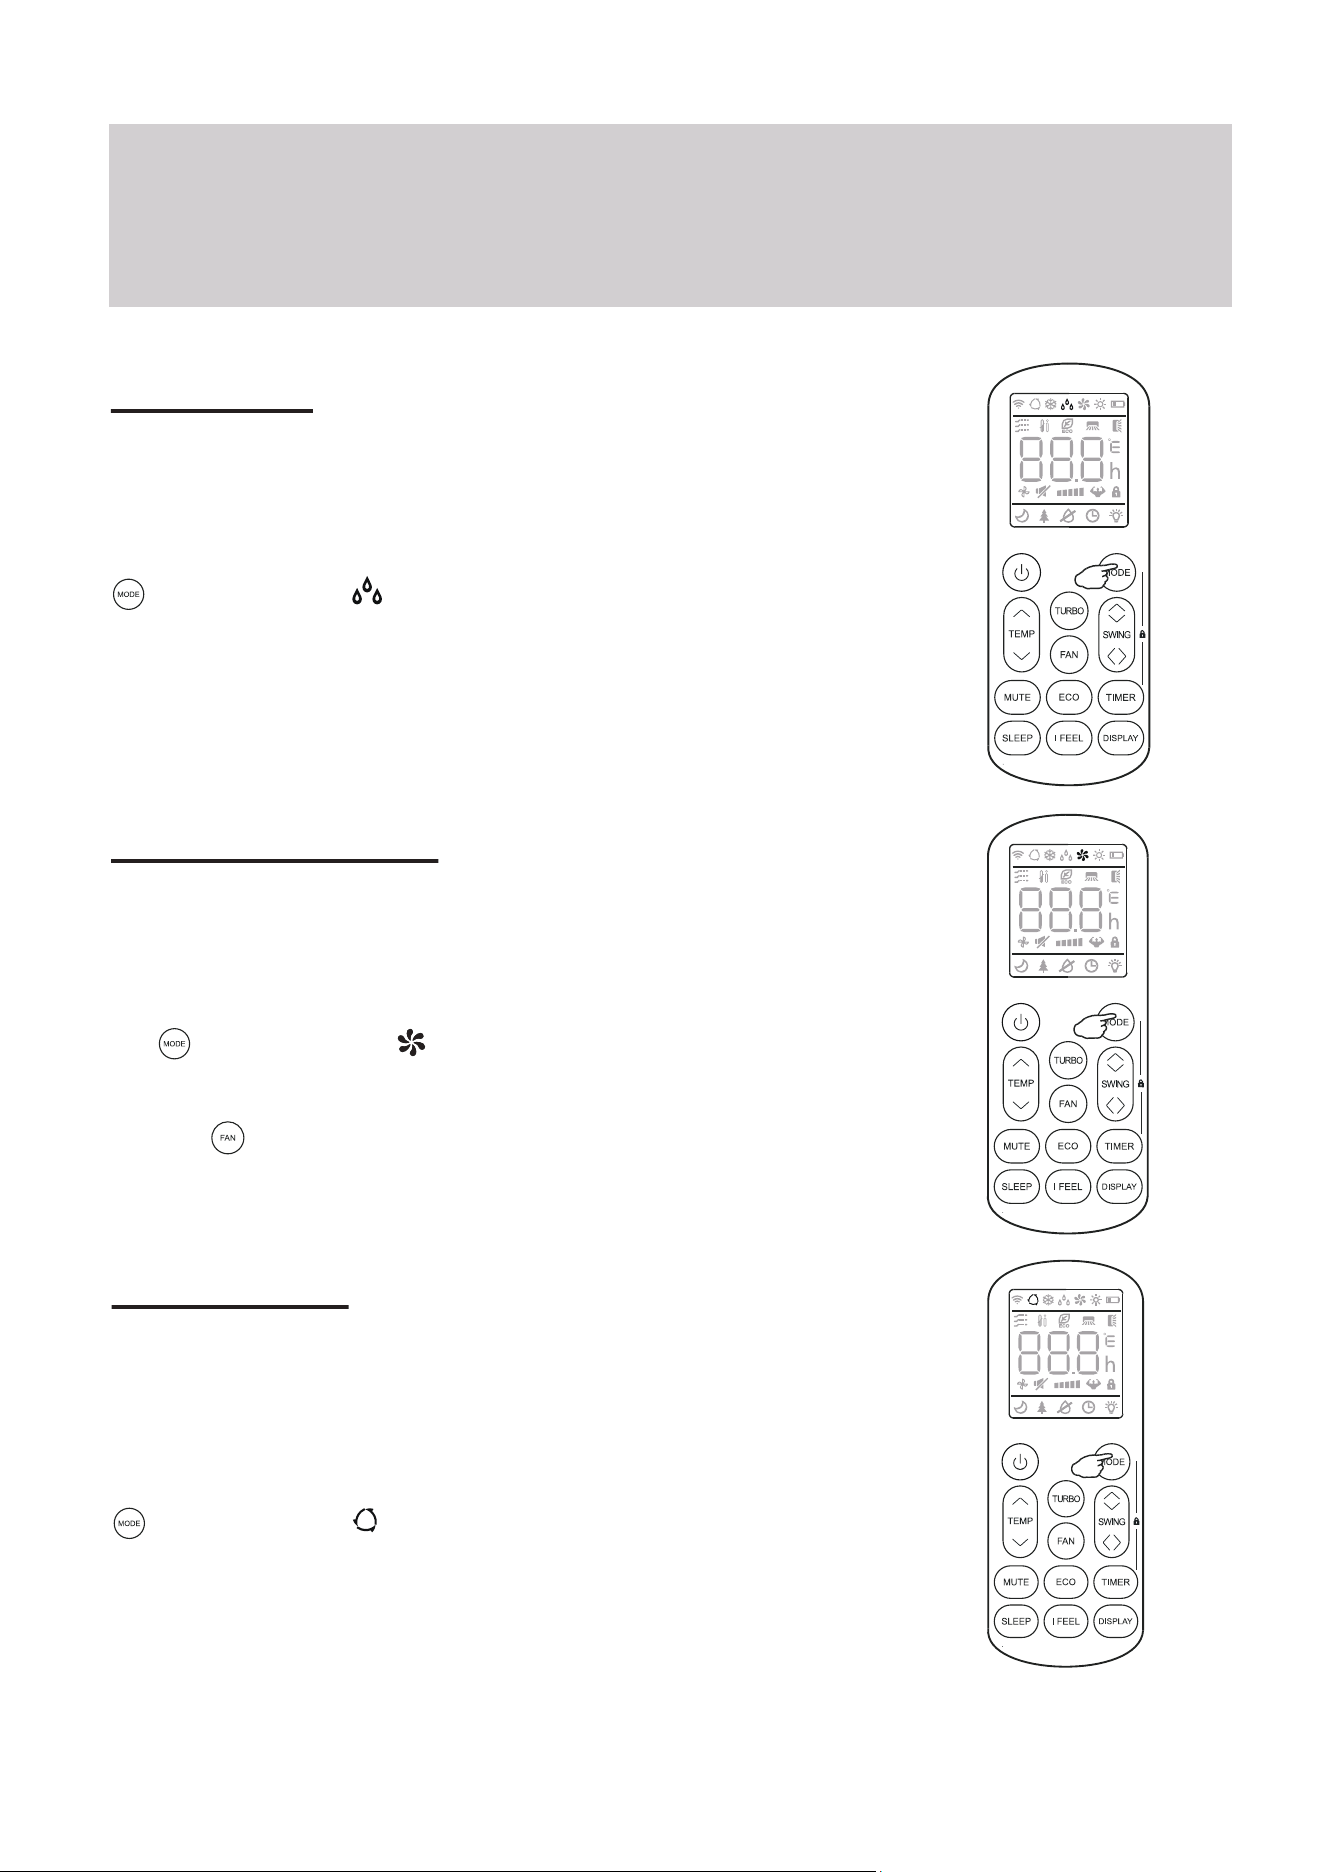
DRY Mode
Dry mode is a limited function that can rapidly
reduce the humidity/moisture of the room.
To put the system into dry mode, press the
button until the symbol appears on the
remote’s display.
An automatic preset of this mode is then
activated.
Operating Instructions
FAN-ONLY Mode
Fan-only mode is used to set the system to use
only air ventilation and no heating or cooling.
To put the system into fan-only mode, press
the button until the symbol
appears on the remote’s display.
Use the button to then set the desired fan
speed.
AUTO Mode
Auto mode will let the system determine the
running configuration based on the set
temperature and the current room temperature.
To put the system into AUTO mode, press the
button until the symbol appears on the
remote’s display.
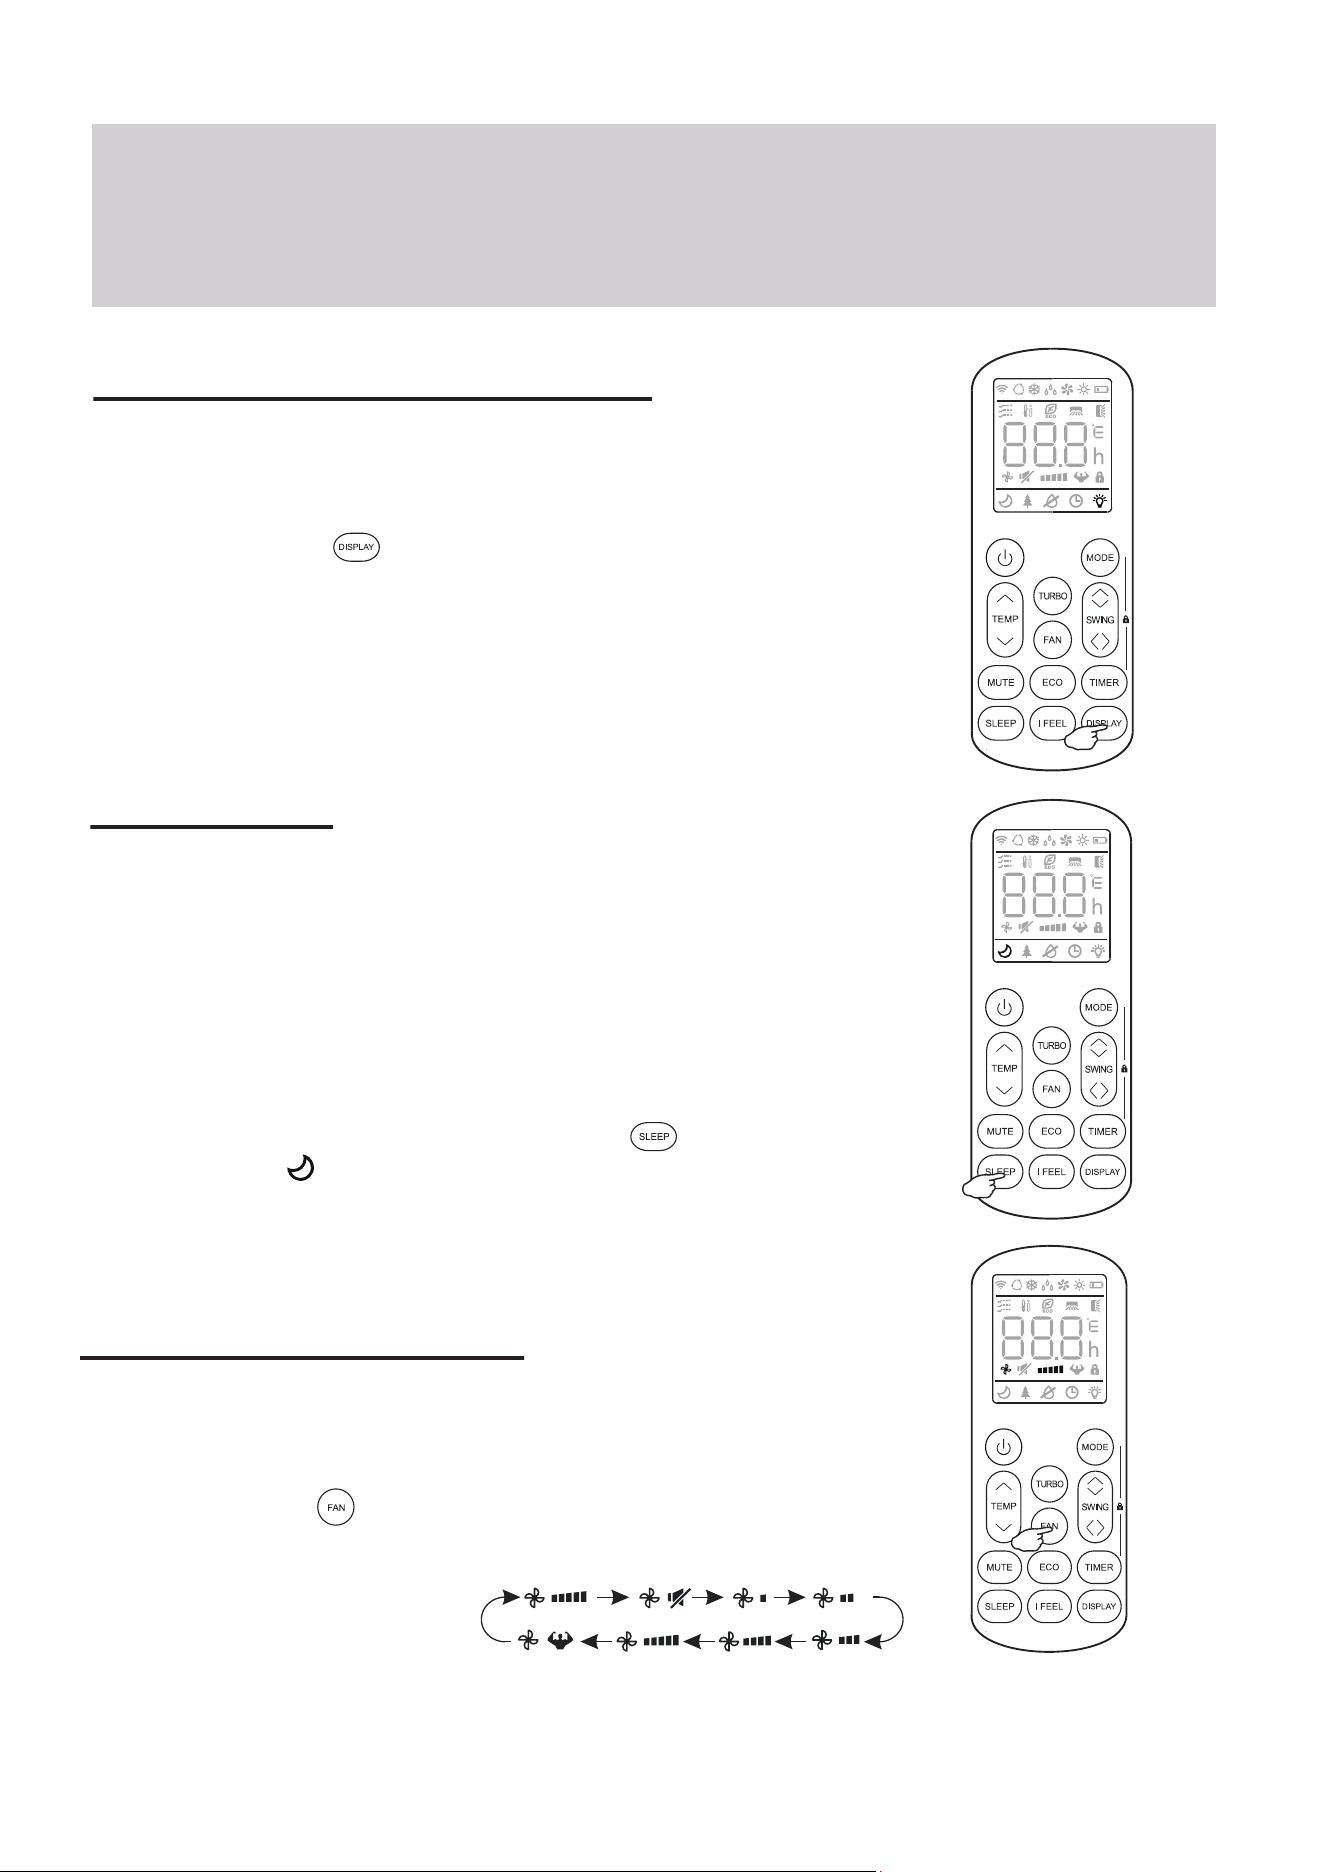
Turning the Display On or Off
The LED display on the front panel of the
system can be turned on or off as desired.
To do so, press the button in order to
switch off the LED display on the front panel.
This button can be pressed again to turn the
LED display back on.
Operating Instructions
SLEEP Mode
Sleep mode is generally meant for periods of lower
cooling requirements, such as during typical sleeping
hours. This mode will result in decreased energy use,
and can only be activated via remote control.
After 10 hours in sleep mode, the air conditioner will
revert back to the previously set mode.
To put the system into sleep mode, press the
button, and the symbol will appear on the display.
Press this button again to exit from this mode.
Changing the Fan Speed
The fan speed can be changed between AUTO, LOW, MID,
and HIGH speeds.
To do so, press the button. The running fan speed can
then be set. It follows the cycle of:
Auto>Mute>Low>Low-Mid>
Mid>Mid-High>High>Turbo
(Flash)
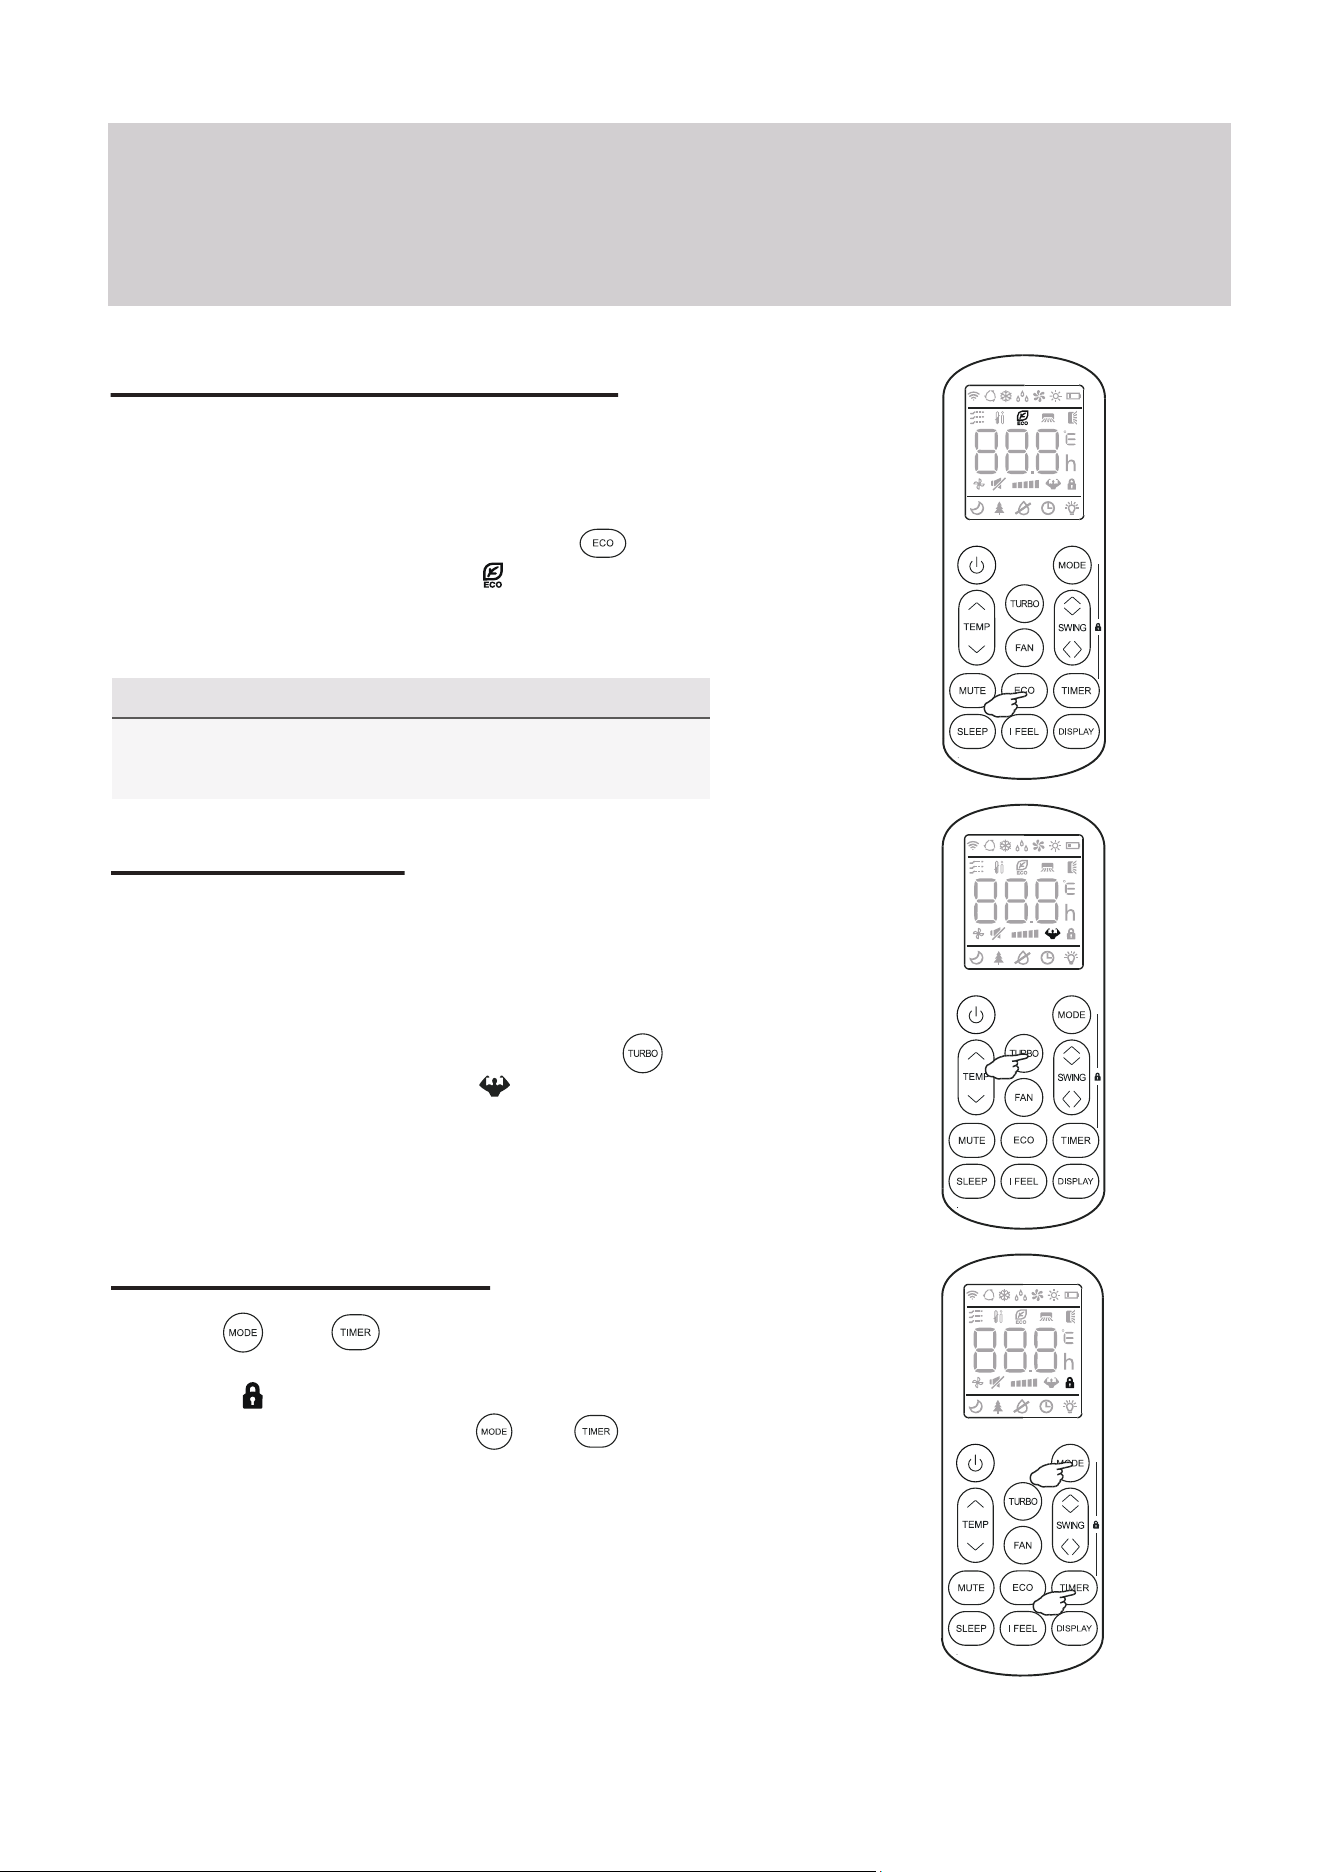
Energy Saver (ECO) Option
In this mode, the appliance will automatically
manage the operation in order to save energy.
To turn the ECO feature on, press the
button on the remote, and the icon will
appear. The system is now running in ECO,
and the process can be repeated to turn it off.
Operating Instructions
NOTE
The ECO feature is available in both COOLING
and HEATING modes.
TURBO Option
Child-Lock Function
In this mode, the appliance will operate using the
highest fan speed in order to maximize output
and reach the set temperature the quickest.
To turn the TURBO feature on, press the
button on the remote, and the icon will
appear. The system is now running in TURBO,
and the process can be repeated to turn it off.
Pressing and buttons together will acti-
vate the child-lock function. When this function is
active, the icon will be displayed, and no single
button will be active. Press the and buttons
together once more to de-activate the child-lock
function.
NOTE Regarding Timers
• Press the button to cancel
at any time in Timer Off.
• The programming will cancel
if no buttons are pressed after
5 seconds. This may require
restarting the process.
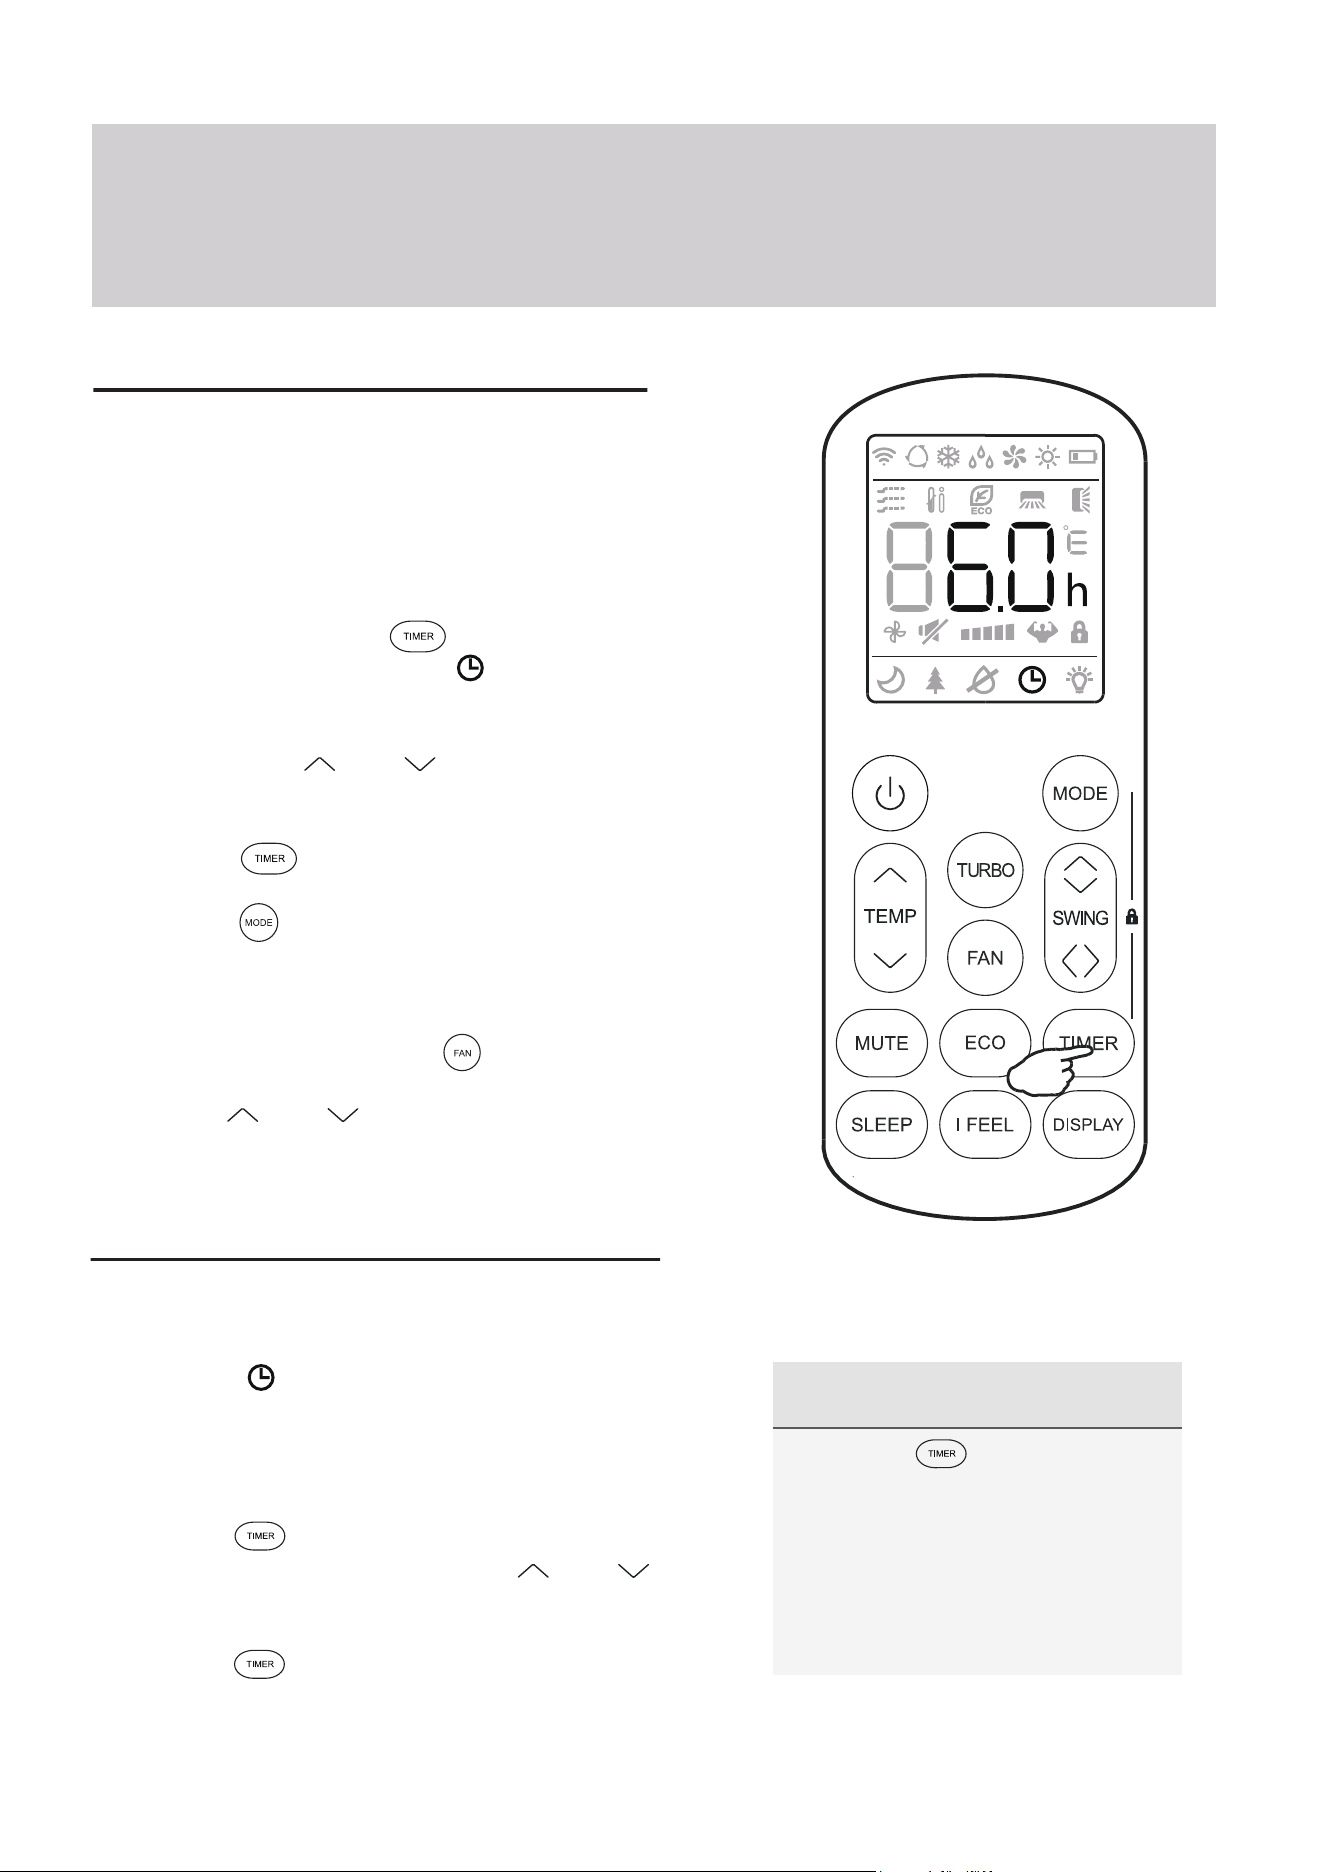
Using the Timer - TIMER ON
The TIMER feature allows you to set a time delay for
the system to turn itself on or off.
To set a time delay for the system to turn itself on in X
amount of hours:
1. Begin by pressing the button while the
system is powered off. The symbol will then
display flashing. The default setting is 6.0 hours.
2. Use the Temp and buttons to set the
needed time delay in 30 minute increments.
3. Press the button a second time to confirm.
4. Press the button to select the desired
operating mode that the unit should start up in.
5. Set the desired fan speed that the unit should
start up in by pressing the button.
6. Use the and buttons to set the desired
operation temperature. The unit is now primed.
Using the Timer - TIMER OFF
The TIMER OFF feature allows the appliance to
turn itself off after X amount of hours have passed.
The symbol will appear. To set a time delay for
the system to turn itself off in X amount of hours:
1. Confirm that the appliance is on and running.
2. Press the button to enter the prompt for
switching off the system. Use the and
buttons to configure the time delay setting.
3. Press the button again to confirm. It can
also be pressed once more to cancel the setting.
Operating Instructions
Operating Instructions
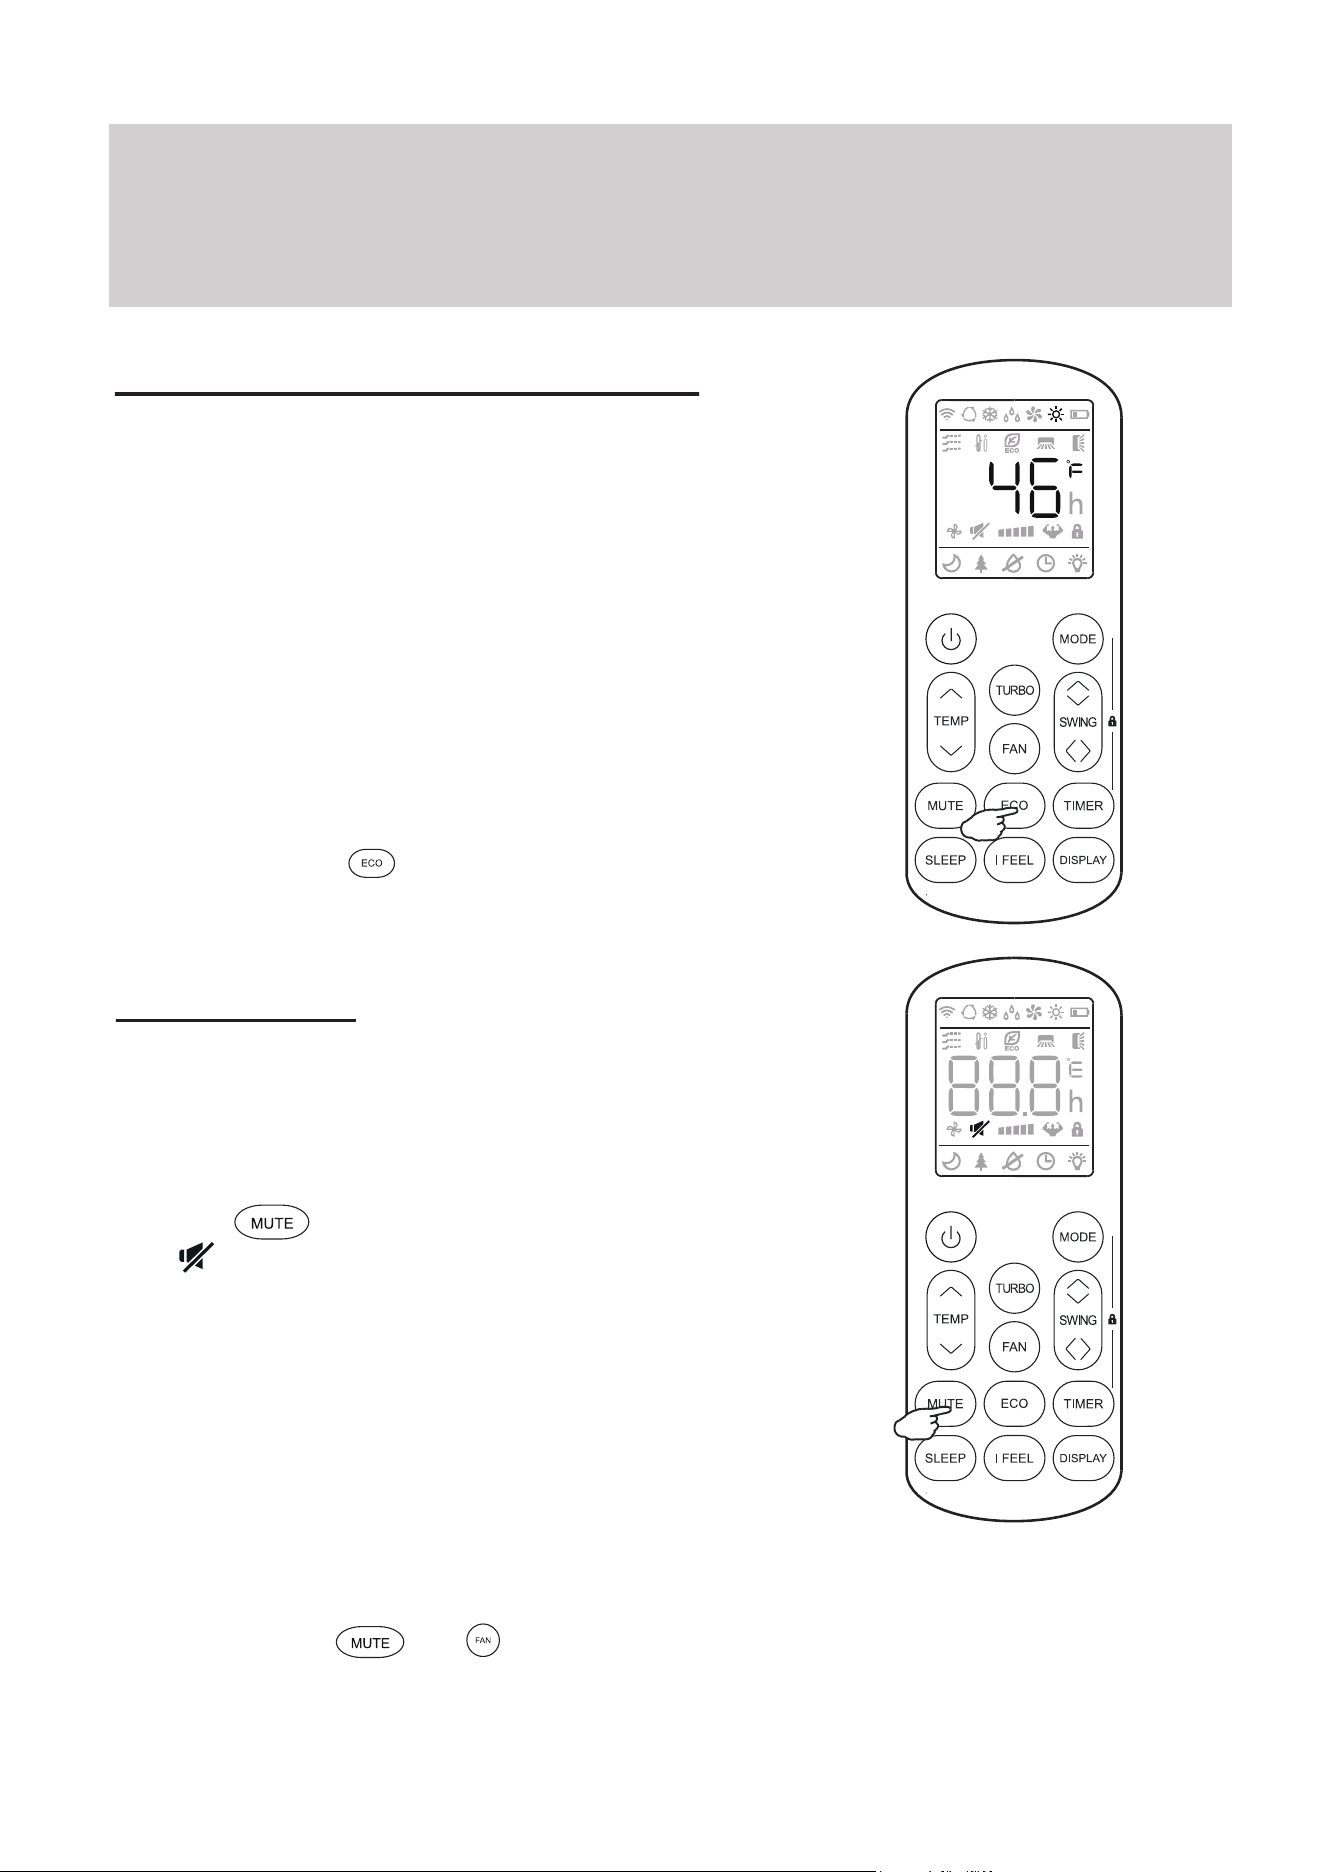
46°F Freeze Protection Function
This feature is meant to be used to prevent
freezing while the user is away from home. When
turned on, it sets the system to keep a temperature
of 46°F. If the unit is in standby, then the setting
will automatically start the heating mode when the
room temperature is equal to or lower than 46°F.
It will set the system back to standby when the
room temperature reaches 48°F.
If the room temperature is ever 64°F or higher,
then the appliance will cancel or prevent this
feature automatically.
Press and hold the button for 3 seconds to
activate this feature. Repeat this to de-activate.
MUTE Mode
When the system is muted, the remote controller will
display AUTO fan speed, and the indoor unit will
operate at its lowest fan speed in order to
minimize operation noise.
Press the button in order to activate this mode.
The icon will display to indicate that the system is
muted.
This mode can be cancelled by pressing either the
FAN, TURBO, or SLEEP buttons.
Note: The MUTE feature cannot be activated when the
system is in DRY mode.
Note: Some models come equipped with a “Gentle Wind”
function, where the unit will auto-close the vertical
louver, and provide a softer air breeze. Activate this
by pressing the and buttons together for 3
seconds.
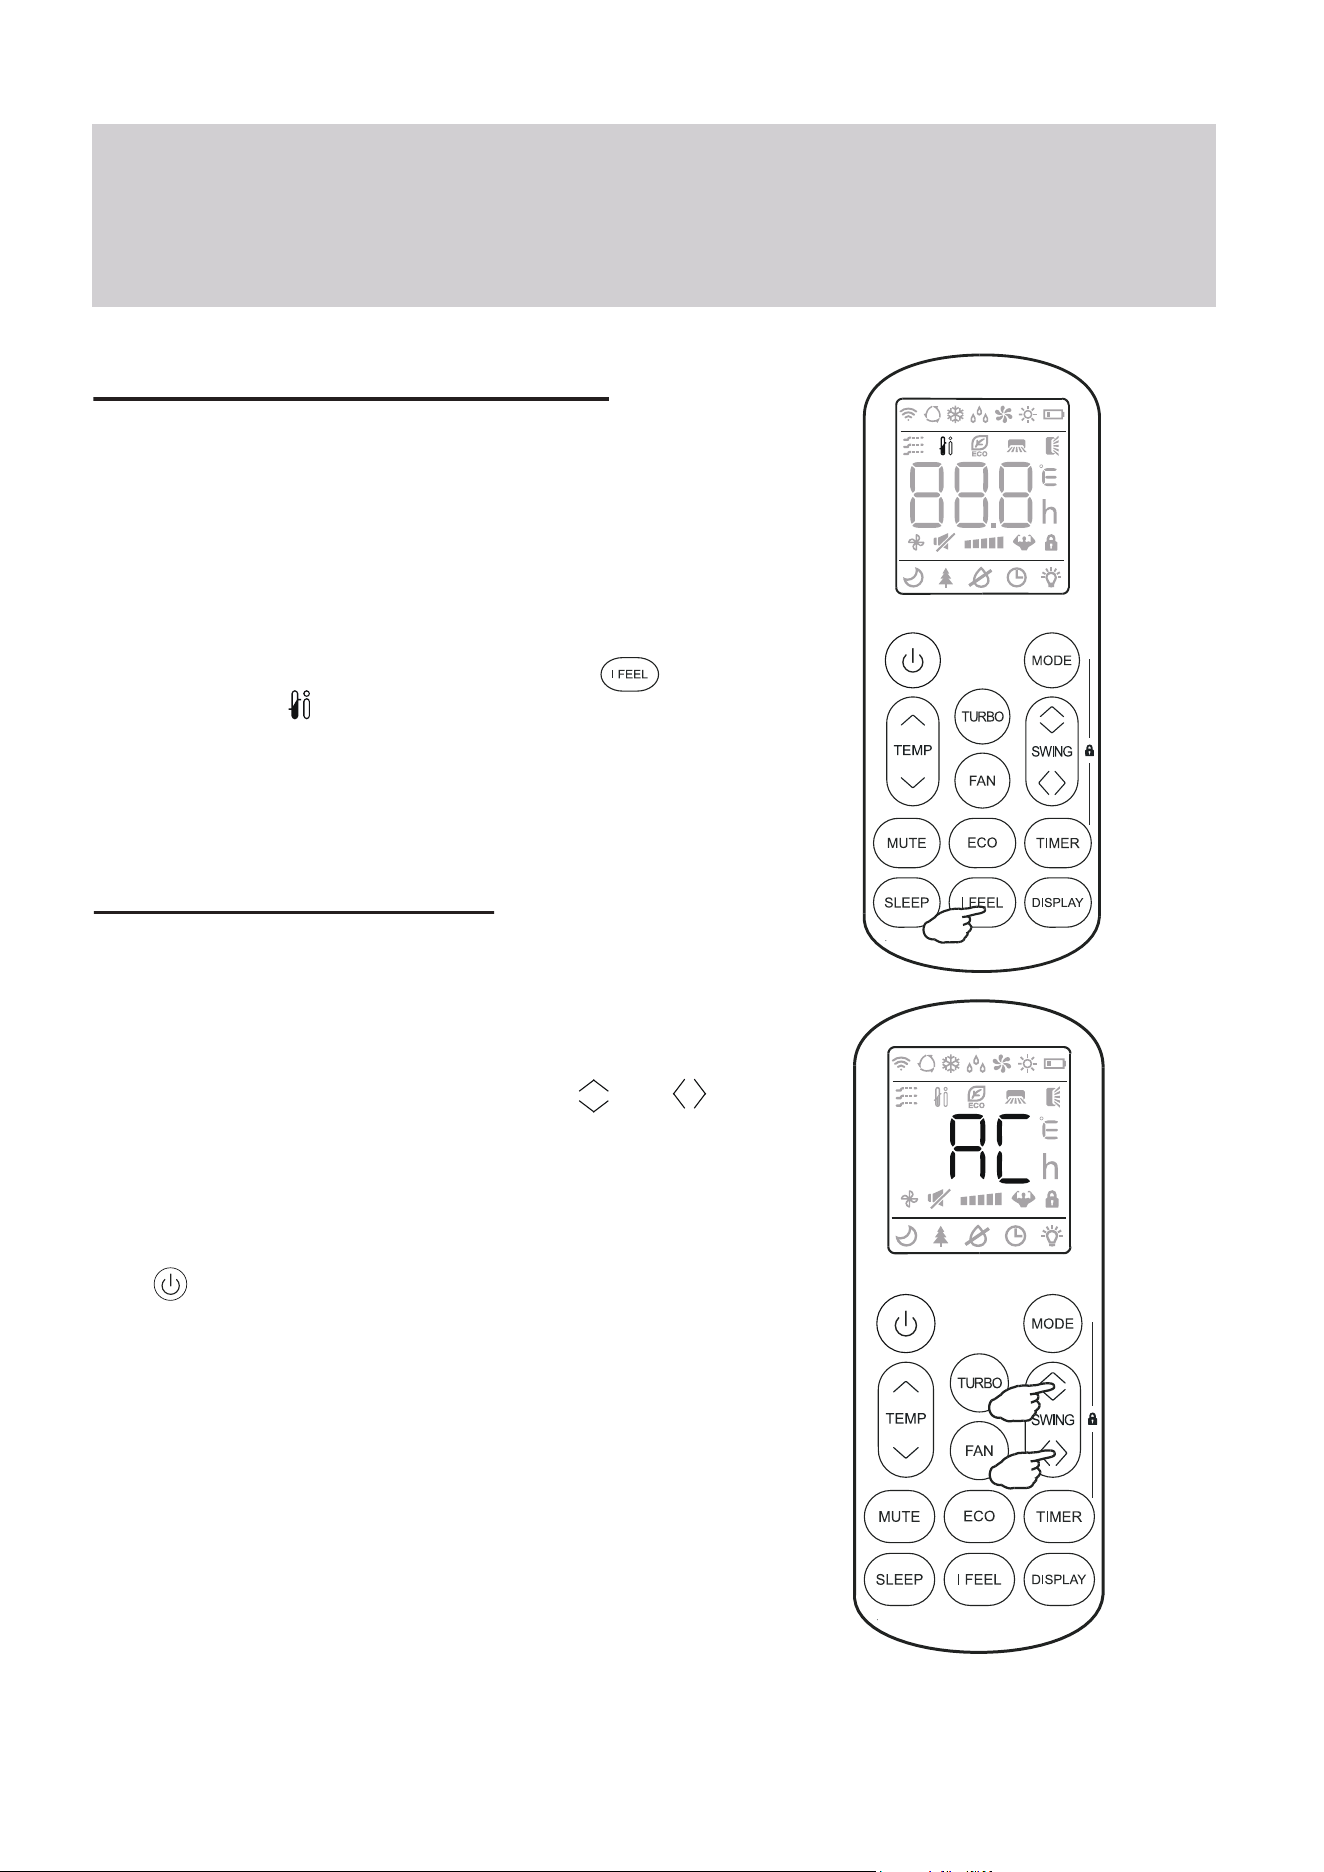
I FEEL - To Ensure Comfort
The I FEEL feature enables the remote to act as
the temperature sensor and relay the current air
temperature of where the remote is physically
placed within the room. In some cases, this can
aid with reducing thermal drift between the set
temperature and the actual room temperature.
In order to activate this feature, press the
button, and the icon will appear on the display.
Note: The I FEEL feature will automatically de-activate
itself 2 hours later.
SELF-CLEAN Feature
This feature helps carry away accumulated dust,
dirt, bacteria, and other microbial contents away
from the indoor evaporator.
To activate this feature, press the Swing and
buttons together until a beep is heard from the unit,
and AC is displayed on the unit and remote.
This procedure will run for approximately 30
minutes, before returning to the preset mode.
The button can be pressed to cancel this feature
during the process. Two beeps will be emitted from
the machine when it is finished, or cancelled.
This procedure can result in some uncommon noise
coming from the machine. This noise is normal as a
side effect of the plastics expanding and contracting
due to reactions with heat and cold.
It is recommended to use this function only when
indoor temperature is under 86°F and outside
temperature is between 41°F and 86°F.
It is suggested to run this feature once every 3 months.
Operating Instructions