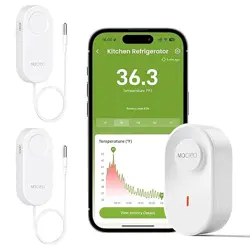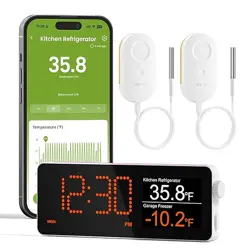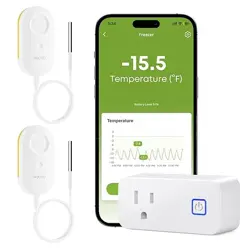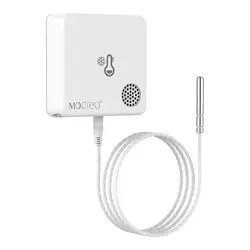
ST10 Ultra-Low Temp Sensor
User Manual
1
10
Test the Effectve Distance
● Place the paired ST10 Sensor in the location you want
to monitor. The suggested distance between the Hub
and Sensor is within 67ft (Indoor environment).
● After 20~30 seconds, tap the corresponding Sensor
card on the App to reach the Sensor Settings Page and
view the signal value, signal value stronger than 20% is
ideal.
● Poke the Sensor pinhole for 1s and release.
20
FCC Statement
FCC ID (Sensor) : 2A36D-ST4
FCC ID (Hub) : 2A36D-H1
This device complies with part 15 of the FCC Rules.
Operation is subject to the following two conditions:
(1) This device may not cause harmful interference.
(2) This device must accept any interference received,
including interference that may cause undesired operation.
Warning: Changes or modifications not expressly
approved by the party responsible for compliance could
void the user's authority to operate the equipment.
21 22
(v1.2)
Note: This equipment has been tested and found to
comply with the limits for a Class B digital device,
pursuant to part 15 of the FCC Rules.
These limits are designed to provide reasonable
protection against harmful interference in a residential
installation. This equipment generates uses and can
radiate radio frequency energy, if not installed and used
in accordance with the instructions, may cause harmful
interference to radio communications. However, there is
no guarantee that interference will not occur in a
particular installation.
If this equipment does cause harmful interference to
radio or television reception, which can be determined
by turning the equipment off and on, the user is
encouraged to try to correct the interference by one or
more of the following measures:
● Reorient or relocate the receiving antenna.
● Increase the separation between the equipment and
receiver.
● Connect the equipment into an outlet on a circuit
different from that to which the receiver is connected.
● Consult the dealer or an experienced radio/TV
technician for help.
43 5 6 7 8 9
Google Play MOCREO AppApp Store
1s
Temp Sensor - ST10
Select Product
No paired sensor? Click here.
Add Devices
Add
000030
Mac:30:AE:A4:00:00:30
000034
Mac:30:AE:A4:00:00:34
Add Devices
We are all set!
000030
Mac:30:AE:A4:00:00:30
000034
Mac:30:AE:A4:00:00:34
2
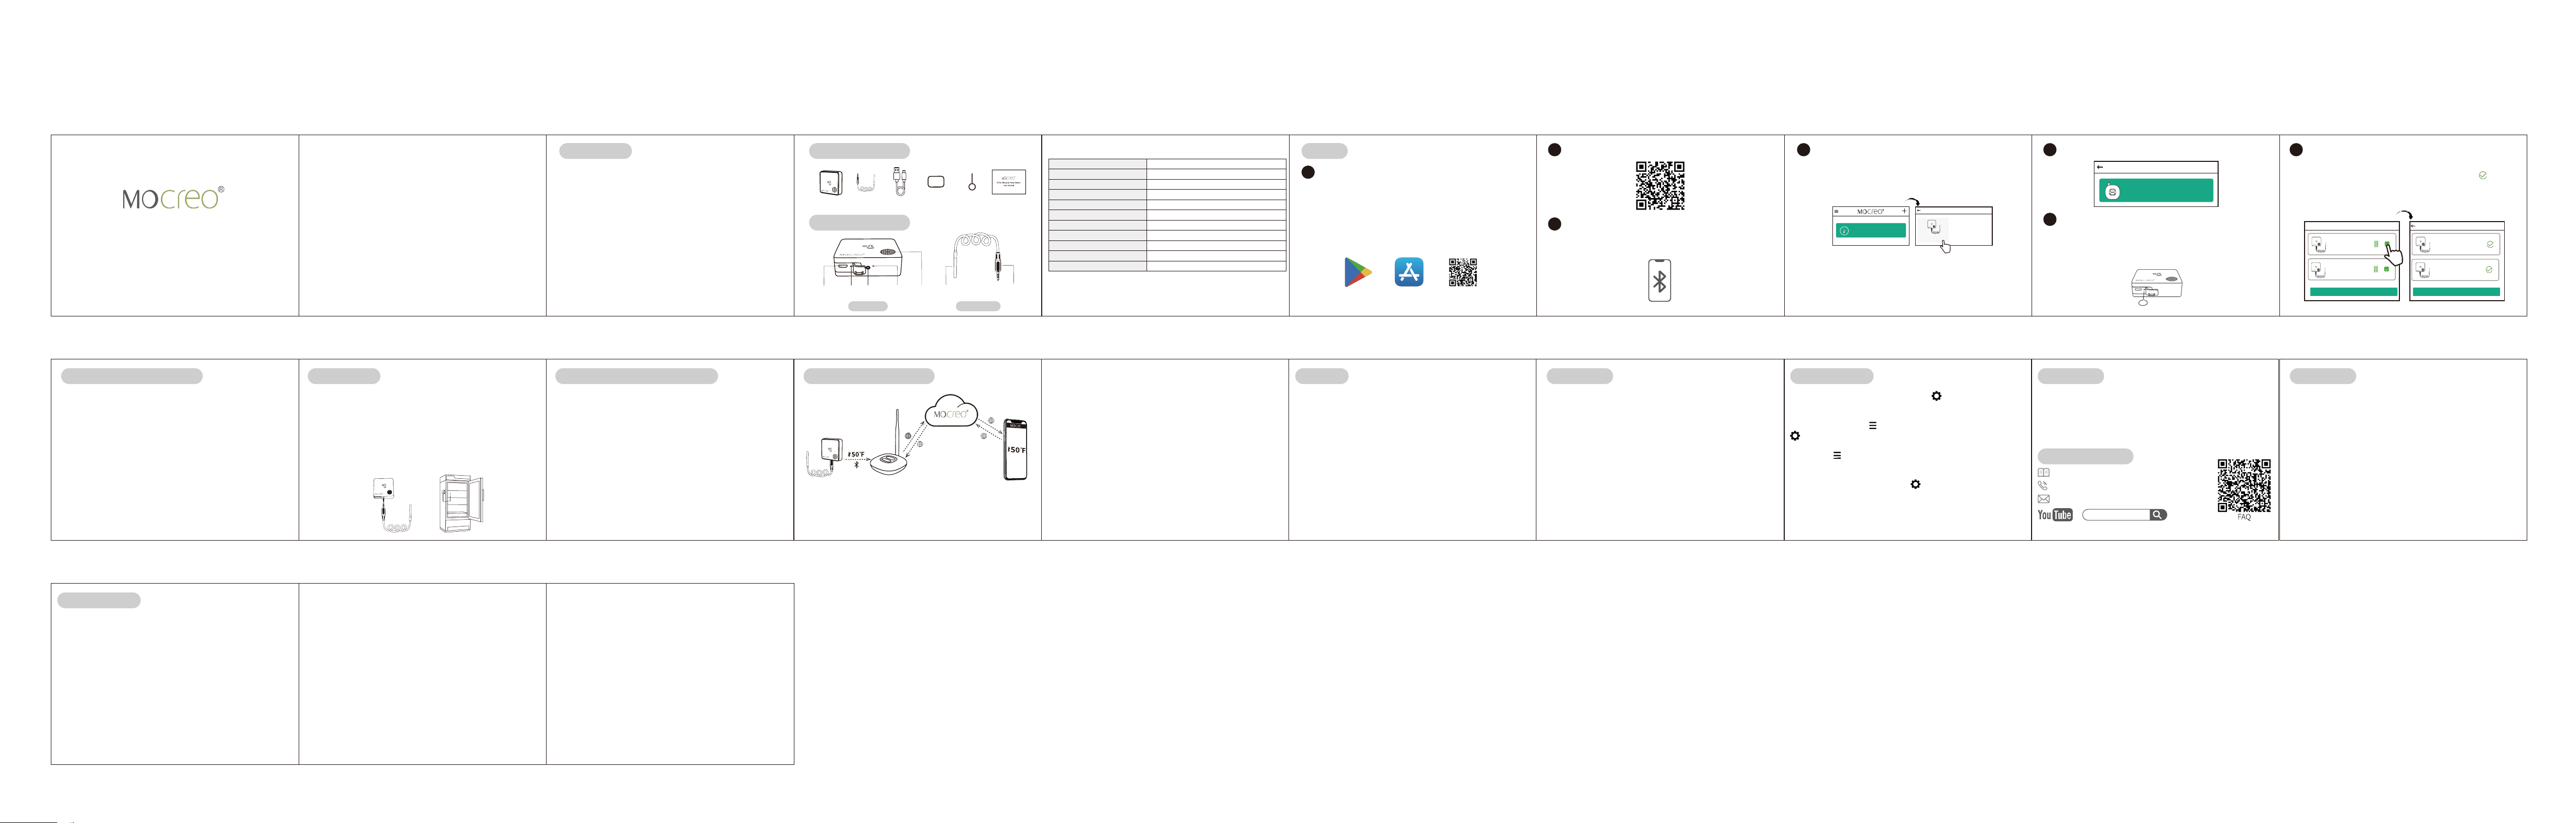
Introduction
What’s in the Box Setup
Product Parameter
Sensor Body Sensor Probe
The ST10 temperature Sensor is specifically engineered for the
purpose of monitoring extremely low temperatures, enabling
precise measurement within the range of -328°F to 392°F.
It is widely used in medical laboratory research, industrial
monitoring and control, and chain logistics etc.
● Detectable Temperature Range: -328°F ~ 392°F.
● Three Alarm Methods: E-Mail Alert, App Push Notification,
Hub Beeping.
● Online Data Viewing: MOCREO App provides a real-time
graphs view of temperature changes over time, providing an
intuitive view of temperature trends.
● Data Export: Support 6 months free data storage and export
to CSV tables for in-depth analysis and research.
Sensor Body
x1
5V 1A
Charging Port
Setup
Pinhole
3.5mm
Probe Port
Indicator Light
(Built in)
N/A Inductive Probe 3.5mm Male Plug
1.5m Sensor
Probe x1
Micro USB
Cable x1
Adhesive
x1
Pin Clip
x1
User Manual
x1
Specifications
Model
Wireless Connection
Communication Range
Dimensions
Weight (Including probe)
Battery (Rechargeable)
Size of Stainless Steel Shell
Cable Length
Cable Cross Section
Probe Measuring Rage
Temperature Accuracy
ST10
Bluetooth
131ft/40m (No Obstacles)
2.4 x 2.4 x 0.7inch (L x W x H)
2.9 Ounces
3.7V 1800mAh Lithium Battery
6 mm in diameter
4.9ft
4mm x 1.3mm
-328°F ~ 392°F (-200°C ~ 200°C)
±1.8°F (In the range of -328°F to 392°F)
1
Download MOCREO App
2
Setup Tutorial
3
Turn on the Bluetooth
Search “MOCREO Sensor” on Google Play/App Store or scan
the QR Code below to download the MOCREO Sensor App
and register a MOCREO account on the App Before adding
Sensors, Please ensure that the Hub is successfully bound.
If you have not setup a Hub, please consult the Hub Manual
to setup the Hub.
Make sure the Bluetooth is ON during the whole setup process.
4
Sensor Joins the Hub
5
Select the Hub
Tap the [+] Button at the upper right of the MOCREO Home
Page and select 'Temp Sensor-ST10' (Please ensure that the Hub
is successfully bound) .
6
Poke the Sensor
Poke the Sensor pinhole with a pin for 1s and release, then the
indicator light of Sensor will flash (Please complete this operation
within 60 seconds, and you can add up to 10 Sensors at a time).
7
Add the Sensor
Select the Sensor you want to add and click on the "Add Button"
(up to 10 devices can be added at a time). When the appears
on the Sensor card, it means the Sensor is successfully added.
Please wait until all Sensors status to become complete.
● Please make sure the Bluetooth of your mobile device (smart
phone/ tablet) is enabled during the whole setup process.
● The Bluetooth and GPS can be turned off after the Sensor
setup is complete.
Note:
Select the Hub
Unnamed
MC90380C629088
13
How the System Works
1716
15
Battery Calibration Configuration
19
18
Warranty Disclaimer
Customer Service
MOCREO products enjoy a 12-Month limited warranty
(start from the date when customer receives the product),
which applies only to hardware components of the device
that are not subject to accident, misuse, neglect, fire, or
other external causes, alterations, repair.
The contents about how to use the product and the
App guidance are only for reference, please refer to the
actual situation for specific application. If there is
something differs from the instruction during using the
product, please contact MOCREO Support for updates.
This product is for detecting and monitoring only,
MOCREO is not responsible for any property damage
or other consequences of the use of this product.
Search [ MOCREO Sensor ] on YouTube to watch the setup video tutorials.
+1 (530) 988-8608
https://mocreo.com/doc/manual/support/faq.html
MOCREO Sensor
The ST10 Sensors use Bluetooth LE to communicate with
the Hub. Therefore, the distance are limited to a
Bluetooth range centered on the Hub (e.g., around the
house).
14
This range is affected by distance and obstacles such as
walls, windows, water, radio interference, etc. In short,
longer distances and more obstacles mean weaker
signals.
The MOCREO Hub uses a Wi-Fi (2.4GHz only) or
Ethernet to transmit data from the MOCREO Sensors
in range to the Internet. A cellular hotspot with Wi-Fi
or Ethernet capability can also be used to provide
Internet access. Then, the MOCREO App can be used
to view your device data from anywhere in the world.
● ST10 Sensor built- in 1800mAh rechargeable lithium battery.
● The battery can last up to 1 year before it needs to be charged
again.
● Please charge the Sensor with a Micro USB Cable and a 5V 1A
power adapter.
● The battery percentage can be checked on the App: Sensor
Settings Page>Battery Level (Please do not check the battery
level while the device is charging).
● When charging, the red indicator light will stay on and when
the red indicator light goes off it means charging is complete.
● Low battery alert will be triggered when the battery is below
10% (Including Email alerts and App notification).
● When the Sensor was taken to or from the refrigerator/freezer,
the ST10 Sensor will spend some time calibrating the reading,
and it would take about 10 minutes for the ST10 to measure to
proper ambient temperature.
● The ST10 has a built-in German Heraeus thin-film RTD
platinum resistor, which is a strictly calibrated industrial-grade
chip and is more accurate than ordinary consumer chips.
● To ensure the accuracy and reliability of the ST10 Sensor, it is
recommended that it be calibrated every six months. To calibrate,
please place the Sensor probe in a constant temperature
environment (E.g. a thermostat) and allow it to stabilize for
approximately ten minutes or more. Then, select 'Temp
Compensation' on the Configuration page of the specific Sensor
card in the App to calibrate the Sensor.
【Name the Sensor】Tap Sensor Card > Button on the Upper
Right > Alias Name > Save
【Export Data】Tap Sensor Card > Button on the Upper Right >
Export Historical Data > Choose Time Period > Export
【Name the Hub】Tap Button on the Upper Left > Hubs > Click
Button on the Hub Card > Name > Save
【Alert】Tap Button on the Upper Left > Alerts > Set Alert
Model > Save
Contents
Introduction 2
.......................................................
What's in the Box 3
................................................
Product Parameter 3
..............................................
Setup 5
.................................................................
Installation 11
.........................................................
Test the Effective Distance 10
...................................
How the System Works 13
........................................
Status of Sensor Indicator Light 12
............................
Battery 15
...............................................................
Calibration 16
.........................................................
Warranty 18
............................................................
Customer Service 18
................................................
Disclaimer 19
..........................................................
FCC Statement 20
....................................................
Configuration 17
.....................................................
11
Installation
1. Please place the Hub at a relatively high position.
2. Please make sure the Sensor probe was inserted firmly
(Note: ST10 probe is waterproof but the Sensor Body
is not).
3. Using a laboratory freezer as an example, tape the
Sensor data logger to the outside of the freezer door
and place the probe at the location inside the freezer.
12
Status of Sensor Indicator Light
● Slow Blue Light Blinking (Every 0.5 seconds): This
appears when poking the Sensor with the pin, at this
time the Sensor is in setup mode, after 60 seconds the
indicator light will automatically turn off.
● Fast Blue Light Blinking (Every 0.2 seconds): If there
is a loose probe connection, poor probe contact, or the
ambient temperature is outside the Sensor's
measurement range (-328°F ~ 392°F), the Sensor's
indicator light will continue to flash until the problem is
resolved and normalcy is restored.