Parameter Sengs
Indoor use in dry locaon
Specificaon
Z-Wave Network Configuraon
If the SmartThings replacement service results in abnormal use of the product, please
install a new driver(edge driver) according to the following soluons.
Adding Device To Z-Wave Network
To Remove The Device
Manual: Click the buon twice quickly then hold it at least 10 seconds.
Host reset: Remove it from hub, the device will be restore to factory default.
To Return The Device To Factory Defaults
Associaon Group
Please contact us if you have any quesons:
www.minoston.com
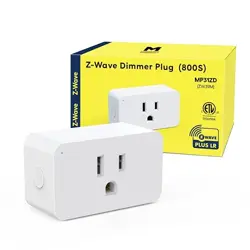
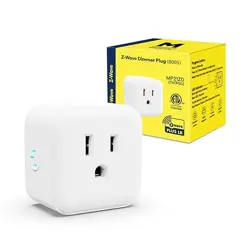
Z-Wave smart plug(800S)
• MP31Z •
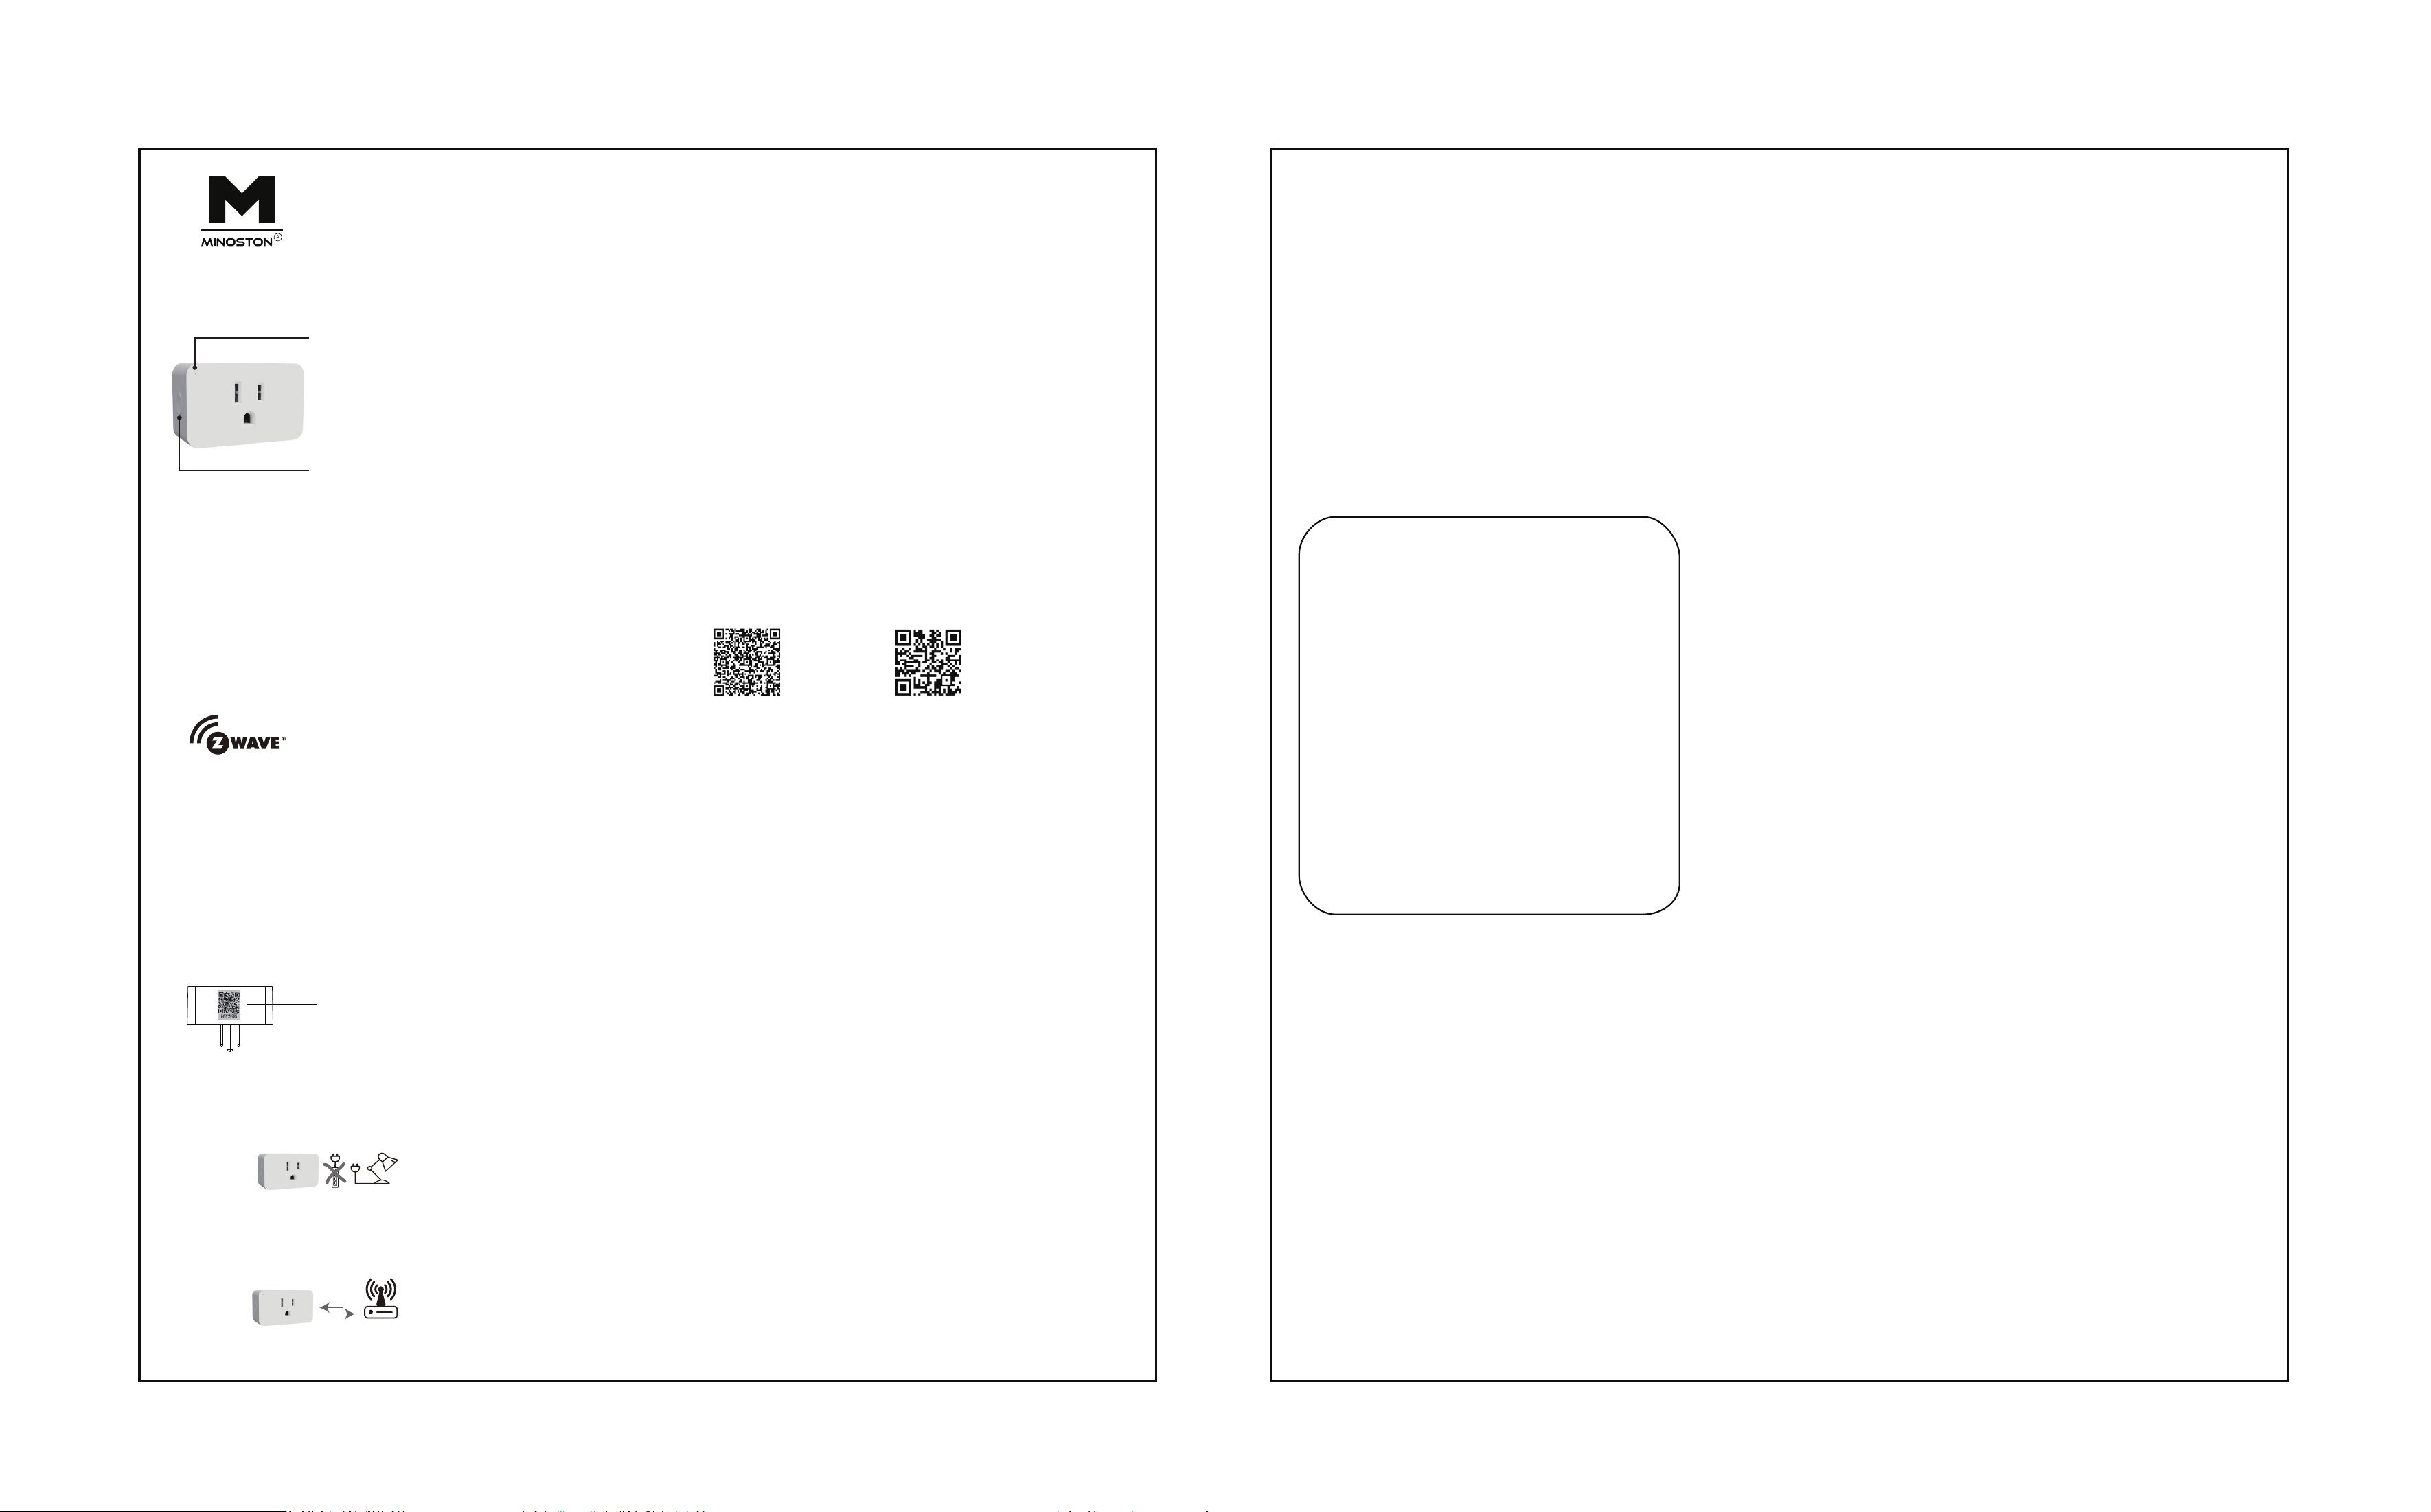
Program buon
Press 1x: Manually
Press 3x: Z-Wave Network configuraon
10 seconds
Reset: Press the buon twice then hold it for
Input: 125VAC 60Hz
Frequency: 908.42 MHz
5A MAX 625W TUNGSTEN
GENERAL PURPOSE
1/3 HP
Loading: 15A 1875W RESISTIVE OR
LED indicator
Blue: Light status indicator
Blue: ADD / Inclusion
Purple: Remove / Exclusion
Red: Network Failure
Features:
100 feet
2. Your device may need to be within 100 feet of the controller to be included. If so,
it to the desired posion in your home. Be sure to refresh the network if the device
include the device to the network within 10 feet of the controller and relocate
is included in this manner.
Notes:
1. Plug the device you want to control into the Z-Wave Smart plug controlled outlet.
NOTE: Plug directly into the outlet, do not use with power strip.
Z-WAVE INTEROPERABILITY
Adding Device To Z-Wave Network for QR CODE
Scan here for SmartStar inclusion
Note:
FULL DSK
can be found on the
packaging box.
Do not remove or damage them.
LED Indicator
Auto Turn-Off Timer
Auto Turn-On Timer
Z-Wave Long Range
Regarding SmartThings usage excepons:
(SmartThings driver subscripon channel)
(guide video)
This parameter can access you to set the switch to be on/off aer power failure.
(Green LED flashes twice when the configuraon parameter changed.)
Operaon: Quickly press the buon 10 mes (Please note: the switching of each
value is in order, quickly press on the buon 10 mes will switch once.
eg: Switching from value 0 to value 2 needs 2 switching. )
Parameter=6, Size=1
Value=0 --- The switch is off regardless of the state prior to power failure.
Value=1 --- The switch is on regardless of the state prior to power failure.
Value=2(default) --- This switch will be return to state prior to the power failure
aer power is restored.
Restores state aer power failure
Warranty
FCC NOTE:
The manufacturer is not responsible for any radio or TV interference
the user’s authority to operate the equipment.
caused by unauthorized modificaons to this equipment. Such modificaons could voidd
— Reorient or relocate the receiving antenna.
— Increase the separaon between the equipment and receiver.
— Connect the equipment into an outlet on a circuit different from that to which the
— Consult the dealer or an experienced radio / TV technician for help.
receiver is connected.
NOTE:
This equipment has been tested and found to comply with the limits for a
Class B digital device, pursuant to Part 15 of the FCC Rules. These limits are designed
to provide reasonable protecon against harmful interference in a residenal installaon.
This equipment generates, uses and can radiate radio frequency energy and,
if not installed and used in accordance with the instrucons may cause
harmful interference to radio communicaons. However, there is no guarantee that
harmful interference to radio or television recepon, which can be determined by
turning the equipment off and on, the user is encouraged to try to correct the
interference by one or more of the following measures:
interference will not occur in a parcular installaon. If this equipment does cause
Important note:
To comply with the FCC RF exposure compliance requirements, no
change to the antenna or the device is permied. Any change to the antenna or the
device could result in the device exceeding the RF exposure requirements and void
user’s authority to operate the device.
CAUTION - PLEASE READ!
This device is intended for installaon in accordance with the Naonal Electric Code
and local regulaons in the United States, or the Canadian Electrical Code and local
regulaons in Canada If you are unsure or uncomfortable about performing this
installaon consult a qualified electrician.
WARNING
RISK OF FIRE / RISK OF ELECTRICAL SHOCK / RISK OF BURNS
MEDICAL EQUIPMENT
Please DO NOT use this switch to control Medical or Life Support equipment.
Z-Wave devices should never be used to control the On / Off status of Medical
and / or Life Support equipment.
TO REDUCE THE RISK OF ELECTRIC SHOCK, THIS PRODUCT HAS A
GROUNDING TYPE PLUG THAT HAS A THIRD (GROUNDING) PIN. THIS
PLUG WILL ONLY FIT INTO A GROUNDING TYPE POWER OUTLET. IF THE
PLUG DOES NOT FIT INTO THE OUTLET, CONTACT A QUALIFIED ELECTRI-
CIAN TO INSTALL THE PROPER
OUTLET. DO NOT CHANGE THE PLUG IN ANY WAY.
CONTROLLING APPLIANCES:
CAUTION: TO REDUCE THE RISK OF
OVERHEATING AND POSSIBLE DAMAGE TO
OTHER EQUIPMENT
• DO NOT EXCEED RATINGS
• DO NOT USE TO CONTROL ANY DEVICE
WHERE UNINTENDED OPERATION COULD
CAUSE UNSAFE CONDITIONS (HEAT LAMP, SUN LAMP, ETC.)
CONTROLLING APPLIANCES
Please exercise EXTREME CAUTION when using Z-Wave devices to control
appliances. Reason being is because the appliance you want to control may be in a
separate room and if unintenonal behavior occurs (such as adevice turning on or
off - either intenonally via schedules, or unintenonally via network error) this
event may lead to a hazardous condion. For these reasons, please note the following
suggesons:
1) Do not include Z-Wave devices in Groups or Scenes if they control appliances.
2) Do not use Z-Wave devices to control electric heaters or any other appliances
which may present a hazardous condion due to unaended, unintenonal, or
automac power control.
FCC / IC
Adjust LED brightness (quickly press 8x: change Parameter.)
(Green LED flashes twice to confirm the seng is successful.)
Parameter=7, Size=1,
Value=0 --- Bright
Value=1 --- Medium
Value=2 --- Low (default.)
0x5E - COMMAND_CLASS_ZWAVEPLUS_INFO_V2,
0x01 - SPECIFIC_TYPE SPECIFIC_TYPE_POWER_SWITCH_BINARY
0x10-GENERIC_TYPE GENERIC_TYPE_SWITCH_BINARY
0x25 - COMMAND_CLASS_SWITCH_BINARY,
0x85 - COMMAND_CLASS_ASSOCIATION,
0x8E - COMMAND_CLASS_MULTI_CHANNEL_ASSOCIATION_V2,
0x59 - COMMAND_CLASS_ASSOCIATION_GRP_INFO,
0x55 - COMMAND_CLASS_TRANSPORT_SERVICE_V2,
0x86 - COMMAND_CLASS_VERSION,
0x72 - COMMAND_CLASS_MANUFACTURER_SPECIFIC,
0x5A - COMMAND_CLASS_DEVICE_RESET_LOCALLY,
0x73 - COMMAND_CLASS_POWERLEVEL,
0x70 - COMMAND_CLASS_CONFIGURATION,
0x9F - COMMAND_CLASS_SECURITY_2,
0x6C - COMMAND_CLASS_SUPERVISION
Command Classes:
Generic Device Class:
Specific Device Class:
0x7A - COMMAND_CLASS_FIRMWARE_UPDATE_MD_V2
This product can be included and operated in any Z-Wave network with other Z-Wave
cerfied devices from other manufacturers and/or other applicaons. All non-baery
operated nodes within the network will act as repeaters regardless of vendor to
increase the reliability of the network.This Device supports Lifeline (associaon group
1) supporng 1 node for lifeline communicaon.Group 1 must be assigned the Node
ID of the primary controller where unsolicited noficaons will be sent. The Z-Wave
controller should set this associaon automacally aer inclusion. Lifeline associaon
only supports the "Device Reset Locally" funcon.
This parameter can access you to set a mer to make the switch turn on automacally aer
the switch turned on. The number entered as value corresponds to number of minutes.
Operaon: Set up on the hub. (Green LED flashes 3 mes when the configuraon parameter
changed.)
--- Parameter =4, Size=4, Value: 0- 65535(minutes);
Value=O(default) disable --- turn on the outlet
This parameter can access you to set a mer to make the switch turn off automacally aer
the switch turns on.The number entered as value corresponds to number of minutes.
Operaon: Set up on the hub.
(Green LED flashes 3 mes when the configuraon parameter changed.)
--- Parameter =2, Size=4, Value: 0-65535(minutes);
Value=O(default) disable--- turn off the outlet.
Our Products warrant this product to be free from manufacturing defects for a period of one
year from the original date of consumer purchase. This warranty is limited to the repair or
replacement of this product only and does not extend to consequenal or incidental damage
to other products that may be used with this product. This warranty is in lieu of all other
warranes, expressed or implied. Some states do not allow limitaons on how long an
implied warranty lasts or permit the exclusion or limitaon of incidental or consequenal
damage, so the above limitaons may not apply to you. This warranty gives you specific
rights, and you may also have other rights which vary from state to state.
This device complies with part 15 of the FCC and Industry Canada license-exempt RSS
standard(s). Operaon is subjected to the following two condions:
(1) This device may not cause harmful interference,
(2) This device must accept anyinterference received, including interference that may cause
undesired operaon.
This parameter can access you to choose the LED indicator to be on when the switch (light) is on/off,
or LED indicator remains on/off all mes. (Green LED flashes twice when the configuraon
parameter changed.)
Operaon: quickly press 6x: change parameter
Parameter =1, size =1 byte,
value=00(default) --- LED is On when switch(light) is On.
value=01---LED is On when the switch(light) is Off.
value=02 --- LED is disabled
1. Scan the above QR code(le)to open the SmartThings Edge Driver subscripon channel of the
product.
2. Log in to the SmartThings account aer opening the SmartThings Edge Driver subscripon channel.
3. Select the SmartThings Hub you are using, and click "Enroll".
4. Aer "Enroll" is completed, click "Available Drivers".
5. Aer entering the "Available Drivers" page, select "Z-Wave Switch" to "Install".
Note: Please scan the QR code on the right to view the guide video.
1. Z-Wave control on/off.
2. Z-Wave controlled AC outlet for standard incandescent lighng, CFL/LEDs, fans ord
small appliances(1875W Resisve Max).
3. Grounded 3-wire power connecon for safety.
4. Remembers and restores on/off status aer power failure.
5. Built-in Z-Wave Plus signal repeater to extend network range.
6. S2 security and 800 Z-Wave chip for reliable wireless communicaon.
7. Work with all cerficated Z-Wave controllers.
1. Follow the instrucons for your Z-Wave cerfied controller to add a device to the Z-Wave network.
2. Once the controller is ready to add your device, press the Manual/ Program buon on the smart
plug 3 mes quickly. The blue LED will flash quickly.
Note: MP31Z Support Z-Wave Long Range
Z-Wave Long Range device can only support be included via SmartStart.Extract the DSK from end
device and paste it into the Dsk Value in PC Controller, make sure the long Range' opon is cked.
1. Follow the instrucons for your Z-Wave cerfied controller to remove a device from the Z-Wave
network.
2. Once the controller is ready to remove your device, press the manual / program buon on the
smart plug 3 mes quickly. The green light is on for 2s when the removal is successful.
(LED flashes twice when the configuraon parameter changed.)
Support 2 groups, each group max support 5 devices
Group 1 lifeline
Group 2 Le outlet send basic set.
-- Reorient or relocate the receiving antenna.
-- Increase the separaon between the equipment and receiver.
-- Connect the equipment into an outlet on a circuit different from that to which the
receiver is connected.
-- Consult the dealer or an experienced radio/TV technician for help.