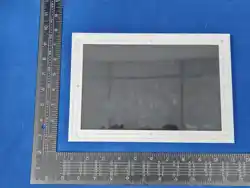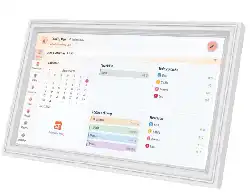
10.1'' Digital Calendar
User Manual

Contents
User Manual ................................................................................................................................................................... 1
1. Getting started ............................................................................................................................................................
2. FotoCube Photo Frame ............................................................................................................................................
2.1 How to Use FotoCube Photo Frame .................................................................................................................
2.2 How to Bind The Photo Frame by The FotoCube APP .....................................................................................
2.3 How to Use FotoCube Frame Offline ................................................................................................................
2.4 Family Schedule ................................................................................................................................................
2.6 Art Gallery ........................................................................................................................................................
2.8 System Settings ..............................................................................................................................................
2.5 Cloud Photo Frame .........................................................................................................................................
2.5.1 Operation ..............................................................................................................................................
2.5.2 Menu .....................................................................................................................................................
2.4.1 Calendar .................................................................................................................................................
2.4.2 Daily To-Do List ......................................................................................................................................
2.4.3 Import Schedule ....................................................................................................................................
2.4.4 Member List ..........................................................................................................................................
2.4.5 Switch to Cloud Frame Mode ...............................................................................................................
2.4.6 Sleep Mode ...........................................................................................................................................
2.6.1 Display of Art Paintings .........................................................................................................................
2.6.2 Switching Interval Time .........................................................................................................................
2.6.3 Select Mode ..........................................................................................................................................
1
2
2
5
7
7
7
9
10
14
14
14
15
15
15
20
20
20
20
21

2.8.3 Display Settings ....................................................................................................................................
2.8.4 Playback Settings .................................................................................................................................
2.8.5 Wi-Fi .....................................................................................................................................................
2.8.6 Help ......................................................................................................................................................
2.8.7 System Information ...............................................................................................................................
3. FotoCube APP ..........................................................................................................................................................
3.1 Quick Setup .....................................................................................................................................................
3.3 Manage the family schedule ............................................................................................................................
3.3.5 Import Third-Party Schedules ...............................................................................................................
3.2 Register an Account .........................................................................................................................................
3.4 Sending Photos and Videos ............................................................................................................................
3.3.1 Select the frame to be managed ...........................................................................................................
3.3.2 Create New Calendar Events (To-Do Items) .........................................................................................
3.3.3 Adding New Family Members ...............................................................................................................
3.3.4 Edit or Delete Family Members ............................................................................................................
3.5 Sending Blessings ...........................................................................................................................................
3.6 Manage Frames ..............................................................................................................................................
4. Important FAQ ..........................................................................................................................................................
2.8.1 Picture Frame Settings .........................................................................................................................
2.8.2 Account Management ...........................................................................................................................
22
23
23
24
25
25
26
27
27
27
28
28
28
29
29
29
30
31
31
33
5. Warranty & Technical Support ..................................................................................................................................
35

1. Getting started
1. Insert the power supply to start the photo frame;
2. Follow the guide on the screen to start setting up the photo frame step by step;
3. Complete the setup and start interacting with your friends and family.
If you are just starting to use FotoCube:
Download FotoCube APP
FotoCube Photo Frame
The FotoCube digital framework provides 3 modes:
Cloud Photo Frame
Family Calendar
Art Gallery
FotoCube APP
The FotoCube app supports rich functions on Android and iOS systems, allowing for easy sharing of connected photo
frames anytime and anywhere. No matter where you are in the world, you can send photos, videos, or manage the
family schedule online in real-time at any time.
2. FotoCube Photo Frame
2.1 How to Use FotoCube Photo Frame
When you use the framework for the first time, you need to set it up.
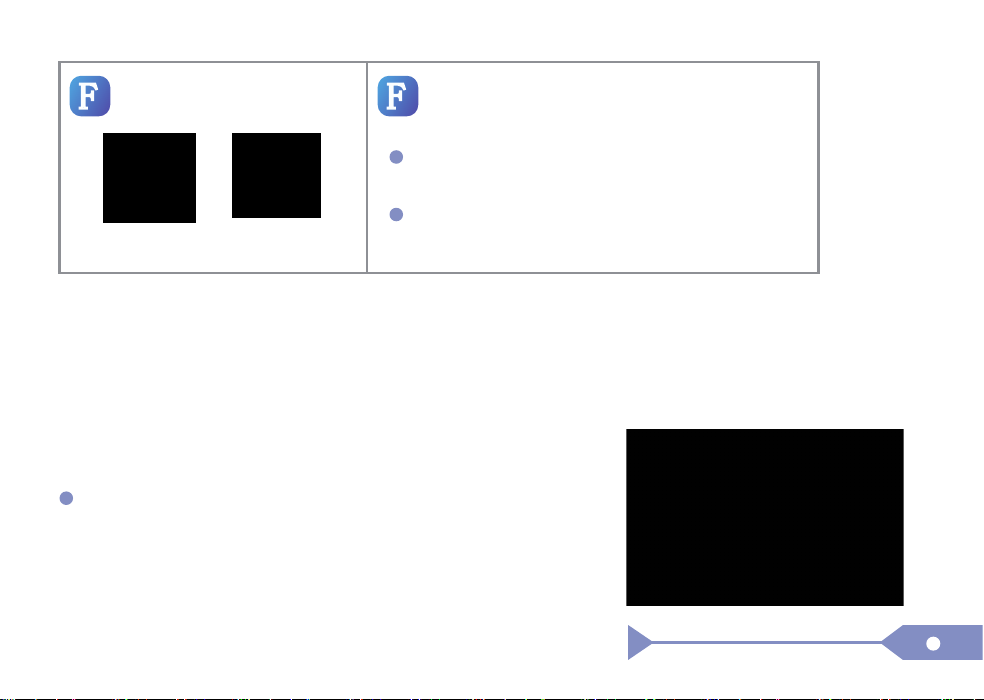
Method 1: Scan the QR
code to download the APP
Download from
Google Play
Download from
Apple store
Method 2: Search for and download
the FotoCube APP in the app store
Android: Search for "FotoCube" on the app store
Google Play and then download the APP.
iOS: Search for "FotoCube" on the Apple Store
and then download the APP.
F F
Choose a language: Select your preferred language as the default
language.

Connect to Wi-Fi: Connect to the Wi-Fi at home to connect the
photo frame to the internet.
* To get the best coverage and a more stable connection, this device
works with 2.4GHz Wi-Fi only, Please make sure to select a 2.4GHz
network when connecting.
Set Time Zone: Set the time zone to accurately display time
information.
Name the photo frame: For example, "Lily's frame".

Novice Guide: View the quick guide on the FotoCube frame.
Set the location of the photo frame: Such as the living room,
kitchen, or office, to facilitate the distinction between different photo
frame devices.
Selection Mode: FotoCube photo frame supports 3 modes, please select the one you like.
Cloud Photo Frame: Send photos or videos from your phone to the photo frame, which will be displayed on the
screen in real time, an intelligent album that connects family emotions.

2.2 How to Bind The Photo Frame by The FotoCube APP
Family Schedule: Share the family task board, easily add and manage the daily to-do items of the whole family,
and improve family collaboration efficiency.
Art Gallery: Automatically loop and play world-class artworks,
bringing elegant art into your living space.
Pairing Code
Click the "Add" icon on the photo frame. A dialog box will appear, displaying the QR code and the pairing code
(The pairing code is time-limited, please bind it within the valid period).
Make sure your photo frame is correctly connected to the Wi-Fi network and yourmobile phone has
downloaded and installed the FotoCube application.

Share the pairing code
Now, you can share the QR code or pairing code
with your friends via your preferred methods, such
as SMS, email, instant messaging, or phone calls.
Binding the Photo Frame with the Mobile App
Open the FotoCube App, register and log in to your
account, then click the "Add New Photo Frame"
button on the upper left corner. Scan the QR code
of the frame or enter the pairing code to add the
frame.

2.3 How to Use FotoCube Frame Offline
Check Connected Frames
Once the frame is connected to your FotoCube application, you will be able to find them in "Settings - Account
Management" on the frame or in the "Frame Devices" tab of the APP.
External Storage (SD Card)
You can copy photos and videos to the SD card, then insert the SD card into the frame and view or play them
through "Frame" - "Settings" - "Gallery" - "External SD Card".
2.4 Family Schedule
2.4.1 Calendar
Share the family task board, easily add and manage the daily to-do items of the whole family, and improve the
efficiency of family collaboration.
Display the schedule information of the week/month. Also display
the current time, date, and the name of the family photo frame.

Edit the Schedule
Click on the schedule event to edit or delete the schedule.
Schedule Reminder
Expiring schedules will trigger a
pop-up reminder.
New Schedule Event
Add Event: Click the "+" button to create a new schedule, and it will be synced to the schedule list of all
members bound to this photo frame via the cloud.
Switch Between Week/Month Views
Supports viewing in "Week" and "Month" views. Click to switch to the next
week/month or the previous week/month.
Emoji Support: Content creation supports the inclusion of Emoji expressions, and synchronization of
these Emojis is supported between mobile phones and the photo frame for consistent display.
Week
Month

Create a To-Do
Displays the name, time, and person in charge of the to-do item.
Edit a To-Do
Click on the To-Do item to edit the content.
Reminder for Agents
Expired items will be reminded in the form of pop-up windows.
Complete a To-Do Task
Click the circular button on the left to complete the task.
2.4.2 Daily To-Do List
Display the daily To-Do task list by member dimension.

Schedule Synchronization:
Google Calendar Real-time Sync:
Open FotoCube -> After logging in, click the "Schedule" tab at the bottom.
Click the "Import" button in the top-right corner.
Sync with Google Calendar.
Log in to your Google Account and authorize consent.
Choose between one-way or two-way synchronization.
Select the calendar categories you wish to Sync.
Complete the schedule synchronization a few minutes later.
2.4.3 Import Schedule
iCloud Calendar Subscription:
Open Apple Calendar.
Click "Calendar".
Click "Info".
Turn on the "Public Calendar" switch.
Copy and paste the URL link.
Complete the schedule import a few minutes later.
JUL
17
31

Open the Cozi app and tap Family at the bottom.
Tap the Settings icon (next to your profile picture).
Select Share Cozi Calendars.
Choose either All Events or specific calendars, then tap View or Send Cozi URL and copy the link.
Open FotoCube, go to the Schedule tab at the bottom.
Tap the Import button in the top-right corner.
Select Sync beside Cozi Calendar.
Paste the URL into the field and confirm to finish importing.
On your computer, open a web browser and go to calendar.yahoo.com.
In the left sidebar, find "My Calendars," click the "More (v)" icon next to it, and select Edit Calendar.
Toggle On the Get Shareable Link option and copy the ICS URL provided.
Open the FotoCube app and tap the Schedule tab at the bottom.
Tap the Import button in the top-right corner.
Select the Sync option next to Yahoo Calendar.
Paste the copied URL into the field and confirm to complete the import.

On your computer, open a browser and go to "go.teamsnap.com".
Click My Teams on the left side of the page.
From the team homepage, click the Schedule tab at the top.
Click the Settings icon in the upper-right corner, then select Sync Calendar/Export .
Copy the Full Schedule or Games Only ICS URL.
Open FotoCube and tap Schedule at the bottom.
Tap the Import button in the top-right corner.
Tap the Sync button next to TeamSnap.
Paste the URL into the input field and complete the import.
On your computer, open a browser and go to "outlook.live.com".
Sign in to your account, then click the Settings icon in the top-right corner.
In the left panel, go to Calendar > Shared calendars.
Under Publish a calendar, select the calendar you want to share and copy its ICS link.
Open FotoCube and tap Schedule at the bottom.
Tap the Import button in the top-right corner.
Tap the Sync button next to Outlook.
Paste the URL into the input field and complete the import.
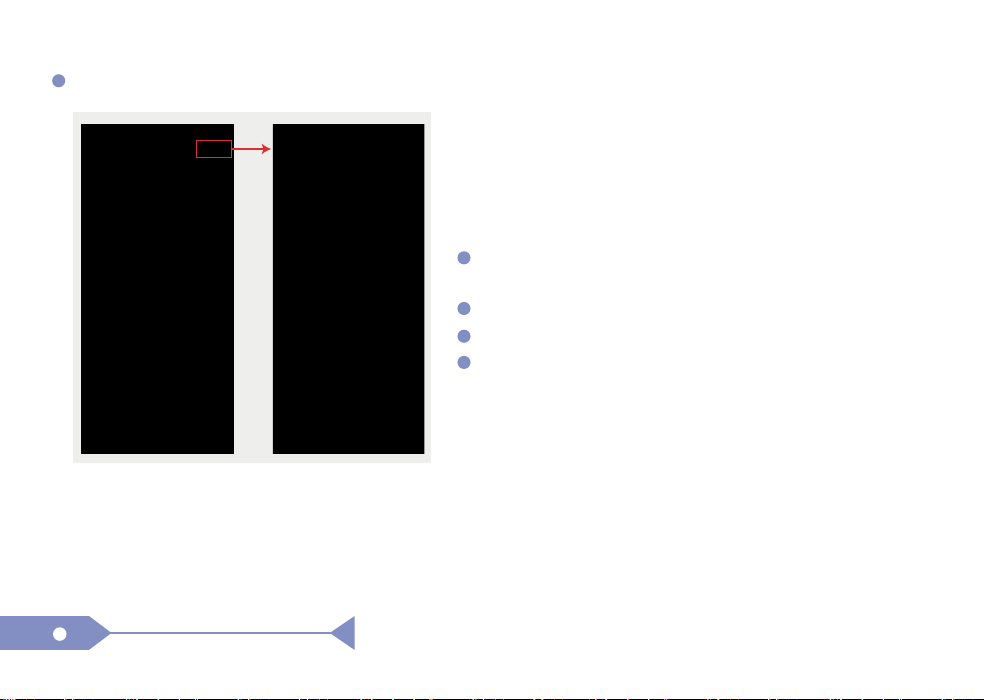
Import Local Calendar Events from Mobile Devices:
Supports importing local third-party schedules from
Google Calendar, Apple Calendar, Microsoft Outlook, and
other mobile apps.
Open FotoCube -> After logging in, click the "Schedule"
tab at the bottom.
Click the "Import" button in the top-right corner.
Select the local schedule you wish to import.
The imported schedule information will be synchro-
nized and displayed in the schedule lists of all photo
frame members.

Click the "Photos" button to quickly switch to Cloud Frame mode.
2.4.4 Member List
2.4.5 Switch to Cloud Frame Mode
Click to access sleep time settings. Once the sleep function is enabled, the screen will turn off during the set
sleep period.
2.4.6 Sleep Mode
Supports adding, deleting, and editing member information.

2.5 Cloud Photo Frame
2.5.1 Operation
You can send photos or videos from your mobile phone to the photo frame, which will be displayed on the
screen in real time. You can interact with the photo frame simply and conveniently through the touch screen.
Swipe left or right to view your photos. To access the menu bar, simply click once on the screen, which will
display the menu.
2.5.2 Menu
In the menu, you can quickly access functions such as adding
friends, settings, gallery, and mode switching. From the menu,
you can also make relevant settings for the currently displayed
photos, such as using the AI photo processing function, deleting,
rotating, setting the playback order, and selecting the slide
transition effect, etc.

Add More Friends
Click the 【Add】 icon to generate a pairing code
and QR code to connect the device. Use either the
pairing code or the QR code to connect the photo
frame to your mobile device, and then you can
send photos.
Gallery
You can view the album list created by different accounts and the photos shared in each album.
You can view the "Like" photos.
Open the gallery and browse the media sources in it.
You can start playing photos or videos from the current position of the photo or video you are viewing.
You can play the album content of a specific account separately.
You can play photos or videos in the SD card.
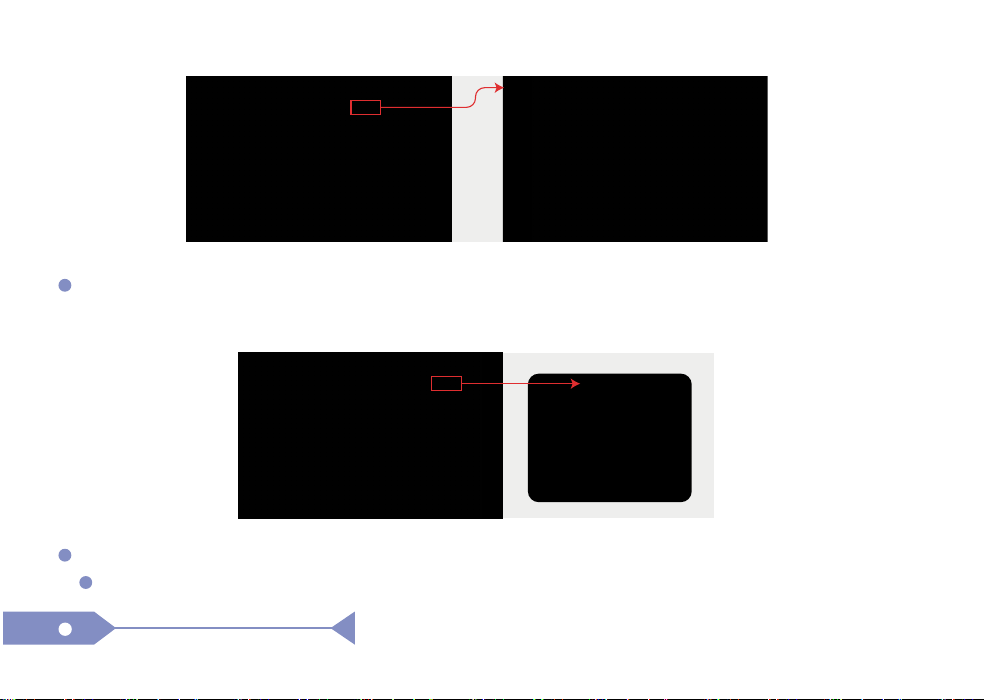
Switching Modes
Three modes are supported: Cloud Photo Frame, Family Schedule, or Art Gallery. Select and switch to your
favorite mode.
Shuffle/Sequential Play
Shuffle Play: Play the contents of the current playlist randomly.

Sequential Play: Play the contents of the current playlist in sequence.
AI Portrait Restoration
AI Portrait function is supported to restore the old portrait photos currently playing (more AI capabilities are
continuously updated).
Cropping
The cropped photo is displayed in the frame in its original proportion.
Full Screen Photo Display
Click "Menu -> AI Crop -> Display mode -> Full Screen", which supports displaying all photos in full-screen
mode.

Delete
Click the "Delete" button to delete the current photo or video.
Rotate Photo
You can rotate the photo clockwise by 90, 180, or 270 degrees.
Slide Show
Supports multiple slide transition effects, but only valid for photo slides.
Like
Click the "Like" button on the screen to collect your favorite photos or videos.

2.6 Art Gallery
Volume Settings
For video volume, you can adjust the volume level in "Settings".
Automatically loops world-class artworks, bringing elegant art into
your living space.
2.6.1 Display of Art Paintings
The name of the painting, the author and the time.
2.6.2 Switching Interval Time
2.6.3 Select Mode
Supports switching of playback intervals of【 5s|10s|60s|5min|1h|24h】, the actual interval is subject to the
photo frame device.
Support clicking the "Switch Mode" button to quickly switch to other Cloud-Photo-Frame or Family-Schedule
modes.
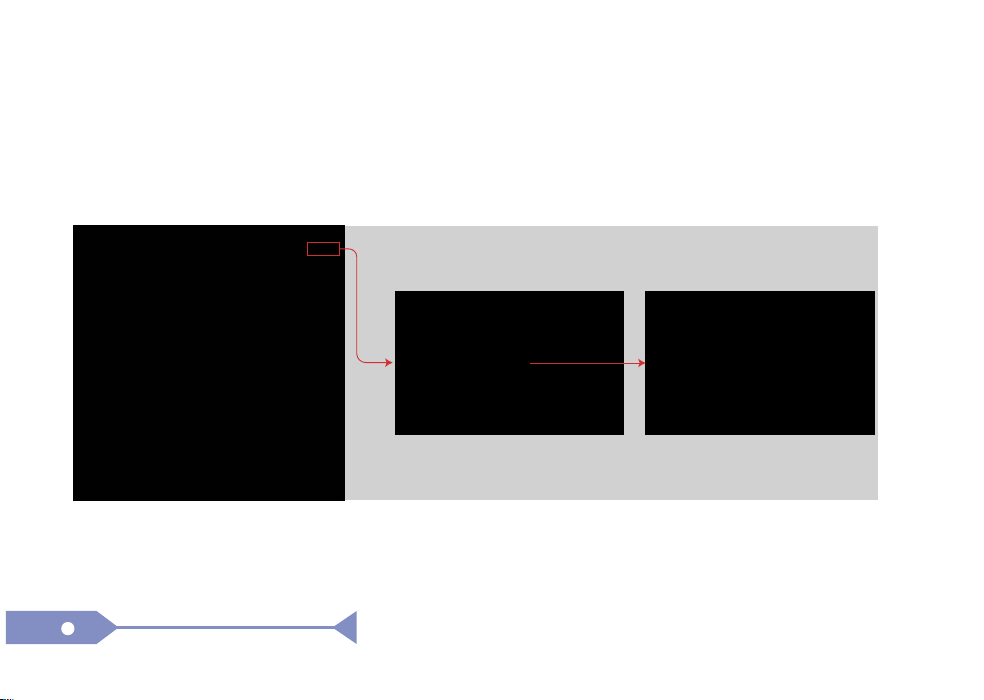
1. Open and log in to the FotoCube APP on your mobile phone, and click on the "Greeting Card" tab.
2. Write down your wish in words.
3. Choose a festival style.
4. Select the photo frame to which you want to send your blessing.
2.7 How to Send Blessings
2.8 System Settings
You can personalize the photo frame according to your own needs through settings.

Frame name
Set or modify the frame name. The modified name will be displayed
in the family name of the schedule, the connected devices, and the
device list of the FotoCube APP.
Switch mode
Supports 3 modes: cloud frame, family schedule, and art gallery.
Click to switch to your favorite mode.
Set language
Select your favorite system language.
Set time zone
Select the time zone for the frame to display the accurate time and date.
Sleep mode
Choose whether to enable sleep mode according to your preference. After enabling sleep mode, the device
enters a low-power and low-operation state during non-working hours to achieve the purposes of energy saving
and reducing interference.
2.8.1 Picture Frame Settings

Power
Select shutdown, restart, or screen off by clicking the button.
Add Account
The page will display the current valid digital pairing code, and the
bindingoperation can be performed through the FotoCube APP. For
details, refer to the chapter【 2.2 How to Bind the Photo Frame
through the Mobile FotoCube Application】.
Bound accounts
Displays a list of all members with bound accounts. The unbinding
operation of the account can be performed by clicking the "Delete"
button.
2.8.2 Account Management
2.8.3 Display Settings

Brightness
Adjust the screen brightness to obtain a comfortable visual
experience.
Font size
Set the font size of the system language.
Photo transition effect
Select your favorite transition effect.
Photo transition interval
Select a suitable transition interval.
Play mode
Select your favorite play mode.
Play audio
Choose whether to play video sound and background music.
2.8.4 Playback Settings

Play volume
Adjust the volume to a suitable size.
Note: If your Wi-Fi shows "Connected but not working", please open your router App and set the device as
"Trusted / Allowed Device". Many US routers block new smart devices by default.
Connect to Wi-Fi
Enter the password to connect to Wi-Fi.
Reset Wi-Fi
You need to go to "Settings" - "System Information" - "Restore
Factory Settings", and Wi-Fi will also be restored to factory settings.
Data cannot be recovered.
2.8.5 Wi-Fi

User Guide
Display the content of the user guide.
Privacy Agreement
Display the content of the privacy agreement.
2.8.6 Help
Software/Firmware Version
Check for frame software/firmware version updates.
MAC
Displays the MAC address of the frame.
Terminal ID
Displays device ID information.
2.8.7 System Information

Auto-update
It is recommended to enable. When enabled, the device will automatically install downloaded higher versions.
If disabled, manual installation is required.
Restore Factory Settings
Warning: Resetting the family frame will delete all photos and settings stored on the frame. Please ensure that
you have backed up all important data, as once reset, this data cannot be recovered.
3. FotoCube APP
3.1 Quick Setup
As an important management and connection device, the APP needs to be registered via email, and can be used only
after login.
3.2 Register an Account
Register an APP account using an email address. After logging into the APP, you can use functions such as sending
photos, remote control, and family schedule management.

3.3.1 Select the frame to be managed
The top left corner of the schedule page of the mobile application shows the currently managed frame device. If
the frame is not bound, please bind the frame first before performing schedule management operations. For
details, refer to the【2.2 How to bind the frame through the mobile FotoCube application】chapter.
3.3 Manage the family schedule

3.3.2 Create New Calendar Events (To-Do Items)
Click the "+" button in the lower right corner, enter the title, select all-day or the
start time, select whether to repeat and assign to the corresponding family
member, and click the "Add" button to complete the operation of creating a
new schedule.
By default, the information of the newly created schedule will be synchronized
to the To-Do list.

3.3.4 Edit or Delete Family Members
3.3.5 Import Third-Party Schedules
You can edit or delete the family members on the current photo frame in the member list of the mobile
application.
3.3.3 Adding New Family Members
Click the "+" button below the date on the schedule page to add new family
members. You can set nicknames, email accounts, and exclusive background
colors for new family members.
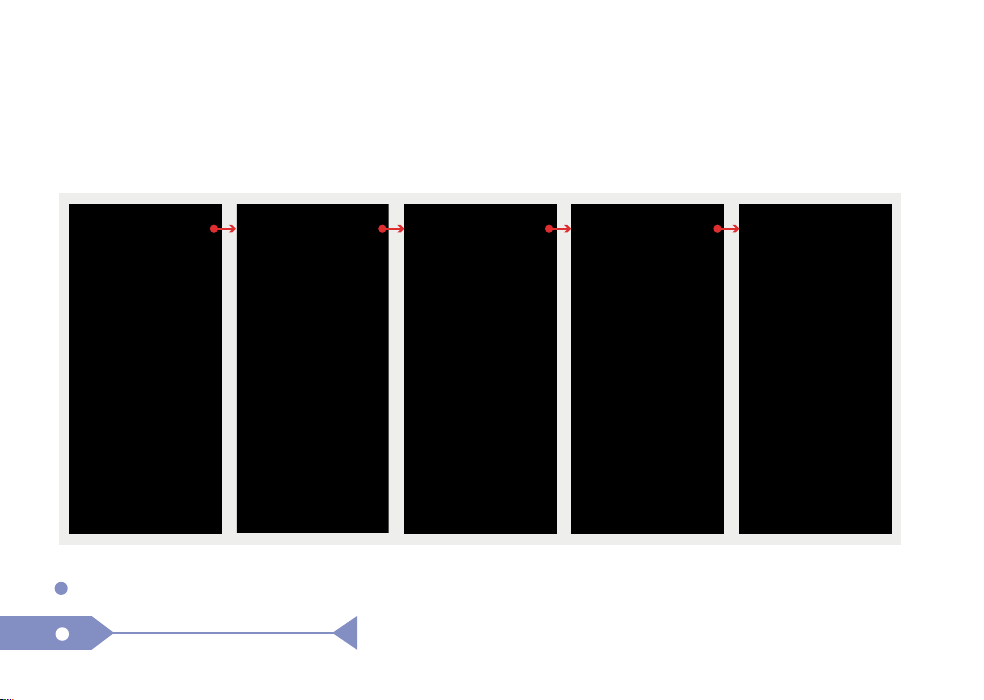
Support importing local third-party schedule data on the mobile phone. Open the FotoCube APP "Home Page"
- "Schedule" - "Import", and select the schedule types to be imported【Refer to 2.5.3 Import Schedule】.
Send Photos
3.4 Sending Photos and Videos

3.5 Sending Blessings
3.6 Manage Frames
Blessings can be sent to the specified photo frame through the FotoCube APP on the mobile phone【Refer to 2.7
How to Send Blessings】.
(1) Select one or more photos; (2) Select a photo frame; (3) Select the album to send; (4) Describe the photo;
(5) Click "Send".
Send Videos
(1) Select a video; (2) Select a photo frame; (3) Select the album to send; (4) Describe the video; (5) Click
"Send".
Create a New Album
You can create a new album and send photo or video content to the specified album. On the photo frame, you
can let the photo frame play the photos and videos of the specified album.
Sending History
You can view the status of the photo sending task and perform re-sending and deleting record operations in
the sending history list.

Share the frame pairing code
Click to pop up the QR code and pairing code of the frame device. You can
take a screenshot to share or copy the digital pairing code for sharing.
Remote switch frame mode
Select your favorite frame mode for the specified frame device, such as cloud
frame, family schedule, or art gallery.
Remote set frame background music
Send audio content to the specified frame device as the background music of
the frame device.
Delete the bound frame
Click to unbind the frame device.

4.Important FAQ
The sound button controls only the audio from imported videos. It does not affect system sounds like calendar
alerts or keyboard tones. To mute all sounds, please set the system volume to 0 in the settings.
I turned off the sound, but I still hear notification sounds. Why?
Unsupported Format: The frame does not support the HEIC image format (common on iPhones). So please
convert your pictures to JPG or PNG.
Slow SD Card: Using a slow Speed Class (e.g., Class 4) SD card can cause delays. For best performance, use
a Class 10 or higher card.
Why do some pictures load slowly or not at all when previewing from my SD card?
To add members and activities successfully, you must first complete the account registration on the activation
page and be logged into your Fotocube account. This ensures all data is synced and stored correctly.
Why can't I see a local member I added, or why can't I add activities for them?

For privacy protection and system security, these calendar providers only allow sharing through a read-only
subscription link (.ics). This is an intentional design by each provider to safeguard users’personal data.
As a result, third-party devices can display their schedules only by importing the subscription link.
* Updates are not real time; to see the latest changes, please refresh or re-import the link.
Why iCloud/ Cozi/ Yahoo/ TeamSnap/ Outlook Calendar only supports link import?
Calendar apps that support import via link typically process the data through a one-time, bulk import operation.
This means the application receives a static snapshot of the calendar events at the moment of import, rather
than establishing a live connection to the source.
Any updates made to the original calendar will not be reflected in your app automatically. To see new or
changed events, you will need to re-import the calendar link manually.
So we recommend importing calendars in bulk to minimize the need for frequent re-importing and to streamline
your scheduling process.
Why can't my calendar app automatically update events after I import them via a
link?

This device complies with part 15 of the FCC Rules. Operation is subject to the following two conditions:
(1) This device may not cause harmful interference.
(2) this device must accept any interference received, including interference that may cause undesired
operation.
* Any Changes or modifications not expressly approved by the party responsible for compliance could void the
user's authority to operate the equipment.
*This equipment complies with FCC radiation exposure limits set forth for an uncontrolled environment. This
equipment should be installed and operated with minimum distance 20cm between the radiator & your body.
FCC Caution
Note: This equipment has been tested and found to comply with the limits for a Class B digital device, pursuant
to part 15 of the FCC Rules. These limits are designed to provide reasonable protection against harmful
interference in a residential installation. This equipment generates uses and can radiate radio frequency energy
and, if not installed and used in accordance with the instructions, may cause harmful interference to radio
communications. However, there is no guarantee that interference will not occur in a particular installation. If this
equipment does cause harmful interference to radio or television reception, which can be determined by turning
the equipment off and on, the user is encouraged to try to correct the interference by one or more of the
following measures:
-Reorient or relocate the receiving antenna.
-Increase the separation between the equipment and receiver.
-Connect the equipment into an outlet on a circuit different from that to which the receiver is connected.
-Consult the dealer or an experienced radio/TV technician for help.