*
Upon registering your product
at morphyrichards.co.uk
3 Year
Guarantee
*
Please read and keep these instructions for future use
User Manual
Model No.
825401
825402
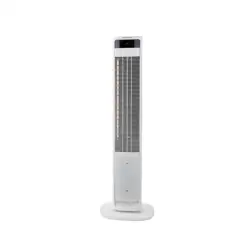
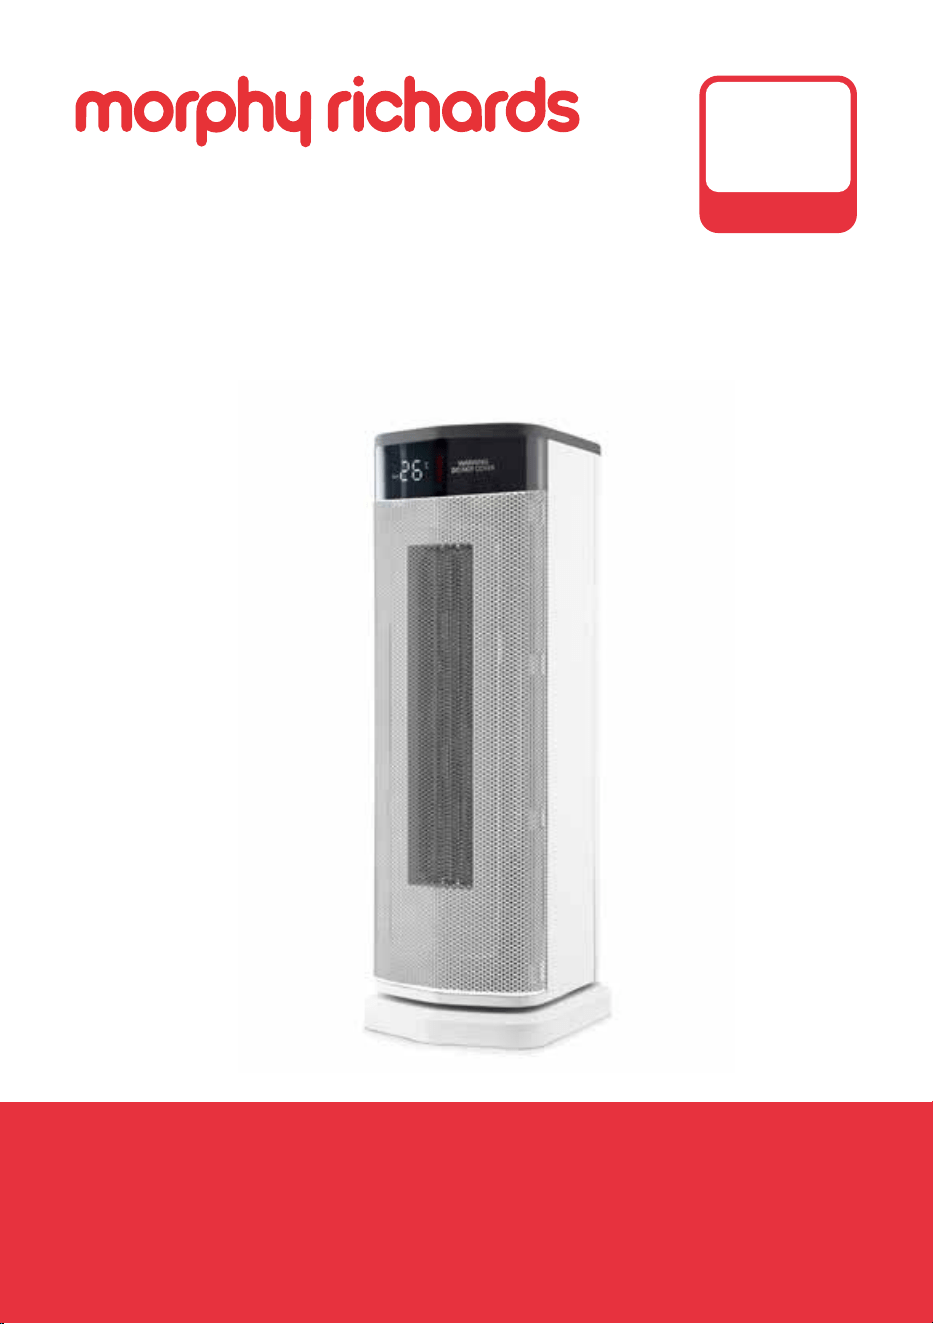
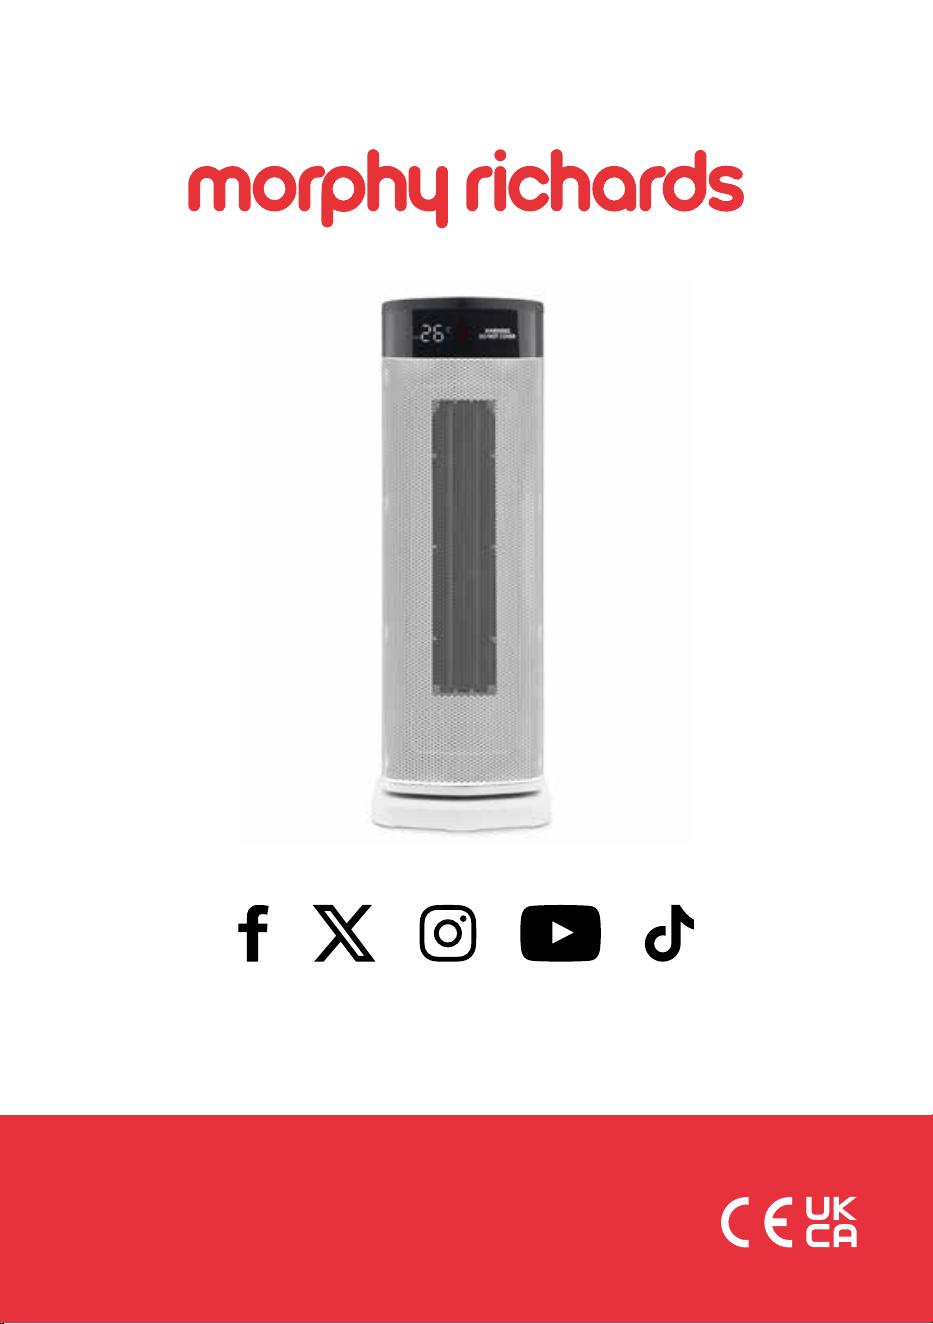
HEATFLUX
2kW Digital Ceramic
Tower Fan Heater
with Remote Control

2
HEALTH AND SAFETY
The use of any electrical appliance requires
the following common sense safety rules.
Please read these instructions carefully
before using the product.
• WARNING: Disconnect from the mains
supply before carrying out any routine
maintenance.
• WARNING: Misuse of the appliance could
cause personal injury.
• This appliance can be used by children
aged from 8 years and above and persons
with reduced physical, sensory or mental
capabilities, or lack of experience and
knowledge, if they have been given
supervision or instruction concerning the
use of the appliance in a safe way and
understand the hazards involved.
• Children shall not play with the appliance.
• Cleaning and user maintenance shall not
be made by children unless they are older
than 8 years and supervised.
• Keep the appliance and its cord out of
reach of children less than 8 years.

3
HEALTH AND SAFETY
• If the supply cable is damaged, it must be
replaced by the manufacturer, its service
agent or similarly qualied persons in
order to avoid a hazard.
• Do not use the appliance near or below
combustible material such as curtains.
• This appliance is not intended to be
operated on an extension cable or by
means of an external timer or separate
remote control system.
• This appliance is intended for household
use only. It is not suitable for use in sta
kitchen areas in shops, oces and other
commercial environments.
• WARNING: Some parts of this product
can become very hot and cause burns.
Particular attention has to be given
where children and vulnerable people are
present.

4
HEALTH AND SAFETY
MAINS CABLE
• Do not let the mains cable
run across an open space e.g.
between a low socket and a
table.
• Do not place the extension cord
in a position where it can be
pulled by children or animals or
tripped over.
• The mains cable should
reach from the socket to the
product without straining the
connections.
OTHER SAFETY CONSIDERATIONS
• Only use for its intended purpose.
• It is strictly forbidden to insert
foreign objects such as wooden
and metal sticks into the heater.
• Do not spray insecticides or
flammable sprays around the
product.
PERSONAL SAFETY
• Do watch your appliance
during use.
• Do not touch the mains cable or
plug with wet hands.
• Do not pull the mains cable when
unplugging.
• Keep hands, hair and clothing
away from the appliance while
in operation, to prevent personal
injury and/or damage to the
appliance.
• In the unlikely event technical
problems develop, stop using the
product immediately and seek
advice from the manufacturer.
• Do not use this heater in the
immediate surroundings of a
bath, a shower or a swimming
pool.
• It is strictly forbidden to insert
foreign objects such as wooden
and metal sticks into the air inlet
and outlet.
• Do not spray insecticides or
flammable sprays around the
product.
• WARNING: Do not touch hot
parts during or after use, use the
handle.
• WARNING: Do not wrap the cable
around the main body of the
appliance during or after use.
LOCATION
• To reduce the risk of re, keep
textiles, curtains, or any other
flammable material a minimum
distance of 1 m from the
appliance.
• Do not cover or place any objects
on the heater.
• The heater must not be located
directly below a socket outlet.
• WARNING: Do not use this heater
in small rooms when they are
occupied by persons not capable
of leaving the room on their own,
unless constant supervision is
provided.

5
HEALTH AND SAFETY
PLEASE BE AWARE OF HOT SURFACES.
HANDLE WITH CARE.
Treating scalds
• Run cold water over the aected area immediately.
• Do not stop to remove clothing.
• Seek medical advice quickly.
6
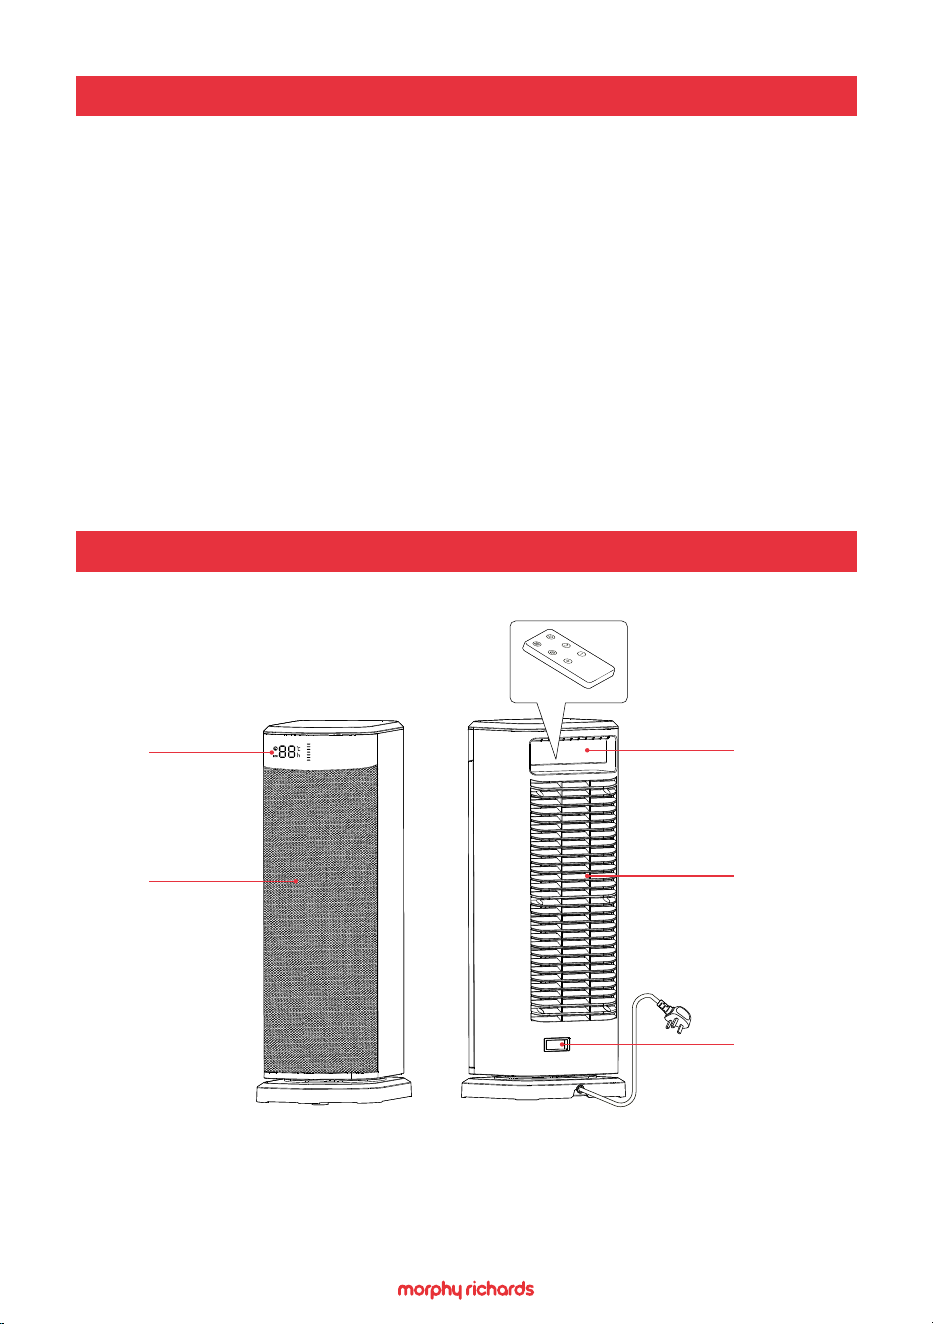
1. Heat Outlet
2. Display and Control panel
3. Handle
4. Air Inlet
5. Power ON/OFF Switch
HEALTH AND SAFETY
PRODUCT OVERVIEW
3
4
5
2
1
• Make sure that the power voltage used is consistent with the voltage
specied on the rating plate of the device.
• Should the fuse in the mains plug require changing, replace it with one
of the same rating as originally tted.
• The power consumption in standby mode is 0.36w (with plug
connected).
• The power consumption in o mode is 0w (with plug disconnected).
• The period after which the equipment reaches automatic o mode is
less than 1 minute.
• WARNING: This appliance must be earthed.
7
OPERATING AND DISPLAY PANELS
10 9
76
11 8
12
13
14
16
17
15
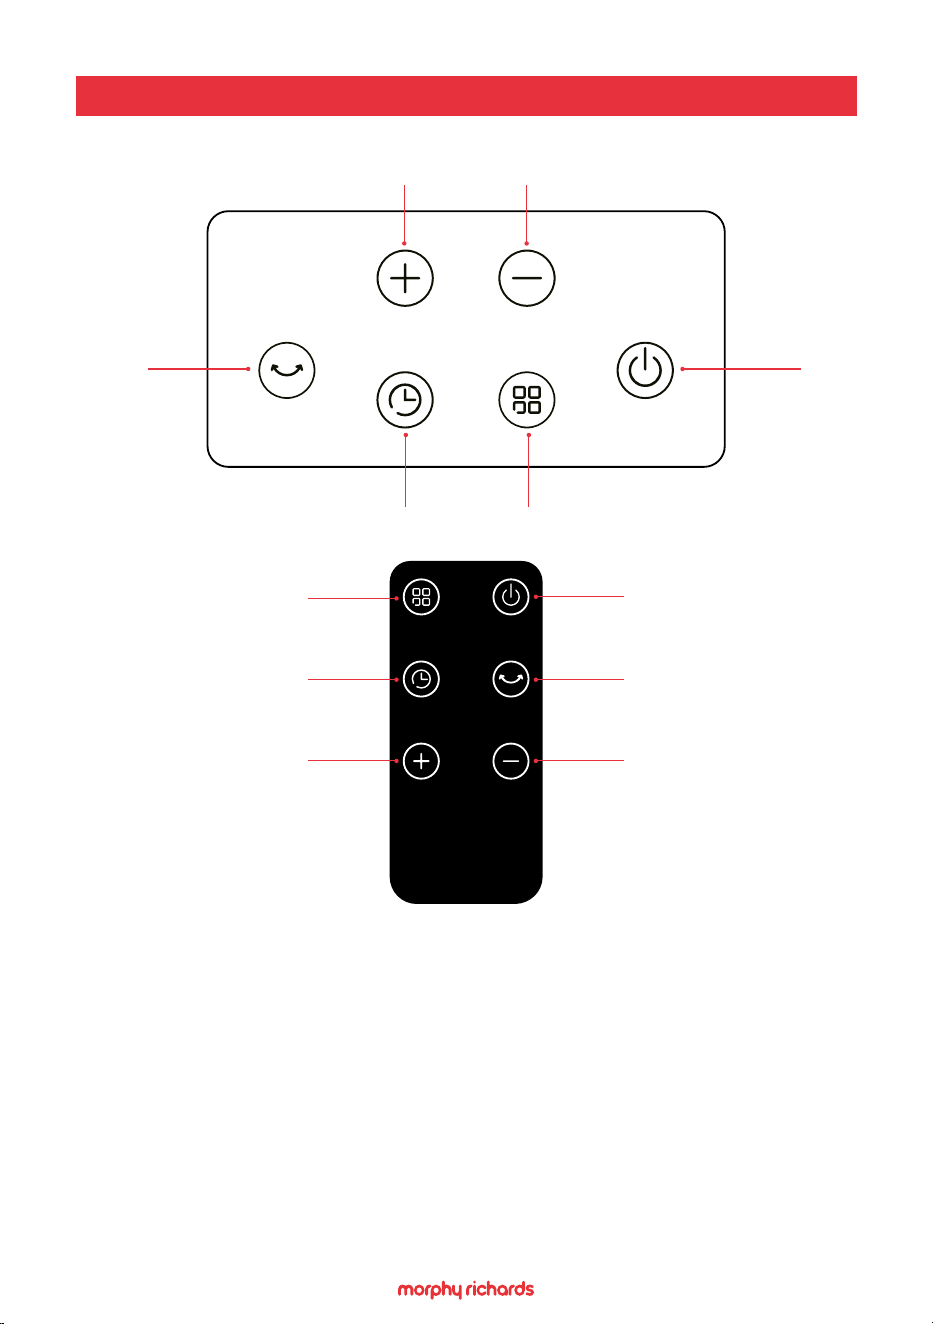
6. Temperature/Timer Increase
Button
7. Temperature/Timer Decrease
Button
8. Power ON/OFF Button
9. Mode Button
10. Timer Button
11. Oscillate Button
12. Remote Control Mode Button
13. Remote Control Timer Button
14. Remote Control Temperature/
Timer Increase Button
15. Remote Control Temperature/
Timer Decrease Button
16. Remote Control Oscillate
Button
17. Remote Control Power ON/OFF
Button
8
BEFORE FIRST USE
USING THE REMOTE CONTROL
• Remove all packaging and stand the heater on a rm, level surface.
• Ensure that textiles, curtains, or any other flammable material is a
minimum distance of 1 metre from the heater.
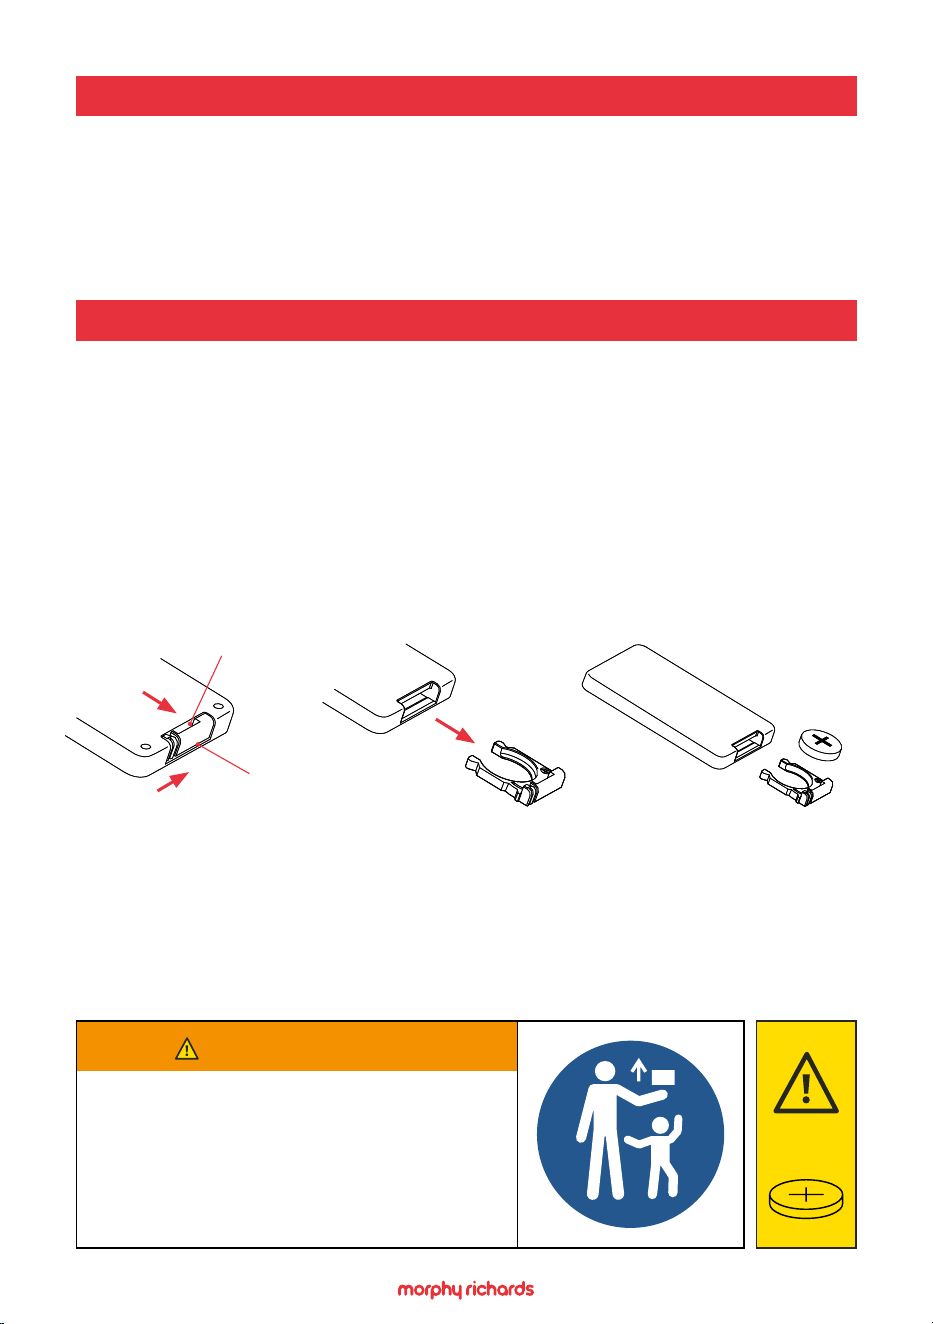
• The remote control works with 1 button cell battery CR2025, 3 volts.
Used batteries should be disposed of safely.
• Open the battery cover at the bottom of the remote control,
• Check the polarity of the battery and install it into the battery
cover.
• Ret the battery cover on to the remote control.
• WARNING: Danger of explosion if batteries are incorrectly installed.
Replace the battery only with the same type of battery.
• WARNING: Keep the remote control and battery out of reach of
children.
B
B
A
Pull Notch
Locking
Latch
BATTERY WARNING
KEEP OUT OF REACH OF CHILDREN
Swallowing can lead to chemical
burns, perforation of soft tissue, and
death. Severe burns can occur with
in 2 hours of ingestion. Seek medical
attention immediately.

9
USING YOUR HEATER
MODES
WARNING: Do not cover or place any objects on the heater. Keep
textiles, curtains, or any other flammable material a minimum distance
of 1 metre from the heater.
Note: As with all new electric heating elements, your heater will emit a
‘new’ smell when it is rst switched on. This is quite normal and not a
cause for concern. It will dissipate with use.
• Turn on power to the heater by pressing the Power ON/OFF switch
(5) located on the back of the product. The heater will beep and the
display panel shows – – . It is now in Standby.
• Press the ON/OFF button on the remote control (17) or the control
panel (8). The heater will beep again, the display panel will show HI and
default to the High-Heat mode, the indicator light will illuminate red.
• Press the ON/OFF button again, to turn the heater o. It will blow
cool/room temperature air for 15 seconds to cool down its internal
components. At the same time, the display screen will countdown
before stopping.
• Press the Mode button (9) to switch between modes:
High Heat (HI) → Low Heat (LO) → ECO Mode → Cool (room
temperature) → High Heat (HI), and so on.
HEAT MODES
• The selected heat level, HI or LO will show on the display panel and the
indicator light will illuminate red.
ECO MODE
• When ECO mode is selected the display panel shows the temperature
that was previously set.
• Press the + or – button to adjust to your desired temperature. The
temperature range is 15°C to 35°C and adjusts in 1°C increments.

10
MODES
• While setting the temperature, the °C icon will flash. If a button is
not pressed for 3 seconds, the °C icon will remain lit and the chosen
temperature is conrmed.
• The heater is thermostatically controlled. When the room temperature
reaches the desired level, it stops blowing warm air.
• Every 5 minutes, the fan will activate for 30 seconds to promote air
circulation. If the temperature drops below the set level, it resumes
blowing warm air.
TIMER SETTING
• While the heater is operating, press the Timer button (10).
• Then press the + or - to set the time. (The setting range is from 0h to 24h).
• While setting the timer, the icon will flash. If a button is not pressed
for 3 seconds, the auto-o setting is complete, the icon will remain
lit and countdown starts.
• The heater will stop automatically when the countdown is complete.
OSCILLATING FUNCTION
• To turn on the oscillating function, press the Oscillating button (11). To
turn o the oscillating function, press the Oscillating button again.
MEMORY FUNCTION
• The heater recalls the last set temperature, mode and 24 hour auto-
o function setting used. The next time it is used, the heater will
operate in the last setting used.
• However, after it is unplugged, knocked over or turned o using the
Power ON/OFF switch (5) at the back of the heater, it will revert to the
default setting.
LIGHT ON/OFF FUNCTION
Note: The indicator lights and display screen (2) turn on by default.
• Press the Mode button (9) for 3 seconds to turn o the display screen
and reduce the brightness of the indicator light by 50%.
Note: This function can only be operated via the control panel, it cannot
be set using the remote control.

11
MODES
SETTING THE 24-HOUR AUTO OFF FUNCTION
Note: The 24-hour Auto-OFF Function can only be set while the heater is
in standby.
Note: This function can only be operated via the control panel, it cannot
be set using the remote control.
• Press and hold the button Timer button (10) for 3 seconds while the
heater is in standby, the heater will start and the
24hr
icon will illuminate
and stay ON until the heater turns o automatically after running for
24 hours.
• To turn o the heater manually, press and hold the Timer button for 3
seconds.
• Note: This feature does not switch ON by default. However, if this was
the last function used the memory function will recall it. Also, after the
heater is unplugged, knocked over or turned o using the Power ON/OFF
switch at the back of the heater, it will revert to the default setting.
This heater is protected with a safety switch that turns o the
appliance automatically if the heater falls over or is at an excessive
angle from horizontal. This helps to prevent accidents. The heater will
resume operation when it is returned to a horizontal position.
• This heater is protected with an overheat protection function.
It will switch o the appliance automatically in case of severe
overheating.
• Should this happen, unplug the appliance, wait about 15 minutes
for it to cool and remove any possible cause of overheating, eg.
something covering the heater.
• Check for damage to the appliance, the cord and the plug. If there is
no damage, plug the unit back in and switch it on as described above.
TIP-OVER PROTECTION
OVERHEAT PROTECTION

12
• Before cleaning and maintaining, the heater MUST be switched o
and the plug disconnected from the mains outlet.
• To clean the main body and front grille, wipe using a damp cloth
with a little neutral detergent. Do not use thinners, corrosive
detergent or solvent.
• Do not immerse the heater in water.
• Dry using a soft cloth, the heater MUST be thoroughly dried before
using again.
• To store your product out of season, we recommend using the
original box or similar size box, in a clean, dry place.
CARE AND CLEANING
13
TROUBLESHOOTING
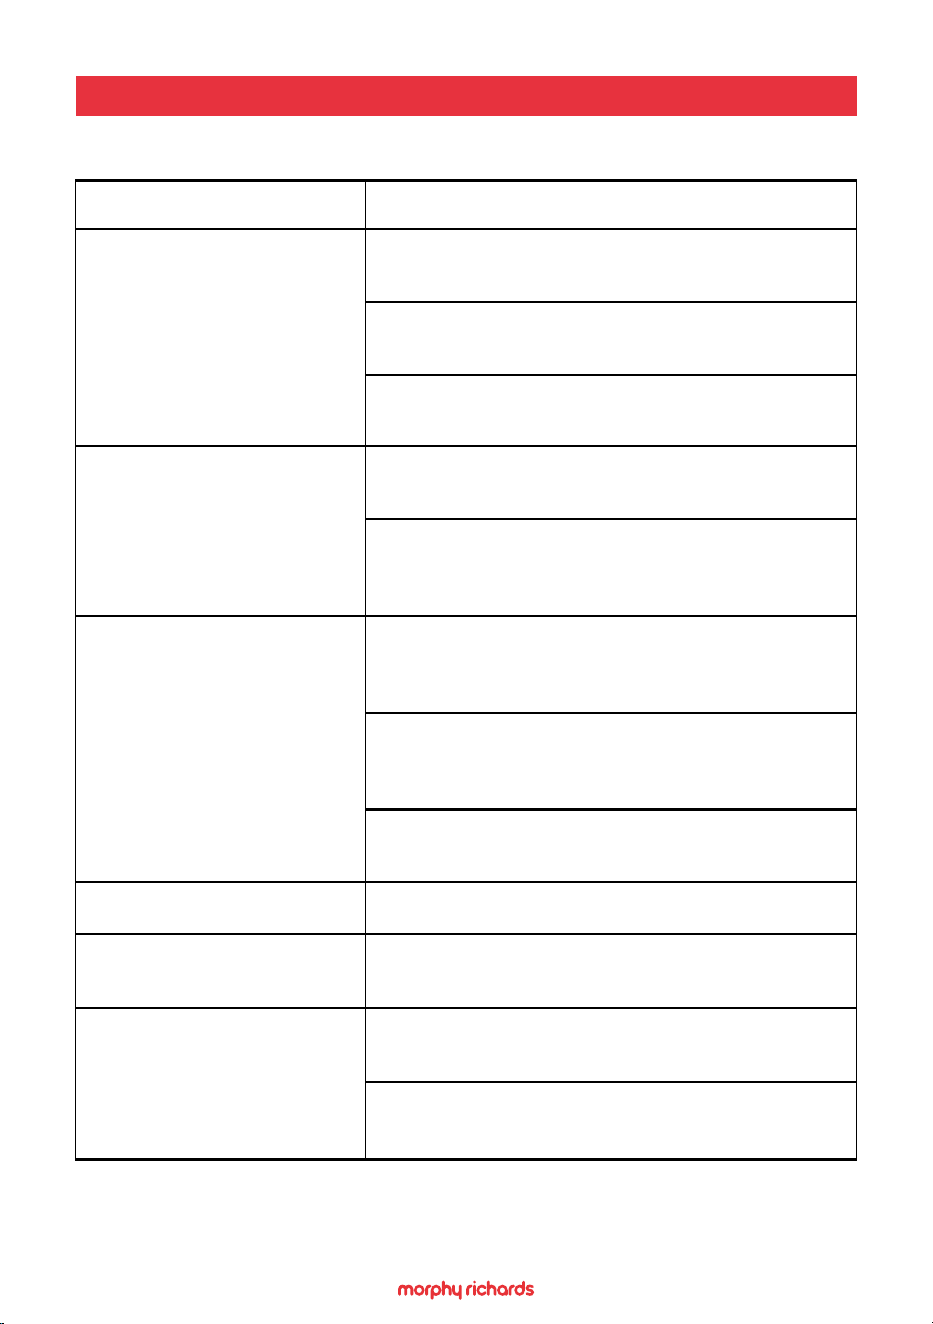
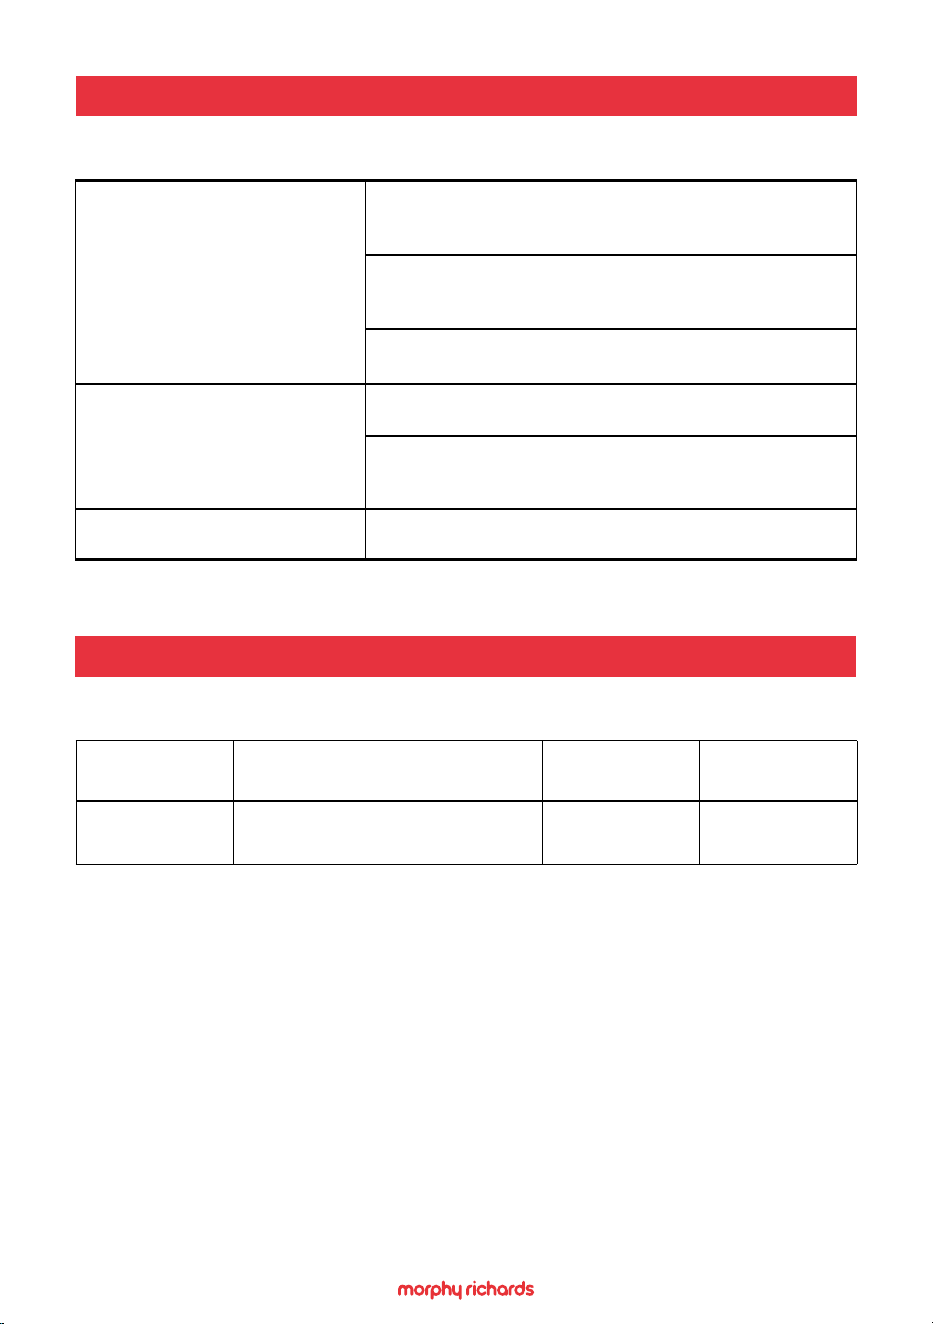
Problem Solution
No power or not switching on.
Check the fuse and try a new fuse with the same
rating.
Try a dierent appliance in the socket as it may be
the socket that is at fault.
On/o switch at the back of the heater hasn't been
switched on.
Burning smell.
It is normal to experience an odour from the heater
on rst use and will dissipate over time.
Ensure textiles, curtains, or any other flammable
material is a minimum distance of 1 metre from the
heater.
Cutting Out.
Something may be covering the heater. Remove
an obstructions. Unplug the heater. Wait 10 minutes
before plugging it back in.
The set temperature may be lower than the ambient
room temperature. Increase the temperature to
higher than ambient.
Tip-over protection has been activated. Ensure your
heater is placed on a rm, flat and level surface.
Noisy.
Check for obstructions at the air inlet and air outlet.
Not oscillation.
Remove any obstructions, ensuring a minimum
distance of 90cm from the heater.
Not enough heat.
Low heat or Fan only mode is set. Select a higher
temperature or use the High heat mode.
The room is too large to heat. Recommended room
size up to 20m².
14
TROUBLESHOOTING
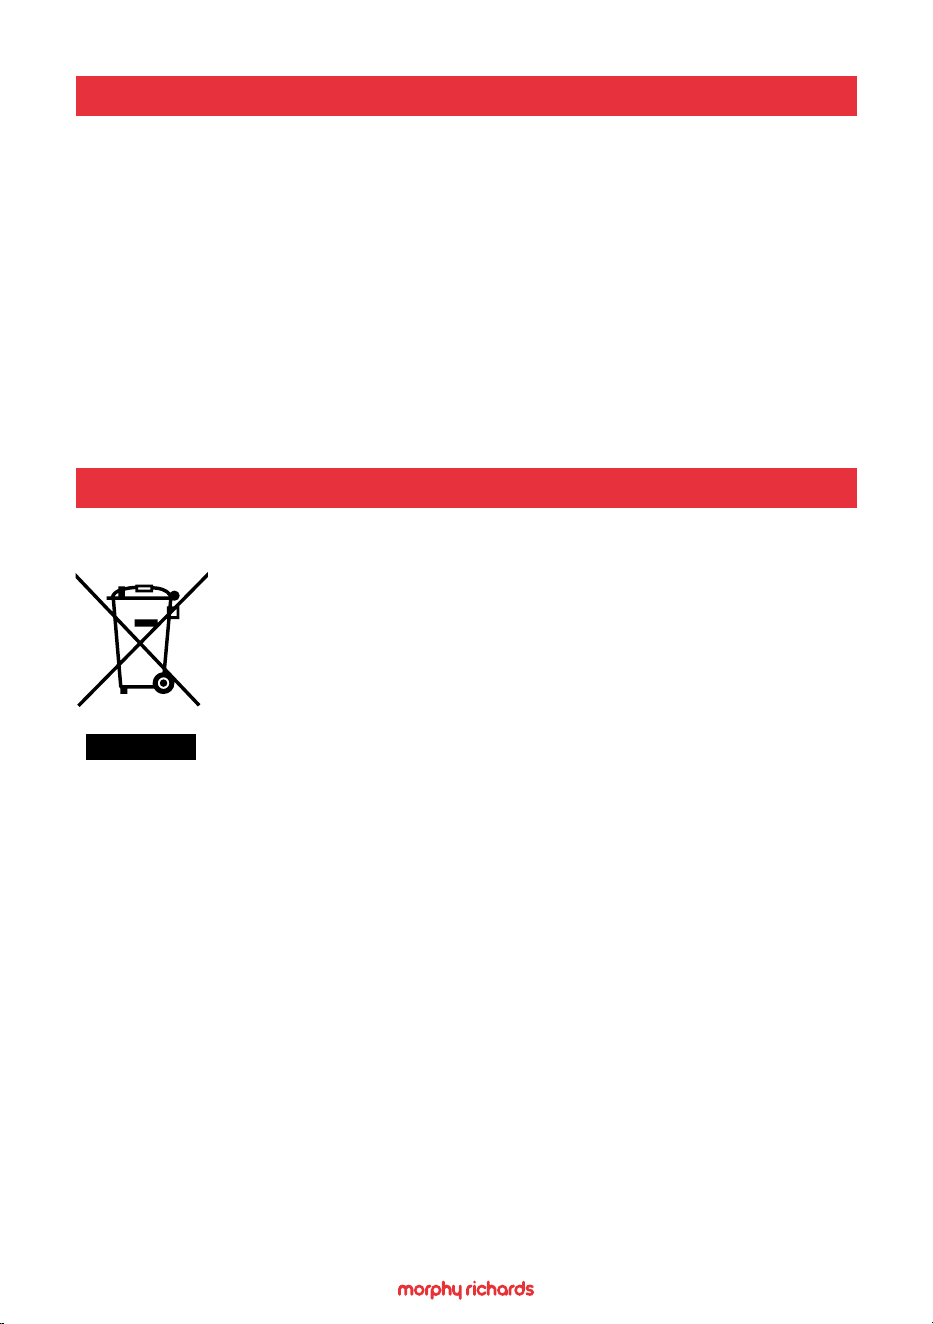
SPARE PARTS
Part Number Description
Qty per
Product
Key
Number
33033 Remote Control 1 N/A
Remote Control not working.
Ensure the plastic tab has been removed from the
remote control before rst use.
Out of range. Move closer and aim at the front of the
heater.
Change the battery. Type CR2025.
Tripping Electrics.
Try using a dierent socket.
Ensure there are no other appliances being used on
the same set of sockets as the heater.
Error Code E1 and E2
Contact Customer Service.
15
CONTACT US
If you are having a problem with your appliance, please contact our
Helpline, as we are more likely to be able to help than the store you
purchased the item from. Please have the product name, model number
and serial number to hand when you contact us to help us deal with
your enquiry quicker.
email: hello@morphyrichards.co.uk
www.morphyrichards.co.uk
For electrical products sold within the European
Community, at the end of the electrical products useful
life, it should not be disposed of with household waste.
Please recycle where facilities exist.
Check with your Local Authority or retailer for recycling
advice in your country.
PRODUCT RECYCLING
16
NOTES
17
NOTES
18
Your standard 2 year guarantee is extended for an additional 1 year
when you register the product within 28 days of purchase with Morphy
Richards. If you do not register the product with Morphy Richards within
28 days, your product is guaranteed for 2 years.
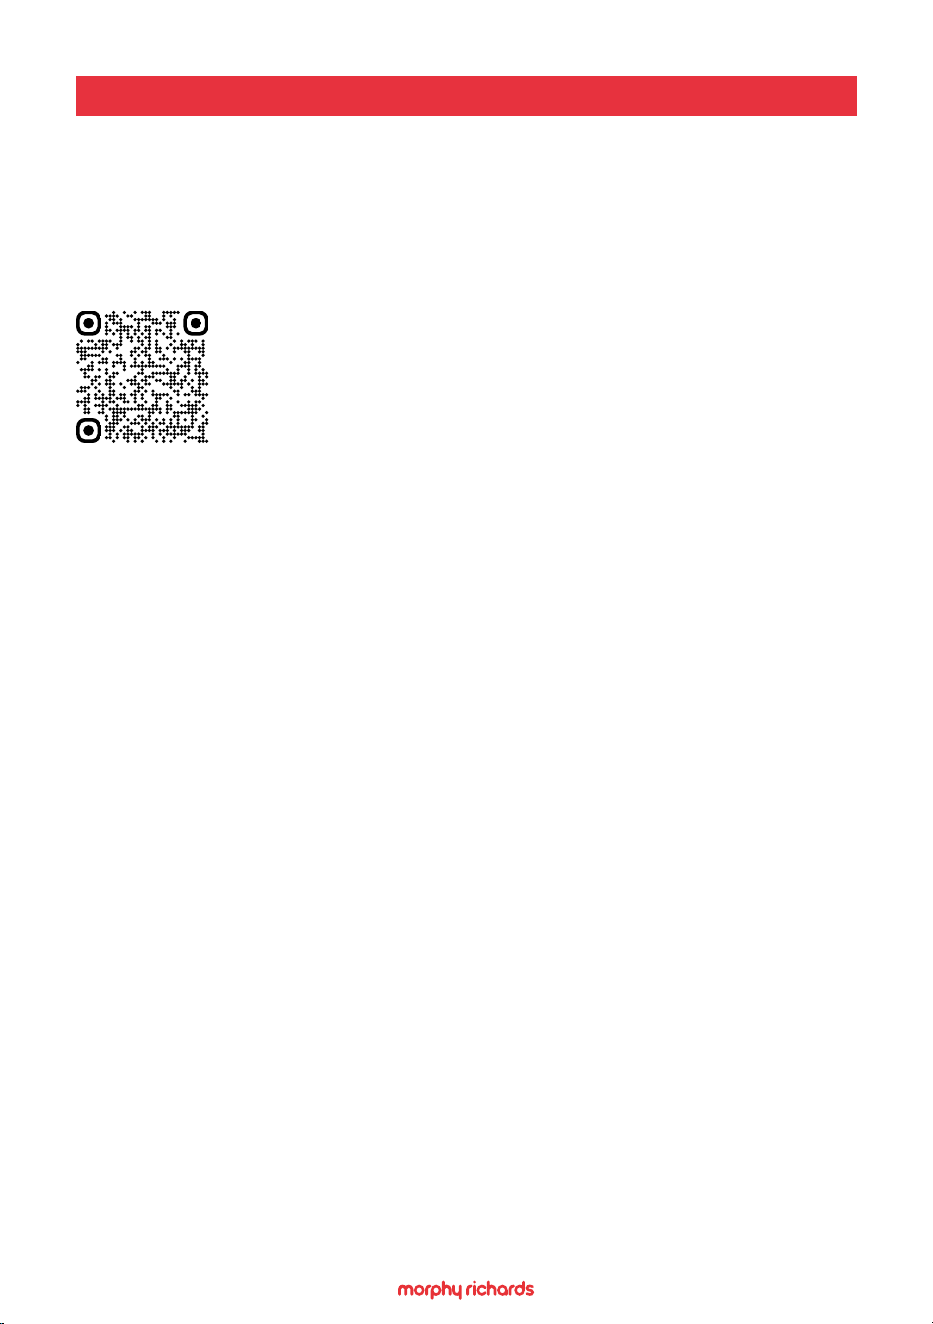
To validate your 3 year guarantee,
scan the QR code or register online
at www.morphyrichards.co.uk
N.B. Each qualifying product needs to be registered with Morphy
Richards individually. Please note that the 2 year guarantee is only
available in the UK. Please refer to the 2 year guarantee for more
information.
YOUR 2 YEAR GUARANTEE
It is important to retain the retailer’s receipt as proof of purchase.
Staple your receipt to the back cover for future reference.
Please quote the following information if the product develops a fault.
These numbers can be found on the base of the product.
Model no.
Serial no.
All Morphy Richards products are individually tested before leaving the
factory. In the unlikely event of any appliance proving to be faulty within
28 days of purchase, it should be returned to the place of purchase
for it to be replaced. If the fault develops after 28 days and within 24
months of original purchase, you should contact the Helpline quoting
Model number and Serial number on the product, or write to Morphy
Richards at the address shown. You may be asked to return a copy of
proof of purchase.
Subject to the exclusions set out on the next page (see Exclusions), the
faulty appliance will then be repaired or replaced as appropriate and
dispatched usually within 7 working days of receipt.
If, for any reason, this item is replaced or repaired during the 2 year
REGISTERING YOUR 3 YEAR GUARANTEE

19
REGISTERING YOUR 3 YEAR GUARANTEE
guarantee period, the guarantee on the new item will be calculated
from the original purchase date. Therefore it is vital to retain your
original till receipt or invoice to indicate the date of initial purchase.
To qualify for the 2 year guarantee, the appliance must have been used
according to the instructions supplied.
The appliance is intended for domestic use only. Misuse or use for
commercial or any other purpose will render the guarantee invalid.
Exclusions
Morphy Richards shall not be liable to replace or repair the goods under
the terms of the guarantee where:
1. The fault has been caused or is attributable to accidental use,
misuse, negligent use or used contrary to the manufacturer’s
recommendations or where the fault has been caused by power
surges or damage caused in transit.
2. The appliance has been used on a voltage supply other than that
stamped on the products.
3. Repairs have been attempted by persons other than our service
sta (or authorised dealer).
4. The appliance has been used for hire purposes or non domestic use.
5. The appliance is second hand or refurbished.
6. Morphy Richards reserves the right not to carry out any type of
servicing under the guarantee at its discretion.
This guarantee does not confer any rights other than those expressly
set out above and does not cover any claims for consequential loss
or damage. This guarantee is oered as an additional benet and
does not aect your statutory rights as a consumer. Morphy Richards
products are intended for household use only. See usage limitations
within the location safety instructions.
Disclaimer
Morphy Richards has a policy of continuous improvement in product
quality and design. The company, therefore reserves the right to
change the specication of its models at any time.
morphyrichards.co.uk
AT825401MUK Rev1
@morphyrichardsuk #loveyourmorphy
Morphy Richards
9 Cabot Lane, Poole, Dorset, BH17 7BY, UK