208-2195
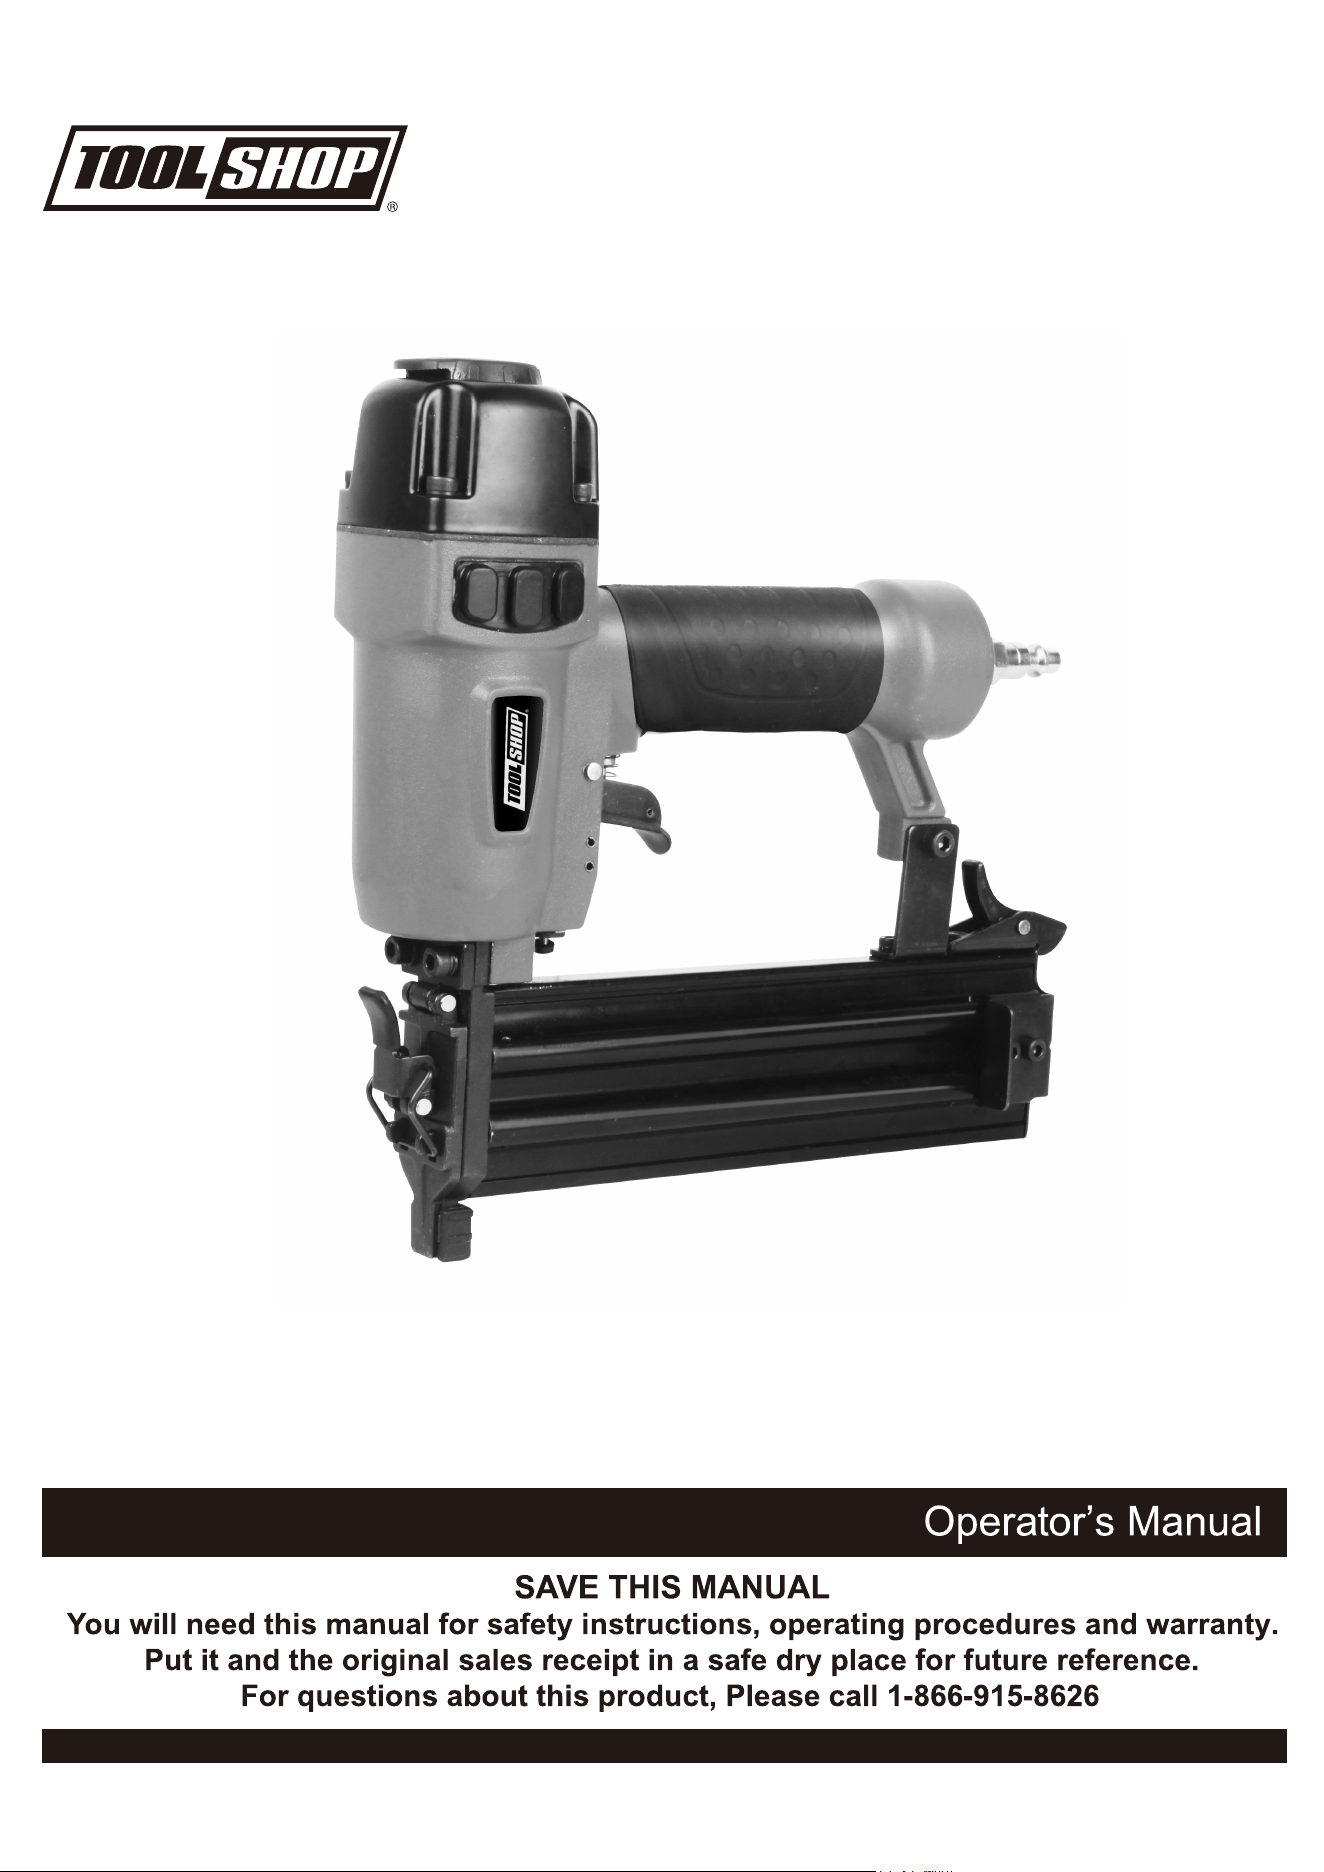
2'' 18 GAUGE BRAD NAILER
Be careful not to nail on top of another nail, as
this can create sparks, resulting in the ignition of dust or fumes.
Distractions
may result in personal injury and/or the injury of others.
intensity noise may cause hearing loss.
Do not wear loose fitting clothing or jewelry. Use a helmet for long hair. These items
can get caught in moving parts, causing serious personal injury.
tired
known
work piece
Fasteners
Store the tools, in a secure place, when not in use and
could result in injury.
c
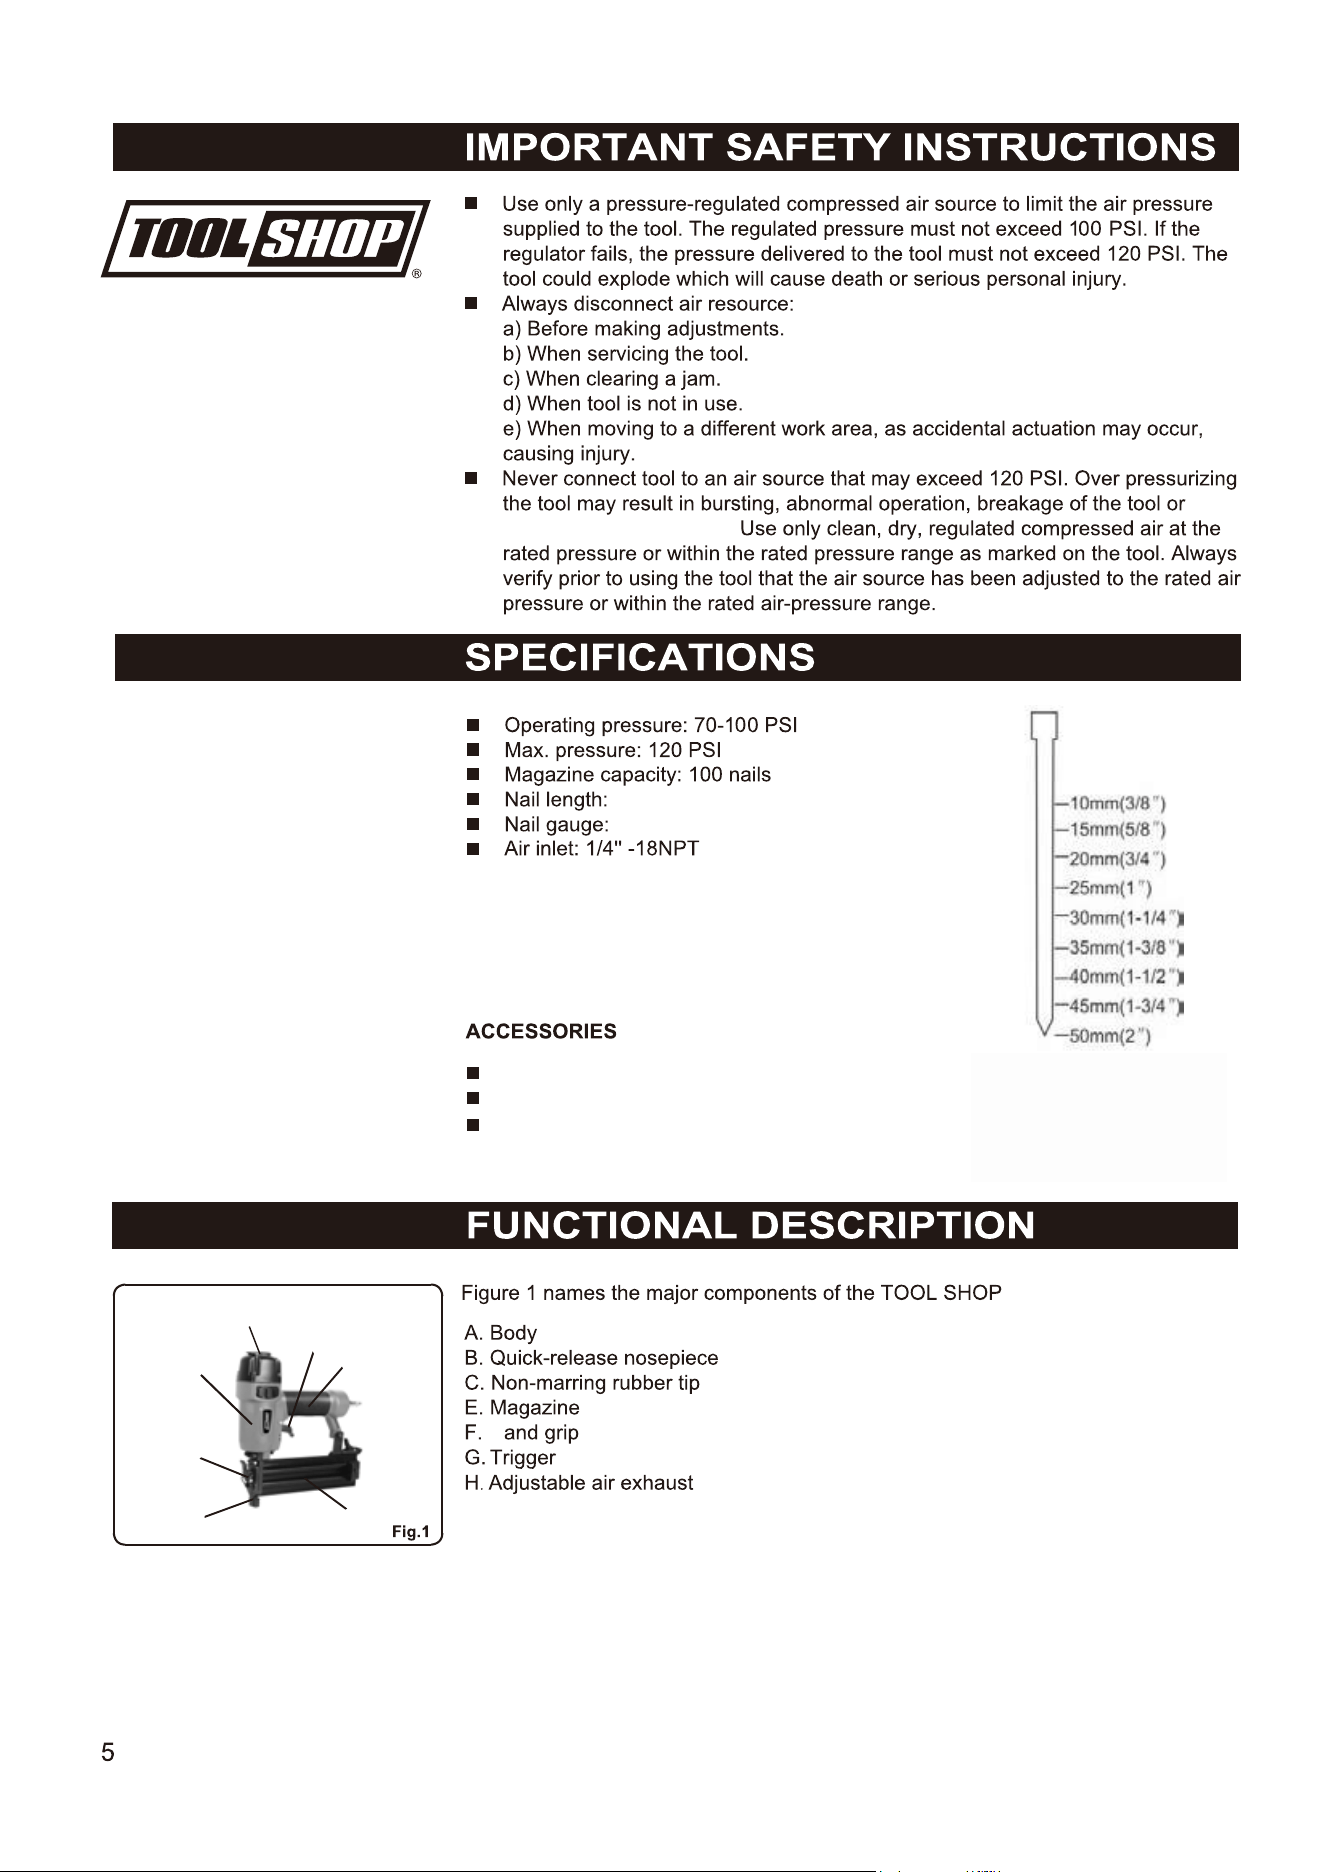
5/8'' to 2''(16mm-50mm)
2 Hex keys
Oil Bottle
Non-marring rubber tip
2'' brad nailer.
18
Head: 2mm(0.079”)
1.26mm x 1.05mm
Gauge:18
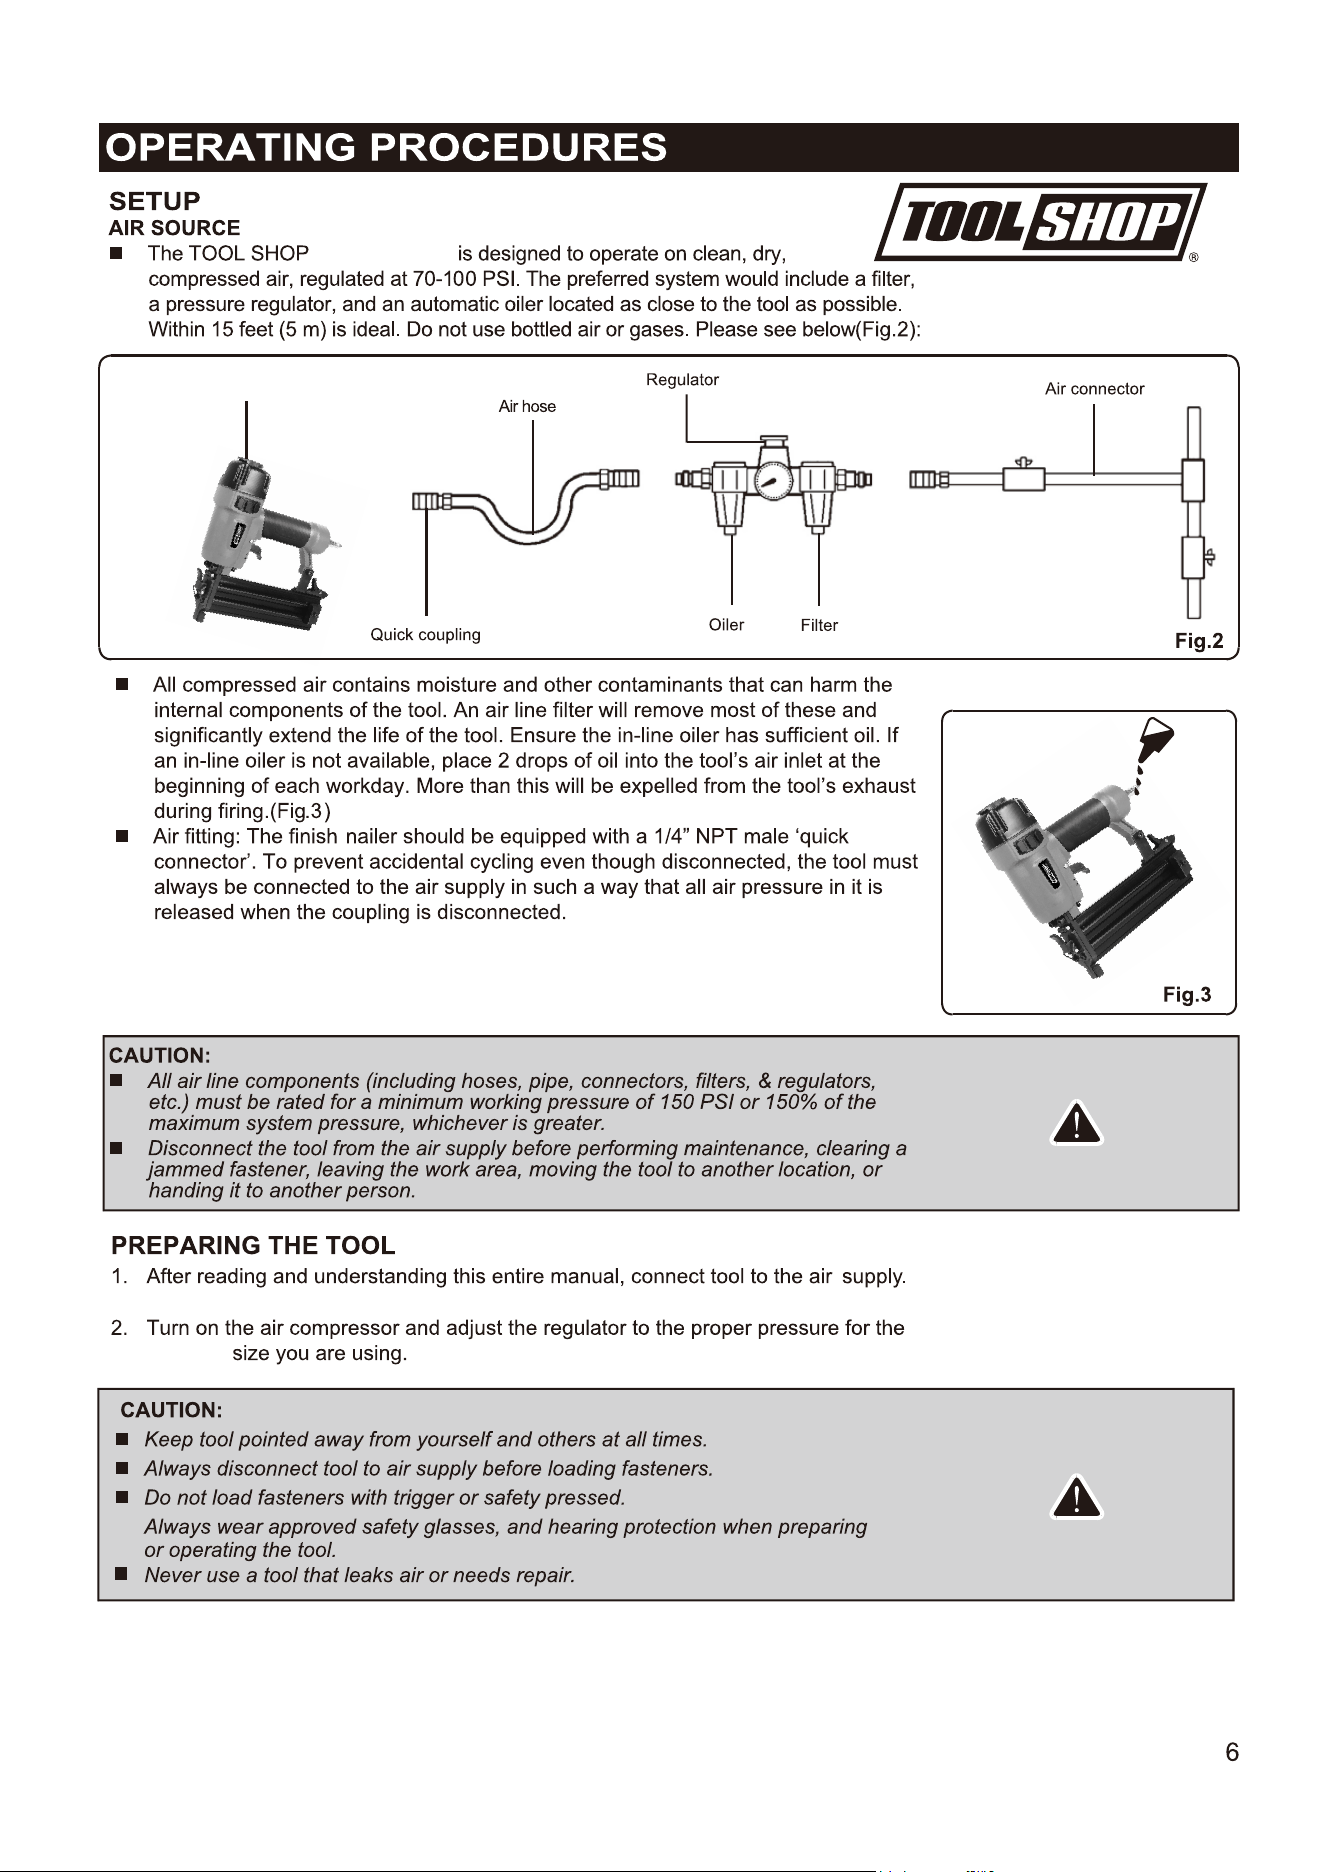
A
B
C
E
F
G
H
serious personal injury.
H
2'' brad nailer
2'' brad nailer
fastener
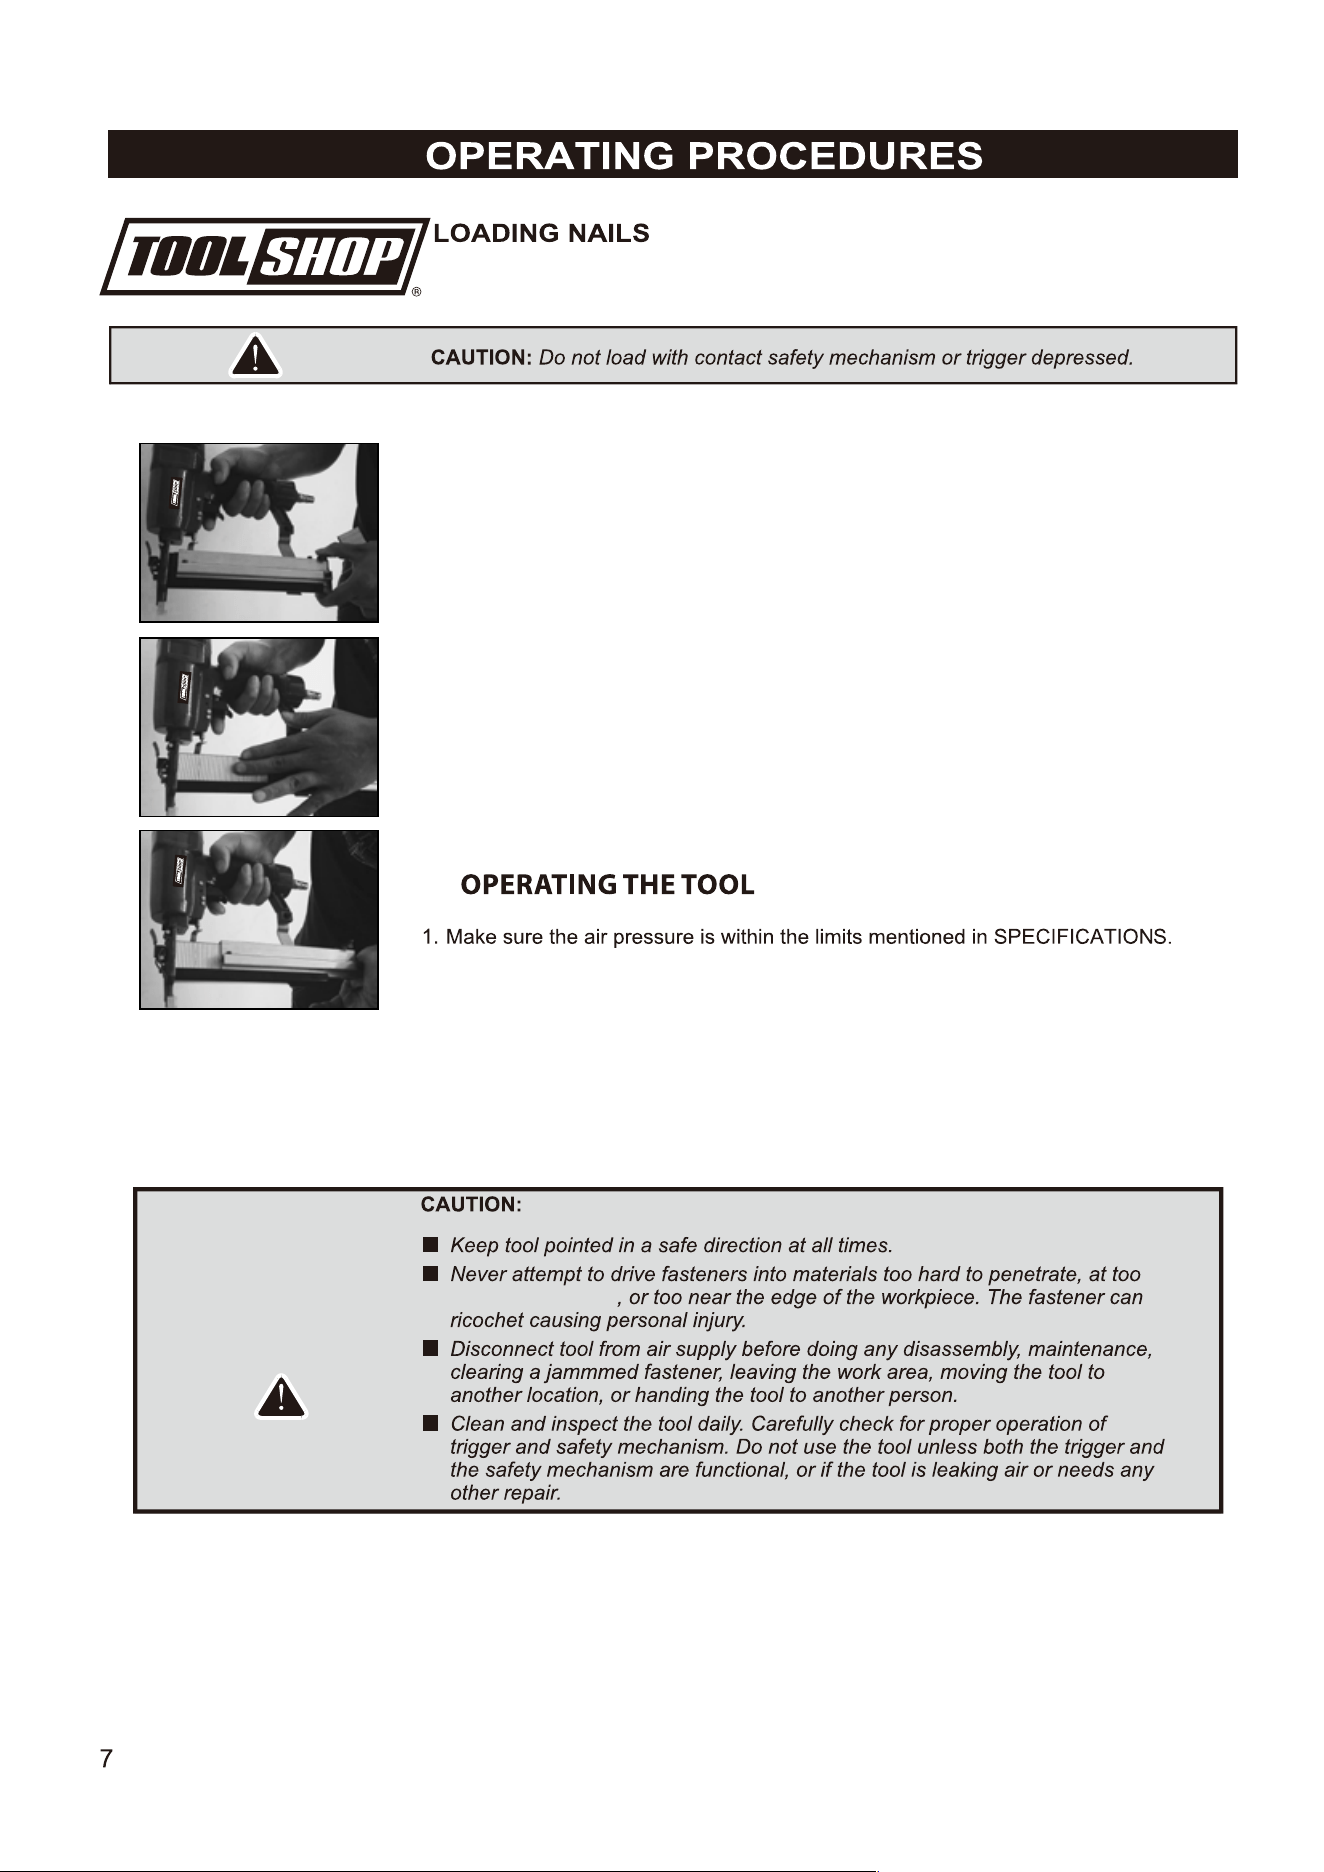
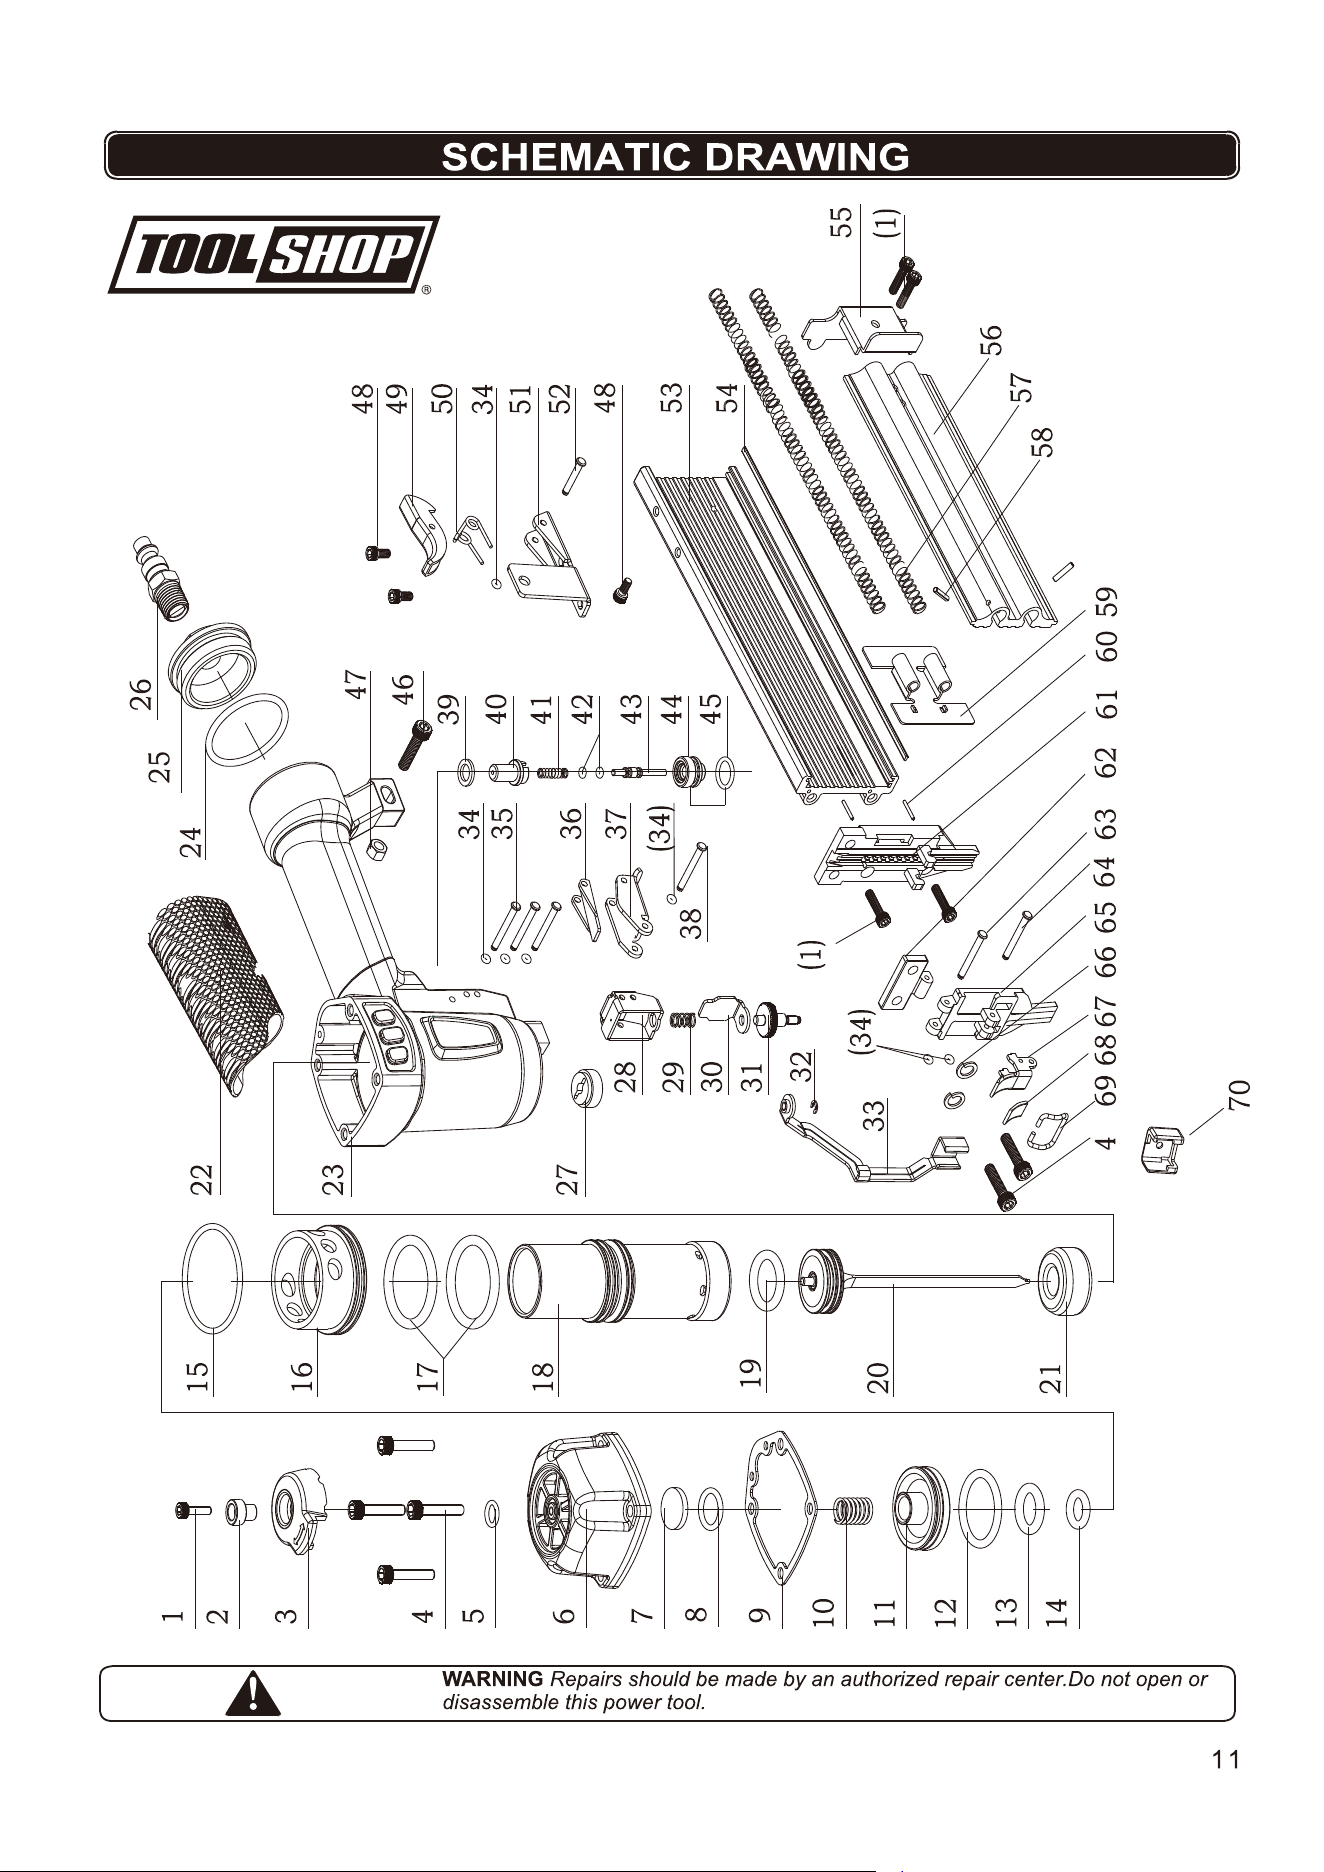
1. Depress the click fixer(49) to release the movable magazine and pull the
magazine out fully as shown .
2. Place a full stick of the desired type and size of fasteners on the fixed
magazine. Up to 100 fastener can be loaded in the magazine.
3. Push the movable magazine forward until the fixed lever click and lock it.
steep of an angle
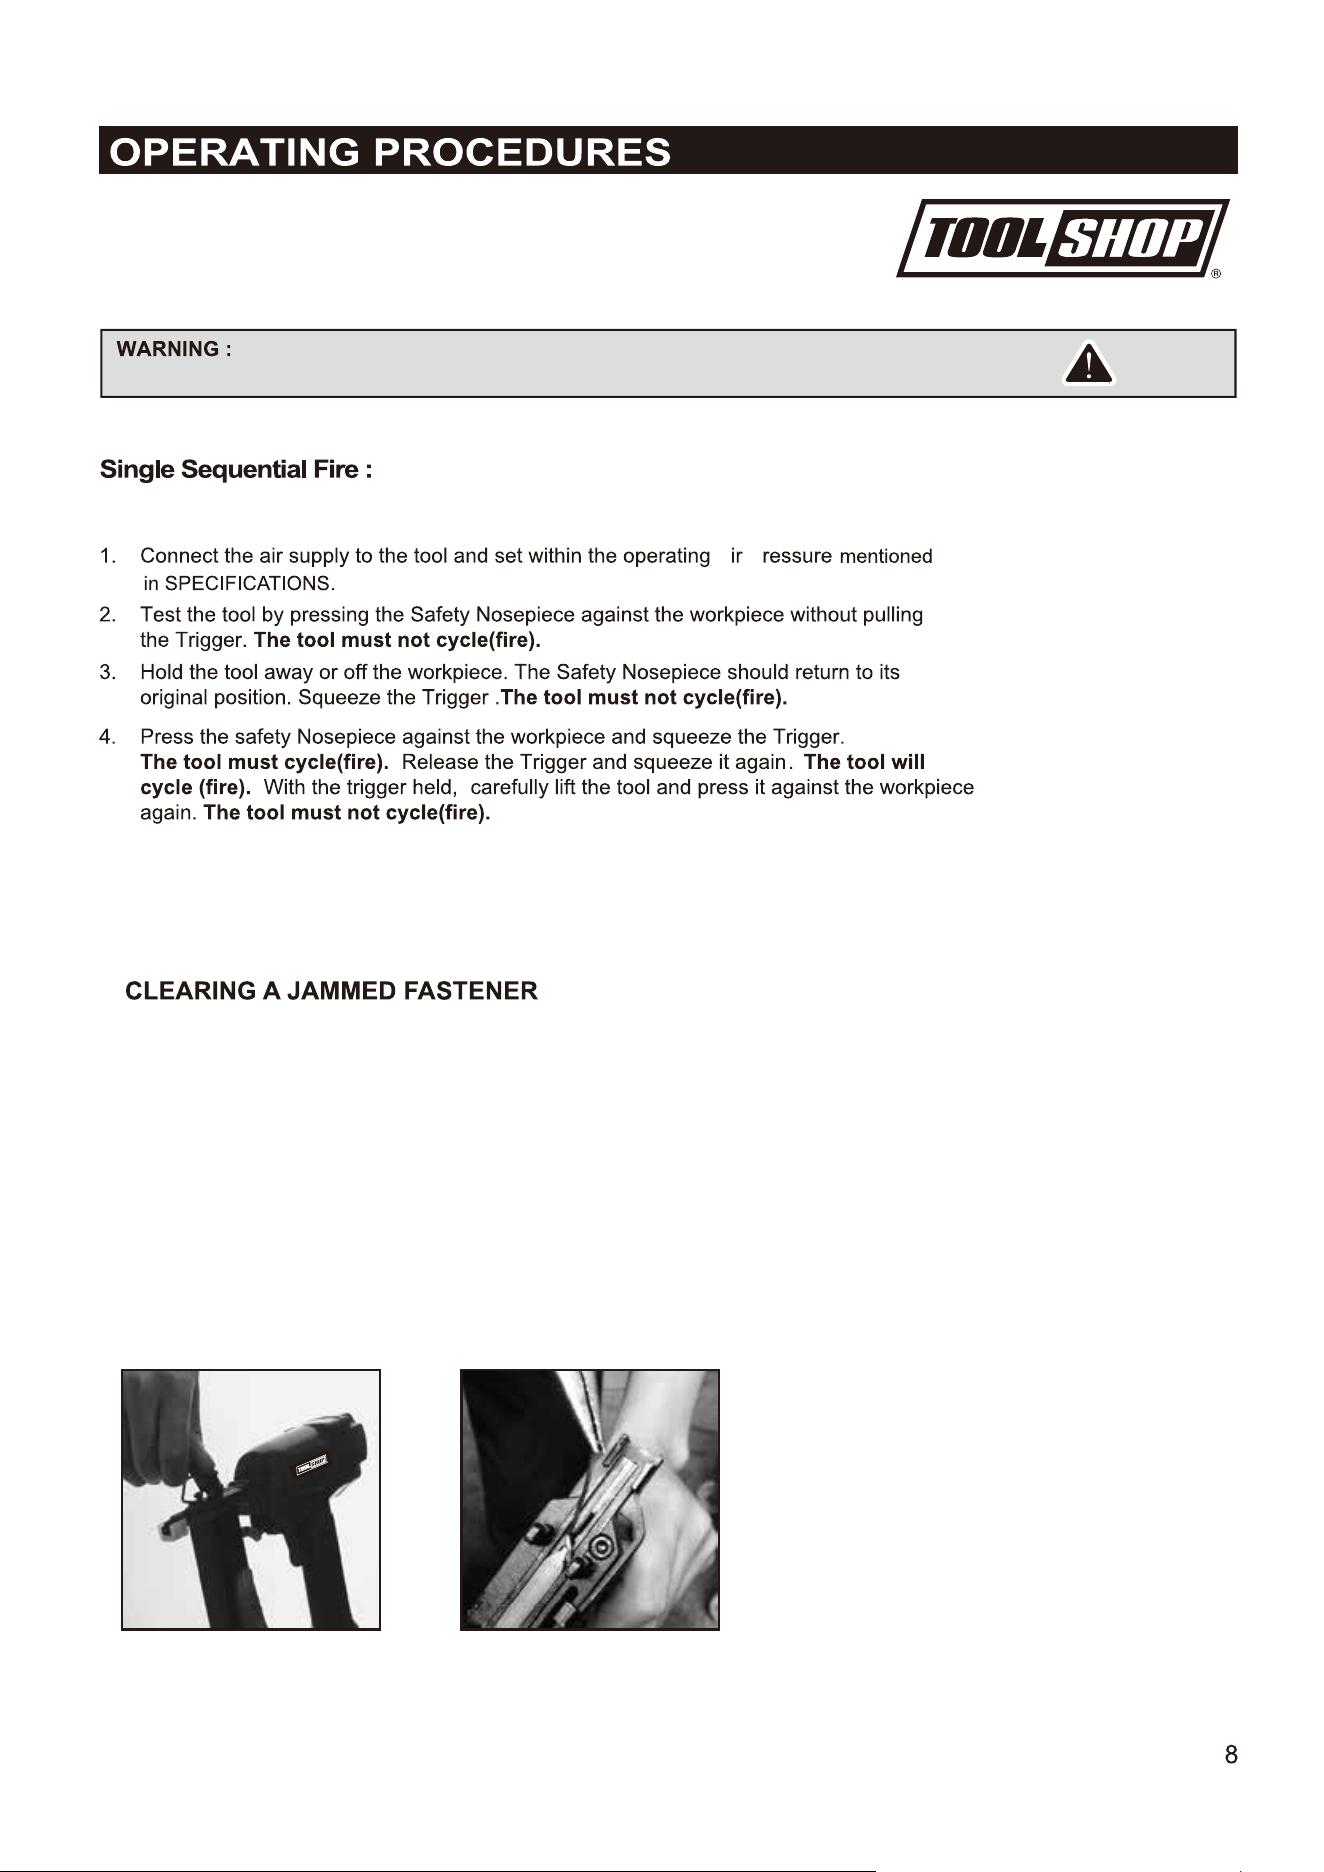
2. To fire, place the Safety Nosepiece of the Nailer on the work piece.
If you slide the nose of the nailer slightly forwards or backwards, without lifting the
tool and then pulling the trigger, it will fire again.
3. To re-engage the Safety, just let go of the Trigger and lift the tool from the work piece.
Be aware of the materials thickness when using nailer because a protruding nail,
for example, may cause injury.
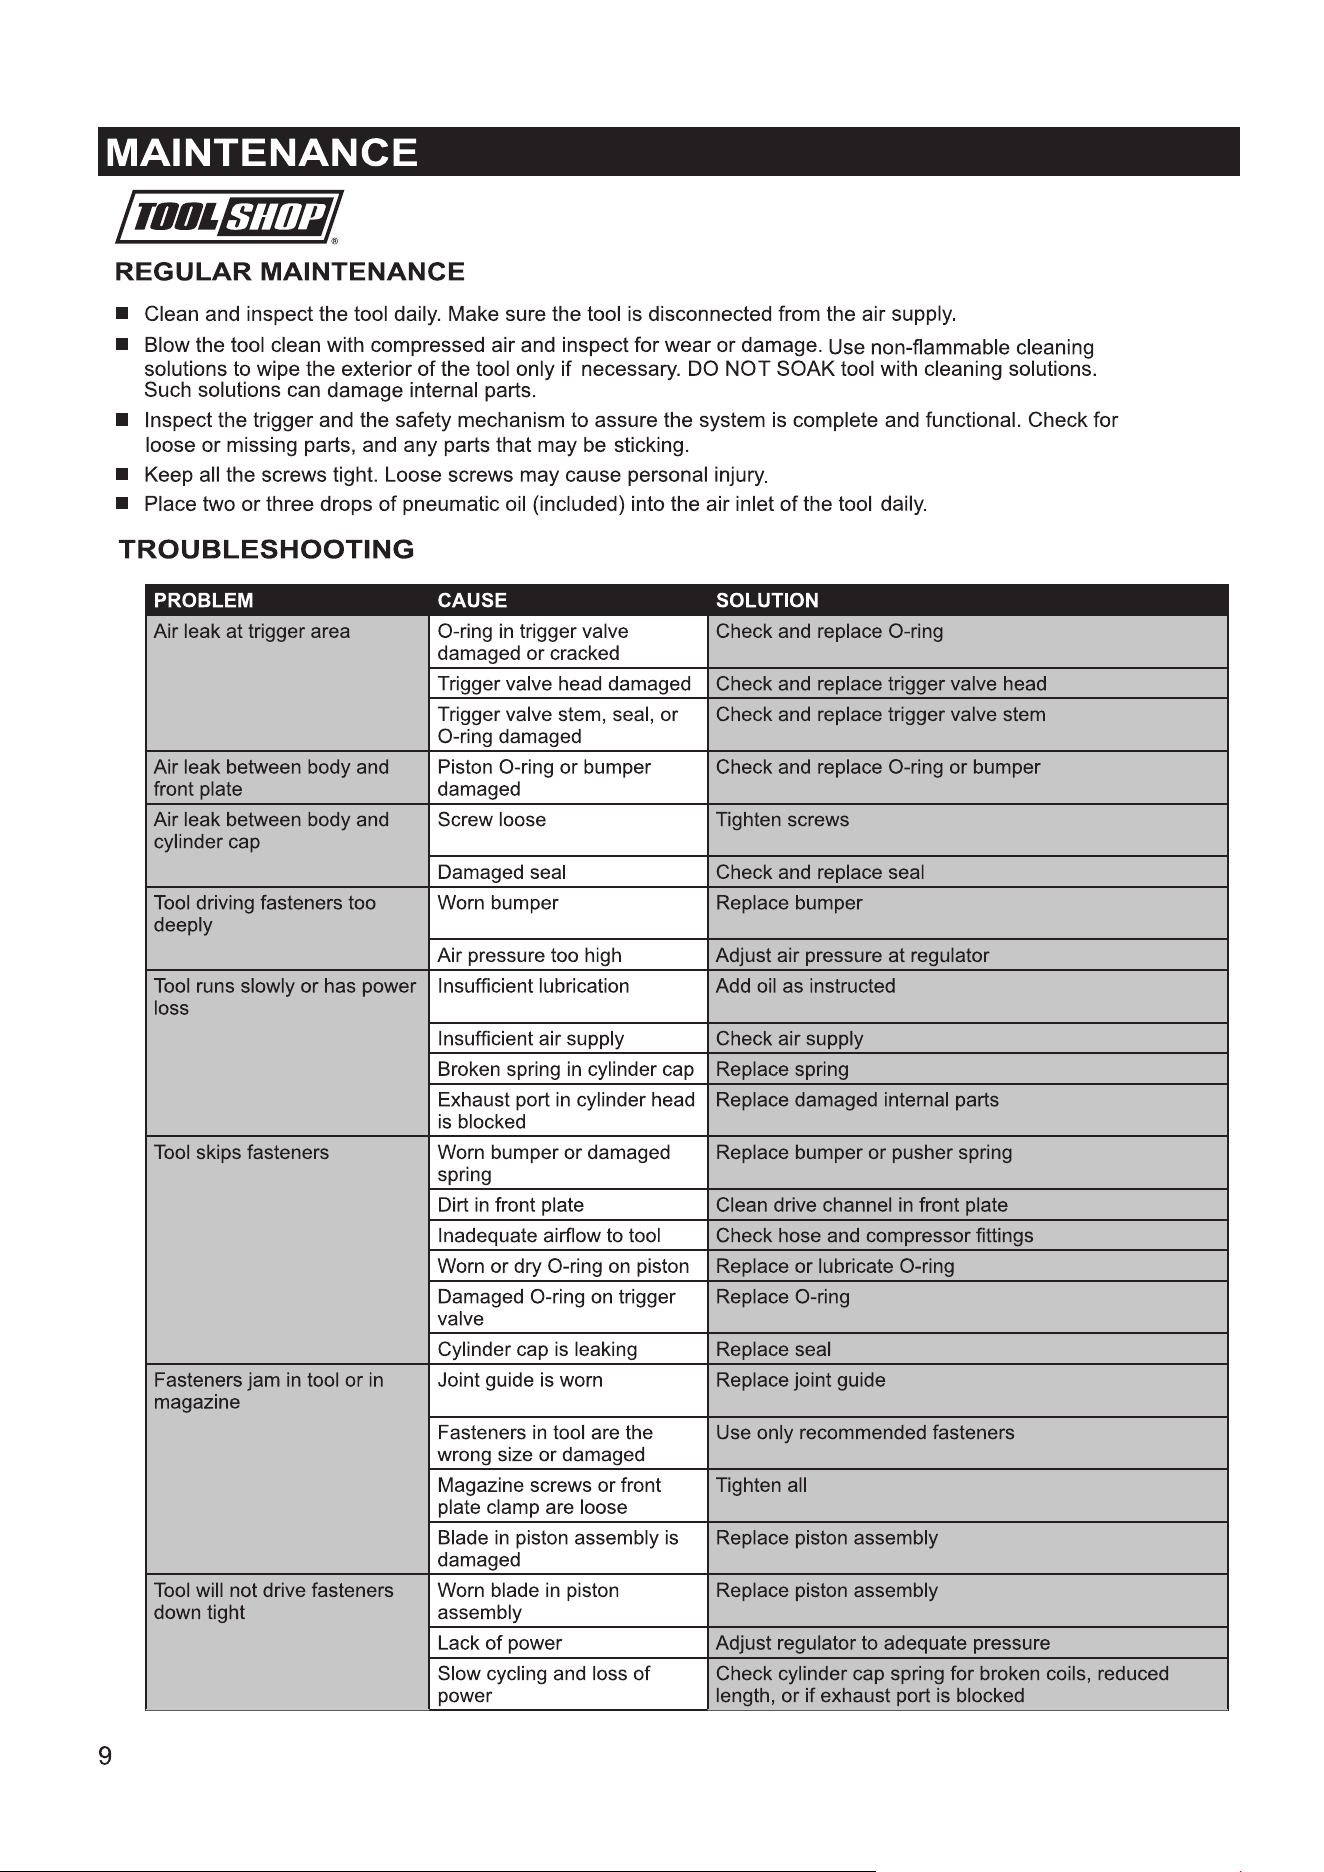
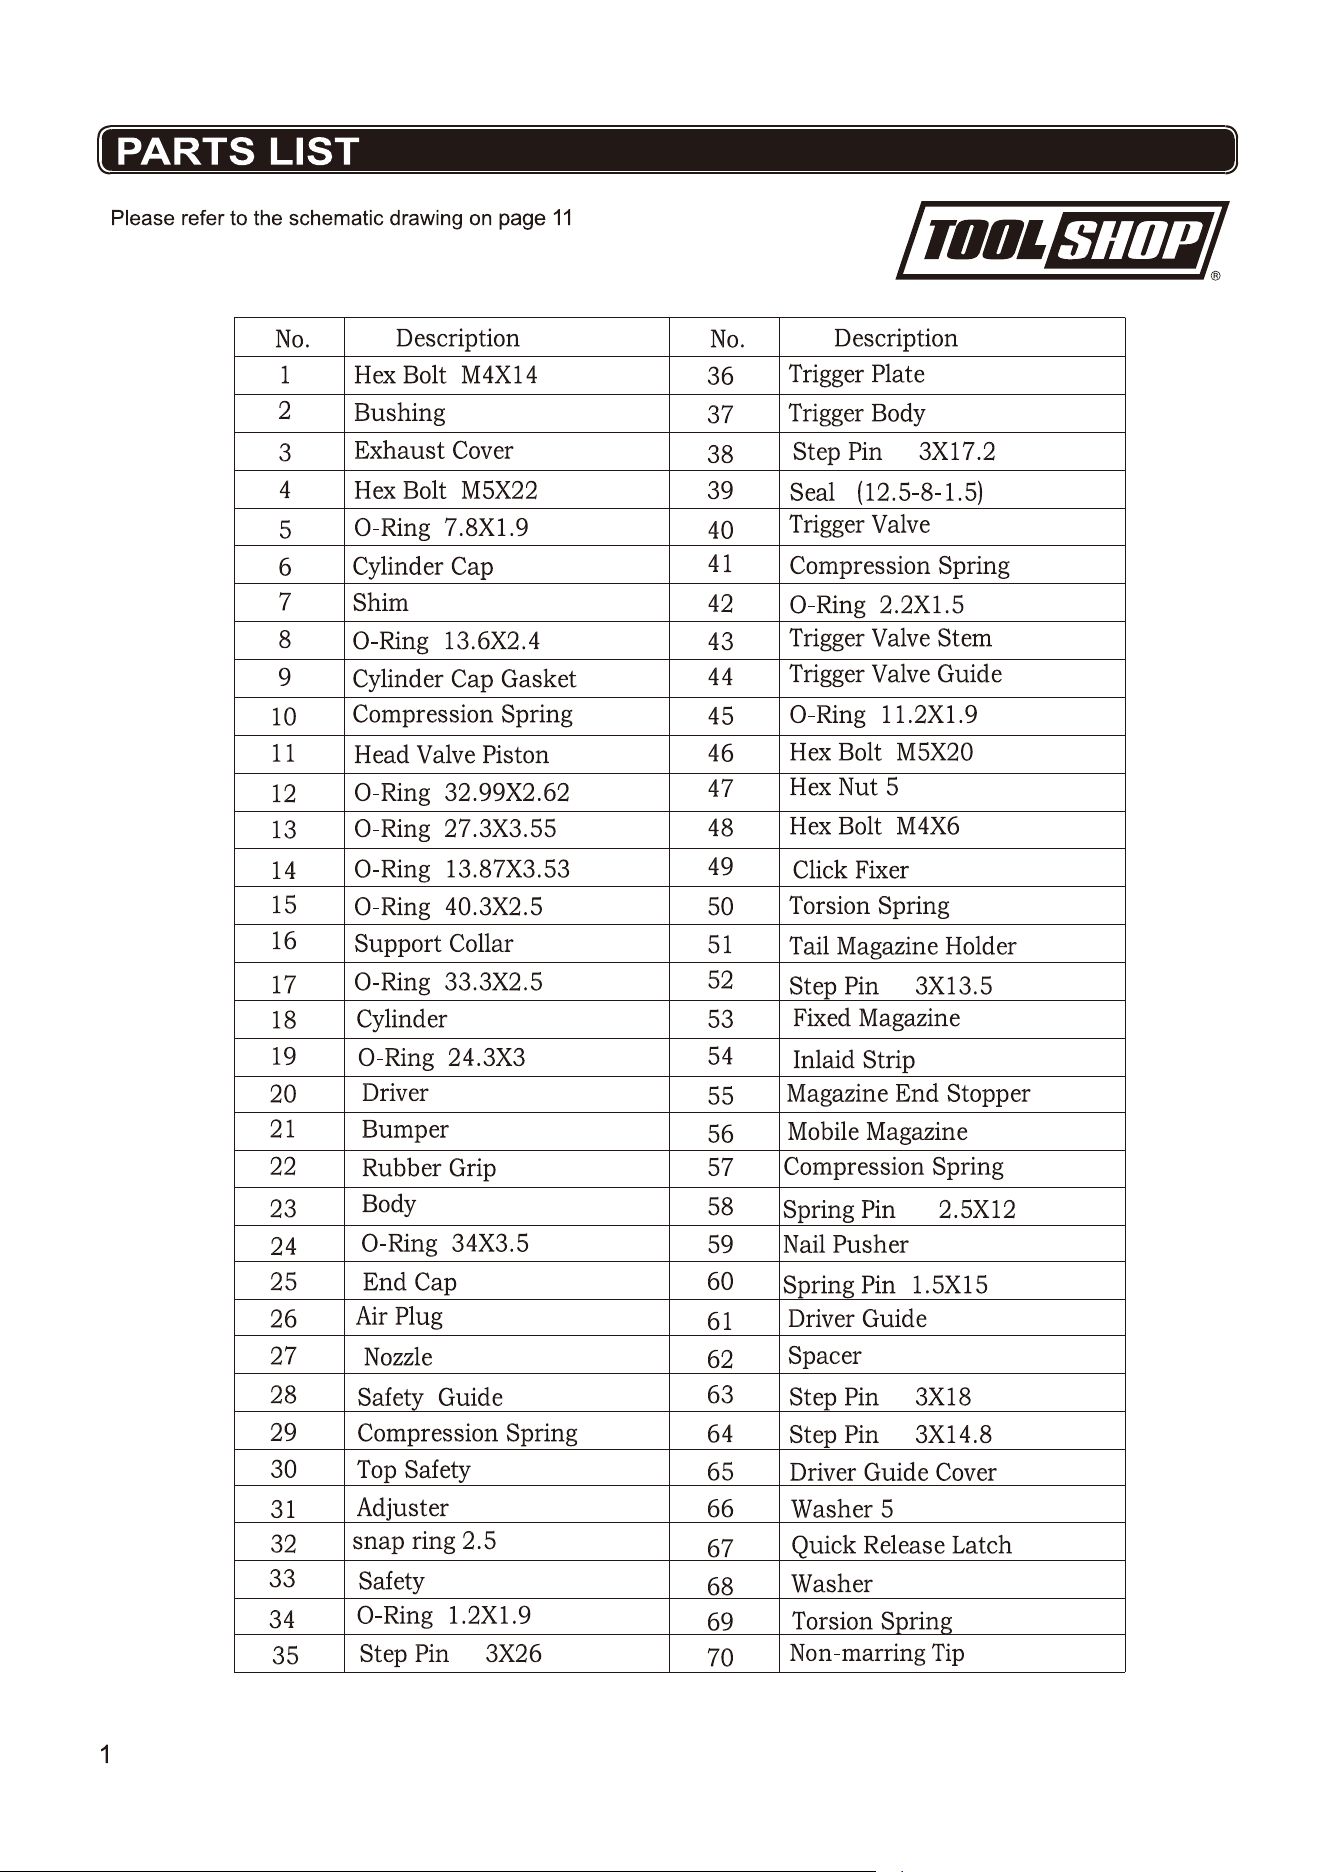
FASTENER JAMMED INSIDE MAGAZINE
Open the Magazine Latch and pull open the Magazine Cover (located at the front of the tool).
Remove the fastener that has caused the obstruction using a long nose plier.
Reload the magazine with the required fasteners and close securely.
FASTENER JAMMED IN THE DRIVE GUIDE
Pull out the Quick Release Latch (located at the front of the tool) and disengage the Quick Release Spring.
Remove the fastener that has caused the obstruction using a long nose plier.
Replace the Drive Guide Cover,and latch the Quick Release spring up against both hooks.
a p
0
TOOL SHOP 2'' BRAD NAILER WARRANTY
m
m