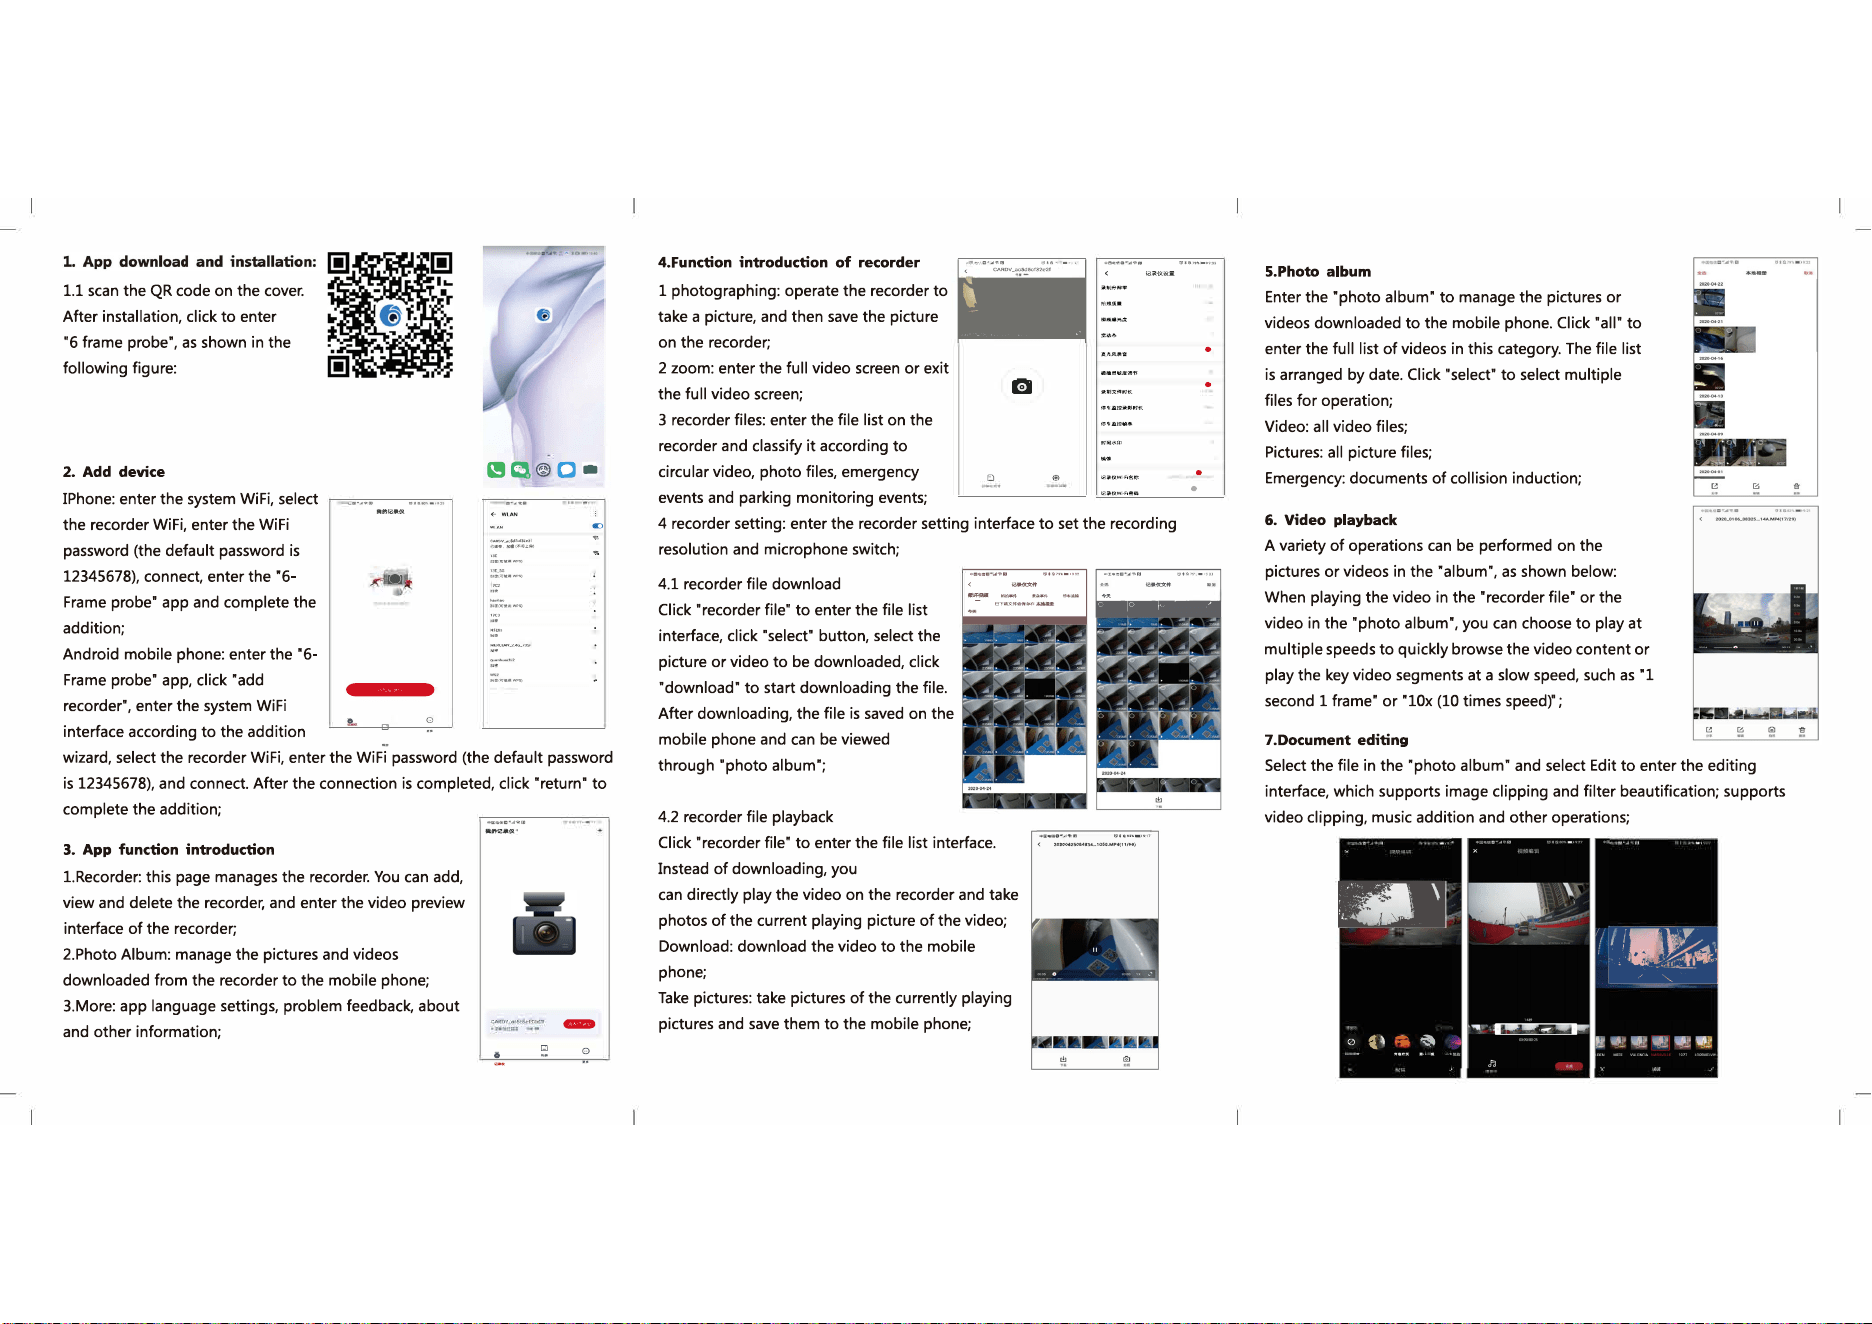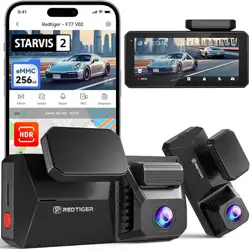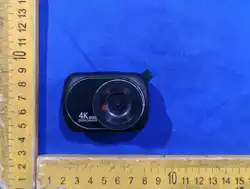
This product features a high-performance chip for smooth, high-definition video
recording. It is certified to CE (EU) and FCC (USA) standards. Please read this manual
carefully before use and store it properly. We hope this product meets your needs
and serves you reliably for years.
User Manual
D
a
s
h camera
Before using this product, read the operating instructions carefully.
These instructions are for reference only.
Actual operation is subject to the product you receive.
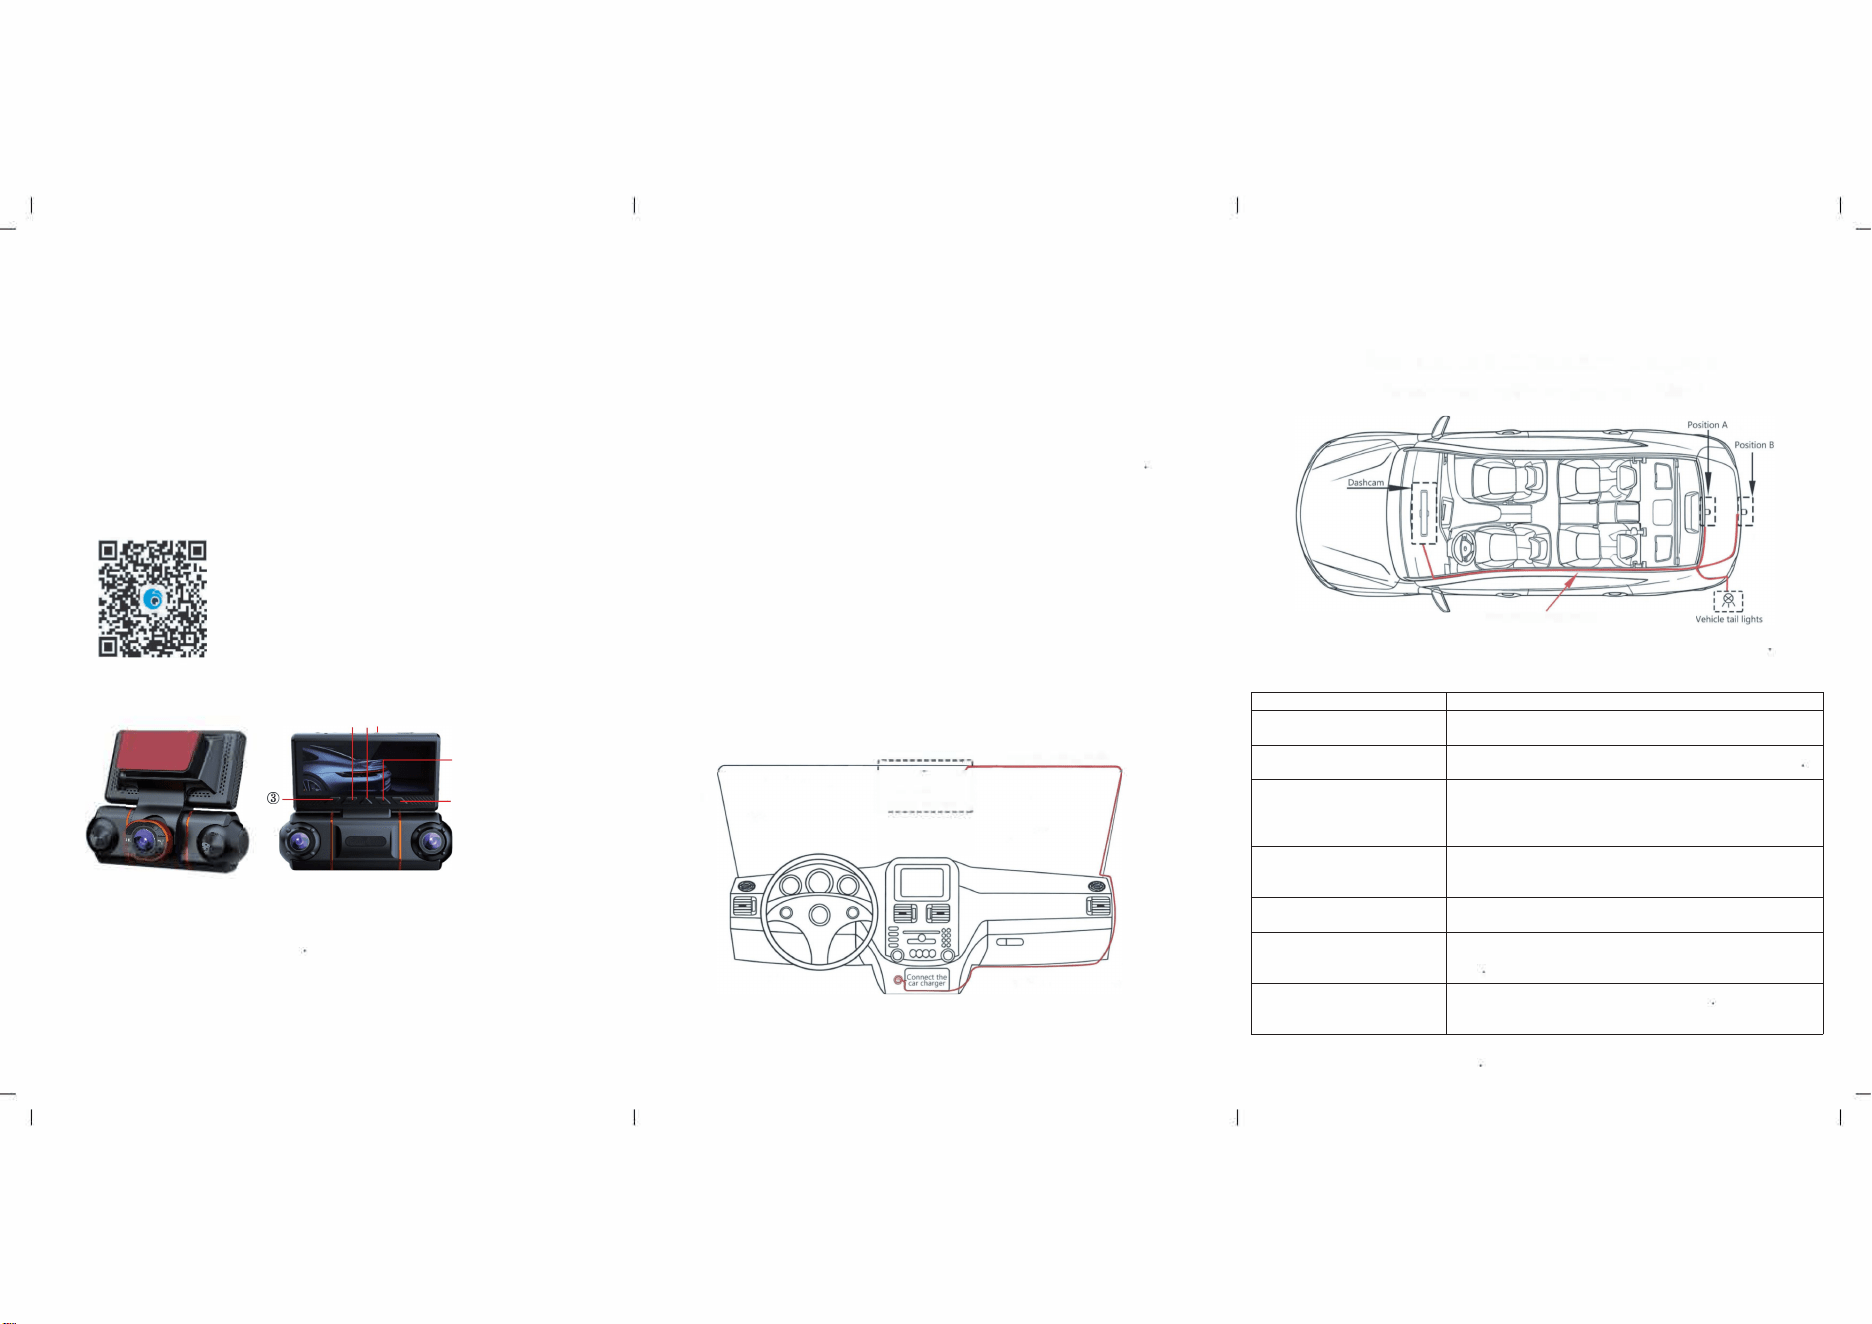
Scan the QR code to download this dash cam's APP
(not for non-WiFi products). For connection steps, see
Section 4 of this manual.
1.Buon Funcons and Operaon Ins廿ucons
®I @
@
J
.
心OK ke
y
®
@ Menu ke
y
/Pla
y
back
@ Power ke
y
@
Reset ke
y
®Down ke
y
@
Up ke
y
[OK】OKButton
Function 1: In standby/recording mode, press the "OK Button
嗣
tostart/stop
recording. It can also be used to confirm and select options in system settings, file
management and playback modes
[M】MenuButton
Function 1: Short press to switch between recording mode and playback mode
Function 2: Long prss to enter the s
J
stem setting menu.
Function 3: When viewing videos an photos, you may delete or lock the current
file.
[ 】PowerButton
Function 1: In the power-off state, press and hold the "Power Button" for 2 seconds to
power on the device, and it will work automatically. In the power-on state, press and
hold the Power Button for 2 seconds; the device will automatically save videos and
user settings before powering off.
Function 2: Screen on/off control. When the device is powered on, short press the
Power Button to turn off the screen; press it again to turn the screen back on.
[R】ResetButton
Function !:Press the Reset hole once with a sharp, thin object (e.g., a needle or pin), and the
dashcam will restart automaticall
y
.
[T】DownButton
Function l:ln standb
y
and recording modes, press this button to c
y
cle through the images from
each camera.
Function 2:ln menu mode, it can be used to selectthe next menu or pla
y
the next file
[
】Up Button:
Function l:ln standby and recording modes, press once to turn on Infrared NightVision,and
press again to turn it o.
Function 2:ln menu and pla
y
back modes,it can be used to select the previous menu or pla
y
the
previous file.
2.lnsllaon guide
2.1 .Please test the normal operation of the rear-view camera first before installation (if there 1s a
rear-view camera;ignore this if there is none);
2.2.Turn o the car engine;
2.3.lnsethe TF card into the dash cam's card slot.[Note]Please use a high-speed TF card(Class
10 or above), with a capacit
y
of not less than 4 GB and not more than256GB. Devices usuall
y
use
32Gor64G;
2.4.Fix the dash cam on the car's front windshield through the bracket;
2.5.lnsethe car charger into the car's cigarette lighter socket;
[Note]When routing the cable,the extended charging cable can be la
y
along the edge of the car
door frame and under the car carpet;refer to the diagram below.
P叩N<able,ootmg pos,t,oa
二二 i '[a,,a[[a,,oa区a,,oa ,
,_
2.6. Install the rear camera at the rear of the vehicle, and pay attention to the vertical
orientation during installation. The cable can be routed along the top edge of the
vehicle. [Note] There are two installation methods for the rear camera. Please refer to
the diagram below.
A.Attach it to the top of the car's rear windshield. This installation method can be done
by yourself, but the reverse viewing function will not work - only real-time rear
recording is available.
B.Ask a professional installer to mount it above the license plate frame. The camera
must also be connected to the reverse light power supply, which will enable the reverse
viewing function.
Rear Camera Installation Diagram
The rear camera provides Position A and Position B
Powe,<able『•"''"'poslioo
2.7.Adjust the position of the lens to set the camera angle to the best shooting perspective
2.
8
.Start the engine and check if the device is working normall
y
.
3.Frequently Asked Questions
Problem
Solution
The device shows the prompt"
Go
m
to
o
S
r
y
ett
ca
in
rd
g
s Menu > Restore Factor
y
Settin
t
g
h
s and format the
File Error"
me
. This issue is usua
l
l
y
related to e T F card.
Horizontal stripe interference
Please select the correct power suppl
y
frequenc
y
of
5
0 Hz (PAL
)
appears on the screen
How to correctl
y
enable the 24
-
Do not enable it durin
g
c
,
n
a
r
o
a
-
d
r
s
m
h
o
e
w
a
s
l
n
.
d
I
c
t
ri
a
v
s
b
h
in
l
o
e
g
u
,
o
l
a
d
r
s
m
o
it
n
o
l
m
b
y
il
a
b
e
y
e
e
e
a
n
s
a
il
b
y
l
cause
hour
i
p
o
a
n
rking monitoring
automatic shutdown or
ed after
funct
parkin
g
. Please use a step
e power
supply.
The image captured at night is
The dash cam relies
o
ic
l
n
e
s
l
t
i
r
g
o
ht
n
g
s
)
exte
rnal
r
l
d
i
g
i
ht sou
rces (
suc
h as
not clear enough
street li
g
hts and veh
for reco ng This is common
behavior in the industry
.
The device al
a
w
n
1s. 1 reverts to the
Full
y
charge the device while it is turned off. u can use a car
default date
me
char
g
er or mobi
l
e power bank to recharge it.
What causes missing seconds in
(T
in
u
st
rn
ea
o
d
.
)
motion detection recordin
g
and enab1
h
l
e -
s
l
p
o
e
o
e
p
d
recordin
g
.
)
For best results
,
use
g
enuine ClO hi
g
memor
y
video files
cards
W
au
h
t
y
o
does the device shut down
Pleas
e
r
s
t
a
o
u
t
rn
u
sh
re
o
u
t
ex
d
t
c
o
h
e
w
e
ed
n
p
s
a
a
r
7
u
k
0
t
i
o
n
°
(
g
m
(
a
m
1
t
5
o
ic
8
n
a
°
i
ll
t
F
y
o
)
.
r
if
in
t
g
h
fu
nct
ion
firs
t The d
evic
e
maticall
y
suddenl
y
during
ma
y
al
e operatin
g
environment
recording
tempe
[Note] Practice has proved that most problems are related to the memory card. and a small
number are related to the power cable