Blaze Outdoor Products Instructional Book
Page | 1
Rotisserie Assembly
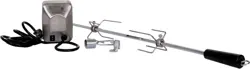
2. Slide the collar down towards the handle end.
3. Slide the prongs onto the shaft so they face each other.
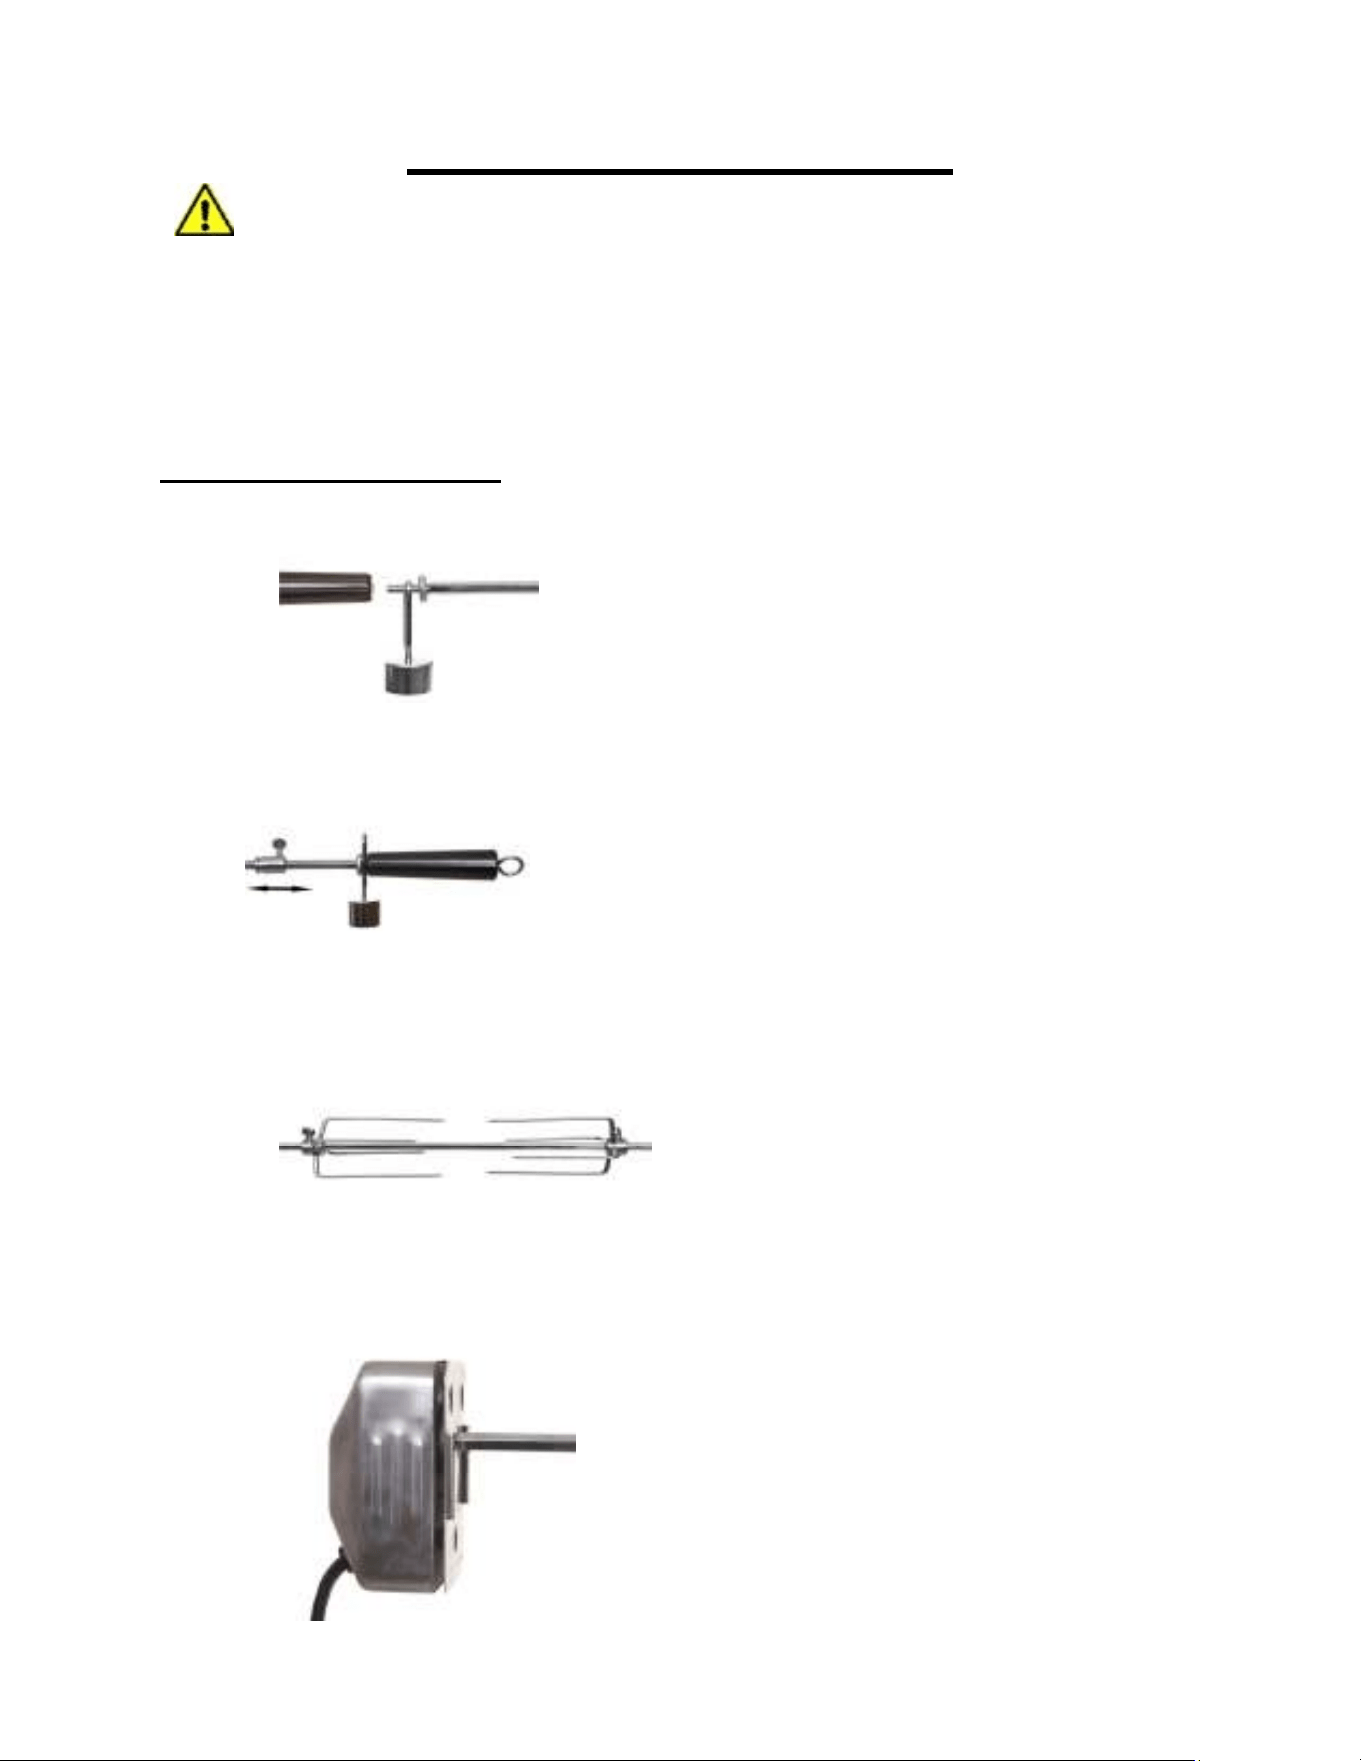
4. First attach the motor mount bracket to the barbecue frame, using the two screws provided.
Then slide the motor onto the bracket shown in the photo below.
CALIFORNIA PROPOSITION 65 WARNING:WARNING: This product can expose you to
chemicals including Chromium (hexavalent compounds), which are known to the State of California
to cause cancer and birth defects or other reproductive harm. For more information go to:
www.P65Warnings.ca.gov
The optional Rotisserie is equipped with a heavy duty stainless steel motor to turn the solid rotisserie
shaft.
Assembling the Main Shaft
1. The knurled nut, counterbalance and handle go on the threaded end.

Blaze Outdoor Products Instructional Book
Page | 2
Using the Rotisserie Burner (4 & 5 Burner Grills)
If you have a 4 or 5 burner grill, it is capable of performing rear burner rotisserie cooking. The
location of the rear burner allows the placement of the basting pan (not included) beneath the
food to collect the juices for basting and gravy. To flavor the contents of the basting pan, you can
add herbs, onion, garlic or spices. Hams are especially good with the addition of pineapple slices
and brown sugar to the basting pan. Light the rear burner as described in the lighting instructions
in the grill’s owner manual. Once lit, the rotisserie burner will reach cooking temperatures in
about 5 minutes. The rotisserie motor is capable of turning up to a 15 lb. cut of meat or poultry.
WARNING: When using the rotisserie burner DO NOT use the grill burners as this may cause
injury of severe burns.
Setting the meat onto the shaft.
Remove the prong that is closest to the motor end of the rotisserie. Skewer the meat with the
shaft, making sure that the meat is centered and balanced as evenly as possible. Push the prong
into the meat sufficiently to hold it in place. Place the second prong onto the shaft and push it
into the meat. Lock the meat into place, by tightening both securing screws. Ensure that any
loose parts of the meat are addressed to prevent tangling as the shaft turns.
Using the counterweight
Place the shaft in the motor and switch the motor on. If the shaft doesn’t run smoothing, or makes
a struggling sound, the meat is not properly balanced. Use the counterweight to balance any
unevenness of the food on the rotisserie.
Remove the rotisserie spit from the grill. With the food still on the rotisserie spit, hold one end of
the rotisserie in each hand. Allow it to rotate freely. The heavies point will naturally rotate
towards the ground under the influence of gravity. Having found the heaviest side of the
rotisserie, you should now position the counterweight so that it points directly upwards, so that it
is opposite the heaviest side.
Once the meat is balanced and the shaft is back in the motor, switch the motor on to ensure
balancing is complete. If necessary, carry out the procedure again to fine turn the balance point.
Not all foods need to be balanced. If the meat is almost perfectly round and is centered properly
on the shaft, it is best to not use the counterweight at all.
Finally, you are ready to start cooking. Please be aware that it is common for the meat on the
rotisserie to change slightly during the first 10-20 minutes of cooking. This can at times cause the
meat to separate from the rotisserie forks preventing it from rotating on the spit. It is advisable to
check the meat periodically during the initial part of the cooking process and re-attach the
rotisserie forks if needed.
