
ARIA3x2x Wi-Fi 7 Router
ARIA362x Rev3
ARIA3625, ARIA3625V, ARIA3625V-XPL, ARIA3626, ARIA3629
ARIA3321/V ARIA3321/V-XPL
User’s Guide
Version 1.1 - 08/2026

Hitron ARIA3x2x User’s Guide
Version 1.0, 03/2021. Copyright 2012 Hitron Technologies
10
2
Version 1.1, 08/2026. Copyright
2026 Hitron Technologies
Table of Contents
ARIA3x2x Introduction
................................................................................... 4
1.1
Router Mode
..............................................................................................5
1.2
Tips to install your ARIA3x2x at the best location
............................6
1.3
Key Features
............................................................................................6
1.4
Hardware Connections
...........................................................................8
1.5
LED Behavior
......................................................................................... 11
1.6
Rebooting the ARIA3x2x
..................................................................... 12
1.7
Reset the ARIA3x2x to its factory default settings
............................. 12
The Router Mode
.......................................................................................... 14
2.1
Router Mode Overview
................................................................. 14
2.2
Router Mode Initial Setup
............................................................. 15
2.2.1
Use the Mobile App
.......................................................................... 16
2.3
Local management GUI
.................................................................. 20
2.3.1
Access your ARIA3x2x user interface
................................................ 20
2.4
Local management GUI
.................................................................. 20
Local management GUI
............................................................................... 21
3.1
Access your ARIA3x2x user interface
........................................... 21
3.1.1
Status notification on Login page
...................................................... 22
3.2
Overview Page
................................................................................ 23
3.2.1
System Information
........................................................................... 24
3.2.2
View Wi-Fi information
..................................................................... 25
3.2.3
Connected Devices Information
........................................................ 25
3.3
Network
........................................................................................... 26
3.3.1
WAN configuration
............................................................................ 26
3.3.2
LAN configuration
............................................................................. 27
3.3.3
LAN DNS Settings
.............................................................................. 29
3.3.4
Router Settings
.................................................................................. 30

Hitron ARIA3x2x User’s Guide
Version
1.0,
03/2021.
Copyright
2012
Hitron
Technologies
9
3
Version 1.1, 08/2026. Copyright
2026 Hitron Technologies
3.4
Wi-Fi configuration
......................................................................... 31
3.4.1
Primary SSID
...................................................................................... 31
3.4.2
Secondary SSID
.................................................................................. 32
3.4.3
Guest SSID
......................................................................................... 33
3.4.4
WPS
................................................................................................... 34
3.4.5
Wi-Fi Management
........................................................................... 35
3.4.6
Wi-Fi survey
...................................................................................... 37
3.5
Firewall
............................................................................................ 38
3.5.1
IPv4 Settings
...................................................................................... 38
3.5.2
Ipv6 Settings
...................................................................................... 41
3.5.3
Port Forwarding
................................................................................ 43
3.5.4
UpnP
................................................................................................. 44
3.5.5
DMZ
................................................................................................... 45
3.6
Security
............................................................................................ 45
3.6.1
Port Blocking
..................................................................................... 46
3.6.2
Keyword Filter
................................................................................... 48
3.6.3
Device Filter configuration
................................................................ 51
3.7
Administrator Settings
................................................................... 52
3.7.1
Device Reset
...................................................................................... 52
3.7.2
Administrator Password
.................................................................... 53
3.7.4
Time settings
..................................................................................... 54
3.7.5
Device Name
..................................................................................... 54
3.7.6
LED Configuration
............................................................................. 55
Statements and Warnings
........................................................................... 56
MyHitron+ app
.............................................................................................. 61
Customer support
......................................................................................... 62

Hitron ARIA3x2x User’s Guide
Version 1.0, 03/2021. Copyright 2012 Hitron Technologies
10
4
Version 1.1, 08/2026. Copyright
2026 Hitron Technologies
1
ARIA3x2x Introduction
The ARIA3x2x is a high-performance Wi-Fi 7 router equipped with tri-band
capabilities, multiple Ethernet ports, and voice support. Designed to provide
exceptional speed, coverage, and capacity, it enhances Wi-Fi performance in modern
homes, eliminating dead zones and ensuring stable connections for multiple devices.
Its future-ready design and support for advanced features like 4096 QAM, Multi-Link
Operation, and seamless roaming make it ideal for bandwidth-heavy applications like
video streaming, gaming, and video conferencing.
This User Guide applies to the following ARIA3x2x Series models:

Hitron ARIA3x2x User’s Guide
Version
1.0,
03/2021.
Copyright
2012
Hitron
Technologies
9
5
Version 1.1, 08/2026. Copyright
2026 Hitron Technologies
1.1
Router Mode
Your ARIA3x2x can be used as a Wi-Fi router. It will be the control tower of your Wi-
Fi network. You will be able to configure and manage Wi-Fi parameters of your
home and get all your Wi-fi device connected to it. Go to Section 2 for more details.
Router Mode Topology

Hitron ARIA3x2x User’s Guide
Version 1.0, 03/2021. Copyright 2012 Hitron Technologies
10
6
Version 1.1, 08/2026. Copyright
2026 Hitron Technologies
1.2
Tips to install your ARIA3x2x at the best
location
Keep your device clear from any objects. Wi-Fi signal will travel less if blocked
by objects or walls (especially concrete, metal, other electronics, wood, …)
An Ethernet backhaul will always be the most stable backhaul no matter the
distance to the router. Cat5e Ethernet cable (or higher) are recommended for a
1000Mbps backhaul.
The ARIA3x2x Wi-Fi radiation pattern is optimized to maximize reach
horizontally, in all directions. You should locate the router in a central place in
your home to maximize reach and coverage.
To maximize your ARIA3x2x performance, place your device where it will
connect to the 6G or 5G band. ARIA3x2x should always be at least 2 walls or 1
floor away from your gateway/router.
1.3
Key Features
The ARIA3x2x provides:
Simultaneous Tri-band Wi-Fi 7
4×4 2.4GHz 802.11be
4×4 5GHz 802.11be
4×4 6GHz 802.11be
4096 QAM support on all bands (2.4GHz / 5GHz / 6GHz)
320MHz channel support on 6GHz band
Multi-Link Operation (Single radio / Dual radio)
Seamless roaming using 802.11k, r, v
Client steering & channel optimization
MU-MIMO capable for simultaneous data streaming
Link Aggregation
TR-069, TR-369, USP Support
Bluetooth Onboarding

Hitron ARIA3x2x User’s Guide
Version
1.0,
03/2021.
Copyright
2012
Hitron
Technologies
9
7
Version 1.1, 08/2026. Copyright
2026 Hitron Technologies

Hitron ARIA3x2x User’s Guide
Version 1.0, 03/2021. Copyright 2012 Hitron Technologies
10
8
Version 1.1, 08/2026. Copyright
2026 Hitron Technologies
1.4
Hardware Connections
This section describes the ARIA3x2x’s physical aspect, ports and buttons.
Hitron ARIA3x2x User’s Guide
Version
1.0,
03/2021.
Copyright
2012
Hitron
Technologies
9
9
Version 1.1, 08/2026. Copyright
2026 Hitron Technologies
Hardware Connections
Pairing Button
The Pairing Button has two functions.
WPS
Press this button to begin the WiFi Protected Setup
(WPS) Push-Button Configuration (PBC) procedure
RESET Button
Use this button to reboot or reset your ARIA3x2x to its
factory default settings. (Refer to Section 1.6 and Section
1.7 of this document).
2.5 Gbps LAN Port
Use this port to connect the local network computers and/or
other network devices, using a Category 6/6A Ethernet cable
with RJ45 connectors.
NOTE: Use of a Category 6A (augmented category 6) cable
is recommended in order to make use of the highest
possible data rate. If you use a Category 5 cable, the
data rate is limited to 100Mbps.
10 Gbps LAN Port
Use this port to connect the local network computers and/or
other network devices, using a Category 6/6A Ethernet cable
with RJ45 connectors.
Hitron ARIA3x2x User’s Guide
Version 1.0, 03/2021. Copyright 2012 Hitron Technologies
10
10
Version 1.1, 08/2026. Copyright
2026 Hitron Technologies
NOTE: Use of a Category 6A (augmented category 6) cable is
recommended in order to make use of the highest possible
data rate. If you use a Category 5 cable, the data rate is
limited to 100Mbps.
10 Gbps WAN Port
Use this port to connect to the Wide Area Network/Internet,
usually to the Internet provider’s modem or router. using a
Category 6/6A Ethernet cable with RJ45 connectors.
NOTE: Use of a Category 6A (augmented category 6) cable is
recommended in order to make use of the highest possible
data rate. If you use a Category 5 cable, the data rate is
limited to 100Mbps
SFP+ WAN (ARIA 3626
AIRA 3629)
This port supports SFP+ (SFF-8431) module, use this port to
connect to the Wide Area Network/Internet.
FXS Voice Port
(ARIA3321V ARIA3321V-
XPL ARIA3625V
AIRA3625V-XPL
AIRA3629)
Use these ports to connect your analog phones for VoIP
services, using cables with RJ11 connectors.
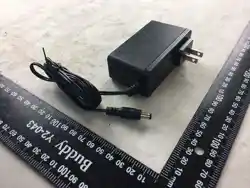
POWER
Use this port to connect to the 12v/4.5A power adapter
provided with your ARIA3x2x.
The power input between 110-240VAC, 50/60Hz
The device in an environment between 0°C (32°F) – 40°C
(104°F).
NEVER use another power adapter with your ARIA3x2x.
Doing so could harm your ARIA3x2x.


Hitron ARIA3x2x User’s Guide
Version 1.0, 03/2021. Copyright 2012 Hitron Technologies
10
12
Version 1.1, 08/2026. Copyright
2026 Hitron Technologies
1.6
Rebooting the ARIA3x2x
Rebooting the ARIA3x2x may be required if you want the unit to do a self-check and
restart its Wi-Fi. Doing so, all connected devices will be disconnected from that
ARIA3x2x while it is rebooting and will reconnect when active.
There are 4 ways to reboot your ARIA3x2x:
1 Push the reset button (pin hole) for less than 10 seconds.
2 Go in the Advanced settings section of the GUI to find the “Reboot” button at
the bottom of the page. (Refer to Section 3.7.1)
3 From the mobile app, find the ARIA3x2x in the My Networks list from the Plus
menu and tap on it. Find the “Restart” button at the bottom of the Device
information page.
4 You can simply unplug/plug your ARIA3x2x. If it loses power, it will also reboot.
Using any of the above action will restart the ARIA3x2x. It will perform its full reboot
sequence and return to active state in less than 2 minutes.
1.7
Reset the ARIA3x2x to its factory default
settings
When you reset the ARIA3x2x to its factory default settings, all user-configured
settings are lost, and the ARIA3x2x is returned to its initial configuration state. The
ARIA3x2x will be returning to the initial setup ready state. Doing so, all connected
devices will be disconnected from that ARIA3x2x.
Note: Factory Reset can be triggered after the booting phase (when it is slowly
blinking green)
There are 3 ways to do a factory reset to your ARIA3x2x:

Hitron ARIA3x2x User’s Guide
Version
1.0,
03/2021.
Copyright
2012
Hitron
Technologies
9
13
Version 1.1, 08/2026. Copyright
2026 Hitron Technologies
1 Press and hold the Reset button for at least ten (10) seconds and release it.
2 Go in the Advanced settings section of the local web GUI to find the “Factory
reset” button at the bottom of the page. (Refer to Section 3.7.1)
3 From the mobile app, find the ARIA3x2x in the My Networks list from the Plus
(3-dots) menu and tap on it. Go in the Advanced section to find the “Factory
reset” button at the bottom of the page.
When factory reset is activated, the ARIA3x2x LED will alternate Red/Green/Blue to
tell the user the command is accepted. Then, the ARIA3x2x will do a full reboot and
will be ready for an initial setup.

Hitron ARIA3x2x User’s Guide
Version 1.0, 03/2021. Copyright 2012 Hitron Technologies
10
14
Version 1.1, 08/2026. Copyright
2026 Hitron Technologies
2
The Router Mode
A router connects your devices to your home network (also known as a Local Area
Network or LAN) or Wi-Fi network and then your devices can wirelessly communicate
with each other. A router does not connect you to the Internet by itself. Typically, your
Internet Service Provider (ISP) provides you with a modem to access Internet
connection. The router will be connected to your modem via Ethernet and connects
your devices to your home network or Wi-Fi network, which then enables your
devices to communicate wirelessly and connect to the Internet.
2.1
Router Mode Overview
When you do not have a Hitron router/gateway, your first ARIA3x2x should be
configured as the Hitron router of your network. In router mode, ARIA3x2x will
become the control tower of your network. It creates a manageable local area
network and share your Internet service to multiple devices through wired or wireless
connections. Your network should only have one ARIA3x2x configured as router. It
must be the one connected via Ethernet wire (provided) to the modem provided by
your Internet service provider. Internet source can be from whatever technology:
cable, fiber, 5G, satellite…
Warning: If that 3
rd
party modem also provides Wi-Fi, it will be important that you turn
that device into bridge mode to let the ARIA3x2x manage your network’s
router functions. If you are not doing so, your network will not behave

Hitron ARIA3x2x User’s Guide
Version
1.0,
03/2021.
Copyright
2012
Hitron
Technologies
9
15
Version 1.1, 08/2026. Copyright
2026 Hitron Technologies
properly, or you will lose Wi-Fi experience quality. Your ARIA3x2x private
network NAT (Network Address Translation) could conflict with the modem
NAT.
2.2
Router Mode Initial Setup
After connecting your ARIA3x2x with an Ethernet cable to your modem and powering
up your device, there are 2 different process to configure the ARIA3x2x as a router:
via the Mobile App, via default Wi-Fi. Discover below the method that will fit best your
needs.
Note: You cannot setup your ARIA3x2x with your laptop/computer connected via
Ethernet. Complete initial setup via the Mobile App or the EasyConnect
default Wi-Fi before connecting laptop/computer. The Ethernet ports are
WAN ports by default before setup. They will get setup as WAN or LAN
during the initial setup phase.
Use a RJ-45 Ethernet cable (CAT6/6a recommended for the10G connection) to
connect your Internet service provider’s modem to your ARIA3x2x WAN port, the
LAN port that you connected to your ISP modem will be selected as the WAN (Wide
Area Network) port of your ARIA3x2x.

Hitron ARIA3x2x User’s Guide
Version 1.0, 03/2021. Copyright 2012 Hitron Technologies
10
16
Version 1.1, 08/2026. Copyright
2026 Hitron Technologies
2.2.1
Use the Mobile App
Hitron offers a mobile app to setup and manage your device. Your service provider is
probably supporting its own version of the app. If not, download MyHitron+ app from
the app stores (Apple Store or Google Play) and install it on your mobile device.
Details of the app can be found in Section 6 of this document.
1 If it is the first time you use the app, you will have to create/login to an account
before starting. Follow instructions from the app.
2 After login steps completed, the app will walk you through the process to install
your ARIA3x2x as a Hitron router:
Select the model you want to install: ARIA3x2x
Make sure your ARIA3x2x well located (Refer to Section 1.2), connected to
your modem with Ethernet cable, powered on and ready for the initial setup
(LED slow blinking white)
Let your mobile device discover your ARIA3x2x via Bluetooth (Make sure
Bluetooth is enabled on your mobile device).
3 Once the communication established between the ARIA3x2x and your mobile
device, configure your network:
Set your administrator password
Set your Wi-Fi network credentials
Name your ARIA and set time zone, country, and LED behavior.
ARIA3x2x is now fully configured. It will check in the cloud if a newer firmware
is available to download. If yes, it will download it.
ARIA3x2x will then reboot to apply all settings and/or firmware.
2.2.2
Use EasyConnect setup via default Wi-Fi
EasyConnect is a Hitron proprietary onboarding feature that will help you to setup
your ARIA3x2x. It will use the default Wi-Fi network (SSID) for the setup. It is offered
in multiple languages that you can select at the top left of the EasyConnect pages.
2.2.2.1
Find the Default Wi-Fi Name (SSID)
You can find this default Wi-Fi name (Unique to your 3x2x) on the bottom label. It

Hitron ARIA3x2x User’s Guide
Version
1.0,
03/2021.
Copyright
2012
Hitron
Technologies
9
17
Version 1.1, 08/2026. Copyright
2026 Hitron Technologies
should look like HitronXXXXX-EasyConnect (where XXXXX is last 5 characters of
its MAC).
2.2.2.2
Connect to the Default Wi-Fi
On your mobile device, go to Wi-Fi Settings and find the ARIA3x2x s default SSID.
1 After connecting your mobile device to the ARIA3x2x’s default SSID
“HitronXXXXX-EasyConnect", a popup will redirect you to the EasyConnect
page (shown below). Click Ready to go! to start the setup.
Note: If it is not starting, open a browser and go to URL: 192.168.0.1 or browse any
web page. It should redirect you to the ARIA3x2x EasyConnect page.
2 Ensure your LED is slowly blinking white and then, select the Configure as
a router then click Next.

Hitron ARIA3x2x User’s Guide
Version 1.0, 03/2021. Copyright 2012 Hitron Technologies
10
18
Version 1.1, 08/2026. Copyright
2026 Hitron Technologies
Create/Type what you will use as administrator password. Then click Next.
Note: Administrator password must:
Contain at least 8 characters
Not start or end with a space
3 It is time to decide the name of your Wi-Fi SSID and set the password to access
it. Type what you will use as the Wi-Fi name (SSID) and Wi-Fi password for your
network then click Next.
Note: Wi-Fi Password must:
Your password must be between 8 and 63 characters long

Hitron ARIA3x2x User’s Guide
Version
1.0,
03/2021.
Copyright
2012
Hitron
Technologies
9
19
Version 1.1, 08/2026. Copyright
2026 Hitron Technologies
4 Select the location, country and time zone for your ARIA3x2x then click Next.
5 Your ARIA3x2x will now check for available FW upgrade and restart to apply the
configuration. Once rebooted, use the Wi-Fi name and Password that you just
set to connect your devices to your network.

Hitron ARIA3x2x User’s Guide
Version 1.0, 03/2021. Copyright 2012 Hitron Technologies
10
20
Version 1.1, 08/2026. Copyright
2026 Hitron Technologies
2.3
Local management GUI
The ARIA3x2x has a local web Graphical User Interface (GUI) for management. You
can use it to find ARIA3x2x system information, to manage your Wi-Fi, to control
device behavior and to be informed of which devices are connected to it.
2.3.1
Access your ARIA3x2x user interface
To access the ARIA3x2x's local management GUI, simply type its IP address in your
preferred web browser. When configured as a router, your ARIA default IP address is:
192.168.0.1
Refer to Section 3 for details
2.4
Local management GUI
The ARIA3x2x has a local web Graphical User Interface (GUI) for management. You
can use it to find ARIA3x2x system information, to manage your Wi-Fi, to control
device behavior and to be informed of which devices are connected to it.
To access the ARIA3x2x's local management GUI, simply type its IP address in your
preferred web browser.
Hitron ARIA3x2x User’s Guide
Version
1.0,
03/2021.
Copyright
2012
Hitron
Technologies
9
21
Version 1.1, 08/2026. Copyright
2026 Hitron Technologies
3
Local management GUI
The ARIA3x2x has a local web Graphical User Interface (GUI) for management. You
can use it to find ARIA3x2x system information, to manage your Wi-Fi, to control
device behavior and to be informed of which devices are connected to it.
Sections below describes the different sections/features found in the web UI.
3.1
Access your ARIA3x2x user interface
To access the ARIA3x2x's local management GUI, simply type its IP address in your
preferred web browser.
- The administrator username is cusadmin. It cannot be changed.
- When configured as a router, your ARIA default IP address is: 192.168.0.1
Default Credentials
Username
cusadmin
Password
Admin password you have setup or simply the admin password
setup for your Hitron gateway/router
Use the following steps to log into the ARIA3x2x's GUI.
1 Launch your preferred web browser from a computer or mobile device that is
connected to your network (Wi-Fi or Ethernet).
2 Enter the ARIA3x2x’s IP address in the URL bar. The Login screen displays.
Login page

Hitron ARIA3x2x User’s Guide
Version 1.0, 03/2021. Copyright 2012 Hitron Technologies
10
22
Version 1.1, 08/2026. Copyright
2026 Hitron Technologies
3 Enter the administrator Username (cusadmin) and the Password you have
setup in the initial setup phase.
4 Click Sign in
3.1.1
Status notification on Login page
Hitron ecosystem provides feedback to the user if the ARIA3x2x is fully operational. It
will make sure that all the Ecosystem is ready, and that the connection is healthy. If a
problem comes up, a reboot should solve the problem. If not, customer support could
be contacted.
The login page will also advertise the mobile app if available or not. That add will
disappear once the user has set up his ARIA3x2x to an app account.
Login Page with Connection Issues

Hitron ARIA3x2x User’s Guide
Version
1.0,
03/2021.
Copyright
2012
Hitron
Technologies
9
23
Version 1.1, 08/2026. Copyright
2026 Hitron Technologies
3.2
Overview Page
The overview page offers a high-level view of your ARIA3x2x status.
Overview page
Hitron ARIA3x2x User’s Guide
Version 1.0, 03/2021. Copyright 2012 Hitron Technologies
10
24
Version 1.1, 08/2026. Copyright
2026 Hitron Technologies
System Information
This tile provides the general information about your ARIA3x2x’s (hardware, software,
IP address, …).
System Information Screen
System Information Screen
Model Name
Model name of the ARIA3x2x.
MAC Address
MAC address of the ARIA3x2x.
Hardware Version
Version number of the ARIA3x’s physical hardware.
Software Version
Version number of the software
Serial Number
The unique serial number of the ARIA3x2x. If you contact your
cable service provider for assistance, they may ask you for this
number.
Uptime
It represents amount of time elapsed since the last reboot
IP Address(v4)
The IPv4 IP address current using by the ARIA3x2x.
IP Address(v6)
The IPv6 IP address current using by the ARIA3x2x.
Device Name
The Name that you named your ARIA3x2x
Part Number
The Part Number of your ARIA3x2x
Hitron ARIA3x2x User’s Guide
Version
1.0,
03/2021.
Copyright
2012
Hitron
Technologies
9
25
Version 1.1, 08/2026. Copyright
2026 Hitron Technologies
3.2.1
View Wi-Fi information
This section provides information of your current Wi-Fi network. You will see one
network if band steering is enabled (as per below) or details for all your bands if band
steering is disabled.
System Information Screen
Configure
Enter Wi-Fi configuration menu.
3.2.2
Connected Devices Information
Connected devices window provides the information of the devices that are
connected to your network; it also allows you to pause/ pause schedule or block the
device from your network.
Paused Device: All Internet traffic to the paused device will be blocked. However,
the Paused Device will still be able to connect to the network.
Schedule Pause: A daily scheduled pause can be set per device. The pause will
take effect from the start time to the end on the selected day(s) (of the start time).
Blocked Device: This will prevent the device from connecting to your network
(Wi-Fi and the Ethernet).
Connected Device Screen
Refresh
To refresh the connected devices list.
Pause
To pause the device.
Hitron ARIA3x2x User’s Guide
Version 1.0, 03/2021. Copyright 2012 Hitron Technologies
10
26
Version 1.1, 08/2026. Copyright
2026 Hitron Technologies
Editing
To edit device information.
Schedule
Set the Pause time schedule.
Block
To block the device to access to your network.
3.3
Network
This section can be found in the router web UI only. Network configuration allows you
to configure the router functions of your ARIA3x2x: WAN IP, LAN DHCP pool,
address reservation, DNS and Router settings.
Click the Network button from the left drop down menu or the configure button under
the Network diagram on the overview page to select the Network settings pages.
3.3.1
WAN configuration
The WAN settings allow you to use either a dynamic IP that is assigned from your ISP
and DNS servers(optional) or use a static IP address and DNS servers(optional).
Hitron ARIA3x2x User’s Guide
Version
1.0,
03/2021.
Copyright
2012
Hitron
Technologies
9
27
Version 1.1, 08/2026. Copyright
2026 Hitron Technologies
WAN settings
Dynamic IP from ISP
Select this field, your ARIA will take the IP address that
assigned from your ISP (internet service provider).
Primary DNS (optional)
Use this field manually assign the primary DNS by
enter the sever IP address (optional).
Secondary DNS
(optional)
Use this field manually assign the secondary DNS
by enter the sever IP address (optional).
Use Static IP Address
Select this field to enter your ARIA3x2x IP address
manually.
IP Address
Use this field to assign an IP address to your AIRA3x2x.
Subnet Mask
Use this field to define the WAN subnet.
Default Gateway
Use this field to define the WAN default gateway IP
address.
Primary DNS
Use this field manually assign the primary DNS by enter
the sever IP address.
Secondary DNS
(optional)
Use this field manually assign the Secondary DNS by
enter the sever IP address (optional).
3.3.2
LAN configuration
The LAN settings allow you to assign a LAN/Management IP for your ARIA3x2x. It
also uses to define a DHCP pool, Address Reservation and DSN servers.
Hitron ARIA3x2x User’s Guide
Version 1.0, 03/2021. Copyright 2012 Hitron Technologies
10
28
Version 1.1, 08/2026. Copyright
2026 Hitron Technologies
3.3.2.1
Basic Settings
Use the following fields to assign an LAN/Management IP for your
ARIA3x2x and define the DHCP pool for your local network.
LAN Basic settings
IP Address
Use this field to assign an IP address to your AIRA3x2x LAN
Management interface.
Subnet Mask
Use this field to define the LAN subnet.
Default Gateway
Use this field to define the WAN default gateway IP address.
DHCP Server
To enable or disable the DHCP Server function.
DHCP lease time
To select the time that elapses before your Device’s IP address
lease expires.
DHCP Start time
Use this field to specify the IP address at which the ARIA3x2x
begins assigning IP addresses to devices on the LAN
DHCP End IP
Use this field to specify the IP address at which the ARIA3x2x
stops assigning IP addresses to devices on the LAN.
3.3.2.2
Address Reservation
The Address Reservation function allows you to reserve IP addresses for
your devices.
1 Click the Add Reservation button to enter the Address Reservation setting
page.
Hitron ARIA3x2x User’s Guide
Version
1.0,
03/2021.
Copyright
2012
Hitron
Technologies
9
29
Version 1.1, 08/2026. Copyright
2026 Hitron Technologies
You can either make an IP address reservation from a current connected device by
clicking the + from the option or create new entries for the devices that haven’t join
the network.
2 Click Save to save your settings.
Address Reservation Settings
Client Name
Use this field to define your Device Name shows in ARIA3x2x
(optional).
IP Address
Use this field to reserve an IP address for the device.
MAC
Address
Enter the device’s MAC address.
Status
Static The device is using a static IP address.
DHCP: The device is using the IP address which assigned by the
DHCP server.
Option
Click + to add the device to the address reservation list.
Click – to remove the device from the address reservation list.
3.3.3
LAN DNS Settings
You can define the DNS to use for your connected devices via LAN DNS
settings.
Hitron ARIA3x2x User’s Guide
Version 1.0, 03/2021. Copyright 2012 Hitron Technologies
10
30
Version 1.1, 08/2026. Copyright
2026 Hitron Technologies
LAN DNS Settings
DNS Suffix
Use this field manually assign a DNS Suffix for your LAN
connected devices.
Primary DNS
Use this field manually assign the primary DNS by enter the
sever IP address.
Secondary DNS
Use this field manually assign the Secondary DNS by enter the
sever IP address.
3.3.4
Router Settings
The Router settings allow you to enable the Session Initiation Protocol Application
Layer Gateway (SIP ALG) function.
Session Initiation Protocol
(SIP) is one of the most common Voice of IP (VoIP)
protocols used in VoIP services. SIP ALG helps to initiate SIP calls when
those calls are behind the
network address translation (NAT).
1 Click Switch button to enable the SIP ALG function.
2 Click Save to save your settings.

Hitron ARIA3x2x User’s Guide
Version
1.0,
03/2021.
Copyright
2012
Hitron
Technologies
9
31
Version 1.1, 08/2026. Copyright
2026 Hitron Technologies
3.4
Wi-Fi configuration
This Wi-Fi Configuration provides you with the ability to manage your Wi-Fi networks.
You can manage your Wi-Fi name (SSID) and password for each band but also which
networks you want to broadcast and how they will behave.
What is primary/secondary SSID?
The primary/secondary SSIDs are designed to be networks where devices will
discover and talk to each other within these networks.
What is a Guest Network?
Guest Wi-Fi network is essentially a separate network in your home. All your home
devices are connected to the primary network and are discoverable on that network.
The guest network is a different network that provides access to the Internet, but not
to your home network and other devices connected to guest network. As the name
suggests, it is for guests to connect to.
3.4.1
Primary SSID
The Primary SSID (Service Set IDentifier) configuration pages allow you to configure
the settings of your ARIA3x2x Primary 2.4G, 5G and 6G Wi-Fi. This is the main
network you have configured during the initial setup phase.
Primary SSID settings
SSID
To enter the name for your Primary SSID.
Password
Enter the security key or password that you want to use for your
primary wireless network. You will need to enter this key into your
wireless clients to allow them to connect to the network.
Or click the button to use a random password that generate
by the system for you.
Hitron ARIA3x2x User’s Guide
Version 1.0, 03/2021. Copyright 2012 Hitron Technologies
10
32
Version 1.1, 08/2026. Copyright
2026 Hitron Technologies
Security mode
Select the type of security that you want to use.
Encryption mode
Select the type of encryption you want to use.
Enable SSID
To enable or disable your primary Wi-Fi network.
Broadcast SSID
Use this field to make this SSID visible or invisible to
other wireless devices.
Set it to ON if you want your network name (SSID) to be
public. Anyone with a wireless device in the coverage area
can discover the SSID and attempt to connect to the
network.
Set it to OFF if you do not want the ARIA3x2x to
broadcast the network name (SSID) to all wireless devices in the
coverage area. Anyone who wants to connect to the network
must know the SSID.
Save
Save the changes.
3.4.2
Secondary SSID
The Secondary SSID (Service Set IDentifier) of the configuration pages allows you to
configure the settings of your ARIA3x2x Secondary 2.4G and 5G Wi-Fi. This network
is disabled by default, but you could enable it as a second network.
Secondary SSID settings
SSID
To enter the name for your Secondary SSID.
Password
Enter the security key or password that you want to use for your
secondary wireless network. You will need to enter this key into
your wireless clients to allow them to connect to the network.
Or click the button to use a random password that generate
by the system for you.
Security mode
Select the type of security that you want to use.
Hitron ARIA3x2x User’s Guide
Version
1.0,
03/2021.
Copyright
2012
Hitron
Technologies
9
33
Version 1.1, 08/2026. Copyright
2026 Hitron Technologies
Encryption mode
Select the type of encryption you want to use.
Enable SSID
To enable or disable your secondary for 2.4G, 5G and 6G Wi-Fi
network.
Broadcast SSID
Use this field to make this SSID visible or invisible to
other wireless devices.
Set it to ON if you want your network name (SSID) to be
public. Anyone with a wireless device in the coverage area
can discover the SSID and attempt to connect to the
network.
Set it to OFF if you do not want the ARIA3x2x to
broadcast the network name (SSID) to all wireless devices in
the coverage area. Anyone who wants to connect to the network
must know the SSID.
Save
Save the changes
3.4.3
Guest SSID
The Guest SSID configuration page allows you to configure the Guest Wi-Fi network
for your network.
Guest SSID settings
SSID
To enter the name for your Guest SSID.
Password
Enter the security key or password that you want to use for
your Guest wireless network. You will need to enter this key
into your wireless clients to allow them to connect to the
guest network.
Or click the button to use a random password that
generate by the system for you.
Security mode
Select the type of security that you want to use.
Hitron ARIA3x2x User’s Guide
Version 1.0, 03/2021. Copyright 2012 Hitron Technologies
10
34
Version 1.1, 08/2026. Copyright
2026 Hitron Technologies
Encryption mode
Select the type of encryption you want to use.
Enable SSID
To enable or disable your guest Wi-Fi network.
Save
Save the changes
3.4.4
WPS
WPS (Wi-Fi Protected Setup) is an alternate way to pair mobile devices equipped
with such technology to your network. It will connect a Wi-Fi enabled device to the
ARIA3x2x's network without entering the Wi-Fi password.
WPS is considered an unsafe feature. Communication industry acknowledges that
this pairing method can have a breach over time using brute force. Therefore, Hitron
recommends keeping WPS disabled after use.
WPS settings
Enable WPS
Slide the switch to the right to enable the function. Hitron
recommends that this feature stays off after you are done
with a device pairing with WPS.
Pair device with WPS
Once WPS is enabled, this button can launch the WPS
pairing process.
WPS is disabled by default. You will have to activate it before starting the pairing.
To start the pairing process, do the following:
1 Enable WPS on your router. It will take ~30 sec for WiFi to restart.
2 Activate WPS pairing process on your ARIA3x2x by tapping on Push to pair.
When ARIA3x2x is searching for another device, the front LED will start blinking blue.
3 Activate WPS pairing process on the mobile device you want to connect.
4 Wait for up to 2 minutes. They will find each other if the mobile device is in
Wi-Fi range to the ARIA3x2x. WPS will setup Wi-Fi network parameters
automatically on the mobile device.

Hitron ARIA3x2x User’s Guide
Version
1.0,
03/2021.
Copyright
2012
Hitron
Technologies
9
35
Version 1.1, 08/2026. Copyright
2026 Hitron Technologies
When paired, the LED will be solid blue for 60 seconds before returning to normal state.
If after 2 minutes the search for another device is unsuccessful, the pairing will stop,
and you will get notified as such. The LED will return to its original state.
NOTE: You should disable WPS after pairing your devices for security reasons.
3.4.5
Wi-Fi Management
Wi-Fi Management page provides the Wi-Fi Advanced settings allow you to enable or
disable Wi-Fi radio, WPS, Airtime fairness, Band steering, set the wireless mode and
channel bandwidth.
3.4.5.1
Wi-Fi Advanced
Wi-Fi Advanced section will provide control to advanced Wi-Fi settings that will affect
the general behavior for all bands and all Wi-Fi SSID.

Hitron ARIA3x2x User’s Guide
Version 1.0, 03/2021. Copyright 2012 Hitron Technologies
10
36
Version 1.1, 08/2026. Copyright
2026 Hitron Technologies
Wi-Fi Advanced
2.4G
5G
6G
Enable radios
Slide the switch to the
right to enable all 2.4G Wi-
Fi networks.
Slide the switch to the right to
enable all 5G Wi-Fi networks.
Slide the switch to the right to
enable all 5G Wi-Fi networks.
Airtime fairness
Slide the switch to the
right to enable the function.
Slide the switch to the right to
enable the function
Slide the switch to the right to
enable the function
DFS
N/A
Slide the switch to the right to
enable the function.
N/A
Wireless Mode
You can decide which Wi-
Fi standard will be use on
2.4G
network. You can select
from:
You can decide which Wi-Fi
standard will be use on 5G
network. You can select from:
You can decide which Wi-Fi
standard will be use on 5G
network. You can select from:
-802.11b/g
-802.11a/n/ac
-802.11ax/be(recommended)
-802.11b/g/n
-802.11g/n
-802.11a/n/ac/ax
(recommended)
-802.11n
-802.11g/n/ax
(recommended)
Wireless
channel
You can decide which
channel will be used to
broadcast the 2.4G Wi-Fi
network.
Select Auto to let the
ARIA3x2x chose the least
congested channel by
analyzing the Wi-Fi
channels used by
surrounding neighbors or
you can manually select
from channel 1 to 11.
You can decide which channel
will be used to broadcast the 5G
Wi-Fi network.
Select Auto to let the ARIA3x2x
chose the least congested
channel by analyzing the Wi-Fi
channels used by surrounding
neighbors or you can manually
select from channel list.
You can decide which channel
will be used to broadcast the 6G
Wi-Fi network.
Select Auto to let the ARIA3x2x
chose the least congested
channel by analyzing the Wi-Fi
channels used by surrounding
neighbors or you can manually
select from channel list.
Channel
bandwidth
You can decide which
channel bandwidth will be
use for 2.4G network.
Selections are:
-20 MHz (recommended)
-20/40 MHz
You can decide which channel
bandwidth will be used for 5G
network. Selections are:
-20 MHz
-40 MHz
-80 MHz (recommended)
You can decide which channel
bandwidth will be used for 5G
network. Selections are:
-20 MHz
-40 MHz
-80 MHz
-160 MHz
-320 MHz(recommended)

Hitron ARIA3x2x User’s Guide
Version
1.0,
03/2021.
Copyright
2012
Hitron
Technologies
9
37
Version 1.1, 08/2026. Copyright
2026 Hitron Technologies
3.4.5.2
What is airtime fairness?
Airtime fairness is a feature that boosts the overall network performance by sacrificing
a little bit of network time on your slowest devices. The relatively "slow" Wi-Fi speed
devices can be slow from either long physical distance, weak signal strength or
simply being a legacy device with an older technology.
3.4.5.3
What is DFS?
Dynamic Frequency Selection (DFS) is a Wi-Fi function that enables WLANs to use 5
GHz frequencies that are generally reserved for radars. One main benefit of using
DFS channels is to utilize under-serviced frequencies to increase the number of
available Wi-Fi channels. In most countries, these channels are broadcasting at lower
power to not disturb the radar activities. When a radar is detected by your ARIA3x2x,
it will change channel immediately to free up the DFS frequencies. This feature is only
affecting the 5G band.
3.4.5.4
What is band steering?
Your ARIA3x2x utilizes 2 Wi-Fi bands to help maximize signal strength and speed for
multiple devices.
The 2.4GHz network can offer greater range and is suitable for everyday surfing.
The 5GHz network offers faster speeds at a closer range. It is great for
streaming.
When band steering is turned off, the 2 bands are considered as 2 different Wi-Fi
networks (SSID). You manually decide which Wi-Fi network you connect your devices
to (from the device itself).
When band steering is turned on, your devices will only see one Wi-Fi network and
the ARIA3x2x will provide the best possible experience by automatically connecting
your devices to either 2.4GHz or 5GHz band using Hitron’s intelligence.
Note: Band Steering function is enabled by default. During the onboarding phase,
you will set up both bands to act as a smart network under a single SSID
name and password. That is the recommended setup.
3.4.6
Wi-Fi survey
The Wi-Fi survey will display all the surrounding Wi-Fi network indicating the channel
they use, and the signal strength perceived by the router. That will help you
understand if other routers are causing interference where your router is located.

Hitron ARIA3x2x User’s Guide
Version 1.0, 03/2021. Copyright 2012 Hitron Technologies
10
38
Version 1.1, 08/2026. Copyright
2026 Hitron Technologies
3.5
Firewall
This section can be found in the router web UI only.
The term “firewall” comes from a construction technique designed to prevent the
spread of fire from one room to another. Similarly, your ARIA3x2x’s firewall prevents
intrusion attempts and other undesirable activity originating from the WAN, keeping
the computers on your LAN safe. You can also use filtering techniques to specify the
computers and other devices you want to allow on the LAN and prevent certain traffic
from going from the LAN to the WAN. Click the Firewall button from the left drop down
menu to select the Firewall settings pages.
3.5.1
IPv4 Settings
ARIA3x2x provides 3 firewall levels for the Ipv4 traffics: Minimum, Typical and
Maximum. A custom firewall level is also supported which allows users to block or
allow the applications they like to.
Hitron ARIA3x2x User’s Guide
Version
1.0,
03/2021.
Copyright
2012
Hitron
Technologies
9
39
Version 1.1, 08/2026. Copyright
2026 Hitron Technologies
Firewall Level Settings
Disabled
No application or traffic is blocked
Maximum
Maximum security level would block all outgoing traffic except
the applications listed in the GUI, like Internet browsing Email
service, VPN passthrough DNS and iTune service.
Typical
Blocks P2P applications but allows all other traffic.
Minimum
No application or traffic is blocked but the Intrusion Detection
System (IDS) monitors the network for malicious activities or
policy violations.
Custom
Customize the Ipv4 firewall settings.
Hitron ARIA3x2x User’s Guide
Version 1.0, 03/2021. Copyright 2012 Hitron Technologies
10
40
Version 1.1, 08/2026. Copyright
2026 Hitron Technologies
3.5.1.1
Custom Settings
To customize the Ipv4 firewall settings, click the Custom button and turn the firewall
on to enter the Custom submenu.
Ipv4 Firewall Custom Settings
Firewall
To enable or disable the custom firewall. When Firewall is
enabled all the following applications/ protocols HTTP, ICMP,
P2P, Ident will be blocked.
HTTP
Set HTTP to ON to allow the HTTP traffic through the firewall.
ICMP
Set ICMP to ON to allow the ICMP traffic through the firewall.
P2P
Set P2P to ON to allow the P2P applications through the
firewall.
Ident
Set Ident to ON to allow the Ident applications through the
firewall.
3.5.1.2
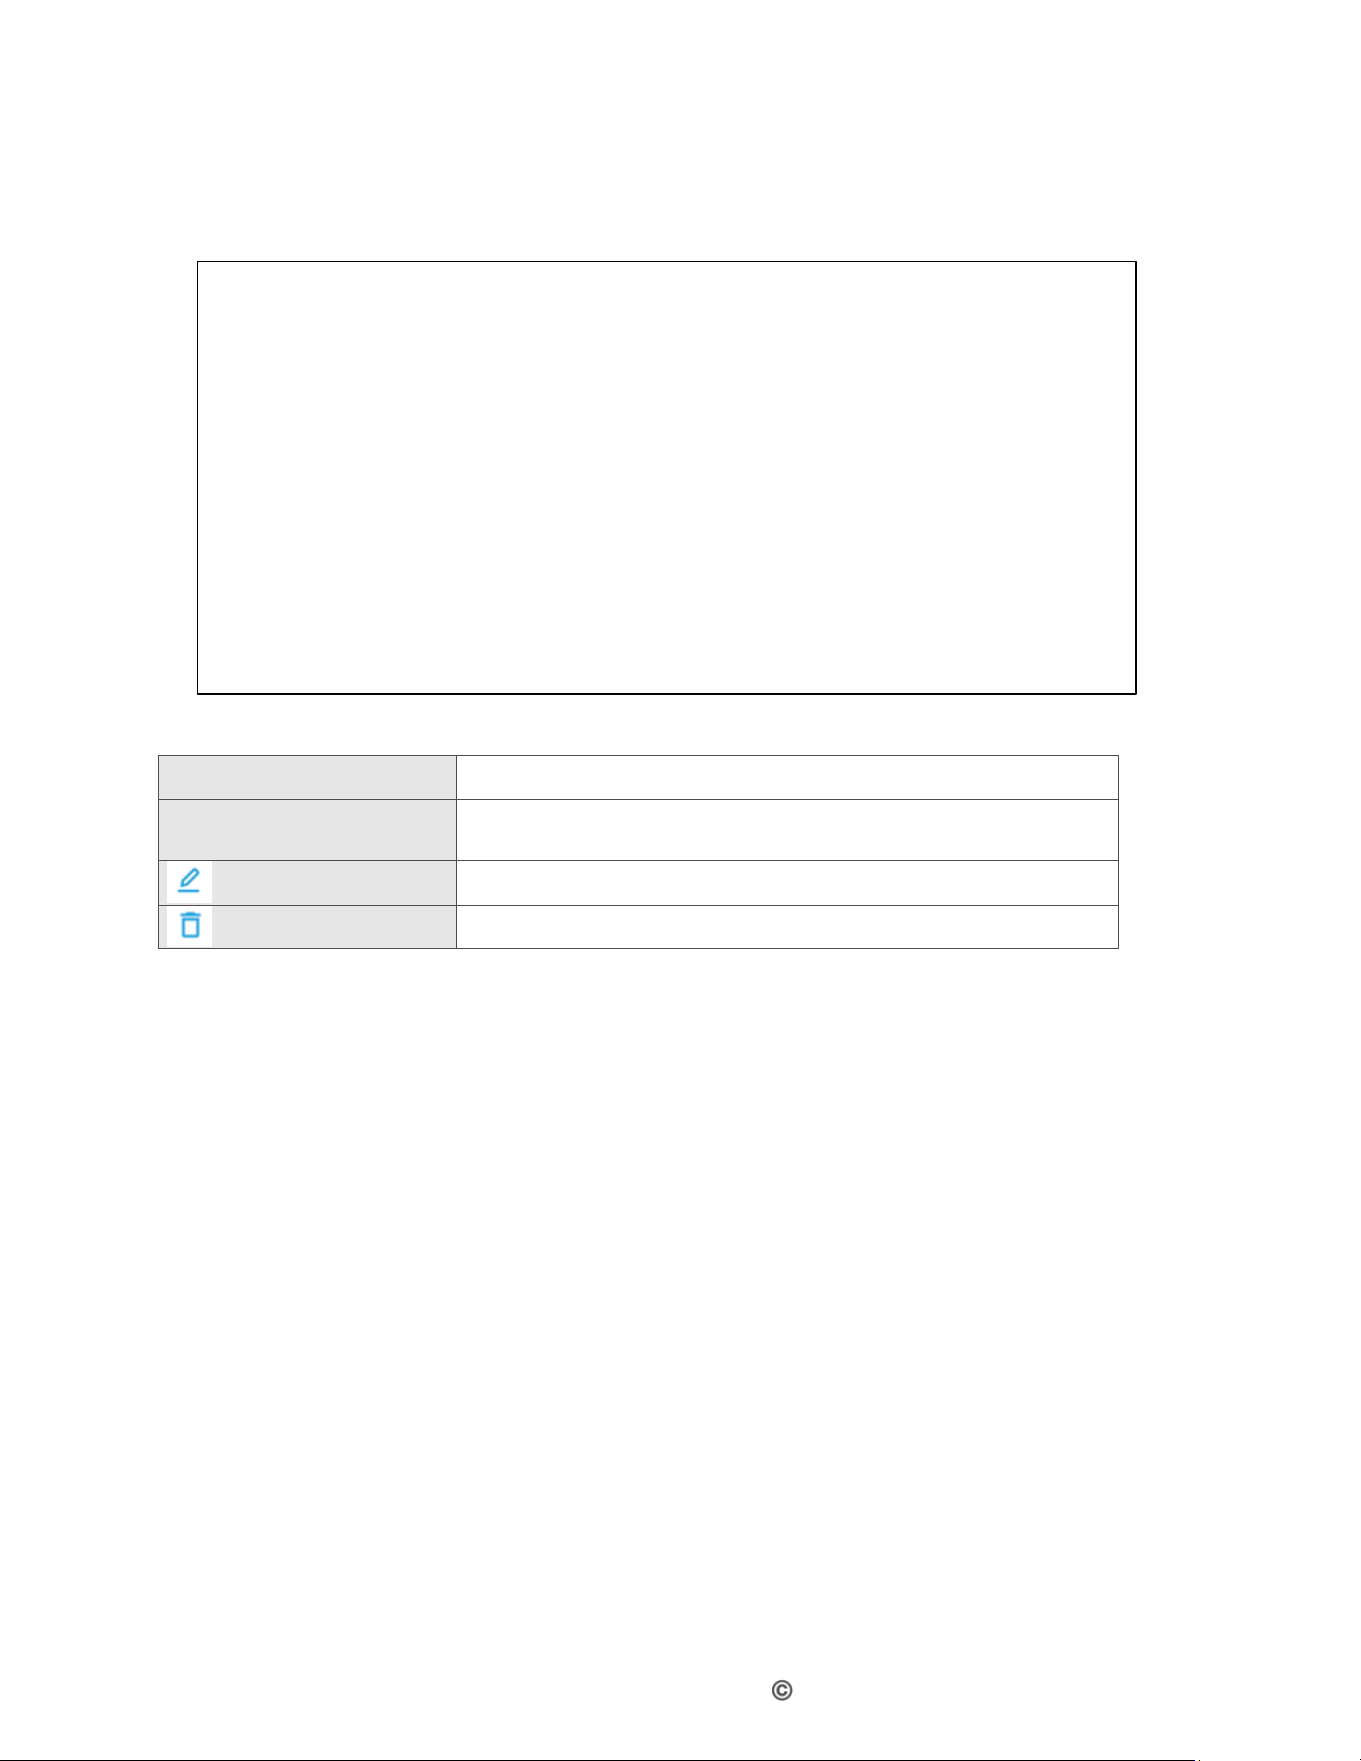
Ping from WAN
To allow the gateway to respond to pings from the Internet.
Hitron ARIA3x2x User’s Guide
Version
1.0,
03/2021.
Copyright
2012
Hitron
Technologies
9
41
Version 1.1, 08/2026. Copyright
2026 Hitron Technologies
3.5.2
Ipv6 Settings
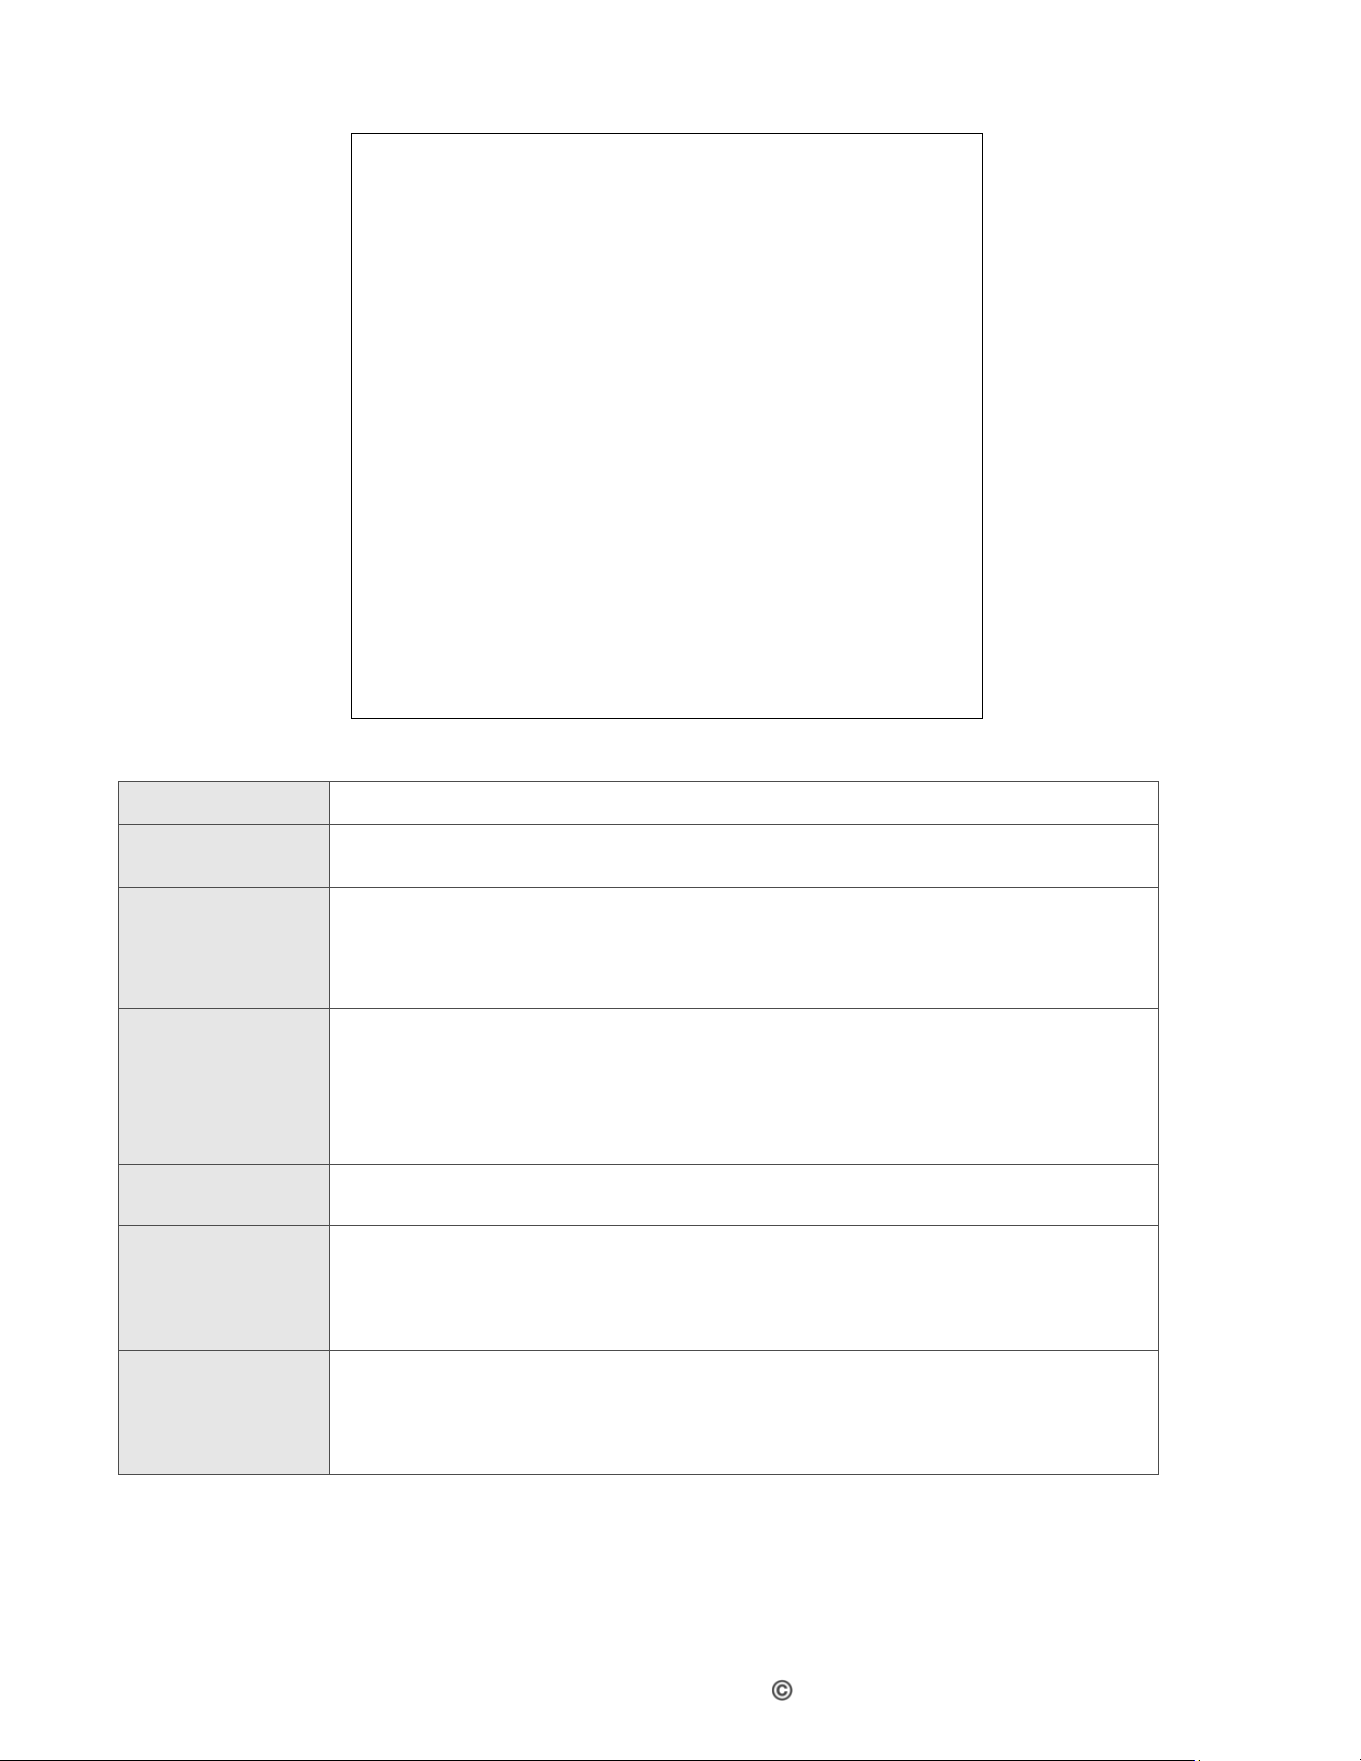
ARIA3x2x allows users to add the Ipv6 inbound firewall rules to its Ipv6 firewall.
Ipv6 Firewall Settings
Firewall
To enable or disable Ipv6 firewall.
Ping on Wan Interface
To allow the gateway to respond to pings from the
Internet.
Modification icon.
Delete icon.
3.5.2.1
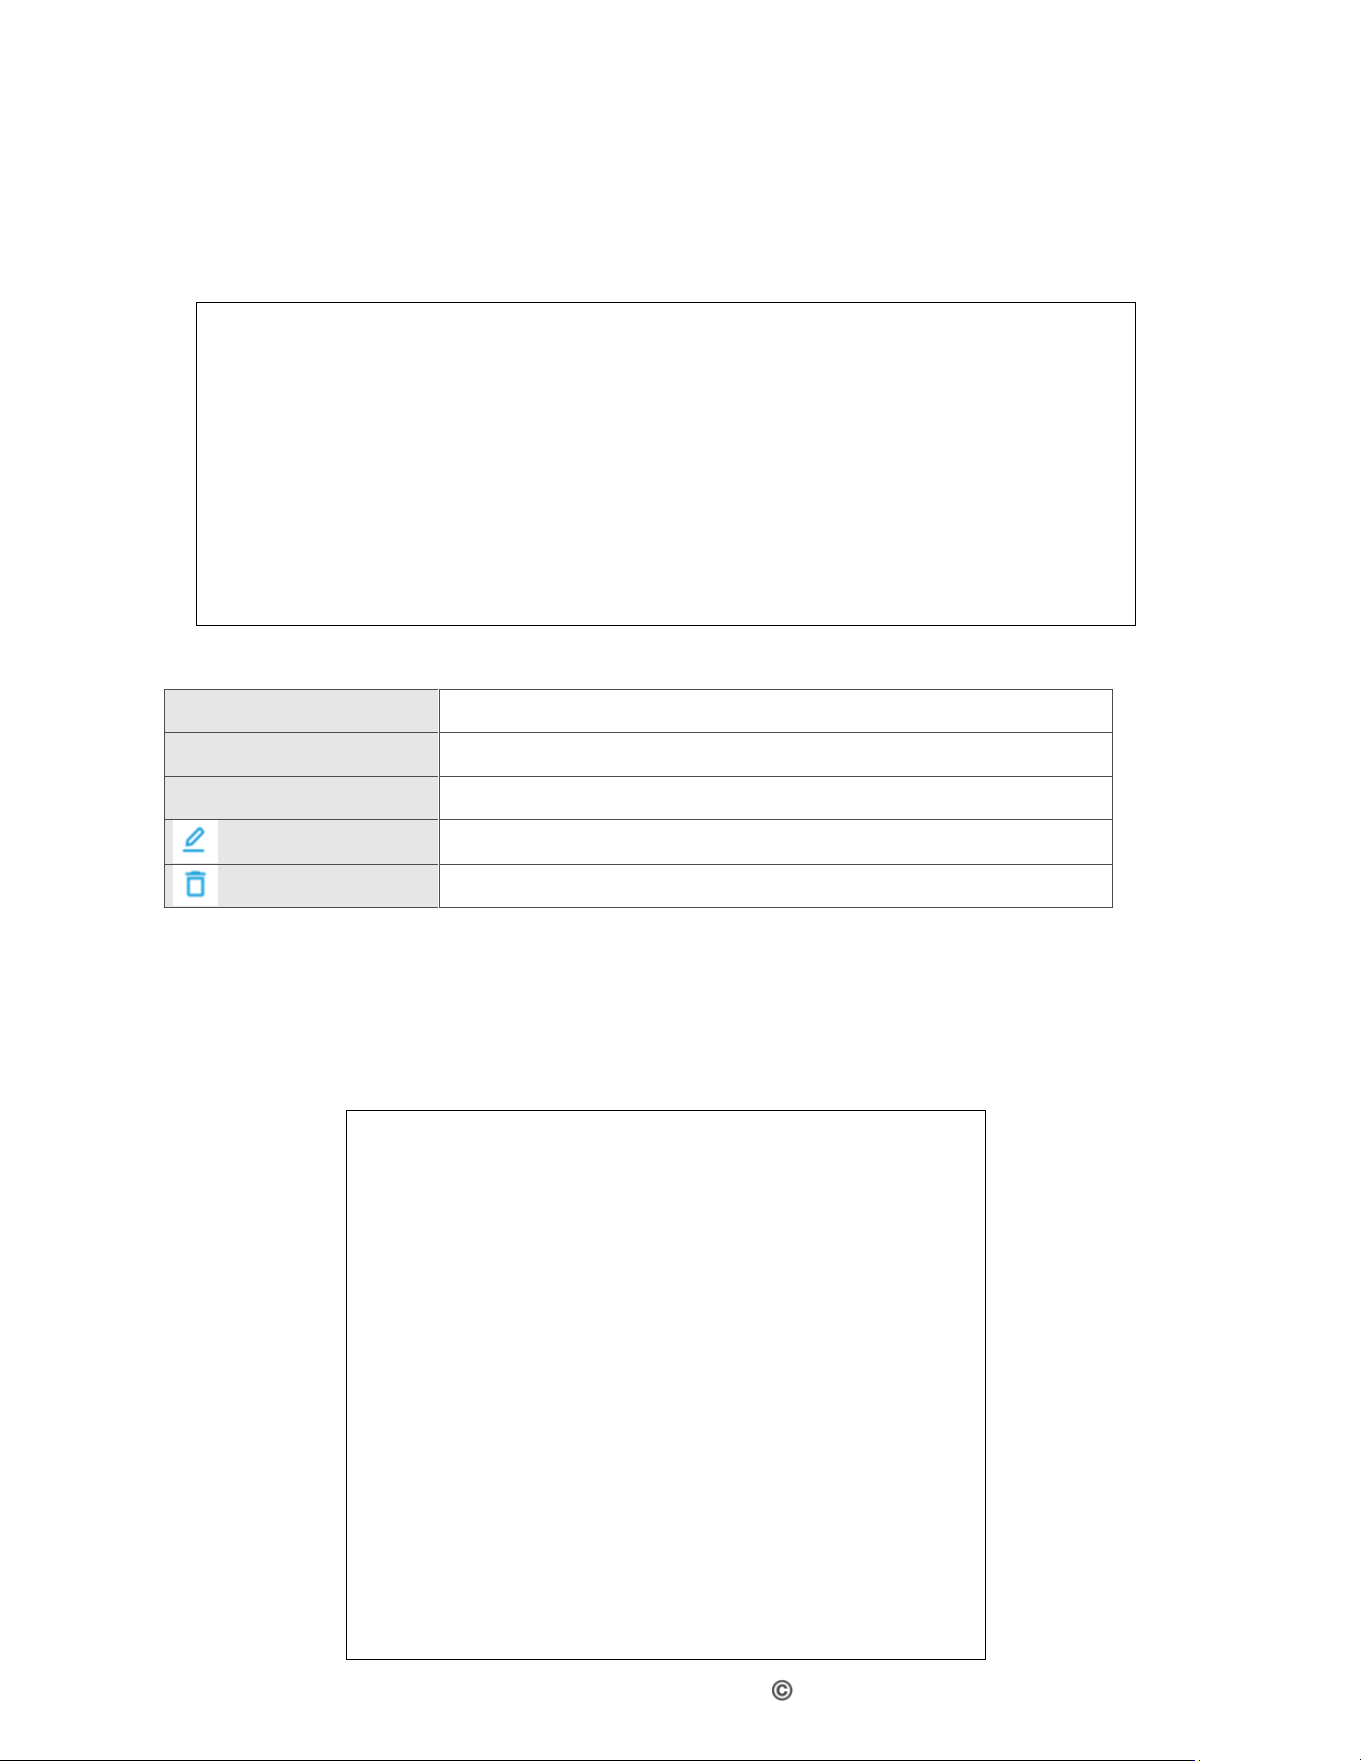
Ipv6 Inbound Firewall Rules
Click the Add Rule button to add a custom inbound firewall rule.
Hitron ARIA3x2x User’s Guide
Version 1.0, 03/2021. Copyright 2012 Hitron Technologies
10
42
Version 1.1, 08/2026. Copyright
2026 Hitron Technologies
Ipv6 Firewall Settings
Rule Status
To enable or disable the current Inbound rule.
Common
Application
Use this field to select the application for which you want to create
an inbound rule, if desired.
Application
Name
The name for the inbound firewall rule. The name will auto fill when
you select the application above, however you can still rename it.
NOTE: This name is arbitrary and does not affect functionality in any
way.
Protocol
Use this field to specify the Protocol that the Ipv6 firewall should filter
via:
Transmission Control Protocol (TCP)
User Datagram Protocol (UDP)
Both TCP and UDP (TCP/UDP)
Port range
To indicate the start and end port for the Inbound firewall rule
applies.
Local IP
Use this field to enter a specific IP address or any IP address from
the Local to the inbound filter rule.
Select Any for any IP address from the LAN.
Select Specific to add an IP address for the rule.
Remote
IP/CIDR
Use this field to enter a specific IP address or any IP address on the
WAN(Remote) to the inbound filter rule.
Select Any for any IP address from the WAN.
Select Specific to add an IP address for the rule.
Hitron ARIA3x2x User’s Guide
Version
1.0,
03/2021.
Copyright
2012
Hitron
Technologies
9
43
Version 1.1, 08/2026. Copyright
2026 Hitron Technologies
3.5.3
Port Forwarding
Port forwarding redirects communication requests from one address and port number
combination to another.
Port Forwarding Settings
Status
To enable or disable Port Forwarding
Add Rule
To add a port forwarding rule.
List
Display the created port forwarding rules.
Modification icon.
Delete icon.
3.5.3.1
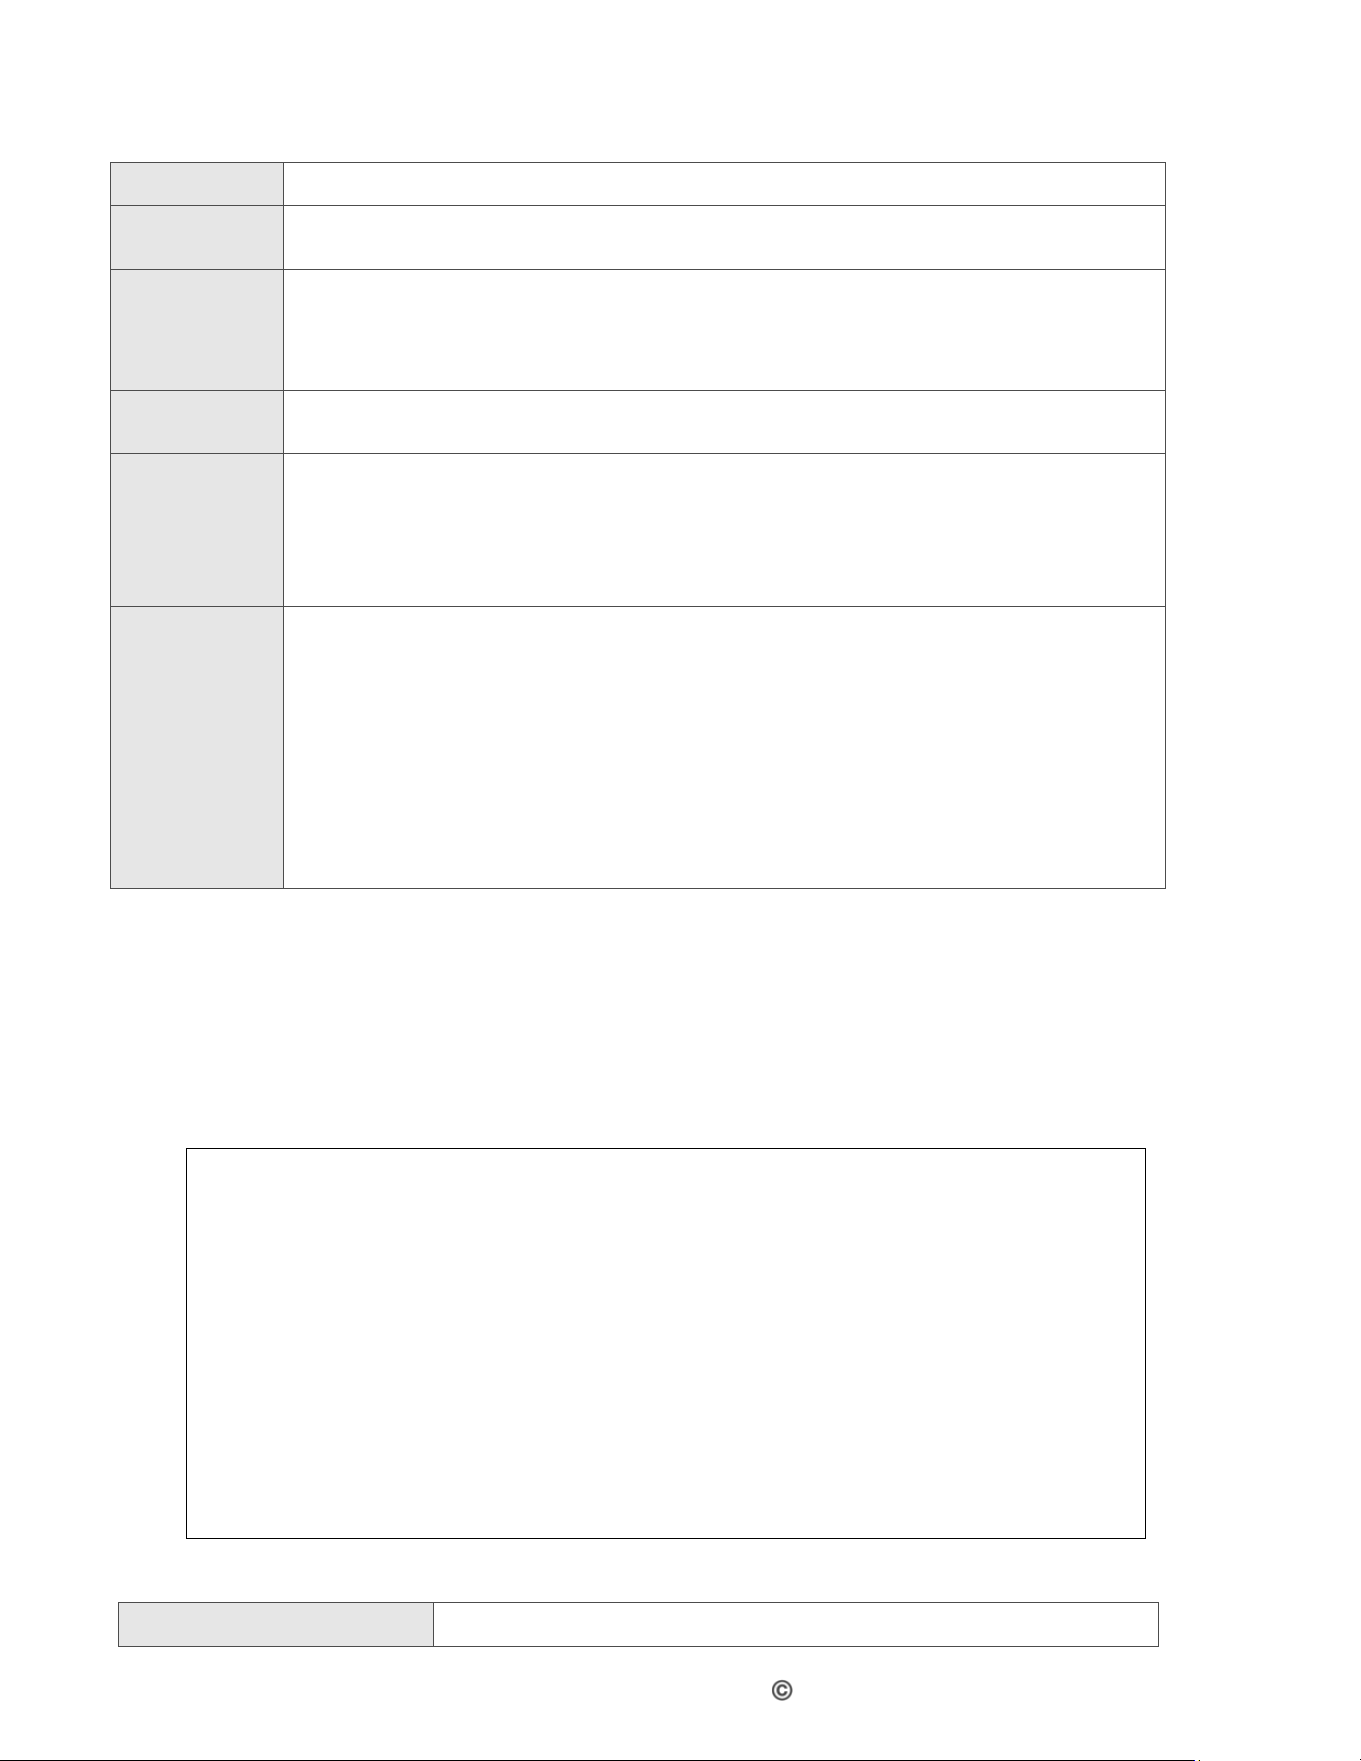
Add a Port Forwarding Rule
Click Add Rule icon to enter the Add Rule submenu to create a rule.
Hitron ARIA3x2x User’s Guide
Version 1.0, 03/2021. Copyright 2012 Hitron Technologies
10
44
Version 1.1, 08/2026. Copyright
2026 Hitron Technologies
Add Port Forwarding Rule Settings
Rule Status
To enable or disable the current Port Forwarding rule.
Common
Application
Select one of the applications from the list to apply for the port
forwarding.
Application
Name
The name for the port forwarding rule. The name will auto fill when you
select the application above, however you can still rename it
NOTE: This name is arbitrary and does not affect functionality in any
way.
Local IP
Address
Use this field to enter the IP address of the computer on the LAN to
which you want to forward the traffic.
Ports
Use these fields to specify the incoming port or the range of ports. These
are the ports on which the ARIA3x2x receives traffic from the originating
host on the WAN.
Single: To specify a incoming port
Rang: To specify a range of ports/
Protocol
Use this field to specify whether the ARIA3x2x should forward traffic via:
Transmission Control Protocol (TCP)
User Datagram Protocol (UDP)
Transmission Control Protocol and User Datagram Protocol
(TCP/UDP)
Generic Routing Encapsulation (GRE)
Encapsulating Security Protocol (ESP)
Internet Control Message Protocol (ICMP)
NOTE: If in doubt, leave this field at its default (TCP/UDP)
3.5.4
UpnP
Universal Plug and Play (UpnP) is a protocol that lets UpnP-enabled devices on your
network to automatically discover and communicate with each other, as well as create
more direct channels of communication with the Internet.
Ipv6 Firewall Settings
UpnP Status
To enable or disable UpnP.
Hitron ARIA3x2x User’s Guide
Version
1.0,
03/2021.
Copyright
2012
Hitron
Technologies
9
45
Version 1.1, 08/2026. Copyright
2026 Hitron Technologies
3.5.5
DMZ
In networking, the De-Militarized Zone (DMZ) is a part of your LAN that has been
isolated from the rest of the LAN and is opened to the WAN.
The DMZ Network protects the local network from outside attacks when some of the
local hosts involve services that extend to users outside of the local area network,
such as file, email, web and DNS servers, those hosts are usually most vulnerable to
attack.
Ipv6 DMZ Settings
Enable DMZ
To enable or disable UpnP.
DMZ Host
Enter the IP address of the host that you want to add to the
DMZ.
3.6
Security
This section can be found in the router web UI only.
Security configuration allows you to configure the Port Blocking, Keyword Filter and
Device Filter to secure your Network.
Click the Security button from the left drop down menu to select the Security settings
pages.
Hitron ARIA3x2x User’s Guide
Version 1.0, 03/2021. Copyright 2012 Hitron Technologies
10
46
Version 1.1, 08/2026. Copyright
2026 Hitron Technologies
Port Blocking
The Port Blocking configuration allows you to manage the network services by
blocking the services ports and add a trusted PC/Device to the network.
Port Block Settings
Managed Services
To enable or disable Managed Services.
Add Managed Service
To add a Managed Services.
Trusted Device
To enable or disable Trust device function.
Add Trusted Device
To add a trusted device to the list.
Modification icon.
Delete icon.
Hitron ARIA3x2x User’s Guide
Version
1.0,
03/2021.
Copyright
2012
Hitron
Technologies
9
47
Version 1.1, 08/2026. Copyright
2026 Hitron Technologies
3.6.1.1
Add Managed Services
Managed Services allows you to block certain applications by blocking its service
ports; the function also allows you to block the services by schedule.
Managed Services Settings
Rule Status
To active or inactive the rule.
Application Name
Enter a name for the application for which you want to create the
rule.
NOTE: This name is arbitrary and does not affect functionality in
any way.
Protocol
Use this field to specify whether the ARIA3x2x should filter via:
Transmission Control Protocol (TCP)
User Datagram Protocol (UDP)
Both TCP and UDP (TCP/UDP).
Port range
These are the port range to which traffic will be blocked.
Enter the start port number in the first field and the end port
number in the second field.
To specify only a single port, enter its number in both fields.
Manage All Day
Select this field to always apply the filtering rule (All days of the
week).
Managed
Weekdays
Use the Managed Weekdays fields to specify the days on which
the rule should be applied.
Select Time
Use the Manage Time Start fields to specify a period of time which
the rule should be applied.
Save
Press the Save to save the settings.
3.6.1.2
Add Trusted Device
Hitron ARIA3x2x User’s Guide
Version 1.0, 03/2021. Copyright 2012 Hitron Technologies
10
48
Version 1.1, 08/2026. Copyright
2026 Hitron Technologies
The trusted PC/devices are those to which Managed Services rules are not applied.
Add Trusted Device Settings
Rule Status
To active or inactive trusted device on the device.
Host Name
Enter a name to identify the device.
Local IP Address
Enter the IP address of the device.
Save
Apply and save the settings.
3.6.2
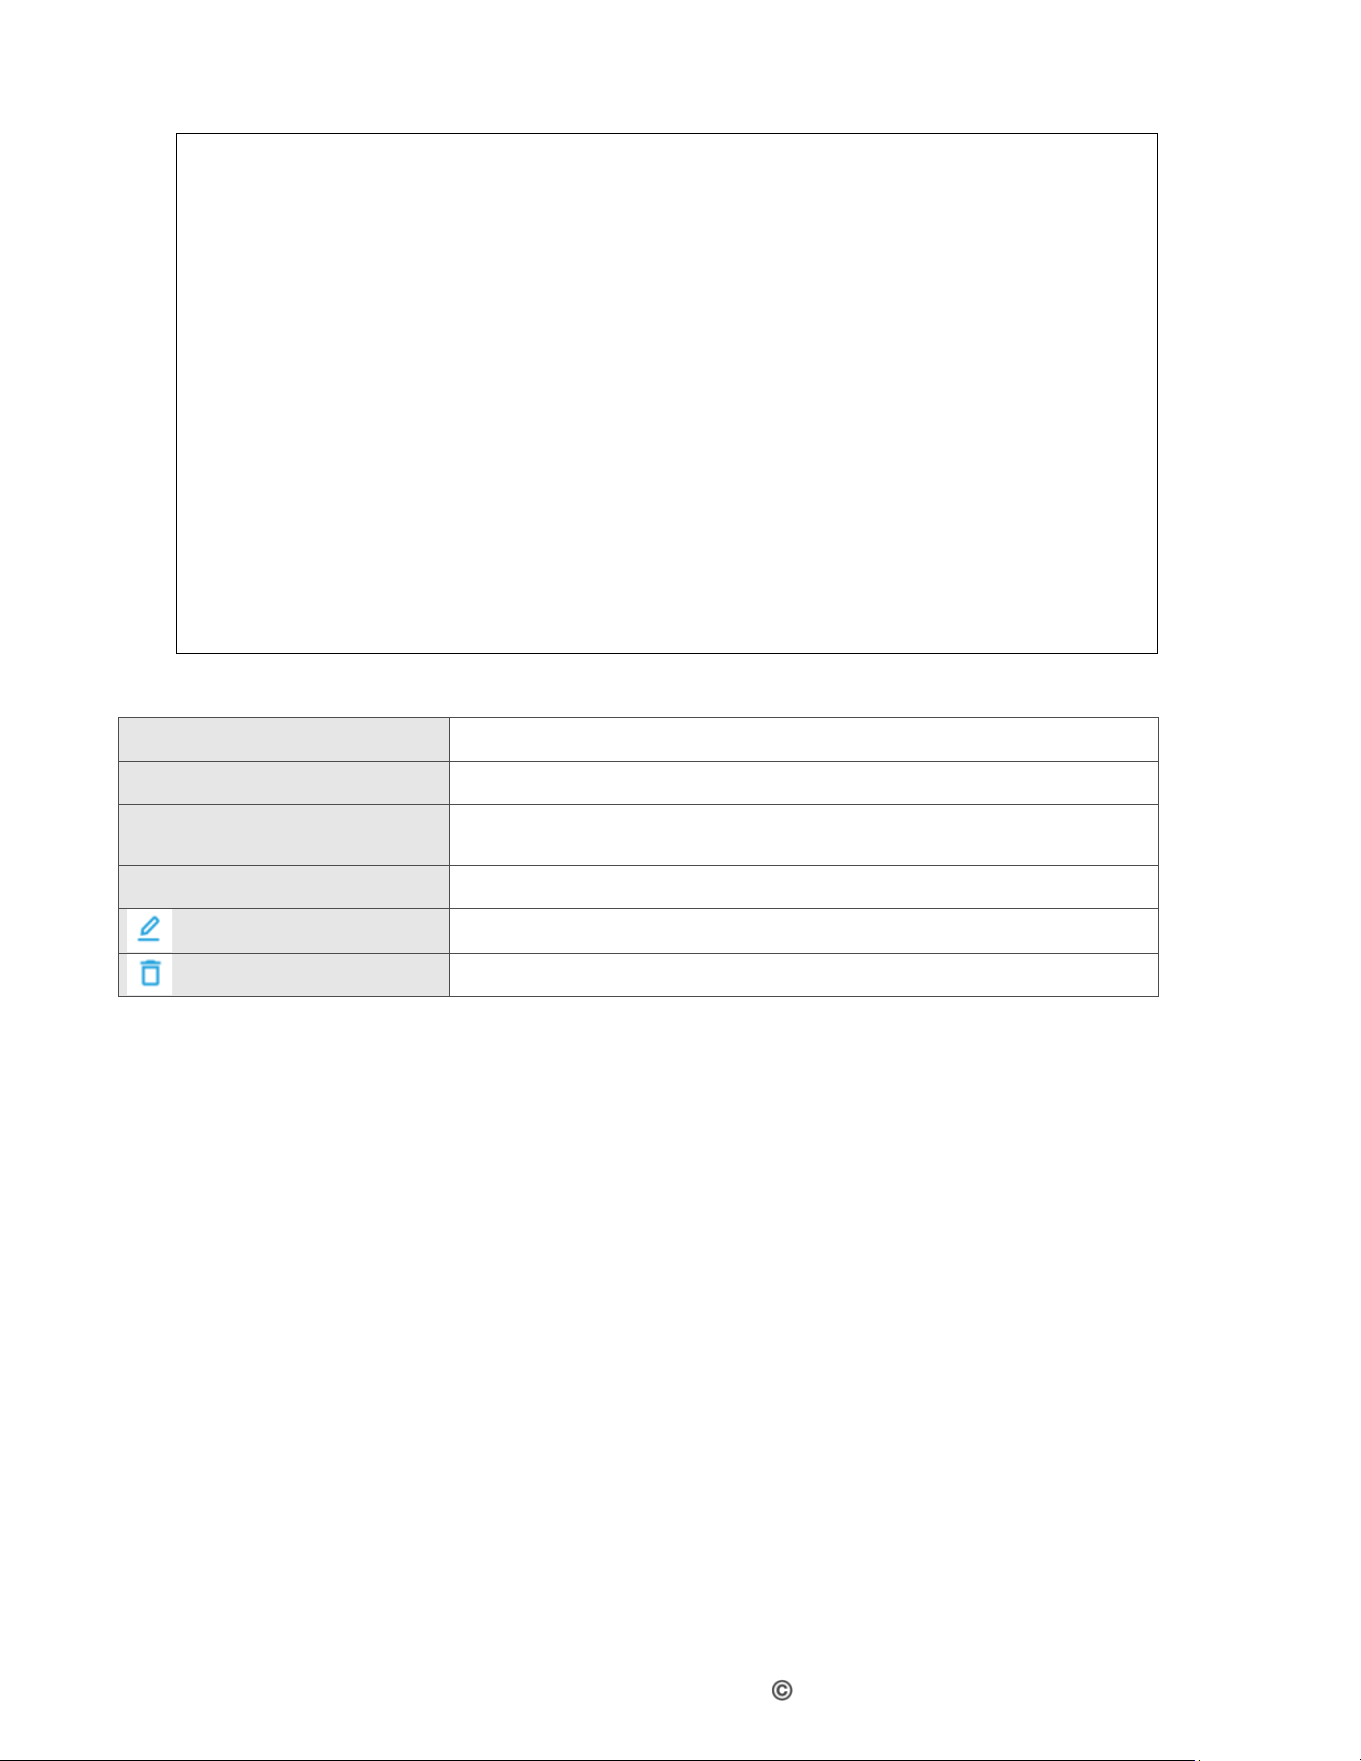
Keyword Filter
Keyword Filter allows users to block access from the LAN to websites whose URLs
(Web addresses) and page content (text) contain certain keywords. You can create
multiple keywords blocking rules, and configure them to apply on certain days and at
certain times.
You can also create and edit trusted devices. Trusted devices are those to which
keyword filtering rules are not applied.
Hitron ARIA3x2x User’s Guide
Version
1.0,
03/2021.
Copyright
2012
Hitron
Technologies
9
49
Version 1.1, 08/2026. Copyright
2026 Hitron Technologies
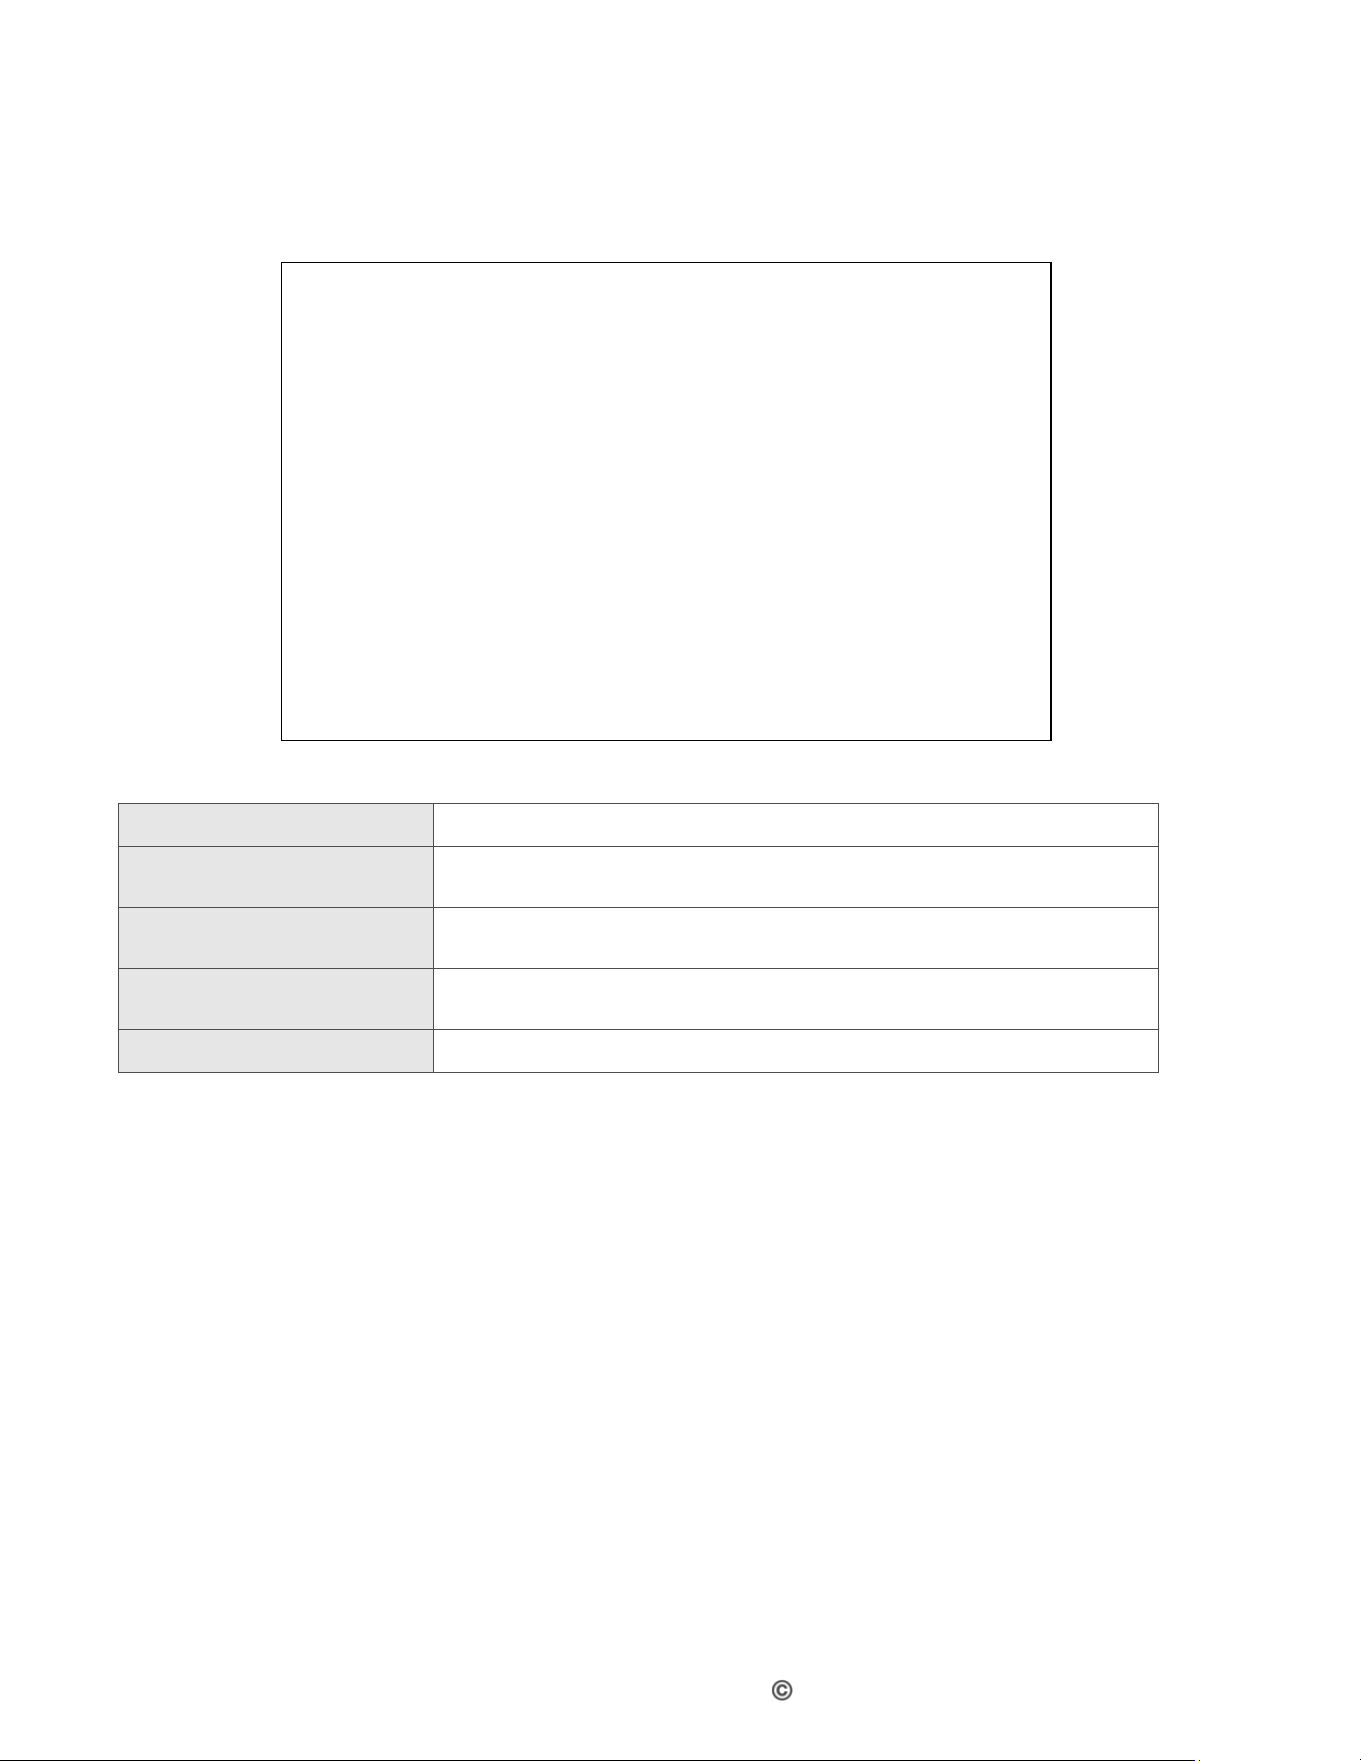
Keyword Filter Settings
Managed Keywords List
To enable or disable Keyword Filter.
Add Managed Keyword
To add a Managed Keyword
Trusted Device
To enable or disable Trust Device function on keyword
filter.
Add Trusted Device
To add a trusted PC to the list.
Modification icon.
Delete icon.
Hitron ARIA3x2x User’s Guide
Version 1.0, 03/2021. Copyright 2012 Hitron Technologies
10
50
Version 1.1, 08/2026. Copyright
2026 Hitron Technologies
3.6.2.1
Add Managed keyword
The trusted PC/devices are those to which Managed Services rules are not applied.
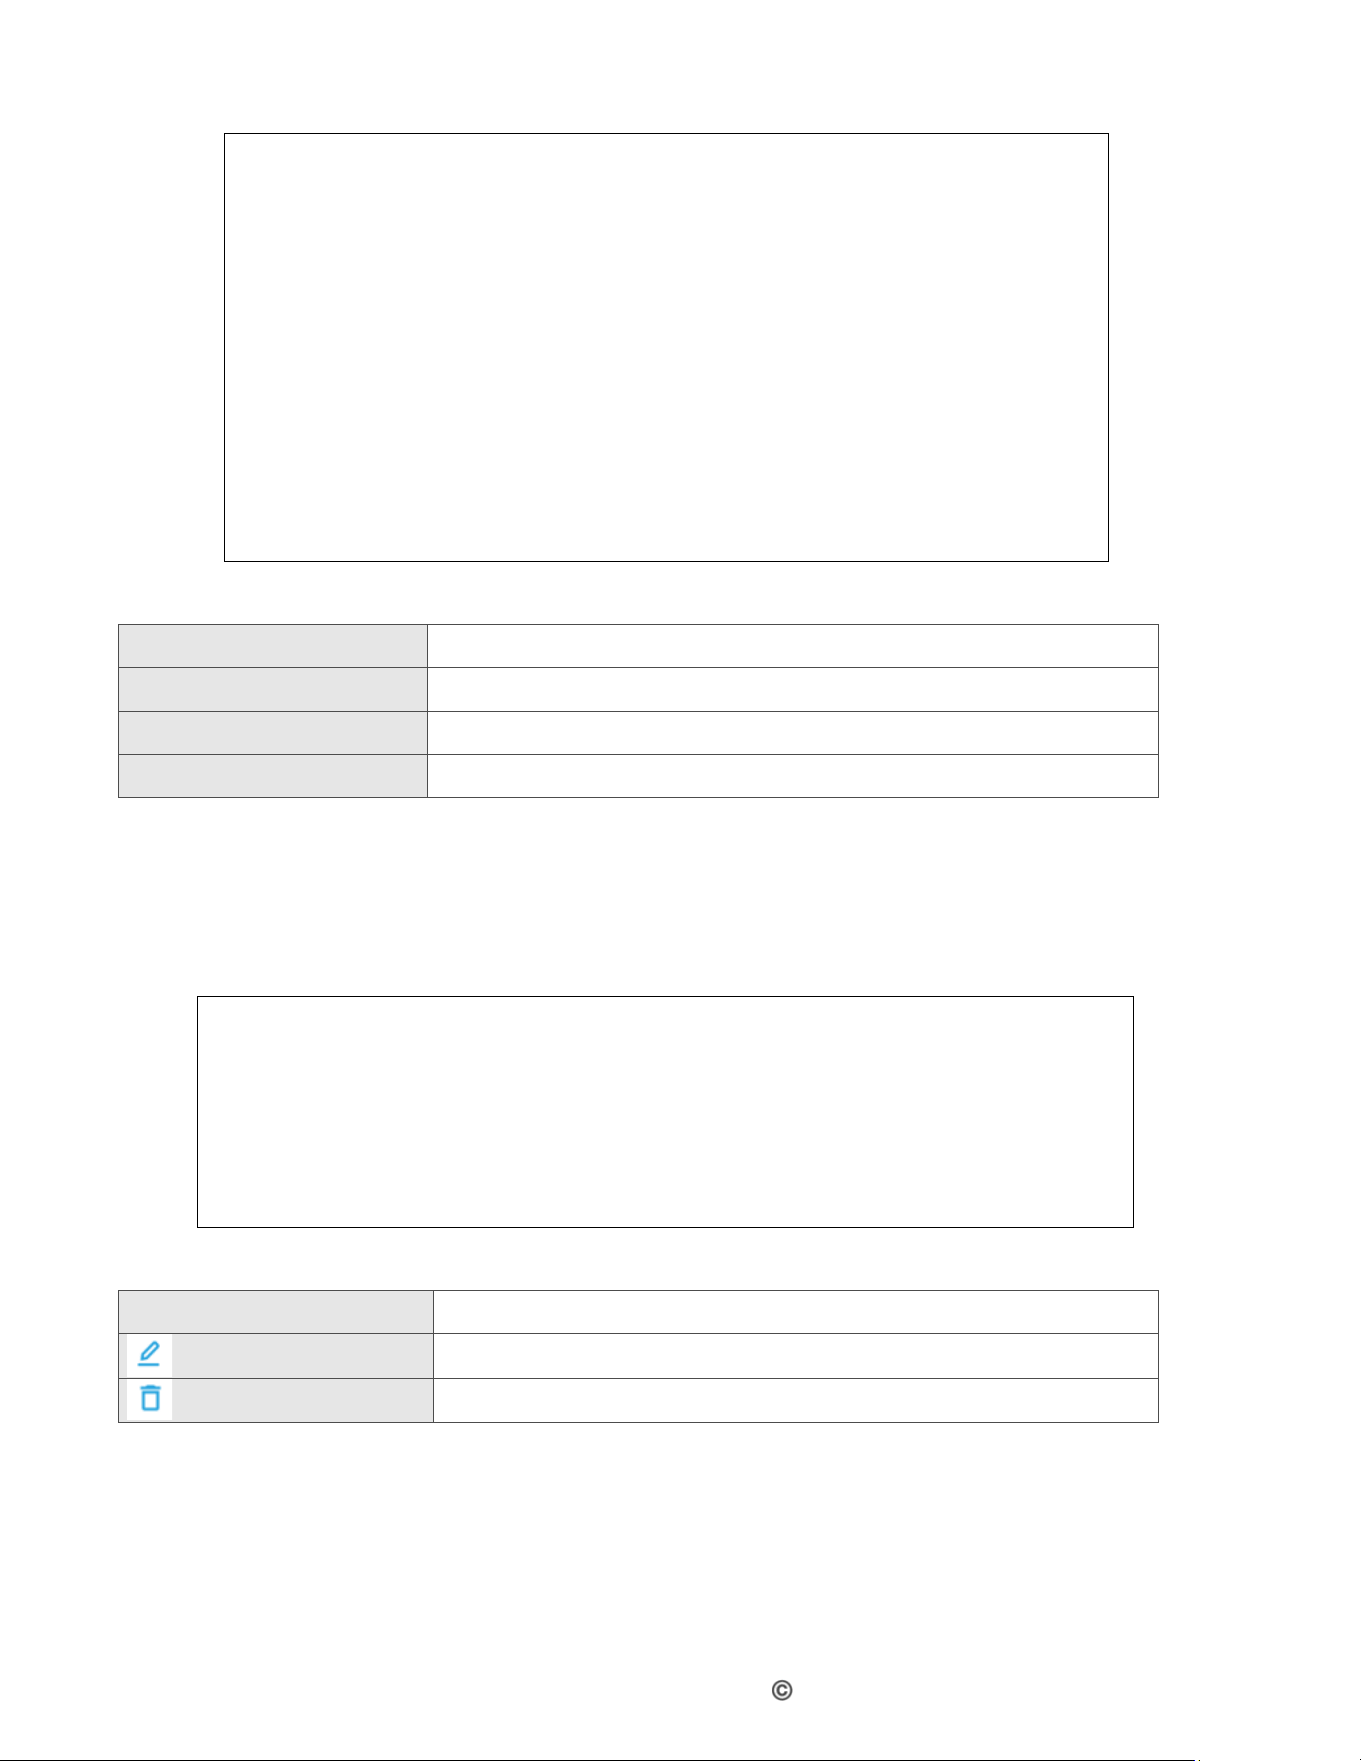
Add Managed keyword Settings
Keyword
Enter the keyword that you want to be blocked.
Manage All Day
Select this field to always apply the keyword filter rule (All
days of the week).
Managed Weekdays
Use the Managed Weekdays fields to specify the days on
which the rule should be applied.
Select Time
Use the Manage Time Start fields to specify a period which
the rule should be applied.
Save
Press the Save to save the settings.
3.6.2.2
Trusted Device
The trusted PC/devices are those to which Managed Services rules are not applied.
Hitron ARIA3x2x User’s Guide
Version
1.0,
03/2021.
Copyright
2012
Hitron
Technologies
9
51
Version 1.1, 08/2026. Copyright
2026 Hitron Technologies
Add Trusted Device Settings
Rule Status
To active or inactive trusted device on the device.
Host Name
Enter a name to identify the device.
Local IP Address
Enter the IP address of the device.
Save
Apply and save the settings.
3.6.3
Device Filter configuration
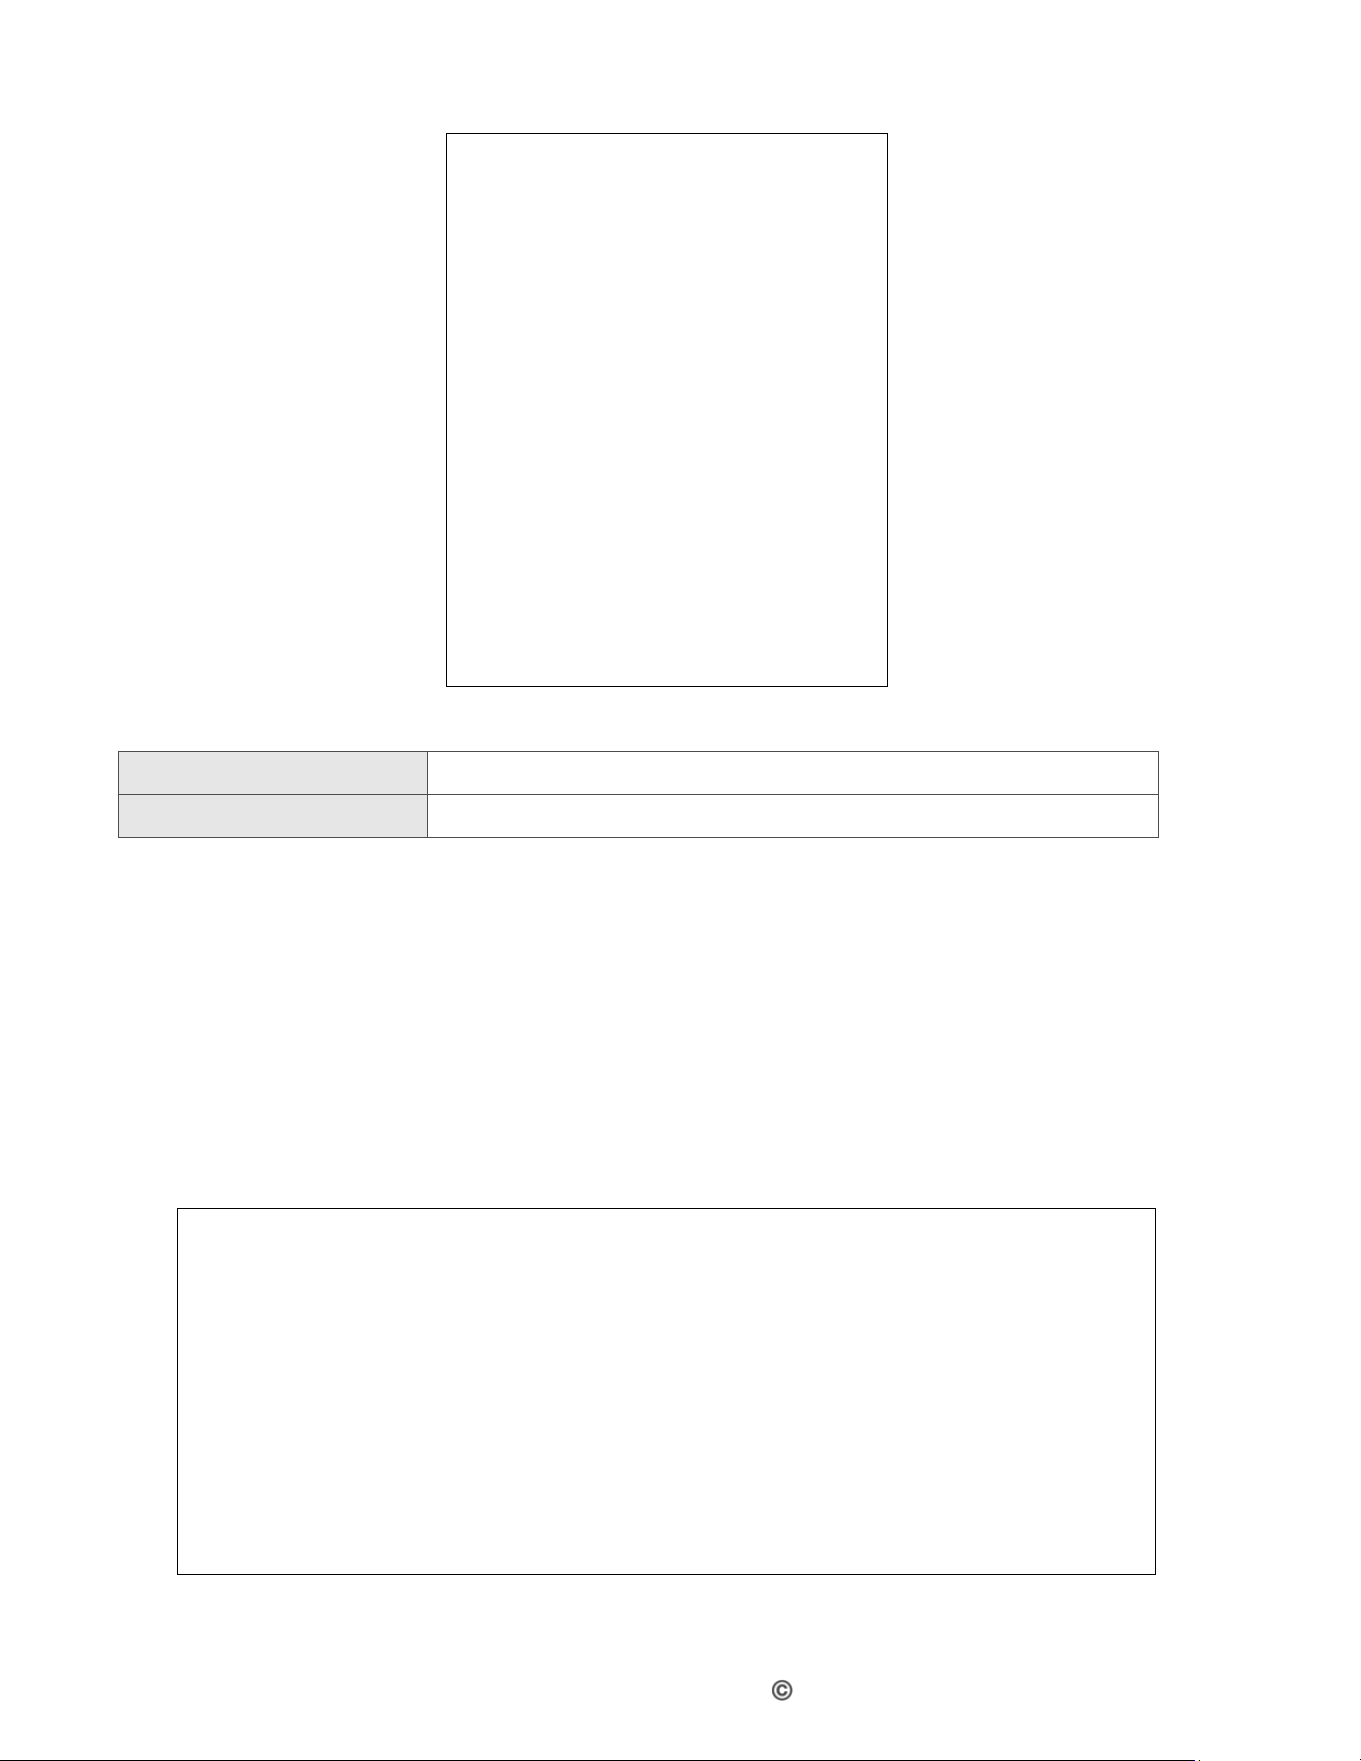
Device Filter allows you to deny the network access to devices on the filter list.
Device Filter Settings
Block A device
Add a device to the blocking list.
Modification icon.
Delete icon.
3.6.3.1
Block a device
Select one or more devices from the connect devices list to the blocked devices list.
Hitron ARIA3x2x User’s Guide
Version 1.0, 03/2021. Copyright 2012 Hitron Technologies
10
52
Version 1.1, 08/2026. Copyright
2026 Hitron Technologies
Block a device Settings
Refresh
To refresh connected devices list.
Save
Apply and save the settings.
3.7
Administrator Settings
This section is for the general management of the device.
3.7.1
Device Reset
Device Reset allows you reboot or do a Factory Reset.
Device Reset Settings
Hitron ARIA3x2x User’s Guide
Version
1.0,
03/2021.
Copyright
2012
Hitron
Technologies
9
53
Version 1.1, 08/2026. Copyright
2026 Hitron Technologies
Reboot
This action will simply reboot your ARIA3x2x. Device
connected to this ARA3x2x will lose connection until the ARIA
is back online.
Refer to Section 1.6
Factory reset
This action will remove any custom setting for this ARA3x2x.
Device connected to this ARIA3x2x will lose their connection.
Refer to Section 1.7
3.7.2
Administrator Password
The Password page allows you to change the Administrator password.
If you are using a Hitron gateway/router, the admin password will be synchronized
between your Hitron devices by Hitron proprietary protocol AutoSync. Your ARIA3x2x
will receive the admin password from the gateway/router during initial setup. This is
also the same password used to access the MyHitron+ mobile application.
Administrator Password Settings
Current password
Your current administrator password.
New password
Type the new password that you want to use.
Confirmed password
Type the new password again to confirm.
Save
Saving is mandatory to apply password modification.
3.7.3
Backup and Restore
You can back up your actual settings locally with this feature.
Hitron ARIA3x2x User’s Guide
Version 1.0, 03/2021. Copyright 2012 Hitron Technologies
10
54
Version 1.1, 08/2026. Copyright
2026 Hitron Technologies
Backup and Restore
Backup
The system will create a file backup.tar which you can store
locally on your computer or mobile device.
Select the file
Find the backup file to restore. It should be a .tar file.
Restore
Once the file is selected, start the restore process to recover
those settings.
3.7.4
Time settings
Time settings allow you to set the Time Zone of the location where your ARIA3x2x is
installed. The time is mainly used for LED or pause schedules settings via the app.
Time Settings
Time Zone
Select the time zone from the drop-down menu.
Save
Saving is mandatory to apply password modification.
3.7.5
Device Name
Device Name helps to distinguish your devices in your home or office network,
Hitron ARIA3x2x User’s Guide
Version
1.0,
03/2021.
Copyright
2012
Hitron
Technologies
9
55
Version 1.1, 08/2026. Copyright
2026 Hitron Technologies
Device Reset Settings
Name/Location
Type or select the room where the ARIA3x2x is located. It will
name your device by its location.
Save
Saving is mandatory to apply password modification.
3.7.6
LED Configuration
LED Configuration allows you to set the brightness of the front panel LED also it
allows you to set LED OFF with a schedule.
,
LED Configuration
LED Brightness
Adjust the brightness of the front panel LED.
LED OFF Schedule
Enable or Disable the LED OFF Schedule.
Edit the LED OFF schedule time.

Hitron ARIA3x2x User’s Guide
Version 1.0, 03/2021. Copyright 2012 Hitron Technologies
10
56
Version 1.1, 08/2026. Copyright
2026 Hitron Technologies
5
Statements and
Warnings
Additional statement:
◼ This end product is for use with field installable LDMs Optical Transceiver not provided with the
product when shipped from the original equipment manufacturer. This end product was
evaluated with representative LDMs during the Type Test investigation.
◼ The end product with LDMs installed are required to comply with IEC 60950-1 or IEC 62368-1,
IEC 60825-1 and IEC 60825-2, including any declared national differences.
For : ARIA3321/V ARIA3321/V-XPL
Federal Communication Commission Interference Statement
This device complies with Part 15 of the FCC Rules. Operation is subject to the following two
conditions: (1) This device may not cause harmful interference, and (2) this device must accept any
interference received, including interference that may cause undesired operation. This equipment has
been tested and found to comply with the limits for a Class B digital device, pursuant to Part 15 of the
FCC Rules. These limits are designed to provide reasonable protection against harmful interference in
a residential installation. This equipment generates, uses and can radiate radio frequency energy and,
if not installed and used in accordance with the instructions, may cause harmful interference to radio
communications. However, there is no guarantee that interference will not occur in a particular
installation. If this equipment does cause harmful interference to radio or television reception, which
can be determined by turning the equipment off and on, the user is encouraged to try to correct the
interference by one of the following measures:
• Reorient or relocate the receiving antenna.
• Increase the separation between the equipment and receiver.
• Connect the equipment into an outlet on a circuit different from that to which the receiver is
connected.
• Consult the dealer or an experienced radio/TV technician for help.
FCC Caution:
Any changes or modifications not expressly approved by the party responsible for compliance could
void the user's authority to operate this equipment. This transmitter must not be co-located or operating
in conjunction with any other antenna or transmitter.
Operations in the 5.15-5.25GHz band are restricted to indoor usage only.

Hitron ARIA3x2x User’s Guide
Version
1.0,
03/2021.
Copyright
2012
Hitron
Technologies
9
57
Version 1.1, 08/2026. Copyright
2026 Hitron Technologies
This device meets all the other requirements specified in Part 15E, Section 15.407 of the FCC Rules.
Radiation Exposure Statement:
This equipment complies with FCC radiation exposure limits set forth for an uncontrolled environment.
This equipment should be installed and operated with minimum distance 24cm between the radiator &
your body.
Note: The country code selection is for non-US model only and is not available to all US model. Per
FCC regulation, all WiFi product marketed in US must be fixed to US operation channels only.
FCC regulations restrict the operation of this device to indoor use only.
The operation of this device is prohibited on oil platforms, cars, trains, boats, and aircraft, except that
operation of this device is permitted in large aircraft while flying above 10,000 feet in the 5.925-6.425
GHz band.
Operation of transmitters in the 5.925-7.125 GHz band is prohibited for control of or communications
with unmanned aircraft systems.
Industry Canada statement:
This device complies with ISED’s license-exempt RSSs. Operation is subject to the following two
conditions: (1) This device may not cause harmful interference, and (2) this device must accept any
interference received, including interference that may cause undesired operation.
Caution:
The user guide for networking devices should include specific instructions on the restrictions involved,
including:
The device for operation in the band 5150-5250 MHz is only for indoor use to reduce the potential for
harmful interference to co-channel mobile satellite systems;
Radiation Exposure Statement:
This equipment complies with ISED radiation exposure limits set forth for an uncontrolled environment.
This equipment should be installed and operated with greater than 28cm between the radiator & your
body.
Devices shall not be used for control of or communications with unmanned aircraft systems.
Devices shall not be used on oil platforms.
Devices shall not be used on aircraft, except for the low-power indoor access points, indoor
subordinate devices, low-power client devices, and very low-power devices operating in the 5925-6425
MHz band, that may be used on large aircraft as defined in the Canadian Aviation Regulations, while
flying above 3,048 metres (10,000 feet).
Devices shall not be used on automobiles.
Devices shall not be used on trains.
Devices shall not be used on maritime vessels.
Operation shall be limited to indoor use only.
Déclaration d'Industrie Canada :
Le présent appareil est conforme aux CNR d’ISED applicables aux appareils radio exempts de licence.
L’exploitation est autorisée aux deux conditions suivantes : (1) le dispositif ne doit pas produire de
brouillage préjudiciable, et (2) ce dispositif doit accepter tout brouillage reçu, y compris un brouillage
susceptible de provoquer un fonctionnement indésirable.
Avertissement :
Le guide d’utilisation des dispositifs pour réseaux locaux doit inclure des instructions précises sur les
restrictions susmentionnées, notamment :
(i) les dispositifs fonctionnant dans la bande 5150-5250 MHz sont réservés uniquement pour une
utilisation à l’intérieur afin de réduire les risques de brouillage préjudiciable aux systèmes de satellites
mobiles utilisant les mêmes canaux;
Déclaration d'exposition aux radiations :
Cet équipement est conforme aux limites d'exposition aux rayonnements ISED établies pour un

Hitron ARIA3x2x User’s Guide
Version 1.0, 03/2021. Copyright 2012 Hitron Technologies
10
58
Version 1.1, 08/2026. Copyright
2026 Hitron Technologies
environnement non contrôlé. Cet équipement doit être installé et utilisé à plus de 28cm entre le
radiateur et votre corps
Les appareils ne doivent pas être utilisés pour contrôler ou communiquer avec des systèmes
d'aéronefs sans pilote.
Les appareils ne doivent pas être utilisés sur les plates-formes pétrolières.
Les appareils ne doivent pas être utilisés sur les avions, à l'exception des points d'accès intérieure à
faible puissance, des dispositifs subordonnés intérieurs, des dispositifs clients de faible puissance et
des dispositifs de très faible puissance fonctionnant dans la bande 5925-6425 MHz, qui peut être
utilisée sur de grands avions tel que défini dans la réglementation de l'aviation canadienne, tout en
volant au-dessus de 3 048 mètres (10 000 pieds).
Les appareils ne doivent pas être utilisés sur les automobiles.
Les appareils ne doivent pas être utilisés dans les trains.
Les appareils ne doivent pas être utilisés sur les navires maritimes.
Le fonctionnement doit être limité à une utilisation en intérieur uniquement.
WARNING
Risk of electrical shock. Do not expose the device to water or moisture. The device is a high-
performance communications device designed for home and office environments. Do not use
the device outdoors. Keep the device in an environment between 0°C ~ 40°C (32°F ~104°F).
To avoid overheating, do NOT place any object on top of the device. Do not restrict the flow of
air around the device. This unit must be used with the power supply provided by manufacturer.
The manufacturer assumes no liabilities for damage caused by any improper use of the device.
ATTENTION
Risque de choc électrique. Ne pas exposer l'appareil à l'eau ou à l'humidité. L’appareil est un
dispositif de communication de haute performance conçu pour les environnements
domestiques et de bureau. Ne pas utiliser l'appareil à l'extérieur. Gardez l'appareil dans un
environnement entre 0°C ~ 40°C (32°F ~ 104°F). Pour éviter la surchauffe, ne placez aucun
objet sur le dessus de l'appareil. Ne pas restreindre la circulation d'air autour de l'appareil. Cet
appareil doit être utilisé avec le bloc d’alimentation fourni par le fabricant. Le fabricant décline
toute responsabilité de dommages causés par une mauvaise utilisation de l'appareil.
For: ARIA362x Rev3, ARIA3625, ARIA3625V, ARIA3625V-XPL,
ARIA3626, ARIA3629
Federal Communication Commission Interference Statement

Hitron ARIA3x2x User’s Guide
Version
1.0,
03/2021.
Copyright
2012
Hitron
Technologies
9
59
Version 1.1, 08/2026. Copyright
2026 Hitron Technologies
This equipment has been tested and found to comply with the limits for a Class B digital
device, pursuant to Part 15 of the FCC Rules. These limits are designed to provide reasonable
protection against harmful interference in a residential installation. This equipment generates,
uses and can radiate radio frequency energy and, if not installed and used in accordance with
the instructions, may cause harmful interference to radio communications. However, there is
no guarantee that interference will not occur in a particular installation. If this equipment
does cause harmful interference to radio or television reception, which can be determined by
turning the equipment off and on, the user is encouraged to try to correct the interference
by one of the following measures:
•
Reorient or relocate the receiving antenna.
•
Increase the separation between the equipment and receiver.
•
Connect the equipment into an outlet on a circuit different from that to which the receiveris
connected.
•
Consult the dealer or an experienced radio/TV technician for help.
FCC Caution: Any changes or modifications not expressly approved by the party responsible for
compliance could void the user’s authority to operate this equipment.
This device complies with Part 15 of the FCC Rules. Operation is subject to the following two
conditions:
(1) This device may not cause harmful interference, and
(2) this device must accept any interference received, including interference that may cause
undesired operation.
This device is restricted for indoor use.
FCC regulations restrict the operation of this device to indoor use only.
The operation of this device is prohibited on oil platforms, cars, trains, boats, and aircraft,
except that operation of this device is permitted in large aircraft while flying above 10,000
feet in the 5.925-6.425 GHz band.
Operation of transmitters in the 5.925-7.125 GHz band is prohibited for control of or
Communications with unmanned aircraft systems.
IMPORTANT NOTE:
FCC Radiation Exposure Statement:
This equipment complies with FCC radiation exposure limits set forth for an uncontrolled
environment. This equipment should be installed and operated with minimum distance 25cm
between the radiator & your body.
FCC StTaAtTemEMenEtNTS UL Statement / Déclaration UL
Output of the external power source shall complied with ES1 and PS2 requirements, output
rating 12 Vdc, minimum 4.0 A with minimum rated ambient temperature 40°C and evaluated
in accordance to IEC 60950-1 and/or IEC 62368-1.
Ensure to connect the power cord of power adapter to a socket-outlet with earthing connection.
La sortie de la source d'alimentation externe doit être conforme aux exigences ES1 et PS2,
avec une puissance de sortie de 12 Vcc, un minimum de 4,0 A et une température ambiante
nominale minimale de 40°C et évaluée conformément à la norme IEC 60950-1 et/ou
IEC 62368-1.
Assurez-vous de connecter le bloc d'alimentation à une prise de courant avec mise à la terre.
FCC StTaAtTemEMenEtNTS UL Statement / Déclaration UL
Output of the external power source shall complied with ES1 and PS2 requirements, output
rating 12 Vdc, minimum 4.0 A with minimum rated ambient temperature 40°C and evaluated
in accordance to IEC 60950-1 and/or IEC 62368-1.
Ensure to connect the power cord of power adapter to a socket-outlet with earthing connection.
La sortie de la source d'alimentation externe doit être conforme aux exigences ES1 et PS2,
avec une puissance de sortie de 12 Vcc, un minimum de 4,0 A et une température ambiante
nominale minimale de 40°C et évaluée conformément à la norme IEC 60950-1 et/ou
IEC 62368-1.
Assurez-vous de connecter le bloc d'alimentation à une prise de courant avec mise à la terre.
Industry Canada statement:

Hitron ARIA3x2x User’s Guide
Version 1.0, 03/2021. Copyright 2012 Hitron Technologies
10
60
Version 1.1, 08/2026. Copyright
2026 Hitron Technologies
This device contains licence-exempt transmitter(s)/receiver(s) that comply with Innovation,
Science and Economic Development Canada’s licence-exempt RSS(s). Operation is subject
to the following two conditions:
(1) This device may not cause interference.
(2) This device must accept any interference, including interference that may cause
undesired operation of the device.
Cet appareil contient des émetteurs / récepteurs exempts de licence qui sont conformes
au (x) RSS (s) exemptés de licence d'Innovation, Sciences et Développement économique
Canada. L'opération est soumise aux deux conditions suivantes:
(1) Cet appareil ne doit pas provoquer d'interférences.
(2) Cet appareil doit accepter toute interférence, y compris les interférences susceptibles
de provoquer un fonctionnement indésirable de l'appareil.
The device for operation in the band 5150–5250 MHz is only for indoor use to reduce the
potential for harmful interference to co-channel mobile satellite systems.
les dispositifs fonctionnant dans la bande 5150-5250 MHz sont réservés uniquement pour
une utilisation à l’intérieur afin de réduire les risques de brouillage préjudiciable aux
systèmes de satellites mobiles utilisant les mêmes canaux.
Devices shall not be used for control of or communications with unmanned aircraft systems.
Les appareils ne doivent pas être utilisés pour contrôler ou communiquer avec des systèmes
d'aéronefs sans pilote.
Devices shall not be used on oil platforms.
Les appareils ne doivent pas être utilisés sur les plates-formes pétrolières.
Devices shall not be used on aircraft, except for the low-power indoor access points, indoor
subordinate devices, low-power client devices, and very low-power devices operating in the
5925-6425 MHz band, that may be used on large aircraft as defined in the Canadian Aviation
Regulations, while flying above 3,048 metres (10,000 feet).
Les appareils ne doivent pas être utilisés sur les avions, à l'exception des points d'accès
intérieure à faible puissance, des dispositifs subordonnés intérieurs, des dispositifs clients de
faible puissance et des dispositifs de très faible puissance fonctionnant dans la bande
5925-6425 MHz, qui peut être utilisée sur de grands avions tel que défini dans la
réglementation de l'aviation canadienne, tout en volant au-dessus de 3 048 mètres (10 000
pieds).
Devices shall not be used on automobiles.
Les appareils ne doivent pas être utilisés sur les automobiles.
Devices shall not be used on trains.
Les appareils ne doivent pas être utilisés dans les trains.
Devices shall not be used on maritime vessels.
Les appareils ne doivent pas être utilisés sur les navires maritimes.
Operation shall be limited to indoor use only.
Le fonctionnement doit être limité à une utilisation en intérieur uniquement
IMPORTANT NOTE:
IC Radiation Exposure Statement:
This equipment complies with IC RSS-102 radiation exposure limits set forth for an
uncontrolled environment. This equipment should be installed and operated with minimum
distance 29 cm between the radiator & your body.
Cet équipement est conforme aux limites d'exposition aux rayonnements IC établies pour un
environnement non contrôlé. Cet équipement doit être installé et utilisé avec un minimum
de 29 cm de distance entre la source de rayonnement et votre corps.
IC Statement
For indoor use only.
Pour une utilisation en intérieur uniquement.
(Applicable to ARIA362x Rev3, ARIA3625, ARIA3625V, ARIA3625V-XPL, ARIA3626, ARIA3629)
© Hitron Technologies Inc.

Hitron ARIA3x2x User’s Guide
Version
1.0,
03/2021.
Copyright
2012
Hitron
Technologies
9
61
Version 1.1, 08/2026. Copyright
2026 Hitron Technologies
6
MyHitron+ app
Note: Your service provider may decide to support the MyHitron+ app or not. If you
are unable to pair your ARIA3x2x with the app, it is because your service
provider has decided not to let you use the MyHitron+ app. They may have
their own version of the app to offer the service. You may want to look for their
app or contact them for guidance.
The MyHitron+ app is a self-serve solution offering: self-guided/self-installation, home
network setup, optimization, performance management, parental controls setup and
management, network security setup and management, and intuitive troubleshooting
management and resolution steps. MyHitron+ gives you unprecedented control over
your home networks by allowing management of all devices on your network from
everywhere.
You can download MyHitron+ app from Apple Store and Google Play.
Support links can be found in the stores.
Scan this QR code to go to your device’s store.

Hitron ARIA3x2x User’s Guide
Version 1.0, 03/2021. Copyright 2012 Hitron Technologies
10
62
Version 1.1, 08/2026. Copyright
2026 Hitron Technologies
7
Customer support
Please visit our web site and search for the FAQ section related to our ARIA3x2x.
Common problems and questions about ARIA3x2x will be covered and regularly
updated.
If you are having problems with your ARIA3x2x set up, you can contact your Internet
Service Provider or contact us. You can visit: us.hitrontech.com/ARIA3x2x
Thank you for purchasing this Hitron product.
Trademarks
Trademarks owned by Hitron Technologies Inc. © 2025 Hitron Technologies
Americas Inc. All rights reserved.
DISCLAIMER: The information in this User’s Guide is accurate at the time of writing.
This User’s Guide is provided “as is” without express or implied warranty of any kind.
Neither Hitron Technologies nor its agents assume any liability for inaccuracies in this
User’s Guide, or losses incurred by use or misuse of the information in this User’s
Guide.