PLEASE READ AND SAVE THESE
IMPORTANT SAFETY INSTRUCTIONS
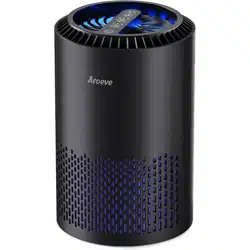
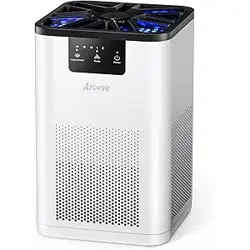
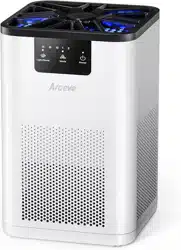
Air Purifier
User Manual
US
Customer Service: [email protected]
Model: MK07

SAFETY INSTRUCTIONS
Important:
Please read and comply with all of the instructions and warnings provided in this manual
before using the product. Failure to comply with the instructions and warnings provided
herein may result in inaccurate results or damage to the product itself.
To Reduce The Risk Of Fire, Electric Shock Or Injury To Persons, Do Not Use Replacement
Parts That Have Not Been Recommended By The Manufacturer.
01. Ensure the plug fits properly into a polarized power outlet.
02. This appliance should only be used in room with temperatures between 40°F and 110°F.
03. To avoid fire or shock hazard, connect the purifier into correct electrical outlet.
04. NEVER place on a soft surface such as a bed or sofa as this could cause the unit to tip
over and the air inlet or outlet grills to be blocked.
05. Do not place anything on top of unit.
06. Do not move or tilt the unit while it is in operation.
07. Do not insert fingers or objects into the air inlet and air outlet.
08. Do not use outdoors.This unit is only suitable for indoor use, please avoid strong sunlight
and rain.
09. D o not use near water to avoid electrical hazards.
10. Do not use the unit in wet or humid environments.
11. Do not handle the unit with wet hands.Thoroughly dry your hands before handling any
part of the air purifier.
12. Do not place the unit directly below an air conditioner to prevent any moisture from
getting in to the purifier.
13. Do not allow children,pet to play on or near the unit. Close supervision is necessary when
any appliance is used by or near children, or disabled persons.
14. Keep unit away from heated surfaces and naked flames such as stove tops,ovens, raditors
or computers.
15. Always turn the purifier off before unplugging it.
16. Always unplug the air purifier before moving or cleaning the unit, opening the rear cover,
changing the filter and whenever the unit is not in use.
17. To disconnect the unit, be sure to pull the plug instead of the cord.
18. This unit does not remove carbon monoxide or radon.It can not be used as a safety
device to prevent or clean up accidents with combustion processes and hazardous
chemicals.
19. NEVER use detergents,gasoline,glass purifier,furniture polish,paint thinner,or other
household solvents to clean any part of the purifier.
20. Non-professional personnel or unauthorized repair personnel shall not repair or transform
the machine by themselves.
21. Do not operate the appliance with a damaged cord or plug. If the motor fan fails to
operate or the unit has been dropped or damaged in any manner, contact the customer
service.
22. Always allow 15 inches of clearance on all sides of the purifier.
23. WARNING: To Reduce The Risk Of Fire, Electric Shock Or Injury To Persons,
Do Not Use Replacement Parts That Have Not Been Recommended By The
Manufacturer
24. This product complies with the maximum allowable concentration of ozone of 0.050
parts per million by volume (ppmv) in a 24-h period.
1

2
SAFETY INSTRUCTIONS
SPECIFICATION
Name:Air Purifier
Rated Voltage : 120V~
Rated Frequency : 60Hz
Rated Power : 35W
To reduce the risk of electric shock, this equipment has a polarized plug (one blade is wider
than the other). This plug will fit in a polarized outlet only one way. If the plug does not fit fully
in the outlet, reverse the plug. If it still does not fit, contact qualified personnel to install the
proper outlet. Do not alter the plug in any way .
Warning: Any changes or modifications to this unit not expressly approved by the party
responsible for compliance could void the user's authority to operate the equipment.
This device complies with part 15 of the FCC Rules. Operation is subject to the following two
conditions: (1) This device may not cause harmful interference, and (2) this device must
accept any interference received, including interference that may cause undesired opera-
tion.
This appliance has a polarized plug (one blade is wider than the other). To reduce the risk of
electric shock, this plug is intended to fit in a polarized outlet only one way. If the plug does
not fit fully in the outlet, reverse the plug. If it still does not fit, contact a qualified electrician.
Do not attempt to defeat this safety feature.
WARNING:To Reduce The Risk Of Fire Or Electric Shock, Do Not Use This Fan With Any
Solid-State Speed Control Device.
NOTE: This equipment has been tested and found to comply with the limits for a Class B
digital device, pursuant to part 15 of the FCC Rules. These limits are designed to provide
reasonable protection against harmful interference in a residential installation. This equip-
ment generates, uses and can radiate radio frequency energy and, if not installed and used
in accordance with the instructions, may cause harmful interference to radio communica-
tions. However, there is no guarantee that interference will not occur in a particular installa-
tion. If this equipment does cause harmful interference to radio or television reception,
which can be determined by turning the equipment off and on, the user is encouraged to
try to correct the interference by one or more of the following measures:
—Reorient or relocate the receiving antenna.
—Increase the separation between the equipment and receiver.
—Connect the equipment into an outlet on a circuit different from that to which the receiver
is connected.
—Consult the dealer or an experienced radio/TV technician for help.
CAUTION: THIS EQUIPMENT SHOULD BE INSPECTED AND COLLECTOR CELLS SHOULD BE
CLEANED IN ACCORDANCE WITH THE MANUFACTURER’S INSTRUCTIONS ON A REGULAR
BASIS TO PREVENT EXCESSIVE ACCUMULATION OF DUST PARTICLES THAT CAN RESULT IN
FLASHOVER OR A RISK OF FIRE.DISCONNECT POWER FROM ASSEMBLY BEFORE SERVIC-
ING.
3
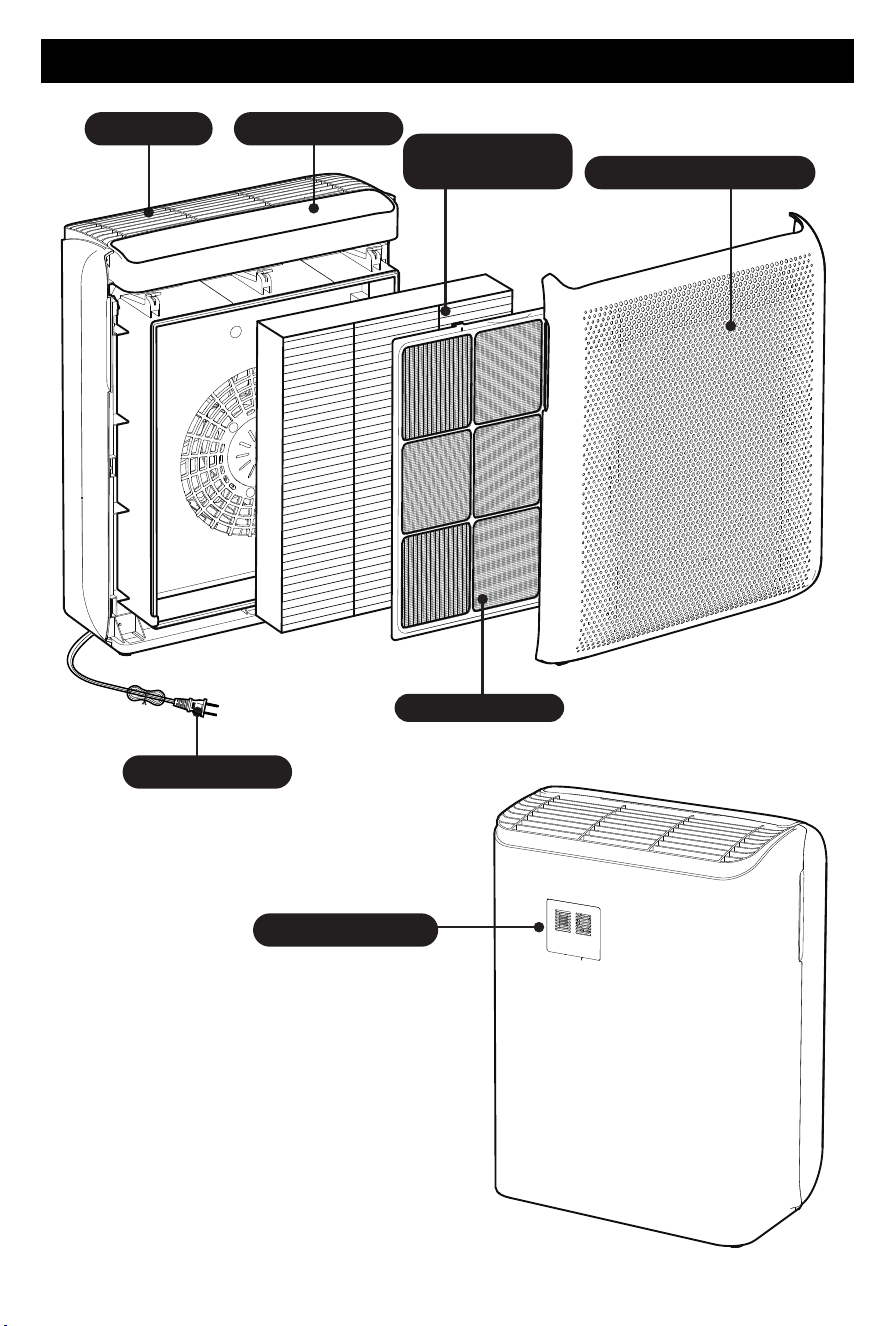
GETTING TO KNOW YOUR AIR PURIFIER
Control panelAir outlet
Power cord
Laser dust sensor
Filter
(non-washable)
Removable air intake
Washable filter
4
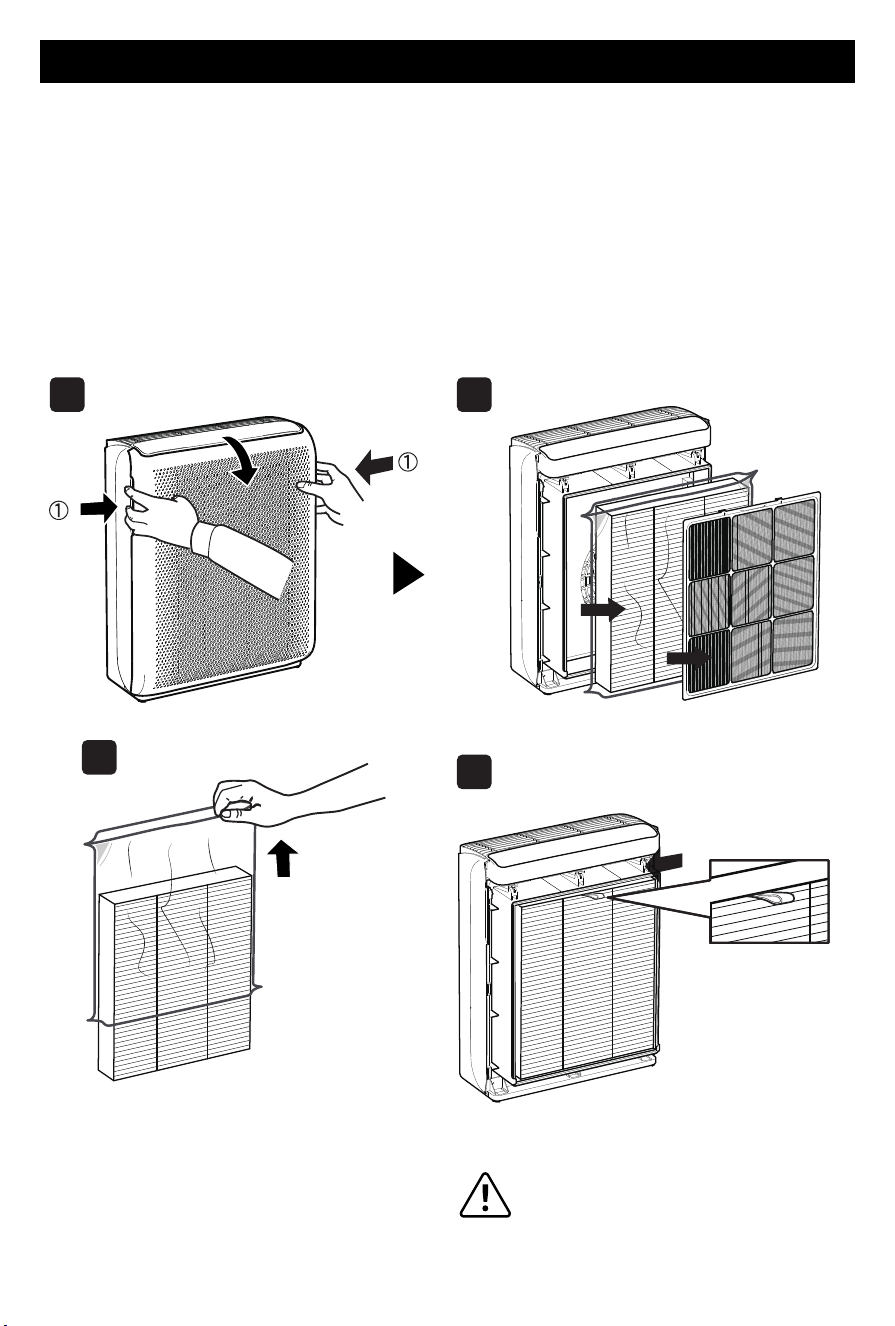
GETTING STARTED
Your air purifier comes with an original filter, please remember to remove the filter packaging
before use.
1. Open the front air inlet with both hands. (See Figure 1)
2. Lift the washable air filter. (See Figure 2)
3. Remove the inner filter (non-washable) and tear off the outermost plastic bag. (See Figure 3)
4. Put the filter (non-washable) element and washable filter back into the air purifier in an
orderly manner, and then close the air inlet. (See Figure 4)
NOTE:
When installing the filter (non-washable), make sure that the ear strap faces outward so that
you can replace it next time.
1 2
3
4
NOTE:
In order to facilitate the next
replacement of the filter element,
the ear strap must face up and out
when the filter element is put back.
5
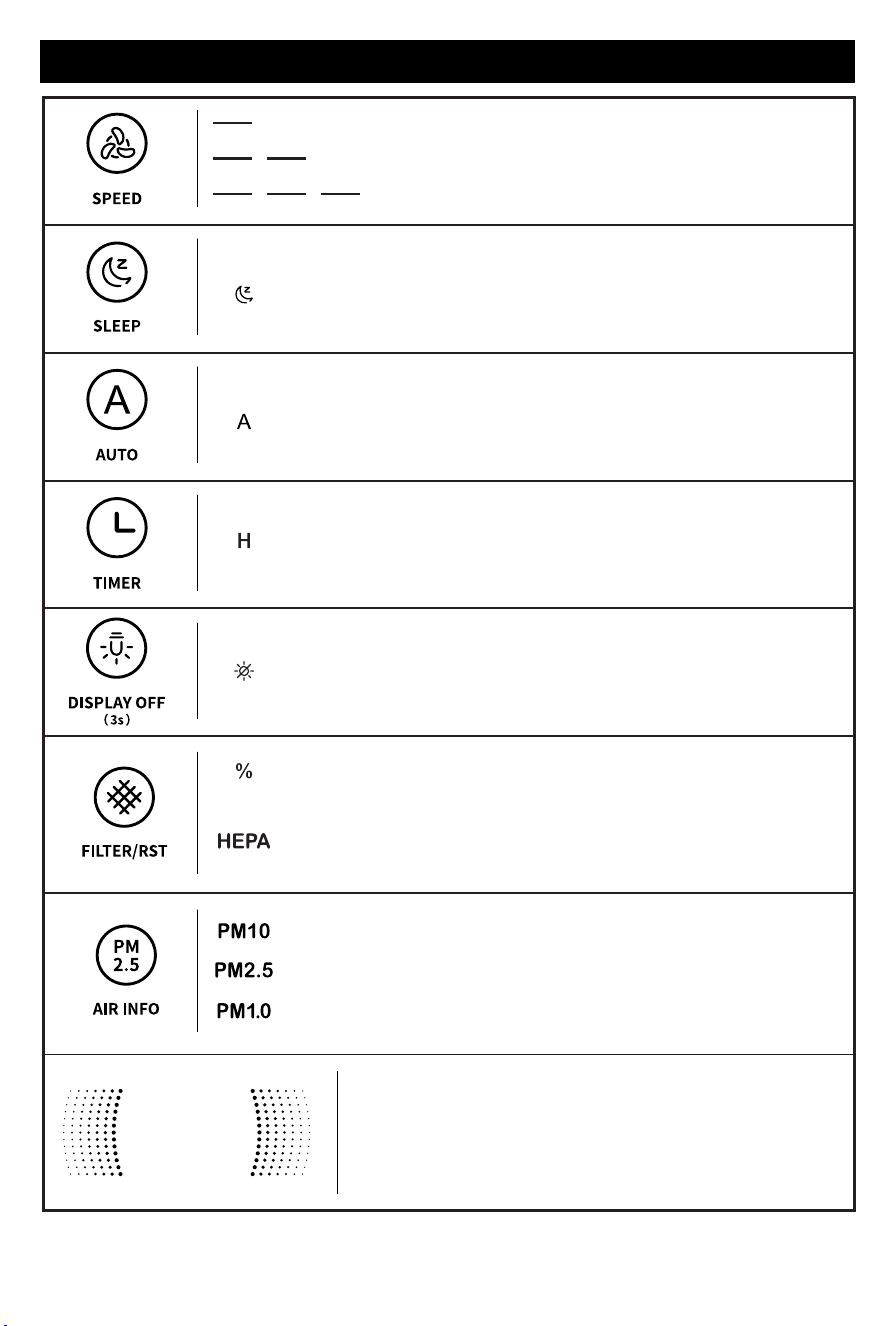
CONTROL AND DISPLAY
Auto mode indicator
Sleep wind speed indicator
Timing indicator light (Hold down for 3 seconds to switch the
time of the timer continuously)
The remaining life of the filter is displayed
If the indicator light starts blinking, it means that the filter needs
to be replaced. After replacing the filter, press and hold the
button for 3 seconds to reset.
Low wind speed indicator
High wind speed indicator
Turbo wind speed indicator
Screen indicator (Hold down for 3 seconds)
The quantity of PM10 particles can be queried
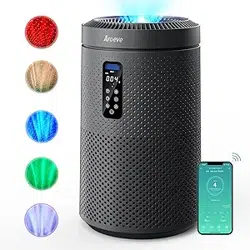
Air quality display light
Air quality can be displayed in real time, and four colors
represent four states.
The quantity of PM2.5 particles can be queried
The quantity of PM1.0 particles can be queried
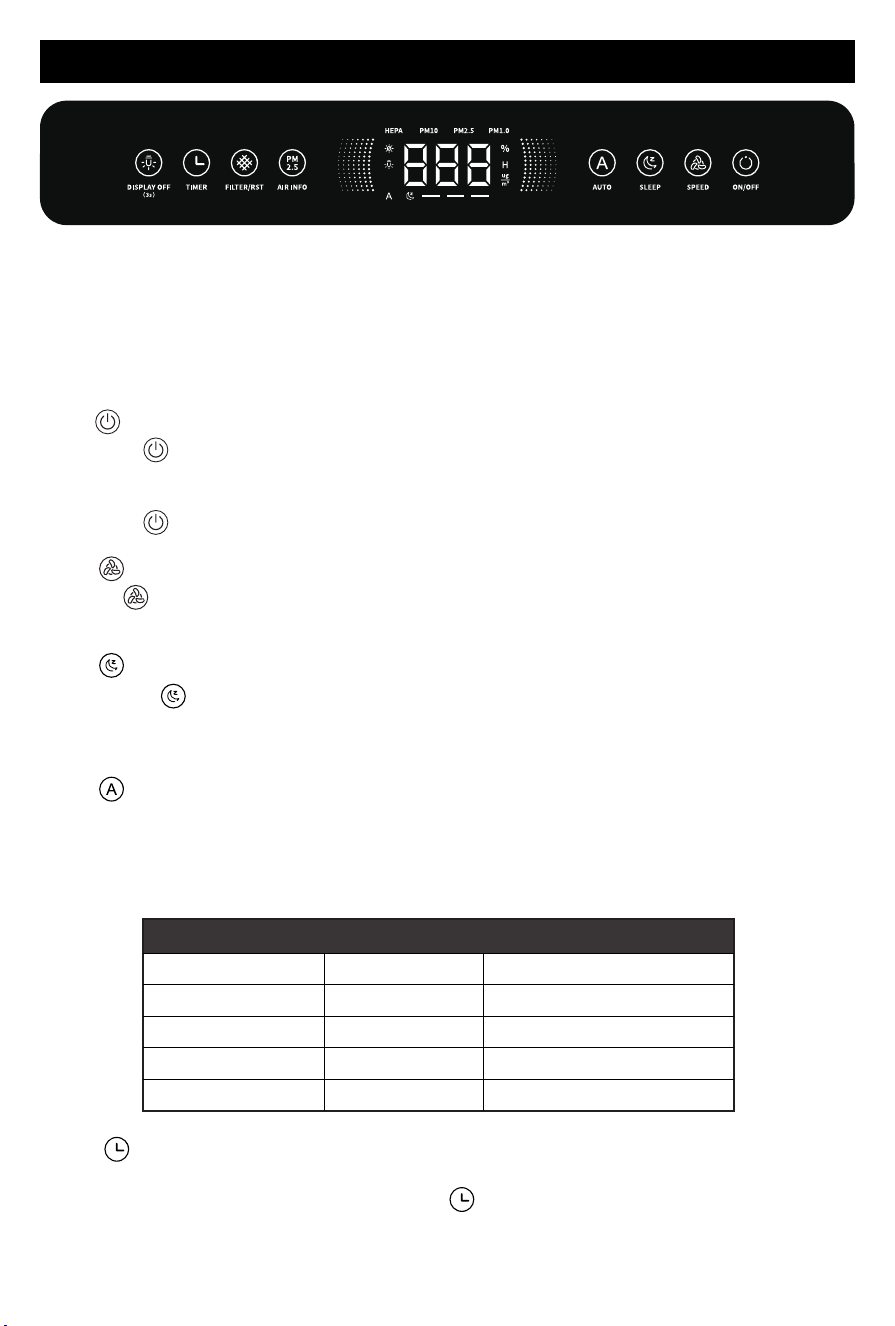
CONTROL AND DISPLAY
1. " " ON/OFF Buon
● Tap " " to turn on the purifier and the machine starts to work. The default wind
speed is L. At this point, the sensor begins to recognize the surrounding air quality, and
the corresponding air quality will be displayed on the screen.
● Tap " " again to turn off the purifier.
2. " " Speed Button
Tap " " to freely switch between low, high and turbo speed. The corresponding icon
shows " — ", " —— " ," ——— ".
3. " " Sleep Button
Tap the " " to enter the sleep mode and purify at the lowest wind speed.
TIPS:
In order for you to have a better experience at night, all lights are turned off in sleep mode.
4. " " Auto Button
Auto mode uses a smart laser dust sensor to adjust fan speed automatically based on air
quality.
For example, if the air quality is bad, the fan will automatically set to a turbo speed. See
the figure below for details.
NOTE:
1. Install the filter as required, and connect it to the power supply
2. When the product is powered on for the first time, the PM2.5 sensor in the machine will
wake up, and the corresponding display light will also turn on synchronously. After the
preheating is completed, the prompt sound of "drip" will be heard before the machine
can be operated
Indicator Color
Blue
Green
Yellow
Red
Air Quality
Very Good
Good
Moderate
Bad
Auto Mode Fan Speed
Sleep Mode
Low
High
Turbo
Air Quality indicator Chart
6
5. " " Buon
Timed shutdown function
When the product is turned on, touch the " " , and you can set any time within 24 hours
in hours, and the machine will automatically shut down as soon as the time arrives.
7
CONTROL AND DISPLAY
6. " " DISPLAY OFF Buon
Press and hold the" " for 3 seconds to turn off all lights and displays.
After lightly touch the button to wake up the screen, long press " " for 3 seconds to
restore the light and display under the current working state.
7. " " Air Info Button
Tap the " " button, you can query the value of particulate matter under different
diameters (PM10,PM2.5,PM1.0);
TIPS:
Generally, the lower the value, the better the air quality.
8. Memory function
Built-in memory function, normal shutdown can remember the wind speed and auto
mode.
NOTE:
1. Machine has memory functions when powering off with the ON/OFF button, without
unplugging.
2. Unplugging does not retain memory function.
9. " " Filter Button
1. Tap the " " button to query the remaining life of the filter. If the service life is too
low, the filter indicator lights on, indicating that the filter needs to be replaced.
TIPS:
Filters can be purchased at the AROEVE ocial flagship store.
2. After replacing the filter, long press the " " button for 3 seconds, the reset
is successful, the filter indicator stops blinking, and 5 seconds later it goes out and
returns to the main page.
Booking power on function
When the product is in standby state, touch the " " , and you can set any time within
24 hours in hours, and the machine will start automatically when the time is up.
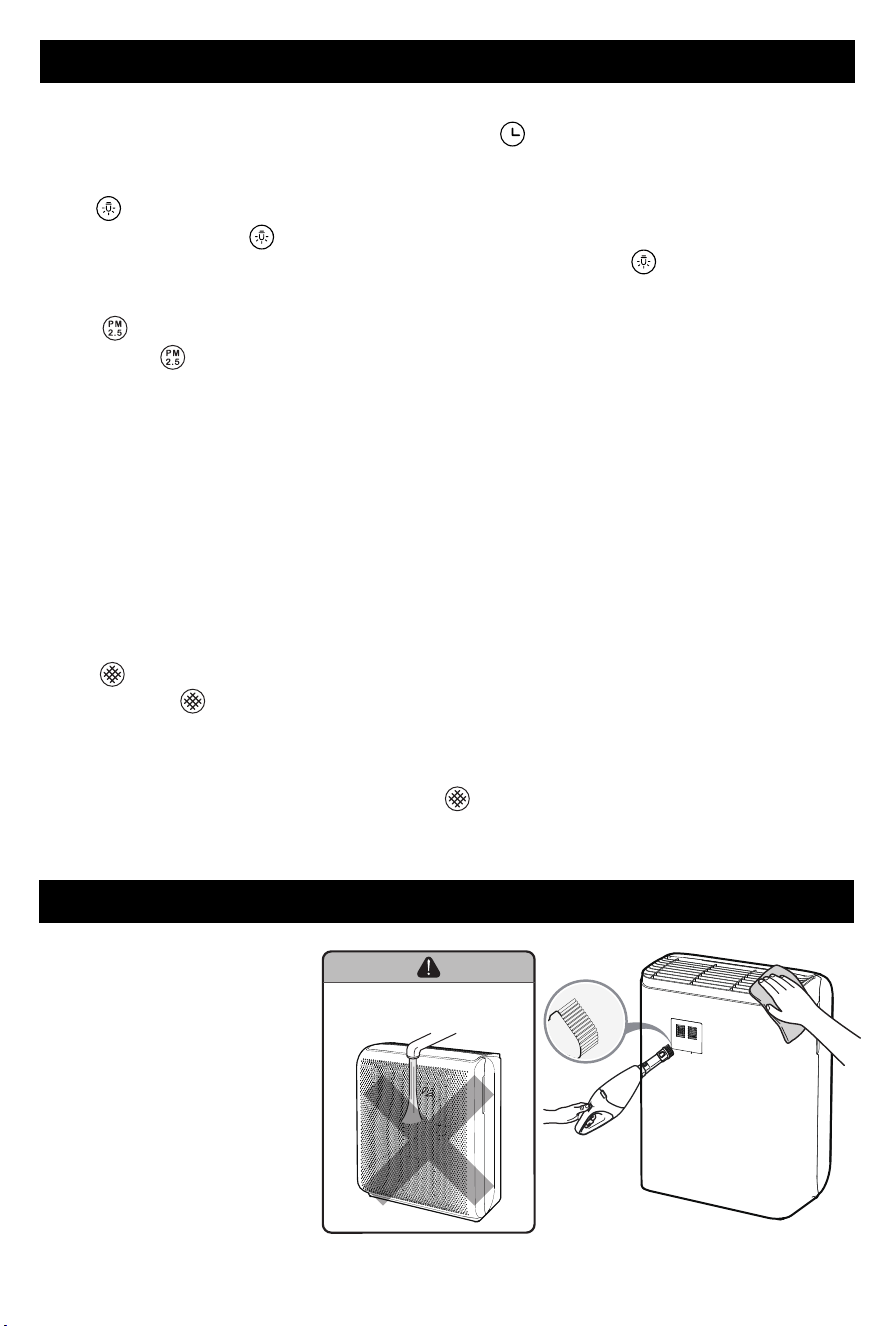
Make sure that the machine
is disconnected from the
power supply before cleaning;
1. it is recommended to use a
vacuum cleaner to remove
the dust on thesurface
2. Use a clean and semi-humid
soft cloth to wipe the stained
part of the fuselage clean
Do not use any chemicals or
corrosive agents to wipe
CLEANING OF COMPLETE MACHINE
NOTE: NO WASHING
Do not use water to flush
the machine directly
DISASSEMBLY AND CLEANING OF SCREEN
To ensure the long-term use of the filter, please follow the following steps to clean and
maintain the filter:
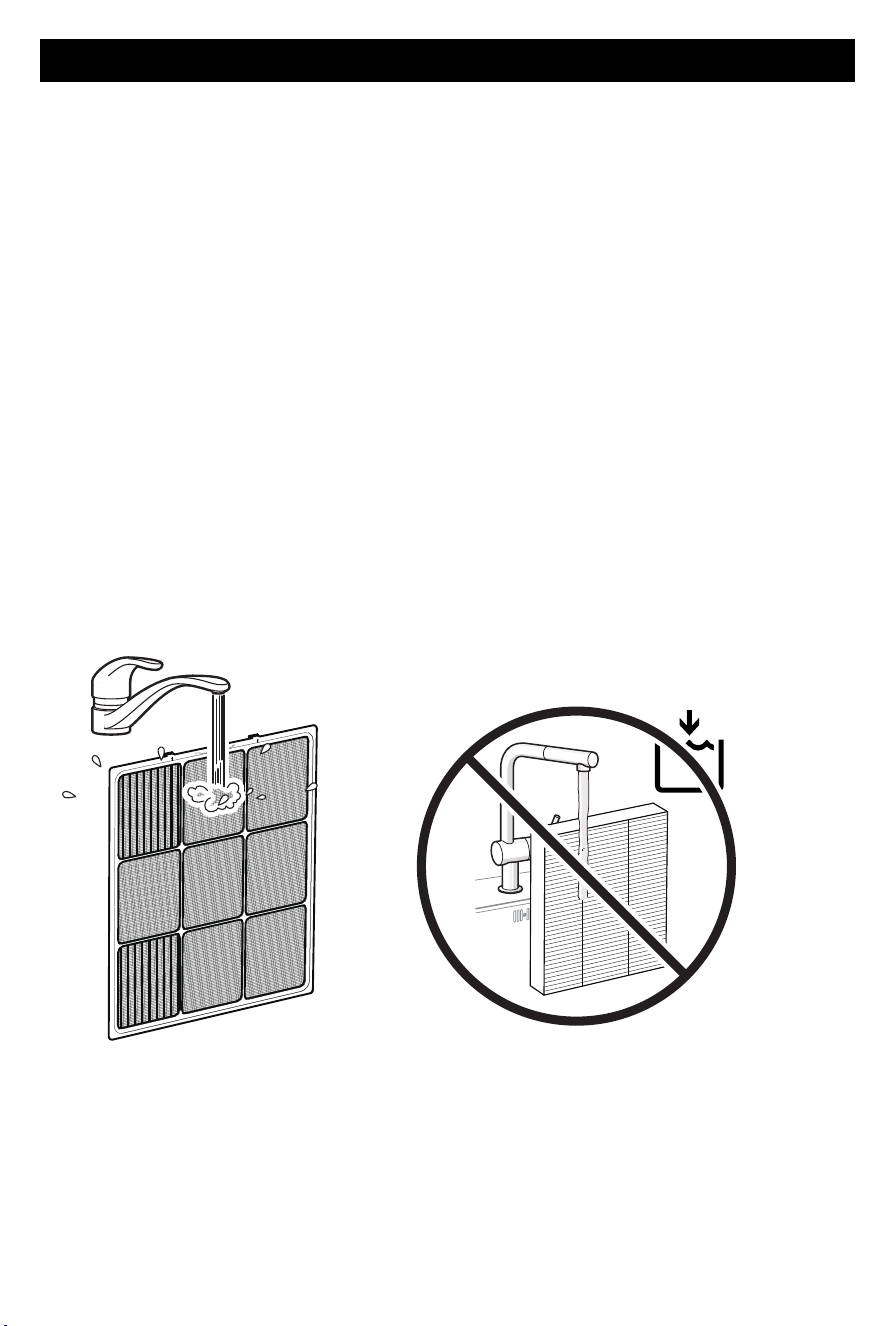
About washable filters
It is recommended to check the status of the washable filter once every two weeks. If the air
filter is dusty, clean it. The cleaning method is as follows:
1. Open the machine air inlet and take out the washable filter in the machine
2. Rinse the filter at the faucet
3. Let dry in the sun
NOTE:
Should be completely dry before continuing to use. Follow the installation instructions
mentioned earlier.
TIPS:
If the washable filter is covered with more hair, cotton wool and other particles, it is
recommended to use a vacuum cleaner before cleaning
About non-washable filters
The service life of non-washable filter is 3000h. The machine will light up when the life reaches,
please replace the original filter in time. Please refer to the previous operation instructions for
the replacement procedure. If you need to purchase, please visit the ocial website of Aroeve
to purchase.
After opening the front air inlet to replace or clean the washable filter, it should be reinstalled
in the original manner.
8

9
Filter uses less than 3000
hours but filter indicator
blinking.
The air quality indicator
light continuously displays
red.
Possible cause: The lifespan of the filter depends on the
environment, and if the environment is polluted or dusty,
the filter is prone to accumulate dust and become dirty.
(Note: Environments with poor ventilation are more
susceptible to dust accumulation.)
Countermeasure: It may be necessary to replace the filter.
Check if the filter is extremely dirty and whether it needs
replacement, following the instructions in the manual.
Possible cause: In humid weather, there are more small
molecules in the air, making it easier for them to combine
with dust to form PM2.5 particles. When the sensor detects
PM2.5 particles, the red light will illuminate.
Countermeasure: If the room humidity reaches 75% or
higher, or if the windows are open on rainy days, the red
light will continue to be lit for 1-2 days until the
environmental humidity drops below 75%.
If your problem is not listed , please contact Customer Support.
TROUBLESHOOTING
Problem Possible Solution
The air purifier makes an
unusual noise and the
outlet air is less.
Strange smell coming
from the purifier.
Make sure the filter is properly in place with plastic
packaging removed.
Make sure the air purifier is operating on a hard, flat, even
surface.
Replace the filter.
The air purifier may be damaged, or a foreign object may
be inside. Stop using the air purifier and contact Customer
Support . Do not try to repair the air purifier
Replace the filter element
Make sure not to use your purifier in an area with high
humidity or while diffusing essential oils.
Contact Customer Support.

10
WARRANTY
2-Year Warranty Statement
Thank you for choosing our product. We are committed to delivering high-quality products
and excellent customer service, offering you a 2-year
warranty.
Warranty Coverage:
This warranty covers defects in materials or workmanship during normal use. If any
manufacturing defects occur within the warranty period, we will replace or refund. Please
note that this warranty only applies to purchases from authorized brand online stores and
our ocial website.
Warranty Period:
The warranty lasts for two years from the date of purchase.
Warranty Claim Process:
If you encounter any covered issues, follow these steps:
√ Contact our customer support within the warranty period, providing details.
√ Our team will guide you through troubleshooting or initiate a return/refund if needed.
Note:
Time to change the filter? Go & check out Aroeve Pureplus Membership on our ocial site.