USER MANUAL
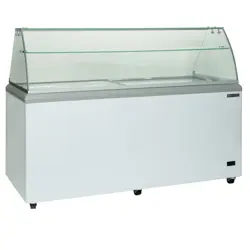
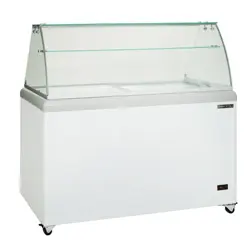
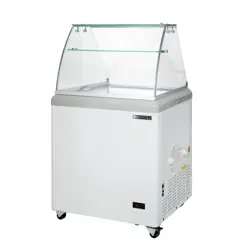
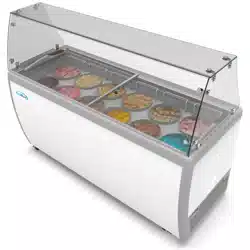
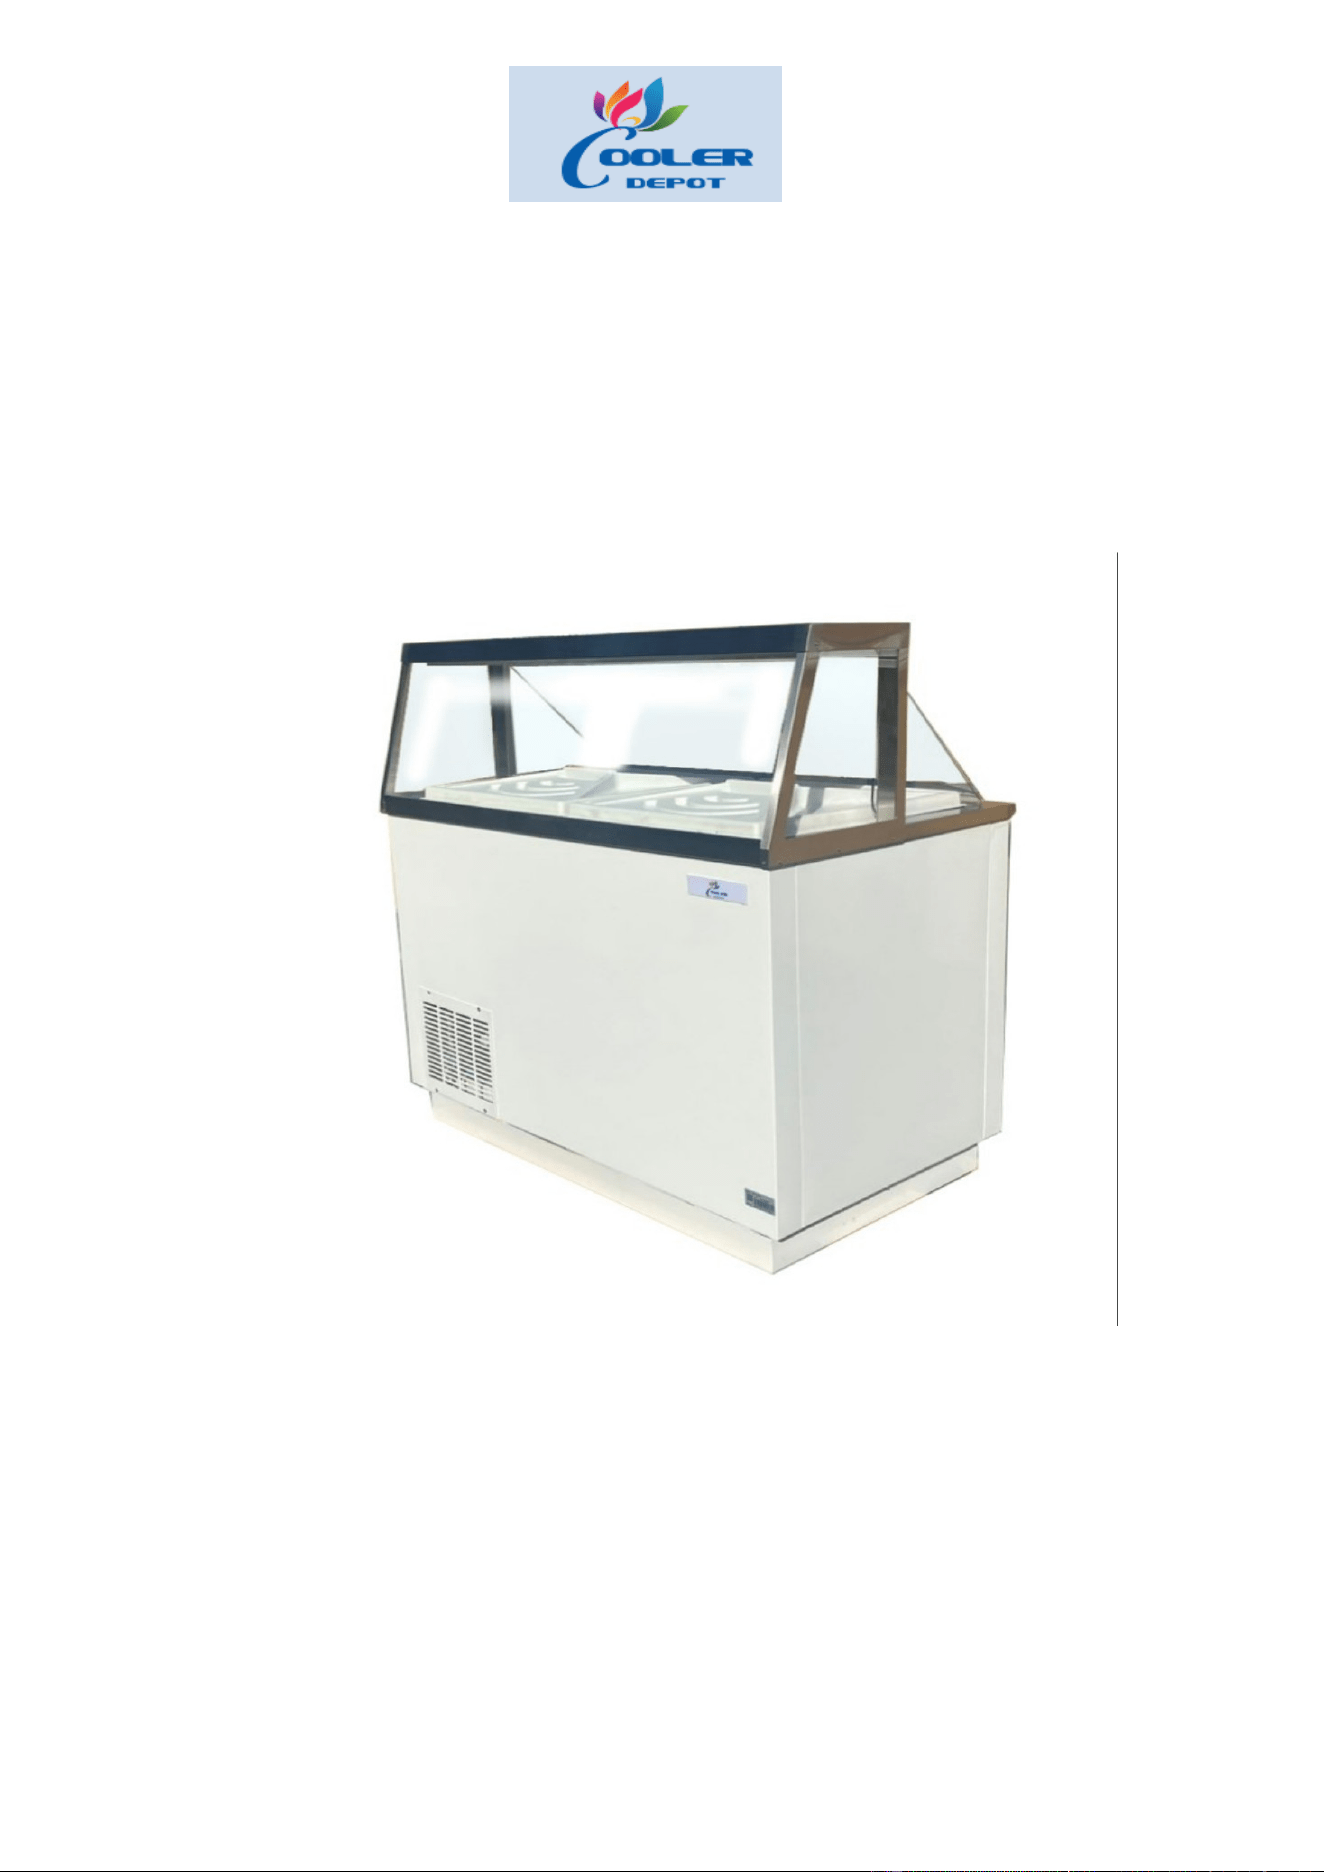
ICE CREAM DIPPING CABINET FREEZER
MODEL: DPC-46, DPC-66, DPC-88
Cooler Depot
Phone: 626-407-1970 | homedepot@coolerdepotusa.com

PRODUCT USAGE
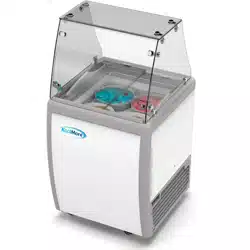
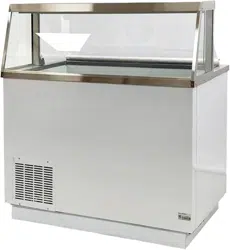
This appliance belongs to Dipping Cabinet series, which are specially designed to
merchandise ice cream or yogurt type products.
Notice: Users shall put the unit into use for its intended purpose, or they should
completely take the consequences that may occur.
INSPECTION BEFORE INSTALLATION
Before installing your equipment, please do carefully inspect it for any possible
shipping damage.
If any damage is detected when unloading or uncrating your unit, please file a claim
with the transportation company as quickly as possible.
Notice: Manufacturer takes no responsibility for shipping loss or damage.
SAFETY INSTRUCTIONS
Particular Safety Precautions
Flammable and explosive refrigerant (Hydro-carbon R290) is used in the unit. The
following Particular Safety Precautions should be strictly enforced due to the use of
R290 refrigerant.
1. The unit should be kept far away from heat source or naked flame.
2. Do not use mechanical devices to defrost the unit.
3. Do not puncture the refrigerant tubing.
4. Only qualified mechanics are allowed to repair the unit especially when
refrigerant leakage occurs.
5. The unit ought to be disposed of in a proper way on the basis of federal or local
regulations.
Basic Safety Precautions
The following Basic Safety Precautions should be strictly enforced when using any
electrical appliance including your unit.
1

1. The electrical unit must be installed and placed appropriately by qualified
mechanics in the light of Installation/ Operation Instructions.
2. The electrical unit must be kept far away from flammable vapors and liquids.
3. The electrical unit must be unplugged from the electrical outlet before cleaning
or repairing.
4. Children are strictly banned from climbing, standing or hanging on the
appliance so as to avoid hurting themselves or damaging the unit.
5. Hands and other body parts must be kept dry when touching the cold surface in
the refrigerated compartment, or your skin may stick to the badly cold surfaces.
INSTALLATION INSTRUCTIONS
To ensure smooth running of your unit from the very beginning, it must be installed
appropriately based on all the following instructions.
Notice: Competent or qualified personnel are highly recommended to install the unit.
Uncrating/ Unpacking
1. Shipping damage should be inspected once again when uncrating the unit. If
any damage is detected, do file a claim with the transportation company
immediately.
2. The unit should be entirely uncrated and unpacked before installation.
3. Remove the fixed base brackets so as to get rid of the wooden shipping skid.
4. Remove packing materials including cardboards and dust cover.
Positioning
1. The unit should be positioned in a stable place in order to avoid vibration and
noise.
2. The unit should be positioned in a dry place so as to prevent the compartment
body from getting rusty.
3. The unit should be positioned in a ventilated place and there should be at least
4 inches between the surrounding walls and the cabinet for the sake of air
circulation.
Warning!
It may result in potential safety hazard and the poor performance of the unit if it is
positioned in where it is directly exposed to rays of sun or near a direct source of
radiant heat or airflow.
2

Electrical
1. The unit must be properly grounded at all times.
2. Never use an adapter plug or extension cords to power the unit.
3. The wall outlet, circuit and supply voltage must be checked carefully by
qualified electricians.
4. The unit should be plugged into its own dedicated circuit at rated voltage.
5. Broken or frayed power cords are forbidden to be put into use.
6. Power cords should be prevent from being ran over or damaged when
removing the unit.
7. Power supply should be switched off before servicing electrical components in
the unit.
8. Wiring diagram can be referenced if needed.
Warning!
Failure to follow the above instructions may lead to dangerous occurrence.
Startup
1. Plug the unit in to make it run.
2. The unit should be running for 2 to 3 hours before loading products so as to
detect any potential electrical failure and concealed shipping damage.
3. Do not replace the temperature controller or change its parameters at random
without the help of qualified technicians.
4. Do not restart the unit immediately when it is disconnected or shut off. Please
wait several minutes before restarting it.
CLEANING AND MAINTENANCE
Proper maintenance and cleaning contribute a lot to longer service life and better
usage experience of your unit. It is recommended to clean the unit without loading
products every 1 to 2 months.
Warning!
The unit should be cut off before cleaning.
3

Stainless Steel Cleaning
1. Ammonia and soap can be used to polish the stainless steel surfaces and wipe
off fingerprints and smears.
2. Other specialized commercial detergents can be used to remove grease and oil.
3. Soft cloths, towers and sponges are recommended to be used along with
detergents.
4. Steel wool cannot be used for stainless steel cleaning.
5. Hydrochloric acid or chlorine-based products cannot be used for stainless steel
cleaning.
6. Any detergents that contains quaternary salts cannot be used for stainless
steel cleaning.
7. Stainless steel surfaces should be wiped dry after cleaning.
Warning!
Failure to follow the above instructions may result in abrasion, pitting and rusting of
stainless steel surfaces.
Transparent Lid Cleaning
1. The lid can be removed from the unit by taking down the hinge bracket when
cleaning.
2. The lid can be washed with non-abrasive detergents and soapy water.
3. Hard and rough cloths should not be used for cleaning so as to prevent the lid
surface from scratching.
4. Do not use acetone, alcohol, dry-cleaning fluid to clean the plastic lid so as to
prevent it from attacking.
Can Holder Cleaning
1. The plastic can holder can be removed from the unit for easy cleaning.
2. The can holder can be washed with non-abrasive detergents and soapy water.
3. A non-metallic brush is recommended to achieve better cleaning.
4

Condenser Cleaning
The condenser should be cleaned at least every 1 month since dirt, grease, lint and
dust can be easily accumulated around it.
The following proper and regular cleaning instructions for the condenser help
to reduce compressor failure and minimize your maintenance expense.
1. Tools such as screwdriver, adjustable wrench and stiff bristle brush are
required when cleaning the condenser.
2. Unscrew all screws with a screwdriver to take off the grill which covers the
condenser.
3. Use a stiff bristle brush to get rid of the accumulated dirt, grease, lint and dust
from the condenser.
4. Clean the coils and fan blades of the condenser carefully and cautiously so as
to avoid any damage.
5. Ensure that the condenser and other accessories are assembled correctly
before reinstalling the grill.
6. Reinstall the grill and tighten all the screws.
7. Connect the unit and check if it can function well.
5

TROUBLE SHOOTING
Please note that the following trouble shooting table can only as a reference for
solutions to common problems.
SYMPTOMS POSSIBLE CAUSES SOLLUTIONS
Compressor fails to run.
Fuse blown or circuit
breaker tripped.
Power cords unplugged.
Temperature is set too high.
The unit is in defrosting cycle.
Replace fuse or reset circuit
breaker.
Plug in power cords. Lower
the temperature. Wait for
defrosting cycle to finish.
Condenser runs for a long
period of time.
Excessive amount of warm
products are placed inside
the unit.
Prolonged door opening or
door ajar.
Door gasket(s) are not
sealed properly.
Dirty condenser coil.
Evaporator coil iced over.
Allow adequate time for
products to cool down.
Ensure doors are closed
when not in use. Avoid
opening doors for long
periods of time.
Ensure gaskets are snapped
in completely. Remove
gaskets and wash with
soapy water.
Replace gaskets if
necessary.
Clean the condenser.
Unplug the unit to allow coil
to defrost. Ensure that the
temperature is not set too
low. Ensure that door
gasket(s) are sealed
properly.
The unit is too warm.
The temperature is set too
high.
Bad air circulation.
Excessive amount of warm
products are placed in the
unit.
Fuse blown or circuit
breaker tripped.
Dirty condenser coil.
Prolonged door opening or
door ajar.
Evaporator coil iced over.
Lower the temperature.
Re-arrange products to
achieve proper air flow.
Ensure that there is at least
4 inches of clearance from
evaporator.
Allow adequate time for
products to cool down.
Replace fuse or reset circuit
breaker.
Clean the condenser coil.
Ensure that doors are
closed when not in use.
Avoid opening doors for a
long period of time.
The unit is noisy.
Loose part(s).
Tubing vibration.
Locate and tighten loose
part(s).
Ensure that the tubing does
not touch other tubing or
components.
6