
Technical Support and E-Warranty Certificate www.vevor.com/support
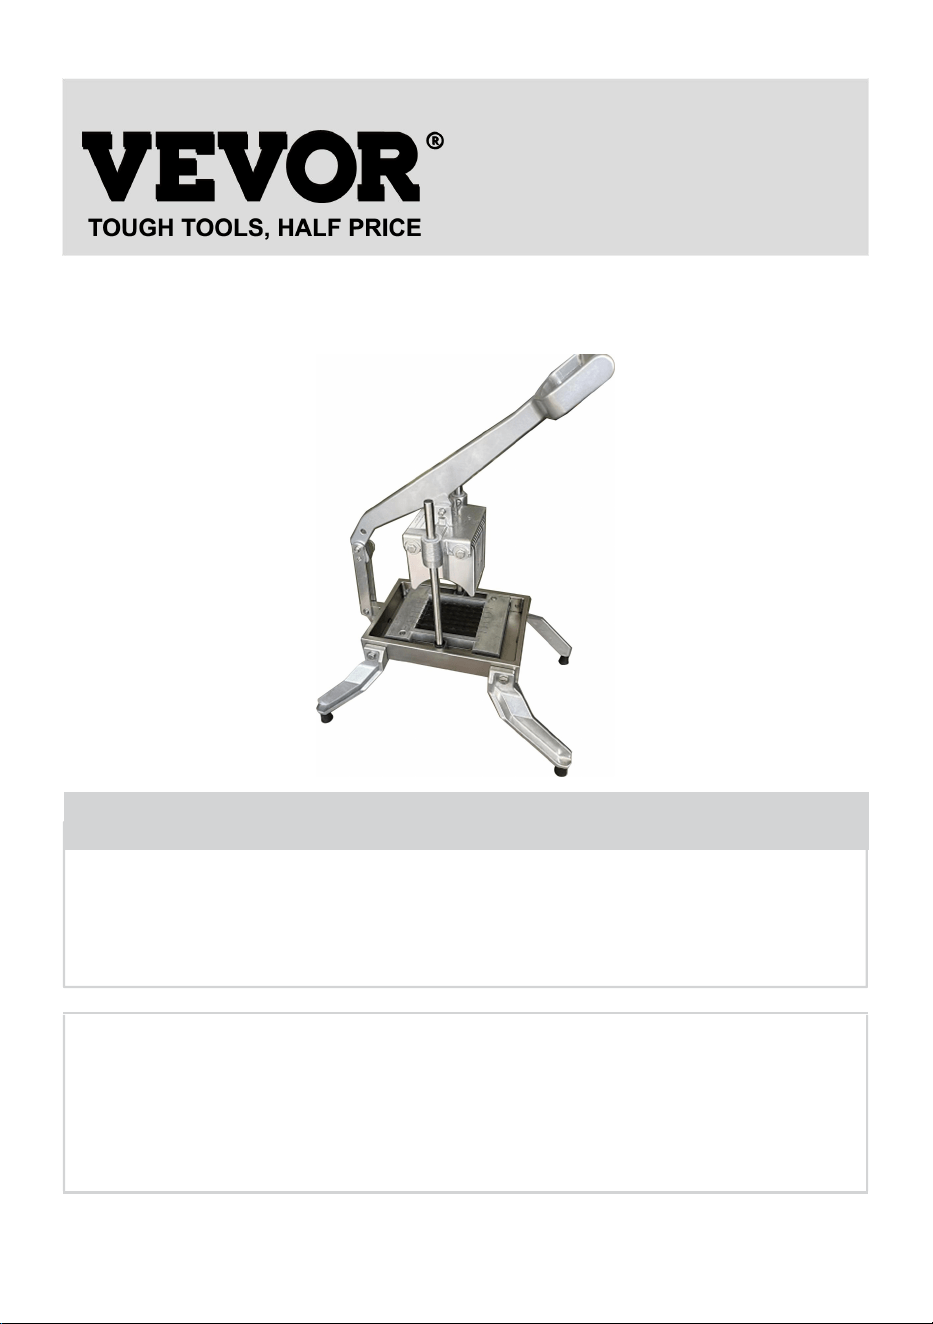
Tomato Slicer
MODEL:AY460-1/AY460-2
We continue to be committed to provide you tools with competitive price.
"Save Half", "Half Price" or any other similar expressions used by us only represents an
estimate of savings you might benefit from buying certain tools with us compared to the major
top brands and does not necessarily mean to cover all categories of tools offered by us. You
are kindly reminded to verify carefully when you are placing an order with us if you are
actually saving half in comparison with the top major brands.
- 1 -
MODEL:AY460-1/AY460-2
Have product questions? Need technical support? Please feel free to
contact us:
Technical Support and E-Warranty Certificate
www.vevor.com/support
NEED HELP? CONTACT US!
This is the original instruction, please read all manual instructions
carefully before operating. VEVOR reserves a clear interpretation of our
user manual. The appearance of the product shall be subject to the
product you received. Please forgive us that we won't inform you again if
there are any technology or software updates on our product.
Tomato Slicer

- 2 -
IMPORTANT SAFEGUARDS
Warning-To reduce the risk of injury, user must read instructions
manual carefully. Always follow basic safety precautions when
using these devices. These include:
PLEASE NOTE:
To get the maximum life and most efficient operation of your equipment,
please comply with all the instructions below. Clean the equipment
thoroughly before the first use and after each use. Avoid using high
alkalinity cleaners as they may cause the casting to become dull, discolor,
or dent.
SAFETY NOTE:
The blades on this equipment are VERY SHARP! Use extreme care when
handling and operating this equipment, and always keep your hands clear
of the cutting area while using this equipment!
ASSEMBLY: Install the legs on the frame using the bolts, washers, and
wrench provided.
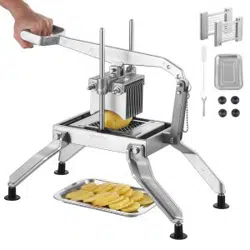
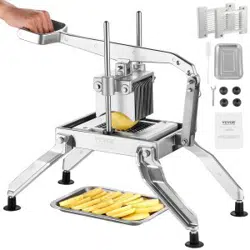
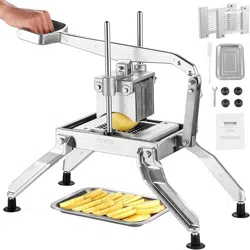
OPERATION:
1. Place equipment on a sturdy firm work surface.
2. Prepare the tomatoes(Cut offends of the onion and peel).
3. Lift up the pusher assembly and place the tomatoes in the center of
blades. Ensure that fingers and hands are clear of the cutting area. Pull the
lever down with one strong, quick, fluid mount, forcing the product through
the blades. Repeat as necessary until you have cut the amount of produce
necessary.
Knife plate assembly
The 1/4 blade assembly consists of two 1/2 blade assemblies. It can be
used as a single piece or stacked as two pieces (a single blade can slice

- 3 -
1/2 thickness, and two stacked pieces can slice 1/4 thickness)
The 3/16 blade assembly consists of two 3/8 blade assemblies. It can be
used as a single piece or stacked as two pieces (a single blade can slice
3/8 thickness, and two stacked pieces can slice 3/16 thickness)
Note: The 1/4 blade assembly cannot be stacked with the 3/16 blade
assembly
Replacing the blade:
Remove the original blade assembly from the machine (it can be easily
removed by hand) and install the blade assembly that needs to be replaced
(the hole on the blade is installed on the positioning column on the
machine), as shown in the following figure
CLEANING:
1、Remove the pin from the lever and pusher. Lift the pusher off the guide
rods. Lift the blade assemblies, one at a time, off the positioning pins one
at a time.
NOTE:Blades are very sharp – use extreme care when handling the blade
assembly!
2、Use warm water and a mild detergent to clean all the components if
desired. A nylon brush can clean debris from the pusher and the blade
assembly.
3、Allow equipment to air dry.
If the pusher is hard to slide after it has dried, you can apply a food-grade
lubricant to the guide rods. DO NOT use vegetable oil, as this may make
the pusher sticky and hard to slide.
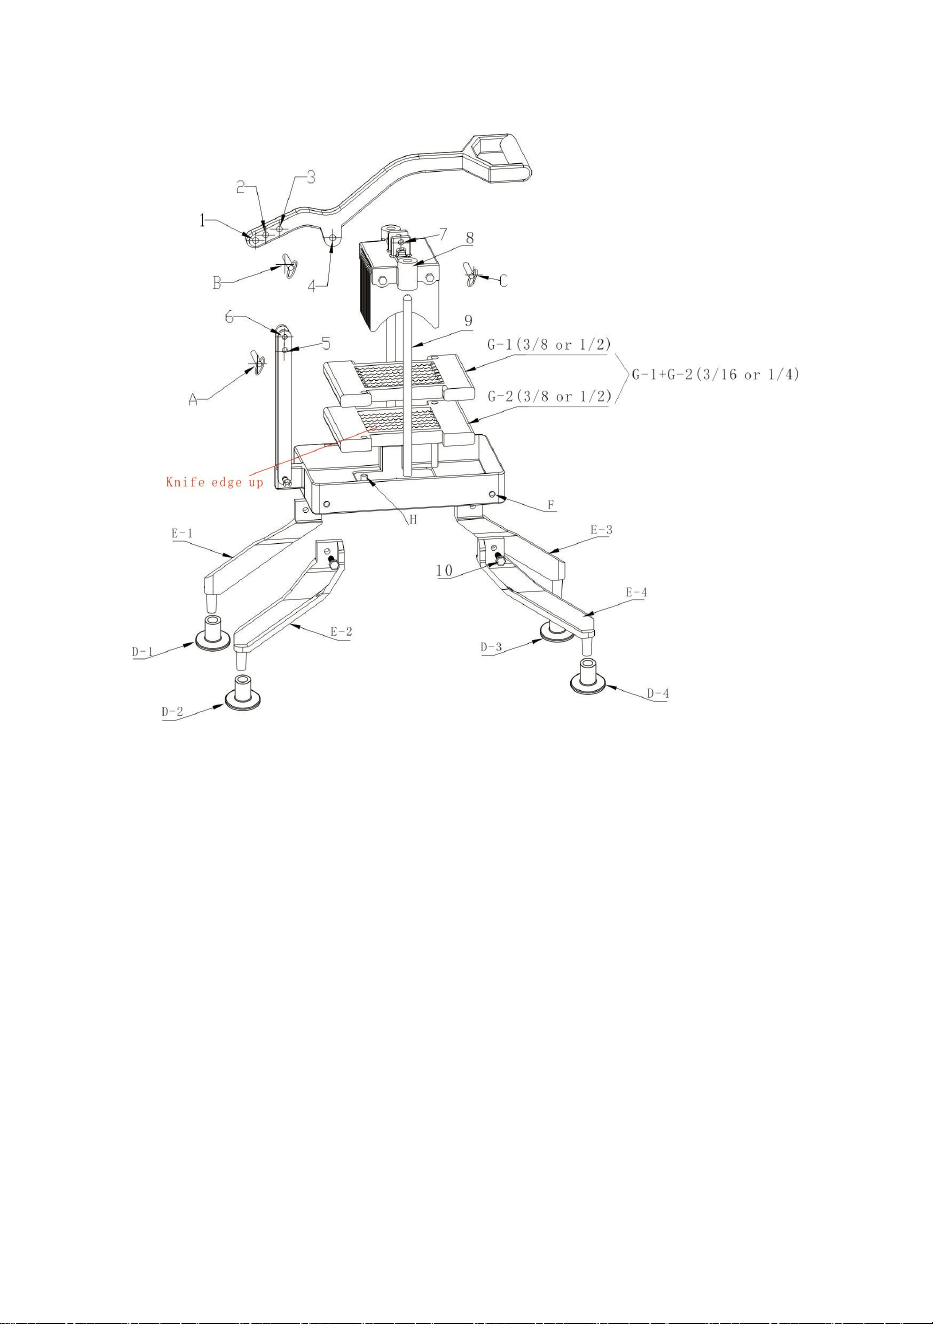
Available service parts are noted on the drawing below
- 4 -
Installation instructions: Handle installation: Connect the handle to the
pressure plate (4-7-C) as shown in the figure, connect the handle to the
connecting rod as shown in the figure (1-6-A), and connect (B-5)
Leg installation: Install the legs (E-1/E-2/E-3/E-4) and screws (10) at the
base (F) position as shown in the figure
Suction cup installation: The suction cups (D-1/D-2/D-3/D-4) can be
installed separately on the support legs (E-1/E-2/E-3/E-4) to complete the
installation.
Knife Plate and Replacement Knife Plate Instructions
Knife board: This product has two specifications of knife boards, namely
3/16 knife board components and 1/4 knife board components
1.The 3/16 knife board component consists of two 3/8 knife boards. A
single knife board uses slicing 3/8, and after stacking the two knife boards,

- 5 -
slicing is used to make 3/16
2.The 1/4 knife board component consists of two 1/2 knife boards. A single
knife board uses slicing 1/2, and after stacking the two knife boards, slicing
is used to make 1/4.
Replacing the blade: The blade components can be replaced according
to user needs
1.Remove the connection between the handle and the pressure plate as
shown in the figure (4-7-C), and then remove the pressure plate (8)
from the sliding rod (9)
2.ake out the blade 3/16 or 1/4 (G-1/G-2) from the fixing rod (H). Lift up the
blade to remove it.
3.Install the knife plates that need to be replaced in sequence at the fixing
rod (H). Note: The blade teeth are facing upwards. Reverse steps 1-2 to
complete.
4.The blade is very sharp, please handle it carefully to prevent cutting.

- 6 -
Manufacturer: Shanghaimuxinmuyeyouxiangongsi
Address: Shuangchenglu 803nong11hao1602A-1609shi, baoshanqu,
shanghai 200000 CN.
Imported to AUS: SIHAO PTY LTD. 1 ROKEVA STREETEASTWOOD
NSW 2122 Australia
Imported to USA: Sanven Technology Ltd. Suite 250, 9166 Anaheim
Place, Rancho Cucamonga, CA 91730
REP
UK
YH CONSULTING LIMITED. C/O YH Consulting
Limited Office 147, Centurion House, London
Road, Staines-upon-Thames, Surrey, TW18 4AX
REP
EC
E-CrossStu GmbH
Mainzer Landstr.69,
60329 Frankfurt am Main.