
Support and E-Warranty Certificate www.vevor.com/support
FRENCH FRY CUTTER
INSTRUCTION MANUAL
We continue to be committed to provide you tools with competitive price.
"Save Half", "Half Price" or any other similar expressions used by us only represents an
estimate of savings you might benefit from buying certain tools with us compared to the major
top brands and does not necessarily mean to cover all categories of tools offered by us. You
are kindly reminded to verify carefully when you are placing an order with us if you are
actually saving half in comparison with the top major brands.

- 1 -
MODEL:AY-420
AY-420-2
Have product questions? Need technical support? Please feel free to
contact us:
Technical Support and E-Warranty Certificate
www.vevor.com/support
NEED HELP? CONTACT US!
This is the original instruction, please read all manual instructions
carefully before operating. VEVOR reserves a clear interpretation of our
user manual. The appearance of the product shall be subject to the
product you received. Please forgive us that we won't inform you again if
there are any technology or software updates on our product.
FRENCH FRY CUTTER

- 2 -
Before operating this device, please read this instruction manual
completely and keep it handy for future reference.
IMPORTANT ASSURANCE
Always follow basic safety precautions when using these devices. These
include:
1.The device should not be used with children. There are very sharp
blades on the device. Children may encounter injury accidents. Therefore,
this product should be placed in a position not touched by children.
2.For optimal operation and service life of the device, please follow the
instructions.
3.Food acids will make blades dull and corrode the metal. Always clean
this food preparation equipment immediately after every use. To maintain
the appearance and increase the service life,clean it daily.
4.The machine blades are very sharp, and care should be taken not to
touch the banging blade or blade directly or to operate with gloves during
operation.
5.Do not put these devices in a dishwasher or other automatic cleaning
device for cleaning.
6.The use of accessories or modifications not provided by the
manufacturer may cause hazards.
7.Only use this equipment for cutting fruits and vegetables!
8.Before using this equipment for the first time, please remove all
packaging and fixing materials according to the illustration and use them
after installation.
9.These devices require regular lubrication. Wipe the guide rod with
mineral oil,food-grade lubricant, or a towel when lubrication is needed. Do
not lubricate with cooking oil or another grease. Otherwise, it will become
viscous and affect the use.
10.Do not cut food beyond the opening of the plate.
- 3 -
11.To replace blade sets, please ensure that the specification and models
of the blade plate and pressing block are consistent.
WARNING
Sharp Blade Hazard:Blades are sharp and can
cause cuts. To avoid injury from sharp
blades,handle with care.
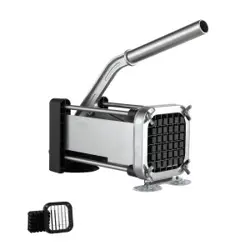
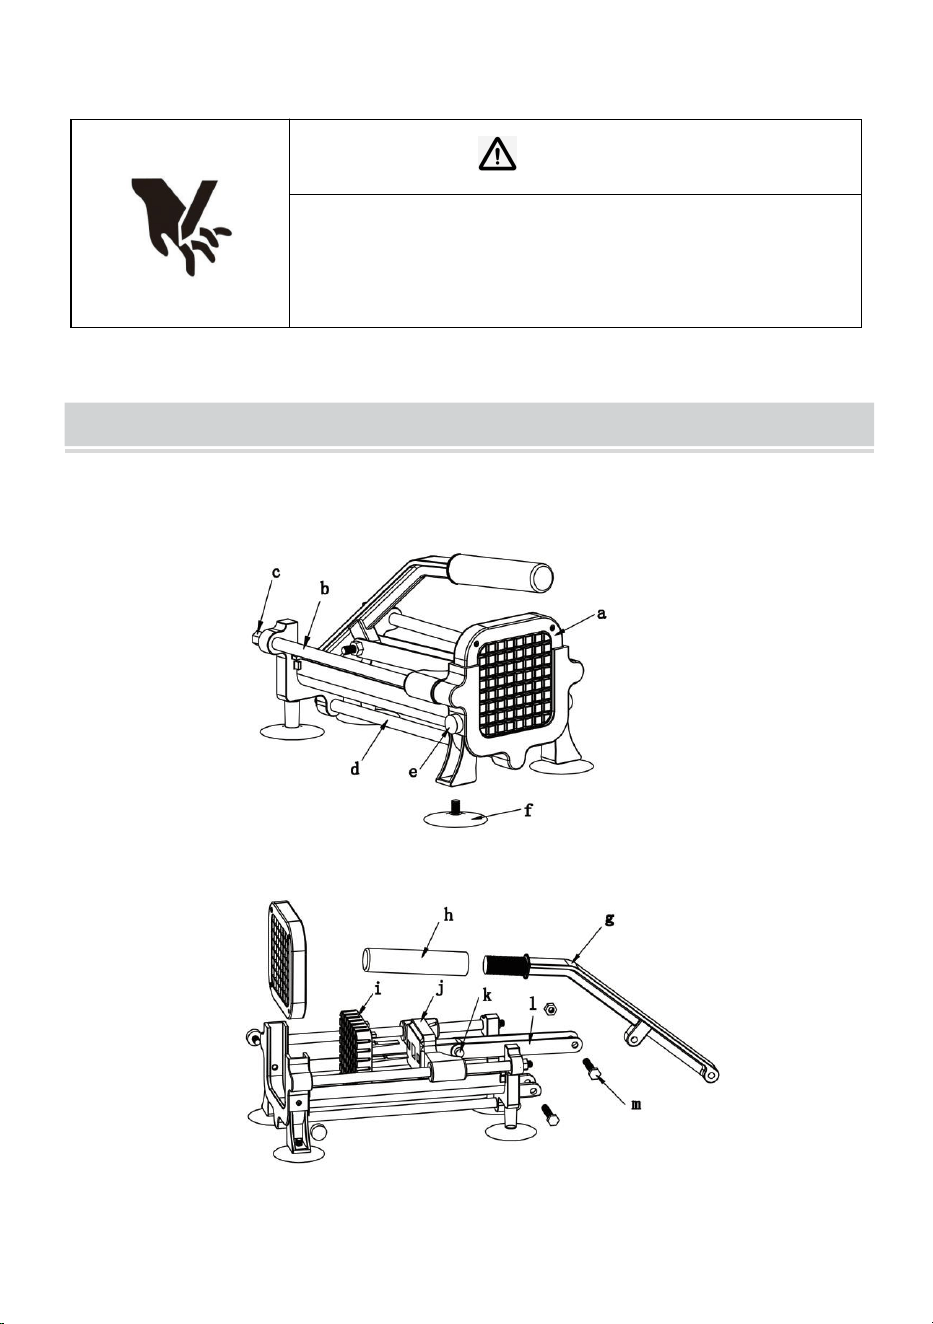
SCHEMATIC DIAGRAM & PARTS
Schematic Diagram:
- 4 -
a .cutting plate b. guide rod c.guide rod nut
d. shield e. locking nut f .suction cup foot with screw
g. handle h. handle tube i.push plate
j. push plate mounting bracket
k. push plate bolt & nut set l. push bar
m. push bar bolt & nut set
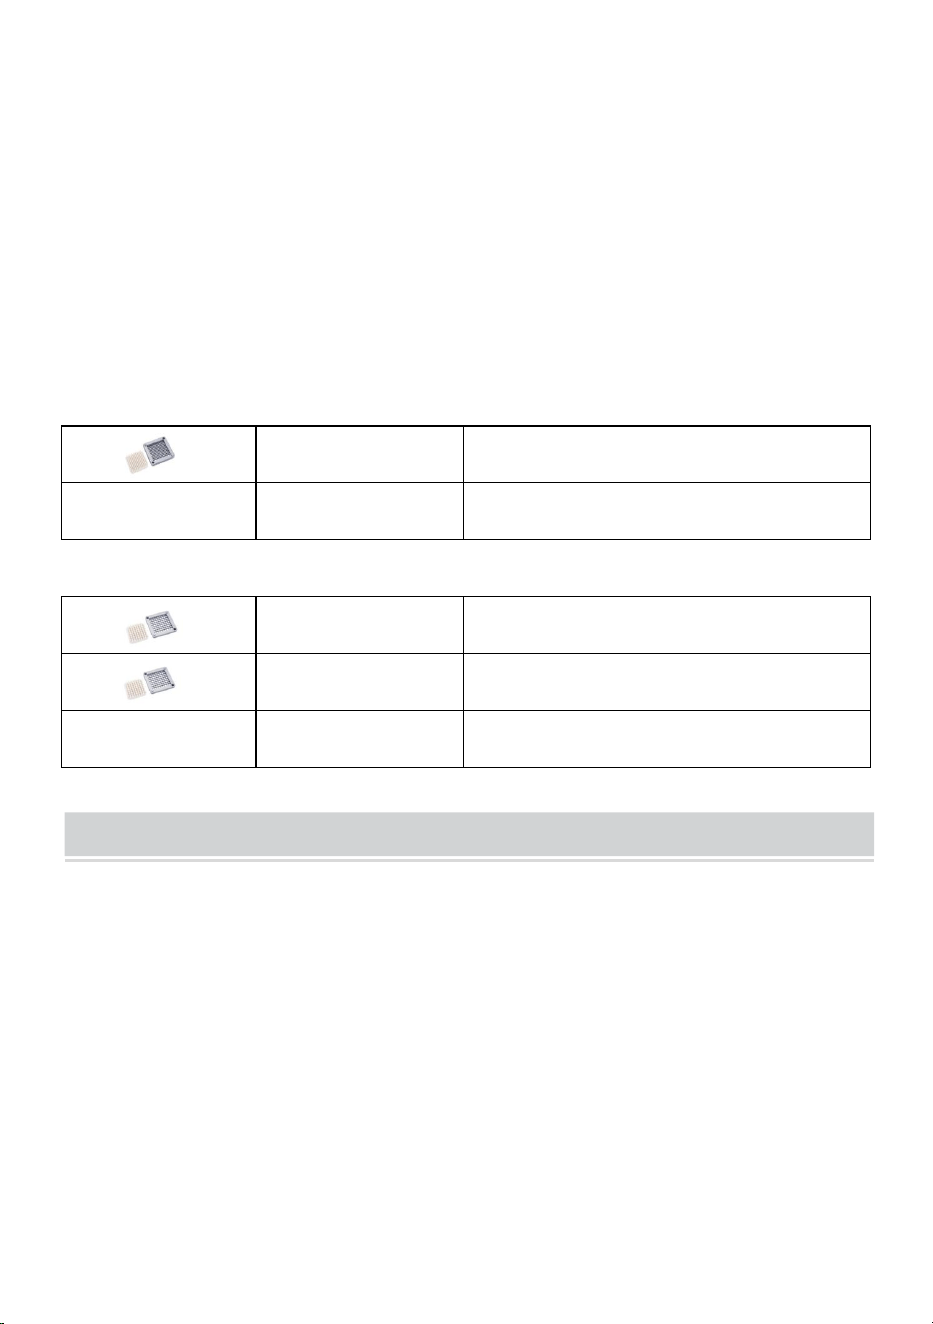
Configuration for AY420:
1pc
1/2inch,Installed on the product
Brush
1pc
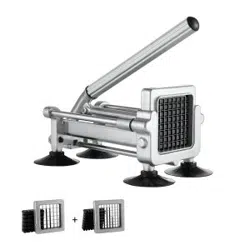
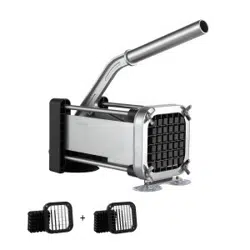
Configuration for AY420-2:
1pc
1/2inch,Installed on the product
1pc
3/8inch
Brush
1pc
OPERATION GUIDE
ASSEMBLE
1.Remove French Fry Cutter from the packaging and verify that you have
received all the parts.
2. Remove the protective materials covering the Handle,Handle Tube and
Push Bar.
3.Locate the Handle,Handle Bolt,Handle Washers and Handle Nuts.
4. Line up the holes in the Handle with the
corresponding holes in the handle base of the French Fry Cutter.
5. Insert the Handle Bolt through the handle base and Handle and then
secure using the Handle Nuts and Handle Washers.
6. To attach the Push Bars to the Handle position the Push Bars on each
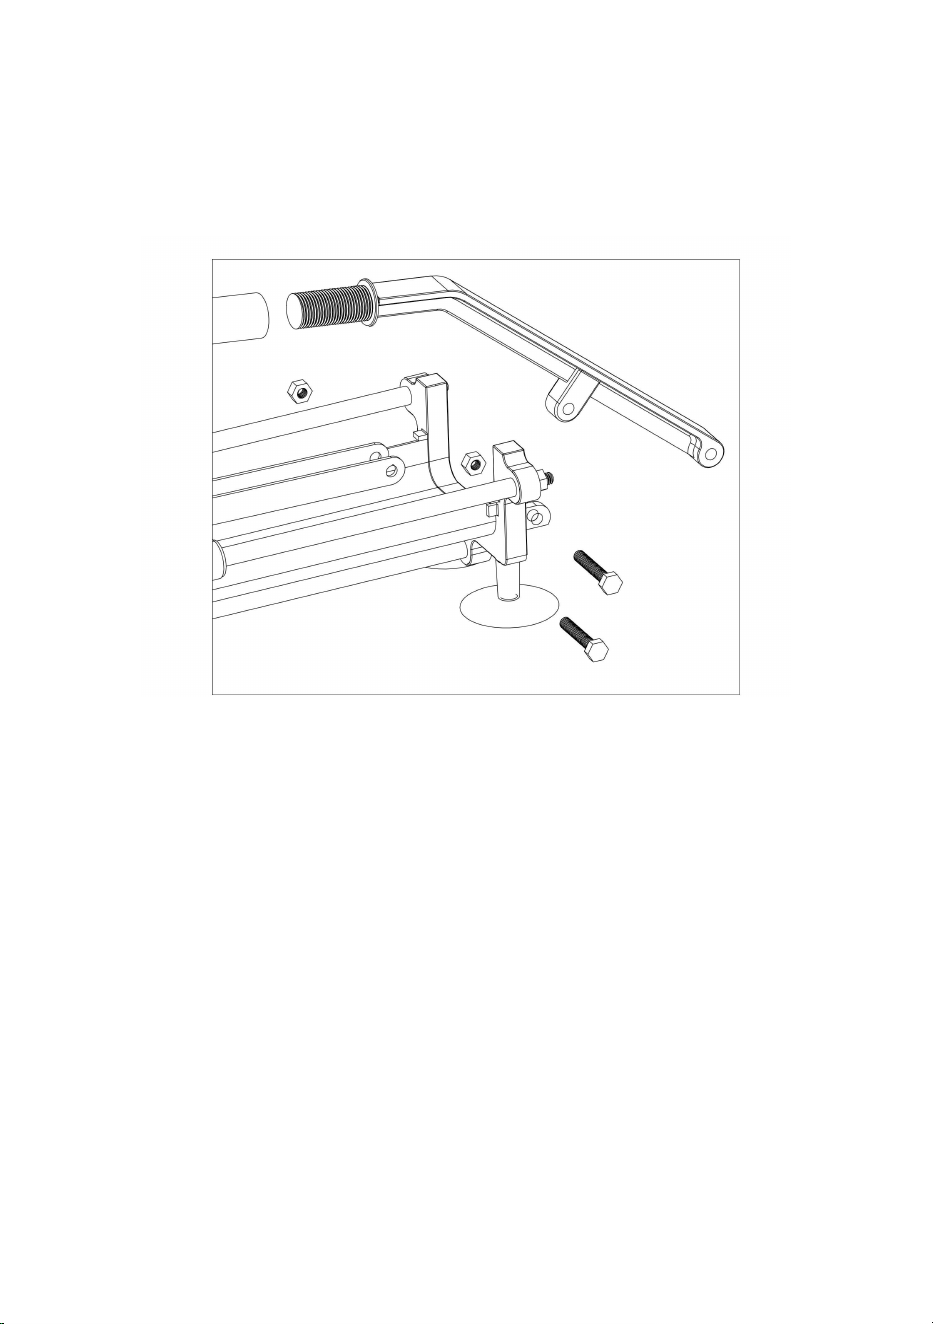
- 5 -
side of the Handle and line up the corresponding holes.
7. Insert the Push Bar Bolt through the Push Bar and the Handle and then
secure them together using a Push Bar Nut.
8. Screw up the Handle Tube with Handle.
SUCTION CUP MOUNTING INSTRUCTIONS
To install the Suction Cup Feet to your French Fry Cutter, place the Bolt of each
Suction Cup into the holes in the Feet of the French Fry utter. Thread it tightly.
Press firmly down on the French Fry Cutter to create suction between the work
surface and the French Fry Cutter. Suction Cups work best on smooth clean
horizontal surfaces. A damp cloth can be swiped across the Suction Cup before
adhering to create more suction. Be certain to check the stability of the French
Fry Cutter to the work surface prior to use.
NOTE:
The Suction Cups are not meant to be used on a vertical surface.Use the
Suction Cups for horizontal mounting purposes only.
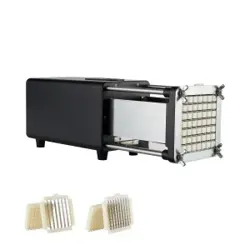
CHANGING THE CUTTING PLATE
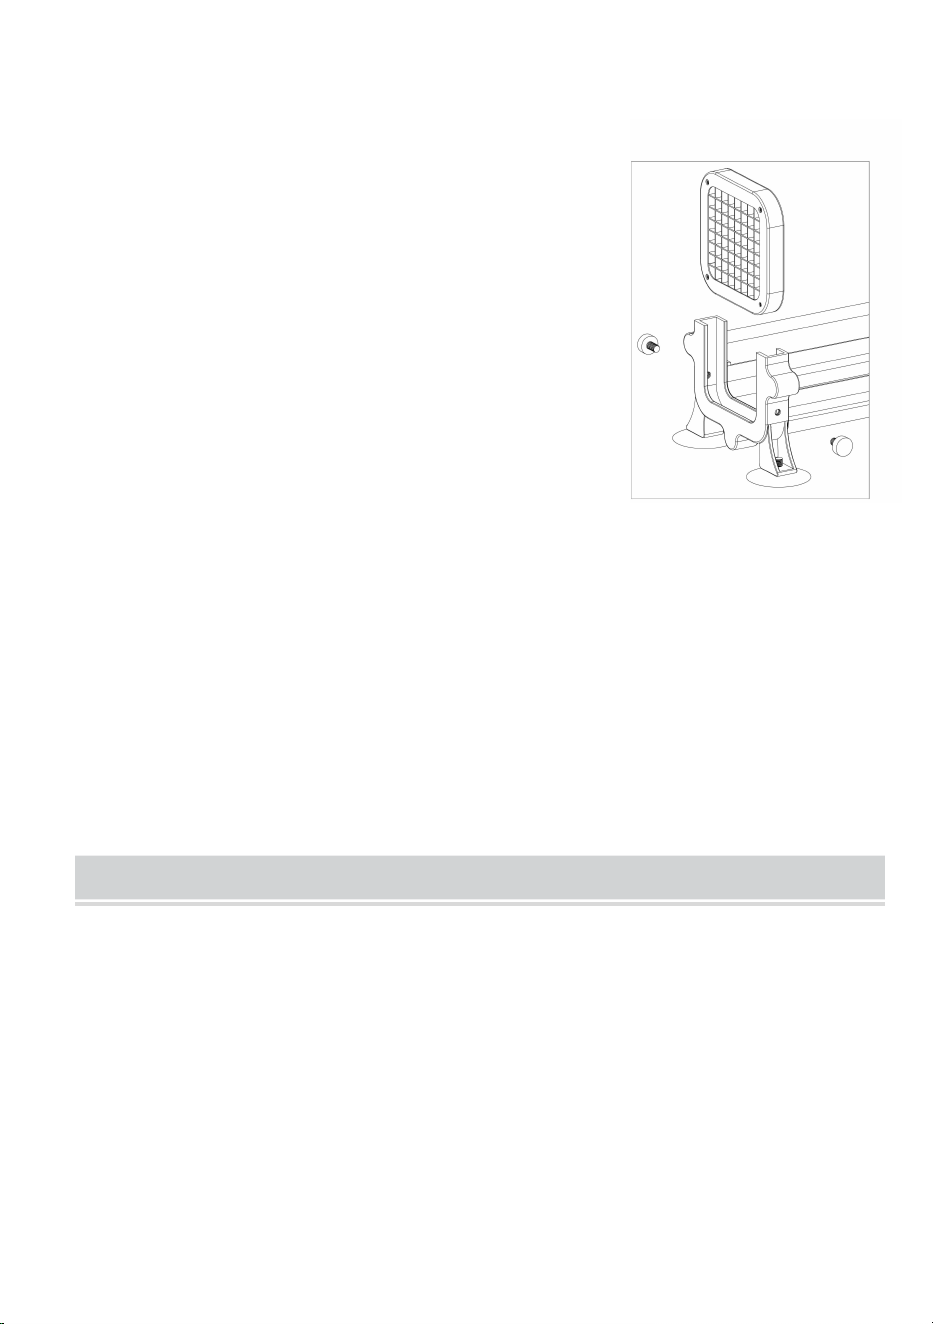
- 6 -
1. Remove the 2 Locking Nuts from the French Fry Cutter.
2.To remove the Pushing Plate, with the Handle in
the down position, loose the 2 Push Plate
Bayonets from the back of the Pushing Plate
Mounting Bracket.
3. Once the Push Plate Bayonets are loosed raise
the Handle and remove the Pushing Plate.
4. Replace the Pushing Plate and secure it with
the 2 Push Plate Bayonets in position.
5. Replace the Cutting Plate and secure it with the
2 Locking Nuts.
NOTE: The Cutting Plate needs to be facing
inward. The dull portion of the Blades should be
facing outward.
USE
1.Prepare the produced that is going to be cut.
2.Lift up the pusher assembly and place the produce on the blades.
Ensure that fingers and hands are clear of the cutting area. With one
strong, quick and fluid motion, pull the lever down forcing the product
through the blades. Repeat as necessary until you have cut the amount of
produce necessary.
CLEAN AND MAINTENANCE
1.The whole machine of the equipment can be flushed. After each use, it
is necessary to ensure the blade is clean. The clean water can be washed
so the blade remains clean and is not corrupted. The service life of the
blade is prolonged.
2.The equipment belongs to a precision machining machine. Therefore,
self-modification and equipment recreation will affect the use, which
belongs to artificial damage.
3.The blade belongs to the natural wear part of the equipment. The blade
will be broken or worn after cutting a certain time and quantity of

- 7 -
ingredients. It is necessary to timely purchase the blade with the
corresponding specification for replacement (Improper operation or
cutting too hard ingredients will also damage the blade).
4.The equipment uses an ultra-thin blade and cannot cut tough foods like
meat and sweet potatoes.
5.The equipment must be lubricated regularly.
6.If it cannot be pressed when cutting, it indicates that the cutter plate has
been worn and changed. Do not press hard. First, remove the cutter plate,
replace the corresponding specification’s cutter plate, and continue using
it.
7.In the operation, it is necessary to ensure that the complete machine is
on a flat and firm table. Otherwise, it is easy to slide and hit the blade,
affecting the machine’s use.
8.Periodically check whether there is a loose set screw, timely tighten the
screw, and maintain the machine.

- 8 -
Address:Baoshanqu Shuangchenglu 803long 11hao 1602A-1609shi
Shanghai
Imported to AUS: SIHAO PTY LTD, 1 ROKEVA STREETEASTWOOD
NSW 2122 Australia
Imported to USA: Sanven Technology Ltd., Suite 250, 9166 Anaheim
Place, Rancho Cucamonga, CA 91730
REP
UK
Pooledas Group Ltd
Unit 5 Albert Edward House, The Pavilions
Preston, United Kingdom
REP
EC
SHUNSHUN GmbH
Römeräcker 9 Z2021, 76351
Linkenheim-Hochstetten, Germany
Made In China