
Technical Support and E-Warranty Certificate www.vevor.com/support
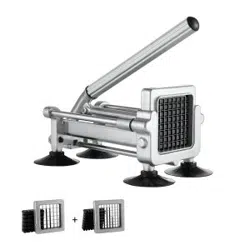
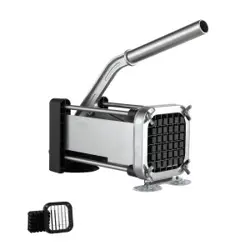
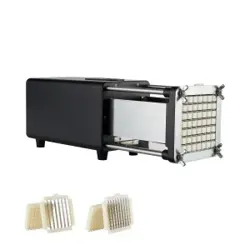
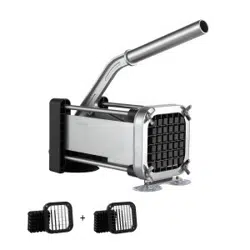
FRENCH FRY CUTTER
Model:AY410/AY410-2
We continue to be committed to provide you tools with competitive price.
"Save Half", "Half Price" or any other similar expressions used by us only
represents an estimate of savings you might benefit from buying certain tools
with us compared to the major top brands and does not necessarily mean to cover
all categories of tools offered by us. You are kindly reminded to verify carefully
when you are placing an order with us if you are actually Saving
Half in comparison with the top major brands.
- 1 -
MODEL:AY410/AY410-2
NEED HELP? CONTACT US!
Have product questions? Need technical support? Please feel free to
contact us:
Technical Support and E-Warranty Certificate
www.vevor.com/support
This is the original instruction, please read all manual instructions
carefully before operating. VEVOR reserves a clear interpretation of our
user manual. The appearance of the product shall be subject to the
product you received. Please forgive us that we won't inform you again if
there are any technology or software updates on our product.
Warning-To reduce the risk of injury, user must read
instructions manual carefully.
FRENCK FRY CUTTER CUTTR
CUTTER

- 2 -
INSTRUCTION MANUAL
GENERAL SAFETY RULES
READ AND FULLY UNDERSTAND ALL INSTRUCTIONS AND
WARNINGS
PRIOR TO USING THIS UNIT.YOUR SAFETY IS MOST IMPORTANT!
FAILURE TO COMPLY WITH PROCEDURES AND SAFEGUARDS MAY
RESULT IN SERIOUS INJURY OR PROPERTY
DAMAGE.REMBER:YOUR PERSONAL SAFETY IS YOUR
RESPONSIBILITY!
1.KEEP FINGERS always CLEAR of the Cutting Blade. NEVER hold the
product with your hands in line of the Cutting Blade.Failureto keep fingers
and hands away from the Cutting Blade may result in personal injury.
2.KEEP CHILDREN AWAY. NEVER LEAVE THE FRENCH FRY CUTTER
UNATTENDED.
3.CHECK FOR DAMAGED PARTS.Before using the French Fry
Cutter,check that all parts are operating properly,and perform theintended
functions. Check for alignment of moving parts,binding of moving
parts,mounting and any other conditions that may affect the operation.
4.When handling the Cutting Plate,it is HIGHLY RECOMMENDED to wear
cut-resistant Kevlar gloves.
5.The Manufacturer declines any responsibility in the case of improper use
of this machine.
6.Ensure that the French fry knife remains stable during use. Please install
all suction cups on a smooth and flat working surface, and the machine
should not move during the cutting process.
7.DO NOT USE this French Fry Cutter for frozen foods, boned meat, fish or
anything other than food stuffs.
8.French fryers should not be installed on uneven surfaces. They can only
be installed on solid and smooth surfaces, such as marble countertops.
9.DO NOT USE the French Fry Cutter while under the influence of drugs or
alcohol.

- 3 -
COMPONENT LIST
DIAGRAM
PART
PART
NUMBER
DISCRIPTION
QUANTITY
1
HANDLE TUBE
1
2
HANDLE
1
3
REAR BRACKET
1
4
BAFFLE
4
5
PUSH PLATE
1
6
FRONT BRACKET
1
7
KNIFE PLATE
1
8
KNIFE PLATE SHELL
1
9
PUSH ROD
2
10
GUIDE ROD
4
11
LARGE SUCTION CUP
1
12
SMALL SUCTION CUP
2
13
PUSHING HEAD
1
ASSEMBLY INSTRUCTIONS
CAUTION! Use extreme care when handling the Cutting Plates and
the Blades! The Blades are extremely SHARP! It is suggested that
you wear cut-resistant Gloves when handling the Cutting Plates.
1.Remove French Fry Cutter from the packaging and verify that you have
received all the parts.
2.Remove the protective materials covering the Handle,Handle Tube and
Push Bar.
3.Locate the Handle,Handle Bolt,Handle Washers and Handle Nuts.
4.Line up the holes in the Handle with the corresponding holes in the
handle base of the French Fry Cutter.
- 4 -
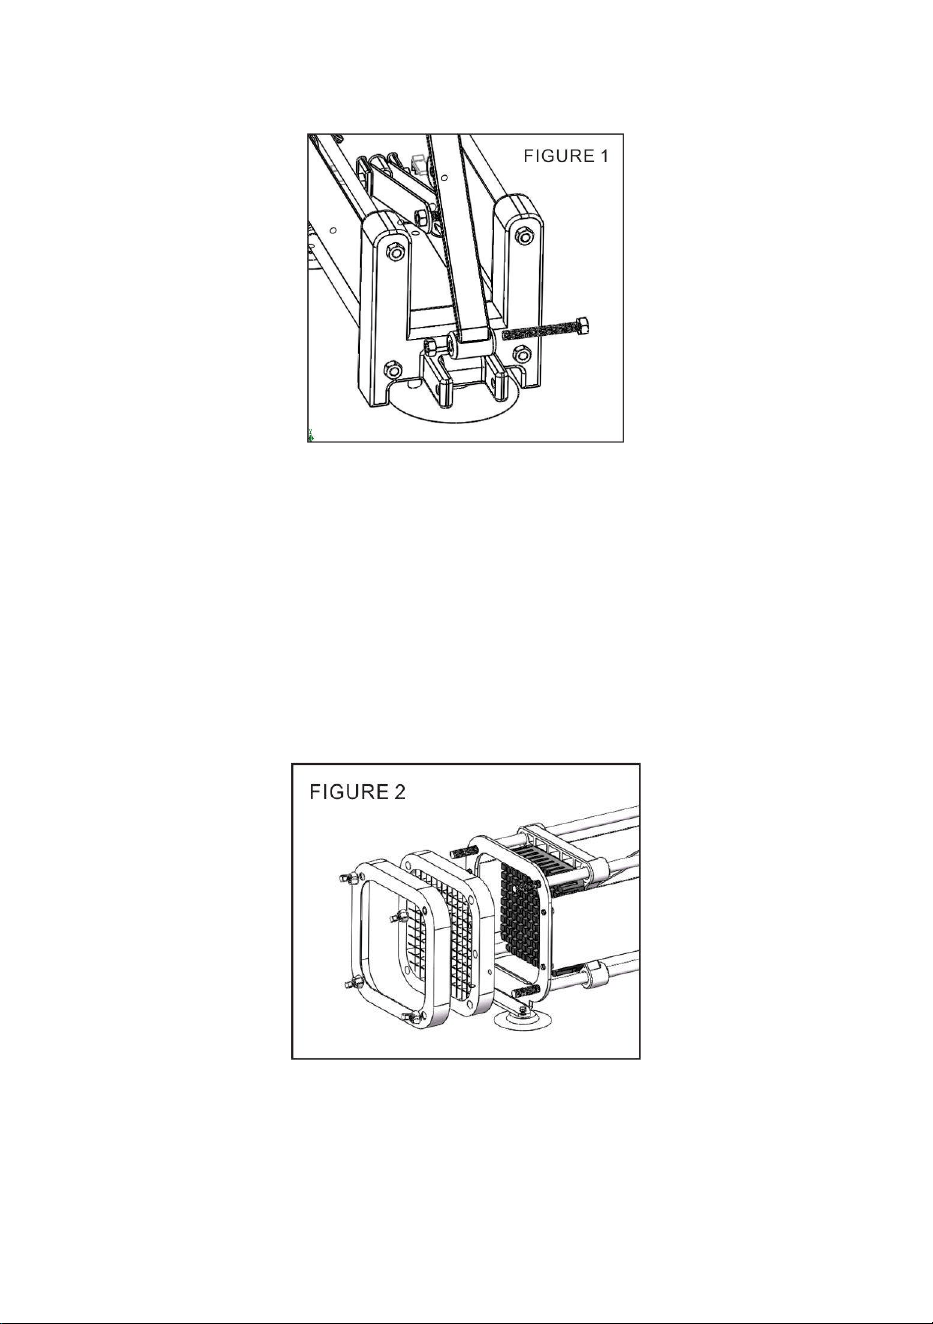
5.Insert the Handle Bolt through the handle base and Handle,and then
secure using the Handle Nuts and Handle Washers.(FIGURE 1)
6.To attach the Push Bars to the Handle,position the Push Bars on each
side of the Handle and line up the corresponding holes.
7.Insert the Push Bar Bolt through the Push Bar and the Handle,and then
secure together using a Push Bar Nut.
8.Screw up the Handle Tube with Handle.
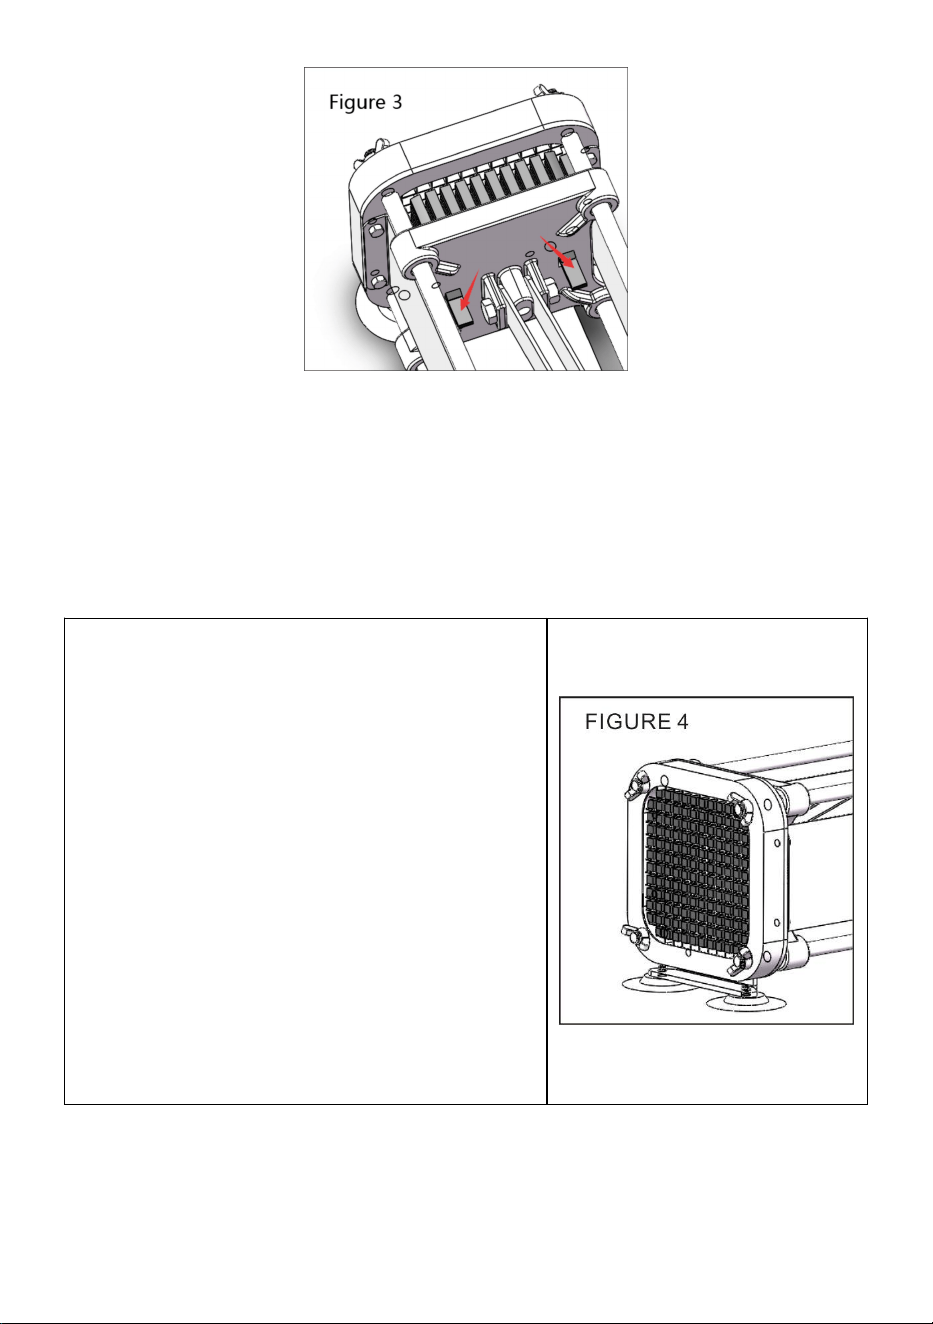
CHANGING THE CUTTING PLATE
1.Remove the 4 Locking Nuts from the French Fry Cutter.(FIGURE 2)
2.Remove the stainless steel plate
3.Remove the blade, replace and clean it
4.Find the fixing part on the back of the push block(FIGURE 3)
- 5 -
5.Press down on the fixed rod on the back of the push block
6.Remove the push block for replacement or cleaning
Attention: The blade needs to be placed inward. The blunt part of the
blade should face outward.
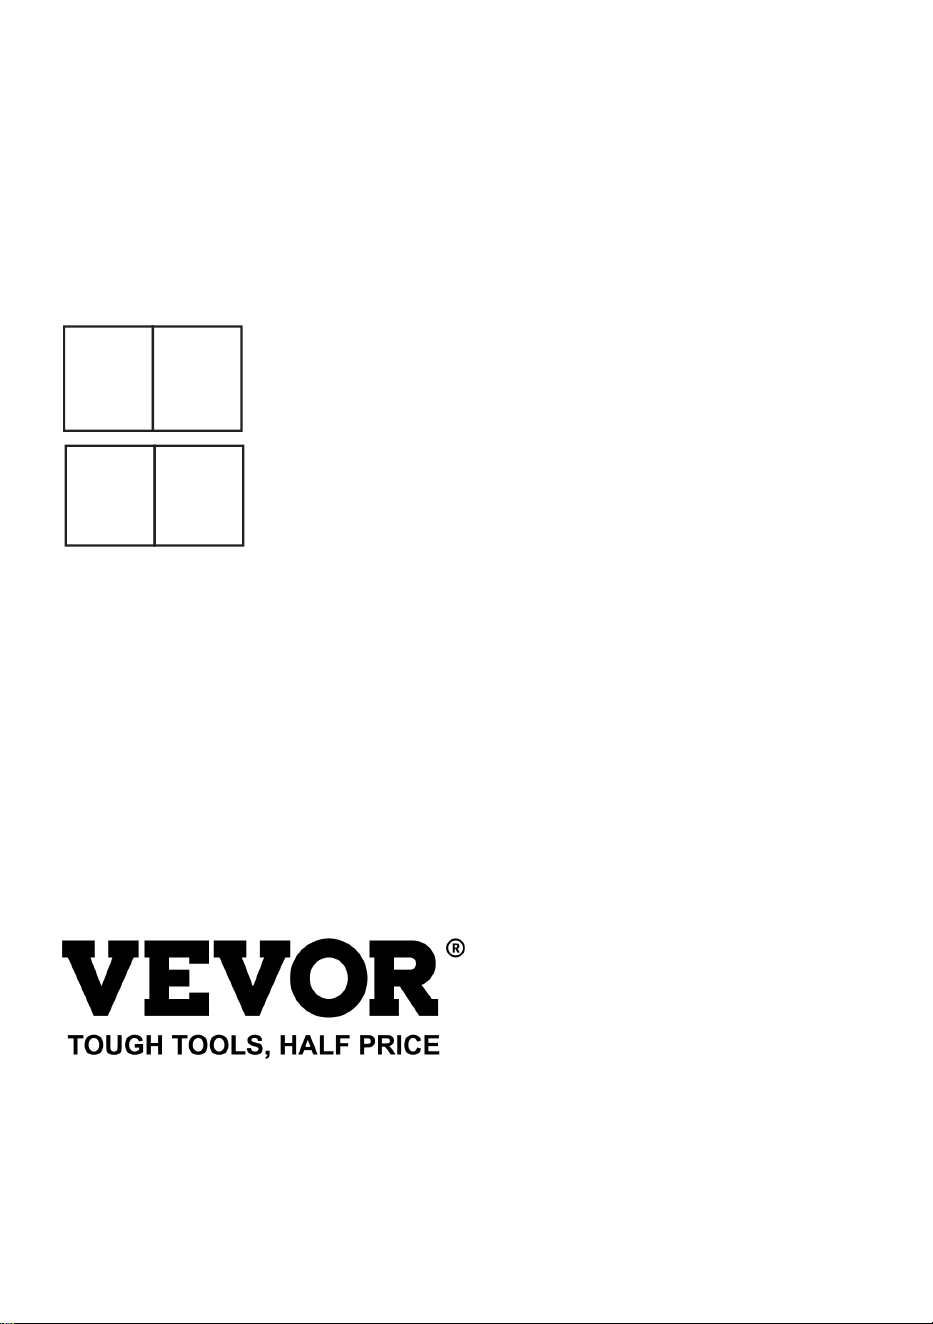
SUCTION CUP MOUNTING INSTRUCTIONS
To install the Suction Cup Feet to your
French Fry Cutter, place the Bolt of each
Suction Cup into the holes in the Feet of
the French Fry Cutter.Thread it tightly
(FIGURE 4). Press firmly down on the
French Fry Cutter to create suction
between the work surface and the French
Fry Cutter.Suction Cups work best on
smooth,clean horizontal surfaces.To
create more of suction, a damp cloth can
be swiped across the Suction Cup prior to
adhering. Be certain to check the stability
of the French Fry Cutter to the work
surface,prior to using.
NOTE:
The Suction Cups are not meant to be used on a vertical surface.Use the

- 6 -
Suction Cups for horizontal mounting purposes only.
SAVE THESE INSTRUCTIONS
NOTE:
1. It is not recommended to cut sweet potatoes and tomatoes.
You can cut potatoes, cucumbers, carrots, zucchini, onions, etc.
2.When cutting onions, it is recommended to cut off the ends and hard skin
first before putting them into the machine.
3.It is not recommended to put the machine or accessories such as the
cutter head into the dishwasher for cleaning or soaking for a long time.
Manufacturer: Shanghaimuxinmuyeyouxiangongsi
Address: Shuangchenglu 803nong11hao1602A-1609shi, baoshanqu,
shanghai 200000 CN.
Imported to AUS: SIHAO PTY LTD. 1 ROKEVA STREETEASTWOOD
NSW 2122 Australia
Imported to USA: Sanven Technology Ltd. Suite 250, 9166 Anaheim
Place, Rancho Cucamonga, CA 91730
REP
UK
YH CONSULTING LIMITED. C/O YH Consulting
Limited Office 147, Centurion House, London
Road, Staines-upon-Thames, Surrey, TW18 4AX
REP
EC
E-CrossStu GmbH
Mainzer Landstr.69,
60329 Frankfurt am Main.
Technical Support and E-Warranty Certificate
www.vevor.com/support