WEEE Number: 80133970
INTRODUCTION & WARRANTY
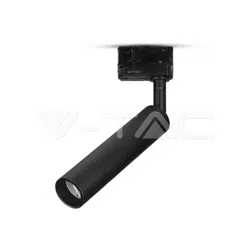
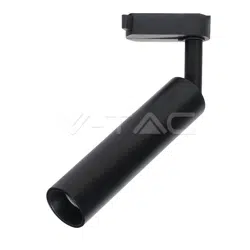
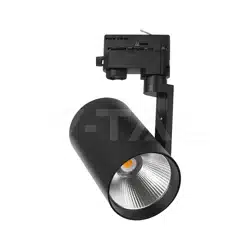
Thank you for selecting and buying MAGNETIC SMART TRACKLIGHT V-TAC will serve you the
best. Please read these instructions carefully before starting the installation and keep this manual
handy for future reference. If you have any other query, please contact our dealer or local
vendor from whom you have purchased the product. They are trained and ready to serve you at
the best. The warranty is valid for 3 years from the date of purchase. The warranty does not apply
to damage caused by incorrect installation or abnormal wear and tear. The company gives no
warranty against damage to any surface due to incorrect removal and installation of the product.
The products are suitable for 10-12 Hours Daily operation. Usage of product for 24 Hours a day
would void the warranty. This product is warranted for manufacturing defects only.
TECHNICAL DATA
Model
SKU
Input voltage
Lumens
Power
Beam Angle:
CRI
Body Type
VT-3620
6883
DC:48V
2100LM
20W
90’D
>90
Aluminum
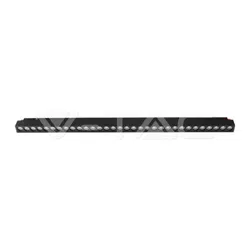
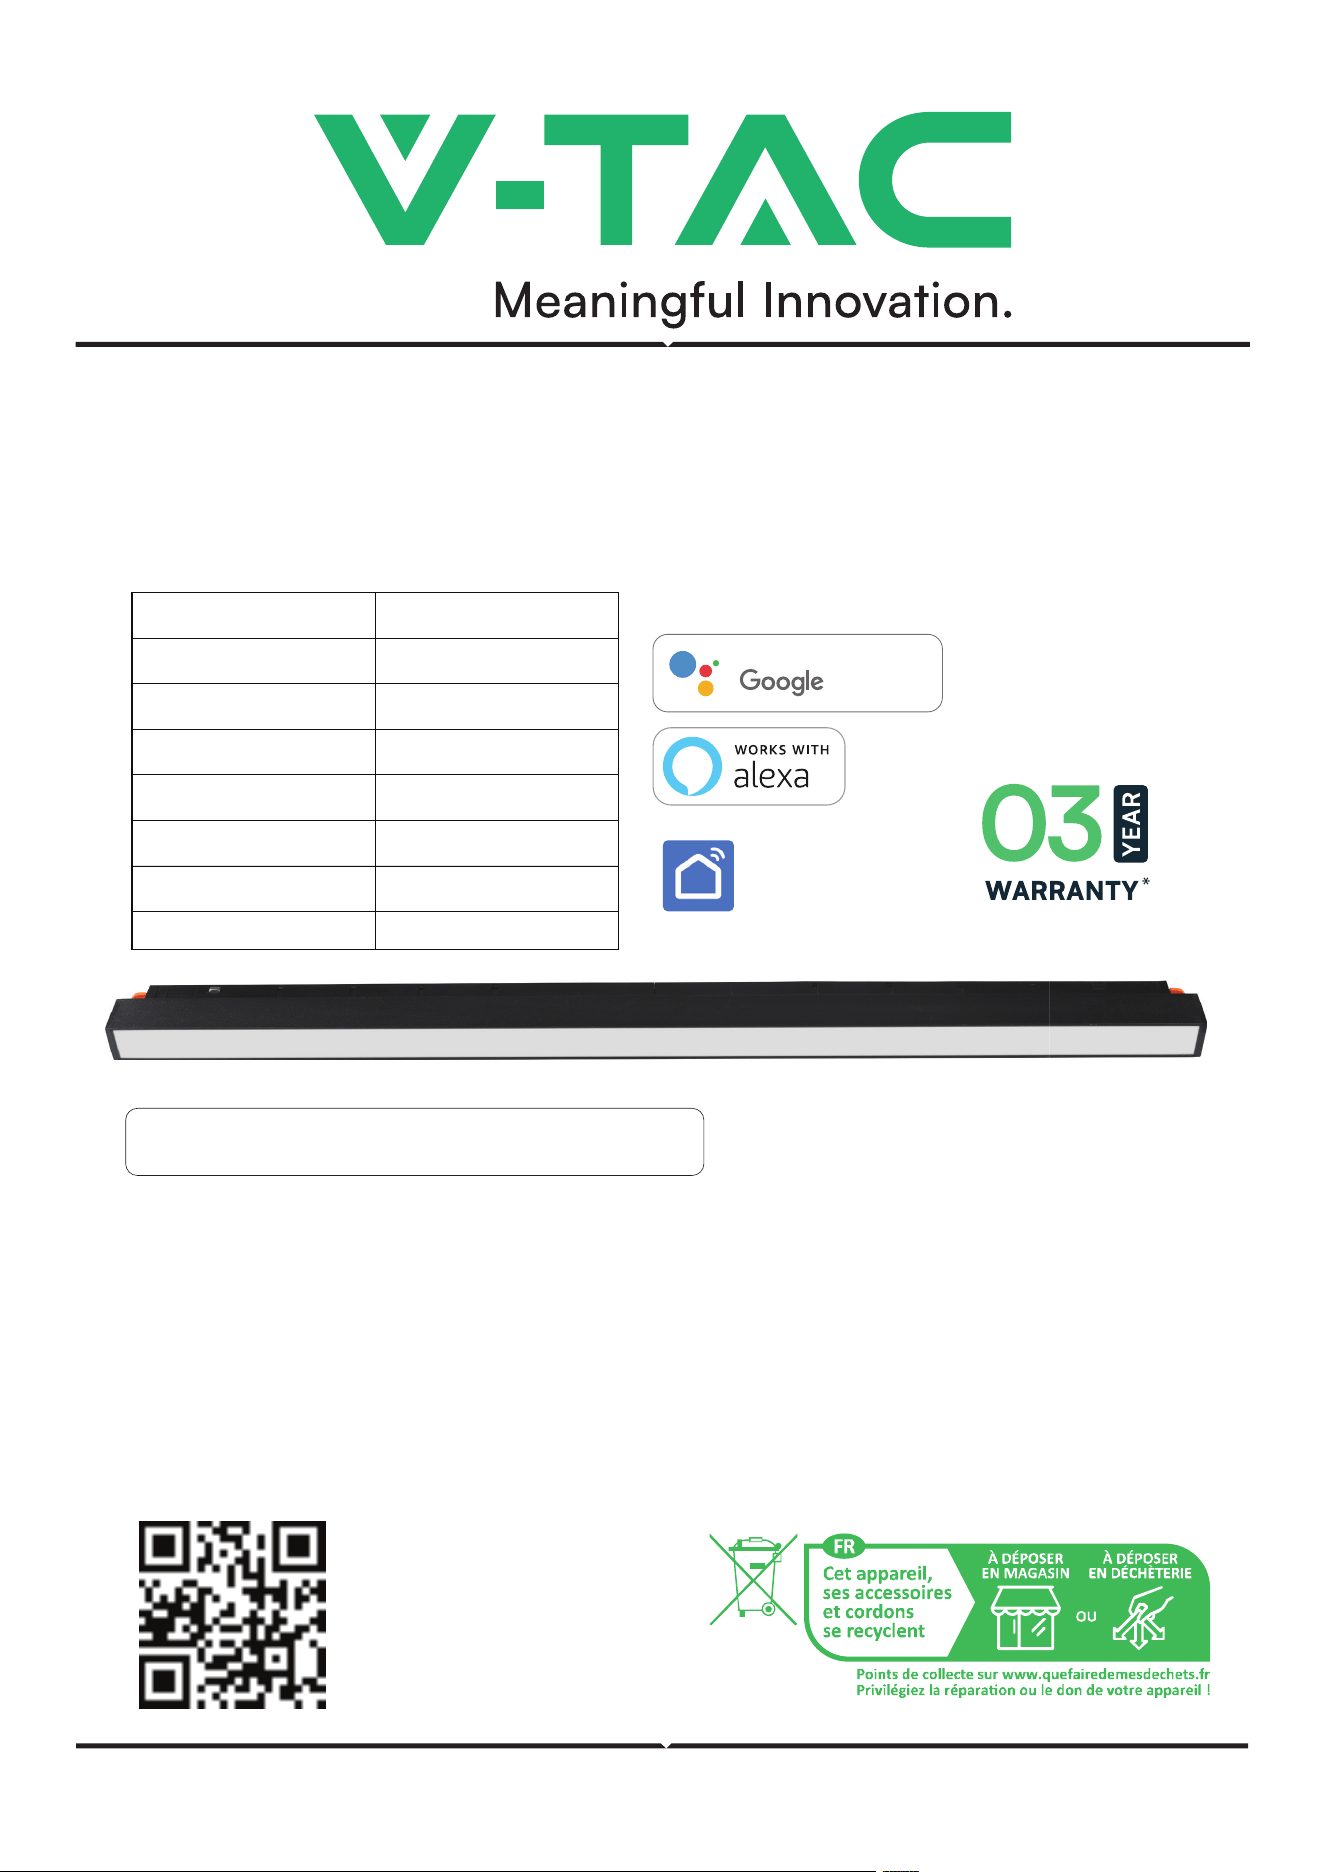
SMART MAGNETIC LINEAR LIGHT
works with
Assistant
INSTRUCTION MANUAL
MULTI-LANGUAGE
MANUAL QR CODE
Please scan the QR code
to access the manual in
multiple languages.
Smart
Life
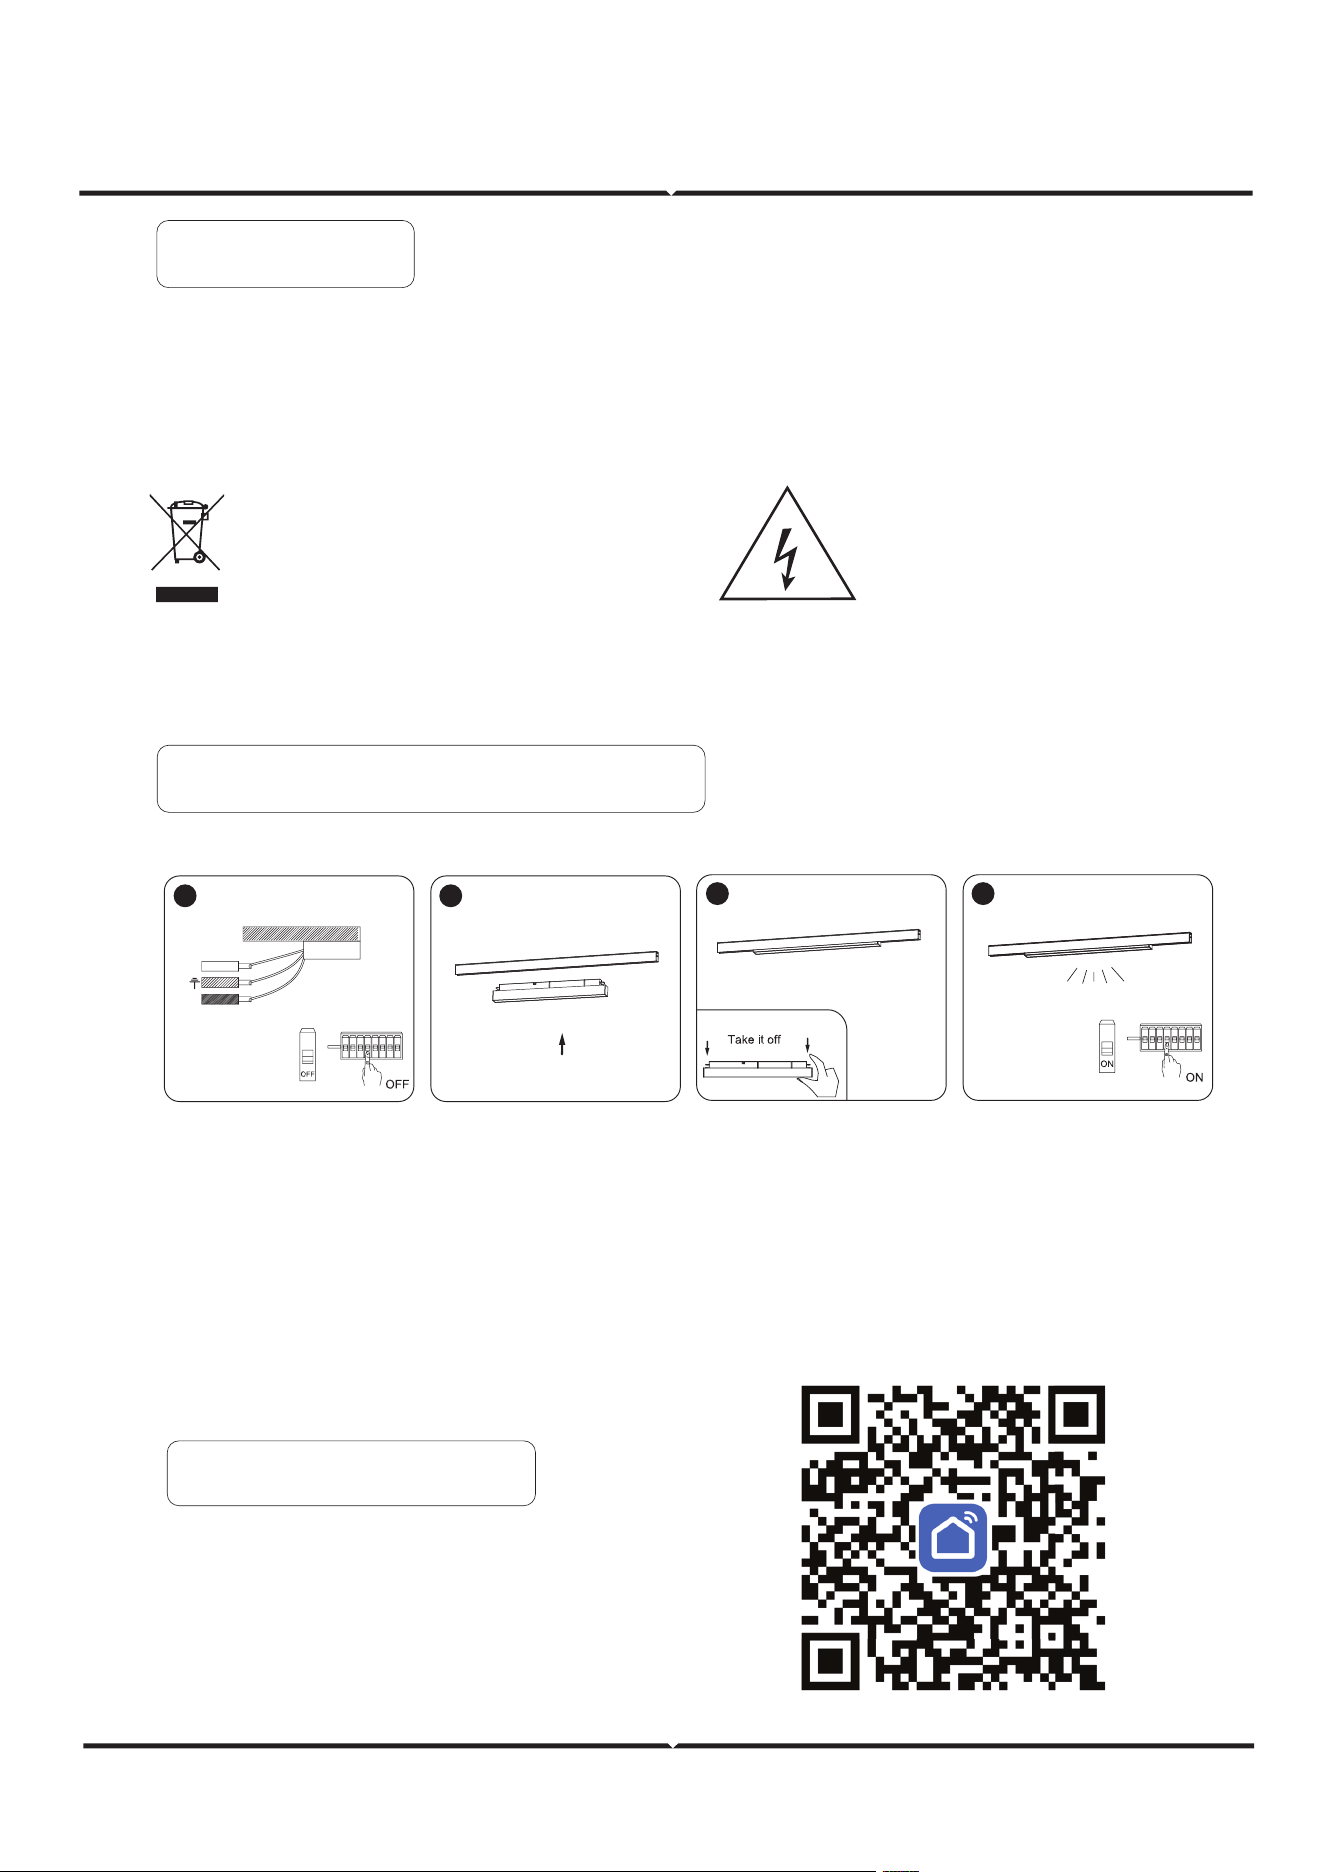
1. Switch o the power.
2. Install the luminaire into the guide rail groove .
3. Check that everything is in order.
4. Switch on the power if above steps done properly without any mistakes.
WARNING
1. Please make sure to turn o the power before starting the installation.
2. Installation must be performed by a certified person.
3. Proper grounding should be ensured throughout the installation.
4. For Indoor use only
INSTALLATION INSTRUCTION
1 2
3 4
N
L
This marking indicates that this
product should not be disposed
of with other household wastes.
Caution, risk of electric shock.
APP INSTALLATION
Step 2: Scan the given QR code, or
download “Smart Life’ from the App
Store (iOS) or the Google Play Store
(Android).
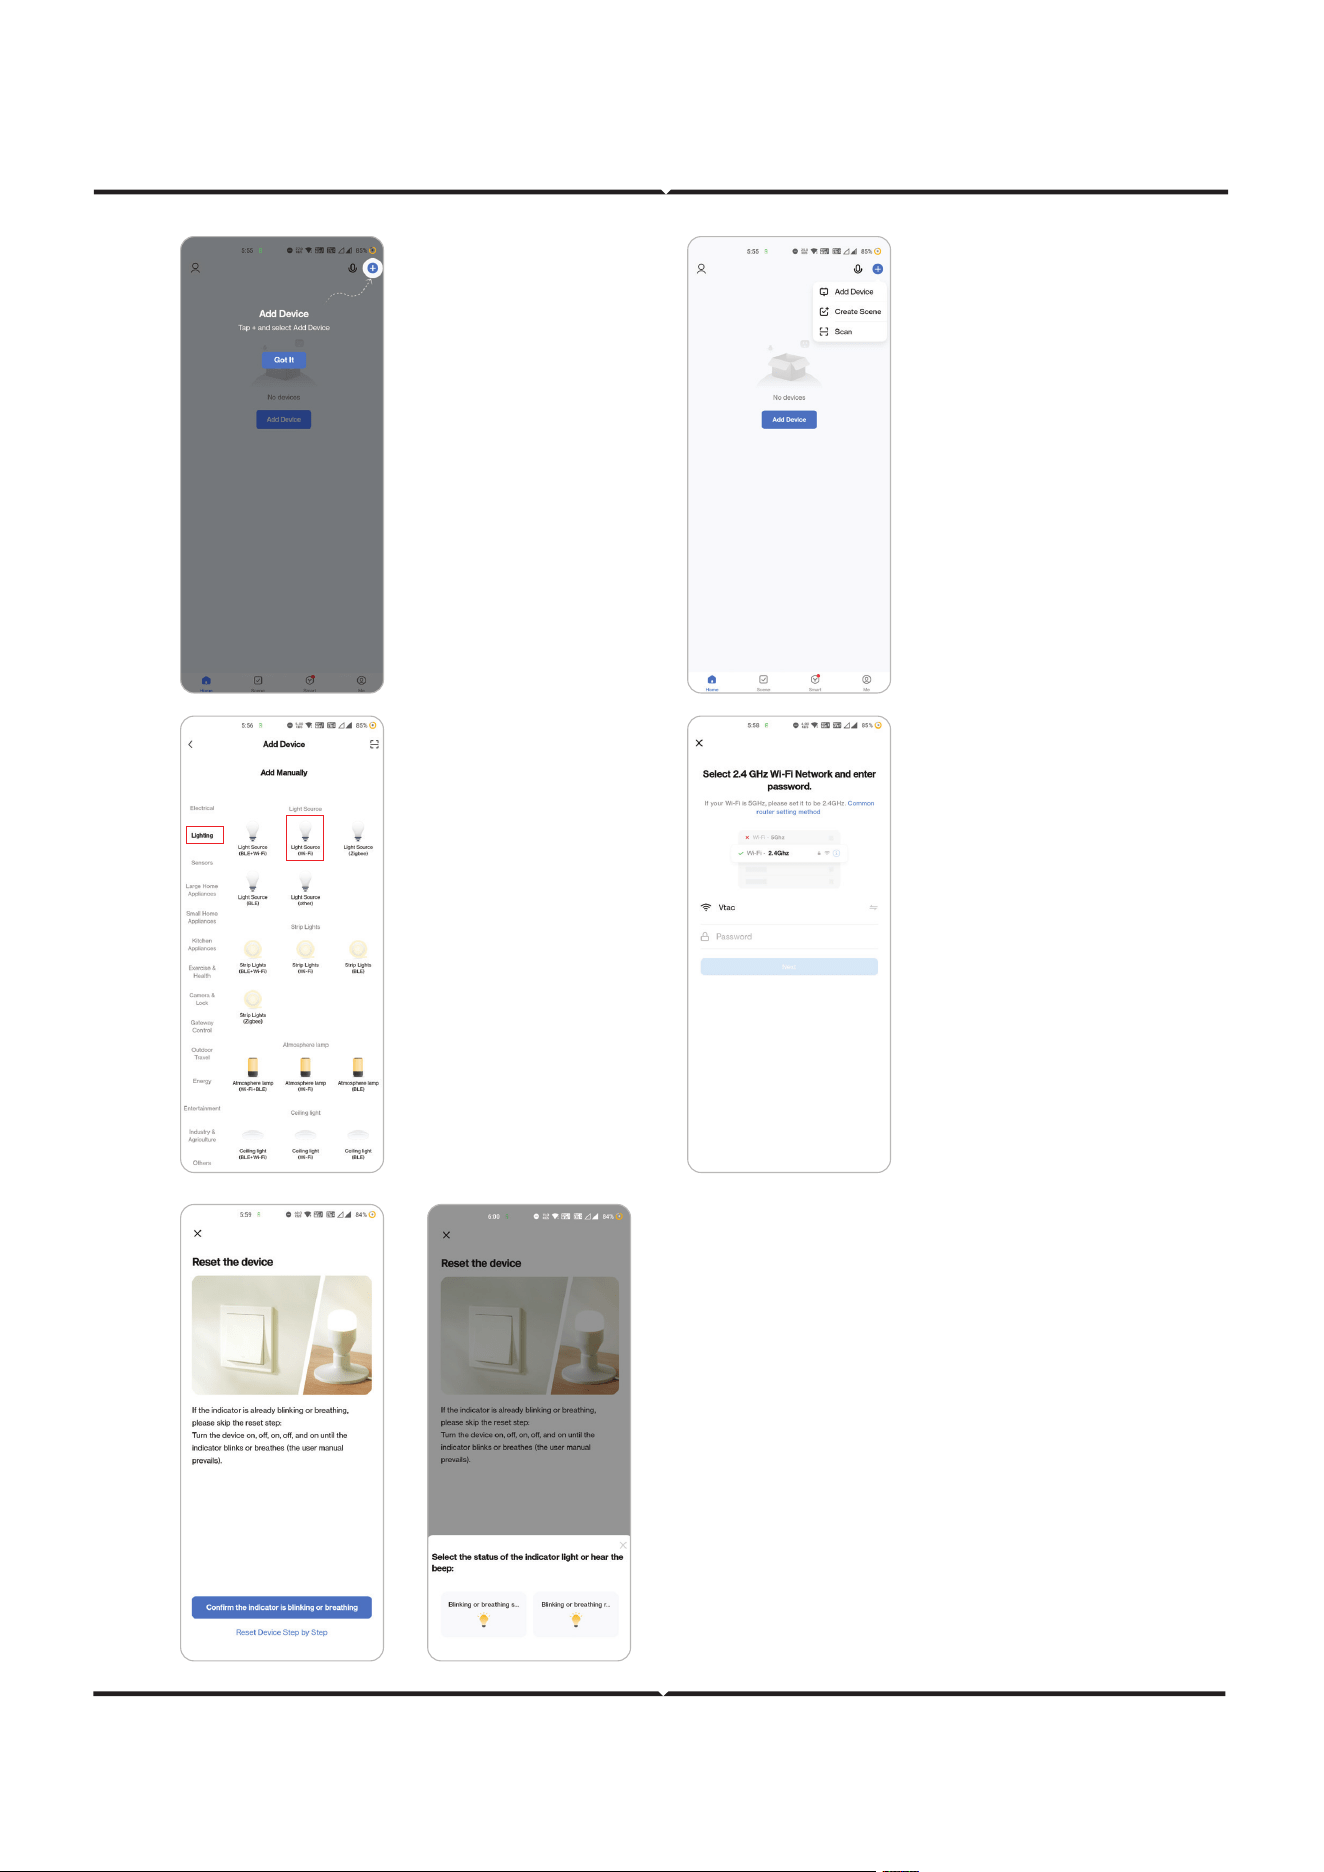
Step 8: To pair the device with LED Smart Strip Light make
sure the light is blinks rapidly.
Once the light blinks rapidly, the light is in pairing mode. If the
light is not blinking rapidly, you can do one of the following
steps:
A. Switch the light on & o repeatedly for 3 times, with short
intervals of less than 2 seconds.
B. Tap the ‘How to make light blink rapidly’ link (as shown on
the image to the right)
C. You can also enable pairing mode from the Wi-Fi control-
ler. Press and hold the ON/OFF button for 5-7 seconds and
wait till you observe the light flashing. Please refer to the
instruction section "WI-FI CONTROLLER FUNCTIONS"
Network Modes
1) Smart Mode: Light flashes rapidly.
2) AP mode: Slow flash, once every 2 seconds.
Confirm if the light blinks rapidly, select the Wi-Fi network,
and enter the password.
4. Enable Bluetooth
and Home Wifi for the
device to access your
wifi connection for
pairing
5. Click “Add a device” or
“+” in the top right corner.
6. Click on the
Lighting
choose “Light
Source (Wi-Fi)“
7. Select 2.4GHz Wi-Fi
network and enter the
password
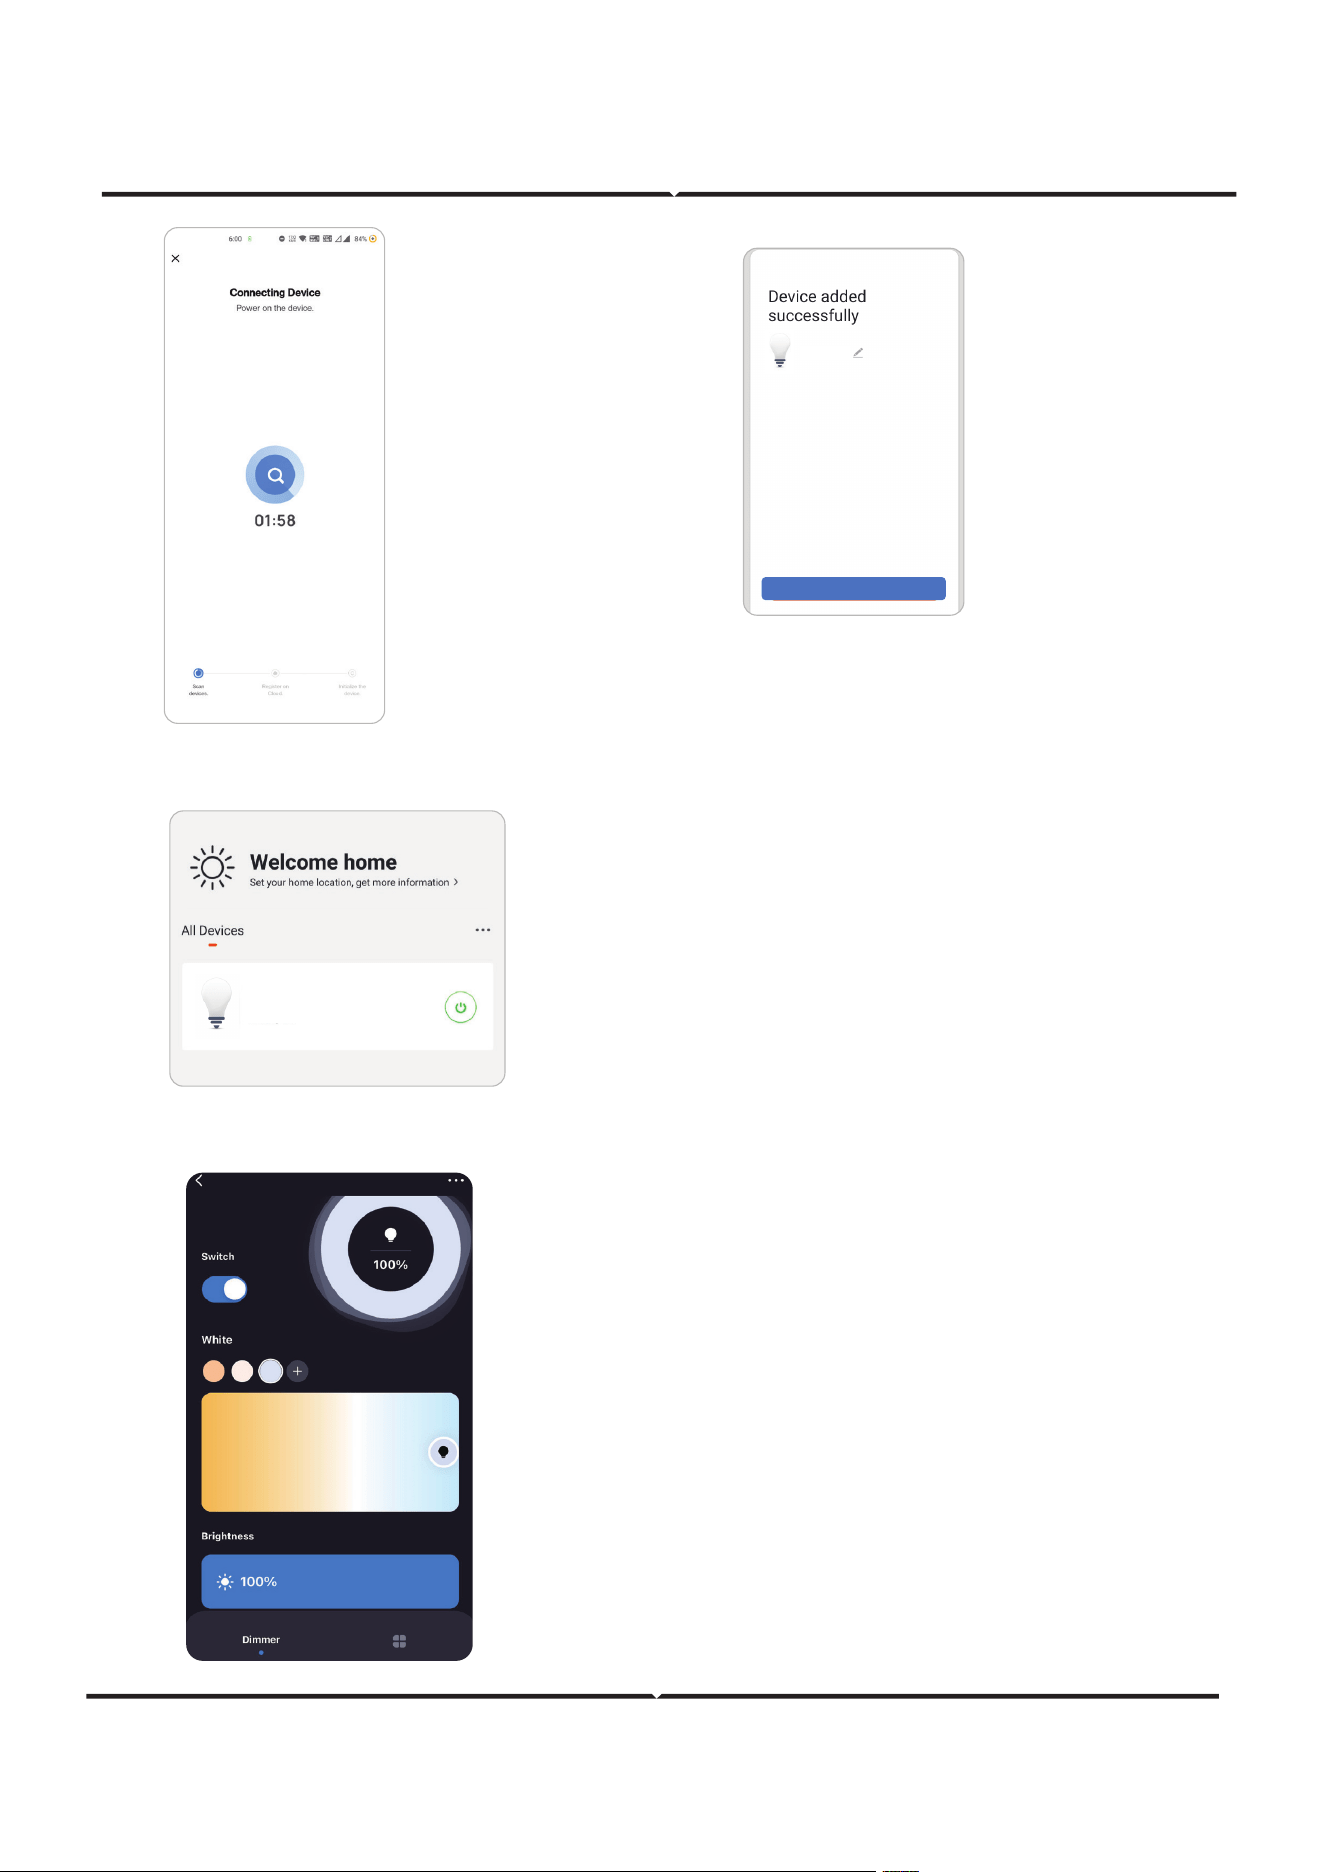
Step 8: Once you
have successfully
completed step 10,
you will be redirected
to below page,
where the App
searches, registers
and initializes the
device(lamp) (ref
image below).
Step 10: You can now start controlling your device with the
App. Tap the device name on the home page to
enter the controls and features of the device.
Step 13: Aer successfully pairing the lamp with the
app, you can start controlling multiple features of the
lamp through your mobile- on/o switch, changing
the colour temperature, timing & schedules, dimming
options, and more.
Step 9: Once your
device is successfully
added, rename the
device to your prefer-
ence.
Completed
Light
Light
Living Room
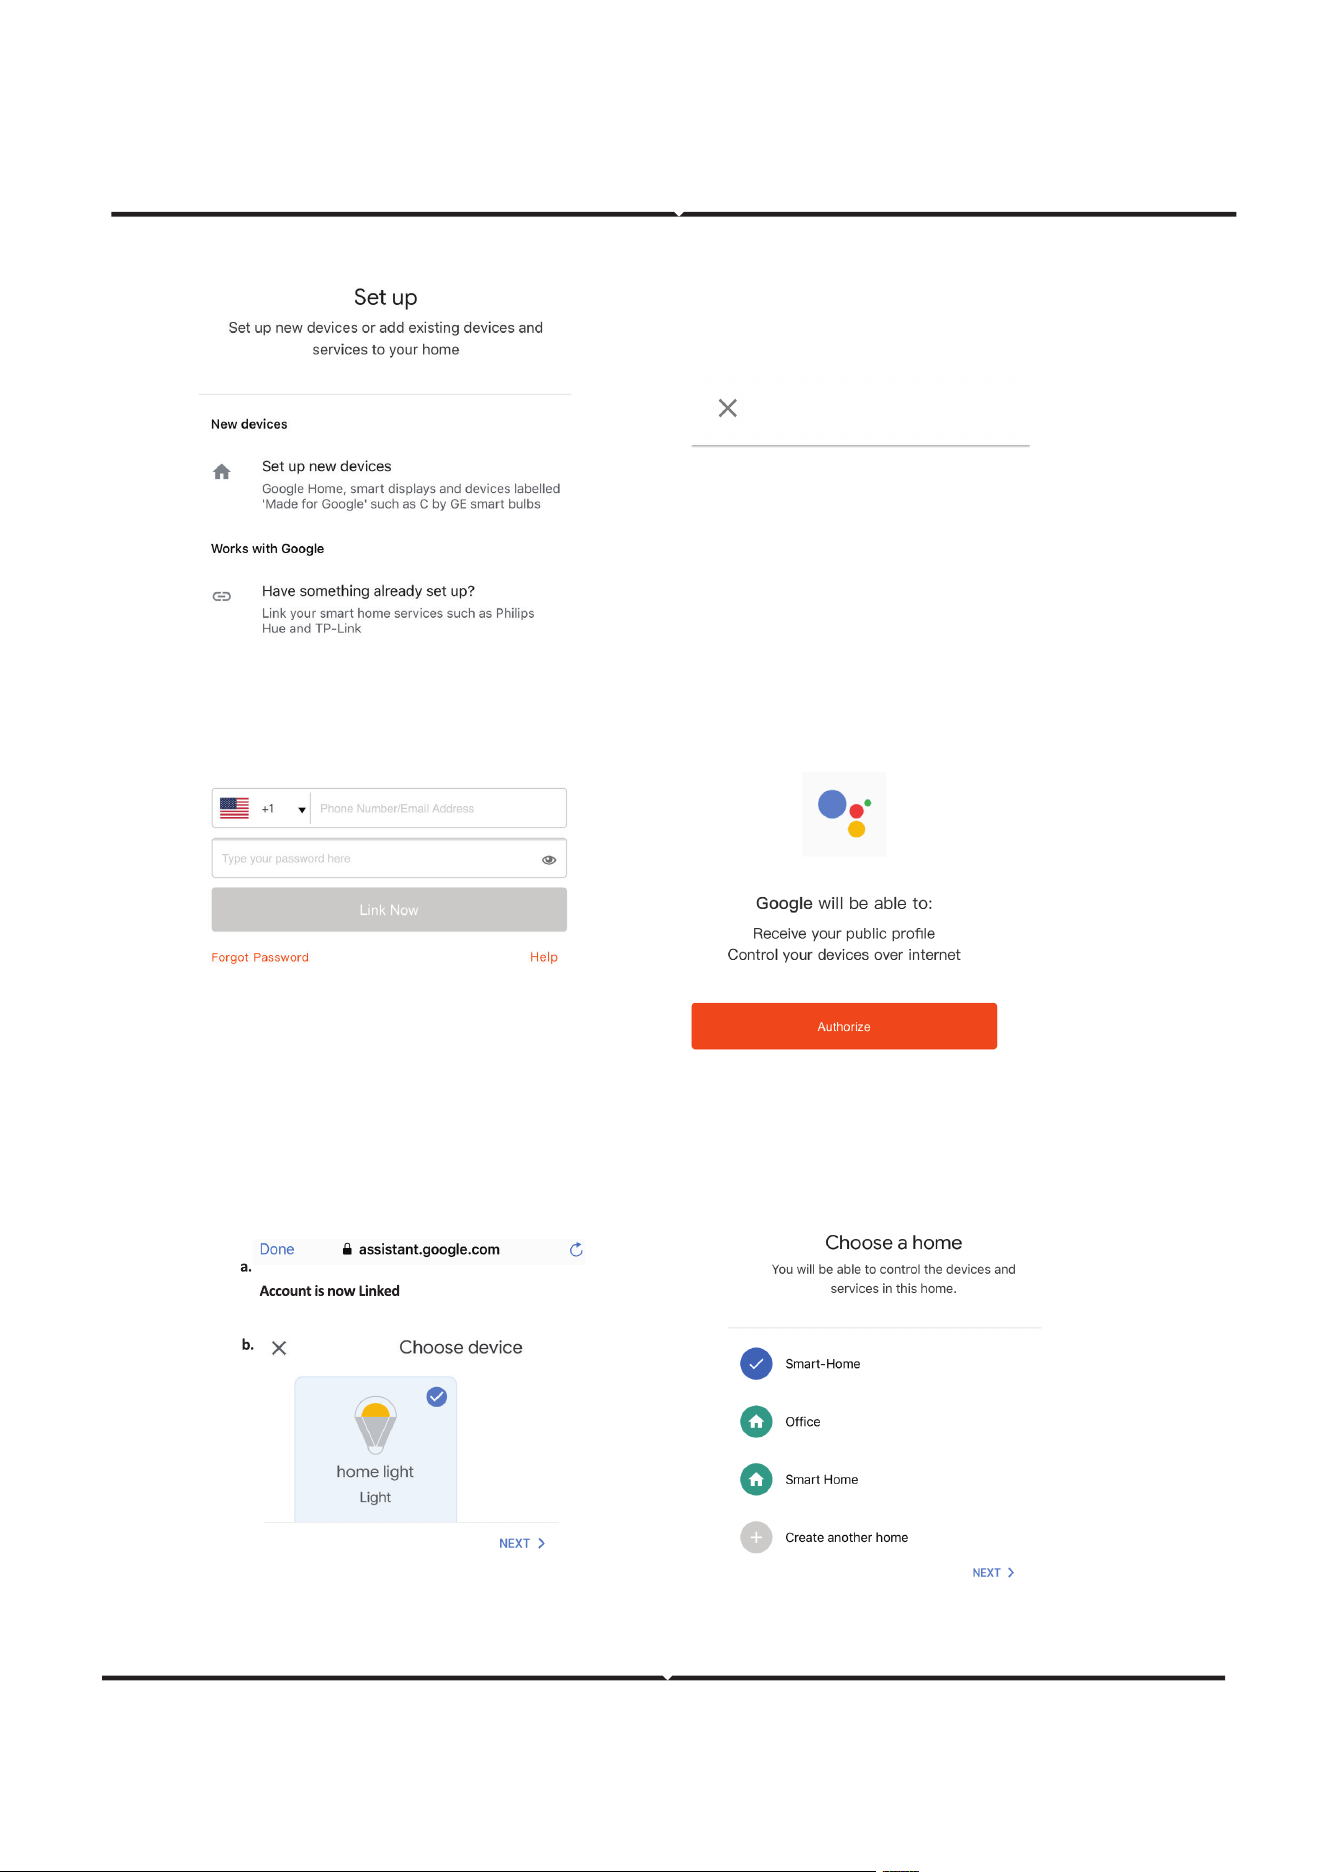
• Step 5: Sign In with your Smart Life Login credentials to Link the Smart Life device.
• Step 6: Tap on Authorize in order to proceed to linking the device.
a. Account will now be linked, please stay on the page you will be redirected in few seconds to select the
device to add to your home.
b. Select the device and tap on Next as show in image b.
Smart Life
Step 7
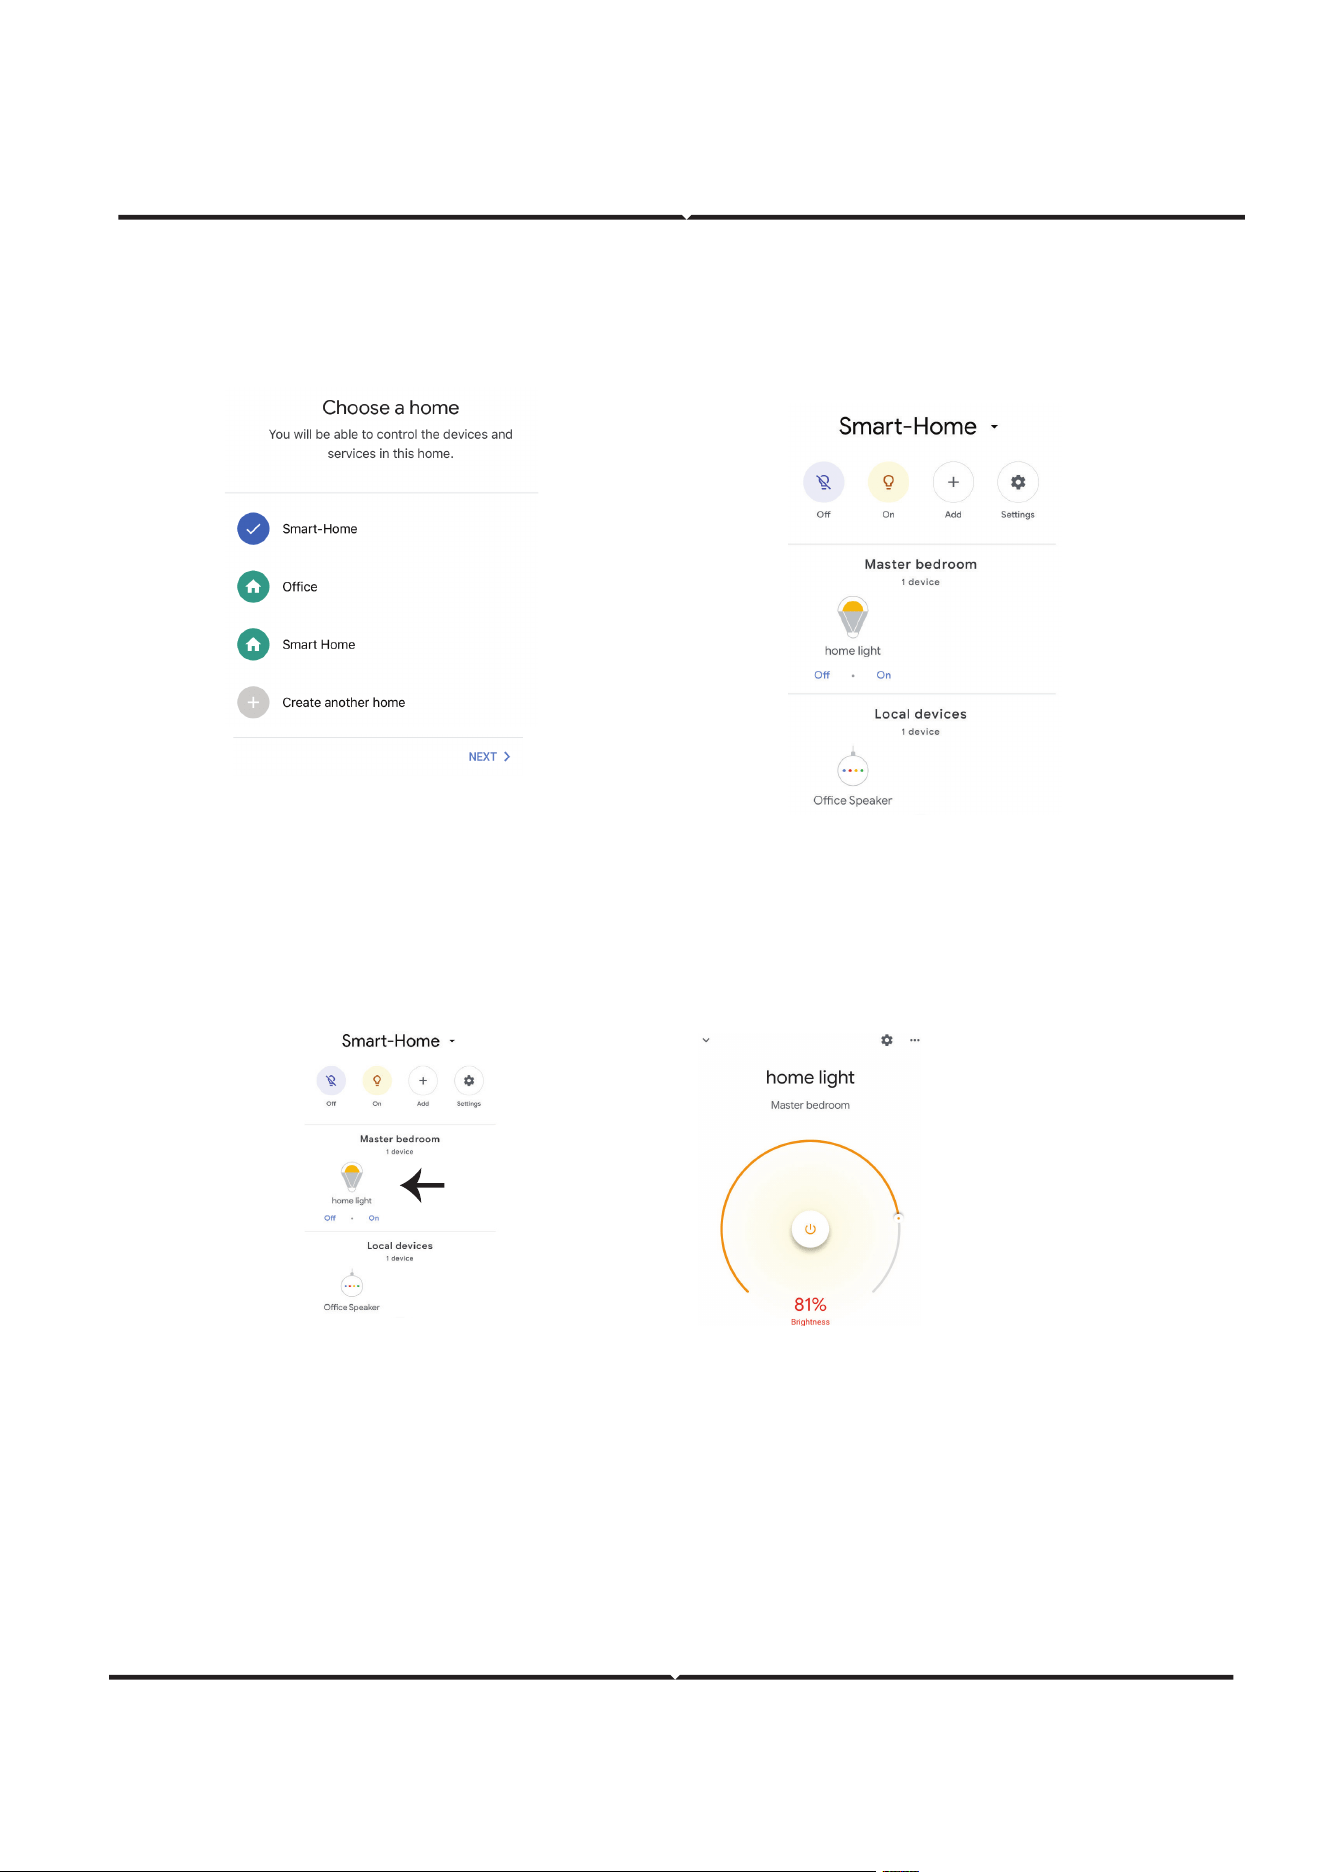
Step 8: Select the Home where you would like to add the Smart Life under. (Or) you can create a New home in
order to add the Smart Life to it.
Step 9: You have succesfully added Smart Life device to your Google Assistant App.
Step 10
a. You can turn the Lamp On/OFF by taping on On/O options as shown below. (OR) You can tap on
the Smart Lamp.
b. You will be redirected to page(as shown in image b) where you can control the lights “Power and
Dimming functionality”.
Google Commands
Now, you can control your smart device using voice commands on Google Assistant. Below are a few
commands you can use:
Ok, Google, turn on/o bedroom light,
Ok, Google, turn on/o Hall light.
THINGS TO REMEMBER BEFORE STARTING INSTALLATION
1. Smart Life App & Google Assistant App Ok, Google, set bedroom light to warm white.
2. Make sure you have Google Assistant Device
3. Smart Device - Lamp
4. Stable Wifi network
ALEXA SETTINGS
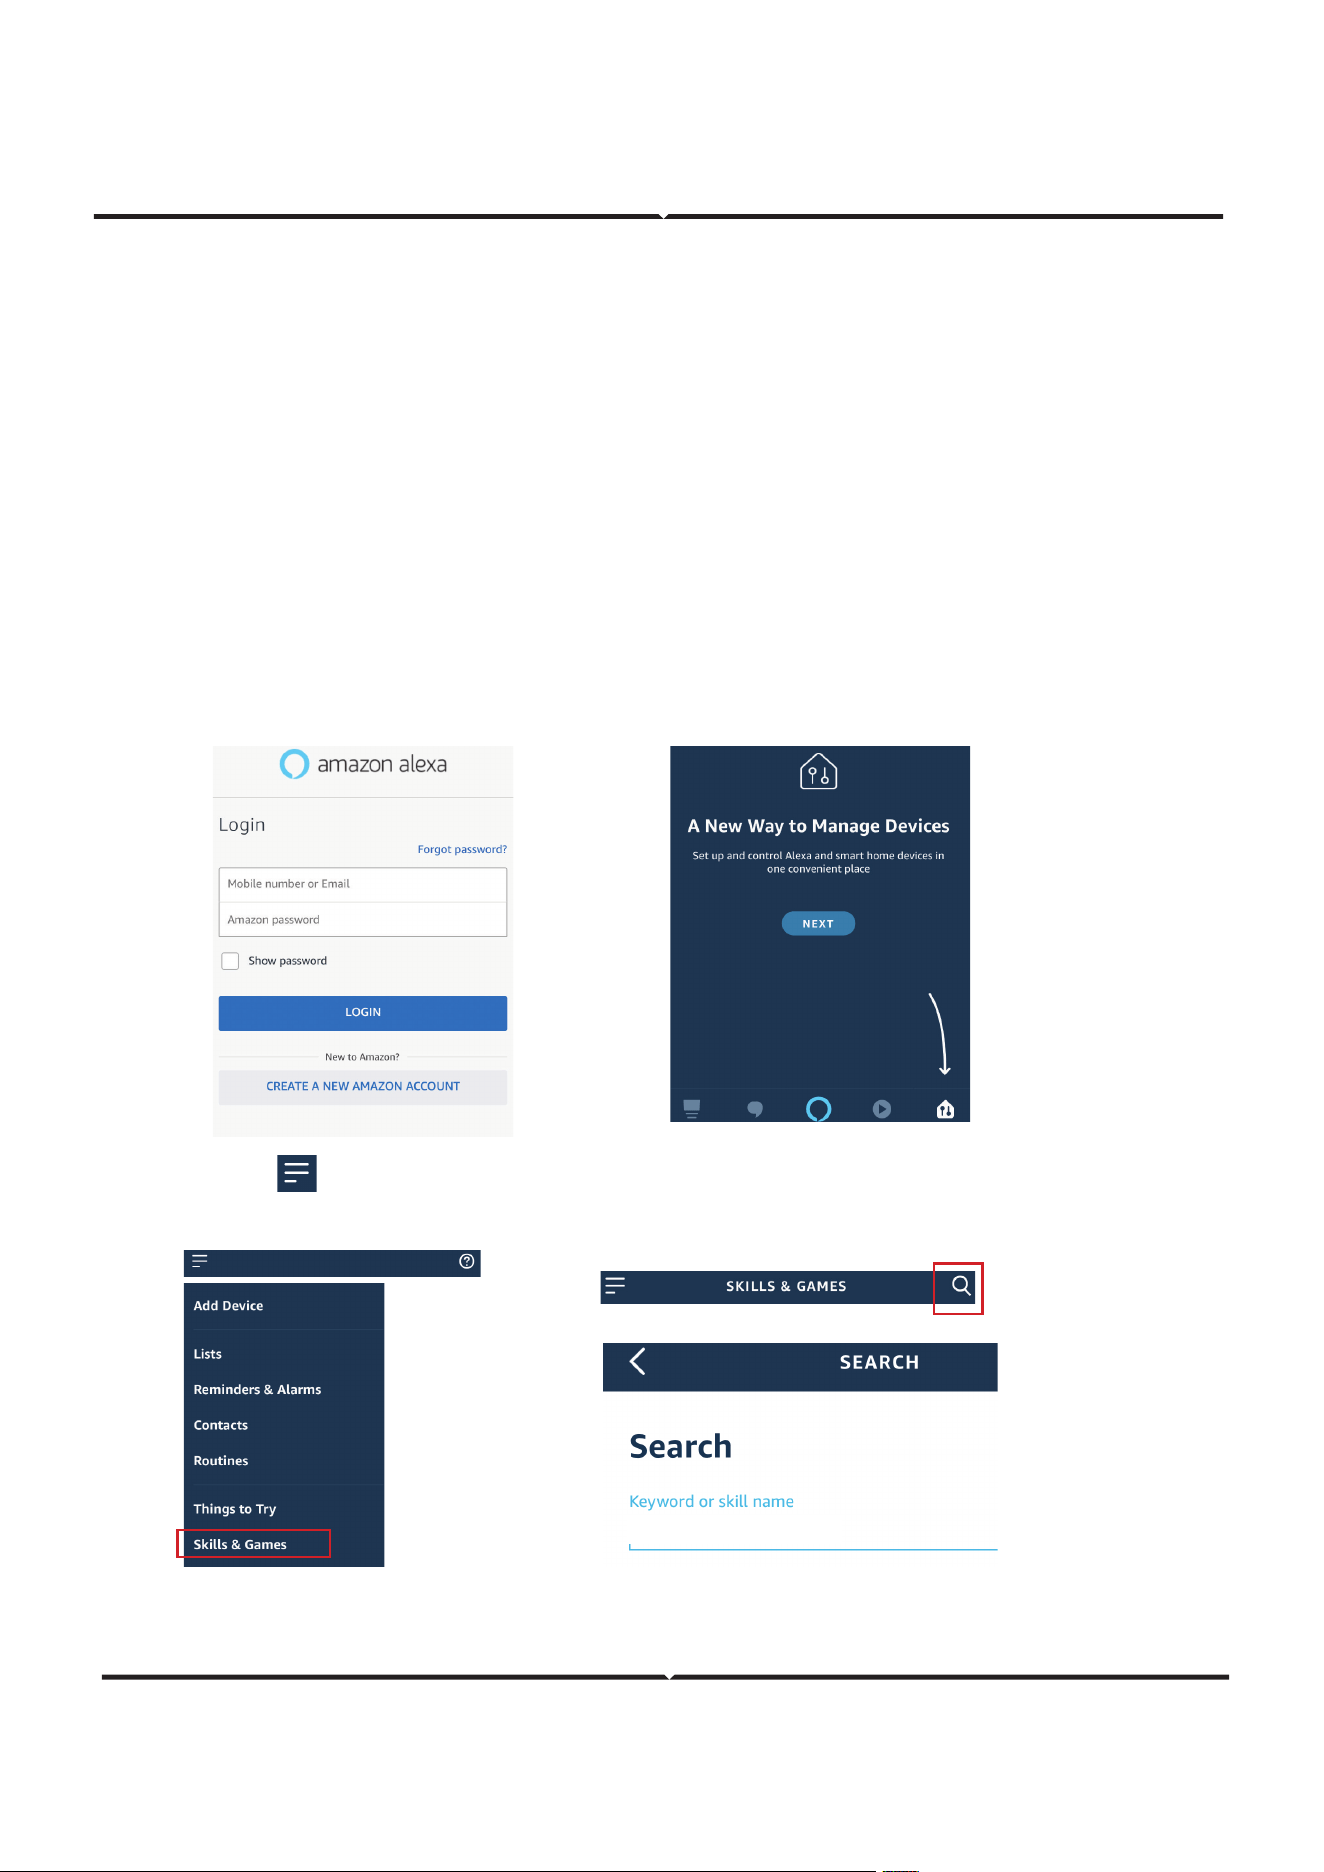
Step 1:Install the Amazon Alexa app via the App Store(iOS) or the Play Store (Android) and register. If you al-
ready have an existing account with Amazon Alexa, please proceed to logging in.
Step 2: Once you are on the Amazon Alexa home page, tap on the lower right icon –– where the arrow is
pointed–– to add a new device and skill.
Step 3: Tap on settings and tap on “skills and games” as shown below.
Step 4: Search for ‘Smart Life’ on the “Skills & Games” page as shown below.
Smart Life
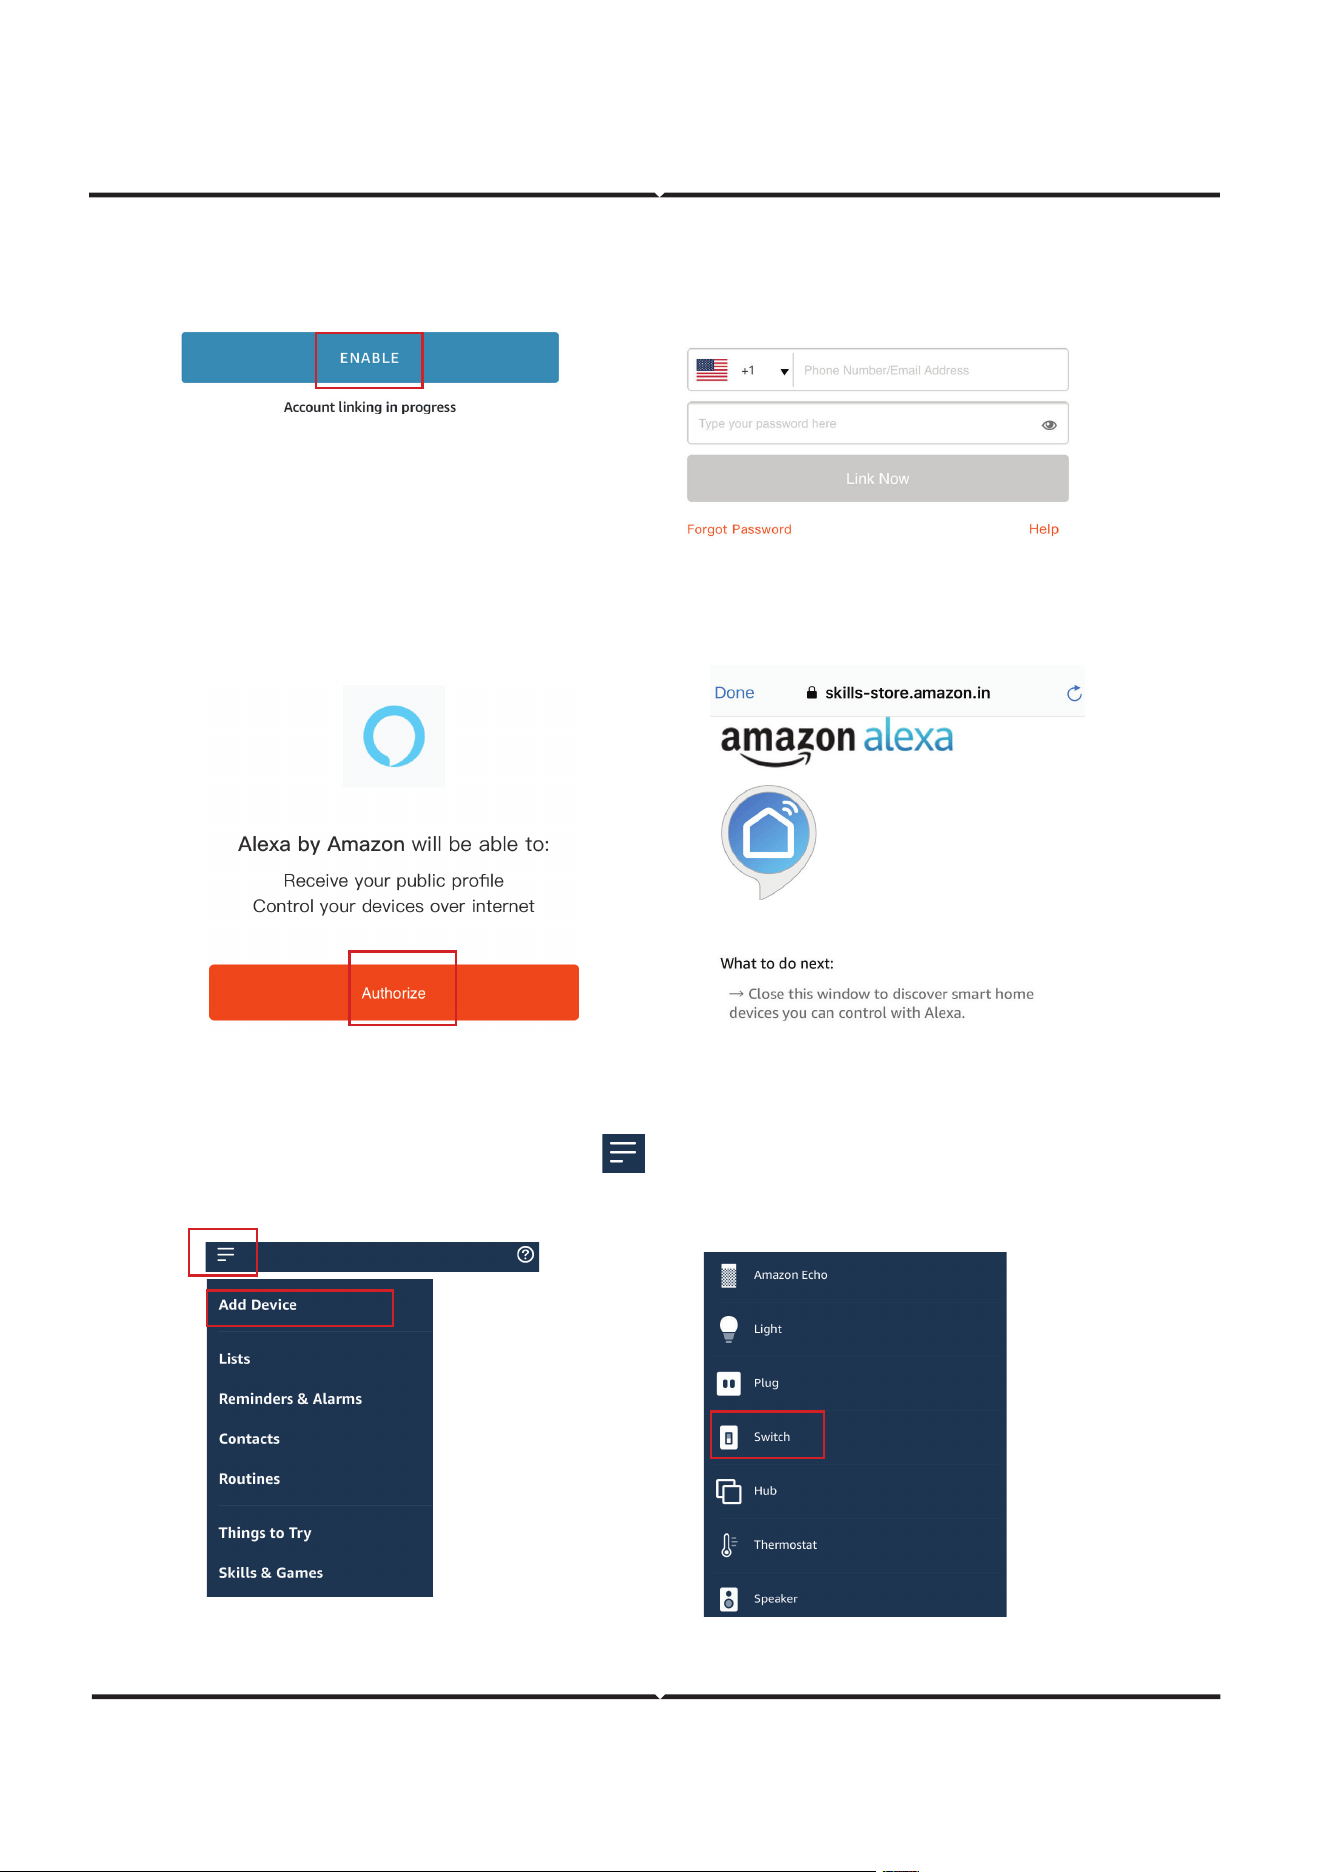
Step 5: Enable the Skill
Step 6: Enter your Smart Life login ID and password and tap on “Link Now”
Step 7: Once you tap on Link Now, you will be redirected to a new page requesting for authorization(Ref Im-
age below). Tap on “Authorize”
Step 8: You will receive confirmation of the account being linked successfully (Ref Image below)
Step 9: Discover your smart device on Alexa. Once you have enabled the skill
A) You can use voice command ”Alexa discover devices” to the Alexa device which you have.
B) To add device manually on home page tap on and tap on Add device , select the device
which you are adding and tap on discover device.
Note: Discovering the device must be done every time the device’s name is changed on the app.
Smart Life has been successfully linked.
ALEXA COMMANDS
Now, you can control your smart device using voice commands on Alexa.
Below are a few commands you can use:
THINGS TO REMEMBER BEFORE STARTING INSTALLATION
1. Smart Life App & Amazon Alexa App
2. Make sure you have Amazon Alexa Device(including Echo, Echo Tap, or Echo Dot)
3. Smart Device - Lamp
4. Stable Wifi network
IN CASE OF ANY QUERY/ISSUE WITH THE PRODUCT PLEASE REACH OUT TO US AT
SUPPORT@VTACEXPORTS.COM V-TAC HOUSE, KELPATRICK ROAD, SLOUGH, BERKSHIRE, SL1 6BW, UK.
IN CASE OF ANY QUERY/ISSUE WITH THE PRODUCT, PLEASE REACH OUT TO US AT: SUPPORT@V-TAC.EU
FOR MORE PRODUCTS RANGE, INQUIRY PLEASE CONTACT OUR DISTRIBUTOR OR NEAREST DEALERS.
V-TAC EUROPE LTD. BULGARIA, PLOVDIV 4000, BUL.L.KARAVELOW 9B
IN CASE OF ANY QUERY/ISSUE WITH THE PRODUCT, PLEASE REACH OUT TO US AT: [email protected]
FOR MORE PRODUCTS RANGE, INQUIRY PLEASE CONTACT OUR DISTRIBUTOR OR NEAREST DEALERS.
V-TAC WEST EUROPE LTD. GROUND FLOOR, 71 LOWER BAGGOT STREET, DUBLIN 02, IRELAND DO2 P593
Hi Alexa, Turn On/O bedroom light.
Hi Alexa, Turn On/O Hall Light.