USER’S MANUAL ITEM: DRC190

1
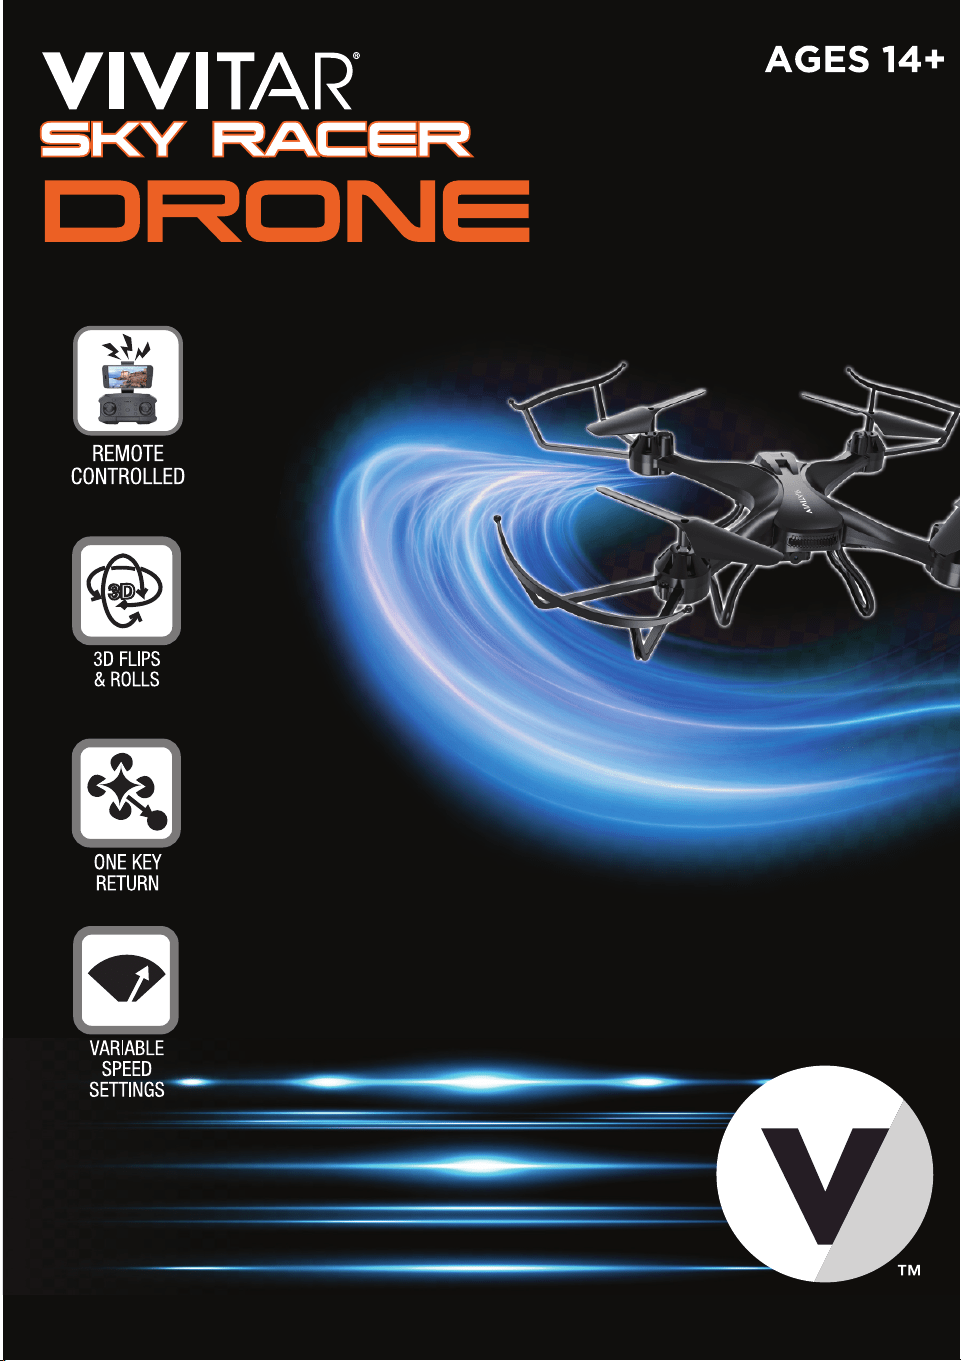
1. Introduction
Thank you for purchasing the Vivitar Sky Racer Drone, item DRC190. The included remote
controlled aircraft is designed specifically for outdoor flying. In order to get the best possible
results, please read this user’s manual carefully before using. In addition, be sure to keep this
manual in a safe place for future reference.
2. Important Safety Precautions
When using your Vivitar Sky Racer Drone, basic safety precautions should always be followed,
including the following:
1. Do not allow children or the infirm to operate your drone without adult supervision. For safety
purposes, only allow experienced pilots aged 14 and up fly your drone.
2. To avoid choking hazards, keep all small parts and pieces away from children.
3. Your drone is not a toy. Makes sure that it is properly assembled before use, and operated
safely.
4. Keep your drone away from obstacles, crowds, power lines, trees, and bodies of water while it is
in flight. Always fly your drone in a wide open spacious environment. Avoid flying your drone
directly above people or animals. Maintain a 7 ft. (2m) distance from the aircraft when taking off
and landing.
5. Only use your drone in a dry environment. Your drone is composed of sophisticated electronic
components and parts. To avoid damage to your drone, please keep your drone away from water
and moisture. Use a soft dry cloth to wipe the surface of your drone and keep it clean.
6. Beginner and novice level pilots should practice flying with experienced pilots until suitably
experienced in flight.
7. To ensure safety, only use the included parts when using your drones.
8. Make sure to keep your ears and eyes protected when using your drone. When your drone’s
blades are spinning, make sure to keep people and objects at a distance from rotating parts.
9. Keep your drone away from excessive heat or flames, especially while charging the battery.
10. Please recycle or dispose of your drone properly based on the laws and rules of your municipali-
ty. Contact local recycling facilities and/or the manufacturer of your drone for further information.
2
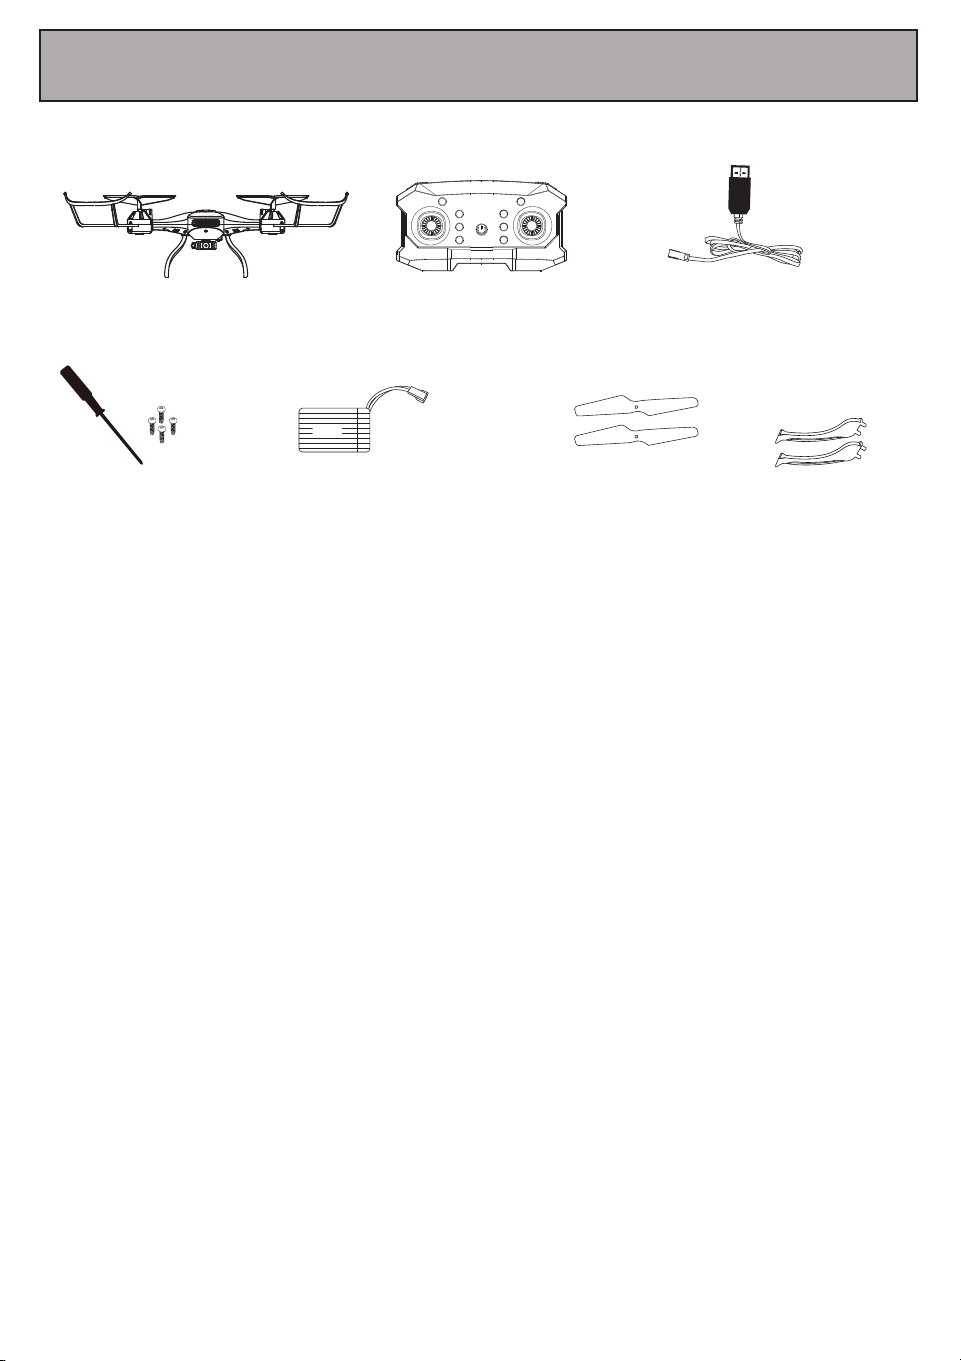
3. Package Contents
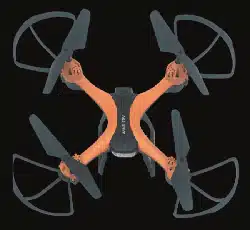
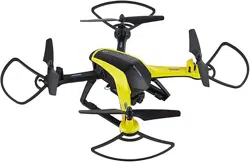
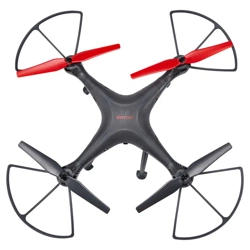
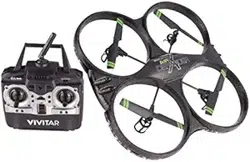
DRC190
Sky Racer Drone
Remote Control Charger
Li-Polymer
Battery
Replacement
Propellers
3.7V
Ax2
Bx2
Screws and
screw driver
Landing Legs
3
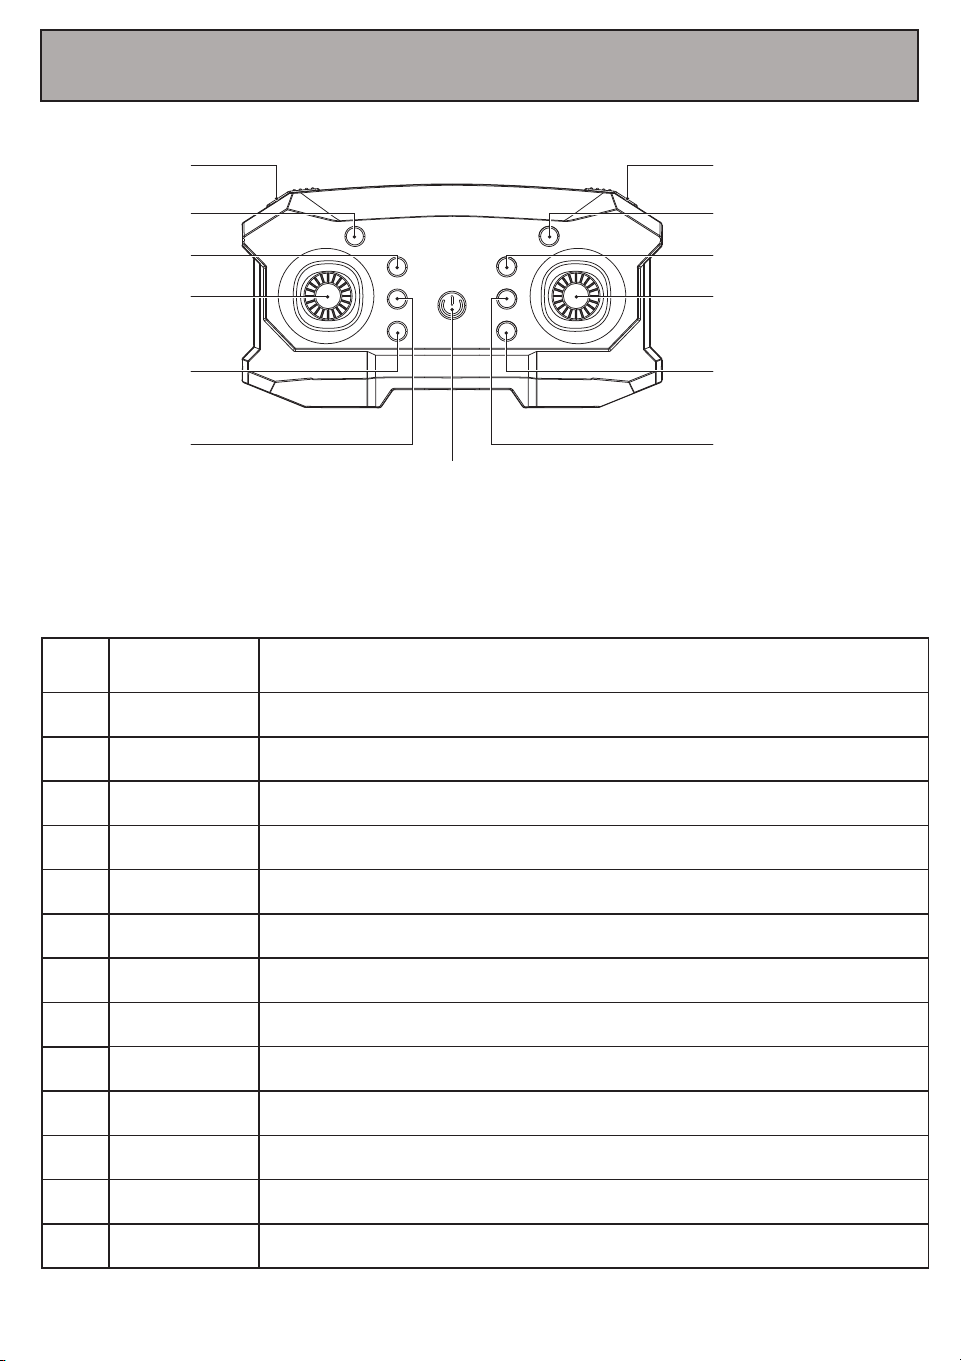
4. A Quick Look at Your Remote Control
3.Power Button
5.Right Control Stick
7.Right fly fine tuning
6.Left fly fine tuning
9.Forward Trim
8.Backward Trim
13.Video
2.Flip Button
10.Headless mode
1.Speed Control
12.Photo
11.One key return
4.Left Control Stick
Backward Trim
Forward Trim
Press to take a photo.
Photo
Press to start recording a video, press again to stop recording.
Video
Name#
Function / Effect
Speed Control
Flip Button Press for 3D flips and rolls.
Power Button
Left Control Stick
Right Control Stick
Press to power on or power off your drone.
Moves your drone up and down, or turns your drone left and right.
Moves your drone forward & backward, or shifts your drone to the left and right.
Right Trim
Left Trim
Stabilizes the drone if it is turning to the left.
Stabilizes the drone if it is turning to the right.
1
Adjust how fast the drone accelerates in response to movement of the control sticks.
2
3
4
5
6
7
8
9
10
11
12
13
Stabilizes the drone if it is moving or tilting backwards.
Stabilizes the drone if it is moving or tilting forwards.
Headless Mode
Press to exit or enter headless mode.
One Key Return
Press to start the one key return function.
4
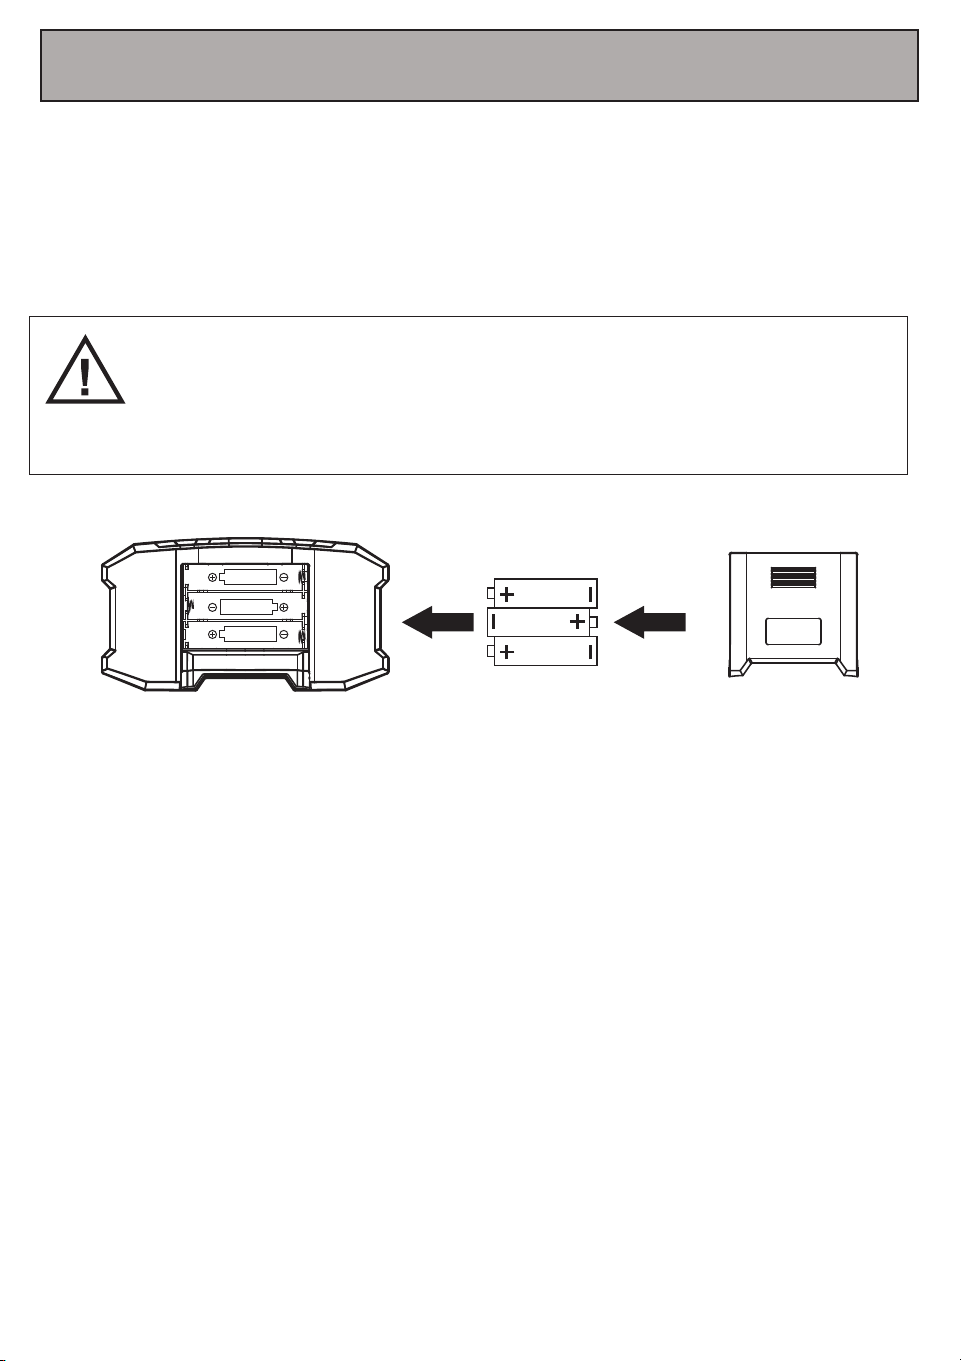
Use a screwdriver to open up the battery compartment located on the rear of your remote control.
Insert 3 AA 1.5V batteries, making sure that the batteries are inserted with the correct polarity (+,-)
as displayed in the battery compartment.
Once the batteries are inserted, put the battery compartment cover back on the battery compart-
ment, and use a screwdriver to close it securely.
-Do not mix rechargeable and non-rechargeable batteries.
-Do not mix old and new batteries or different types of batteries.
-Remove exhausted batteries and dispose of them based on the rules of your local
municipality.
-Remove the batteries from your remote control if it will not be in use for an extended
period of time.
5. Inserting Batteries Into Your Remote Control
Fig.A Fig.B
3“AA”Batteries(Not Included)

5
6. Charging Your Drone’s Battery
Open the drone’s battery compartment and
remove the battery.
Once fully charged. connect the battery’s cable to the
cable in the battery compartment. Then put the battery
back in the battery compartment and close the cover.
Once the battery is inserted in the drone, the drone’s lights will flash slowly. Note that the drone
does not have an ON/OFF switch. Remove the battery to power off the drone, or when the drone is
not in use.
Connect the battery to the included
charger. Then plug the charger into a USB
charging adapter (not included). For best
results, use a 5V, 1-2A charger to charge
the battery.
While charging, an LED light on the
charger will illuminate. This light will turn
off once charging is complete. Charging
typically takes approximately 90-120
minutes.
BATTERY
Fig.C
BATTERY
Fig.E
Fig.D
USB
BATTERY

6
7. Calibrating Your Drone
Calibrating Your Drone with Your Remote Control
-Turn on the power switch of the remote control, the drone’s body
light will turn on when the remote control has successfully
matched.
(Important note: the frequency alignment of the product must be
operated according to the steps, otherwise poor connection and
control may occur.)
TROUBLESHOOTING: DRONE RECALIBRATION
If your drone is not responding properly to commands from
your remote control, it may need to be recalibrated. To do
so, simultaneously push both left and right control sticks
down and to the right for several seconds. The lights on the
drone will flash. Hold down the control sticks until the
flashing light turns solid.
To power on your drone, make sure that the battery is inserted and fully charged.
Once your drone and remote control are powered on, follow the calibration steps below in order to
prepare your drone for flight.
8. Installing Landing Legs/Landing Guards
Install the landing legs (included) to the bottom of your drone.
There are sockets at the bottom of the drone to attach the landing legs. Insert the landing legs as
shown in the illustration below. To secure the landing legs with the screws.
To install or remove protection rings around the rotors press the protection ring in the direction
shown on the bottom right image. Install for all four rings, or remove for all four. Do not fly if one,
two, or three of the protection rings are installed, but not all four.
7
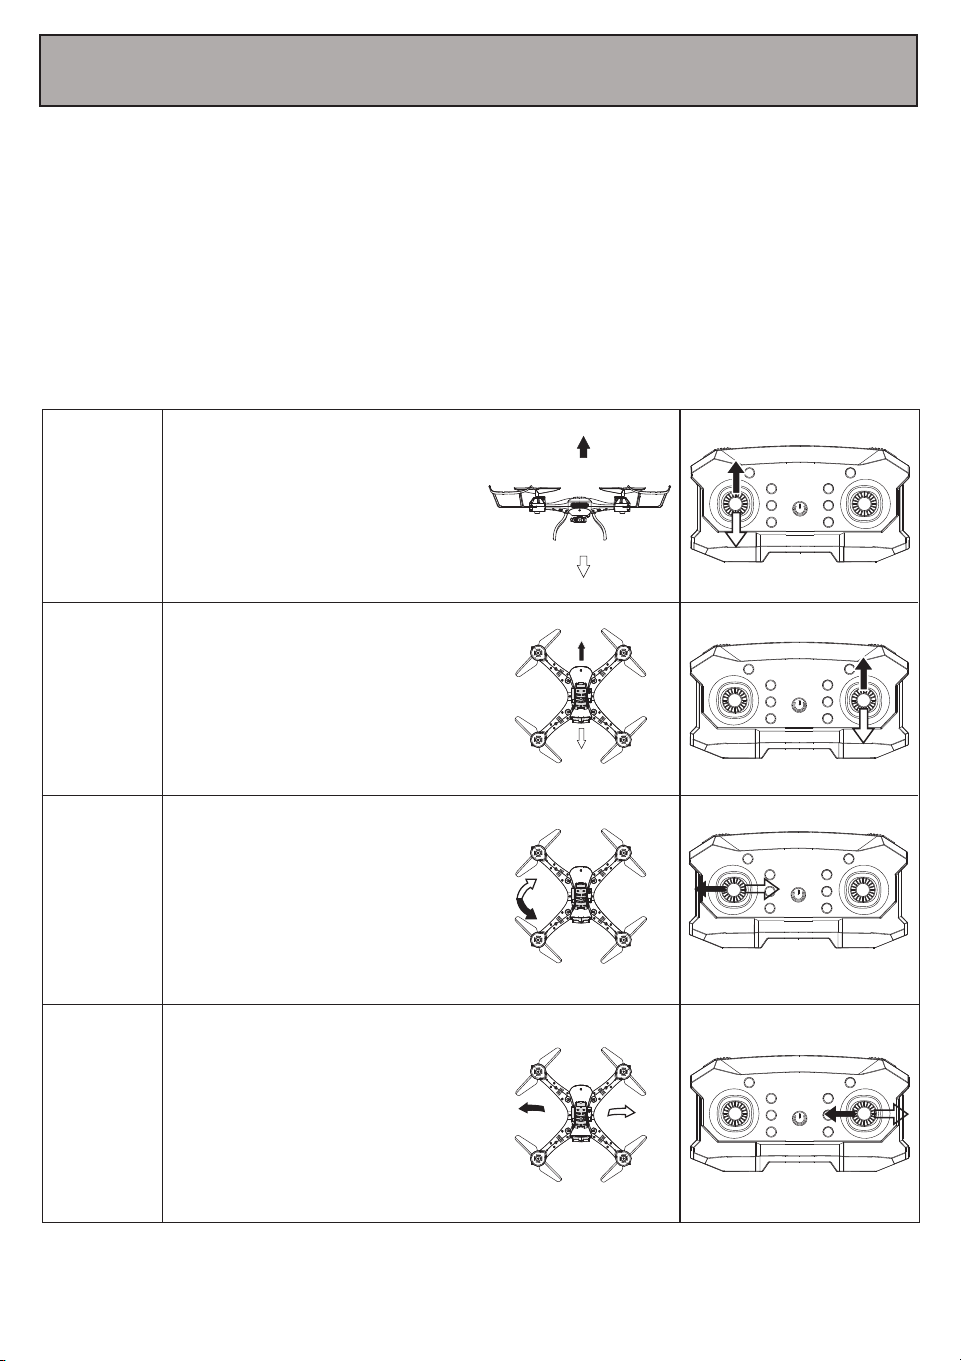
Ascend
&
Descend
Forward
&
Backward
Slide Left
&
Slide Right
Turn
9. Flying Your Drone
Push the throttle stick upwards
and the drone will ascend.
Pull the throttle stick downwards
and the drone will descend.
Push the directional control stick
upwards and the drone will tilt
downwards, causing it to move
forward. Push the directional
control stick downwards and the
drone will tilt upwards, causing it
to move backwards.
Slide the directional control stick
to the left and the entire body of
the drone will slide to the left.
Slide the directional control stick
to the right and the entire body
of the drone will slide to the
right.
Slide the throttle stick to the left
to turn the nose of the drone,
turning it to the left. Slide the
throttle stick to the right and the
nose of the drone will turn to the
right.
Pre-Flight Preparation
If you have never used a drone before and you are not an experienced pilot, make sure to read
these instructions carefully before flying. Get familiar with all of the controls. If necessary, read
through these instructions many times and practice handling the remote control until you feel
completely comfortable and ready.
1. Place your drone in a clear, open field. Make sure that it is resting on a secure, flat surface.
2. Practice using the throttle stick and the directional control stick (see below).
3. By simulating the use of the remote and both sticks, you will grow more comfortable with the
natural motions required during flight and you will learn to react more rapidly to unexpected
circumstances.
8
10. Speed Adjustment
Your drone has three speed settings (Low, Medium, High). Press the Speed button on the top left
side of your remote control to adjust the speed at which your drone flies.
11. 360° Flips
Your drone can perform 360° flips using the flip button and the directional control stick.
To perform a flip, make sure your drone is at least 3 meters above ground, then press the flip
button while pushing the directional control stick in one direction. The drone will flip.
12. Adjusting the Trim
If your drone seems to be flying uncontrollably or in a disoriented way, press and hold the Trim
button related to the direction the drone is leaning towards. This will help calibrate the drone so
that it will fly correctly.
9
13. One Key Return
Once your drone is unlocked, you can press and hold the One Key Return button for approximately
3-5 seconds and the drone will slowly return to the ground.
One Key Return
(press & hold 3-5 seconds)
14. Headless Mode
Headless mode allows you to fly your drone without worrying about the drone’s orientation.
Regardless of which way the drone is facing, this function ensures that the drone will always follow
controls from your perspective all the time.
To enter Headless mode, before your drone takes off, stand in front of your drone and press the
Headless mode button on your remote control.
15. Memory Card Support
In order to take photos or videos with your drone, use the Photo and Video buttons. Please note
that before you can record photos or videos, a Micro SD memory card (not included) must be
inserted into the memory card slot on your drone. For best results, a class 6 or higher card is
required.
Headless Mode
(press )
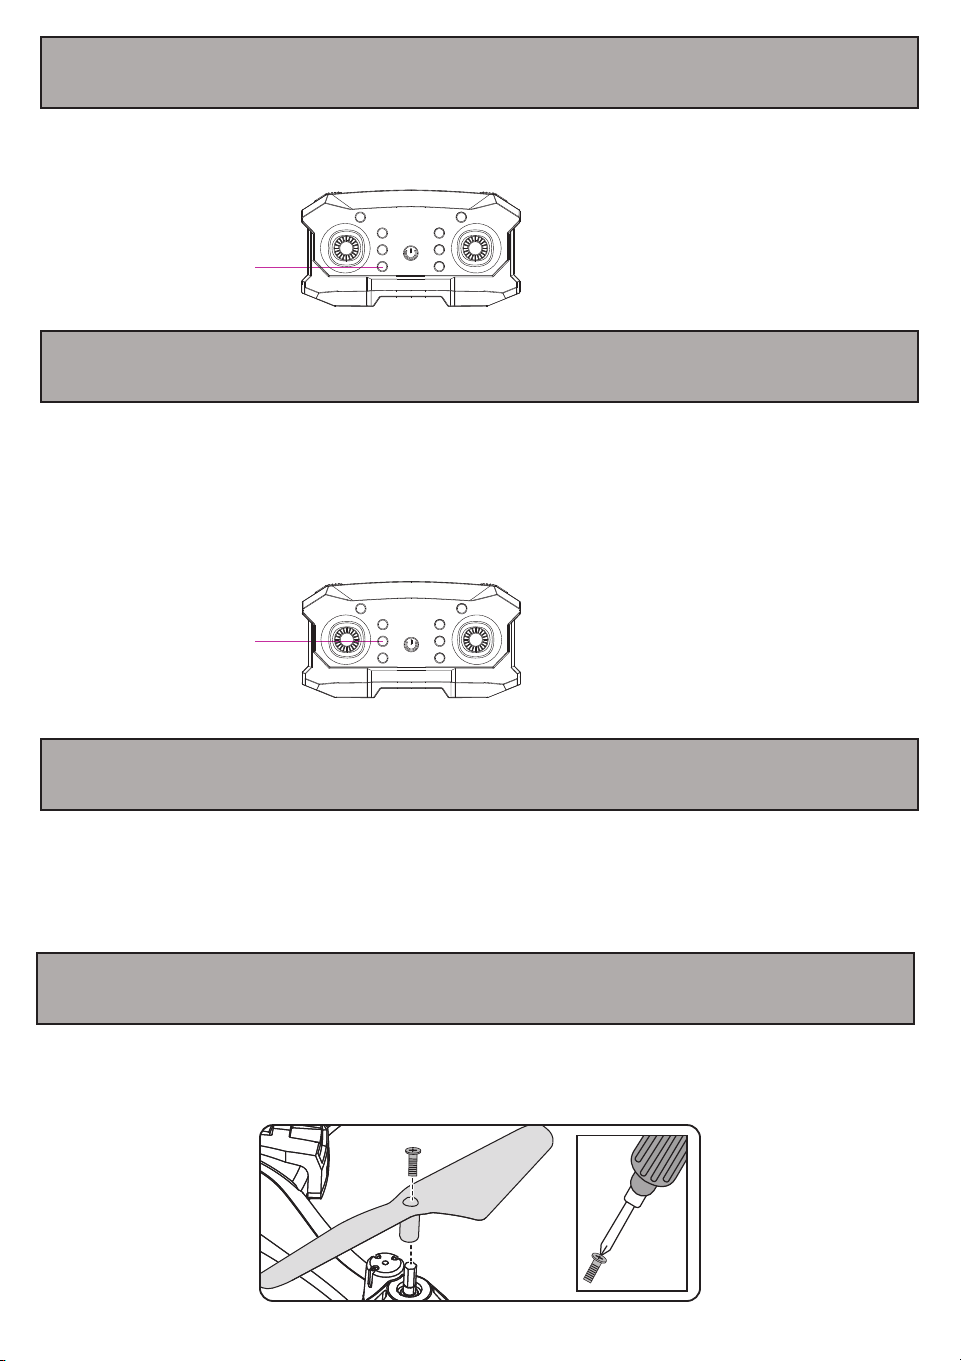
16. Propeller Blade Installation
If you need to replace the propeller blades, use a screwdriver and twist counterclockwise remove
the screw holding the propeller blade. Place the propeller blade in the correct blade position that
corresponds with the illustration below. Twist the screw down in a clockwise direction to secure
the propeller blades.

10
17. WIFI/APP Usage
Using Wi-Fi to Connect the Drone to Your Phone
Press the power button on your drone to power it on.
When the drone is powered on and the remote control of the drone is not, the lights on the
drone will flash. While these lights are flashing a WiFi signal will become available for
connection.
In your Smartphone’s Wi-Fi settings menu, make sure that Wi-Fi is turned on, and find and
select the network named WiFi_***.
IOS or Android
Use the RC FPV app to fly your drone.
Scan the QR Code below to download the app
Download the RC FPV App
11
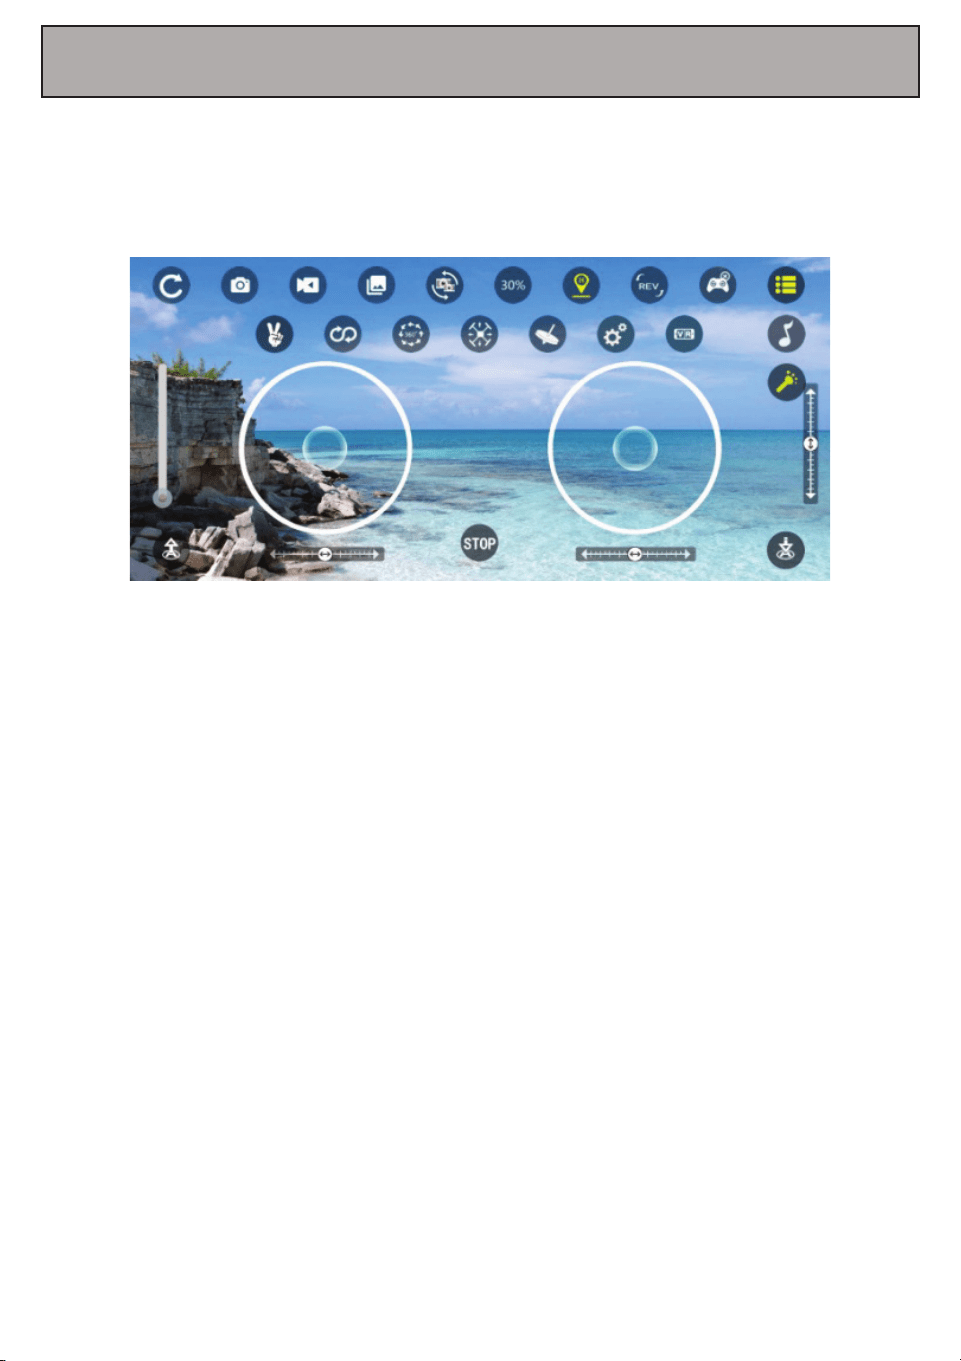
Open the RC FPV on your phone. Press the “Start” icon in order to open the control interface.
18. Using the RC FPV APP
Control Interface
12
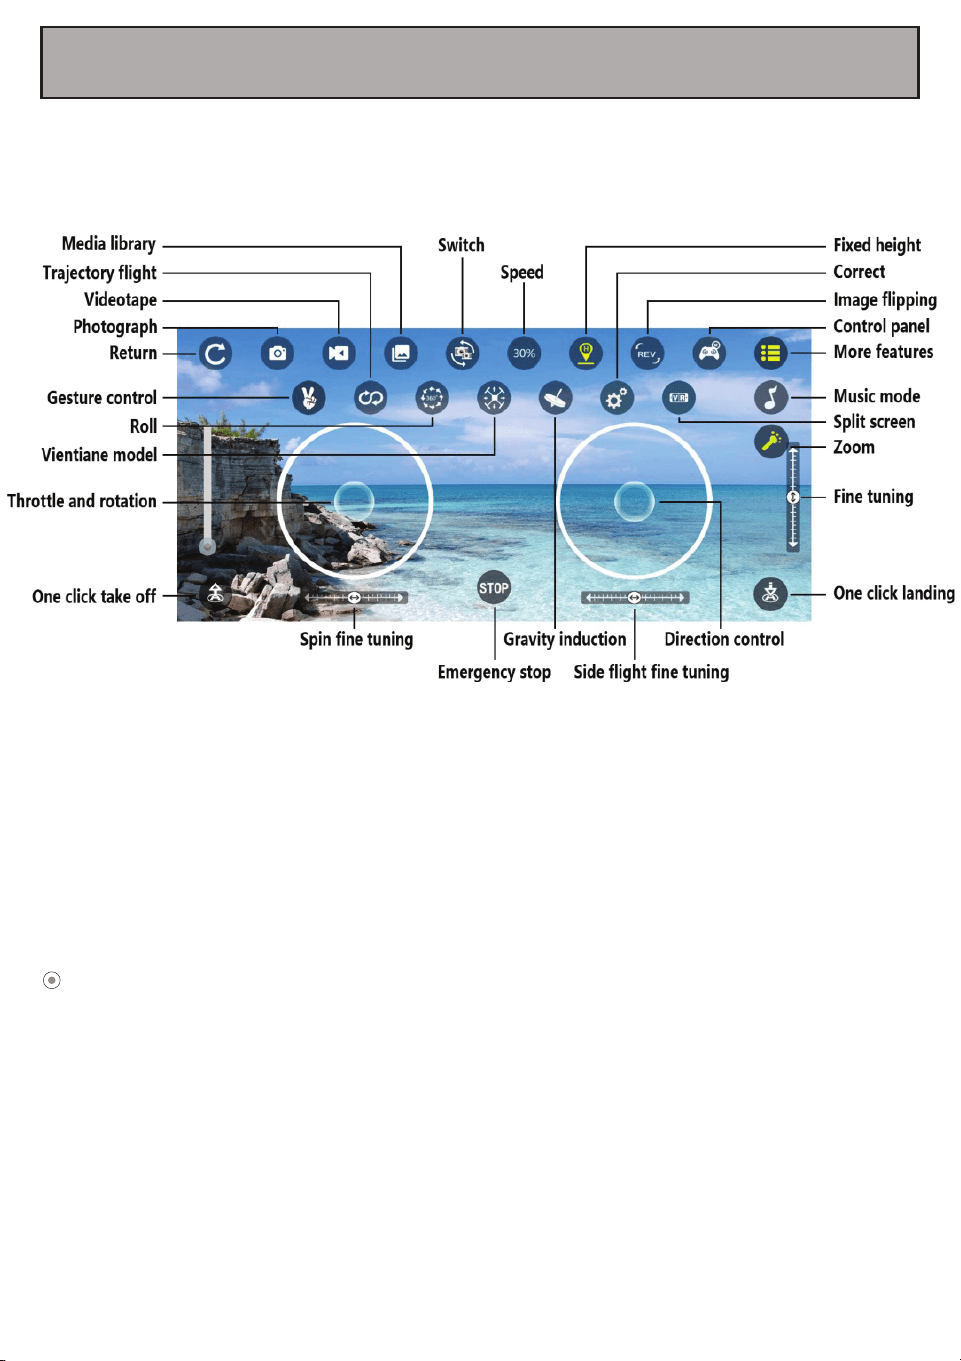
19. A Quick Look at the RC FPV APP
NOTE: To avoid connection issues do not turn on the remote while accessing the drone through
your smartphone device.
Press the Music icon to enter the music library and select background music.
Once you return to the control interface, the selected background music will play.
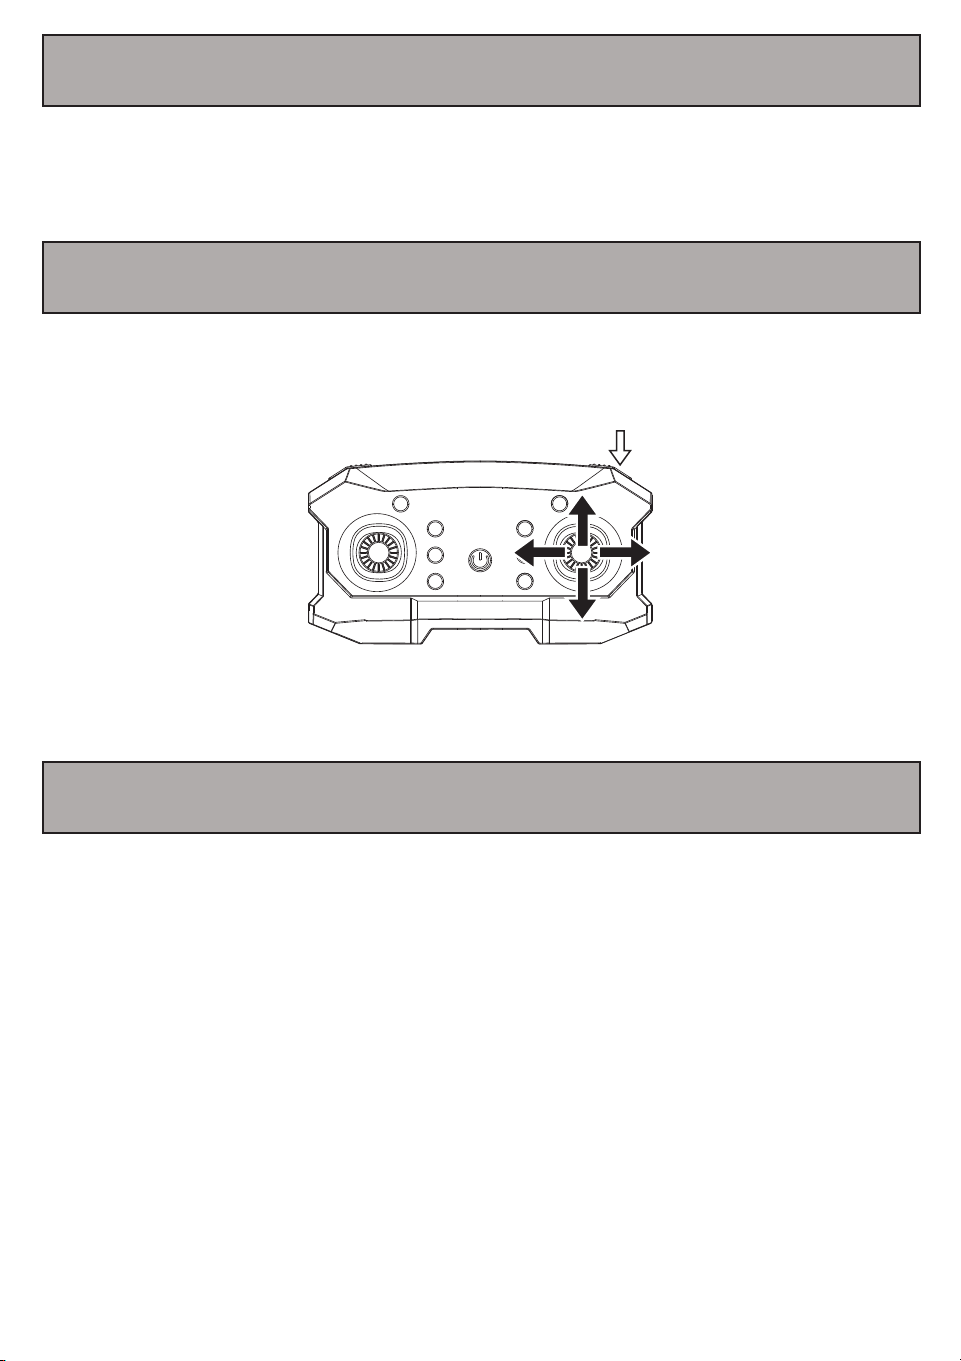
Press and hold the track ball located on the left-most side of the control interface, and
slide to adjust the image focal length (1x-50x digital magnification).
In the process of recording, you can manually adjust the focal length by sliding this key
up and down.

FCC Compliance Statement
Changes or modifications not expressly approved by the party responsible for compliance could
void the user’s authority to operate the equipment.
This device complies with Part 15 of the FCC Rules. Operation is subject to the following two
conditions: (1) this device may not cause harmful interference, and (2) this device must accept
any interference received, including interference that may cause undesired operation.
This equipment has been tested and found to comply with the limits for a Class B digital device,
pursuant to Part 15 of the FCC Rules. These limits are designed to provide reasonable protection
against harmful interference in a residential installation. This equipment generates, uses and can
radiate radio frequency energy and, if not installed and used in accordance with the instructions,
may cause harmful interference to radio communications. However, there is no guarantee that
interference will not occur in a particular installation.
If this equipment does cause harmful interference to radio or television reception, which can be
determined by turning the equipment off and on, the user is encouraged to try to correct the
interference by one or more of the following measures:
-- Reorient or relocate the receiving antenna.
-- Increase the separation between the equipment and receiver.
-- Connect the equipment into an outlet on a circuit different from that to which the receiver is
connected.
-- Consult the dealer or an experienced radio/TV technician for help.
13

This warranty covers the original consumer purchaser only and is not transferable.
This warranty covers products that fail to function properly UNDER NORMAL USAGE, due to
defects in material or workmanship. Your product will be repaired or replaced at no charge for
parts or labor for a period of one year.
What Is Not Covered by Warranty
Damages or malfunctions not resulting from defects in material or workmanship and damages or
malfunctions from other than normal use, including but limited to, repair by unauthorized parties,
tampering, modification or accident.
To Obtain Warranty Service and Troubleshooting Information:
Call 1-877-397-8200 in the U.S. or visit our website at www.vivitar.com.
To receive Warranty service along with the name and address of an authorized product service
center, the original consumer purchaser must contact us for problem determination and service
procedures. Proof of purchase in the form of a bill of sale or receipted invoice, evidencing that the
product is within the applicable Warranty period(s), MUST be presented in order to obtain the
requested service. It is your responsibility to properly package and send any defective products
along with a dated copy of proof of purchase, a written explanation of the problem, and a valid
return address to the authorized service center at your expense. Do not include any other items or
accessories with the defective product. Any products received by the authorized service center
that are not covered by warranty will be returned unrepaired.
Vivitar One Year Warranty
14