*
Manufactured for PMT:
1760 Wadsworth Rd. Akron, OH 44320
Be sure to read all the safety
precautions before use.
User Guide
Cautions & Warnings
Warning
Notice
Contents
- Not for use by children unless under supervision by a guardian.
- Not for use by people with chronic abdominal pain, heart disease, high blood
pressure, or pregnant women.
- People with spinal conditions (discs, etc) and the elderly with weak bones
should consult a doctor before using this product
- Do not climb or step on the base/pegs to avoid damage to the product.
- Avoid use within 1 hour after a meal to avoid abdominal cramps.
Warning
Notice
Contents
| 2
-
Product Specications/ Assembly Parts - - - - - - - - - - 3
Additional Part Names - - - - - - - - - - - - - - - - - - - - - - - 4
Exercise/Stretches - - - - - - - - - - - - - - - - - - - - - - - - - - -7
Recommended For - - - - - - - - - - - - - - - - - - - - - - - - - -9
Product Warranty - - - - - - - - - - - - - - - - - - - - - - - - - - 10
- Not intended for people shorter than 4 foot, six inches or those who weigh
more than 200 lbs
- This product is a piece of home exercise equipment.
- Do not use for anything other than its intended purpose.
- When assembling, pay attention to the corners of each part to ensure the
correct orientation.
- Do not use if you have a fever or are overworked.
- Avoid using on slippery oors (hardwood, tile, etc.)
- Avoid using or storing in an inclined position.
- Keep this User Manual to help with assembly and disassembly
Product Specifications / Parts
Product Specifications
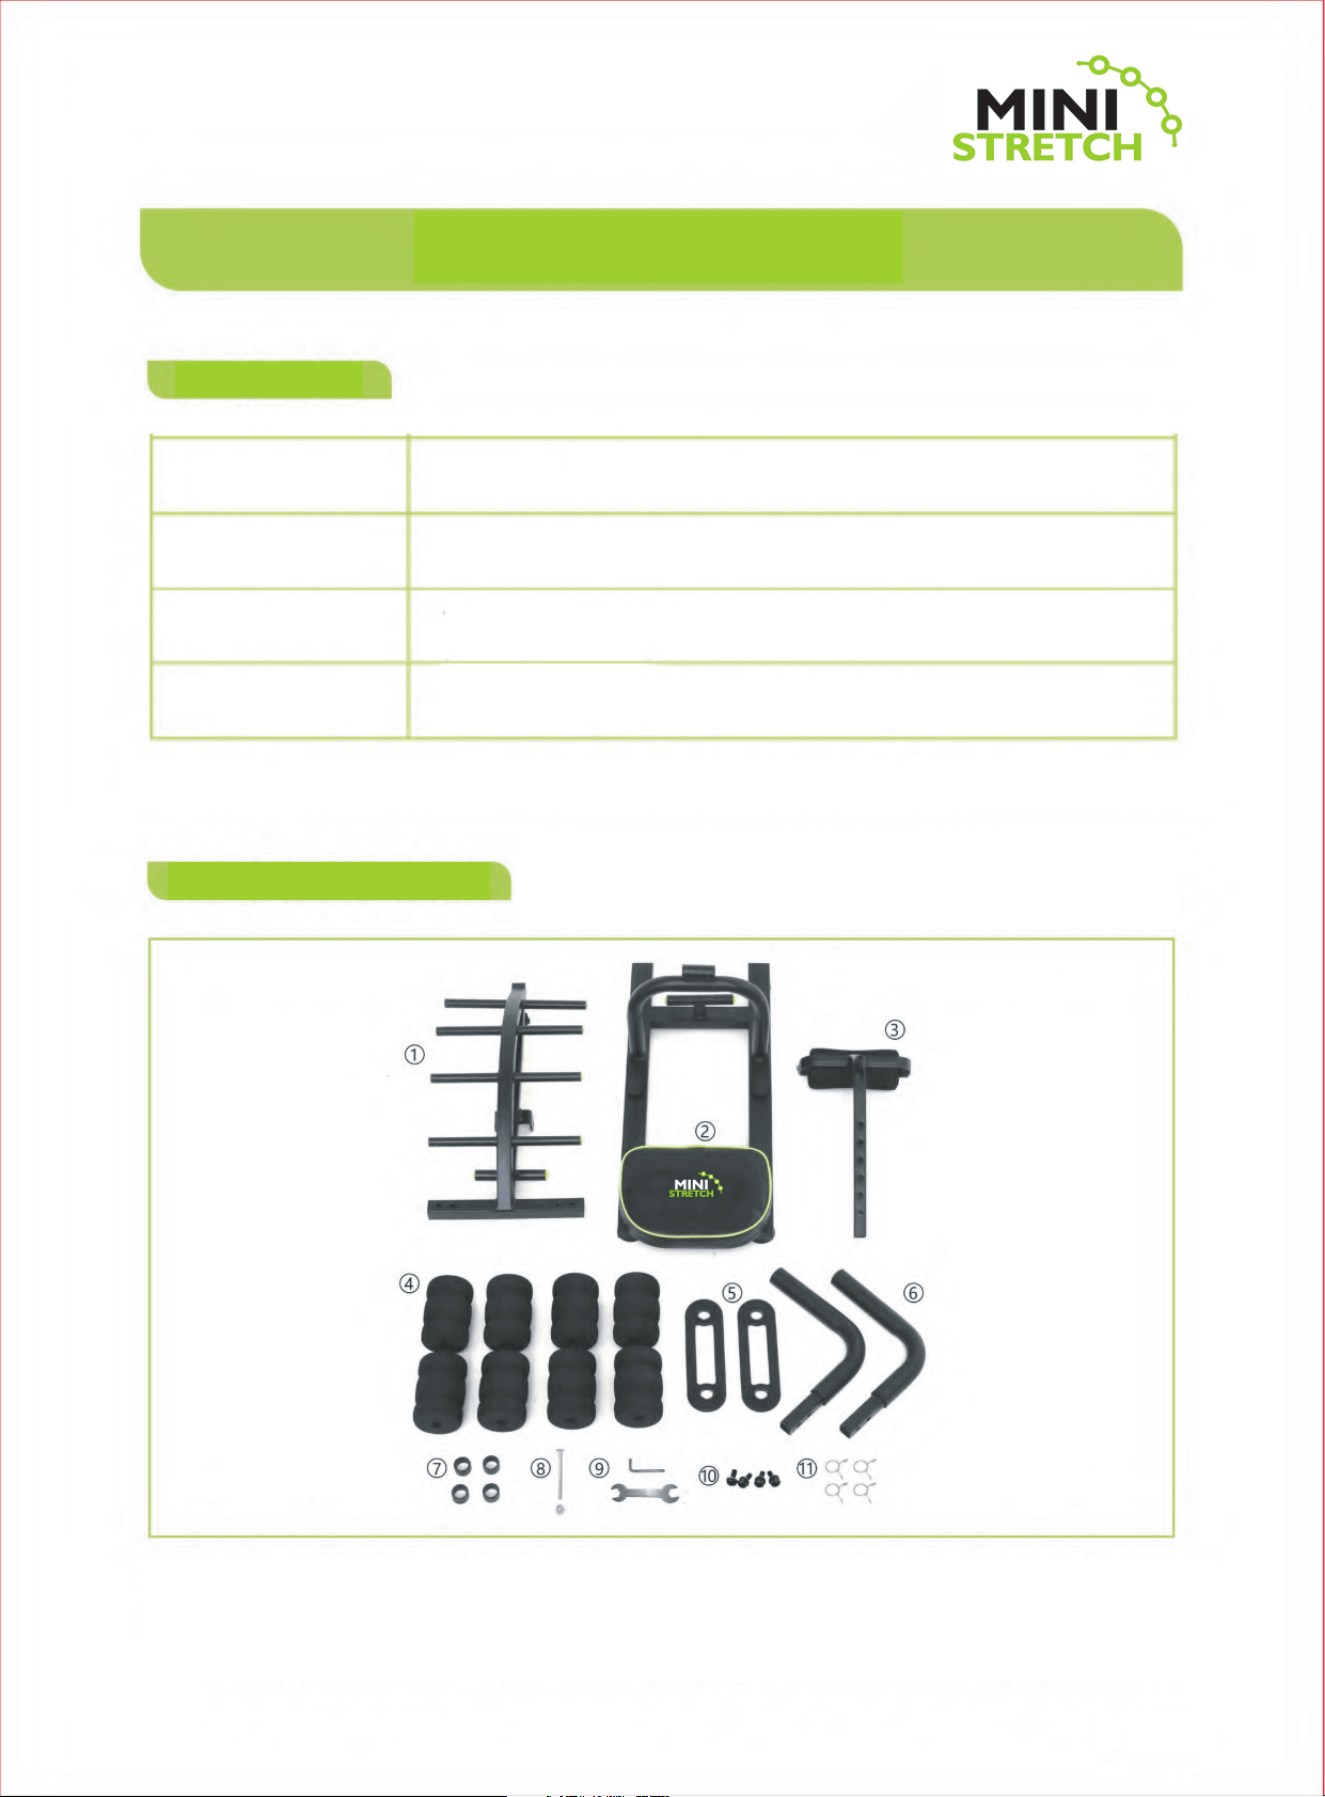
Assembly Parts
Product Name
Material
External Length
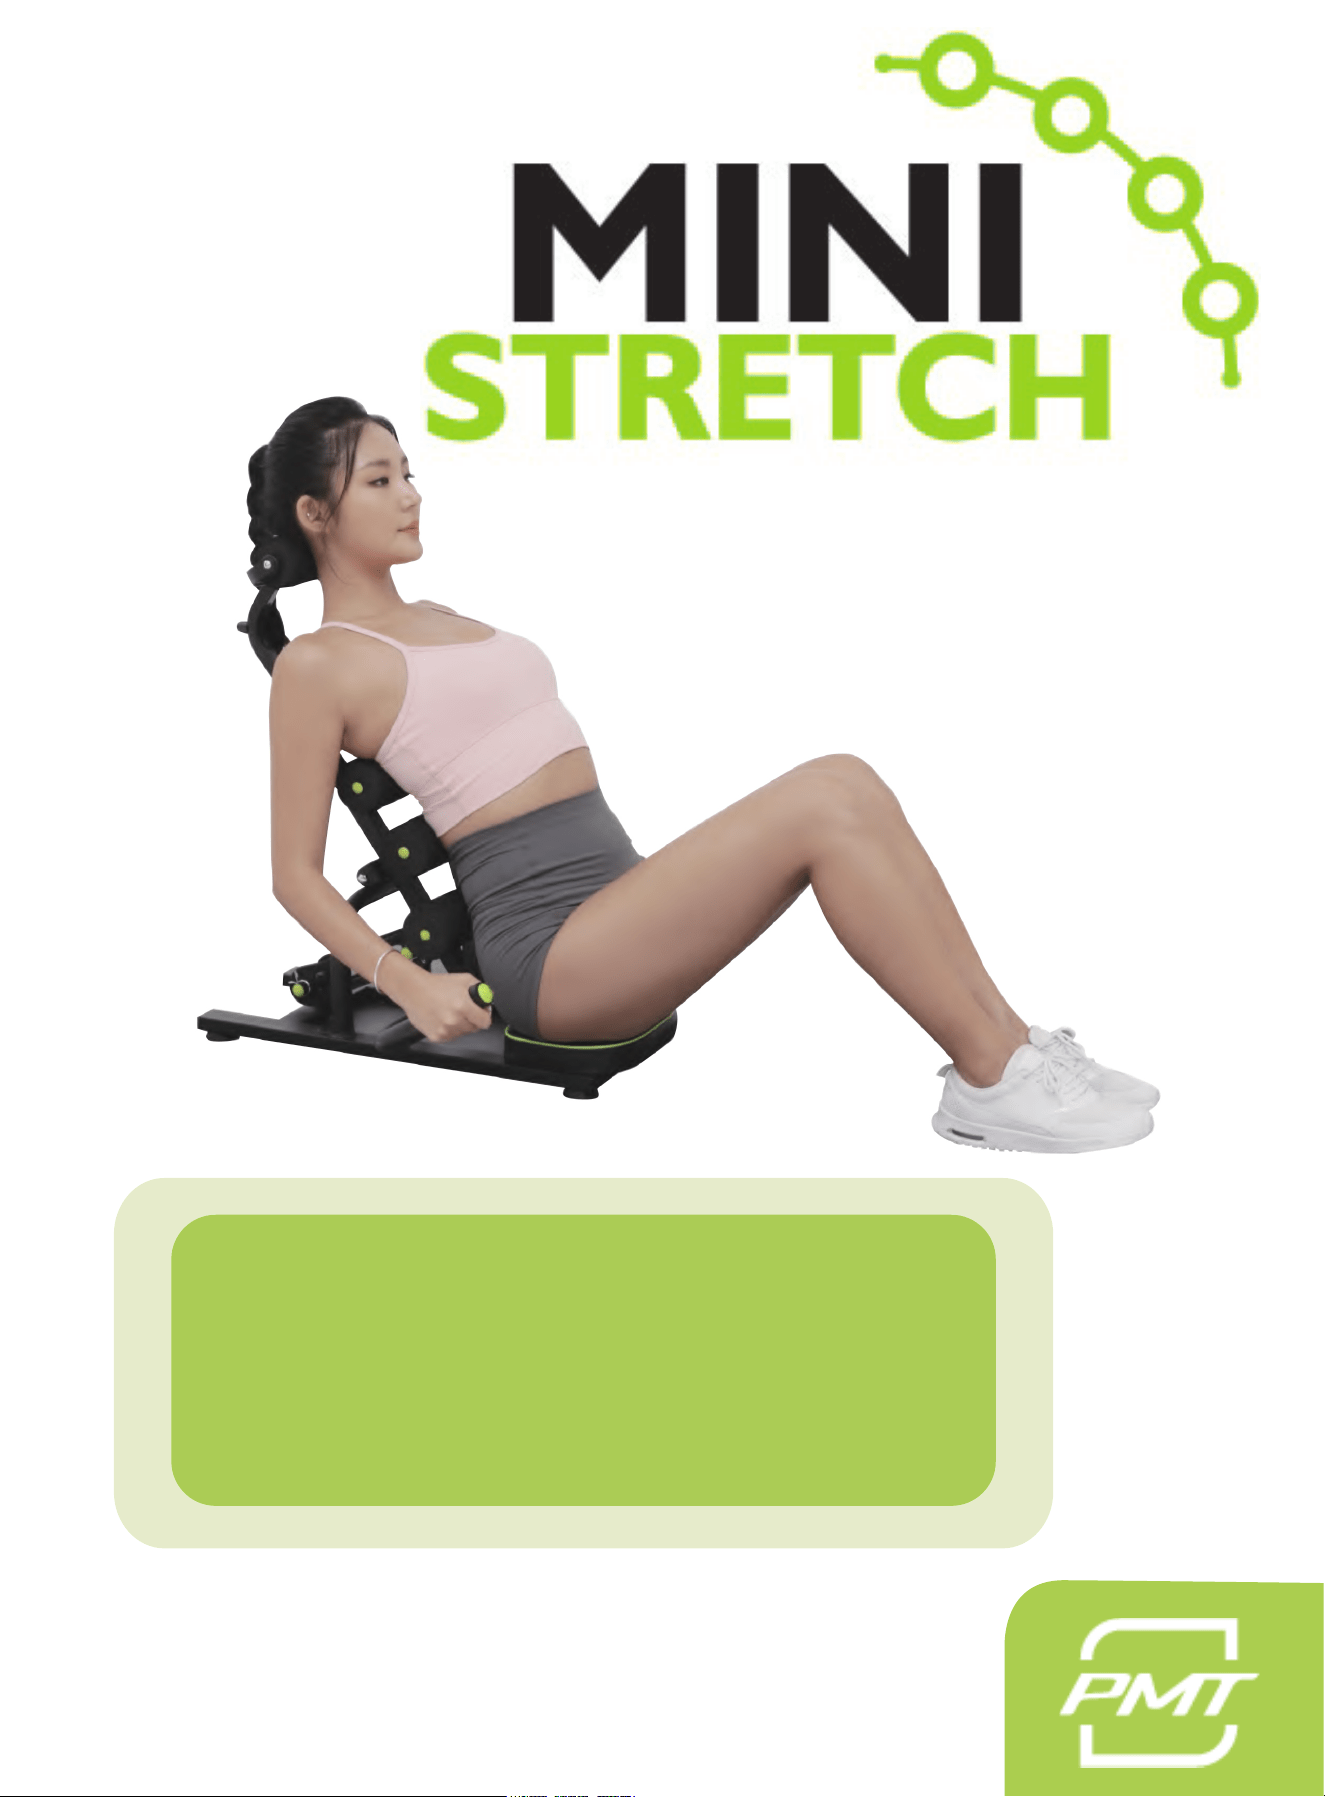
MINI Stretch
Steel pipe/polyurethane/PP/PVC
6.8X25.5X27.5cm (when assembled in
packaging box)
6.85Kg
1. Main Body 2. Base 3.Headrest
4. Foam Covers 5. Tension Hooks 6. Side Handles
7. Floor Pads 8. Bolt & nut (for backrest) 9. Allen/Bolt Wrench
10. Hex Nuts 11. Loop Rings
3 |
Product Name
MINI Stretch
Material
Steel pipe/polyurethane/PP/PVC
External Length
6.8X25.5X27.5cm (when assembled in
packaging box)
Weight 6.85Kg

Rubber Stopper
Headrest screw
Spring Screw
Rubber Circle
Stopper
Floor Base
Yellow Cap(medium)
Floor Pad
Rubber Stopper
Yellow Cap (large)
Yellow Cap
(small)
| 4
AdditionalPart Names
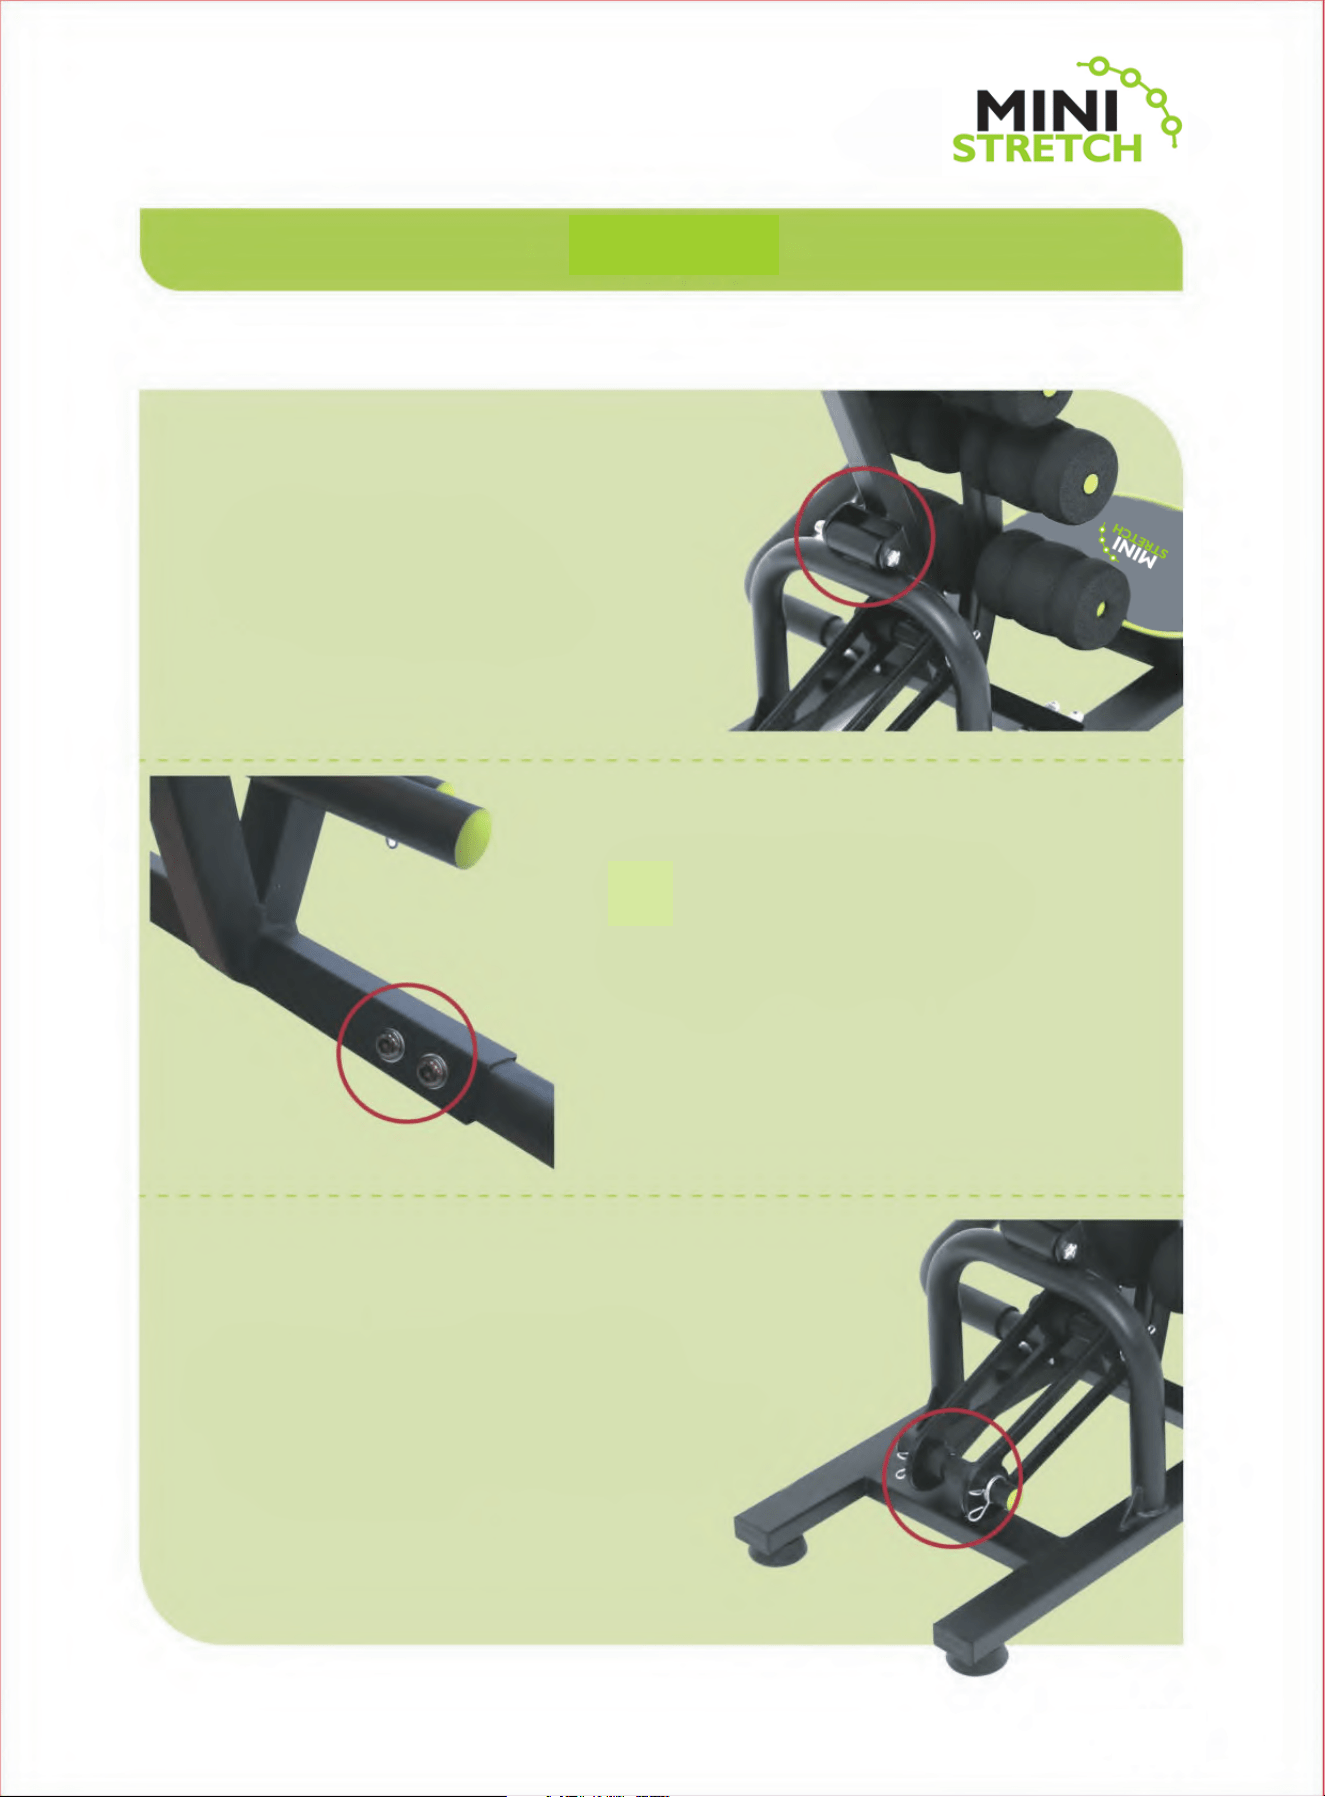
Assembly Method
Place the base (#2) on the floor and
connect the base to the main body
(#1) using the bolt and nut (#8)
Loosen the attached bolts on the
base to insert the side handles (#6)
into the main base. Once the
handles are in place, tighten the
bolts to ensure the handles are
secured
Attach the tension hooks (#5) between the
main body (#1) and the base (#2). Once
the tension hooks are in place, attach the
loop rings (#11) to keep the tension hooks
secured in place
5 |
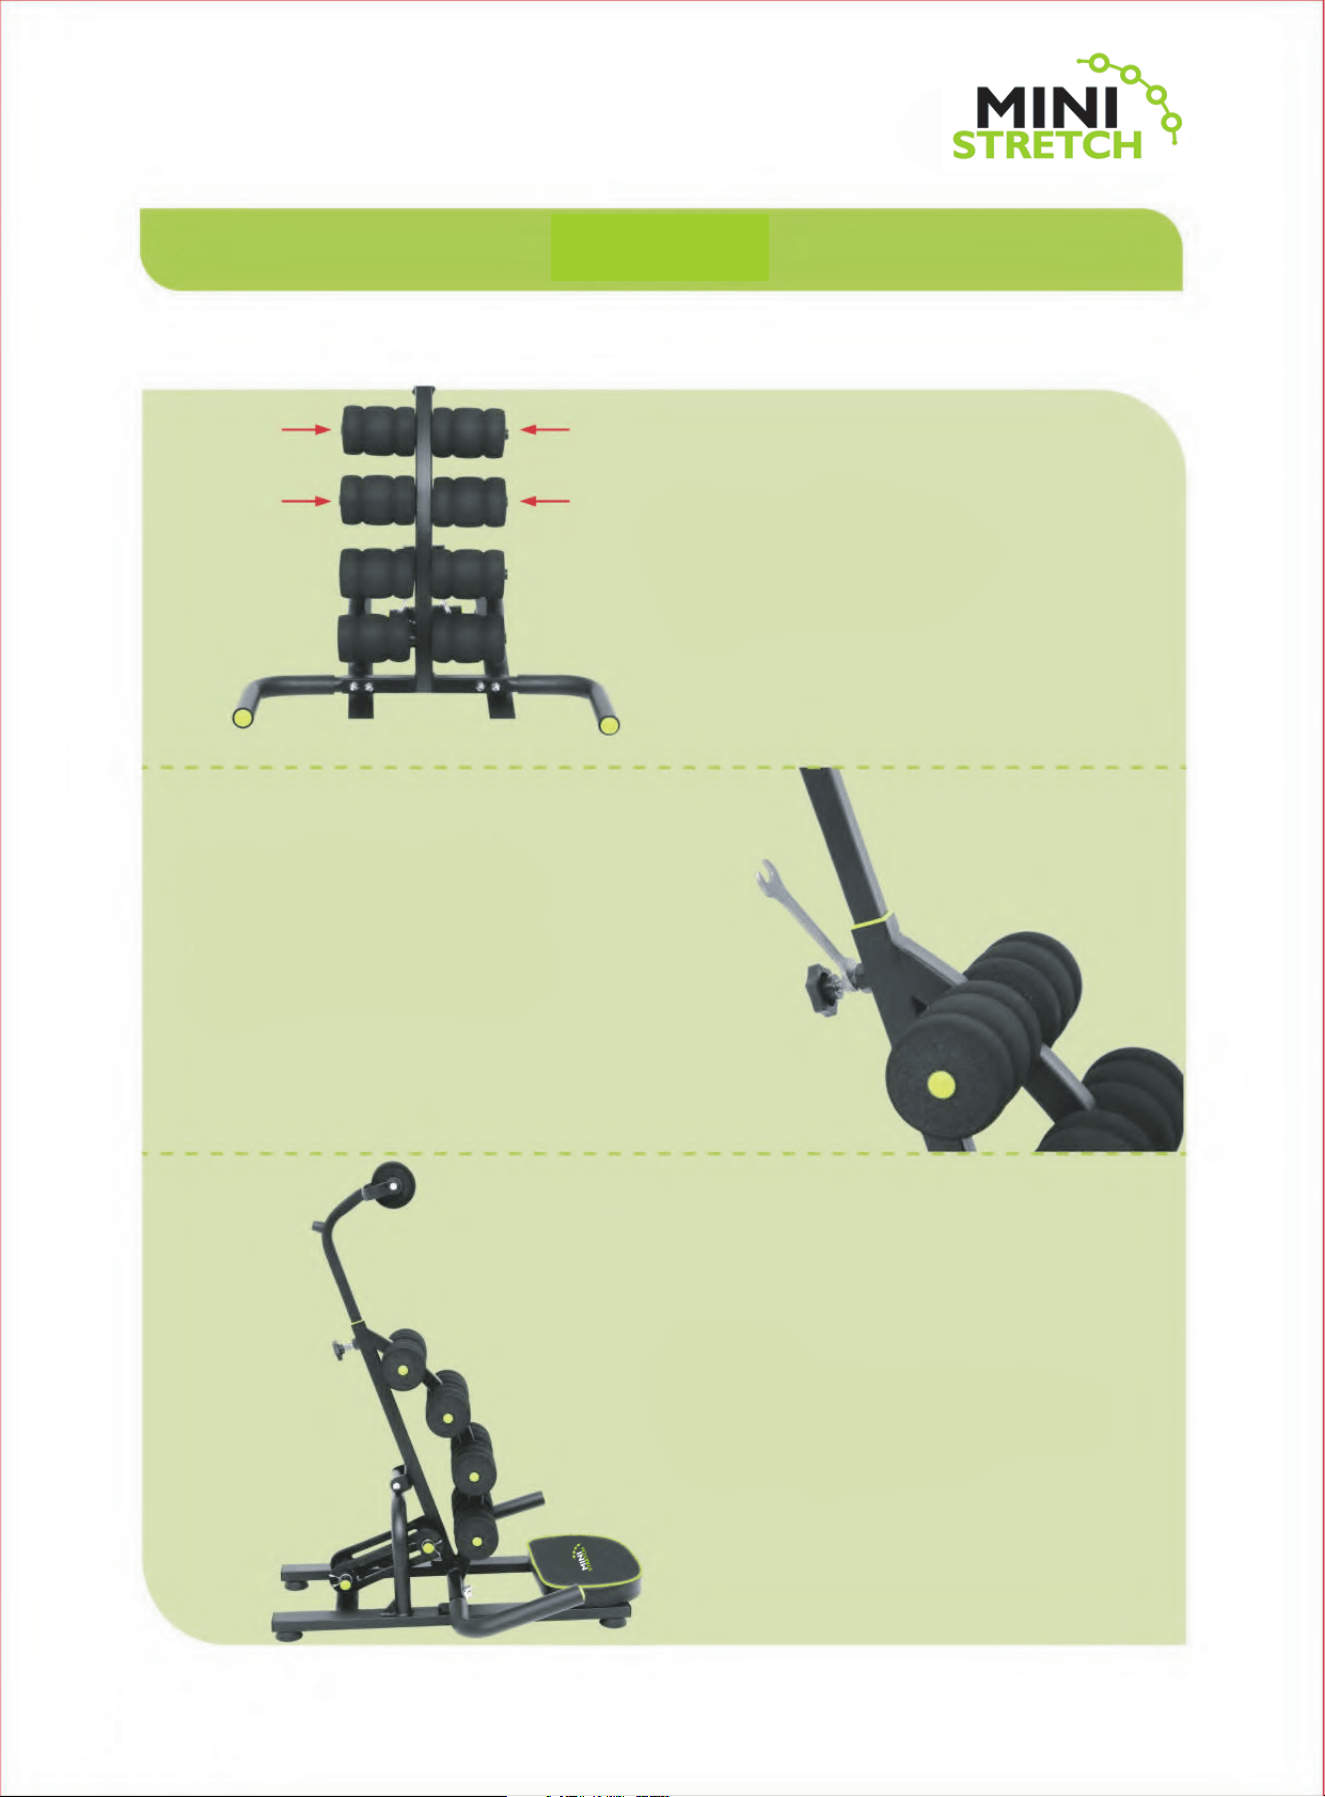
Assembly Method
Insert the 8 foam pads (#4) into
each peg on the main body as
shown in the picture
lnsert the headrest (#3) into the main
body (#4) as shown in the picture,
insert the spring bolt, and then adjust
the headrest to suit your height.
Finished product
Check to ensure the bolts in
each part are securely locked
before use
.
| 6
Exercises/Stretches
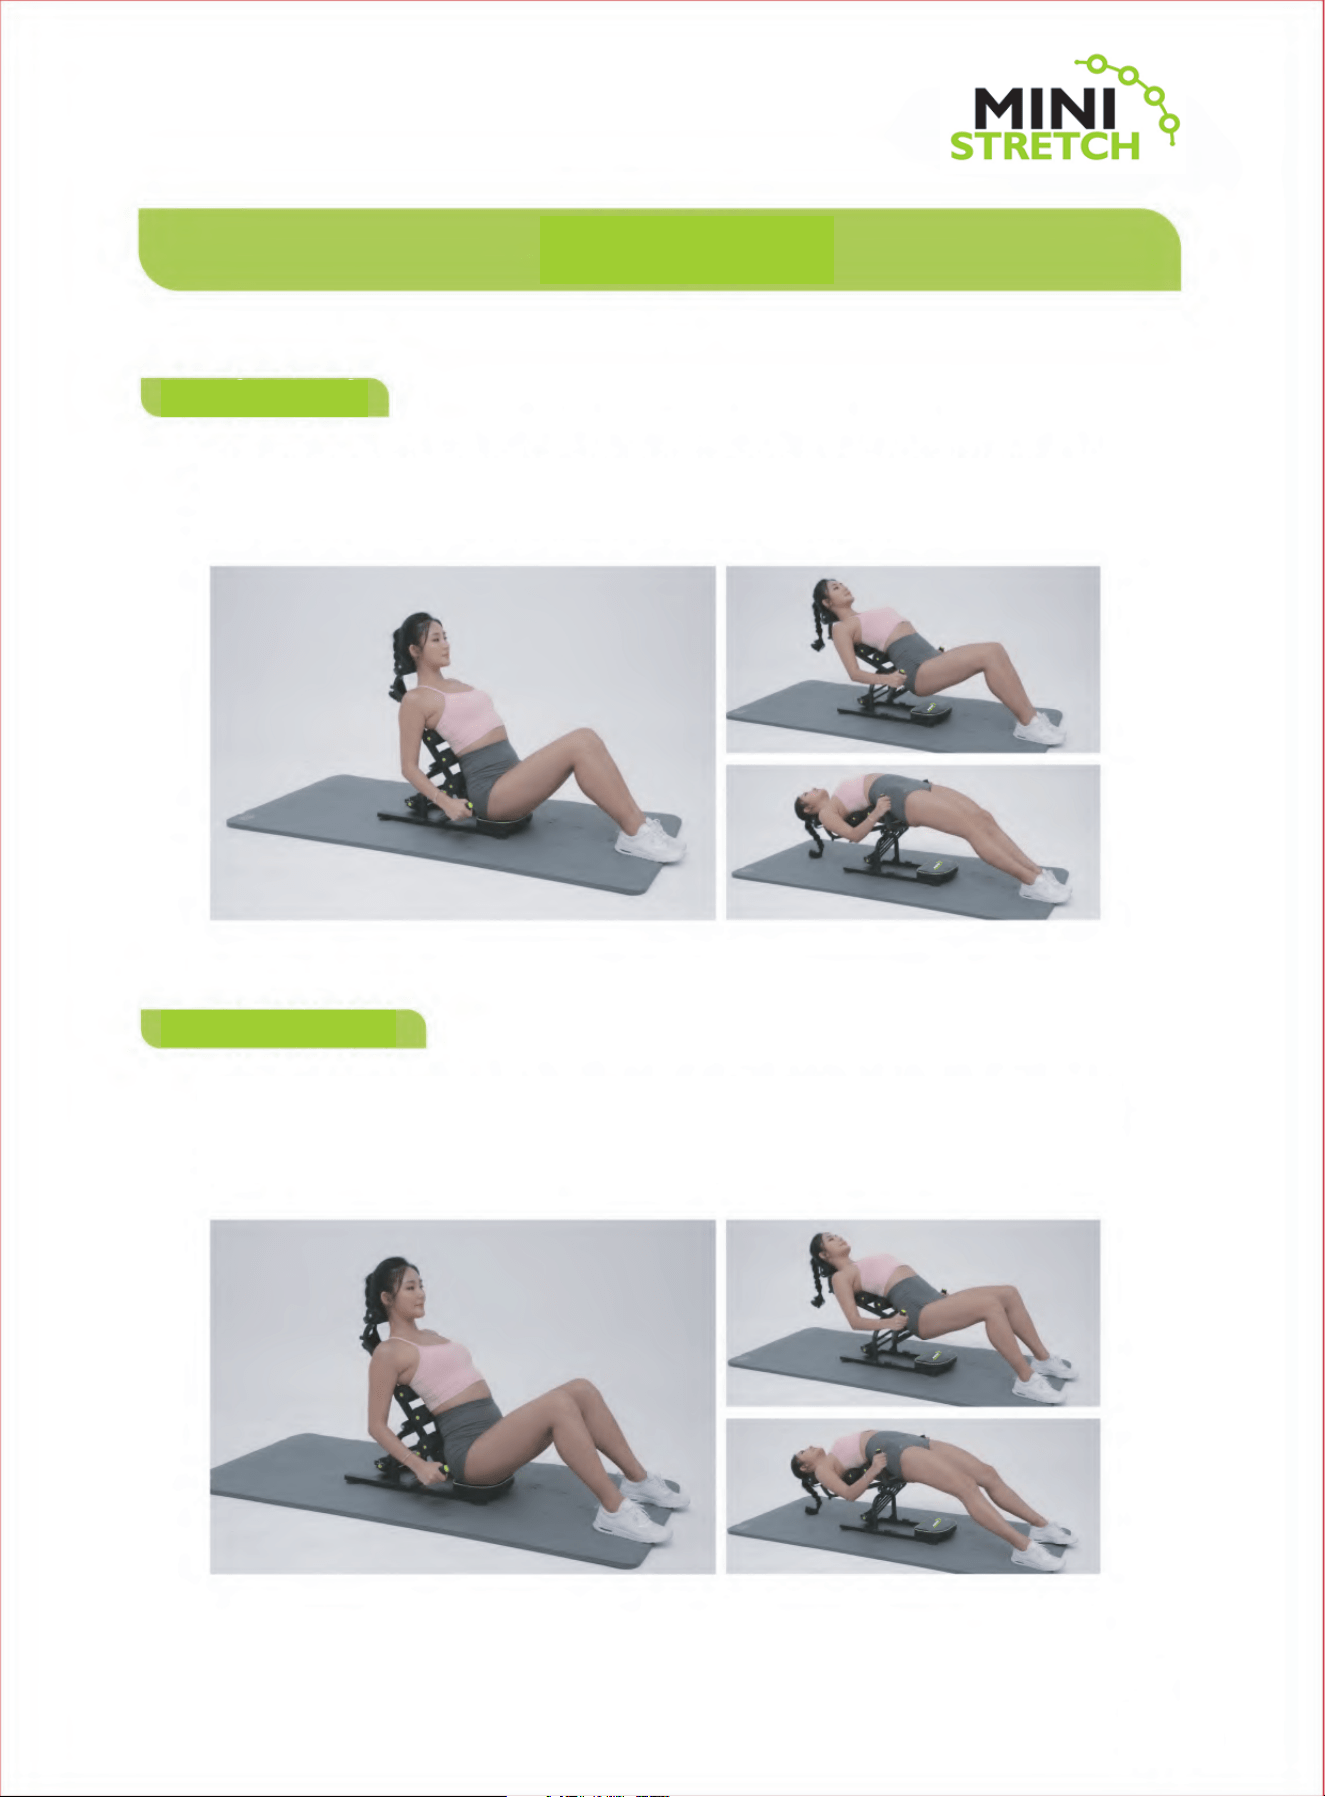
1.Basic Operation
2.Spread Your Legs
Sitting down on the base, hold the side handles, keep your feet and
knees together, and then slowly lie back. Repeat the movement a
few times and ease your body into moving faster.
This method is the same as the basic movement, but instead of
keeping your legs together, position your legs to be with slightly
wider than shoulder width apart and repeat the same movement.
7 |
Exercises/Stretches
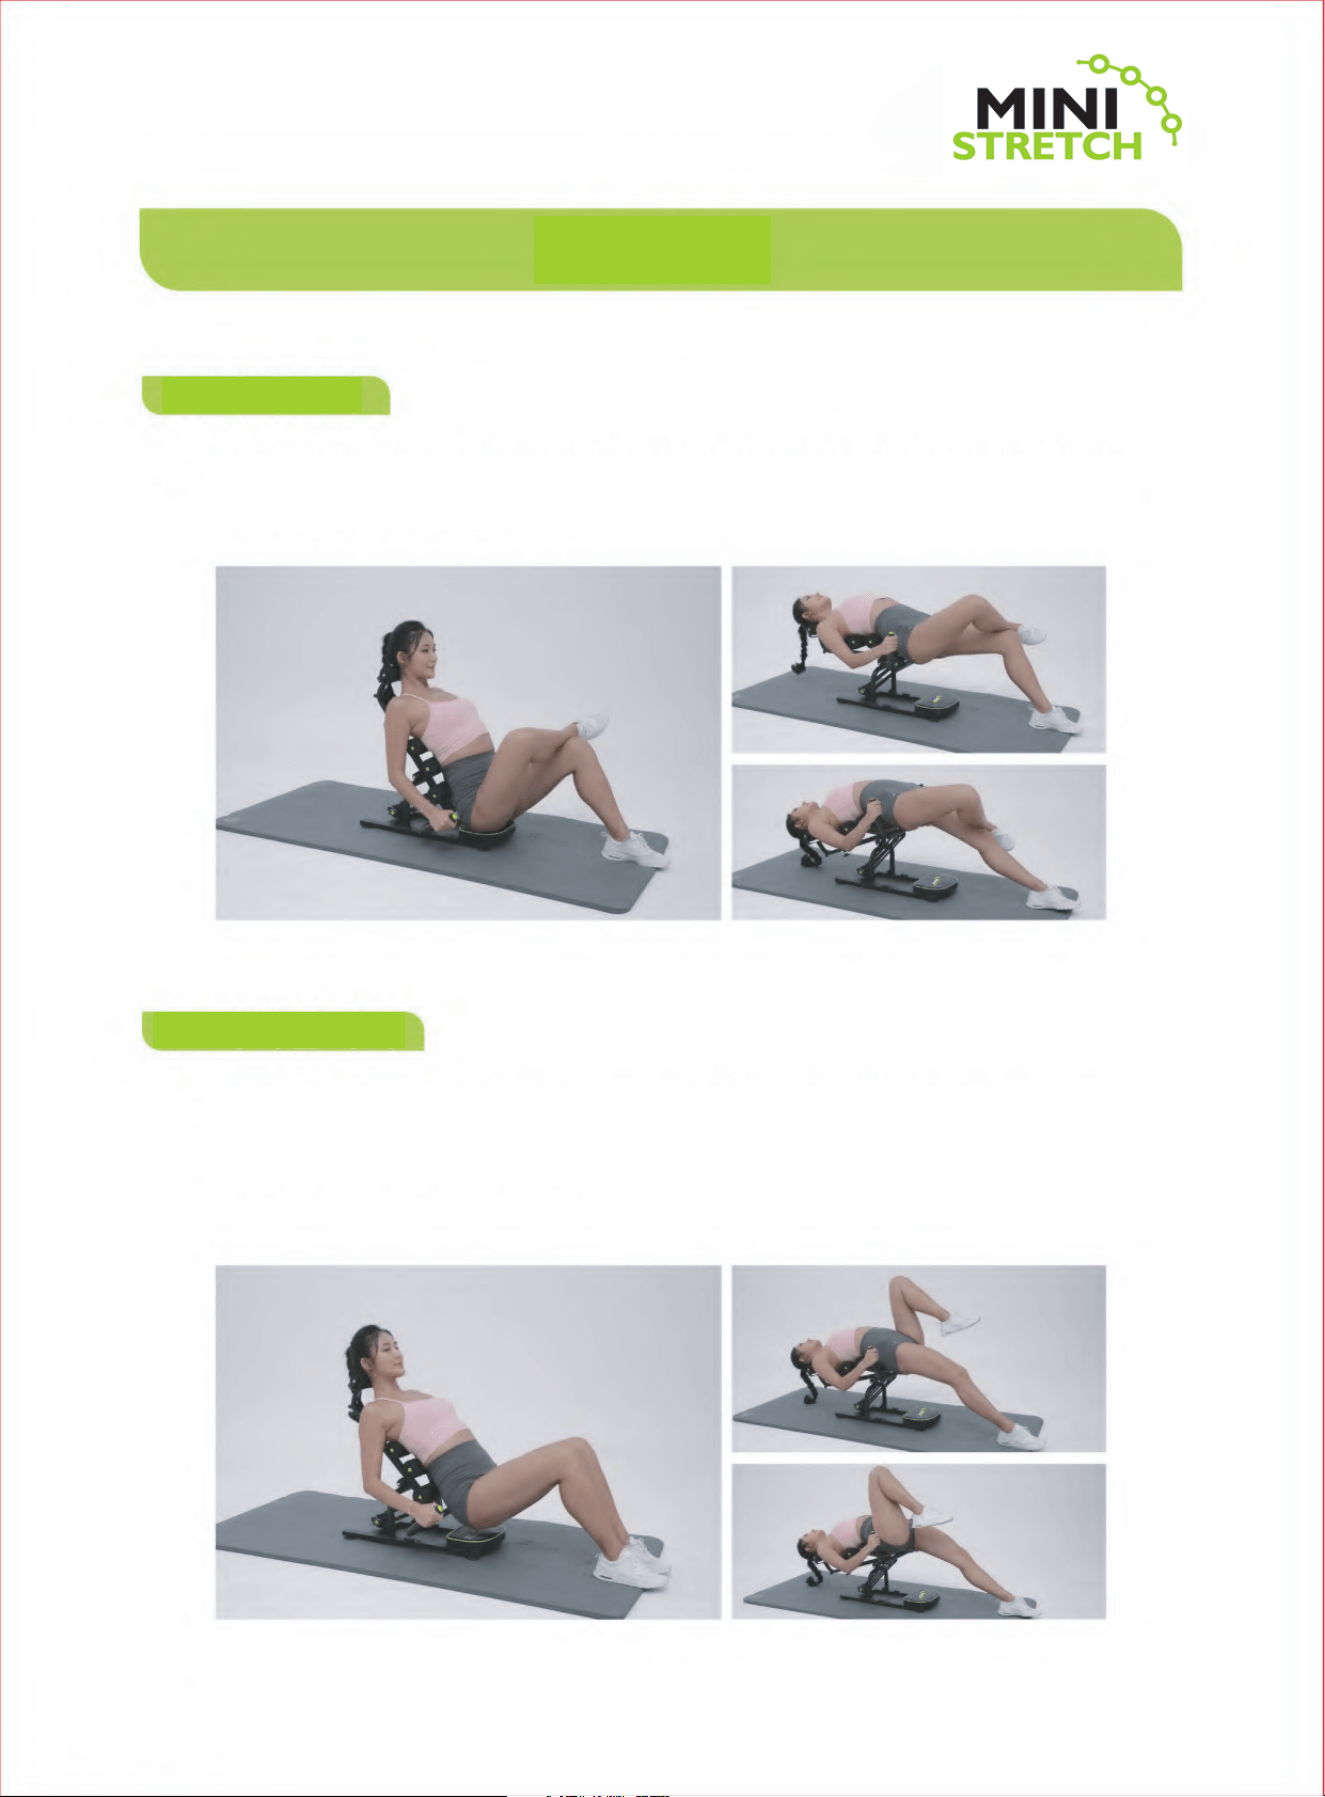
3.Leg Fold
4. Raise Your Legs
Place your right leg on your left knee and slowly lie down without
letting your leg fall off the knee. Switch legs and repeat.
Push your upper body backwards to lay down, and bring your right
leg close to your chest. Switch legs and repeat.
| 8
Exercises/Stretches
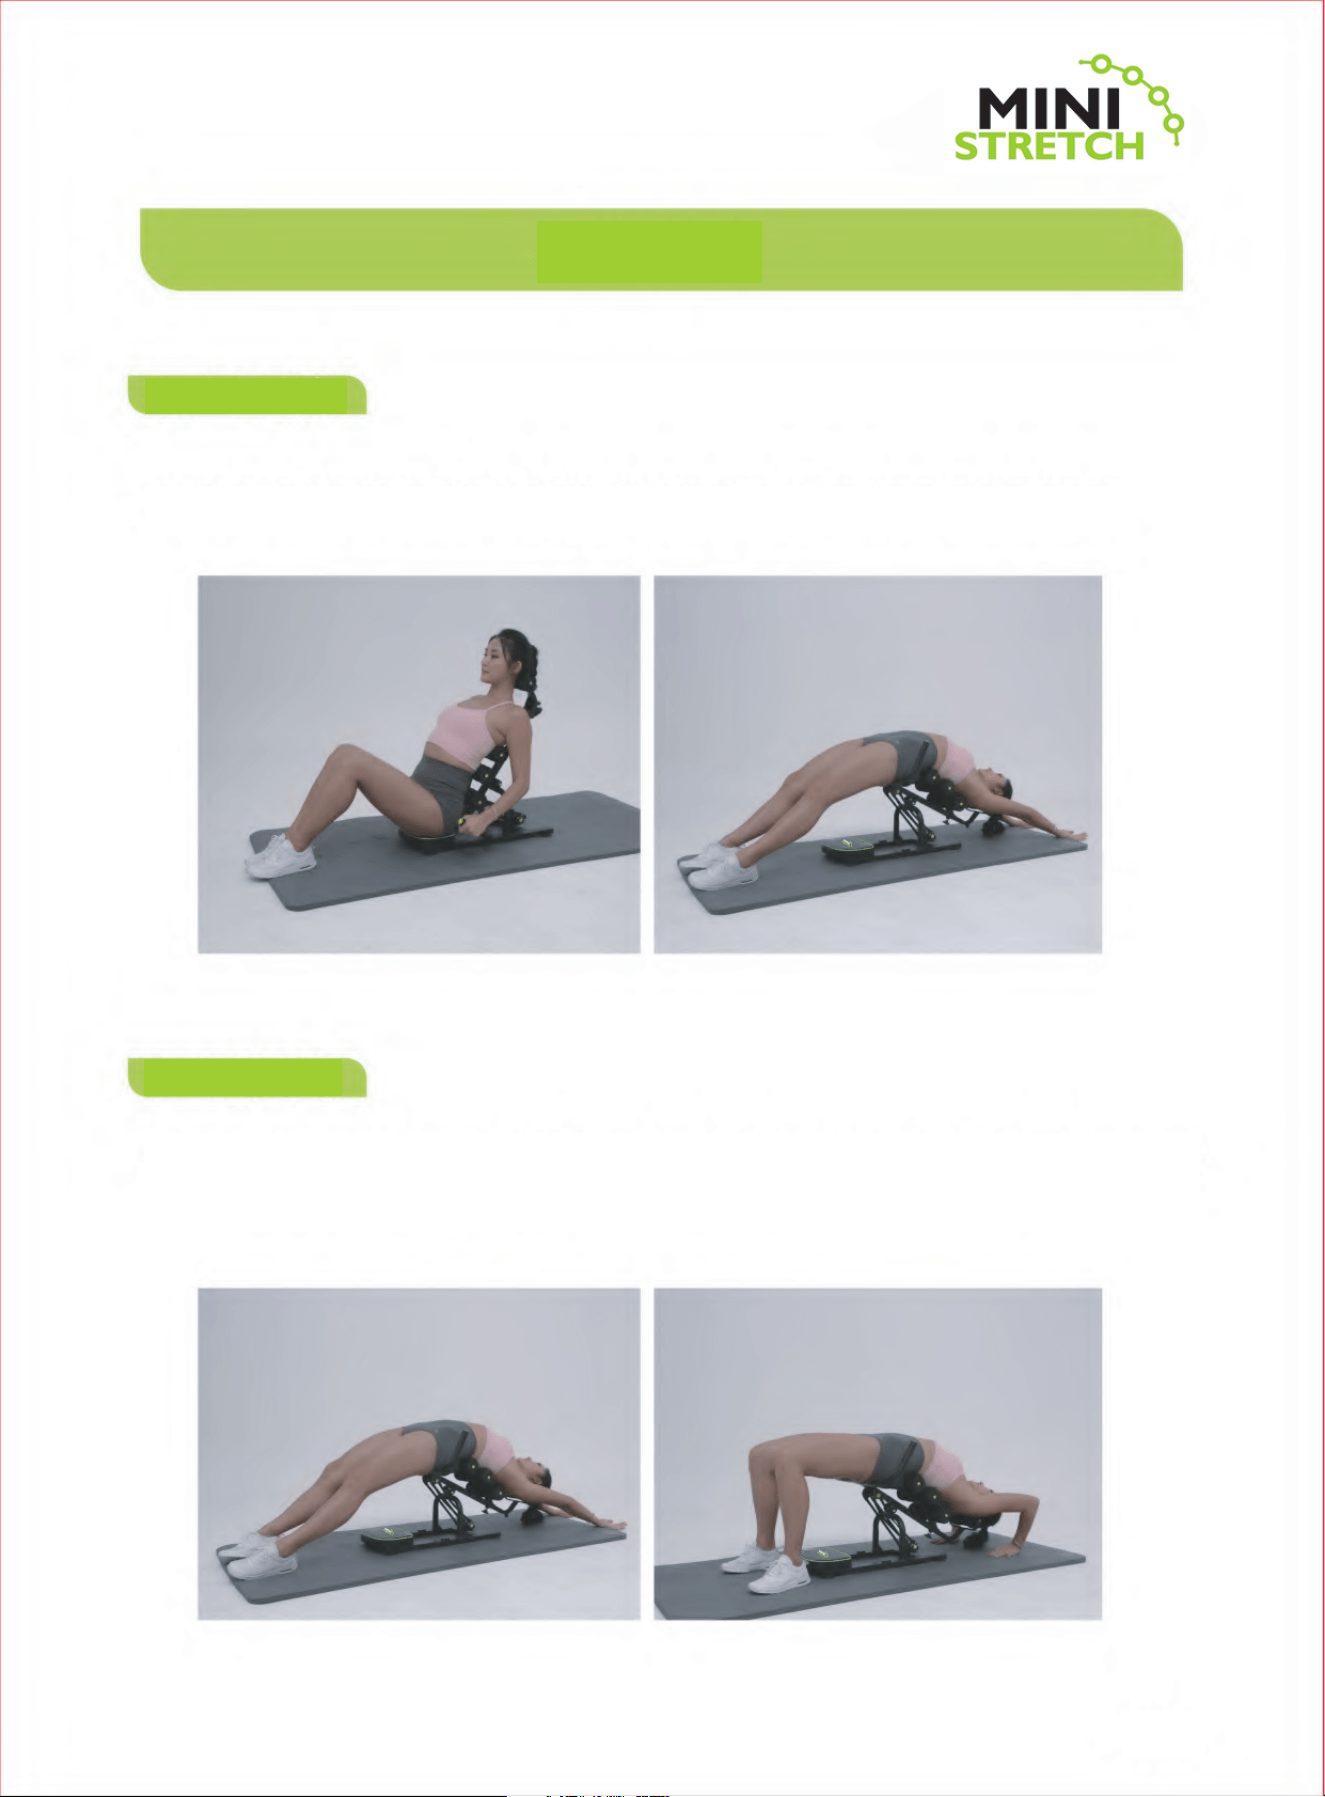
5. Stretching
6. Camel Pose
Stretching: While performing the basic movement, simply straighten
your legs, face your palms upward, and extend your arms as much as
possible to perform the stretch.
To perform the camel pose stretch, turn your palms toward your legs,
fold your arms to 90 degrees, bend your legs, and assume camel pose
as shown in the pictures below.
9 |