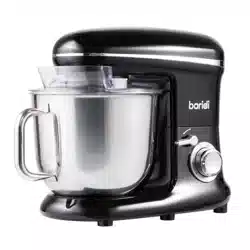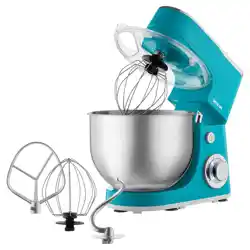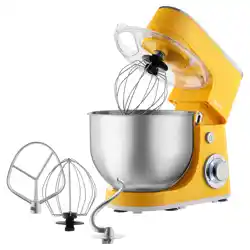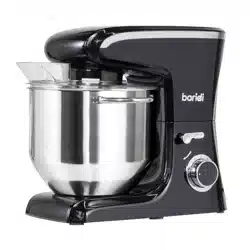
1800W Stand Mixer with Accessories 8L - Black
Model No. DH174
Thank you for purchasing a Dellonda product. Manufactured to a high standard, this product will,
if used according to these instructions, and properly maintained, give you years of trouble free performance.
DH174 Issue:2 20/01/25
www.dellonda.co.uk

Important Information
Please read these instructions carefully. Note the safe operational requirements, warnings & cautions. Use the product correctly and with care
for the purpose for which it is intended. Failure to do so may cause damage and/or personal injury and will invalidate the warranty. Keep these
instructions safe for future use.
Refer to
instruction
manual
SPECIFICATION
Capacity: 8L
Electrical Class: I
Weight: 6.2kg
No Load Speed: 2500-10000rpm
Speeds: 6 + Pulse Function
Dimensions (W x D x H): 408 x 247 x 353mm
Supply: 230V-50Hz
Power Cable Length: 1.1m
SAFETY INSTRUCTIONS
• Please read through the information and safety advice contained in these operating instructions carefully and thoroughly before you use the
mixer for the rst time.
• ELECTRICAL SAFETY
• WARNING! It is the user’s responsibility to check the following:
• Check all electrical equipment and appliances to ensure that they are safe before using. Inspect power supply leads, plugs and all electrical
connections for wear and damage. Dellonda recommend that an RCD (Residual Current Device) is used with all electrical products. You may
obtain an RCD by contacting your local domestic stockist. If the product is used in the course of business duties, it must be maintained in a
safe condition and routinely PAT (Portable Appliance Test) tested.
• Electrical safety information: It is important that the following information is read and understood.
• Ensure that the insulation on all cables and on the appliance is safe before connecting it to the power supply.
• Regularly inspect power supply cables and plugs for wear or damage and check all connections to ensure that they are secure.
• Important: Ensure that the voltage rating on the appliance suits the power supply to be used and that the circuit is tted with the correct fusing.
• DO NOT pull or carry the appliance by the power cable.
• DO NOT pull the plug from the socket by the cable.
• DO NOT use worn or damaged cables, plugs or connectors. If the supply cord is damaged, it must be replaced by the manufacturer or its
• service agent or a similarly qualied person in order to avoid a hazard.
• Ensure that any faulty item is repaired or replaced immediately. Dellonda recommend repairs are carried out by a qualied electrician.
• GENERAL SAFETY
• Care shall be taken when handling the sharp cutting blades, emptying the bowl and during cleaning.
• DO NOT use the device when the head is lifted up.
• To avoid electric shocks, do not use this device in the vicinity of water. DO NOT immerse the mains lead in water or other liquid.
• DO NOT kink or clamp the mains lead. To avoid any risk of stumbling, DO NOT allow the mains lead to hang over the edge of a table or a counter.
• Make sure that the voltage shown on the rating plate corresponds with that of the mains supply. The rating plate can be found on the bottom of
the motor block. The stand mixer is only to be connected to an AC supply (~).
• The motor must always be switched off before the stand mixer is connected to the mains supply. Speed selector at “0” setting, g.1.
• DO NOT use outdoors. Only suitable for using indoors.
• This device should not be set up in close proximity to a naked ame, inammable materials (curtains, textiles, etc.), a radiator, an oven or some
other heat source.
• Before use, place the device on a horizontal and at surface.
• Place this device as close as possible to the power source so that you can disconnect the plug quickly and easily.
• DO NOT attempt to repair the device yourself, since you will be exposed to hazardous live components or other hazards by opening and removing
the covers.
• Repairs should only be carried out in a qualied repair centre.
• The device should only be used for its intended purpose.
• During use, do not touch moving parts with your ngers.
• Please note that when passing the device on to a third party, the operating instructions must be included.
• No liability is accepted for damage due to improper use or the failure to observe our operating instructions / safety notes.
• WARNING! Unplug the appliance when not in use or before cleaning.
• The removal of the plug has to be such that an operator can check from any of the points to which he has access that the plug remains removed.
• Always disconnect the appliance from the supply if it is left unattended and before assembling, disassembling or cleaning.
• Switch off the appliance and disconnect from supply before changing accessories or going near parts that move in use.
• This appliance is intended to be used in household and similar applications such as:
• - Staff kitchen areas in shops, ofces and other working environments;
• - Farm houses;
• - By clients in hotels, motels and other residential type environments;
• - Bed and breakfast type environments.
• Appliance can be used by persons with reduced physical, sensory or mental capabilities or lack of experience and knowledge if they have been
given supervision or instruction concerning use of the appliance in a safe way and if they understand the hazards involved.
• Children shall not play with the appliance.
• This appliance shall not be used by children. Keep the appliance and its cord out of reach of children.
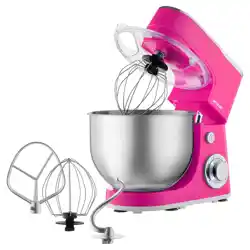
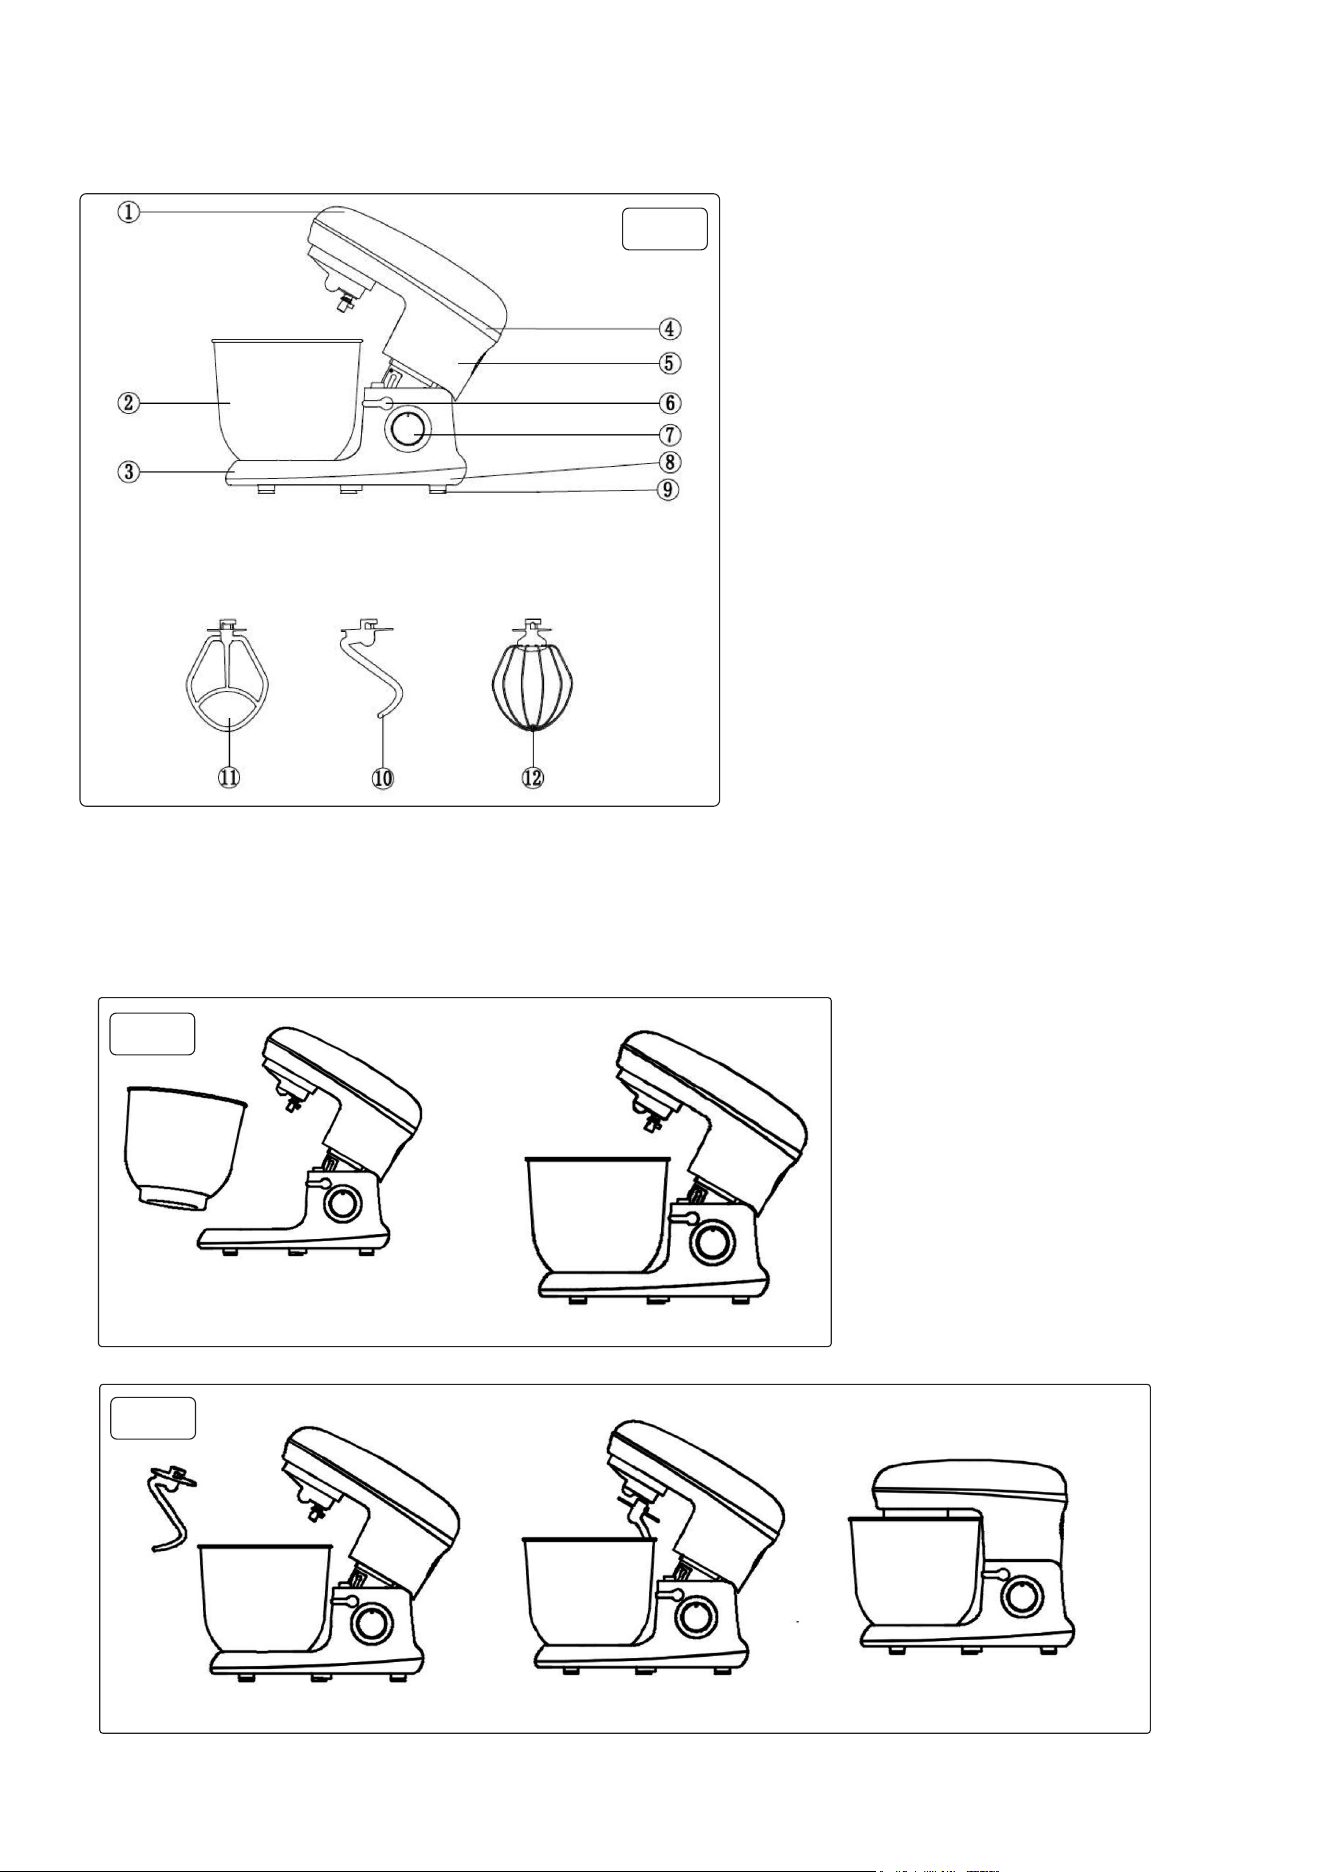
FEATURES
BEFORE FIRST USE
• All parts of the stand mixer are to be thoroughly cleaned before being used for the first time. (See: Cleaning section below ).
PREPARATION FOR USE
• Mix the food ingredients thoroughly in accordance with the recipe.
• Then open the upper housing g.1(5) using lock lever g.1(6).
• Place the mixing bowl (2) on the device plate, and turn the mixing bowl unit in clockwise direction until it is xed, g.2.
.
• Fix the dough blade (10) or the egg whisk (12) or the mixing blade (11) on the blade connector as required, and rotate the blade connector
anticlockwise until attachment engages rmly, g.3.
fig.
1
fig.
2
1 Top cover
2 Mixing bowl
3 Base unit
4 Decorative frame
5 Upper housing
6 Lock lever
7 Speed selector
8 Bottom cover
9 Suction feet
10 Dough hook
11 Mixing blade
12 Egg whisk
13 Bowl cover (not shown)
fig.
3
• Turn the lock lever (6) anticlockwise (in the direction of the marked arrow) and press the top cover (1) downwards with one hand, g.3, to lower.
• Connect to mains supply.
• Select desired speed setting, P for pulse or speeds 1-6 with speed selector (7). Begin on a slow speed, then increase to the desired speed.
• To turn off turn speed selector (7) to 0.
APPLICATIONS
• MIXING OR KNEADING DOUGH:
• Fit dough hook
• Suggested our and water at a ratio of 5:3, and the maximum quantity of our is 1.2kg.
• Speed 1 for mix 30 seconds, speed 2 for mix 30 seconds, then speed 3 for about 3 minutes.
• When using the mixing bowl, do not put ingredients over its maximum capacity 6L.
• Maximum capacity of mixture is 1.6 kg.
• WHISKING EGG WHITES OR CREAM:
• The egg whisk should be used.
• Switch on speed 4 to speed 6, whip the egg whites without stopping for about 4 minutes, according to the size of the eggs, until stiff.
• For whipping cream, whip 250ml fresh cream at speed 4 to 6 for about 5 minutes.
• When lling the mixing bowl with fresh milk, cream or other ingredients, please ensure that the maximum quantity is not exceeded.
• MIXING SHAKES, COCKTAILS OR OTHER LIQUIDS:
• Mixing beater should be used.
• Mix the ingredients according to the available recipe, from speed 1 to 6 for about 4 minutes.
• Do not exceed the maximum quantity for the mixing bowl.
RECOMMENDATIONS FOR SPEED LEVELS
CLEANING
• WARNING! Before cleaning, please ensure that the Switch knob is at the “0” position and that the plug has been disconnected from the mains
supply.
• After use, allow the device to cool down before you start to clean it.
• To clean the exterior of the device, use a moist cloth and a mild detergent. When cleaning the interior and exterior do not use any abrasive
detergents or alcohol.
• Cleaning the base unit
• 1. Clean the base unit with a damp cloth. A little detergent may also be used.
• 2. Wipe over with clean water.
• 3. Do not use the base unit again until it is completely dry
• Cleaning the splash guard, dough hook, balloon whisk and beater
• CAUTION! The splash guard is not dishwasher safe.
• The dough hook, balloon whisk and beater can NOT be washed in the dishwasher.
• 1. Put the parts in cold or lukewarm water to soften dough residues. NOTE: You can also add a little detergent to the water.
• 2. Remove softened dough residues with a washing-up brush.
• 3. Rinse off with clean water.
• 4. Allow parts to dry completely before using them again.
• Cleaning the mixing bowl
• The mixing bowl is made of stainless steel and can be cleaned in the sink or dishwasher.
END OF LIFE
• At the end of its service life, this product may not be disposed of in the normal household waste, but rather must be disposed of at a collection
point for recycling electrical and electronic devices. The materials are recyclable according to their label. You make an important contribution to
protecting our environment by reusing, recycling or utilizing old devices in other ways.
Speed Attachment Description
1-3 All Starting position for all mixing operations
When adding ingredients
Dough hook Kneading and mixing rm dough or ingredients
E.g. Dough: Ingredients: 1.2 kg plain our, 0.72 kg lukewarm water
Preparation
1. Put the ingredients in the mixing bowl. 2. Fit the top cover and dough hook. 3. Speed: 1st, knead for 30s on
level 1. 2nd, knead for 30s on level 2. 3rd, knead for 3 minutes on level 3.
4-6
Pulse button
Egg whisk Whipping cream, egg whites, mayonnaise, beating butter until uffy
E.g: Meringue
Ingredients: 12 egg whites
Preparation: 1. Put the egg whites in the mixing bowl. 2. Fit the splash guard and the balloon whisk.
3. Beat the egg whites at level 6 for 4 minutes until stiff

•
CONTROL PANEL
Environment Protection and Waste Protection and Electrical Equipment Regulations (WEEE)
Recycle unwanted packaging materials. When this product is no longer required, or has reached the end of it’s useful life, please dispose of it in
an environmentally friendly way. Drain any fluids (if applicable) into approved containers, in accordance with local waste regulations. Under the
Waste Batteries and Accumulators Regulations 2009, Dellonda would like to inform the user that this product contains one or more batteries. It
is our policy to continually improve products and we reserve the right to alter data, specifications and parts without prior notice. No liability is
accepted for incorrect use of this product. Guarantee is 12 months from purchase date, proof of which is required for any claim.