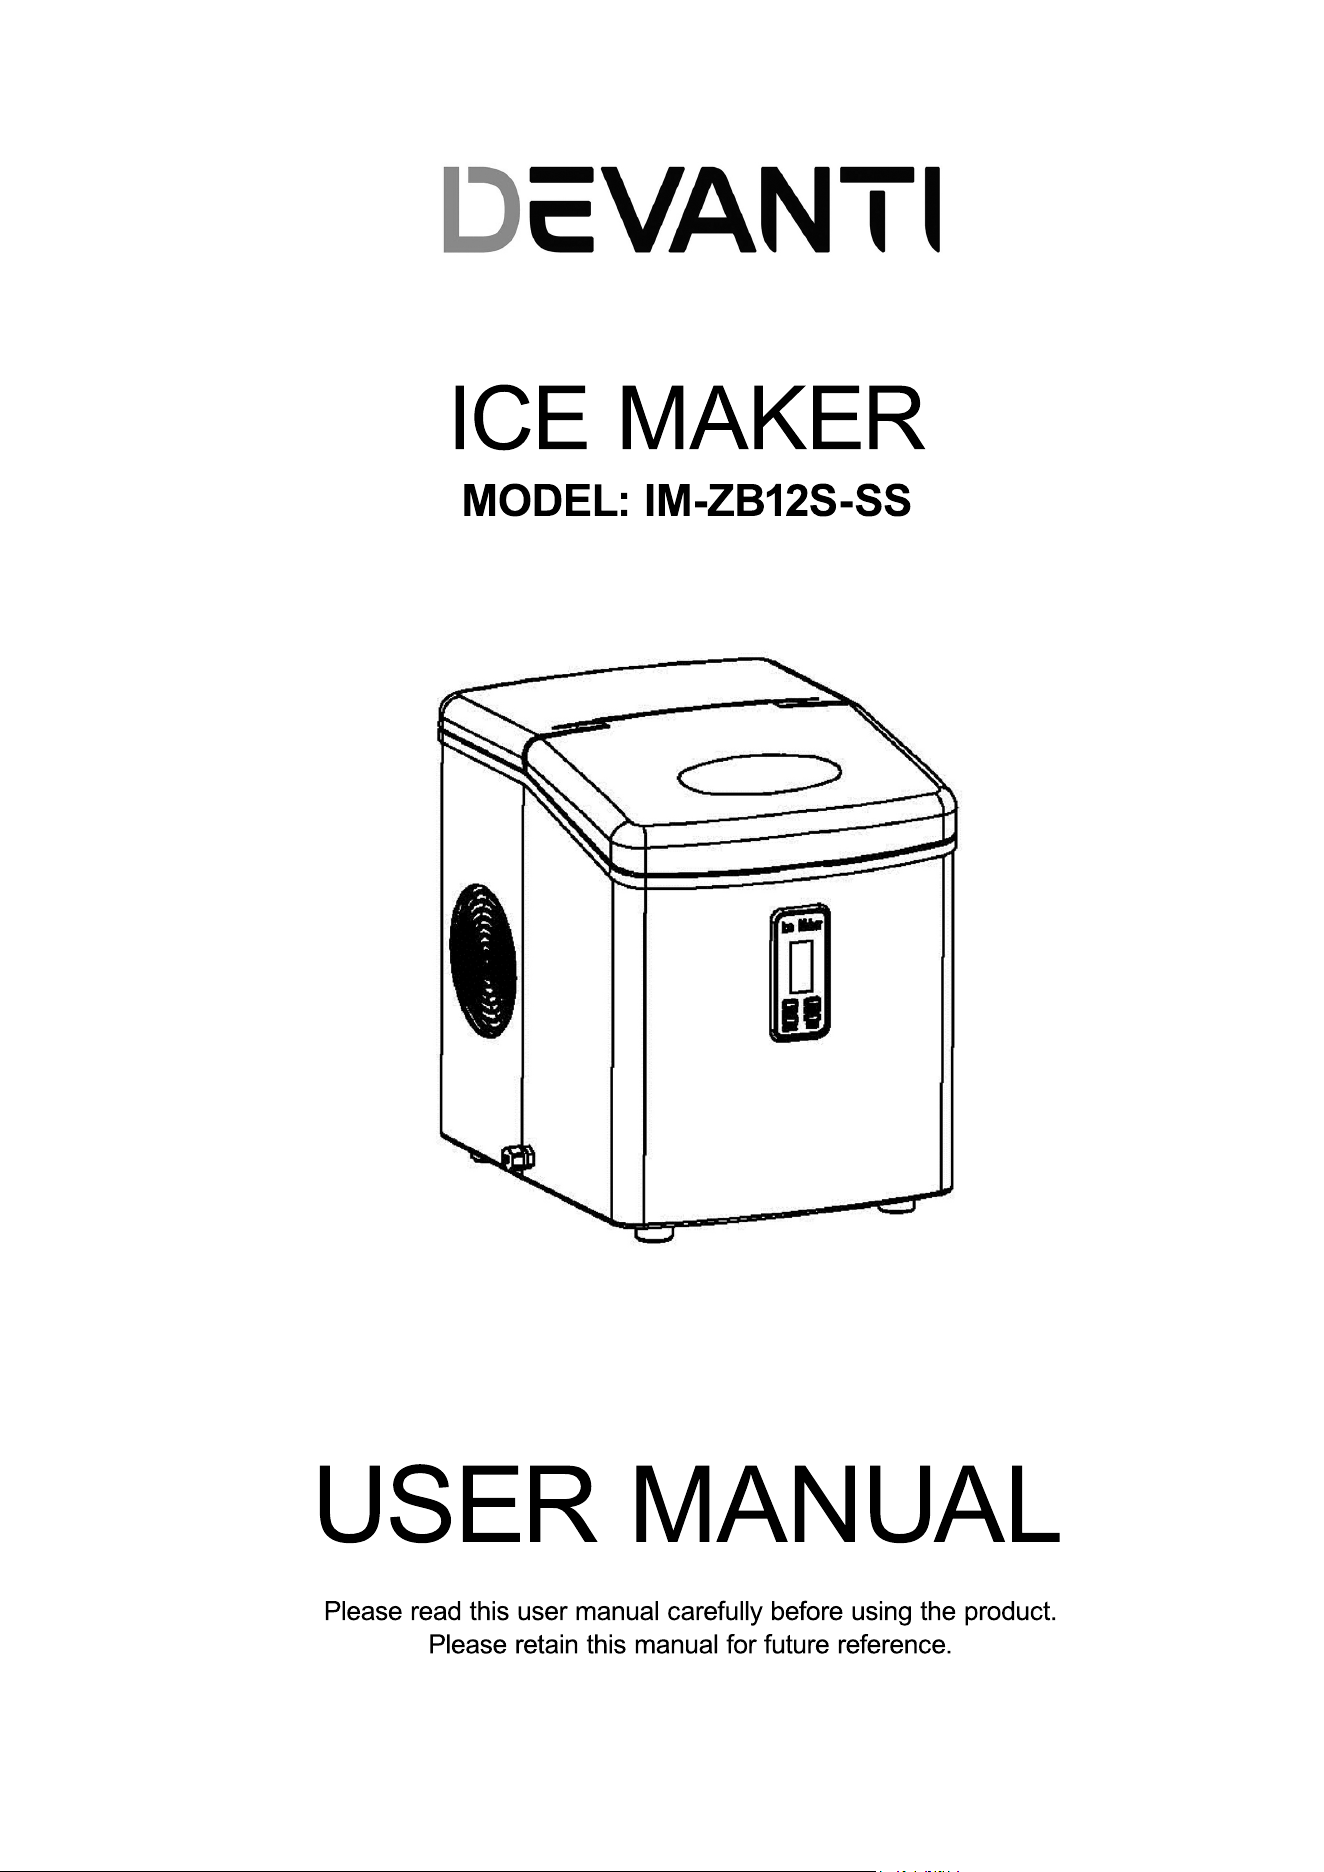
ICE MAKER
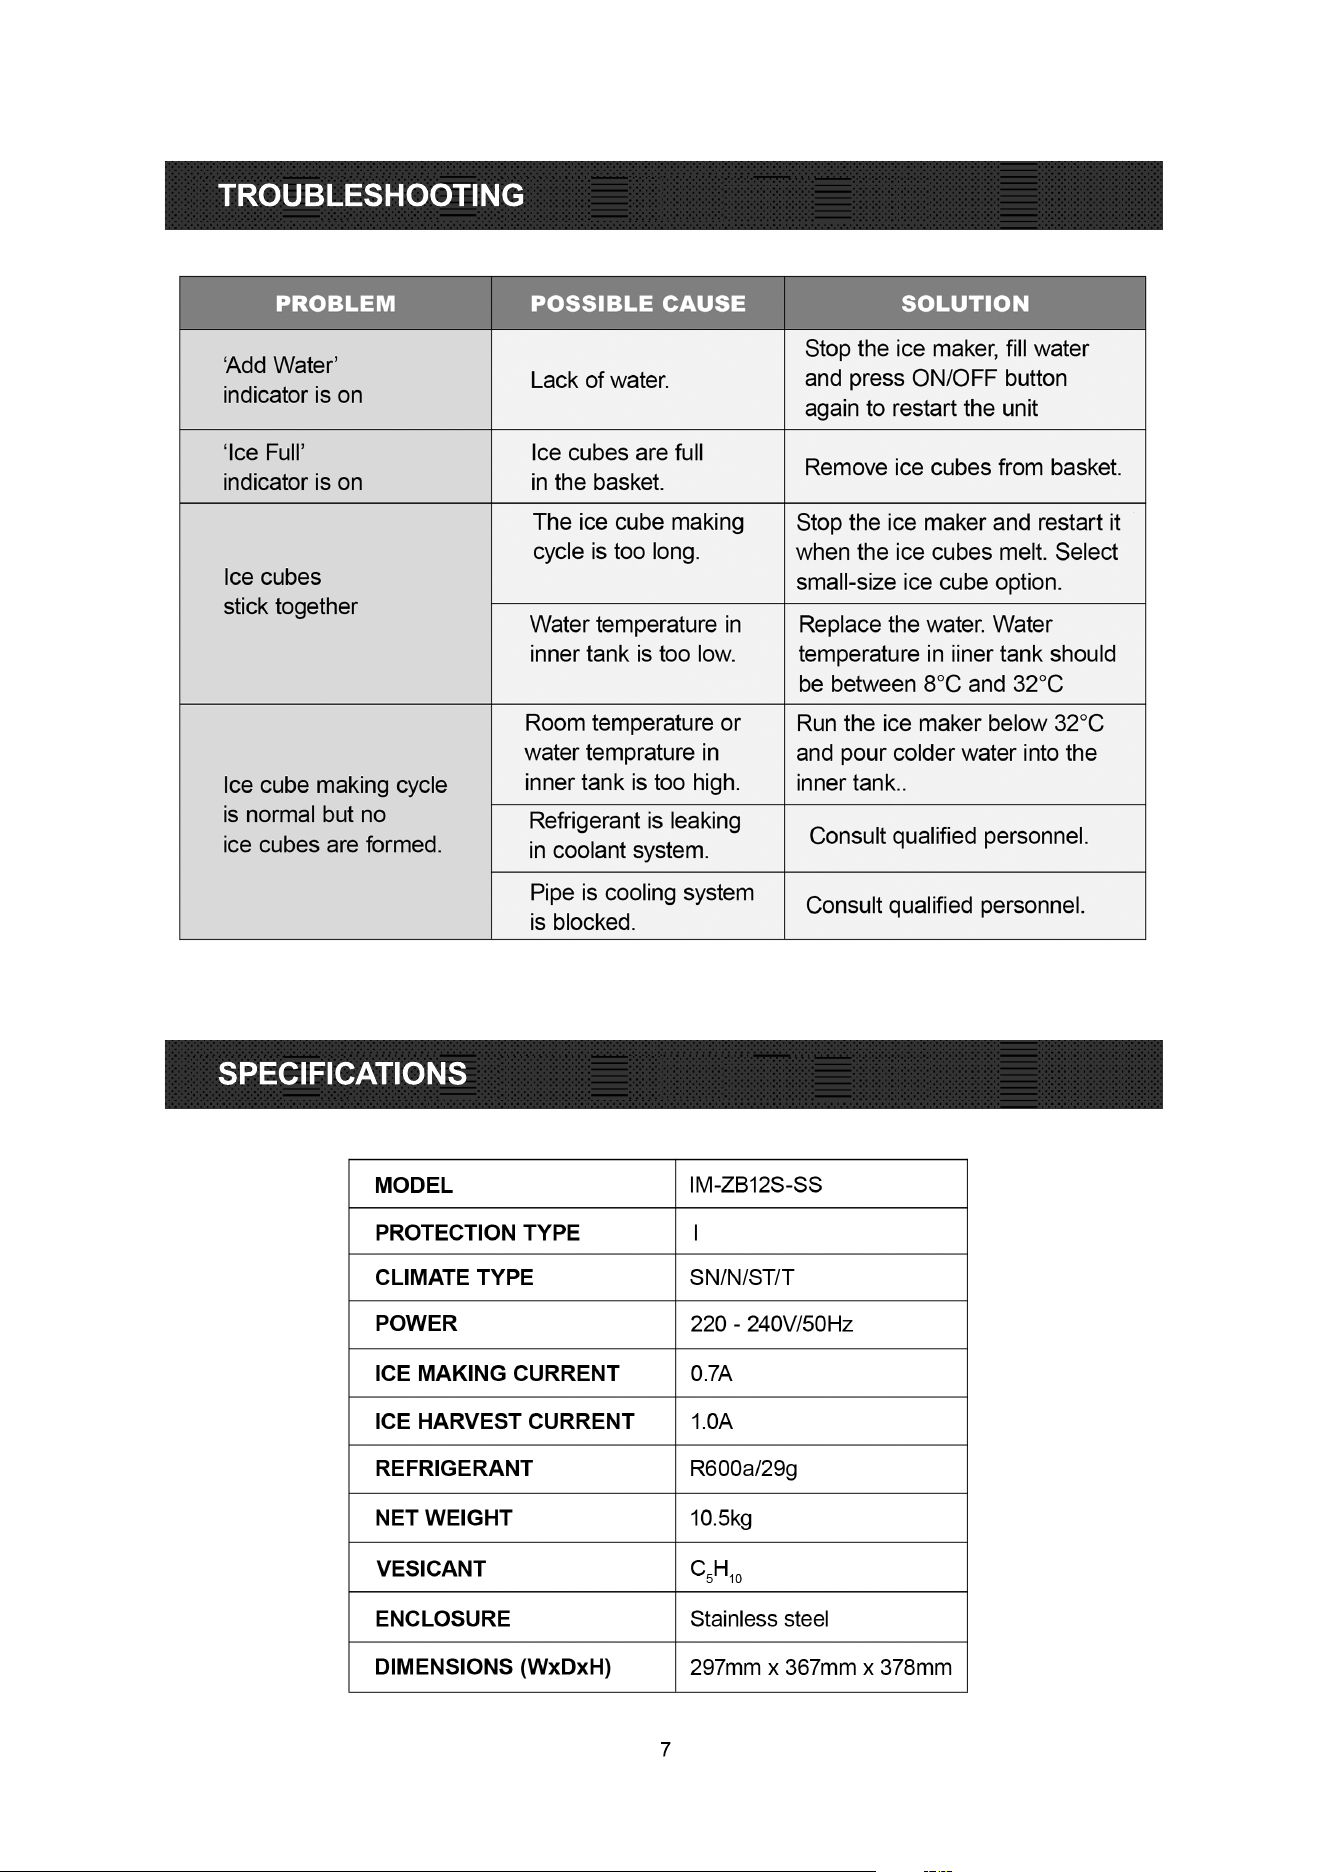
MODEL: IM-ZB12S-SS
USER MANUAL
Please read this user manual carefully before using the product.
Please retain this manual for future reference.
CONTENTS
IMPORTANT SAFETY INSTRUCTIONS ............................................................................ 2
COMPONENTS AND FUNCTIONS ...................................................................................... 3
PEEPARATION BEFORE USE ............................................................................................... 4
OPERATIONS .............................................................................................................................. 5
TROUBLESHOOTING .......................................................................................................... 7
SSPECIFICATIONS ... .......................................................................................................... 7
CIRCUIT DIAGRAM ............................................................................................................... 8
DISPOSAL ............................................................................................................................... 8
2
IMPORTANT SAFETY INSTRUCTIONS
Your safety and the safety of others are vey importnat. We have provided many important safety
messages in this manual when using the appliance. Always read and obey all safety messages.
This is the safety alert symbol. All safety messages will follow the safety alert symbol and
the word DANGER or WARNING. These words mean that you can be killed or seriously
injured if you do not follow immediately the safety instructions given.
All safety messages will tell you what the potential hazard is, how to reduce the chance of injury and
what can happen if the instructions are not followed.
When using electrical appliances, basic safety precautions should be followed to reduce the risk of fire,
electric shock, and injury to persons or property. Read all instructions before using any appliance.
· This appliance can be used by children aged from 8 years and above and persons with reduced
physical, sensory or mental capabilities or lack of experience and knowledge if they have been given
supervision or instruction concerning use of the appliance in a safe way and understand the hazards
involved. Children shall not play with the appliance. Cleaning and user maintenance shall not be made
by childen without supervision.
· Do not operate this or any other appliance with a damaged cord. If the supply cord is damaged, it
must be replaced by the manufacturer or similarly qualified personnel in order to avoid a hazard.
· The ice maker must be positioned so that the plug is accessible. It must be connected to properly
polarised outlets only. No other appliance should be plugged into the same outlet. Be sure that the
plug is fully inserted into the receptacle.
· Do not run the power cord over carpeting or other heat insulators. Do not cover the cord. Keep the
cord away from traffic areas, and do not submerge in water.
· The use of an extension cord is not recommended as it may overheat an become a fire risk. If an
extension cord must be used, it has to be No. 0.75mm
2
minimum size and rated no less than
16A/250V with a plug.
· Unplug the ice maker before cleaning or making any repairs or servicing.
· Exercise caution and use reasonable supervision when the appliance is used near children.
· Do not use the ice maker outdoors. Place the ice maker away from direct sunlight and make sure that
there is at least 100mm of space between the back of the unit and wall. Keep a minimu distance of
at least 100mm on each side of the unit free from any surface or obstruction.
·· Do not use any liquid other than water to make ice cubes.
· Do not clean the ice maker with flammable fluids. The fumes can create a fire hazard or explosion.
· Do not tip over the ice maker.
· If the ice maker is brought in from outside in winter time, let it stand for a few hours until it reaches
room temperature before plugging it in.
· This appliance is not intended for use by persons (including children) with reduced physical, sensory
or mental capabilities or lack of experience and knowledge if they have been given
supervision or instruction concerning use of the appliance by a person responsible for their safety.
· Please dispose of the appliance according to local regulations.
· Do not store combustible substances such as aerosol cans with a flammable propellant in this appliance.
· This appliance is intended to be used in a household and similar applicatons such as:
· staff kitchen areas in shops, offices and other working environments
· farmhouses and by customers in hotels, motels, and other residential-type environments
· bed and breakfast-type envirnments
· catering and similar non-retail applications
· WARNING: Keep ventilation opening in the appliance enclosure or in the built-in structure clear of
obstructions.
· WARNING: Do not damage the refrigerant circuit.
· WARNING: Do not use mechanical devices or other means to accelerate the defrosting or ice harvesting
process other than those recommended by the manufacturer.
· WARNING: Do not use other types of electrical appliances inside the ice maker.
·· This appliance must be earthed.
3
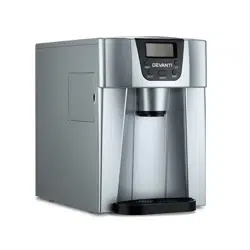
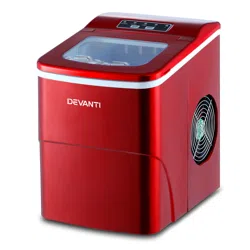
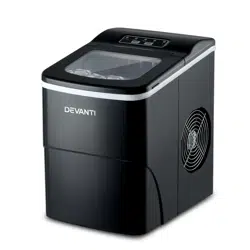
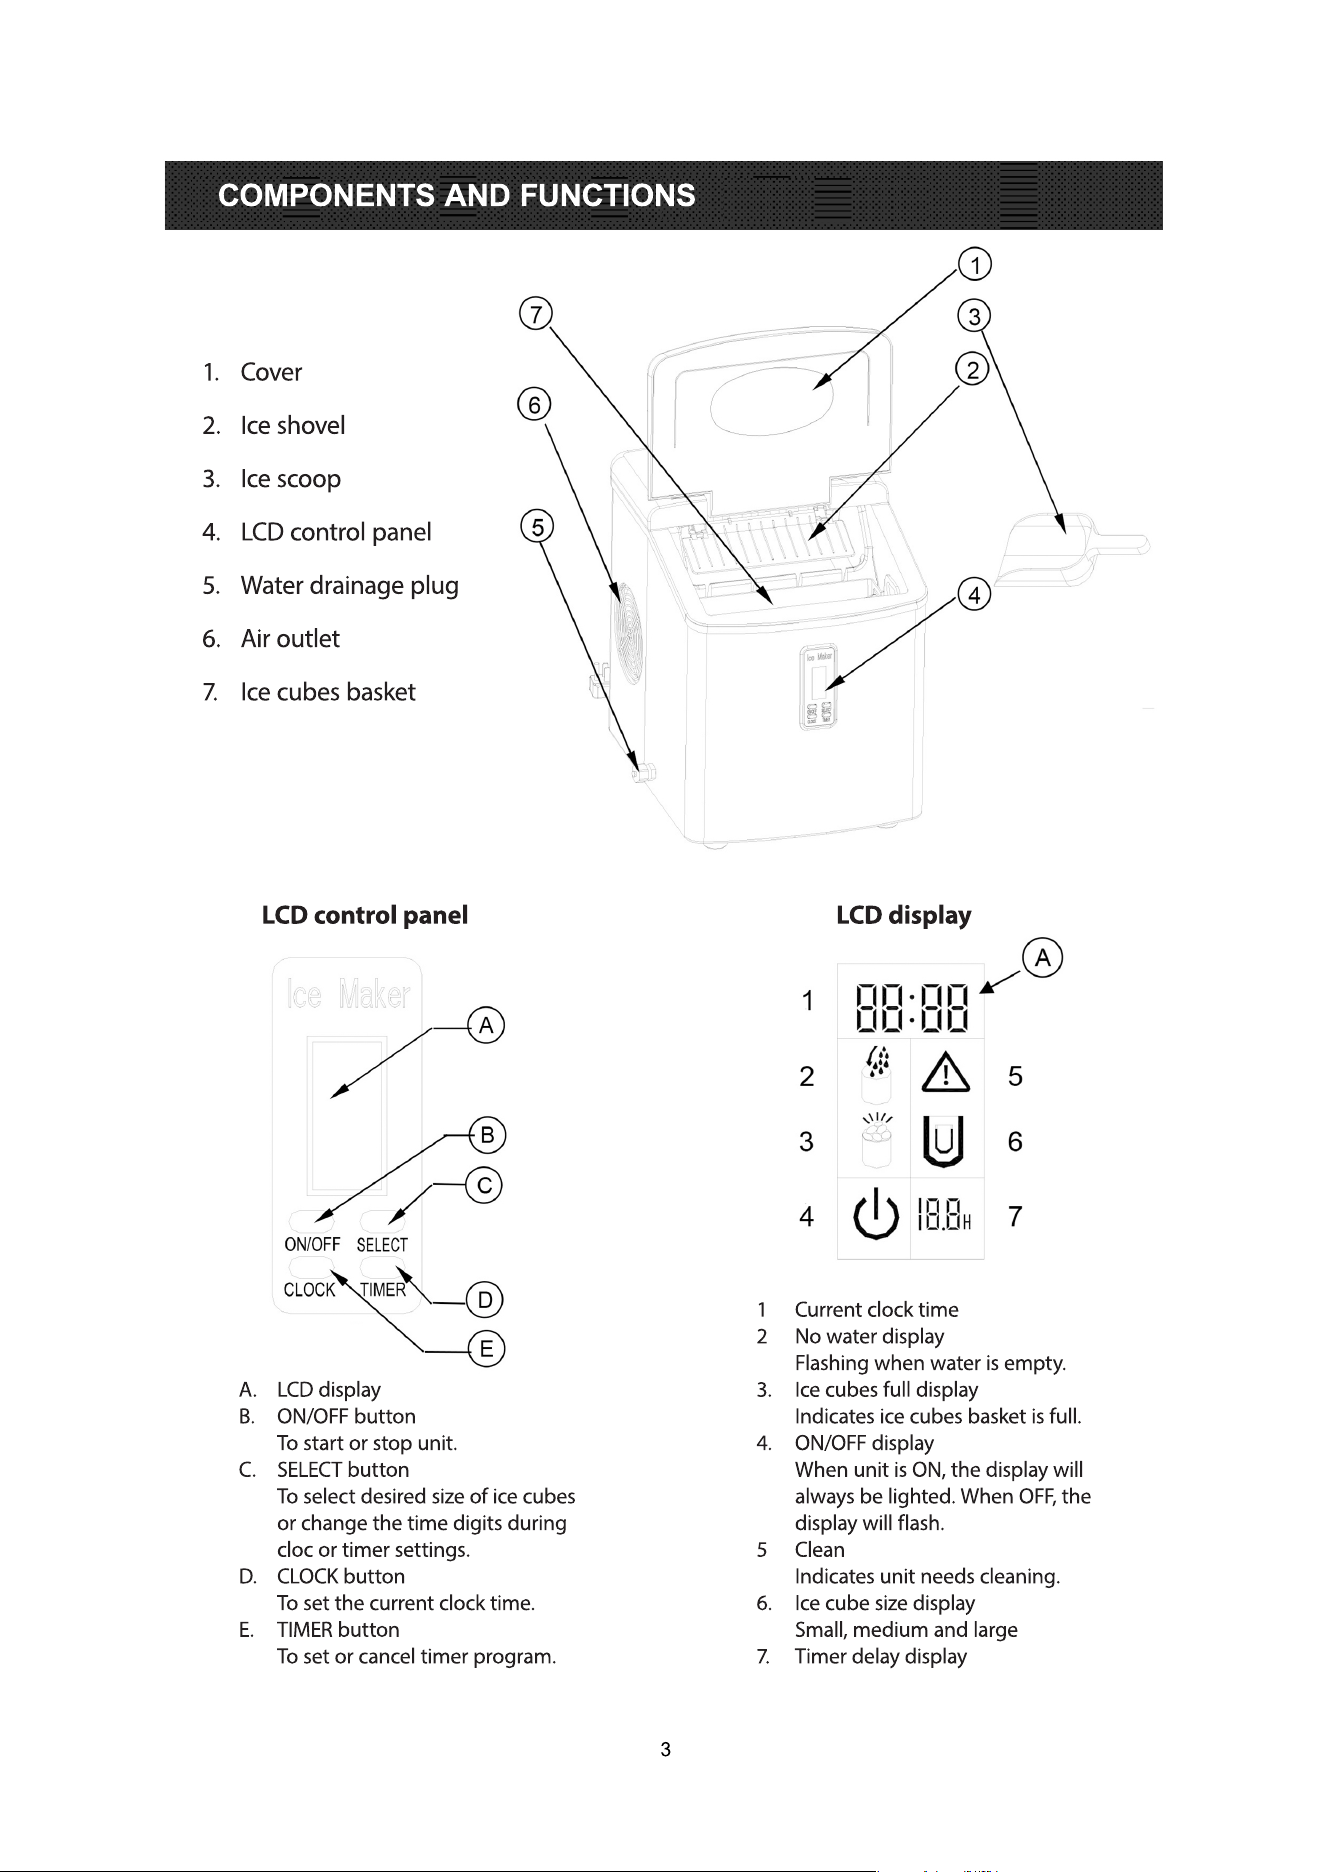
COMPONENTS AND FUNCTIONS
1. Cover
2. Ice shovel
3. Ice scoop
4. LCD control panel
5. Water drainage plug
6. Air outlet
77. Ice cubes basket
1 Current clock time
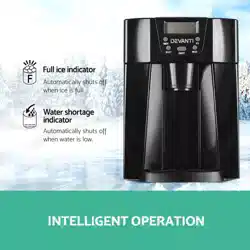
2 No water display
Flashing when water is empty.
3. Ice cubes full display
Indicates ice cubes basket is full.
4. ON/OFF display
When unit is ON, the display will
always be lighted. When OFF, the
display will flash.
5 Clean
Indicates unit needs cleaning.
6. Ice cube size display
Small, medium and large
77. Timer delay display
A. LCD display
B. ON/OFF button
To start or stop unit.
C. SELECT button
To select desired size of ice cubes
or change the time digits during
cloc or timer settings.
D. CLOCK button
To set the current clock time.
E. TIMER button
To set or cancel timer program.
LCD control panel LCD display
4
PREPARATION BEFORE USE
A. SETTING UP
B. CONNECTING
C. CLEANING
1. Remove the exterior and interior packaging. Check that the ice basket and ice scoop are included.
If any parts are missing, contact our Customer Service immediately.
2. Clean the ice maker (see Section C below).
3. Find a location to place your ice maker that is away from direct sunlight and other sources of heat
(such as a stove, furnance or radiator). Place the ice maker on a level surface. Make sure that there
is at least 100mm of space around the back and sides of the ice maker with adjacent walls.
44. Allow one hour for the refrigerant fluid to settle before plugging in the unit.
5. The appliance must be positioned so that the plug is easily accessible.
WARNING: Use only potable water for making ice cubes
1. The unit must be properly grounded for your safety. The power cord of this appliance is equipped
with a grounding plug that mates with a standard grounded wall outlet to minimise the possiblity
of an electric shock.
2. Plug in the appliance into an exclusive and properly installed grounded wall outlet. Do not under any
circumstances damage the grounding means of the plug. Any questions concerning power and/or
grounding should be directed to a certified electrician.
33. This appliance requires a standard 220-240V, 50Hz electrical supply with good grounding means.
4. The wires in the mains lead are coloured in accordance with the following code:
Green and yellow: Ground
Blue: Neutral
Brown: Live
Before using the ice maker, it is strongly recommended that the ice maker is cleaned thoroughly.
1. Remove the ice cube basket.
2. Clean the interior with diluted detergent, warm water and a soft cloth.
3. Then use the solution to rinse the inner parts and drain out the solution by unplugging the water
drainage plug at the side of the ice maker.
4. Clean the exterior of the ice maker regularly with a mild detergent solution and warm water.
55. Dry the interior and exterior with a soft cloth.
6. When the appliance is not in use for a long time, drain the water completely from the ice maker
by opening the water drainage plug.
NOTE: The gas inside the ice maker is flammable. Please dispose this appliance in accordance with
national regulations.
DANGER: Improper use of the grounded plug may result in the risk of electric shock.
If the power cord is damaged, please contact our Customer Service immediately.
5
OPERATIONS
1. Open the cover and remove the ice cube basket. Then pour potable water into the water reservoir.
Keep the water below the water level mark.
2. Press the ON/OFF button on the control panel to turn on the unit to begin the ice cube making
process.
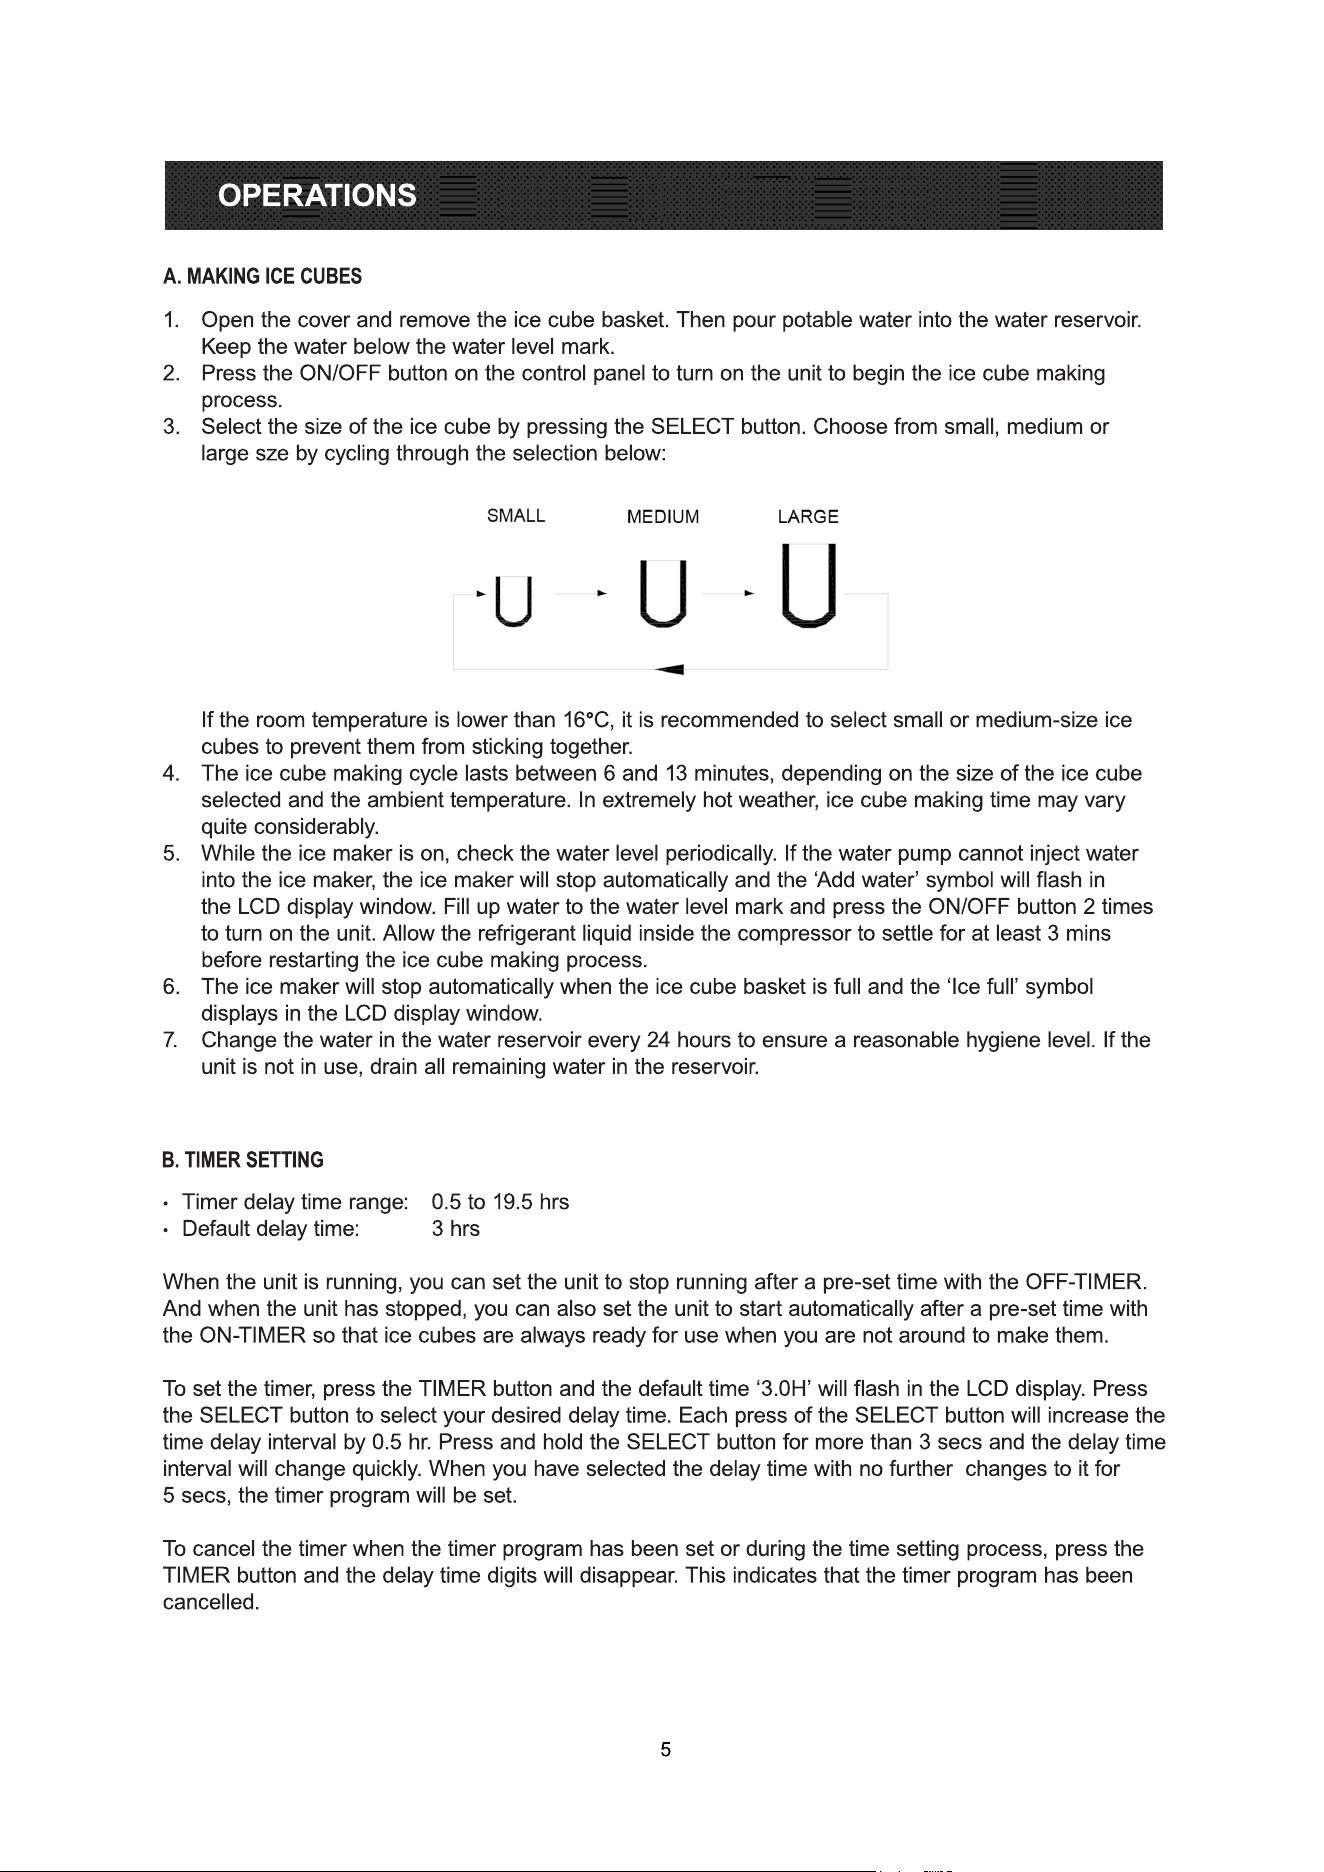
3. Select the size of the ice cube by pressing the SELECT button. Choose from small, medium or
large sze by cycling through the selection below:
If the room temperature is lower than 16°C, it is recommended to select small or medium-size ice
cubes to prevent them from sticking together.
4. The ice cube making cycle lasts between 6 and 13 minutes, depending on the size of the ice cube
selected and the ambient temperature. In extremely hot weather, ice cube making time may vary
quite considerably.
5. While the ice maker is on, check the water level periodically. If the water pump cannot inject water
into the ice maker, the ice maker will stop automatically and the ‘Add water’ symbol will flash in
the LCD display window. Fill up water to the water level mark and press the ON/OFF button 2 times
to turn on the unit. Allow the refrigerant liquid inside the compressor to settle for at least 3 mins
before restarting the ice cube making process.
6. The ice maker will stop automatically when the ice cube basket is full and the ‘Ice full’ symbol
displays in the LCD display window.
7. Change the water in the water reservoir every 24 hours to ensure a reasonable hygiene level. If the
unit is not in use, drain all remaining water in the reservoir.
∙ Timer delay time range: 0.5 to 19.5 hrs
∙ Default delay time: 3 hrs
When the unit is running, you can set the unit to stop running after a pre-set time with the OFF-TIMER.
And when the unit has stopped, you can also set the unit to start automatically after a pre-set time with
the ON-TIMER so that ice cubes are always ready for use when you are not around to make them.
To set the timer, press the TIMER button and the default time ‘3.0H’ will flash in the LCD display. Press
tthe SELECT button to select your desired delay time. Each press of the SELECT button will increase the
time delay interval by 0.5 hr. Press and hold the SELECT button for more than 3 secs and the delay time
interval will change quickly. When you have selected the delay time with no further changes to it for
5 secs, the timer program will be set.
To cancel the timer when the timer program has been set or during the time setting process, press the
TIMER button and the delay time digits will disappear. This indicates that the timer program has been
cancelled.
A. MAKING ICE CUBES
B. TIMER SETTING
6
OPERATIONS
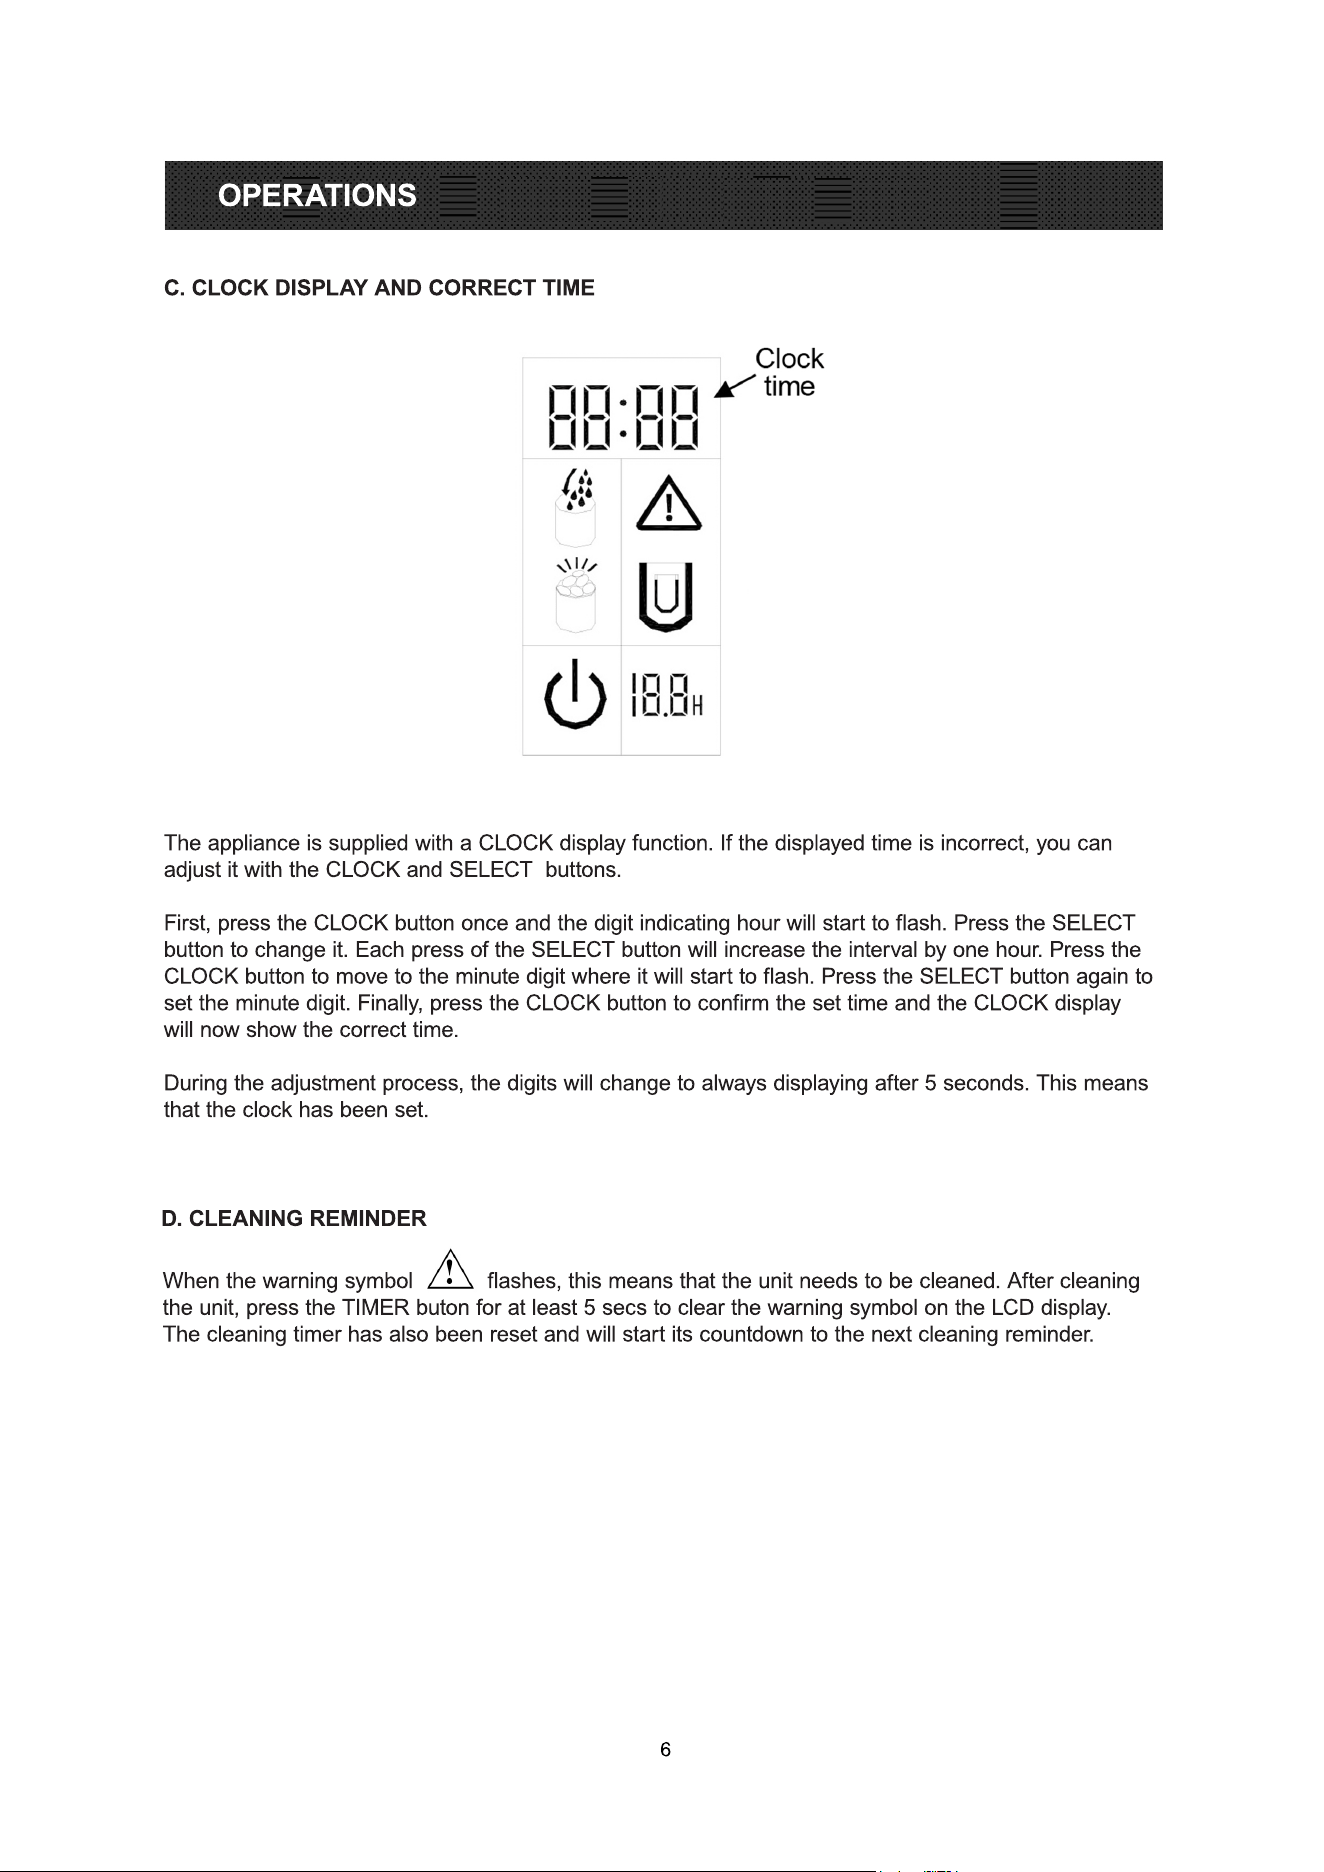
The appliance is supplied with a CLOCK display function. If the displayed time is incorrect, you can
adjust it with the CLOCK and SELECT buttons.
First, press the CLOCK button once and the digit indicating hour will start to flash. Press the SELECT
button to change it. Each press of the SELECT button will increase the interval by one hour. Press the
CLOCK button to move to the minute digit where it will start to flash. Press the SELECT button again to
set the minute digit. Finally, press the CLOCK button to confirm the set time and the CLOCK display
wwill now show the correct time.
During the adjustment process, the digits will change to always displaying after 5 seconds. This means
that the clock has been set.
When the warning symbol flashes, this means that the unit needs to be cleaned. After cleaning
the unit, press the TIMER buton for at least 5 secs to clear the warning symbol on the LCD display.
The cleaning timer has also been reset and will start its countdown to the next cleaning reminder.
C. CLOCK DISPLAY AND CORRECT TIME
D. CLEANING REMINDER
7
TROUBLESHOOTING
SPECIFICATIONS
8
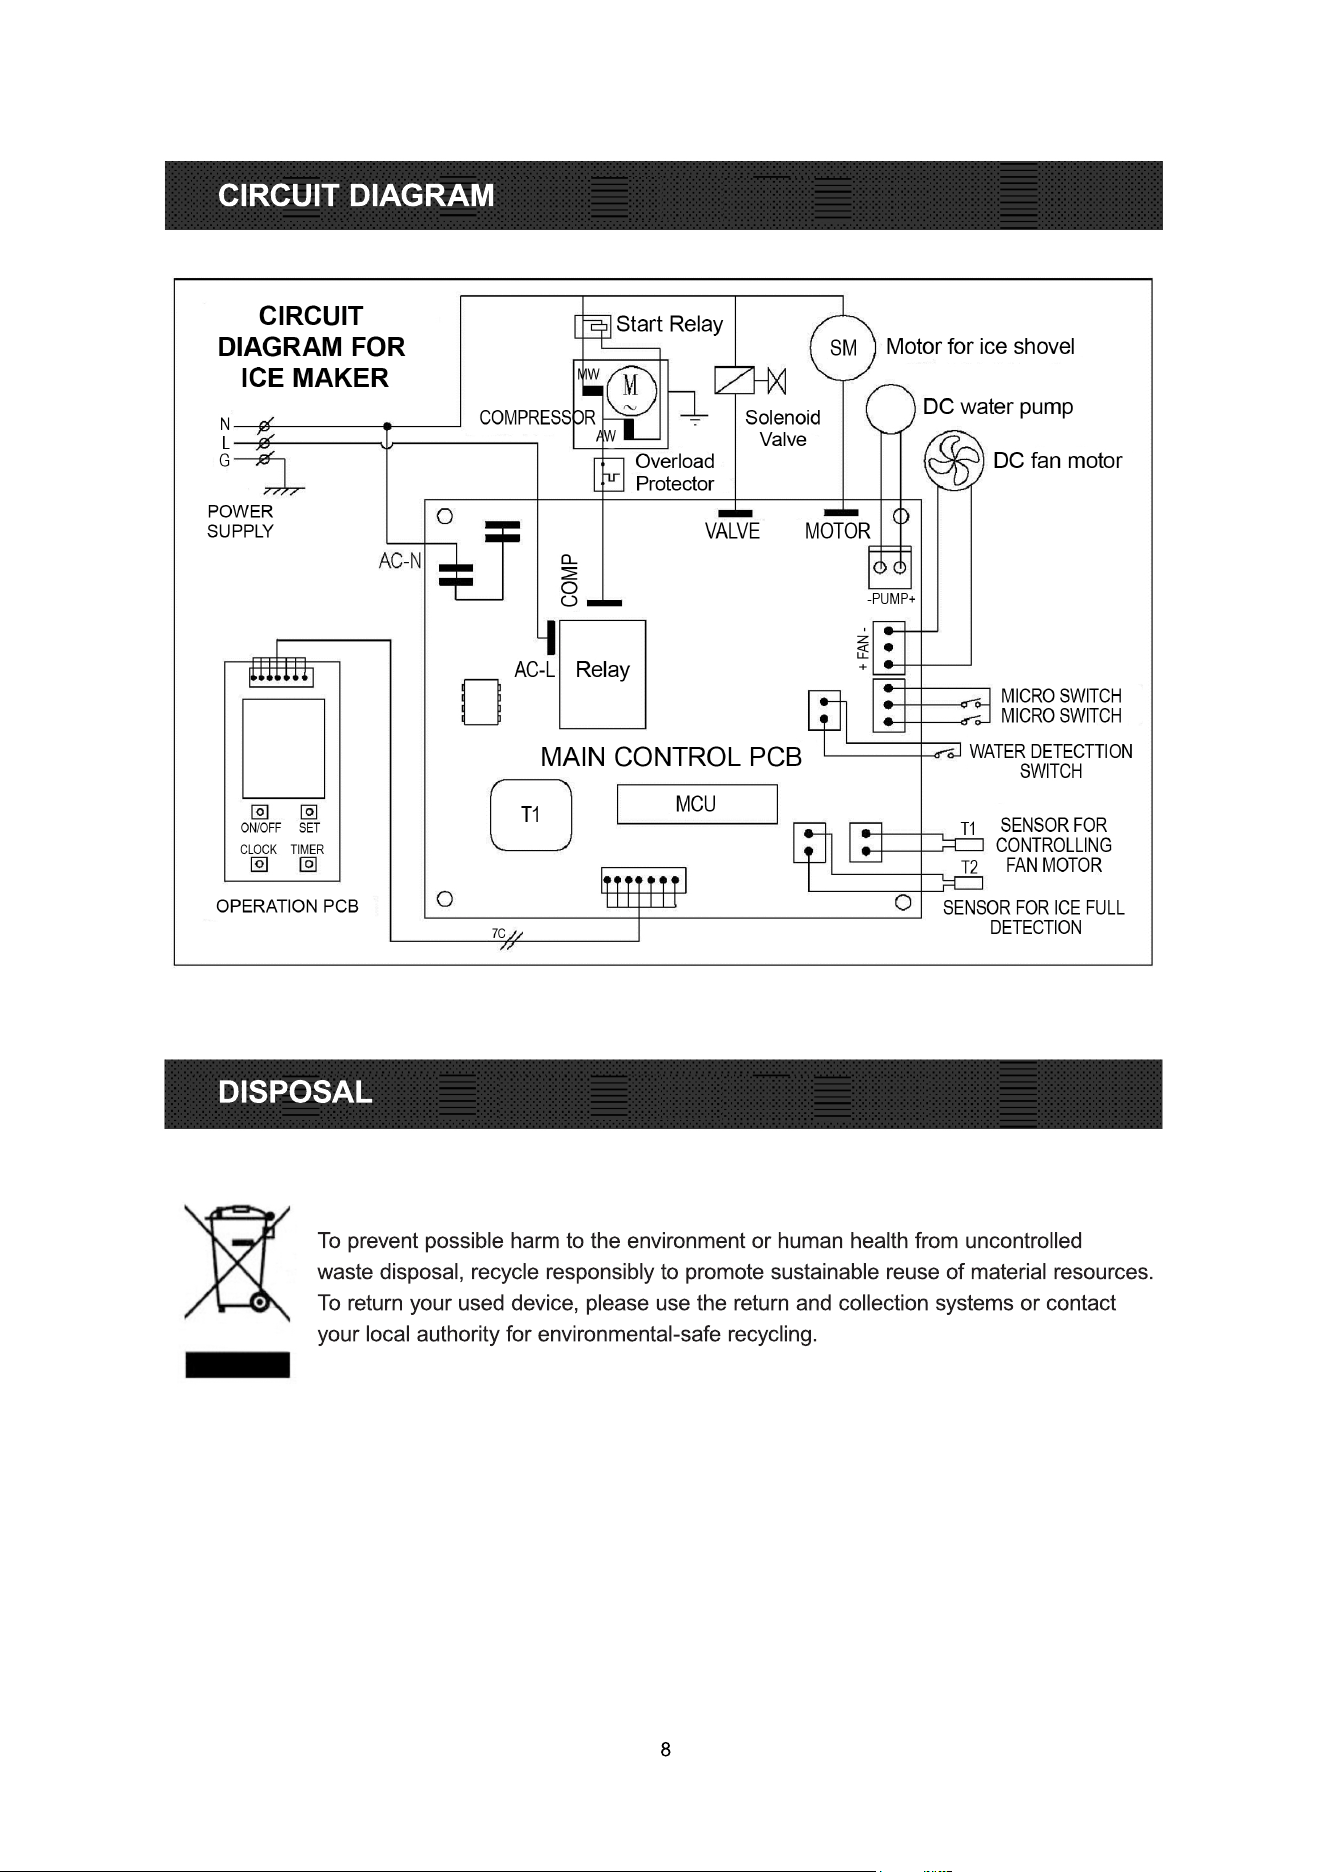
CIRCUIT DIAGRAM
DISPOSAL
To prevent possible harm to the environment or human health from uncontrolled
waste disposal, recycle responsibly to promote sustainable reuse of material resources.
To return your used device, please use the return and collection systems or contact
your local authority for environmental-safe recycling.