Quick Start
Guide
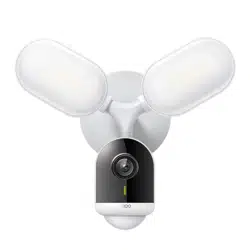
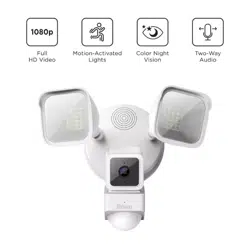
Floodlight
Camera SE
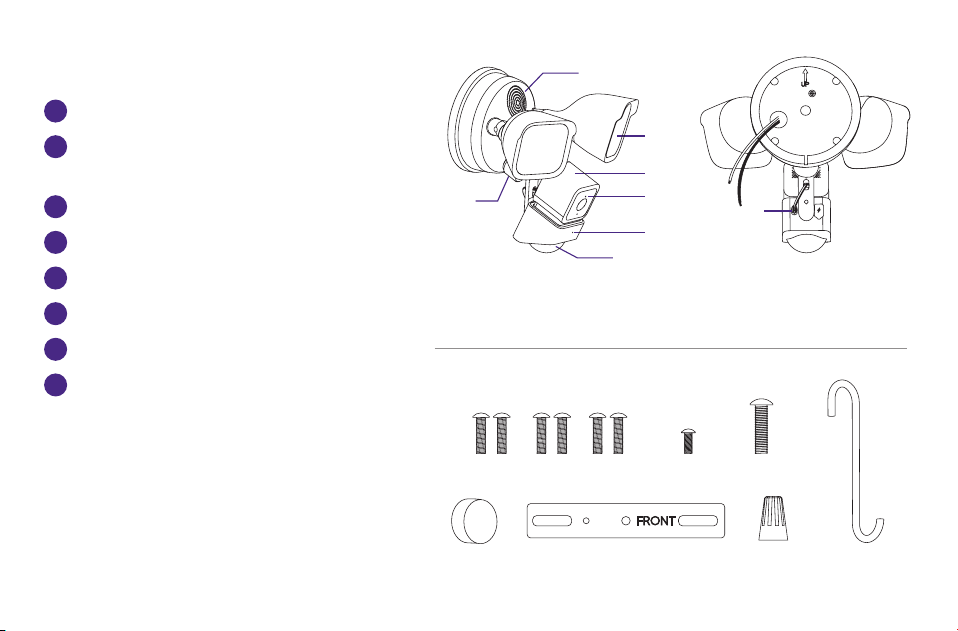
What’s included
What you’ll need
• Phillips screwdriver
• Ladder
• Your smartphone
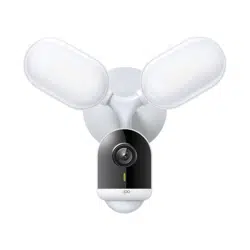
A
Roku Floodlight Camera SE
D
Floodlight screw (bag C)
B
Bracket screws #6, #8,
#10 (x2) (bag A)
E
Rubber stopper
G
Wire nuts (x2)
C
Ground wire screw (bag B)
F
Mounting bracket
H
Hook
B
E
A
C
F
D
G H
1
2
ASSEMBLED FLOODLIGHT CAMERA
3
8
4
5
6
7
Details
1
Speaker
4
Camera
7
Motion sensor
2
Camera
bracket lock
5
Status light
3
LED lamp
6
Microphone
8
Micro USB port
Before you set up...
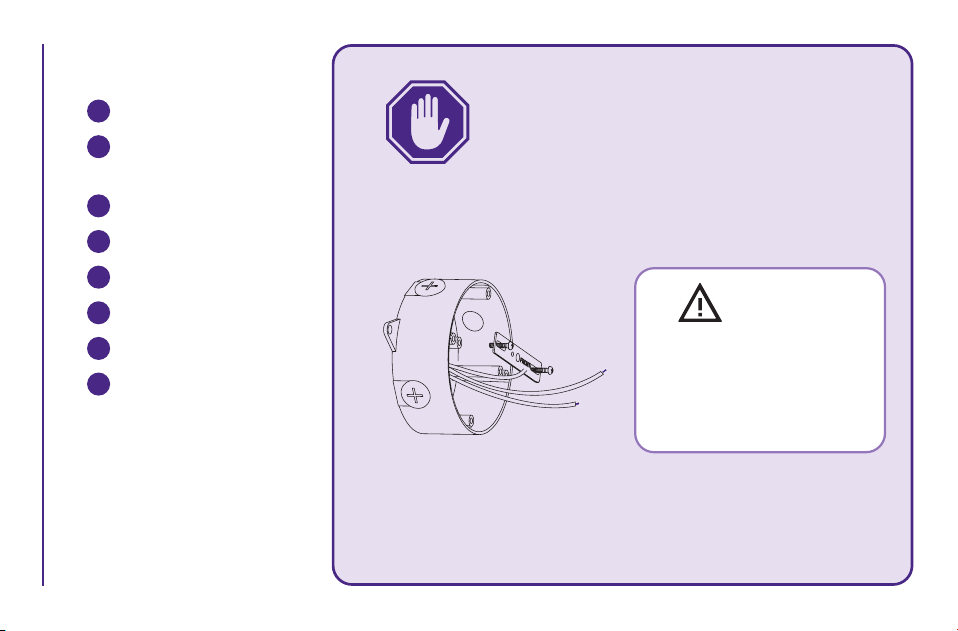
Do you have a Junction Box?
If you aren’t replacing a current light fixture,
you may not have the wiring setup you need.
If not, please contact a licensed electrician to
install one, following your local building codes.
JUNCTION
BOX
WARNING
Remember to disconnect
power to your junction
box using the fuse or
circuit breaker.
Risk of electrical shock!
Let’s get started
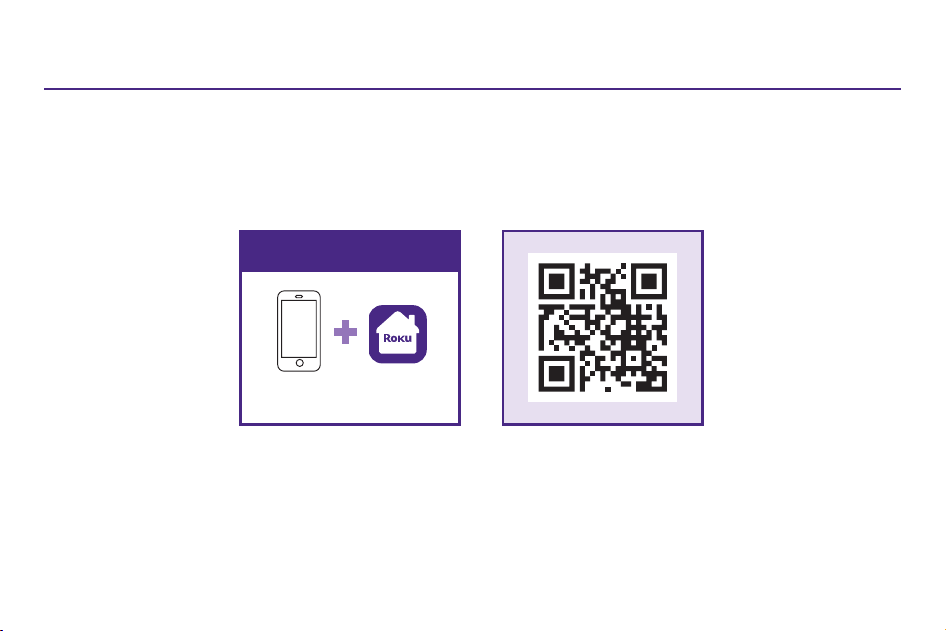
STEP 1: Download the Roku Smart Home app
Scan the QR code below to download the Roku Smart Home app on your
smartphone. Sign in with your Roku account or create one.
STEP 2: Install your floodlight
In the Roku Smart Home app, tap the “+” button, then “Add Device” to find
“Floodlight Camera.” Follow the instructions to finish setup.
You’ll need
Smartphone & app
Message & data rates may apply.
What’s that light mean?
Status Light Status
RED - Solid Powered on and
beginning setup
RED - Flashing Ready to connect
RED and BLUE -
Flashing
Connecting to Wi-Fi®
BLUE - Flashing Connected and
finishing setup
BLUE - Solid Connected and
working
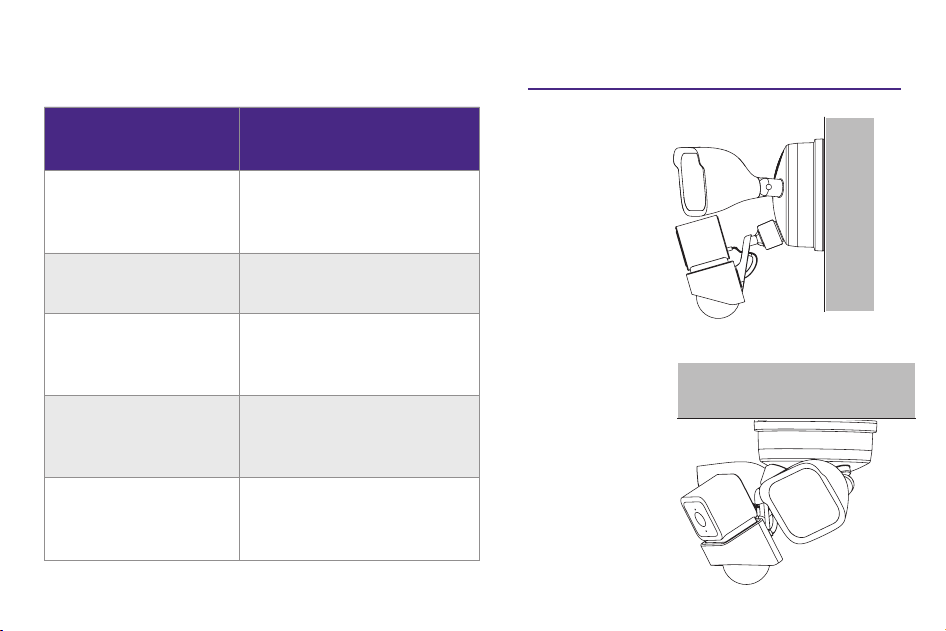
Mounting options
WALL
MOUNT
CEILING
MOUNT
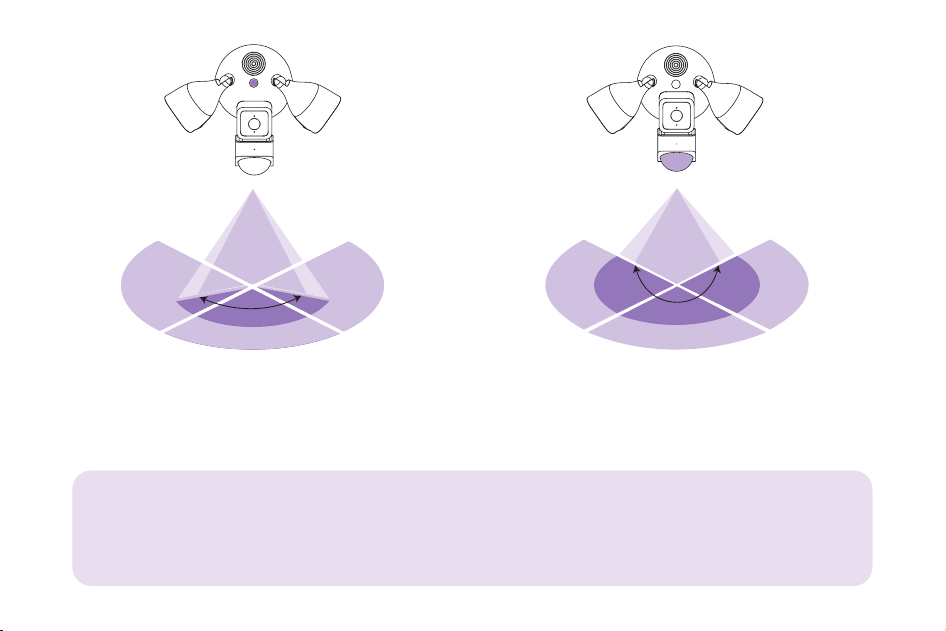
CAMERA FIELD OF
VIEW 130°
130°
MOTION AREA FOR
TRIGGERING THE LIGHTS 270°
270°
Recommended location
We recommend installing your floodlight 10 feet above the ground.
It will detect motion up to 30 feet away.
More features are waiting
FCC WARNING
Any changes or modifications not expressly approved by
the party responsible for compliance could void the user’s
authority to operate the equipment. This device complies
with part 15 of the FCC Rules. Operation is subject to the
following two conditions: (1) This device may not cause
harmful interference, and (2) this device must accept any
interference received, including interference that may cause
undesired operation. This equipment has been tested and
found to comply with the limits for a Class B digital device,
pursuant to part 15 of the FCC Rules. These limits are designed
to provide reasonable protection against harmful interference
in a residential installation. This equipment generates uses
and can radiate radio frequency energy and, if not installed
and used in accordance with the instructions, may cause
harmful interference to radio communications. However, there
is no guarantee that interference will not occur in a particular
installation. If this equipment does cause harmful interference
to radio or television reception, which can be determined by
turning the equipment o and on, the user is encouraged to
try to correct the interference by one or more of the following
measures: (1) Reorient or relocate the receiving antenna. (2)
Increase the separation between the equipment and receiver.
(3) Connect the equipment into an outlet on a circuit dierent
from that to which the receiver is connected. (4) Consult the
dealer or an experienced radio/TV technician for help.
RF RADIATION EXPOSURE STATEMENT
This equipment complies with FCC radiation exposure limits set
forth for an uncontrolled environment. This equipment should
be installed and operated with minimum distance of 20 cm
between the radiator and your body.
Suitable for commercial or civilian use.
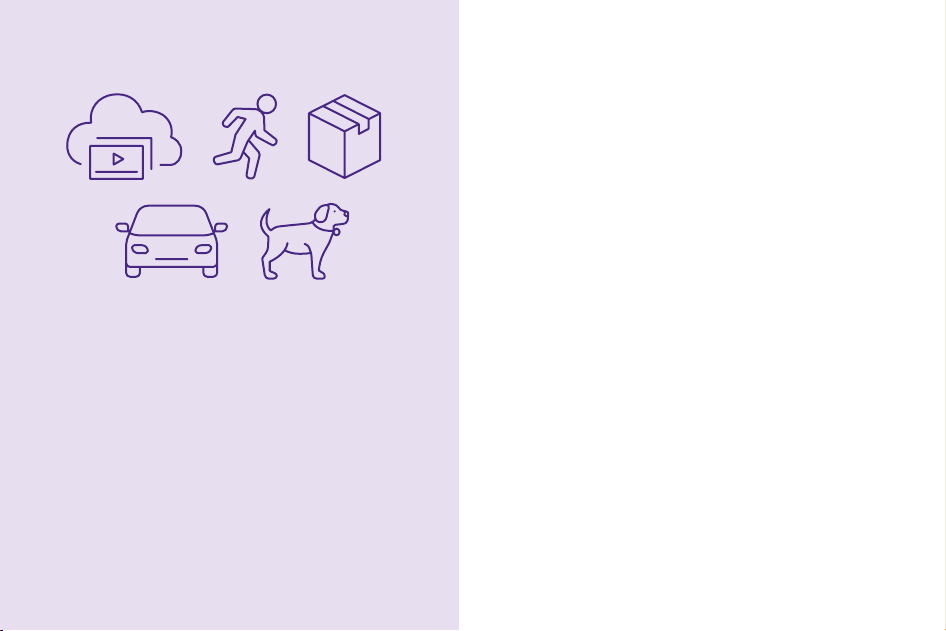
More features are waiting
Unlock the full potential
of your camera with a
Roku Smart Home Subscription.
Learn more at
go.roku.com/rokusmarthome
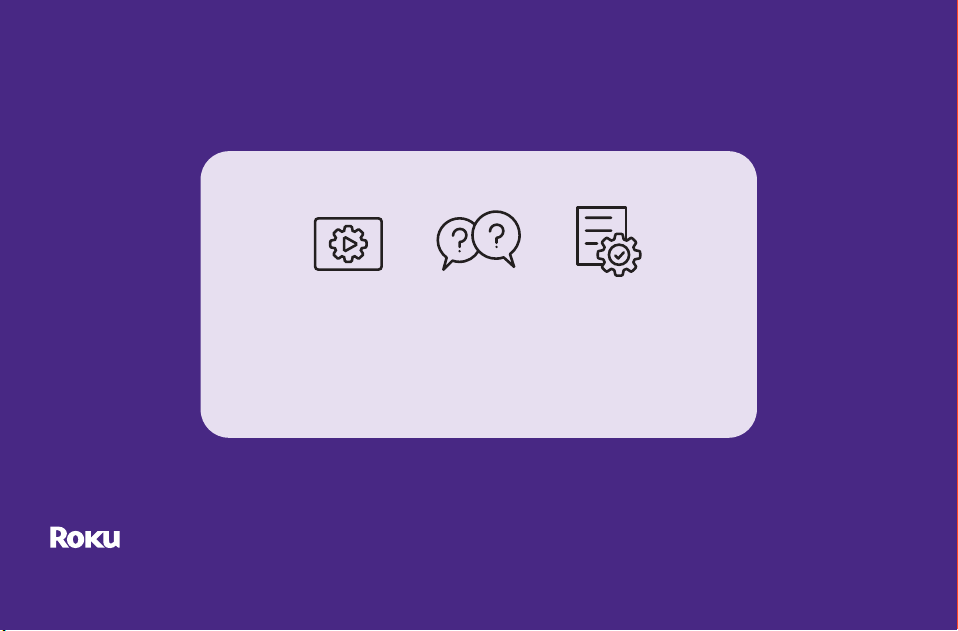
Setup
videos
Common
questions
Tips and
tricks
Need help?
4100000863_02
© 2022 Roku, Inc. All rights reserved. Roku, the Roku logo, Roku Smart Home, and
the Roku Smart Home logo are the trademarks or registered trademarks of Roku, Inc.
Visit go.roku.com/cameras