1
T
he DD HDMI-1 and DD AP-1 are both optional modules for the C 390DD model. One or both modules
can be installed in a standard C 390DD unit. The following procedure is presented with both modules
available.
Step 1
Remove the DD AP-1 and/or DD HDMI-1 modules from their boxes. Install their respective back plates
by using the screws provided. Carefully remove the yellow protective tape from the gold connectors.
S
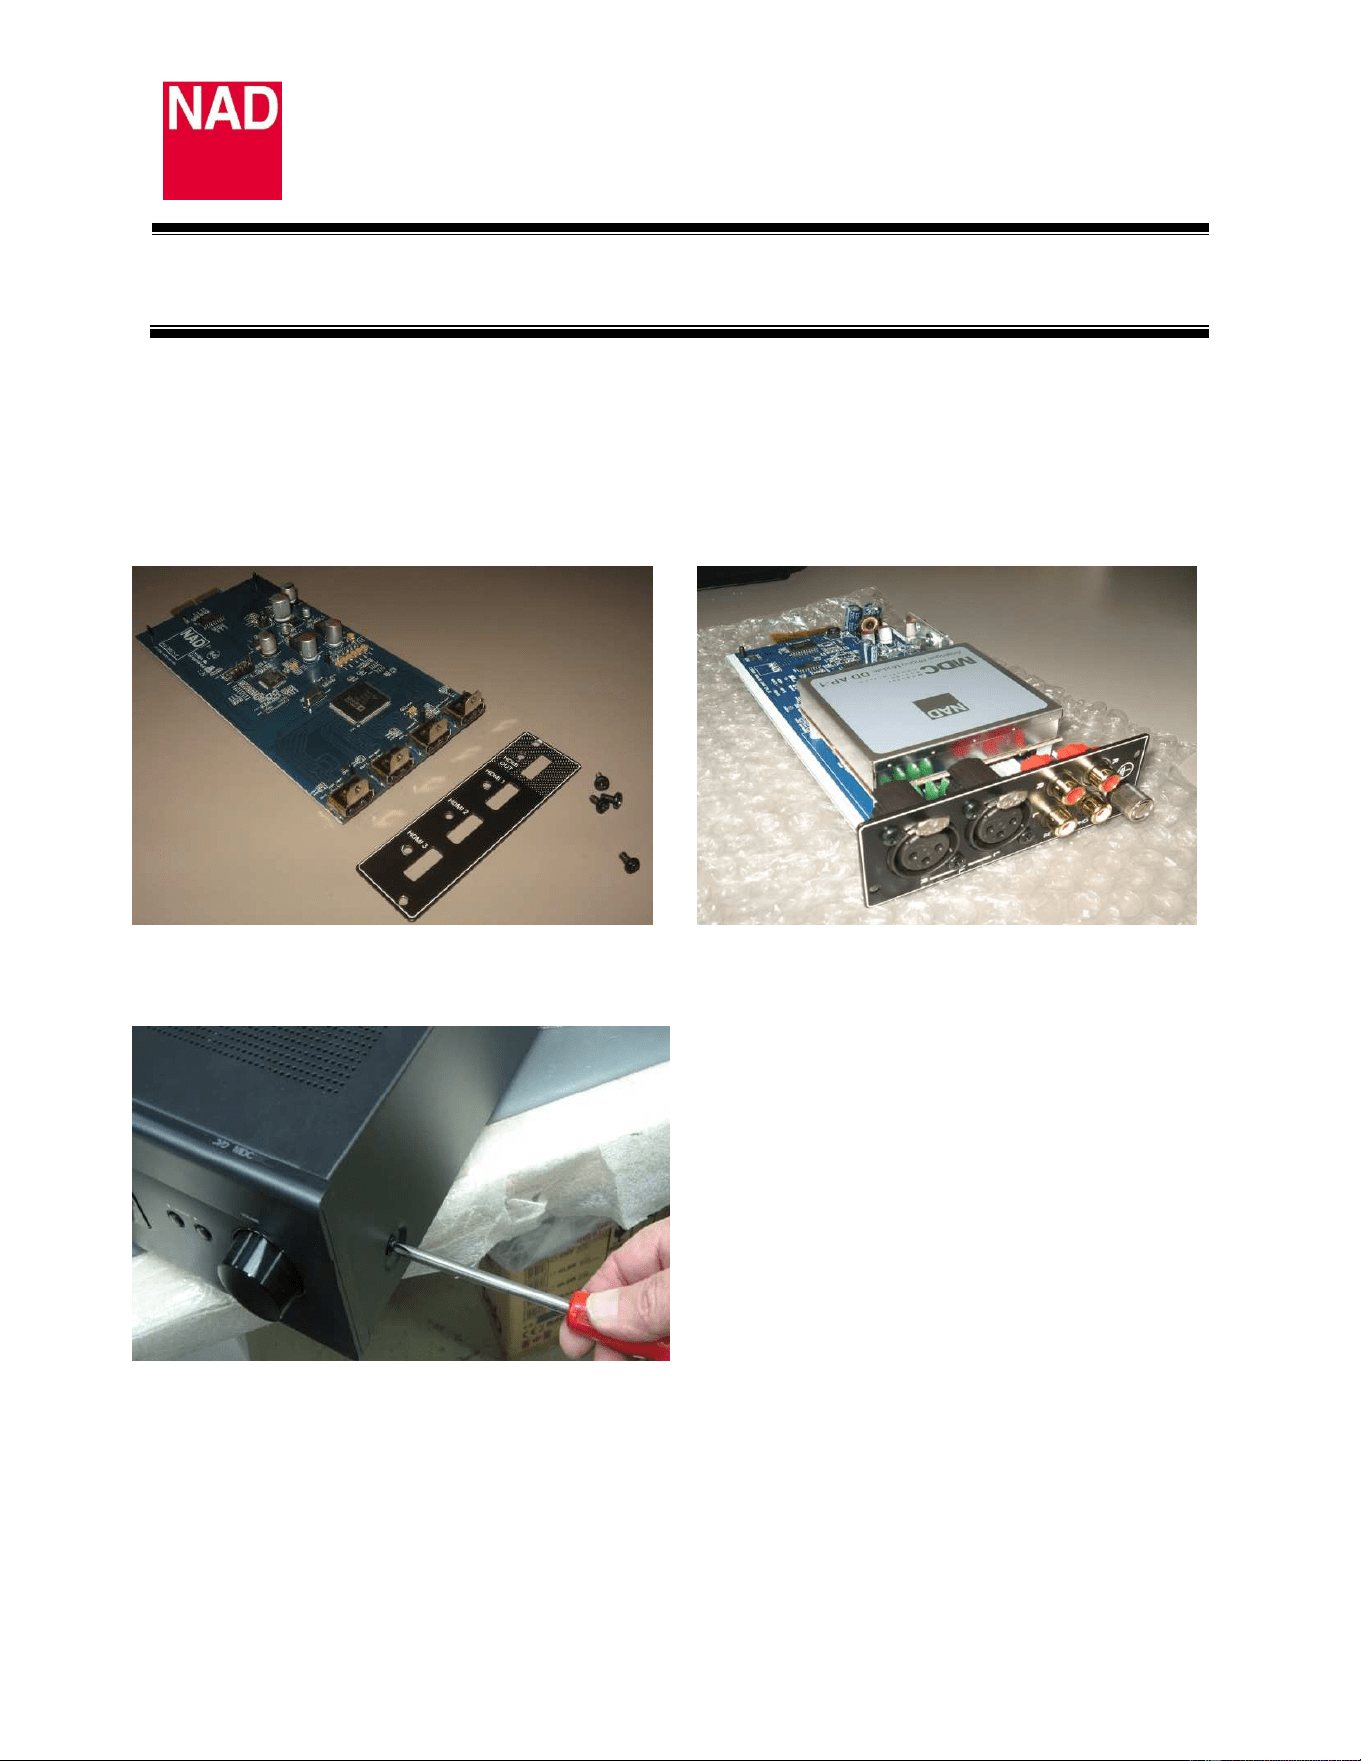
tep 2
Remove C 390DD’s top cover.
C 390DD MDC
MODULE INSTALLATION
Date: June 7, 2012
Document Number: TD2012-01A- DD HDMI-1/DD AP-1
2
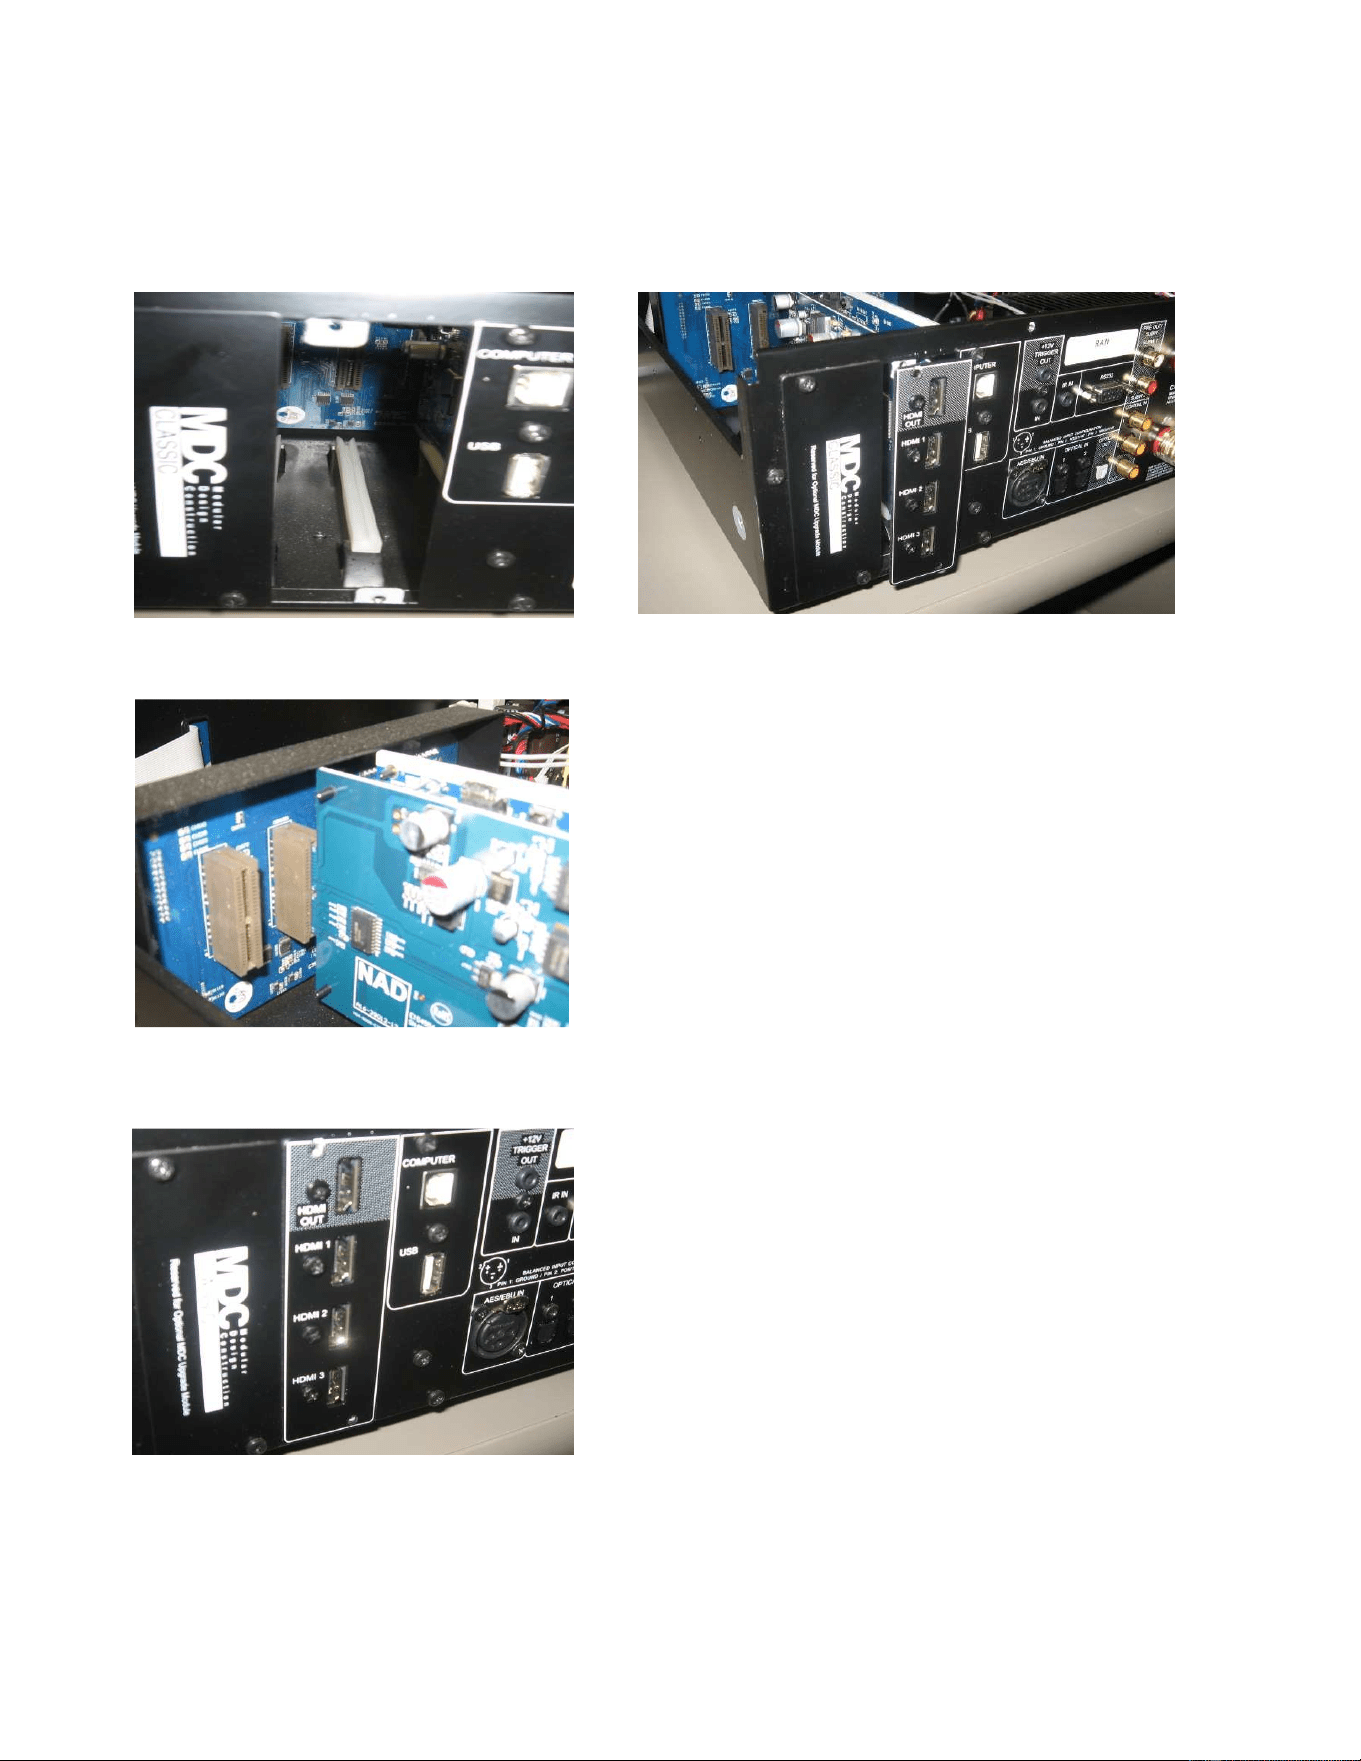
Step 3
Install first the DD HDMI-1 module. Loosen and remove the screws of the MDC upgrade panel cover of
the unit as shown below. Position and align the DD HDMI-1with respect to the slot. Once aligned with
the slot, slide the module along the track.
Ensure that the DD HDMI-1 module is completely seated with respect to the connector as shown below.
Step 4
Reinstall the cover panel to fix the module into place.
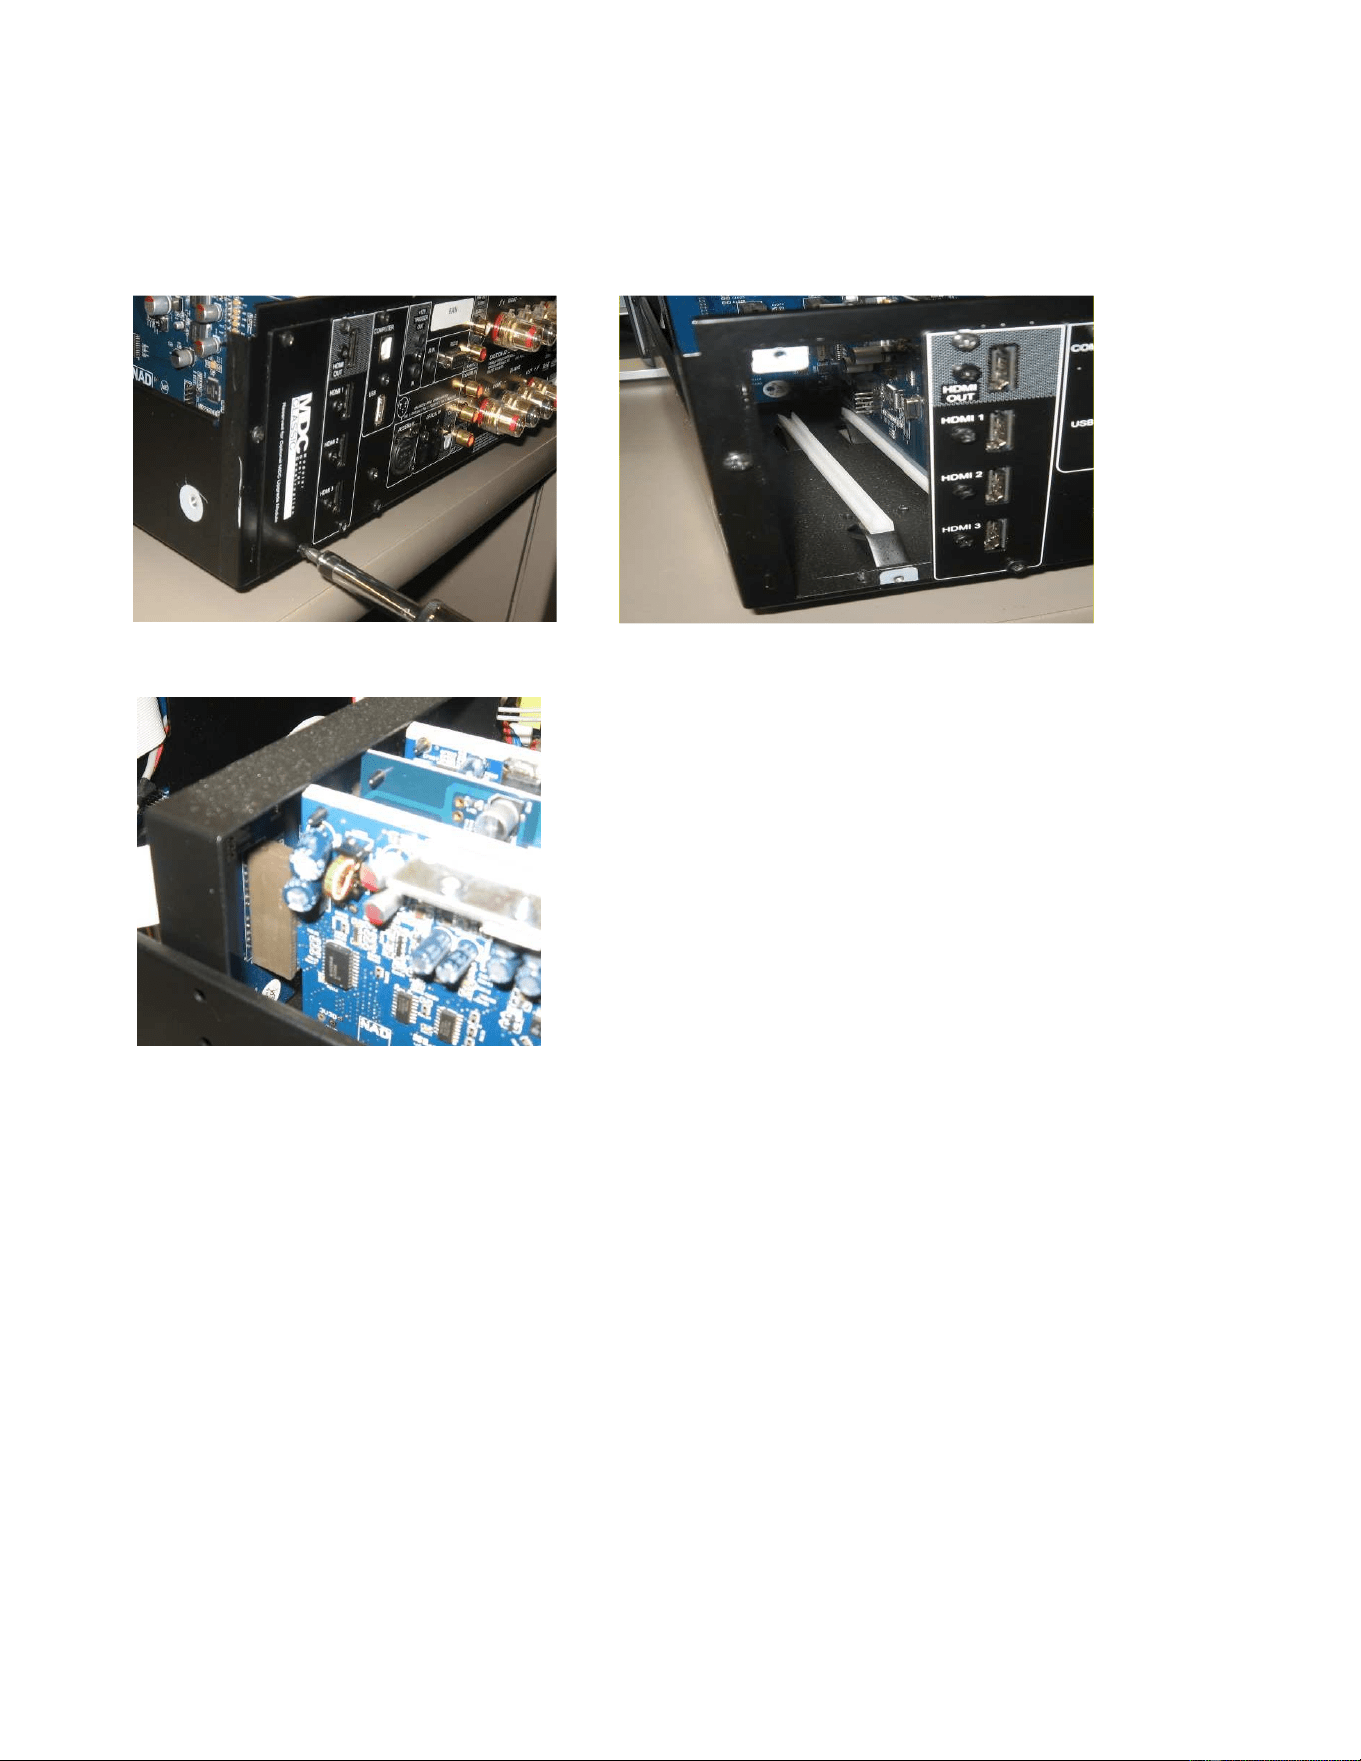
3
Step 5
Repeat Step 3 to 4 for the installation of DD AP-1 module. (If applicable)
Please note the DD AP-1 is keyed to be installed in the far left upgrade slot of the
C 390DD unit.
Ensure that DD AP-1 is completely seated with respect to the connector as shown below.
Step 6
With the modules installed, put back and fix into place the top cover using corresponding screws.