
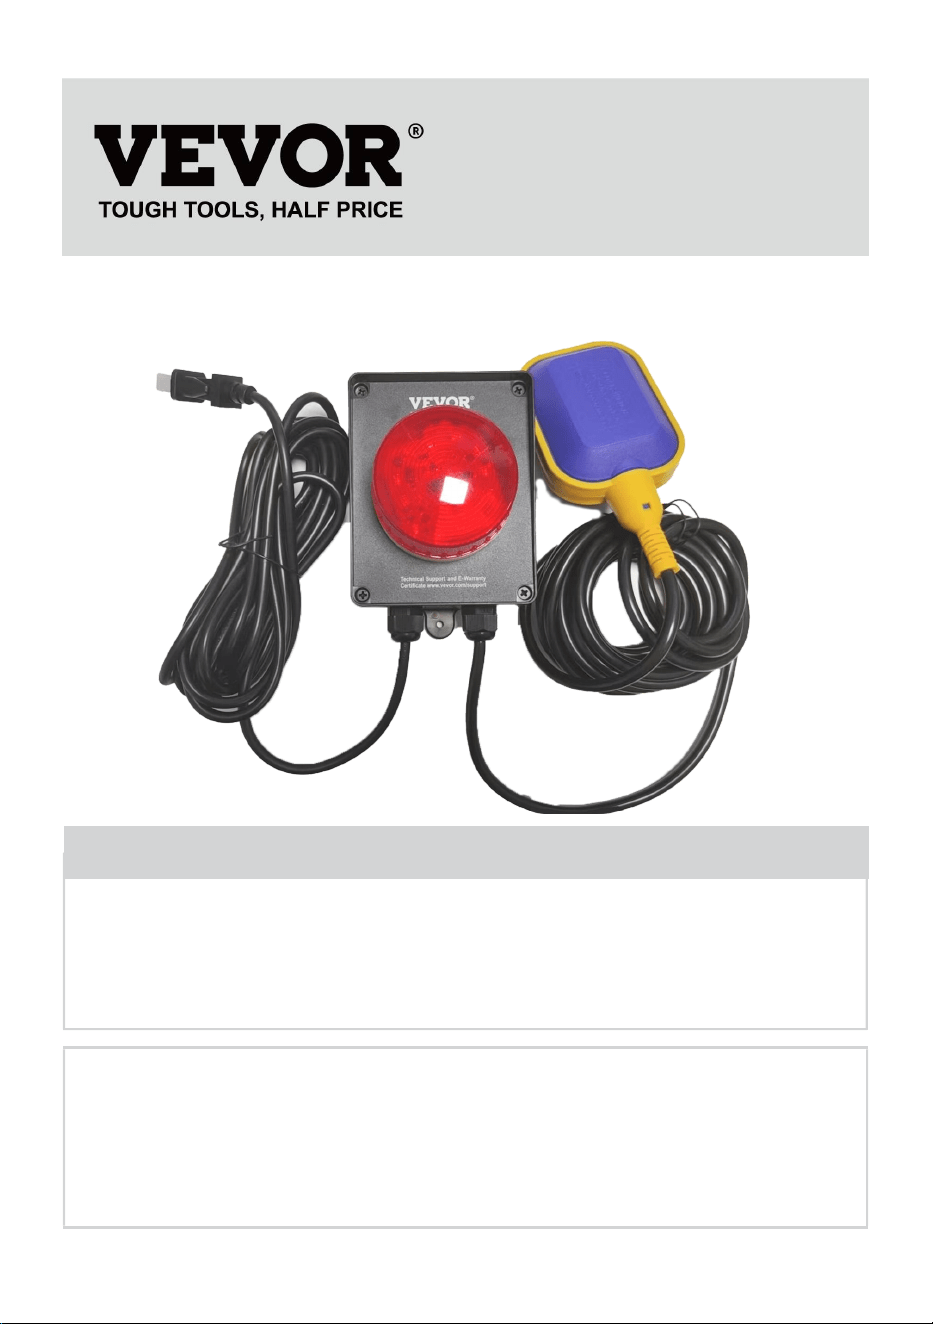
Technical Support and E-Warranty Certificate
www.vevor.com/support
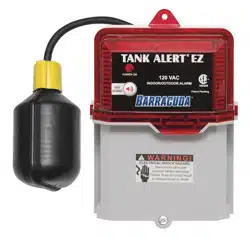
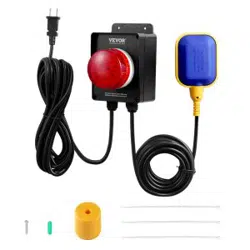
High Water Alarm and Monitor
MODEL:SS-SWA01
We continue to be committed to provide you tools with competitive price.
"Save Half", "Half Price" or any other similar expressions used by us only represents an
estimate of savings you might benefit from buying certain tools with us compared to the major
top brands and does not necessarily mean to cover all categories of tools offered by us. You
are kindly reminded to verify carefully when you are placing an order with us if you are
actually saving half in comparison with the top major brands.
- 1 -
MODEL:SS-SWA01
Have product questions? Need technical support? Please feel free to
contact us:
Technical Support and E-Warranty Certificate
www.vevor.com/support
NEED HELP? CONTACT US!
This is the original instruction, please read all manual instructions
carefully before operating. VEVOR reserves a clear interpretation of our
user manual. The appearance of the product shall be subject to the
product you received. Please forgive us that we won't inform you again if
there are any technology or software updates on our product.
High WaterAlarm and Monitor
- 2 -
Warning-To reduce the risk of injury, user must read
instructions manual carefully.
This device complies with Part 15 of the FCC Rules. Operation is
subject to the following two conditions:(1)This device may not cause
harmful interference, and (2)this device must accept any interference
received, including interference that may cause undesired operation.
INSTRUCTIONS
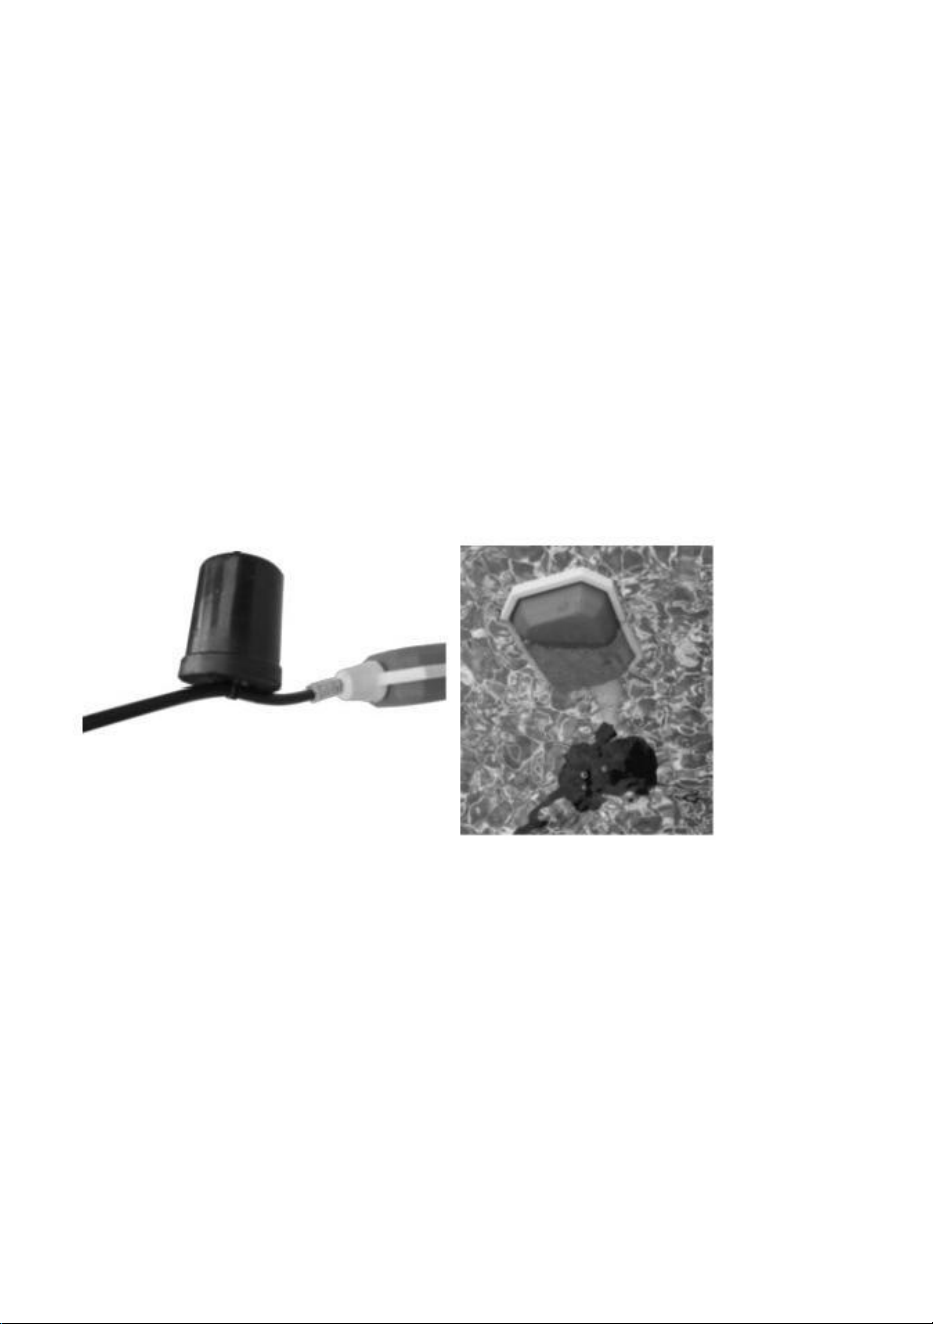
The High Water Alarm and Monitor is designed for outdoor use,sun,rain,
temperature resistance,and contains only Long Life LED Pilot lights.
Sump Alarm activates when the water level in the basin or sump rises above
the desired level.The alarm system includes a red LED beacon with integrated
audible alarm buzzer.
The high level alarm system will automatically reset when the high level
condition is corrected.The enclosure is weatherproof to allow outdoor
installation.
Read and follow all instructions and safety guidelines thoroughly before
installing or operating the system.Failure to follow the instructions could
result in serious bodily injury or death and/or property/pump damage.
SAFETY GUIDELINES
WARNING:DISCONNECT ALL POWER BEFORE INSTALLING OR SERVICING THE
PUMP OR THE SUMP ALARM!
1.Read and follow all safety guidelines and installation/operation instructions.
2.Follow all national,state or provincial,and local building,plumbing and
electrical codes and ordinances. 3.Do not install or operate the Sump Alarm
while standing on a wet or damp surface.

- 3 -
4.Do not energize the head unit if an electrical component is damaged or
appears damaged or the head unit is open. 5.Do not energize if there are wires
disconnected or which appear loose,frayed,or damaged.
6.Be certain to close the head unit to protect other against potential electrical
shock,and maintain moisture outside of the Sump Alarm head unit.
7.Do not install the unit in locations classified as hazardous in accordance with
the most recent National Electrical Code.
8.Follow all installation/operation instructions and safety guidelines
accompanying the grinder pumps and/or basin system.
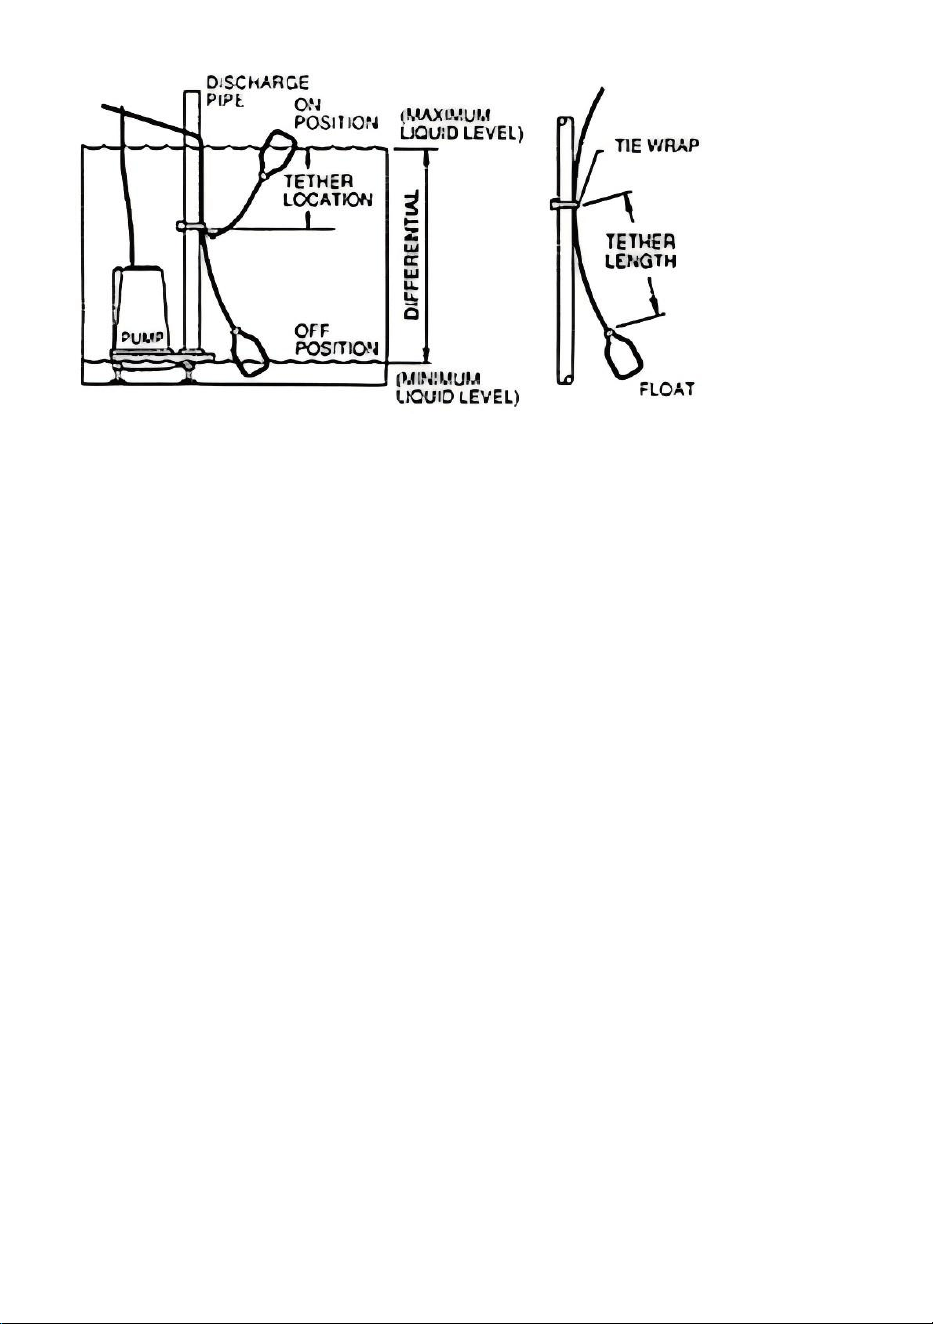
LOCATING &MOUNTING THE ALARM HEAD UNIT
The Alarm should be mounted in a convenient location.Cable lengths need to
be considered,and extra float switch cable can be stowed above or below the
water line.The head unit location should allow line-of-sight”visibility of the
indicating light from the desired vantage point.The sound is directional,and like
the light,should be pointed to a designated location.
The Alarm should be securely mounted to a wall or secure vertical structure
that is free of vibration.The alarm has 3 mounting holes.Mounting screws have
been included for your convenience. A NOTE ON POWER DRILLS:WHEN
MOUNTING THE FEET,PUT THE DRILL AT THE LOWEST TORQUE
SETTING TO AVOID STRIPPING THE PLASTIC RECEIVERS.
MOUNTING FLOAT SWITCHES
Sump Alarm is equipped with a float switch.Positioning and installation of the
float switches is application dependent and will require consideration by
you,the user.
The ALARM sensor should be positioned to activate (swing up)when the water
level rises past normal,and swing down to a 'hanging rest' position during
normal operation.The float cable can be zip-tied to a specific location (such as
the pump discharge pipe),or can hang into the sump and pivot around the
counterweight on the cable.
- 4 -
Mounting the Counterweight on the Cable (if required)
Your installation may or may not require the use of the counterweight
included in the shipment.
Note:The cable weight is not intended to submerge the float switch.It is
designed to orient your float switch such that it is vertical when the water
level is high.
You may elect to simply zip tie the float switch cord to the pump discharge,the
pump itself,or the sump wall. This is the preferred manner of installation,and
generally does not require the use of the cable weight.
The cable weight will be necessary only if the float is hanging into the water
anchored at the top of the tank or sump.
The cable weight can be applied to the cable using 2 cable tie included in your
shipment.
Once installation is complete,position your float in the sump and TEST it in the
final location.When the float switch drifts above the counterweight (or the
point to which it is affixed),the switch closes and the alarm sounds.When it
returns below the counterweight(or fixation point),the switch will open.The float
must be free to rise and fall without interference.A
minimum of 3"of cable is recommended between the float switch and
counterweight.
- 5 -
The Float switch will need to be positioned in the sump and TESTED
in its final location in order to fill it's intended function.
TESTING THE UNIT
1.If not already complete,with POWER OFF mount the head unit,adjust the
counterweight,and position or mount the float switch to sense high level.
2.Connect SUMP ALARM to a power supply
3. FILL THE SUMP,POND,or cause a high-level condition using a hose or
other means.STOPPING or unplugging the pump may be required.Observe
the float switch rise as the level increases.
4. CONFIRM THAT THE RED LIGHT ILLUMINATES AND HORN
SOUNDS.If not,adjust the counterweights and or cable anchoring such that
the floats are active when the sump or tank is full.
5.Allow the level to lower using the pump or other means.As the water drains:
a.The RED“HIGH WATER ALARM LIGHT”should turn OFF,and AUDIBLE
ALARM will STOP.
b.The cables should return to their original position without dragging or
catching.
6.IT IS SUGGESTED TO FILL AND EMPTY THE SUMP SEVERAL TIMES and
ensure the float switches are properly located,
with the correct range of motion,and
cables are free from any obstacles.
After the TESTING check has been completed,the unit is ready for operation.

- 6 -
Note:Common causes of HIGH WATER ALARM include:
1.Dirt,leaves,rocks,sticks,and other debris are blocking the pump inlet.
2.The pump has been angled or turned over by the presence of the above and
the level switch is permanently submerged. 3.The discharge of the pump is
blocked or restricted (including frozen)
4.The pump is undersized for the application(generally a new pump that runs
constantly)
5.The lower level switch is not operating properly,or is stuck.
6.The bearings or impeller internal to the pump are worn
The light is an indicator to investigate these conditions,note that only
condition #6 requires work to the pump,the others would continue
indefinitely and would continue to exist in many cases even if the pump
were replaced.
Manufacturer: Shanghaimuxinmuyeyouxiangongsi
Address: Shuangchenglu 803nong11hao1602A-1609shi, baoshanqu,
shanghai 200000 CN.
Imported to AUS: SIHAO PTY LTD. 1 ROKEVA STREETEASTWOOD NSW
2122 Australia
Imported to USA: Sanven Technology Ltd. Suite 250, 9166 Anaheim Place,
Rancho Cucamonga, CA 91730
REP
EC
E-CrossStu GmbH
Mainzer Landstr.69, 60329 Frankfurt am Main.
REP
UK
YH CONSULTING LIMITED.
C/O YH Consulting Limited Office 147, Centurion House,
London Road, Staines-upon-Thames, Surrey, TW18 4AX