
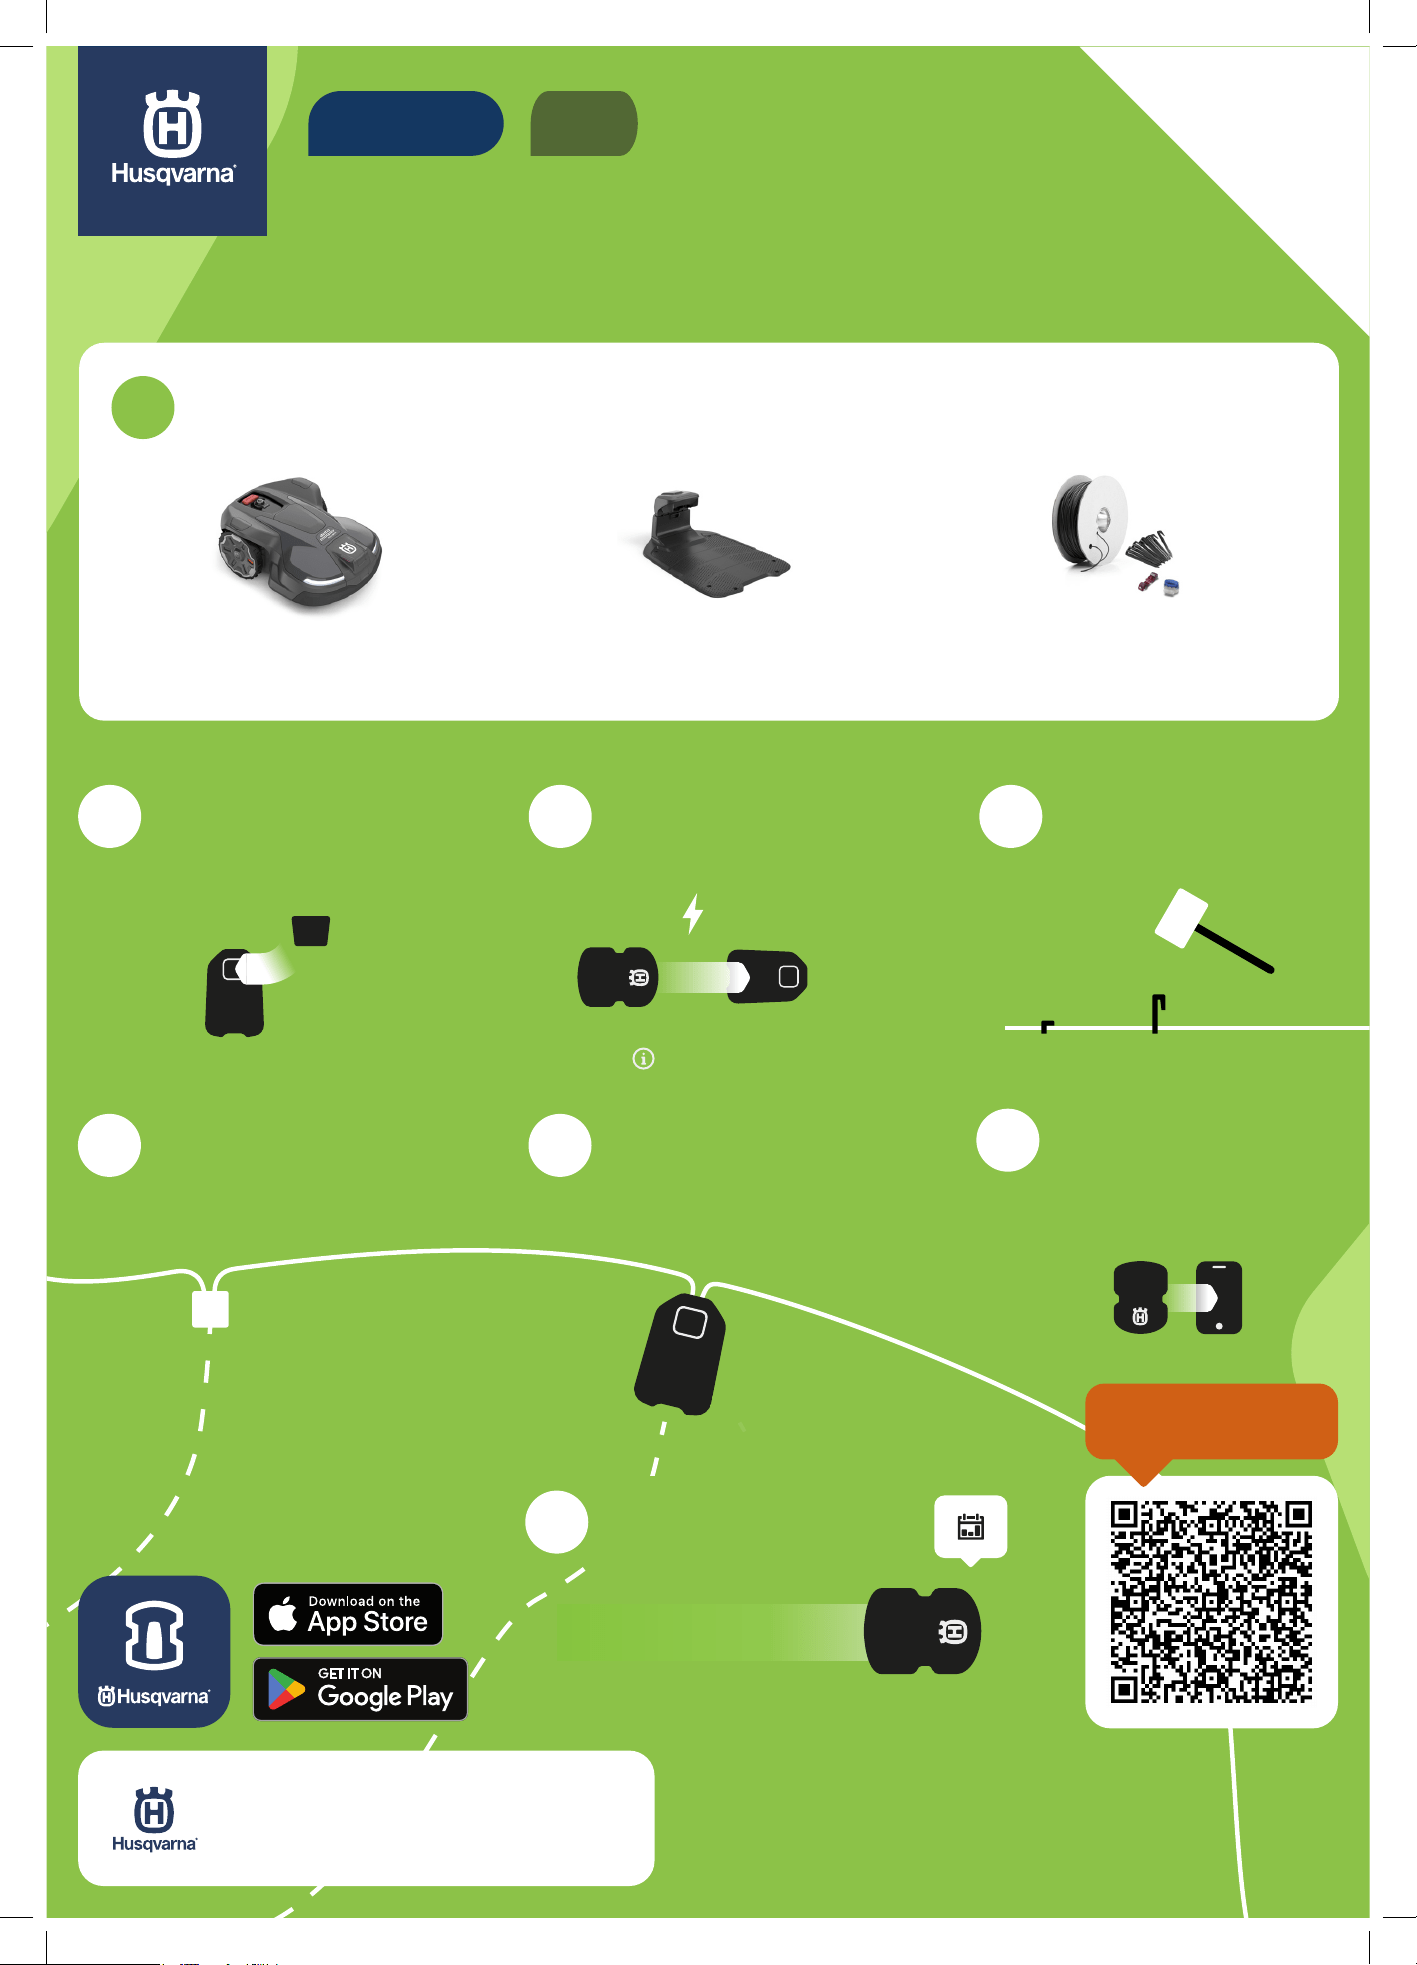
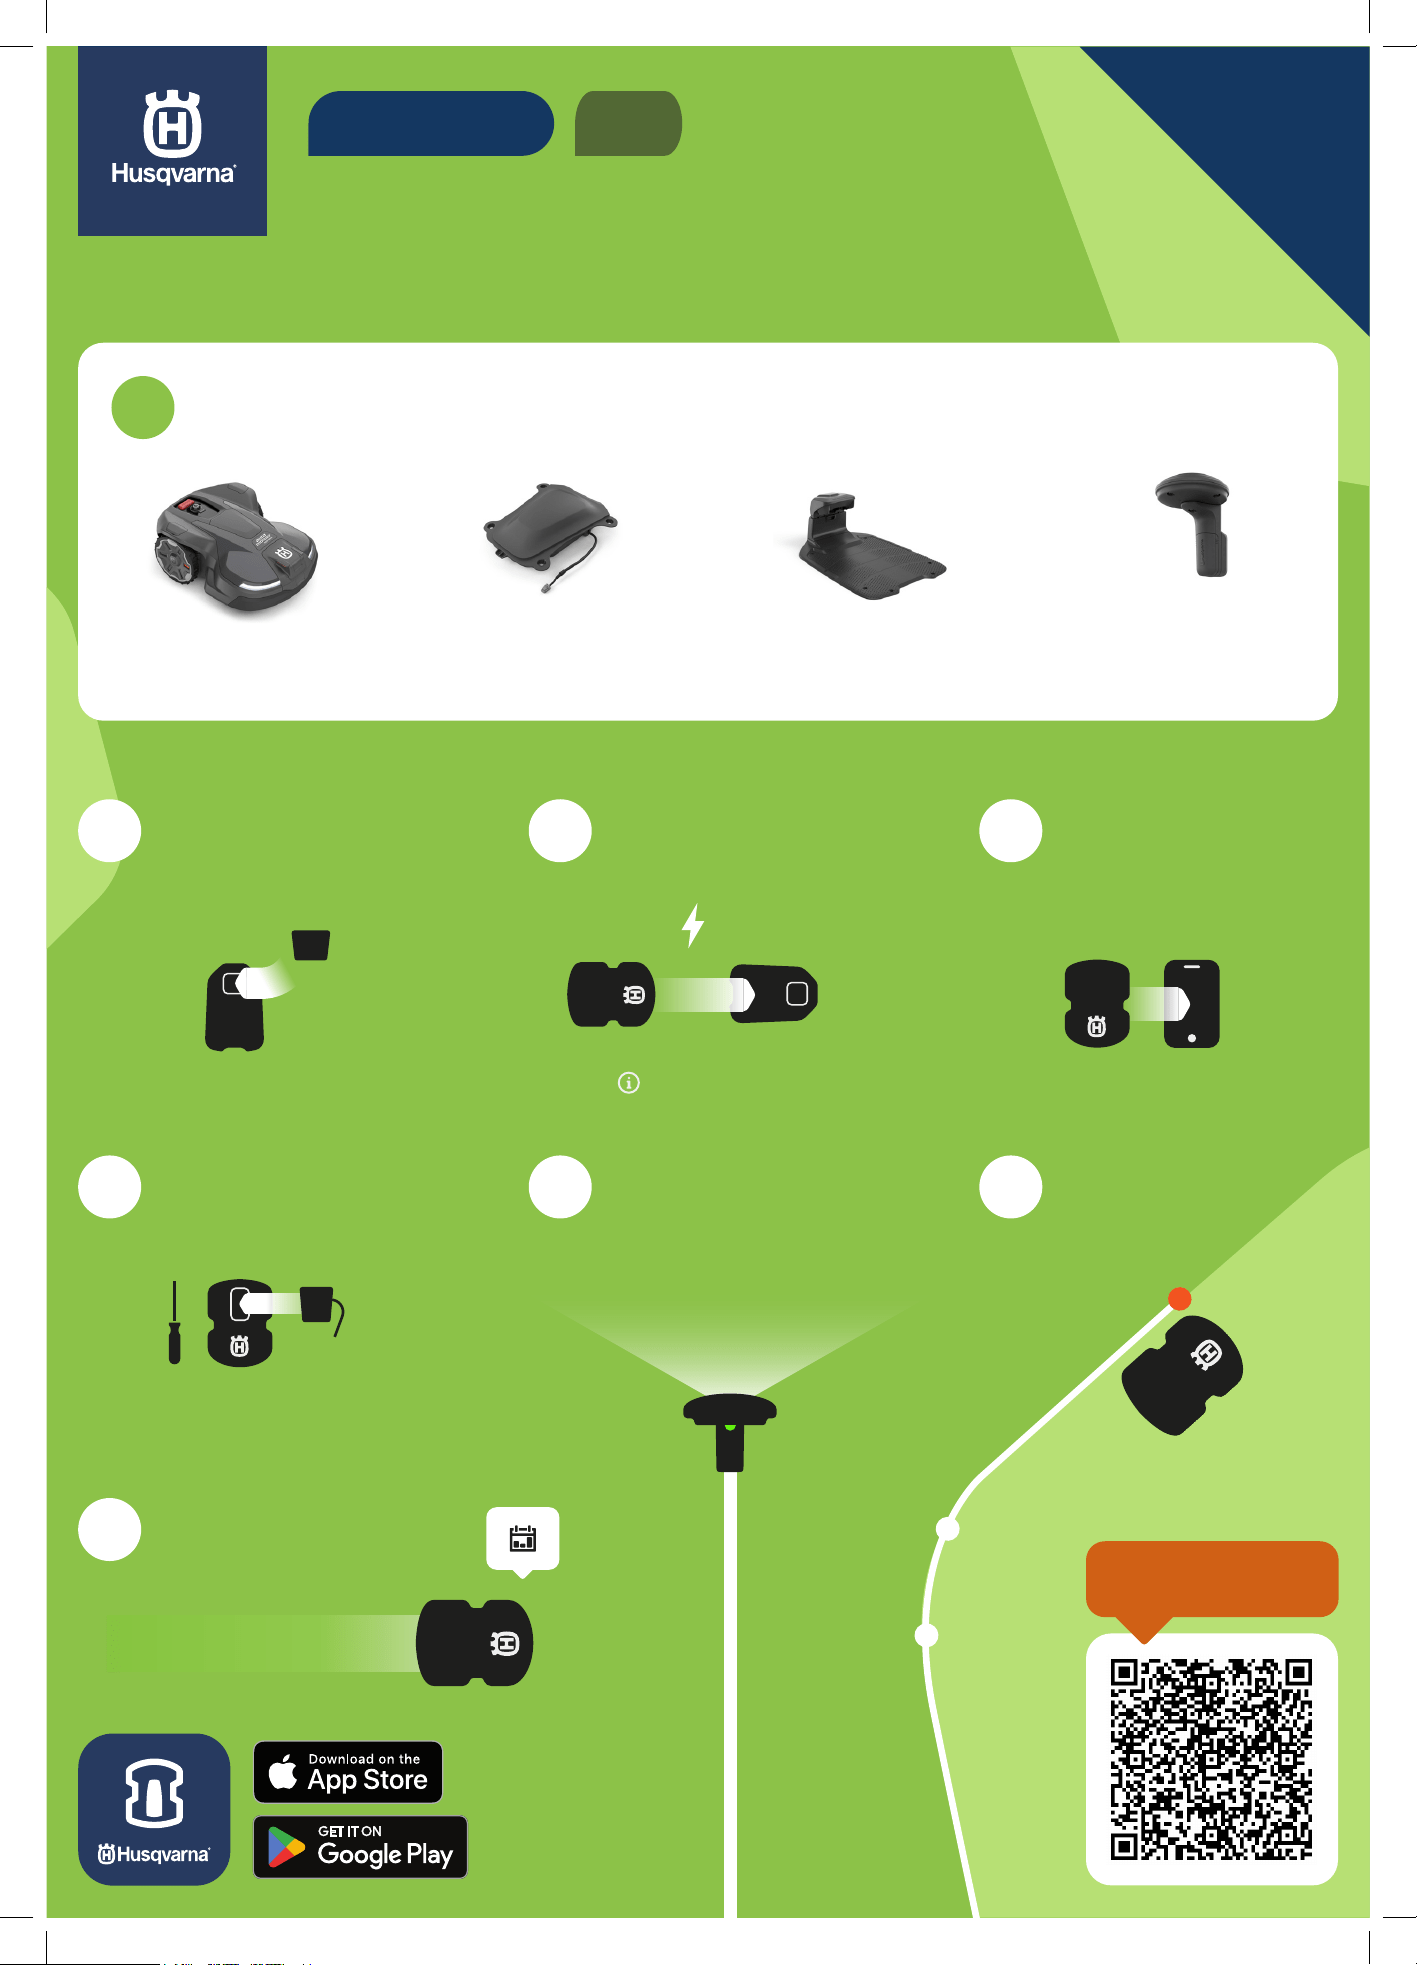
QUICK GUIDE
HOW TO INSTALL YOUR ROBOTIC
LAWN MOWER WITH EPOS™
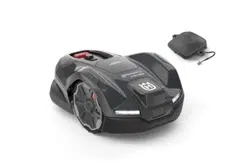
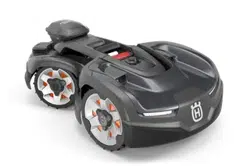
Robotic lawn mower EPOS™ reference
station (optional)
EPOS™ plug-in Charging station
2
Assemble and place the
charging station
5
Attach EPOS™ Plug-in
8
Set a schedule in the
app and start mowing
3
Charge and start
the mower
6
Activate EPOS™ in the
Automower Connect® app
4
Download the
Automower® Connect
app and pair
7
Create virtual
boundaries
PIN 1234
1
Ensure you have everything you need
EN
VIRTUAL BOUNDARY
READ THE FULL
DETAILED GUIDE
Quick guide_P21_.indd 1Quick guide_P21_.indd 1 2024-09-18 16:31:472024-09-18 16:31:47
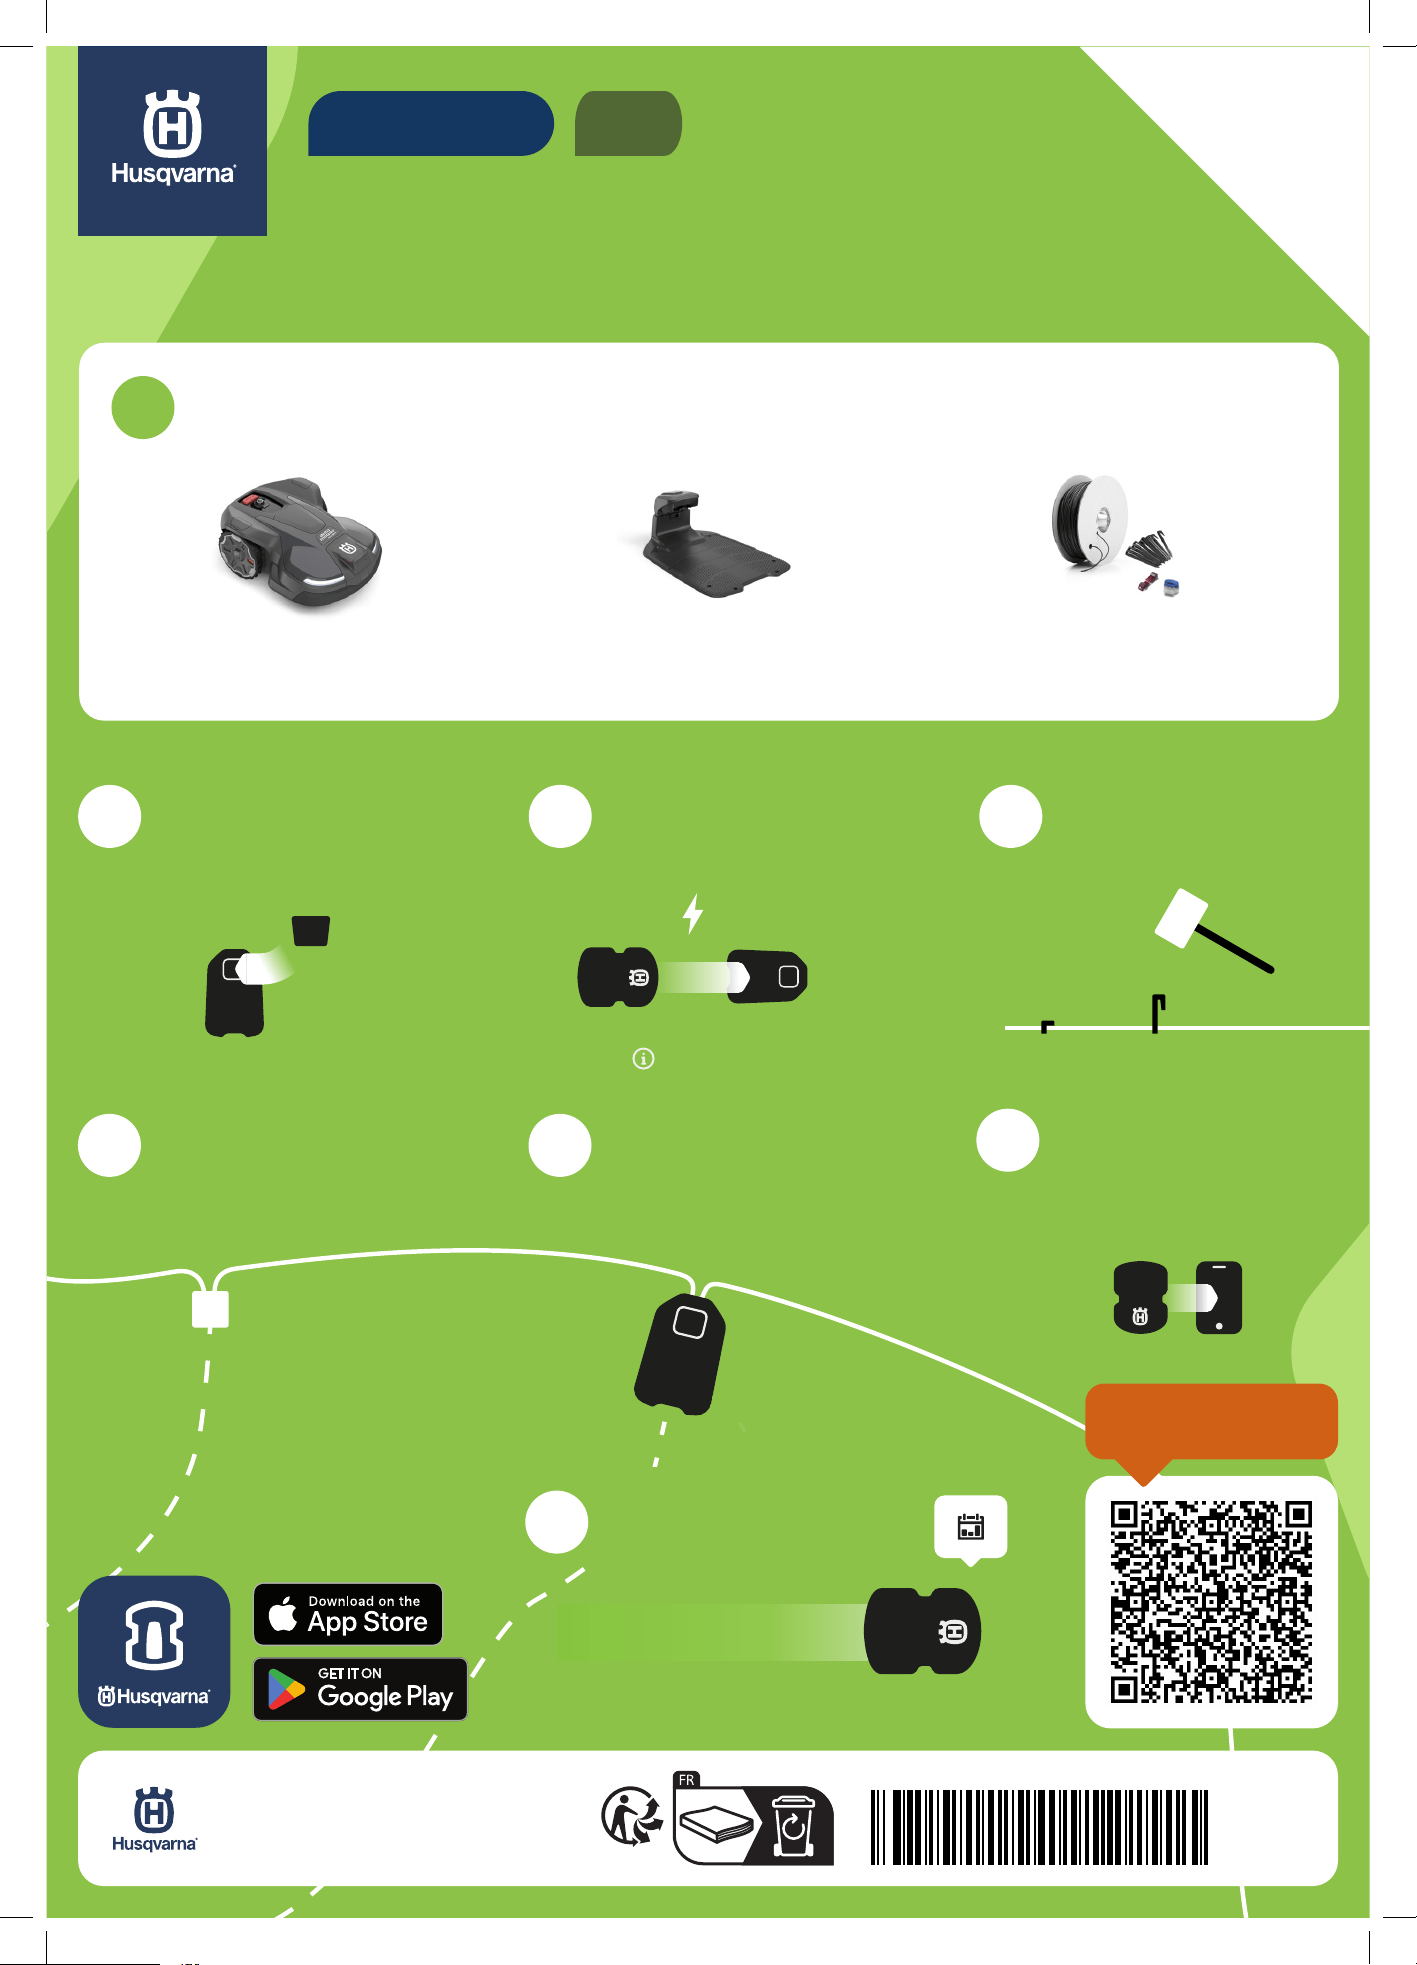
7
Download the
Automower® Connect
app and pair
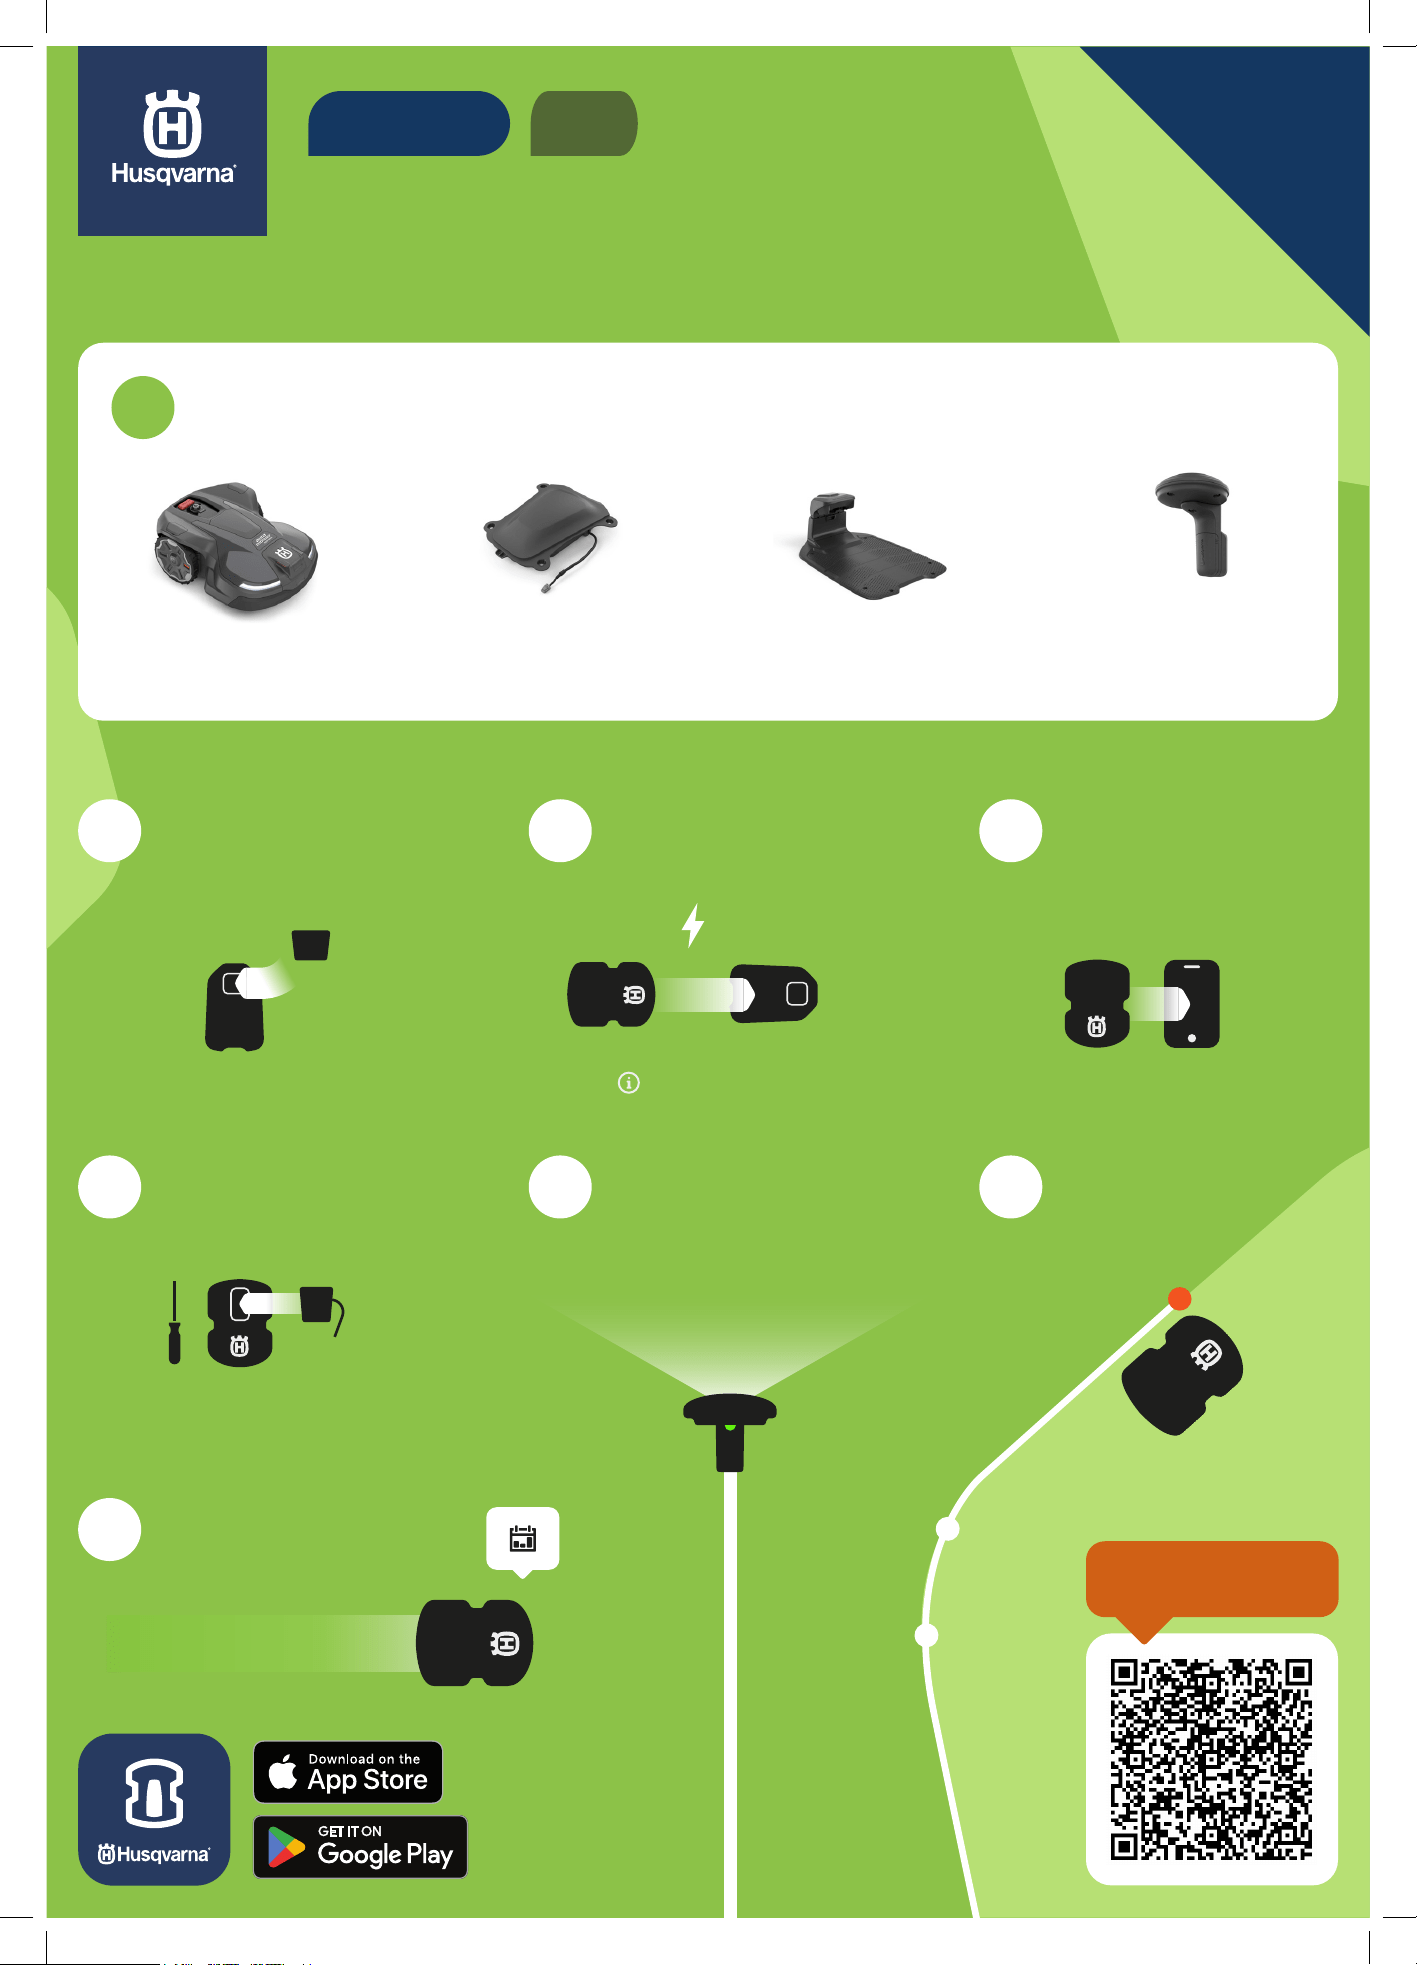
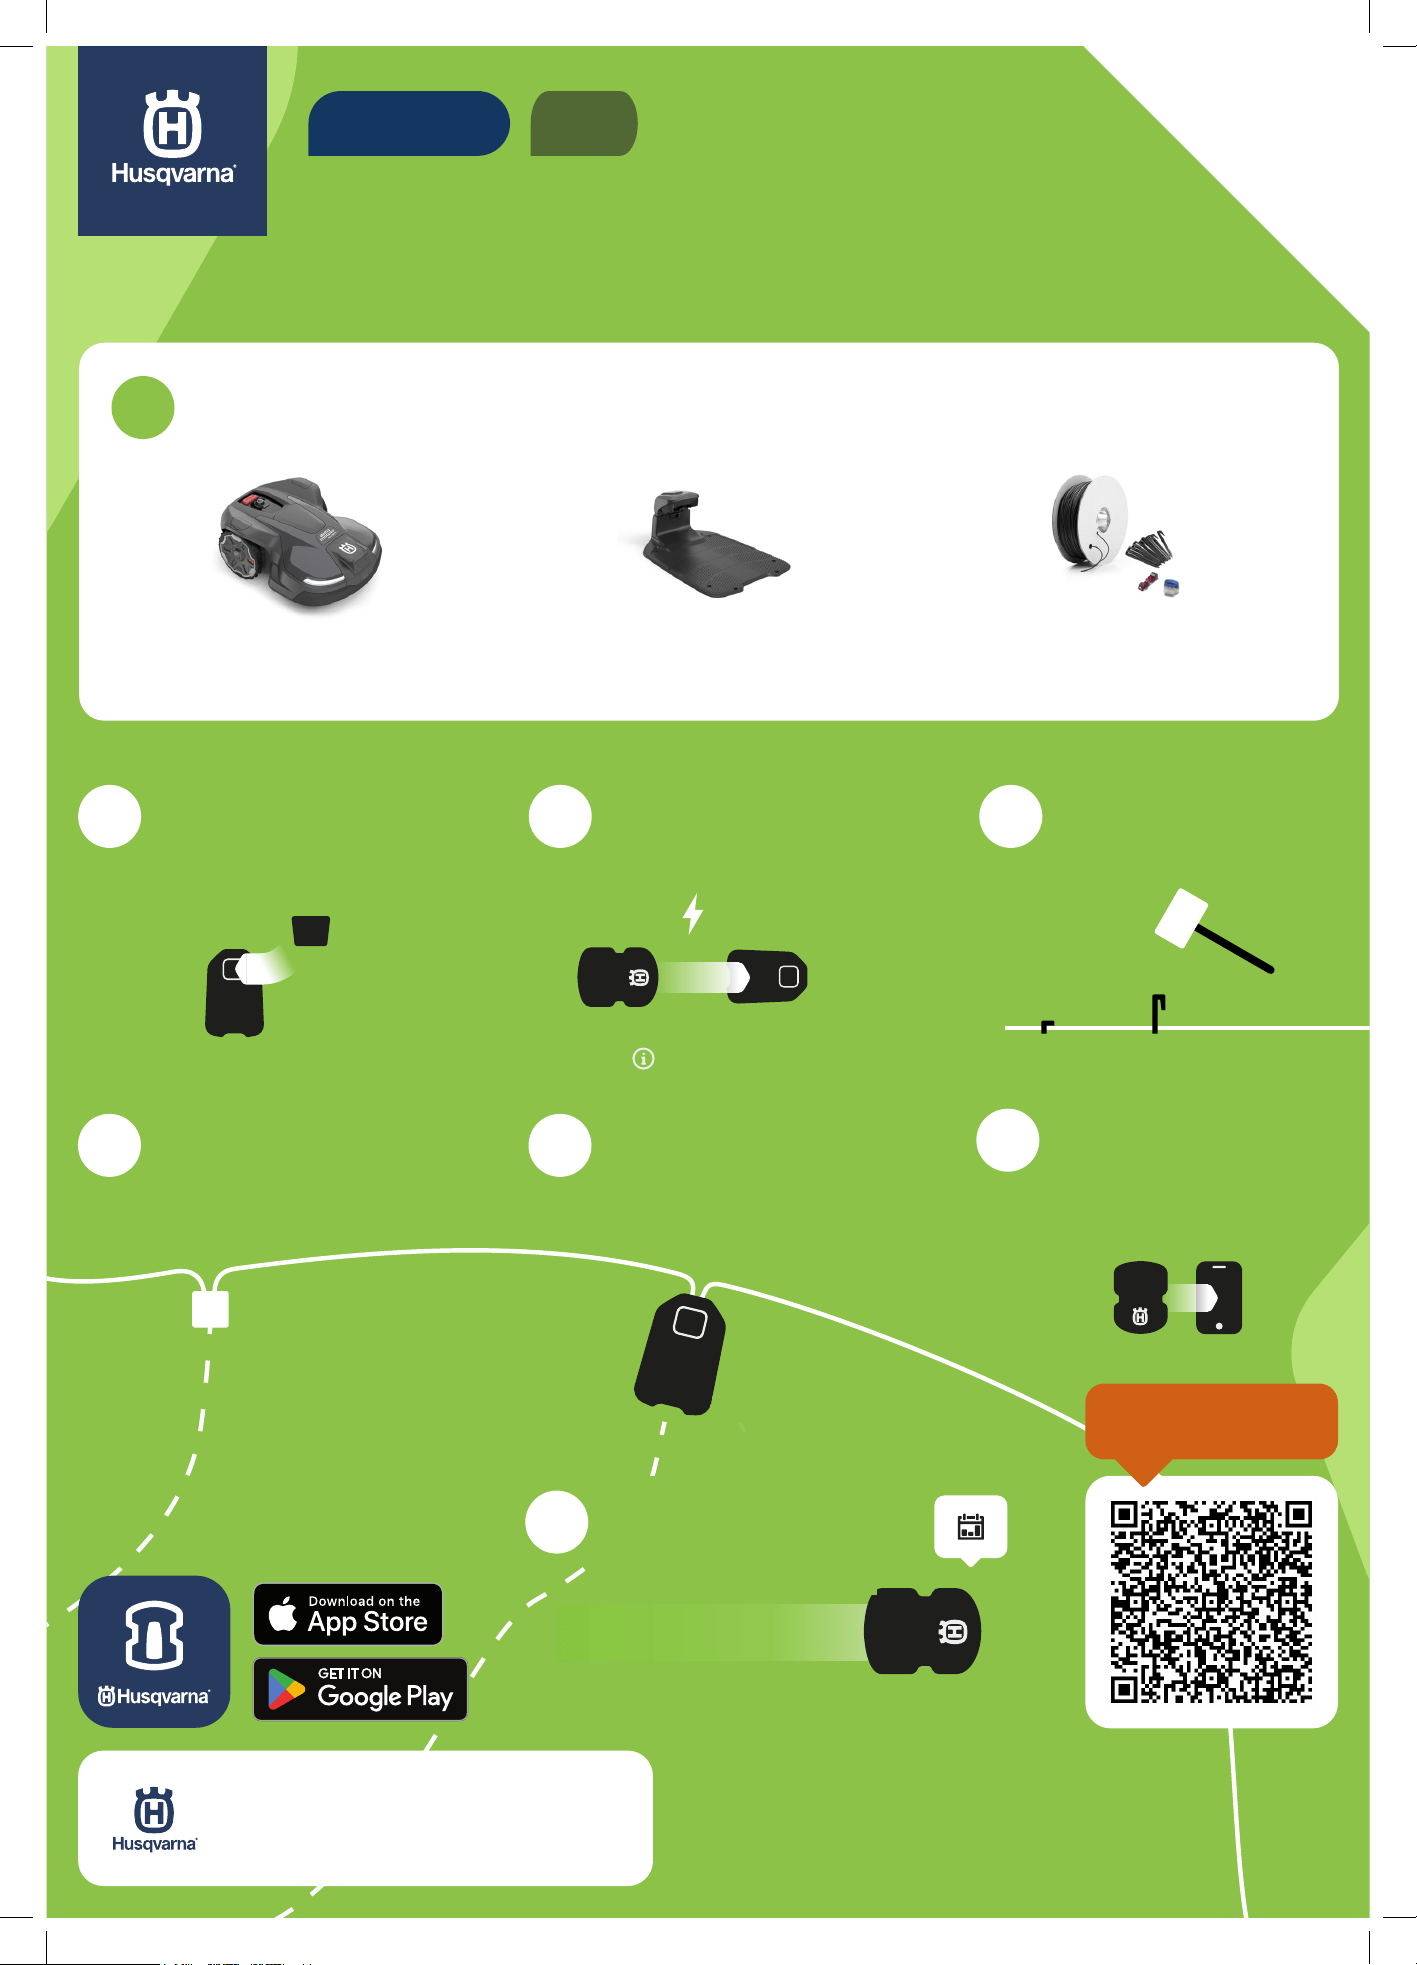
HOW TO INSTALL YOUR ROBOTIC
LAWN MOWER WITH WIRE
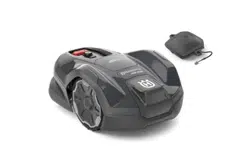
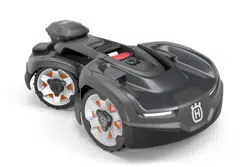
Robotic lawn mower Charging station Installation kit
2
Assemble and place the
charging station
3
Charge and start
the mower
4
Lay boundary wire
8
Set a schedule in the
app and start mowing
5
Connect the guide wire
to the boundary wire
6
Connect boundary wire
and the guide wire to the
charging station
PIN 1234
1
Ensure you have everything you need
EN
BOUNDARY WIRE
QUICK GUIDE
READ THE FULL
DETAILED GUIDE
App Store and Apple logo are trademarks of Apple Inc.
Google Play and the Google Play logo are trademarks of Google LLC.
AUTOMOWER® is a trademark owned by Husqvarna AB.
Copyright© 2024 HUSQVARNA. All rights reserved.
Quick guide_P21_.indd 2Quick guide_P21_.indd 2 2024-09-18 16:34:162024-09-18 16:34:16

快速指南
如何使用 EPOS™ 安装您的割草机器人
割草机器人 EPOS™ 基准站
(可选)
EPOS™ plug-in 充电桩
2
装配并放置充电桩
5
安装 EPOS™ Plug-in
8
在应用程序中设置时
间表,然后开始割草
3
充电并启动割草机器人
6
在 Automower®
Connect 割草机器人网
络连接应用程序中启用
EPOS™
4
下载 Automower®
Connect 割草机器人网
络连接应用程序并配对
7
创建虚拟边界
PIN 1234
1
确保您备齐所需物品
ZH
虚拟边界
请阅读完整详细
指南
Quick guide_P21_.indd 3Quick guide_P21_.indd 3 2024-09-18 16:36:012024-09-18 16:36:01

7
下载 Automower®
Connect 割草机器人
网络连接应用程序并
配对
如何使用边界线安装割草机器人
割草机器人 充电桩 安装套件
2
装配并放置充电桩
3
充电并启动割草机器人
4
布设边界线
8
在应用程序中设置时
间表,然后开始割草
5
将引导线连接到边界线
6
将边界线和引导线连
接到充电桩
PIN 1234
1
确保您备齐所需物品
ZH
边界线
快速指南
请阅读完整详细
指南
App Store 和 Apple 徽标是 Apple Inc. 的商标
Google Play 和 Google Play 徽标是 Google LLC 的商标。
AUTOMOWER® 是 Husqvarna AB 拥有的商标。
版权所有© 2024 HUSQVARNA。保留所有权利。
Quick guide_P21_.indd 4Quick guide_P21_.indd 4 2024-09-18 16:37:572024-09-18 16:37:57
간단 설명서
로봇식 잔디 깎기 기계와
EPOS™를 설치하는 방법
로봇식 잔디 깎기
기계
EPOS™ 참조 스테이션
(옵션)
EPOS™ 플러그인 충전 스테이션
2
충전 스테이션을
조립하고 배치합니다.
5
EPOS™ 플러그인을
부착합니다.
8
앱에서 일정을
설정하고 잔디
깎기를 시작합니다.
3
잔디 깎기 기계를
충전하고 작동합니다.
6
Automower® Connect
앱에서 EPOS™를
활성화합니다.
4
Automower ® Connect
앱을 다운로드하고
페어링합니다.
7
가상 경계선을
만듭니다.
PIN 1234
1
필요한 모든 항목을 갖추고 있어야 합니다.
KO
가상 경계선
자세한 가이드를
읽어 보십시오.
Quick guide_P21_.indd 5Quick guide_P21_.indd 5 2024-09-18 16:39:362024-09-18 16:39:36
7
Automower ®
Connect 앱을
다운로드하고
페어링합니다.
로봇식 잔디 깎기 기계와 케이블을
설치하는 방법
로봇식 잔디 깎기
기계
충전 스테이션 설치 키트
2
충전 스테이션을
조립하고 배치합니다.
3
잔디 깎기 기계를
충전하고 작동합니다.
4
경계선 케이블을
놓습니다.
8
앱에서 일정을
설정하고 잔디
깎기를 시작합니다.
5
가이드 케이블을
경계선 케이블에
연결합니다.
6
충전 스테이션에
경계선 케이블과
가이드 케이블을
연결합니다.
PIN 1234
1
필요한 모든 항목을 갖추고 있어야 합니다.
KO
경계선 케이블
간단 설명서
자세한 가이드를
읽어 보십시오.
App Store 및 Apple 로고는 Apple Inc.의 상표입니다.
Google Play 및 Google Play 로고는 Google LLC의 상표입니다.
AUTOMOWER®는 Husqvarna AB가 소유한 등록 상표입니다.
Copyright© 2024 HUSQVARNA. All rights reserved.
Quick guide_P21_.indd 6Quick guide_P21_.indd 6 2024-09-18 16:41:252024-09-18 16:41:25
クイックガイド
EPOS™ を使用し
てロボット芝刈機を設置する方法
ロボット芝刈機
EPOS™ リファレンス
ステーション(オプシ
ョン)
EPOS™ plug-in
チャージステーション
2
チャージステーショ
ンを組み立てて配置
します
5
EPOS™ Plug-in を取
り付けます
8
アプリでスケジュー
ルを設定し、芝刈り
を開始します
3
芝刈機を充電して起
動します
6
Automower Connect™
アプリで EPOS™ を有
効化します
4
Automower™ Connect
アプリをダウンロード
してペアリングします
7
仮想境界を作成します
PIN 1234
1
必要なものがすべて揃っていることを確認します
JA
仮想境界
詳細なガイドを
読む
Quick guide_P21_.indd 7Quick guide_P21_.indd 7 2024-09-18 16:43:012024-09-18 16:43:01
7
Automower™
Connect アプリをダ
ウンロードしてペア
リングします
ワイヤーを使用してロボッ
ト芝刈機を設置する方法
ロボット芝刈機 チャージステーシ
ョン
設置キット
2
チャージステーション
を組み立てて配置し
ます
3
芝刈機を充電して起
動します
4
境界ワイヤーを敷設
します
8
アプリでスケジュー
ルを設定し、芝刈り
を開始します
5
ガイドワイヤーを境
界ワイヤーに接続し
ます
6
境界ワイヤーとガイ
ドワイヤーをチャー
ジステーションに接
続します
PIN 1234
1
必要なものがすべて揃っていることを確認します
JA
境界ワイヤー
クイックガイド
詳細なガイドを
読む
App Store および Apple ロゴは、Apple Inc. の商標です。
Google Play および Google Play ロゴは、Google LLC の商標です。
AUTOMOWER™ は Husqvarna AB の商標です。
Copyright© 2024 HUSQVARNA. All rights reserved.
Quick guide_P21_.indd 8Quick guide_P21_.indd 8 2024-09-18 16:45:012024-09-18 16:45:01
1143987-94
2024-09-18