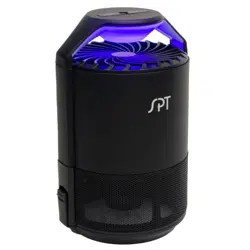
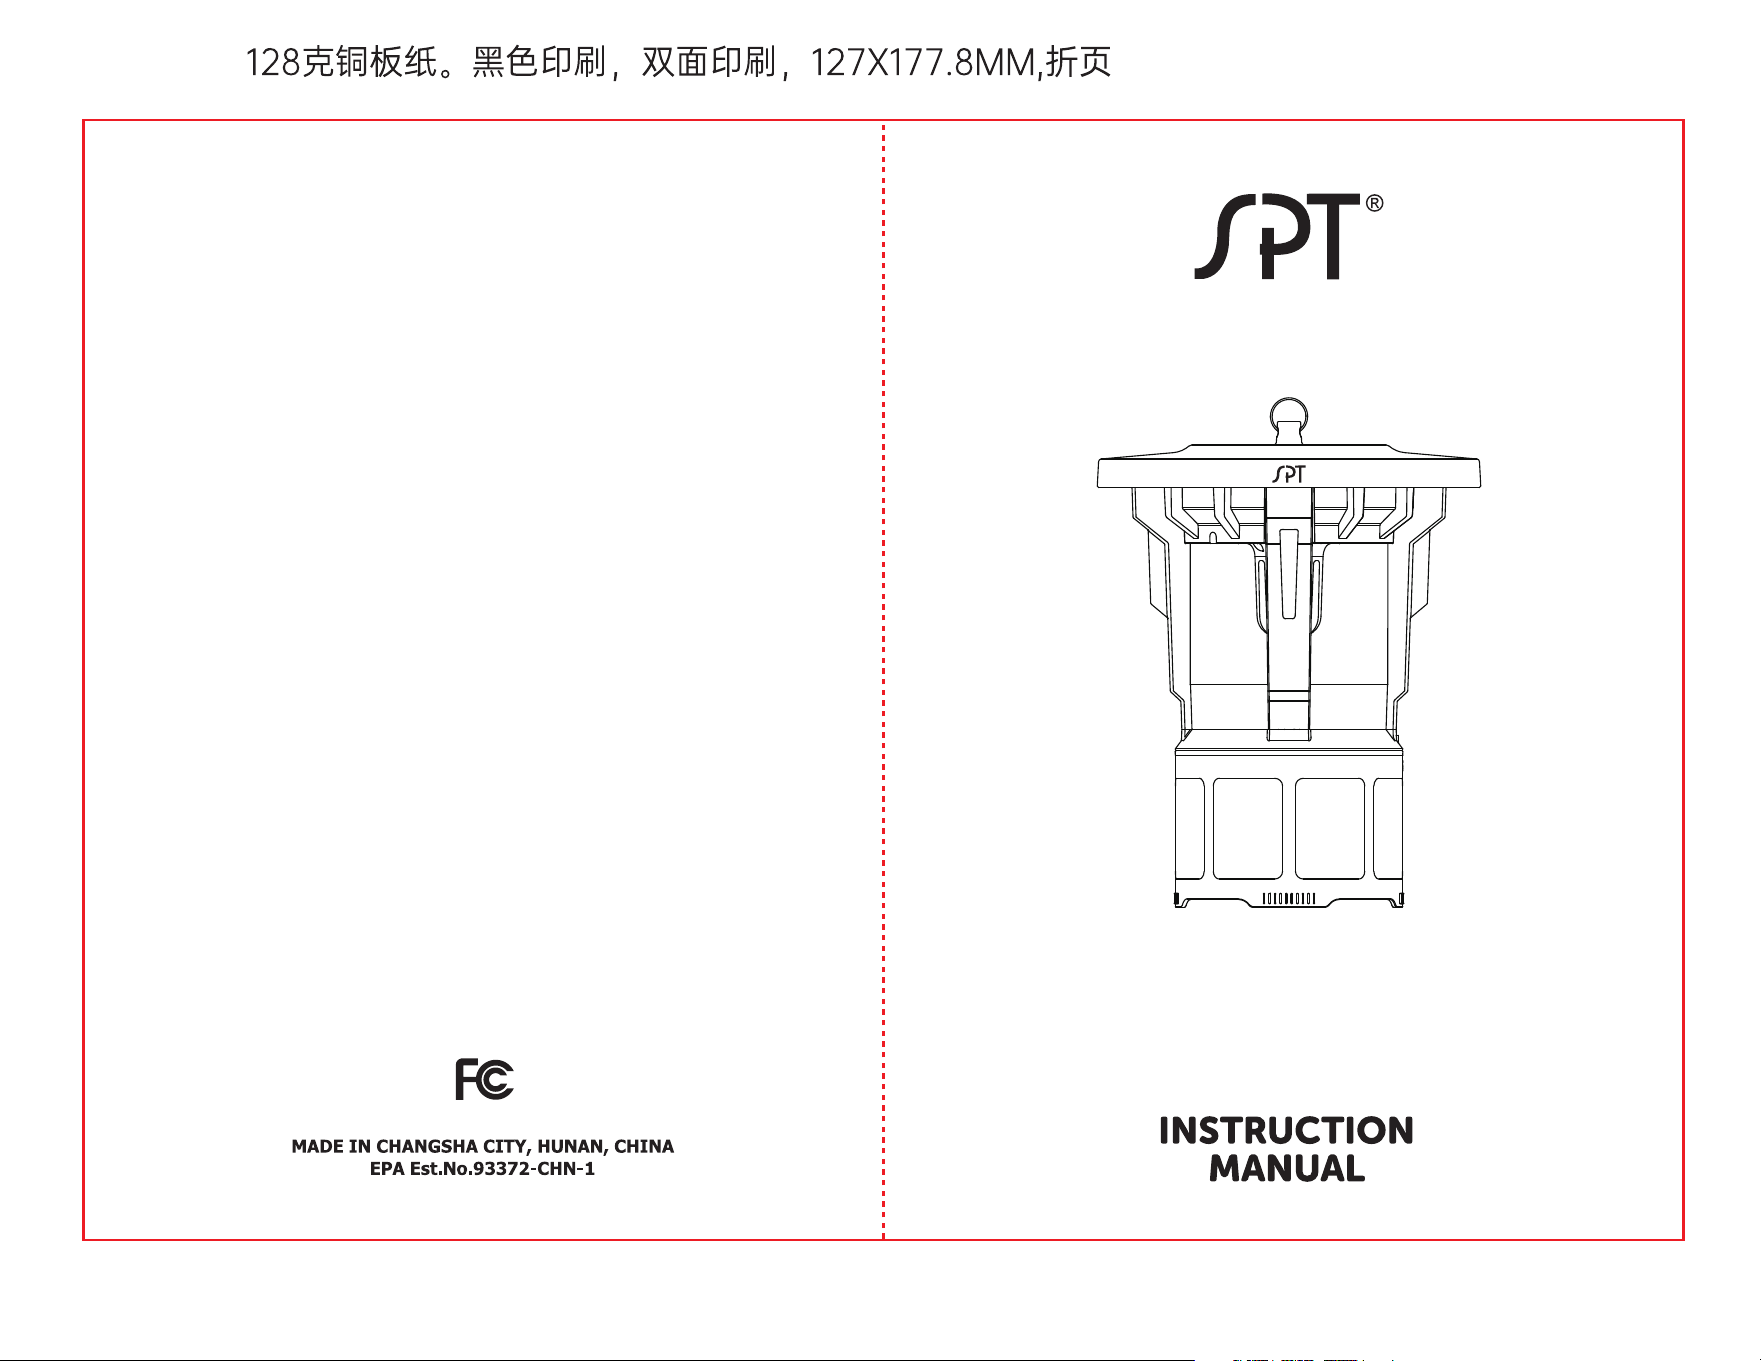
OUTDOOR ELECTRIC INSECT TRAP
SET-13
This device complies with Part 15 of the FCC Rules. Operation is subject to the
followingtwo conditions: (1) this device may not cause harmful interference,
and (2) this devicemust accept any interference received, including interfer-
ence that may cause unde-sired operation.
Changes or modifications of this product are not expressly approved by the
party responsible for compliance could void the user's authority to operate
the equipment."NOTE: This equipment has been tested and found to comply
with the limits for a ClassB digital device, pursuant to Part 15 of the FCC Rules.
These limits are designed toprovide reasonable protection against harmful
interference in a residential installation.This equipment generates, uses and
can radiate radio frequency energy and, if notinstalled and used in accor-
dance with the instructions, may cause harmful interferenceto radio communi-
cations. However, there is no guarantee that interference will notoccur in a
particular installation.
lf this equipment does cause harmful interference to radio or television
reception,which can be determined by turning the equipment o and on, the
user is encouragedto try to correct the interference by one or more of the
following measures:
-- Reorient or relocate the receiving antenna.
-- Increase the separation between the equipment and receiver.
-- Connect the equipment into an outlet on a circuit dierent from that to
which thereceiver is connected.
--Consult the dealer or an experienced radio/TV technician for help.

Model: SPT SET-13 Outdoor Electric Insect Trap
Rated Power: 10W
Rated Voltage: 120V~
Dimension: 13.5 in. height, 10.6 in. diameter
Weight: 3.35 lbs
1. Add a glue pad
1) Twist and open the collection basket.
2) Remove the anti-escape cone from the collection basket.
3) Remove the film on top of one glue pad and put it inside the collection
basket with the sticky side facing up.
4) Put the anti-escape cone back and twist the collection basket back.
2.Connect the power supply
Before using the product, check if the product voltage is compatible with
household voltage. Plug in the power cord.
3.Turn on the product by pressing the power switch on the back.
The fluorescent UV light bulb will turn on and the fan will start to circulate.
4.To shut down the product, switch o the power button and then unplug the
power cord.
This product uses insect-baiting fluorescent UV light bulb to produce 365nm
wavelengths of light, luring flying insects to fly toward the trap. When they fly
near the air intake grille, they will be sucked into the collection basket and
stuck on the glue pad. In order to achieve the best eect, please keep the
product working continuously for 6+ hours and turn o surrounding lights to
avoid interference from other light sources.
To disconnect, turn all controls to the o (”O”) position, and then remove
plug from outlet.
Replace glue pads as frequently as necessary. Glue pads are sticky. Keep out
of reach of children and DO NOT ingest. Carefully read all directions and
warnings on glue pad packaging.
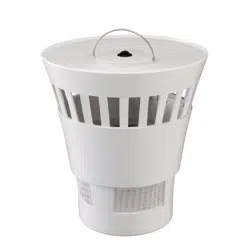
Air inlet grille
Collection basket
1 2
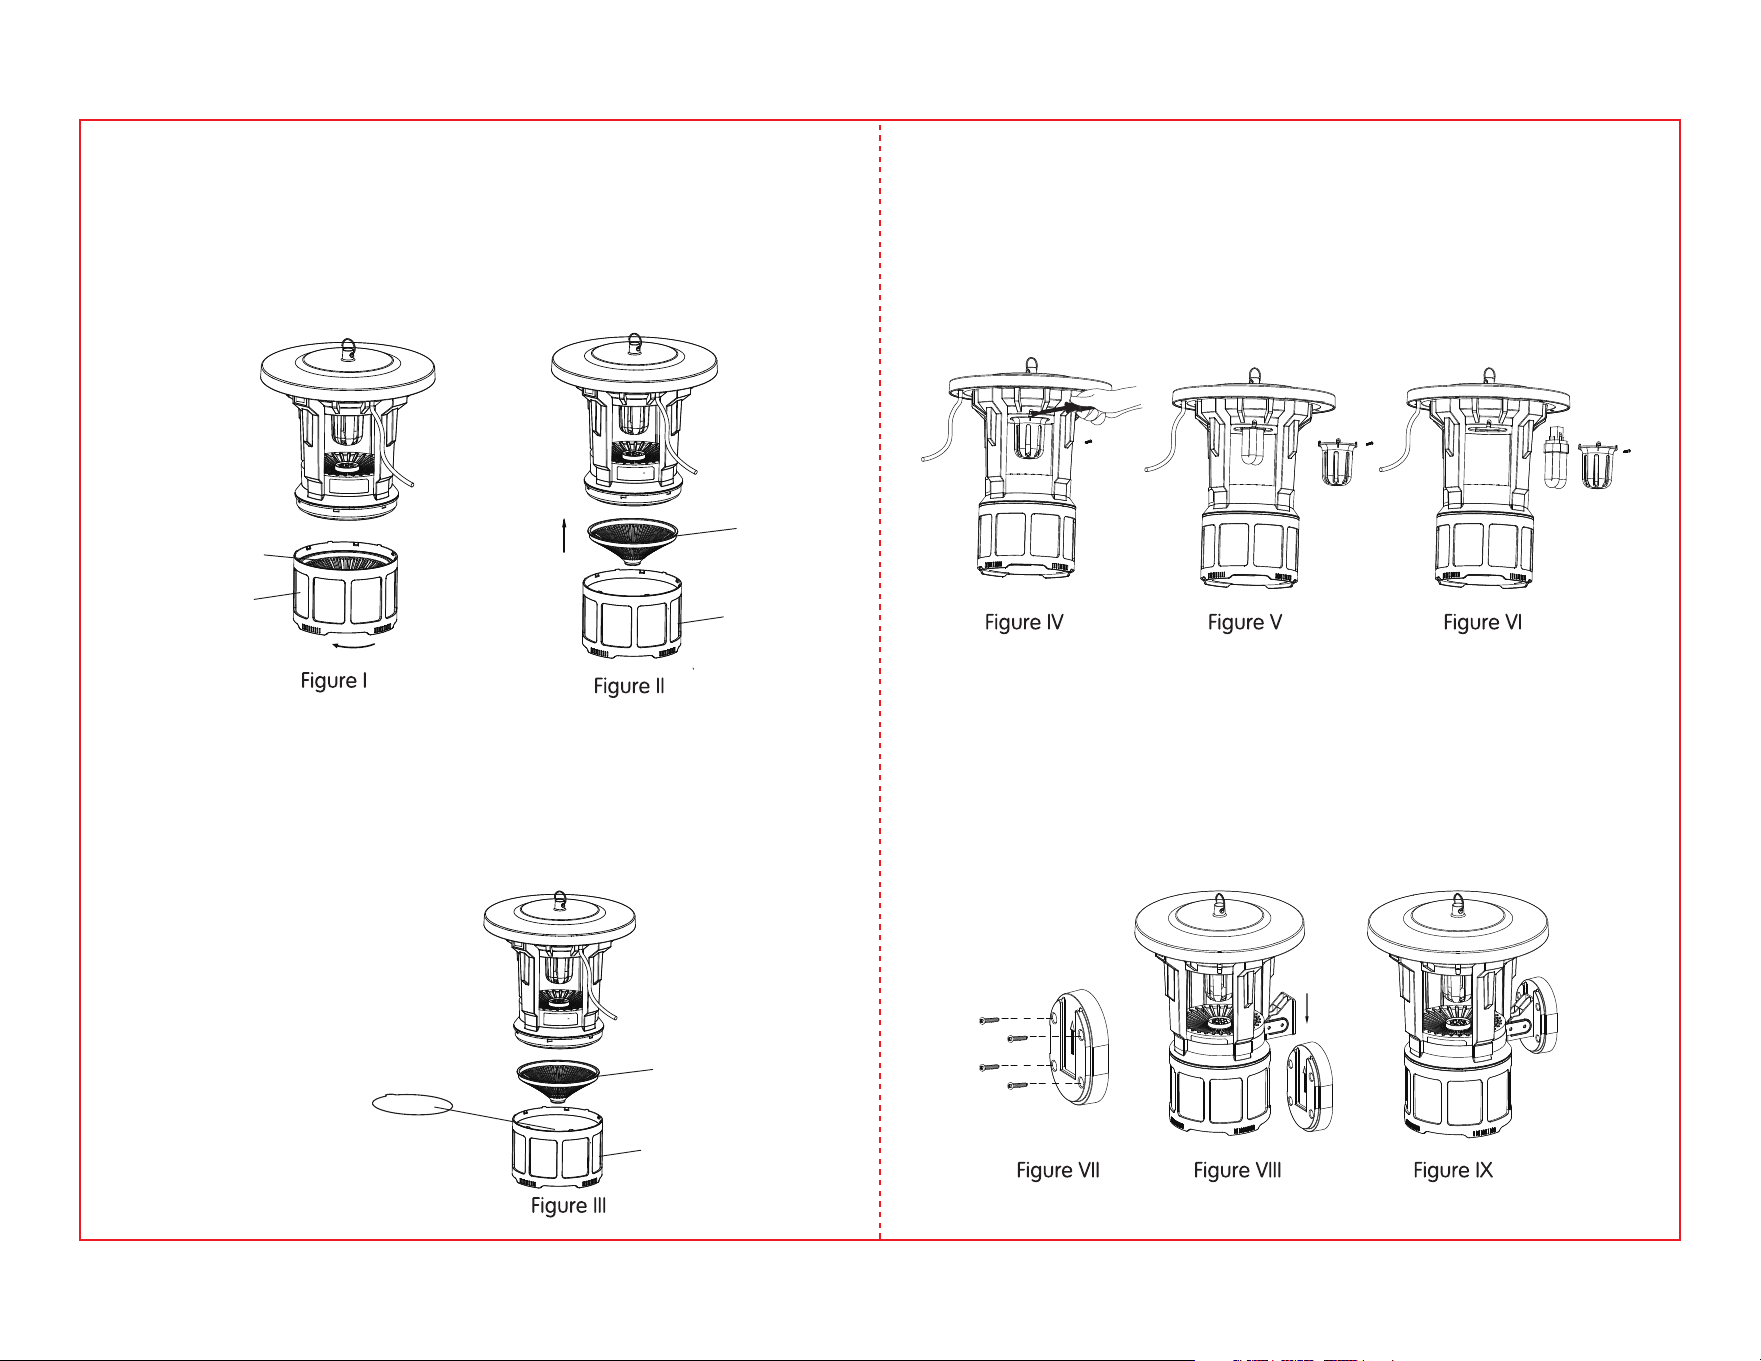
1.Switch o the power button and unplug the power cord, hold the insect
trap on the top, and then twist the collection basket as shown in Figure l.
2.Remove the anti-escape cone as shown in Figure ll. Pour out the remains
of the insects.
Anti-escape
cone
Anti-escape
cone
Anti-escape
cone
Collection
basket
Glue pad
Collection
basket
Collection
basket
How to Clean the Collection Basket
1.Remove the screw that hold the lampshade as shown in Figure IV.
2.Remove the lampshade, as shown in Figure V.
3.Replace the light bulb as shown in Figure Vl.
4.Reposition the lampshade and tighten the screw.
1. Fasten the mounting bracket to the wall with screws, arrow upward as
shown in Figure Vll.
2. Slide the trap down into the slot, as shown in Figure Vlll and IX.
How to Disassemble and Replace the Light Bulb
How to Mount the Insect Trap
1.Repeat the steps above for cleaning the collection basket as shown in
Figure l and Figure ll.
2. Remove the film of a glue pad and place it on the bottom of the collec-
tion basket with the sticky side facing up, as shown in Figure lll.
How to Add and Replace a Glue Pad
3 4

Your Guarantee
If this product is found to be faulty as a result of faulty
materials or workmanship within one year from date of
purchase, it will be repaired free of charge.
This guarantee is subject to the following terms:
What is NOT COVERED:
Sunpentown must be notified of the fault.
Proof of purchase must be presented to Sunpentown’s nominated
representative.
The warranty will be void if the product if modified, misused or repaired by
an unauthorized person.
The warranty after repair will not be extended beyond the original
one-year period.
All replacement parts will be new or reconditioned.
Parts, which are replaced, become the property of Sunpentown.
The warranty applies for the use of the product in the USA only.
Warranty does not include freight charges.
Incidental or consequential damage caused by possible defects with this
product.
Damage to product caused by improper power supply voltage, accident,
fire, floods or acts of nature.
Failure of product resulting from unauthorized modifications to the product.
Improper installation or failure to perform the necessary maintenance.
●
●
●
●
●
●
●
●
●
●
●
●
This GUARANTEE is in addition to your Statutory Rights
SUNPENTOWN INTERNATIONAL INC.
Tel: 800-330-0388 Fax:626-336-7116
14625 Clark Ave., City of Industry CA 91745
www.sunpentown.com
5