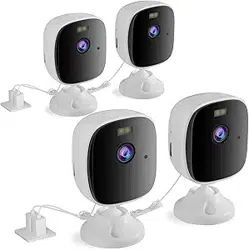
Security Camera
User Manual
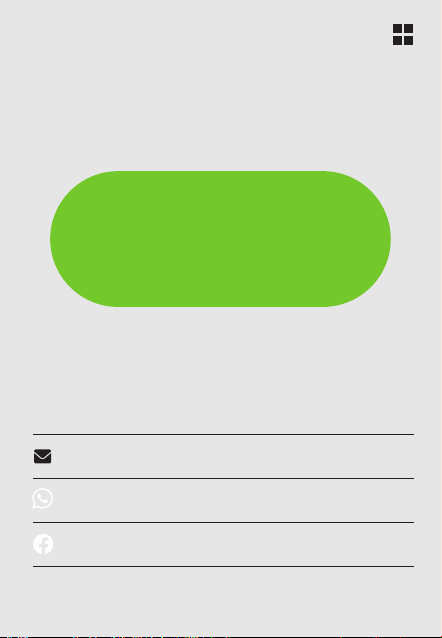
aftersale@rraycom.com
Email :
Phone :
Facebook :
Customer
Service
+1 2027384449
If you have any after-sales questions
please contact us
(Sun. - Thur. 8pm - 12pm)
Claim
Warranty for your device
1-Year
Packing
List
1 / 22
Bracker *1
Camera *1
Power Adapter *1
User Manual *1
Mounting Kit *1

2 / 22
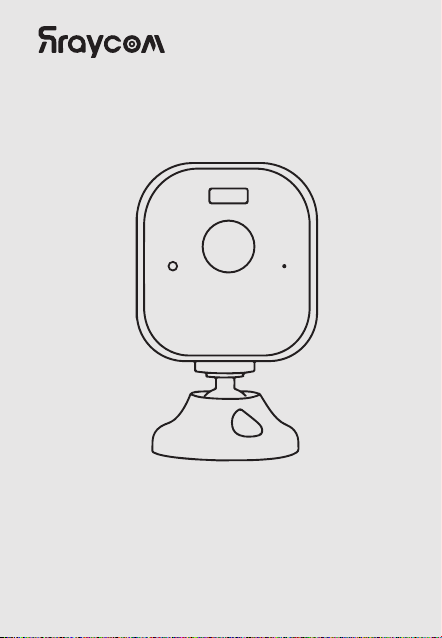
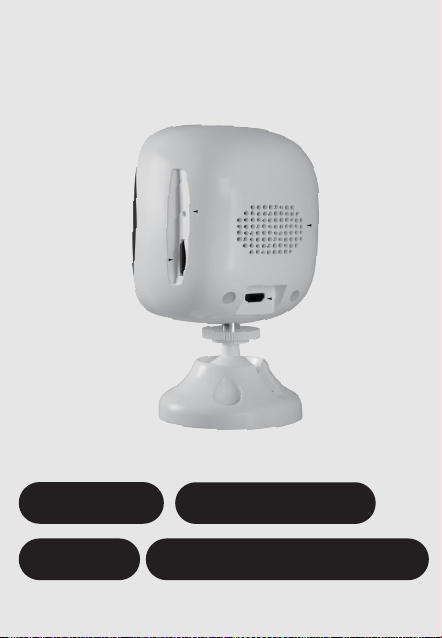
Appearance
Introduction
Front
Indicator
LED①
①
③
③
Light Sensor
MIC
②
②
④
④
(TF card Not included)
Support up to 128GB
3 / 22
Appearance
Introduction
Back
Reset
TF Card①
③
Loudspeaker
USB 5V 1.5A Charging
②
④
④
①
③
②
4 / 22
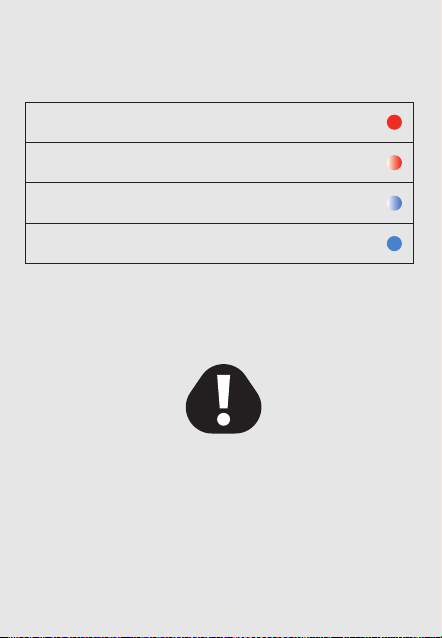
Indicator Light
Definition
Please download the videos and take out
the Micro SD card before reset the camera.
Otherwise,
all the data stored in the cloud & memory card
will be deleted after reset.
Important
Solid Red - Powered on
Red light flashes - Ready for configuration
Blue light flashes - Camera is connecting
Solid Blue - Wifi connected
5 / 22
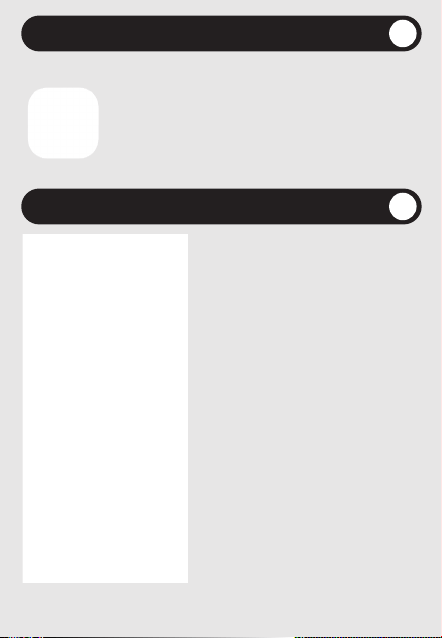
Please search for the "24H CAM" APP
from Google Play or APP Store.
Tap on "Sign Up" to begin,
please follow the steps
to enter your Email and
Verification Code.
You can enter the Account
information or skip twice.
Skip button is at the top
right corner.
Step 1
Step 2
Download the APP
24H CAM registration
6 / 22
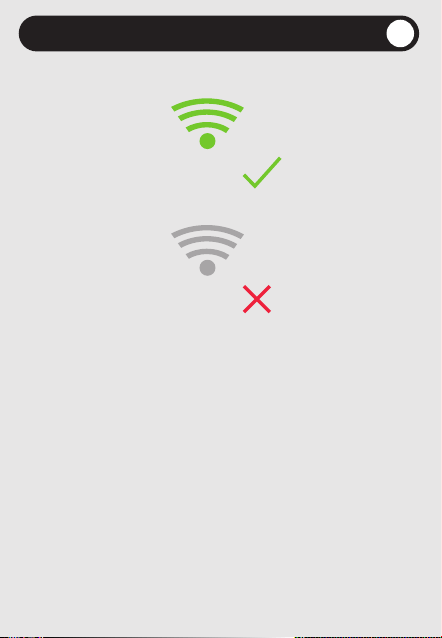
Step 3
2.4Ghz
5Ghz
Preparations before configuration
Make sure your smartphone is connected to
the 2.4Ghz WiFi and the WiFi is visible.
1:
2: Turn on the location service on
your smartphone.
3: Make sure the WiFi has 5Mbps
upload speed at least.
4: The camera only support 2.4Ghz WiFi.
5: Plug the power cable into the device.
7 / 22
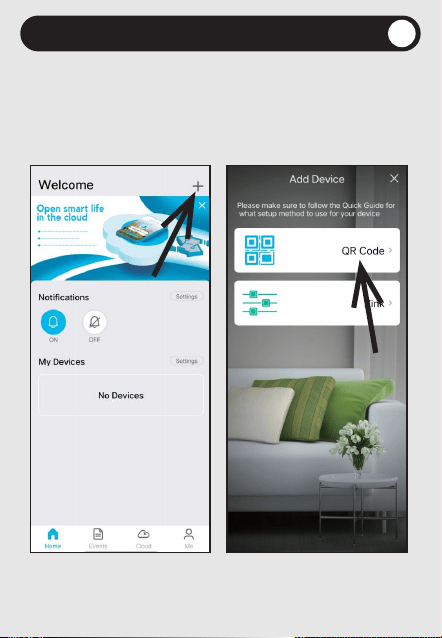
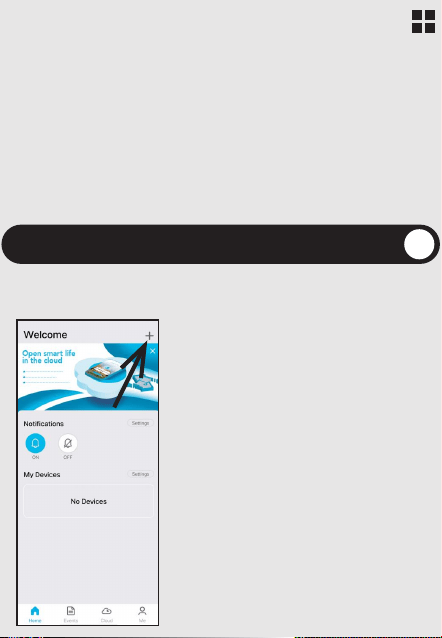
Step 4 Add the camera
Log in and tap the "+" button
(Top right corner) on the "Home" page.
1:
Tap on the "QR Code". 2:
8 / 22
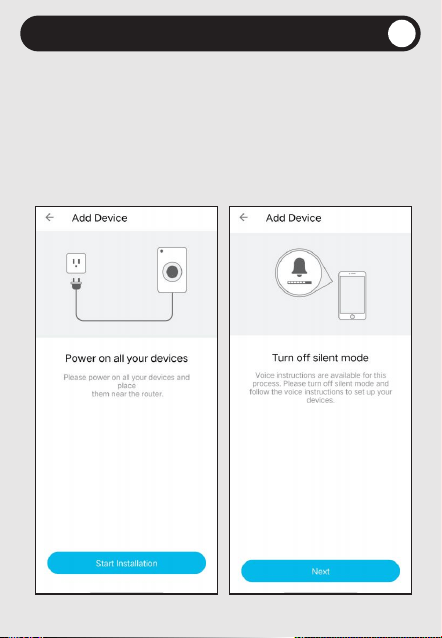
Step 5 Add the camera
Please make sure the camera is powered on,
and the indicator light is flashing red.
Tap on the "Start Installation" button.
3:
Turn off the Silent mode on your phone
then tap the "Next button" .We want to
listen to the instructions from the APP.
4:
9 / 22
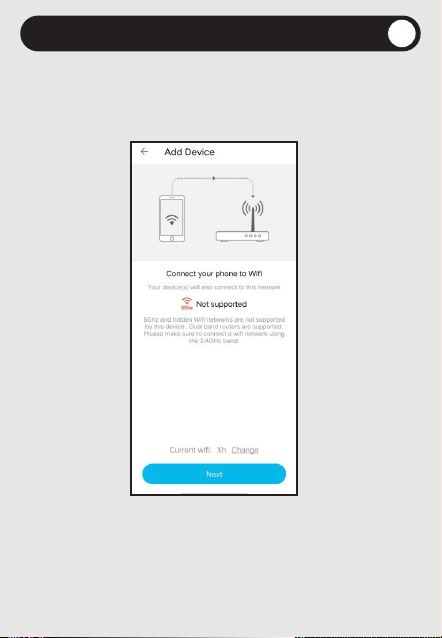
Step 6 Add the camera
Then the check if your phone is connected
to the Home WiFi.
Tap on "Next" if it's connected.
5:
If you didn't see your Home WiFi name
displayed on the page, you need to
turn on the Location service of your smartphone.
Note:
10 / 22
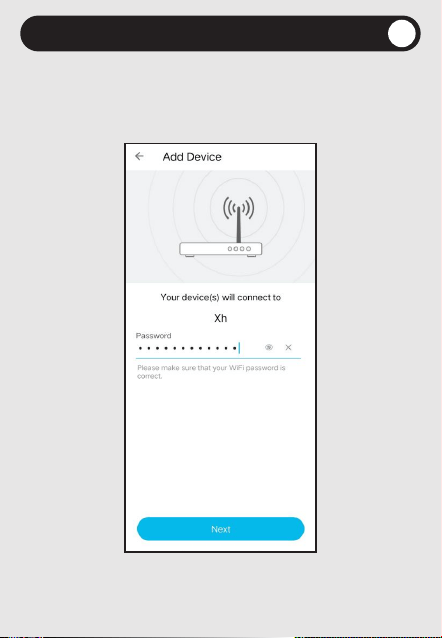
Step 7 Add the camera
Enter the passwords of the home WiFi.
We want to make sure
there's no "Space" in the passwords.
6:
11 / 22
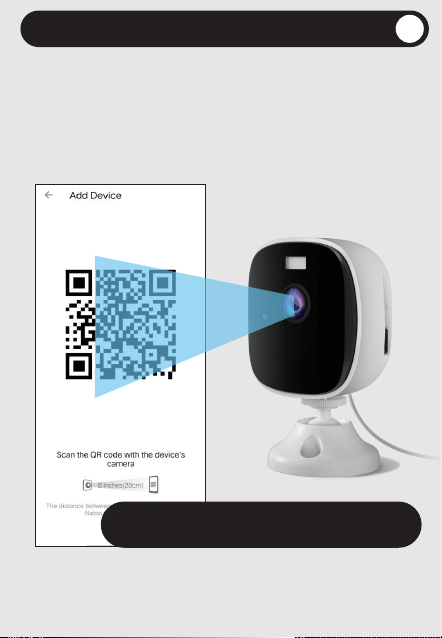
Step 8
Add the camera
If you see the indicator light is flashing red,
that means the camera is ready to scan
the QR code on your smartphone.
7:
Keep it at a distance of 6-8 inches.
You'll hear a beep when it's scanned succcessfully
12 / 22
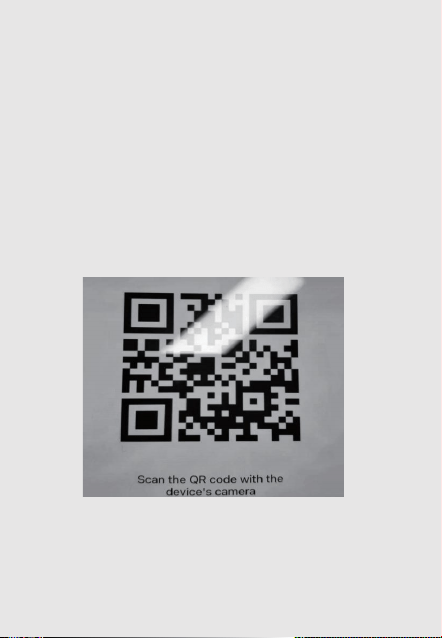
If the camera didn't read the QR code,
please see the troubleshootings below.
Note:
Please make sure there's no glare on the
smartphone display.
If you see the solid red indicator light, you need
to wait a few seconds, untill it's flashing red.
Wrong example below
13 / 22
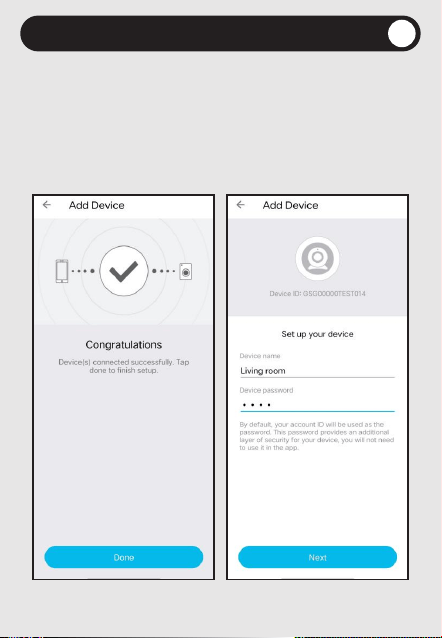
Step 9 Name the camera
Name the device, for example, Living room.
Set the password,
then the camera is connected successfully.
8:
14 / 22
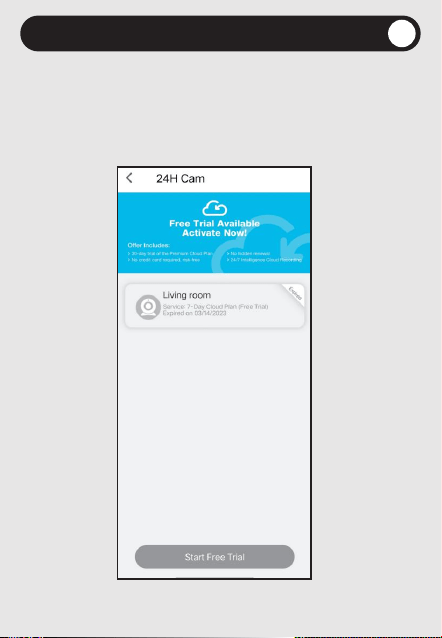
Step 10 Cloud Service
The camera comes with a 30-day free trial
of the cloud service.
Enjoy the 24/7 continuous
recording videos on the cloud storage.
9:
15 / 22
The Zink Connection method is a backup
connection method. If the camera has difficulty
scanning the QR code, we could connect the
camera by following these steps.
1. Log in and tap the "+" button
(Top right corner) on the "Home" page.
Step 1 Add the camera
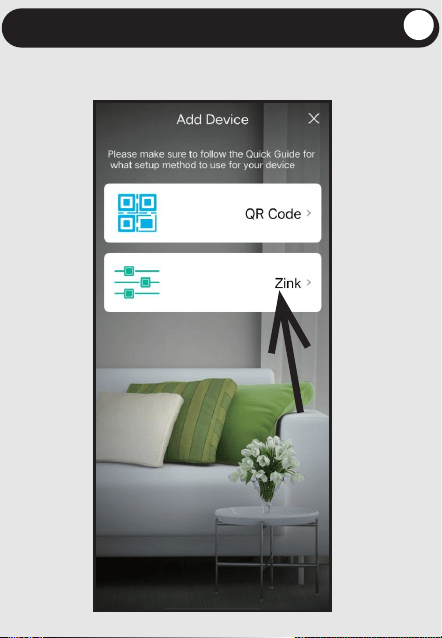
Zink
Connection
16 / 22
2. Tap on the "Zink".
Step 2 Add the camera
17 / 22
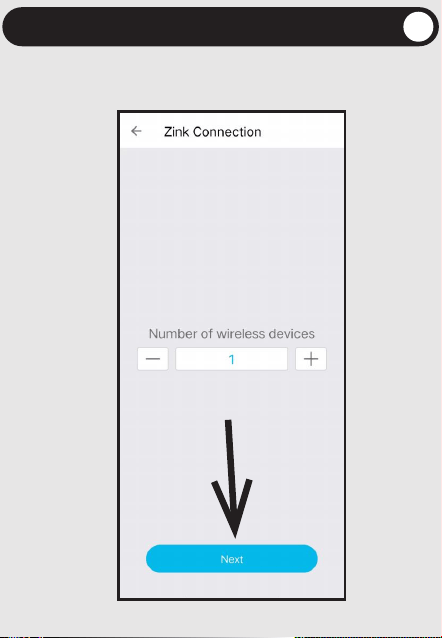
3. Input the number of cameras you want to connect,
and tap "Next".
Step 3 Add the camera
18 / 22
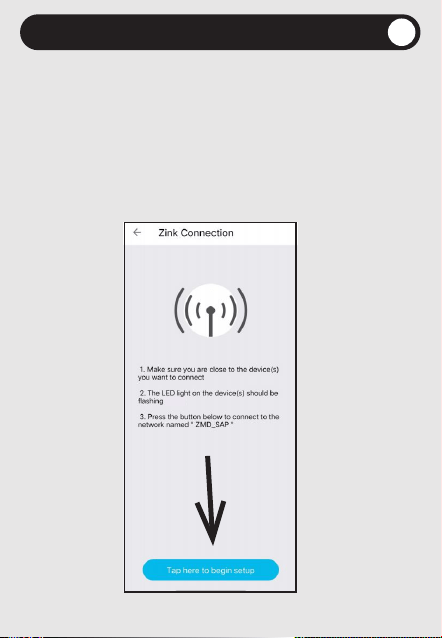
4. Please make sure the you're right next to the security
cameras.
The indicator should be flashin red
Step 4 Add the camera
red
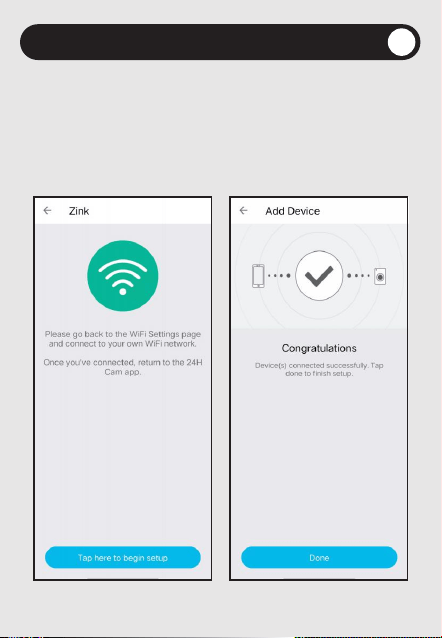
Then tap the button below to connect to the WiFi named
"ZMD_SAP" .
This is the WiFi of the camera,
there is no internet connection, which is fine.
19 / 22
Step 5 Add the camera
5. Once your smartphone is connected to the ZMD_SAP
WiFi, the APP will lead us to the next step.
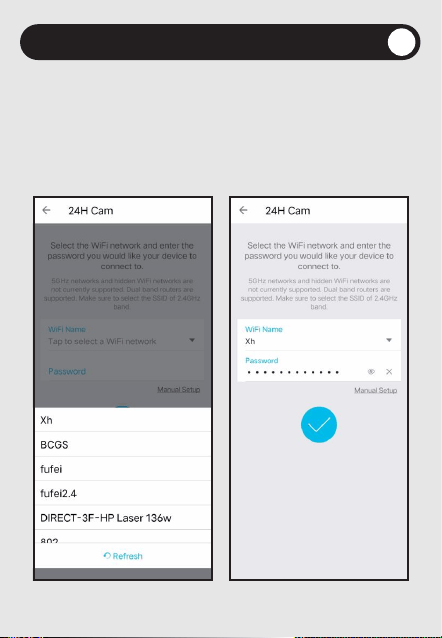
We need to select the Home WiFi,and enter the
passwords of the Home WiFi.
20 / 22
Step 6 Add the camera
6. The 24H APP will automatically check
if your phone/tablet could reach the server.
If your phone/tablet reached the server,
it will go to the Finish setup page. Otherwise,
we just need to connect the phone/tablet to the Home Wifi.
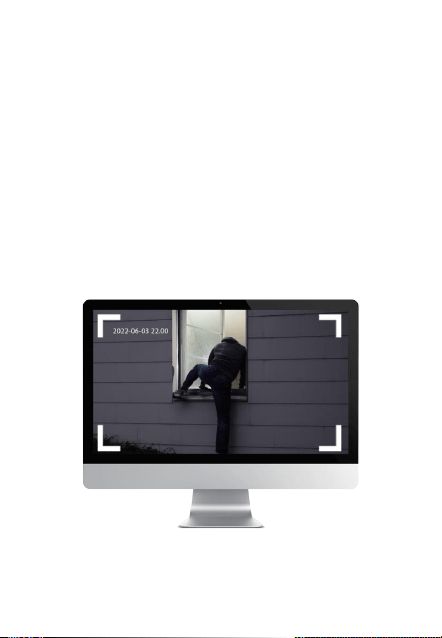
How to view on
PC browser?
1. Go to https://user.sggsecurity.com/
2. Log in your 24H Cam account
21 / 22
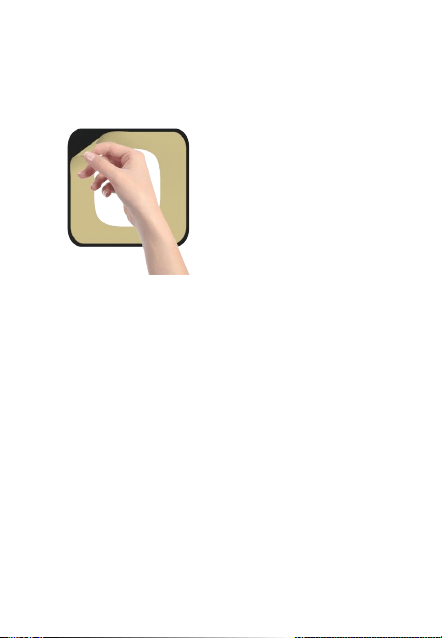
Turn your T1 into a window
-mounted security camera
Peeling off the sticker and placing
it on the window where you want to
mount the camera.
1:
2: Place the camera on the window mount.
3: Use the color night vision feature instead of the
infrared night vision. This is because using the
infrared night vision can cause reflections from
the camera's infrared lights.
22 / 22
