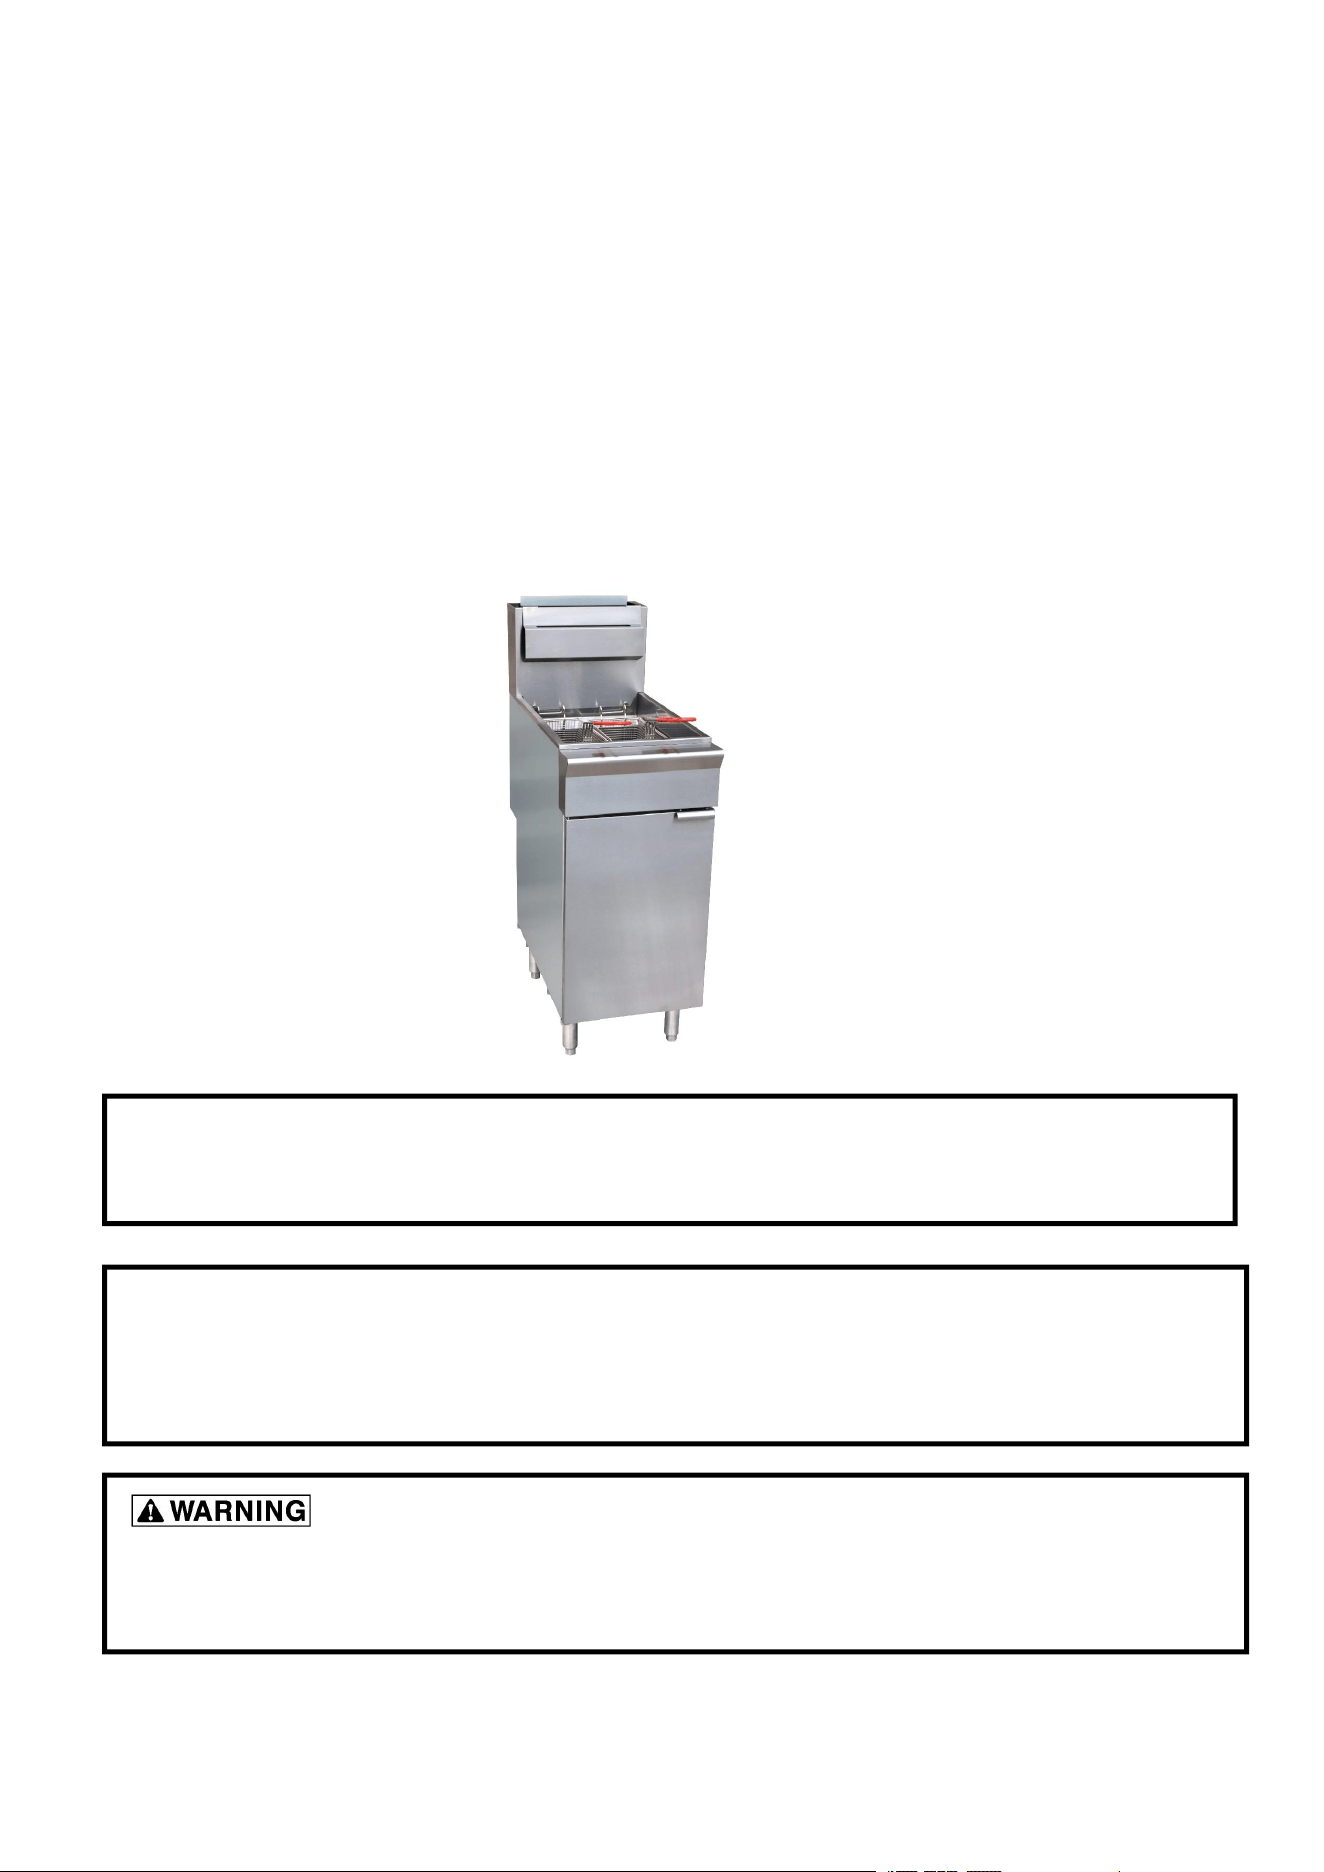
Read this manual before operation
Installation & Operation Manual
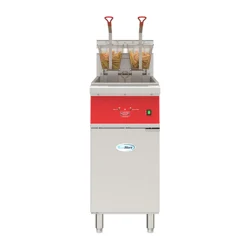
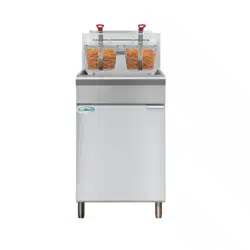
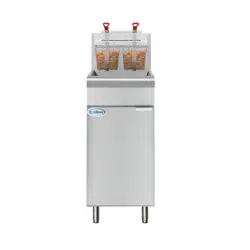
GAS
FRYER
HFRF-90/120/150
If you smell gas, follow the instructions provided by the gas supplier.
Do not try to light the burner; do not use a telephone within close proximity.
FOR YOUR SAFETY
Do not store or use gasoline or other flammable vapors or liquids in the vicinity of this
or any other equipment.
Improper installation, adjustment, alteration, service or maintenance can
cause property damage, injury or death.Read this installation,operating and maintenance
instructions thoroughly before installing or servicing this equipment.

1
Dear Customer & User,
Thank you for purchasing our appliance. Before use and operation, please read and
familiarize yourself with the following operating and safety instructions. SAVE THESE
INSTRUCTIONS FOR FUTURE REFERENCE. Save the original box and packaging.
Use this packaging to ship the equipment if repairs are needed.
This manual contains important information, please read the manual thoroughly prior to
equipment set-up, operation and maintenance. Failure to comply with regular
maintenance guidelines outlined in this manual may void the warranty.
The user’s manual should be always available for operation. So make sure this manual
book is properly placed. We have the full authority to reserve the further technical
changes of the device, in the scope of further performance improvement characteristic
development.

2
WARNINGS
Do not store or use gasoline or other flammable vapors or liquids in the vicinity of
this or any other equipment.
Improper installation, adjustment, alteration, service or maintenance can cause
property damage, injury or death.
Read the installation and maintenance instructions thoroughly before installing or
servicing this equipment.
Have the equipment installed by a qualified installer in accordance with all federal,
state and local codes.
Do not install or use without all 4 legs.
This equipment is for use in non-combustible locations only.
Do not obstruct the flow of combustion and ventilation air.
Do not spray controls or the outside of the equipment with liquids or cleaning
agents
Allow for hot parts to cool before cleaning or moving.
This equipment should only be used in a flat, level position.
Any loose dirt or metal particles that are allowed to enter the gas lines on this
equipment will damage the valve and affect its operation.
If you smell gas, follow the instructions provided by the gas supplier. Do not try to
light the burner; do not use a telephone within close proximity.
Never attempt to move grate while cooking.

3
Product parameters table
Model No.
HFRF-90
HFRF-120
HFRF-150
Dimension(W*D*H)
394*766*1195mm
394*766*1195mm
532*766*1195mm
Power
90000BTU
120000BTU
150000BTU
Capacity
20-24L
22.4-26.2L
33-38.4L
N.W.
61KG
66KG
75KG
Fry Basket Capacity:
HFRF-90B: Recommended pounds per basket are 1.5 lbs. (0.7 kg).
HFRF-120B: Recommended pounds per basket are 2.5 lbs. (1.1 kg).
HFRF-150B: Recommended pounds per basket are 3.0 lbs. (1.4 kg).
INSTALLATIONS
1.Remove all packing material and tape, as well as any protective plastic from the
equipment.
2. Place the equipment in the desired position and height.
3.Install the four (4) legs onto the equipment.
4. Clean and dry the equipment thoroughly before using.
4
Do not touch any hot surfaces !
Do not operate unattended !
WARNINGS-OPERATION
Hot oil and parts can cause burns. Use care when operating, cleaning and servicing
the fryer.
Spilling hot frying compound can cause severe burns. Do not move fryer without
draining all frying compound from the tank.
Fryer is not to be used during a power outage.
OPERATION
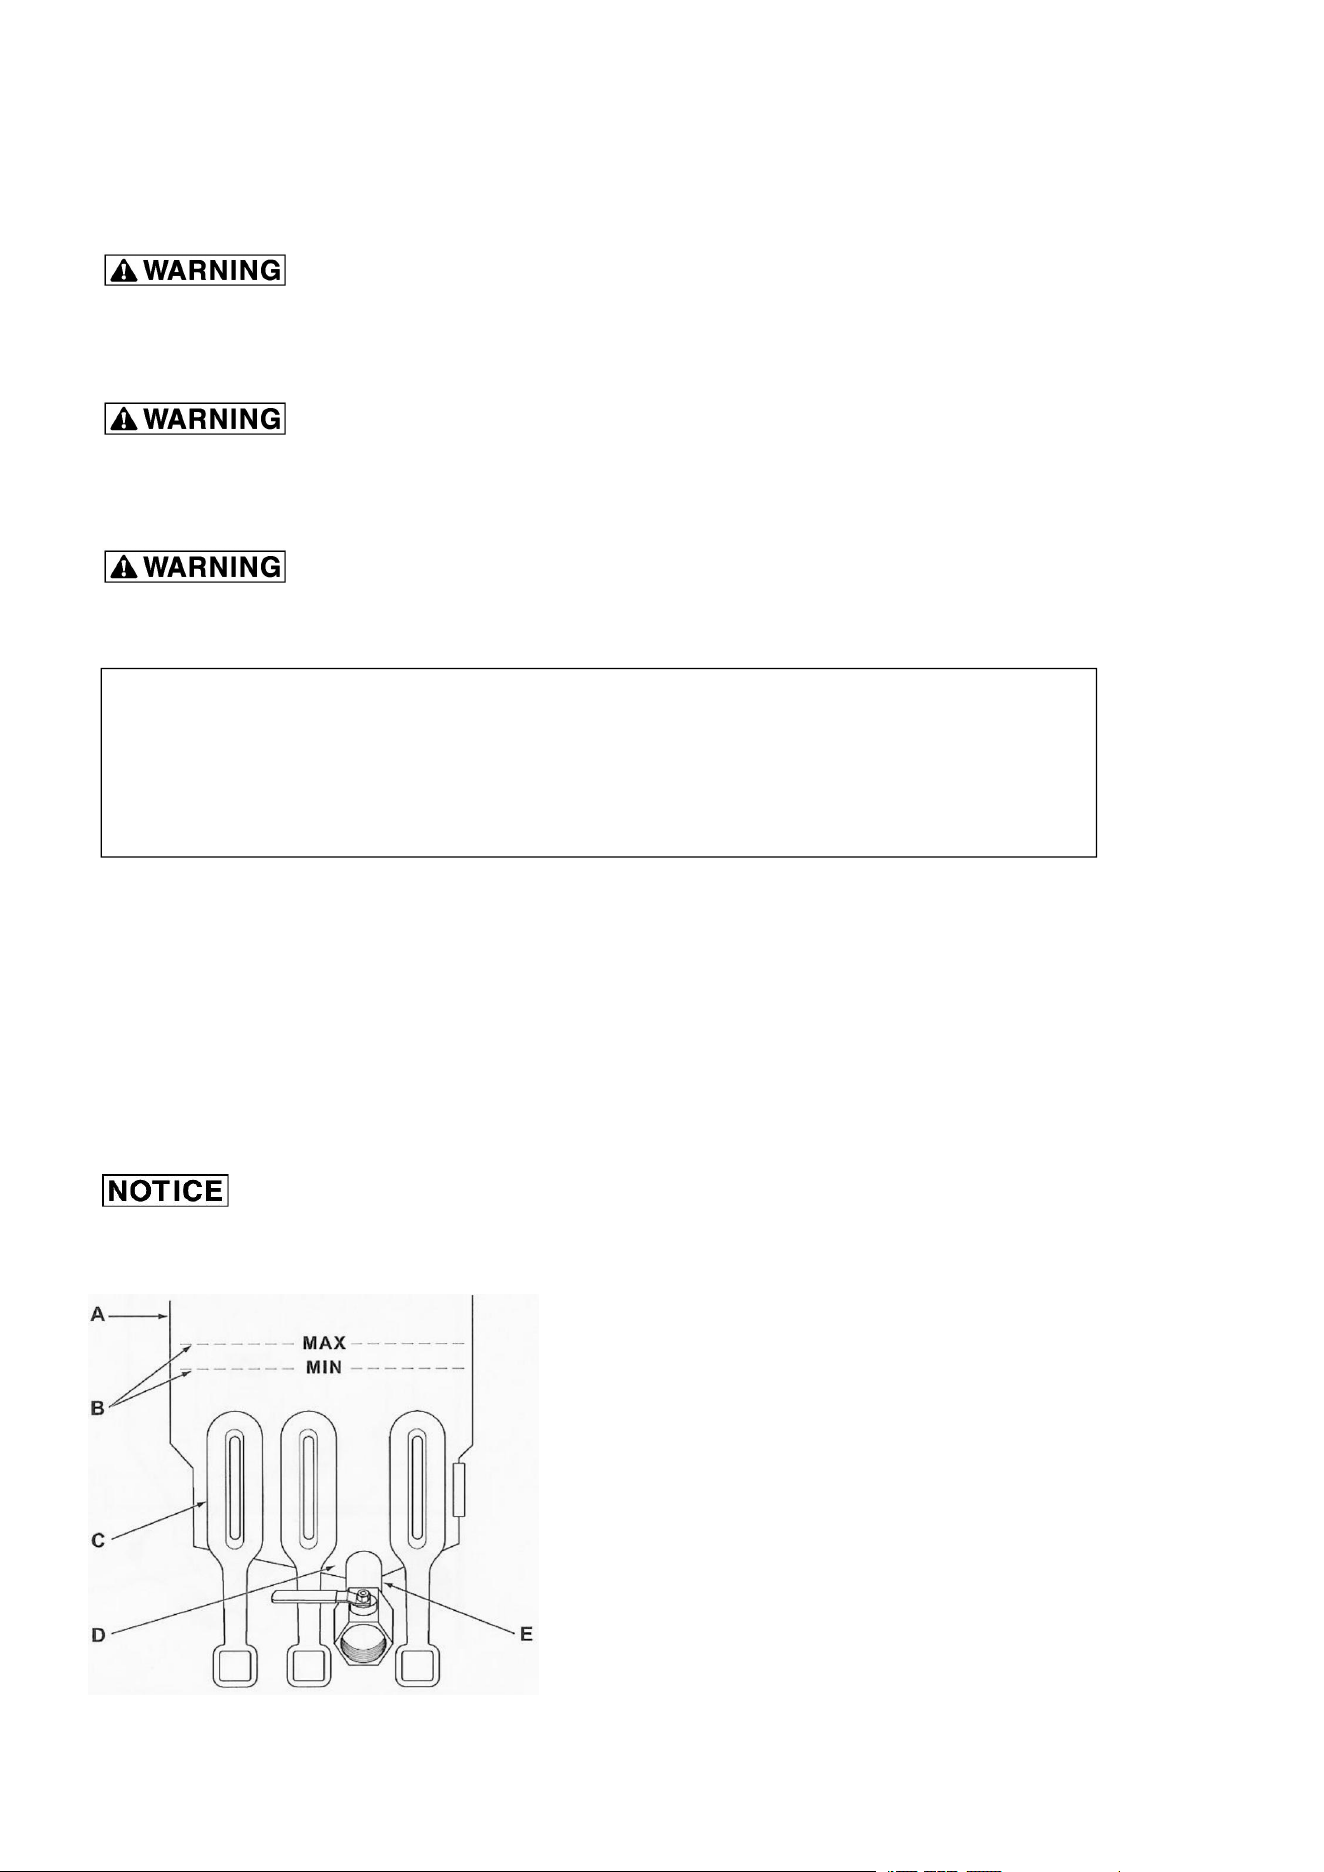
FILLING TANK WITH SHORTENING
Solid shortening must NOT be used with HFRF fryers. Melting solid
shortening will damage the tank and void your warranty.
1. Close the drain valve.
2. Fill the fryer tank with liquid shortening.
3. Shortening level should be between the min
and max lines in the fryer tank.
4. Shortening will expand when heated. Do not
oil the fryer tank past the MAX line.
5. Add fresh shortening as needed to maintain
oil level.
5
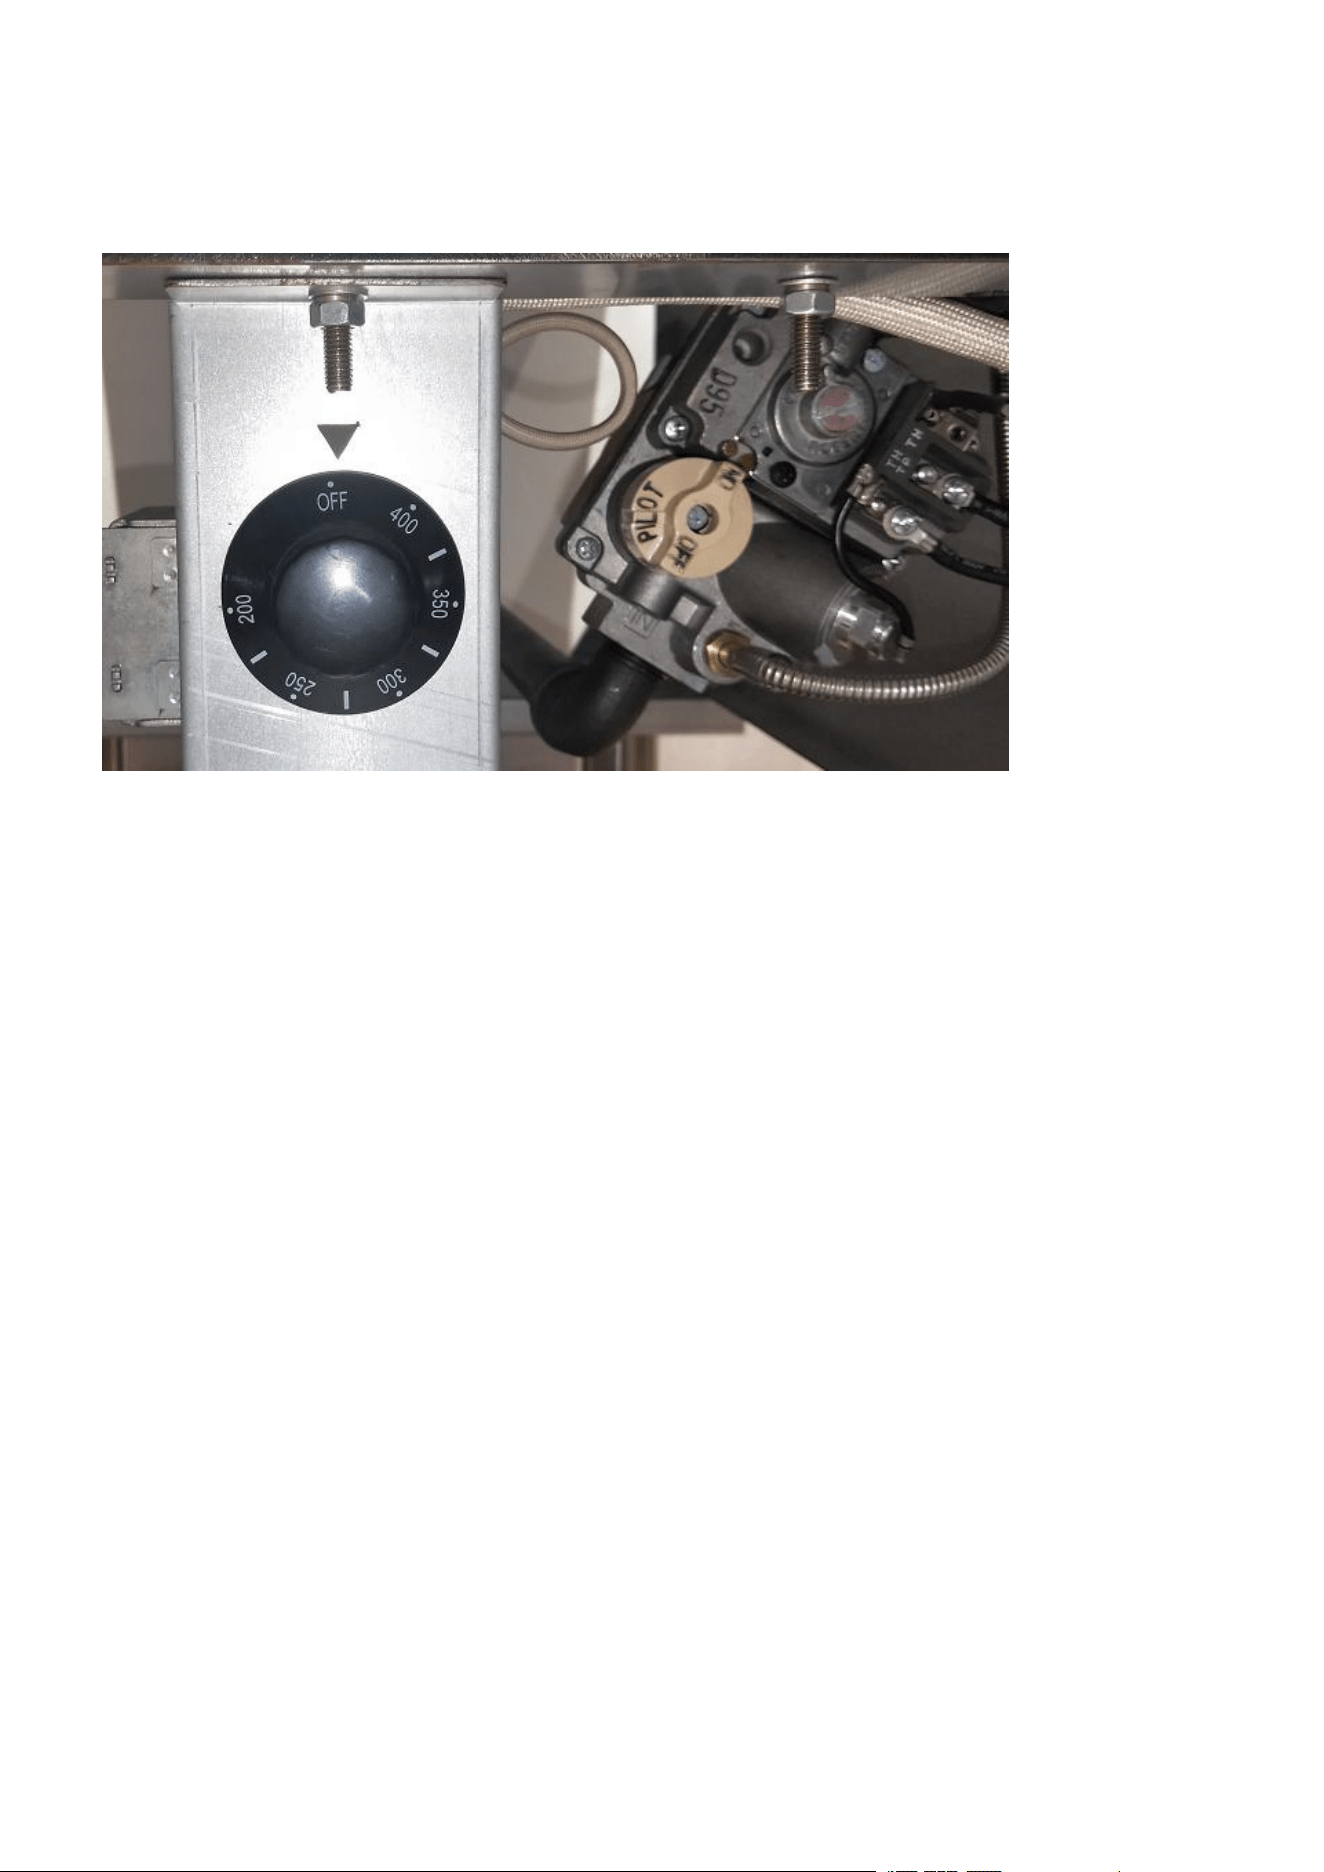
LIGHTING THE PILOT
1. Open the door.
2. Turn the thermostat OFF. The thermostat is located behind the door.
3. Push the gas control valve knob and turn to OFF. Wait 5 minutes for unburned gas
to vent.
4. Push and turn gas control valve knob to the
“
L
”
in PILOT.
5. While still holding the knob in, light the pilot with a light flame. Continue to depress
the knob until pilot remains light when knob is released. If the pilot does not remain
light, repeat step 3 through 5.
6. Depress and turn gas control knob to ON.
7. If gas supply is interrupted, repeat steps 2 through 6.
TURNING ON THE FRYER
1. Set the temperature knob to desired temperature.
2. After the set temperature has been reached, the thermostat shuts off the gas flow
to burners.
3. The pilot remains light. The burners will cycle on and off, maintaining the
set temperature.

6
TURNING OFF THE FRYER
1. Turn the thermostat OFF.
2. To keep the pilot light, turn the gas valve to “L” in Pilot.
3. To shut off all gas to the system, including the pilot, turn the gas valve knob to OFF.
WARNINGS - OVER-TEMPERATURE SHUTDOWN
If the shortening becomes overheated, a high-temperature shutoff device will turn the
gas valve off and extinguish the pilot.
If the fryer shuts down due to overheating, DO NOT relight the pilot until the shortening
temperature is below 300℉ (149℃).
EXTENDED SHUTDOWN
1. Turn the thermostat knob to OFF.
2. Push in the pilot knob and turn to OFF.
3. Thoroughly drain the fryer. Refer to DRAINING THE FRYER.
4. Clean the fryer according to CLEANING.
5. Turn off the main gas shutoff valve.
EXTENDING SHORTENING LIFE
Shortening life can be extended by the following guidelines:
1. Do not salt foods over the fryer.
2. Use good-quality shortening.
3. Filter shortening daily (at a minimum).
4. Replace shortening if it becomes poorly flavored.
5. Keep equipment and surrounding clean. Use tank covers when not in use.
(accessory).
7
6. Set thermostat correctly.
7. Remove excess moisture and particles from food products before placing on fryer.
8. Use a fitted tank cover (accessory) to keep oil covered from light and oxygen.
DRAINING THE OIL
Hot oil and hot parts can cause burns. Use care when operating,
cleaning, and servicing the fryer.
1. Turn the thermostat knob to the OFF position.
2. Insert the drain extension into the drain valve. Tighten only hand tight.
3. Direct the drain extension into the mobile filtering device that you want to use.
4. Slowly open the drain valve to allow oil to flow from the fry tank to the filter pan. Then
open the drain valve all the way.
5. When fry tank is empty use the tank brush to remove any additional debris.
6. Close the drain valve.
7. Fill tank with new shortening. Fill to a minimum of the MIN level but no higher
than halfway between MIN and MAX. Oil will expand as it is heated.
8. After the fry tank is filled with new oil, turn the thermostat knob to the desired
set temperature. The burners will come on and will heat the oil.
Notice for Cleaning
Hot oil and hot parts can cause burns. Use care when operating,
cleaning, and servicing the fryer.
To maintain cleanliness and increase service life, the fryer should be
cleaned daily. Do not immerse in water or any other liquid, if liquid enters the electrical
compartment it may cause a short circuit or electrical shock.
Do not use chlorine or sulfate/sulfide cleaners.

8
DAILY:
Clean your fryer regularly with the tank brush along with a damp cloth, and polish with a
soft dry cloth. If regular cleaning is neglected, grease will be burned on and
discolorations may form.
Fingerprints are sometimes a problem on highly polished surfaces of stainless steel.
They can be minimized by applying a cleaner that will leave a thin oily or waxy film.
Clean all exterior surfaces of your fryer at least once daily.
Use a damp cloth with warm water and a mild soap or detergent.
BOIL OUT PROCEDURE:
1. Drain the tank as described under DRAINING THE TANK.
2. Once the shortening has been drained, flush out scraps and sediment using the tank
brush.
3. Close the drain valve and fill tank water. Use a low foaming cleaner/degreaser to
clean the fry tank.
4. Solution level must be between the MIN and MAX levels on the fryer tank.
5. Set the temperature knob to 200°F or for the recommended solution being used.
Allow solution to simmer for about 15 to 20 minutes.
6. Drain the cleaning solution from the tank.
7. Close the drain valve and refill the tank with water. Add 1 cup (1/4 L) of vinegar to
neutralize alkaline left by the cleaner. Solution level must be between the MIN and
MAX level on the fryer tank.
8. Bring the solution to a simmer only, turn the thermostat off. Allow to stand for a few
minutes.
9. Drain the tank according to DRAINING THE TANK. Rinse thoroughly with clear, hot
water. All traces of cleaner must be removed. Dry the tank thoroughly.
10. Close the drain valve and add shortening. Follow the FILLING TANK WITH
SHORTENING procedure in this manual. The fryer is now ready for use.
9
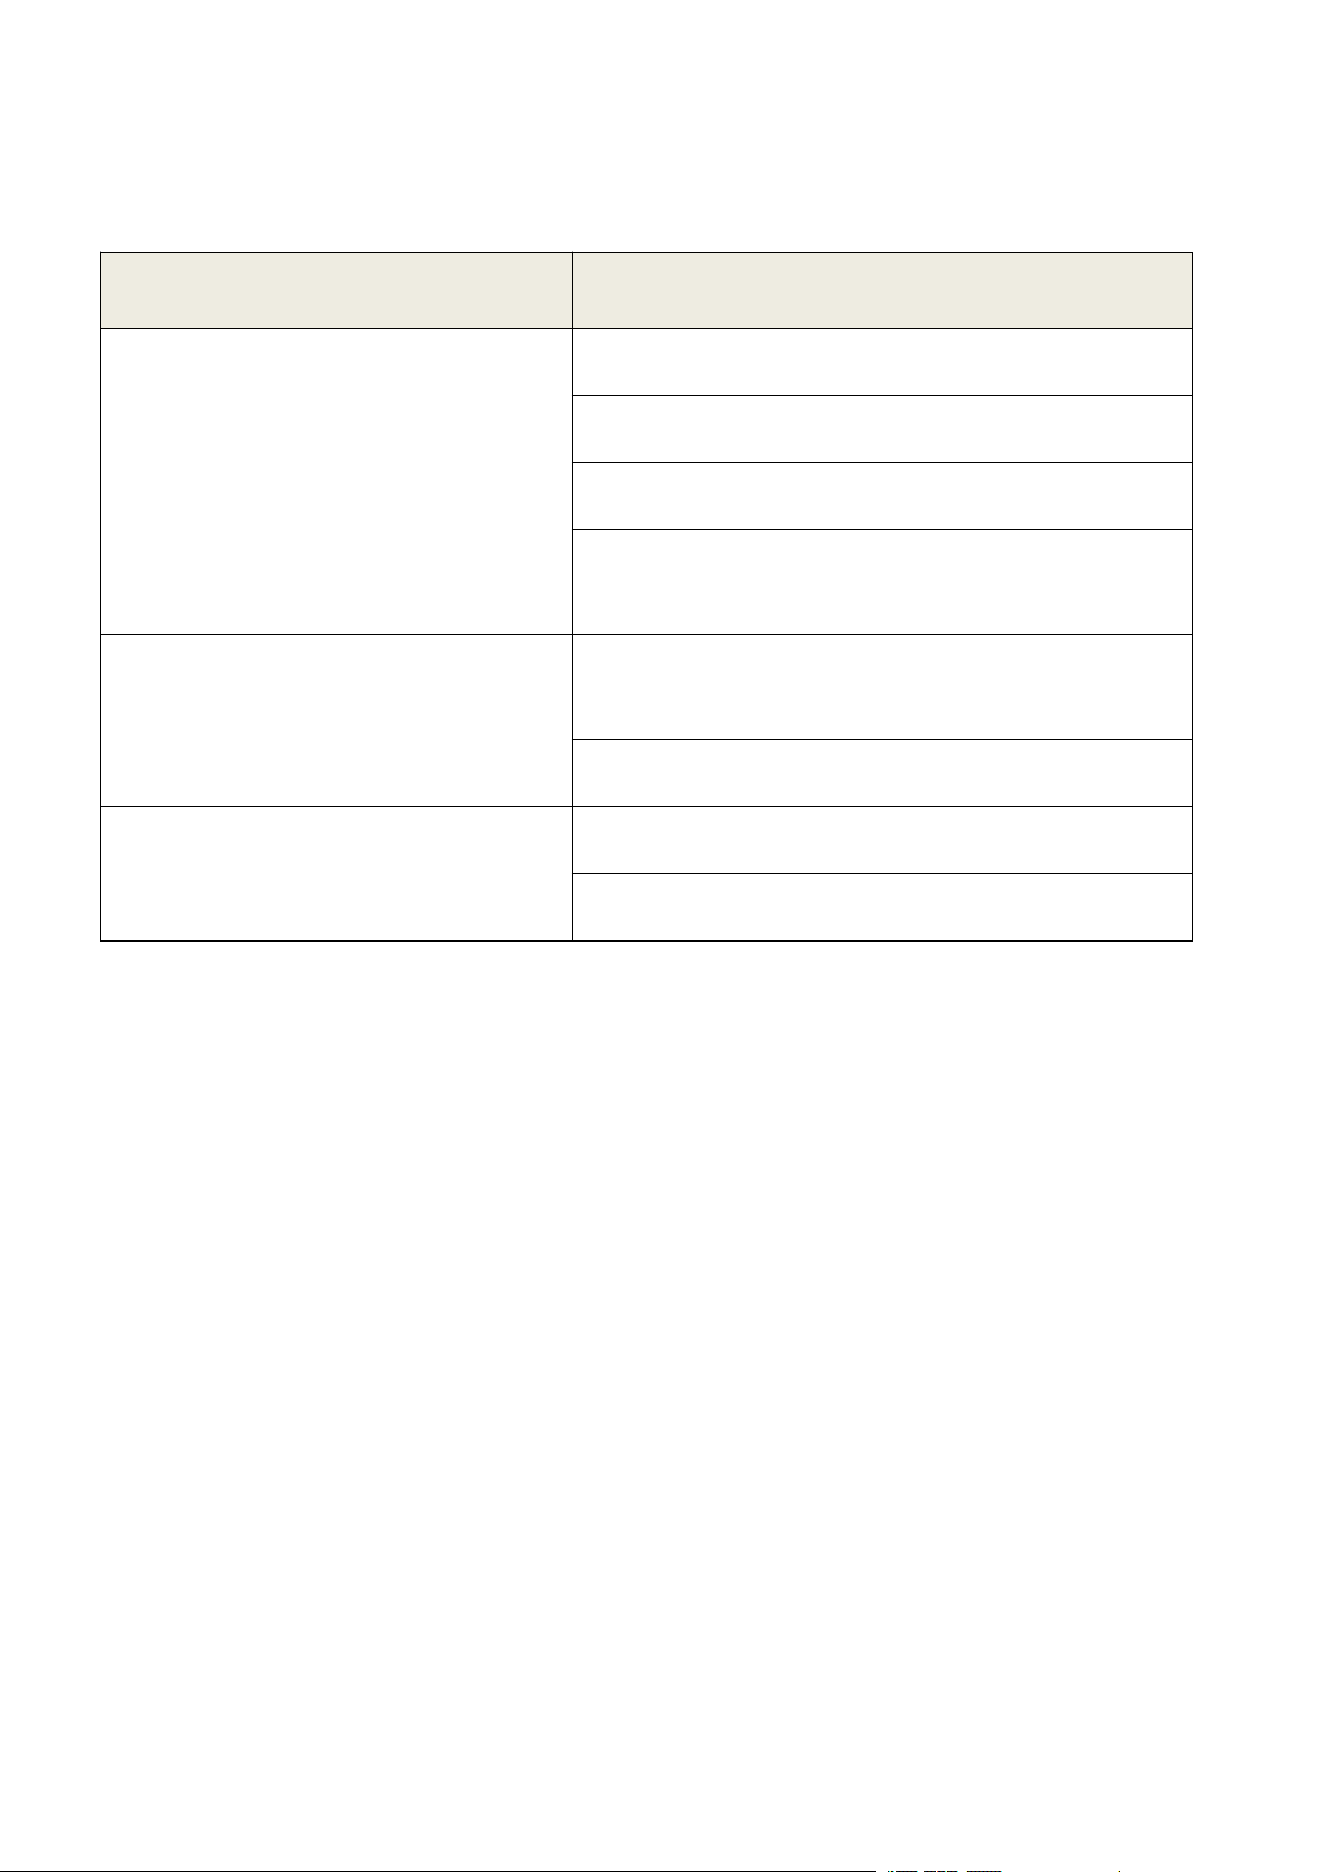
Failure Analysis & Trouble Shooting
Problem
Cause
No heat
Thermostat dial not turned on. Pilot not lit.
Gas supply not turned on.
Wire connections loose (call service)
Wires connections need cleaning (call service)
Thermopile (call service)
Insufficient or too much heat
Thermostat dial not set to desired temperature. High
limit tripped (call service)
Temperature probe (call service)
Tank will not drain
Shortening too cold.
Drain pipe clogged with debris.
10
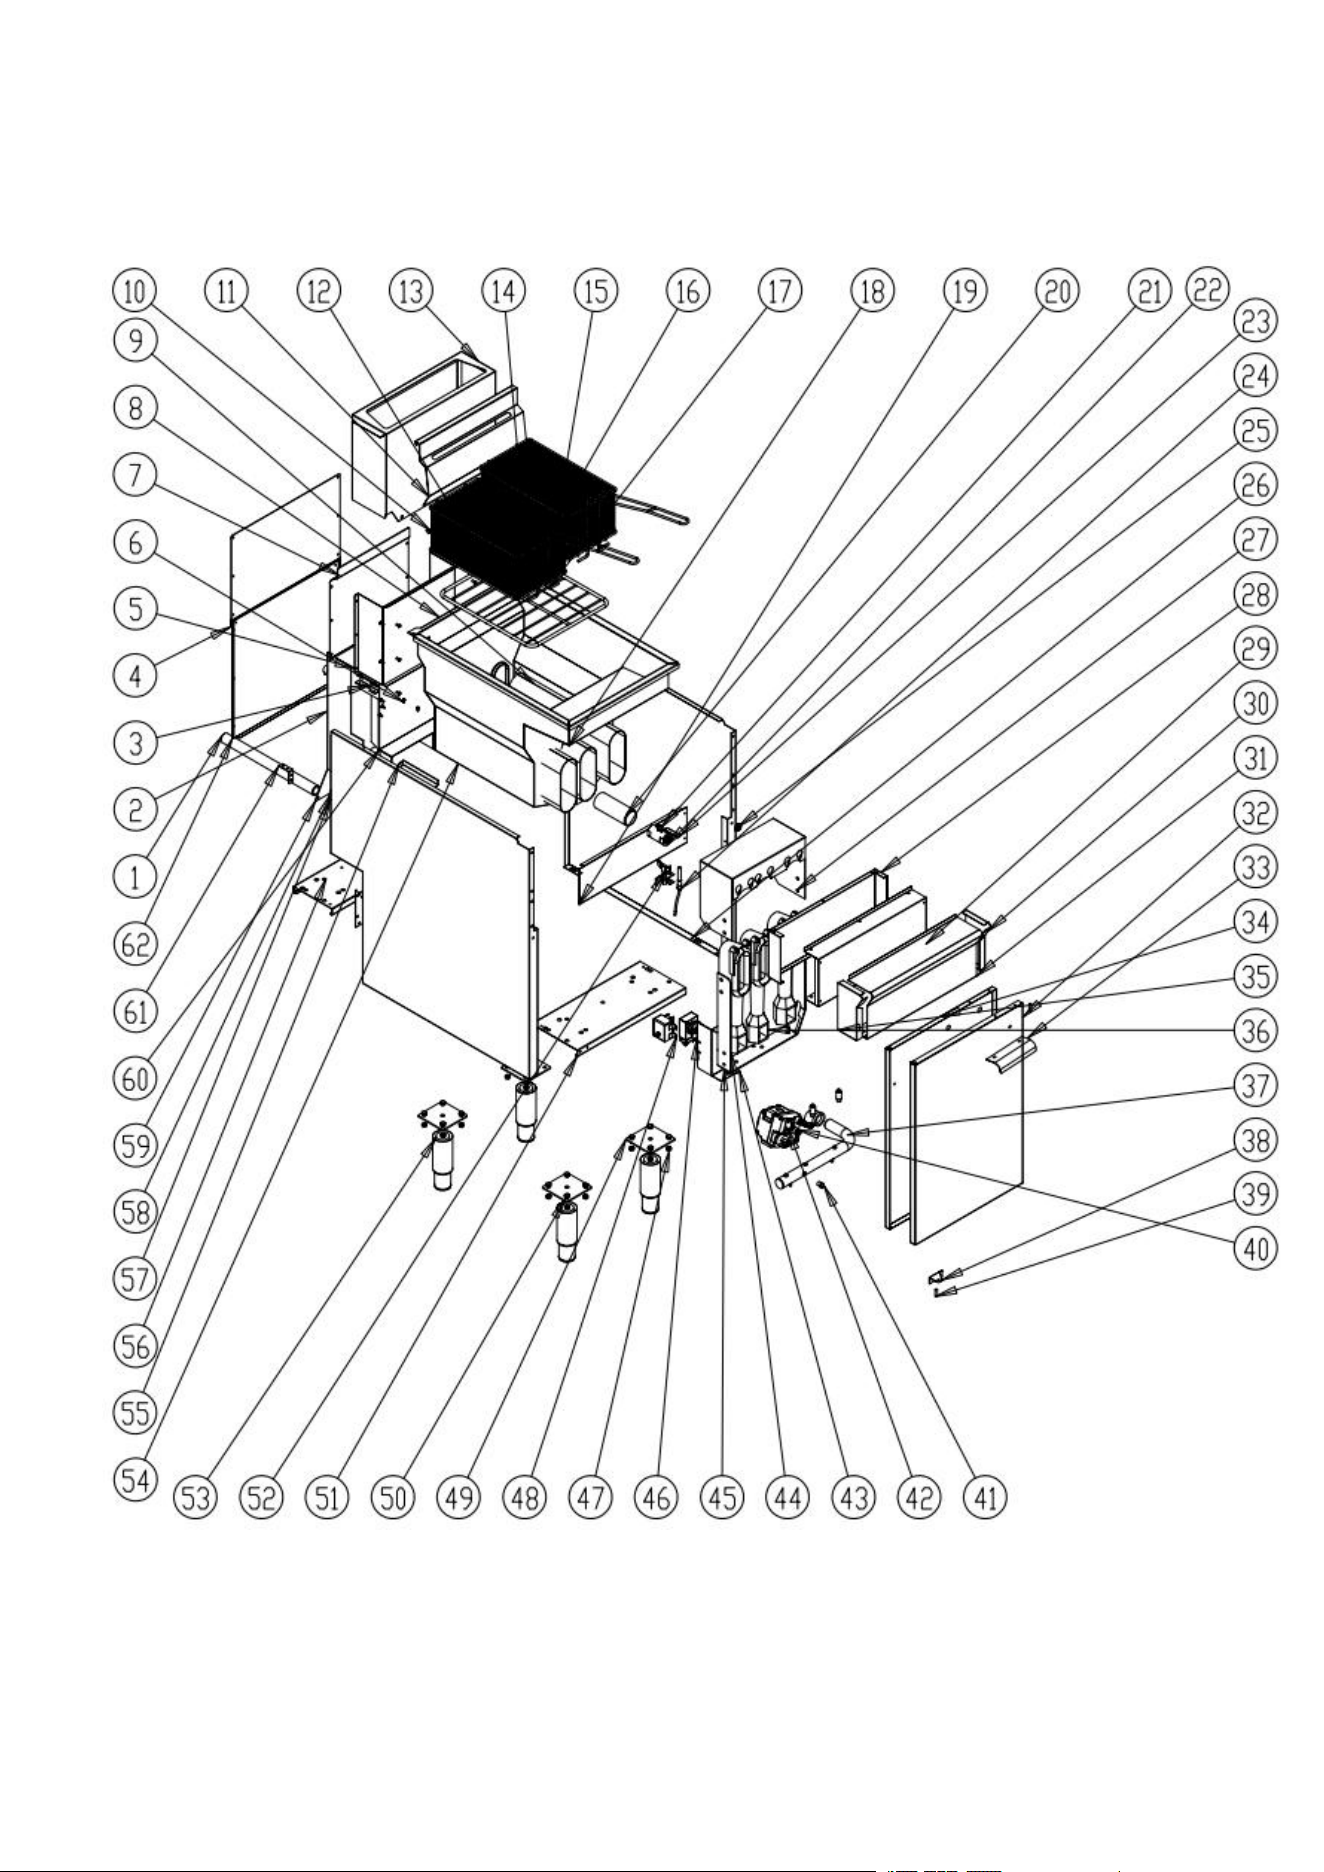
Exploded Drawing
11
Part List
Number
Description
Number
Description
1
Inlet Pipe
32
Plate class
2
Plate class
33
Handle
3
Plate class
34
Plate class
4
Plate class
35
Plate class
5
Plate class
36
Burner
6
M5 bolt
37
Gas-distributing pipe
7
Plate class
38
Plate class
8
Plate class
39
Door pivot
9
Flame tuber
40
Gas Valve
10
M4 screw M4
41
The test plug
11
Plate class
42
Nozzle
12
4X10 rivet
43
Support of thermostat
13
Plate class
44
Knob
14
Tube Screen Grate
45
Mounting rack of gas-distributing pipe
15
Plate class
46
Thermostat
16
Fryer Basket
47
Nut
17
Handle
48
Temperature limiter
18
Plate class
49
Leg
19
Plate class
50
M8 bolt
20
Oil Drain Extension Pipe
51
Plate class
21
Ball of the drain valve
52
Holder of pilot
22
Oil Drain Valve
53
Leg
23
Oil Drain Valve handle
54
Plate class
24
Thermocouple
55
Plate class
25
Magnet
56
Plate class
26
Plate class
57
Elbow
27
Plate class
58
Plate class
28
Plate class
59
Plate class
29
Plate class
60
Plate class
30
Plate class
61
Plate class
31
Plate class
62
Plate class