© 2017 Suncast Corporation, Batavia, IL 0361454A
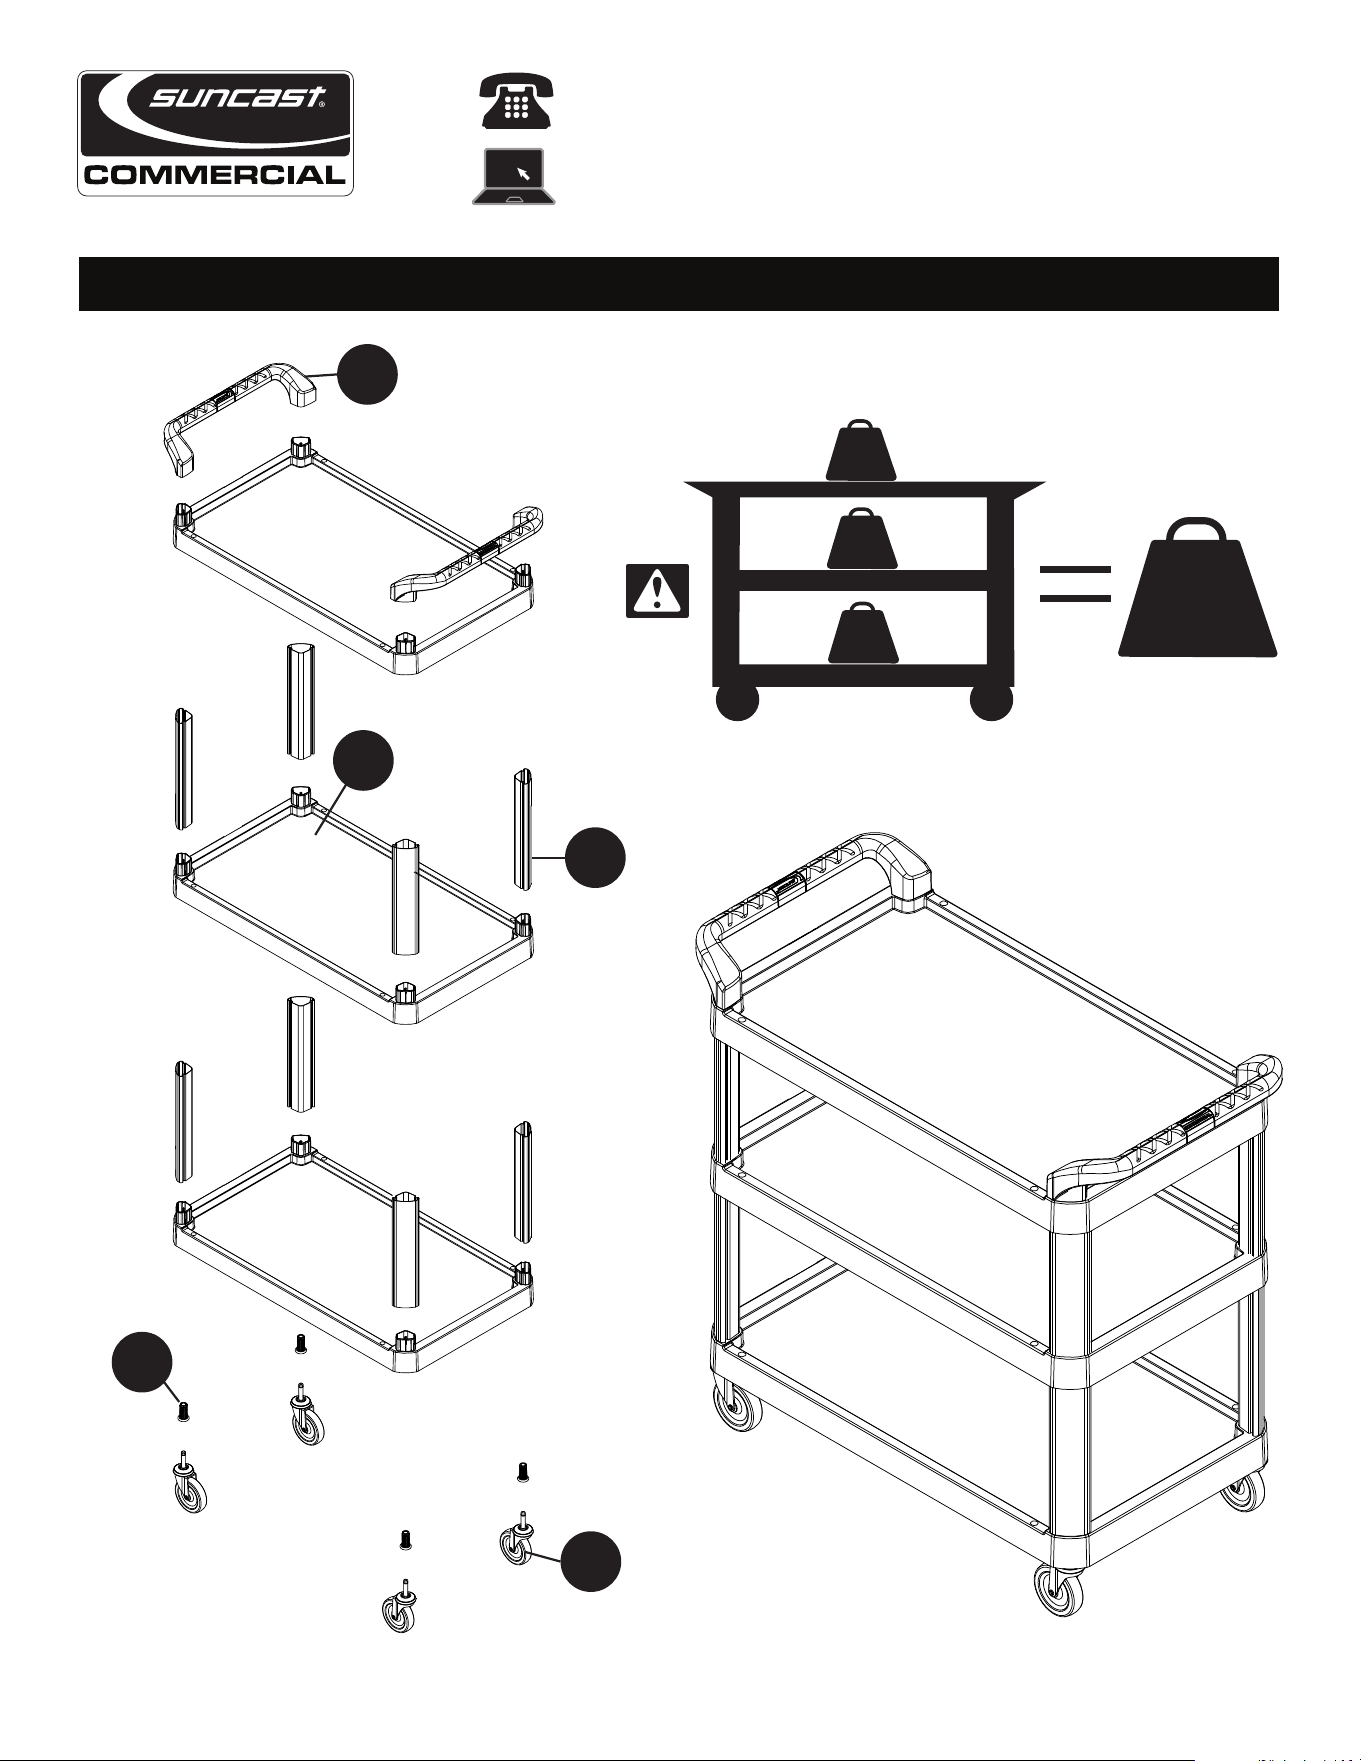
PARTS
To learn about other Suncast products, please call
1-855-477-1260 or 1-630-879-2050.
Product Feedback? Go To: Suncastcommercial.com/feedback
OR email us at: [email protected]
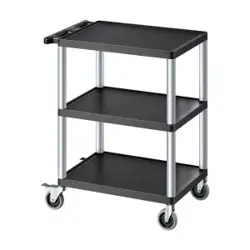
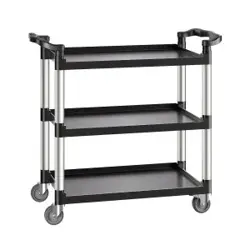
ITEM NUMBER: RC2030/RC2040
A
B
E
x8
x2
F
x4
G
x4
300
LBS
100
LBS.
135 kg.
46 kg.
100
LBS.
46 kg.
100
LBS.
46 kg.
Handle
0102481
RC2040 Tray
0102480
RC2030 Tray 0102486
Caster
0631753
Caster Socket
0102482
Corner Post
0631754
x3
2
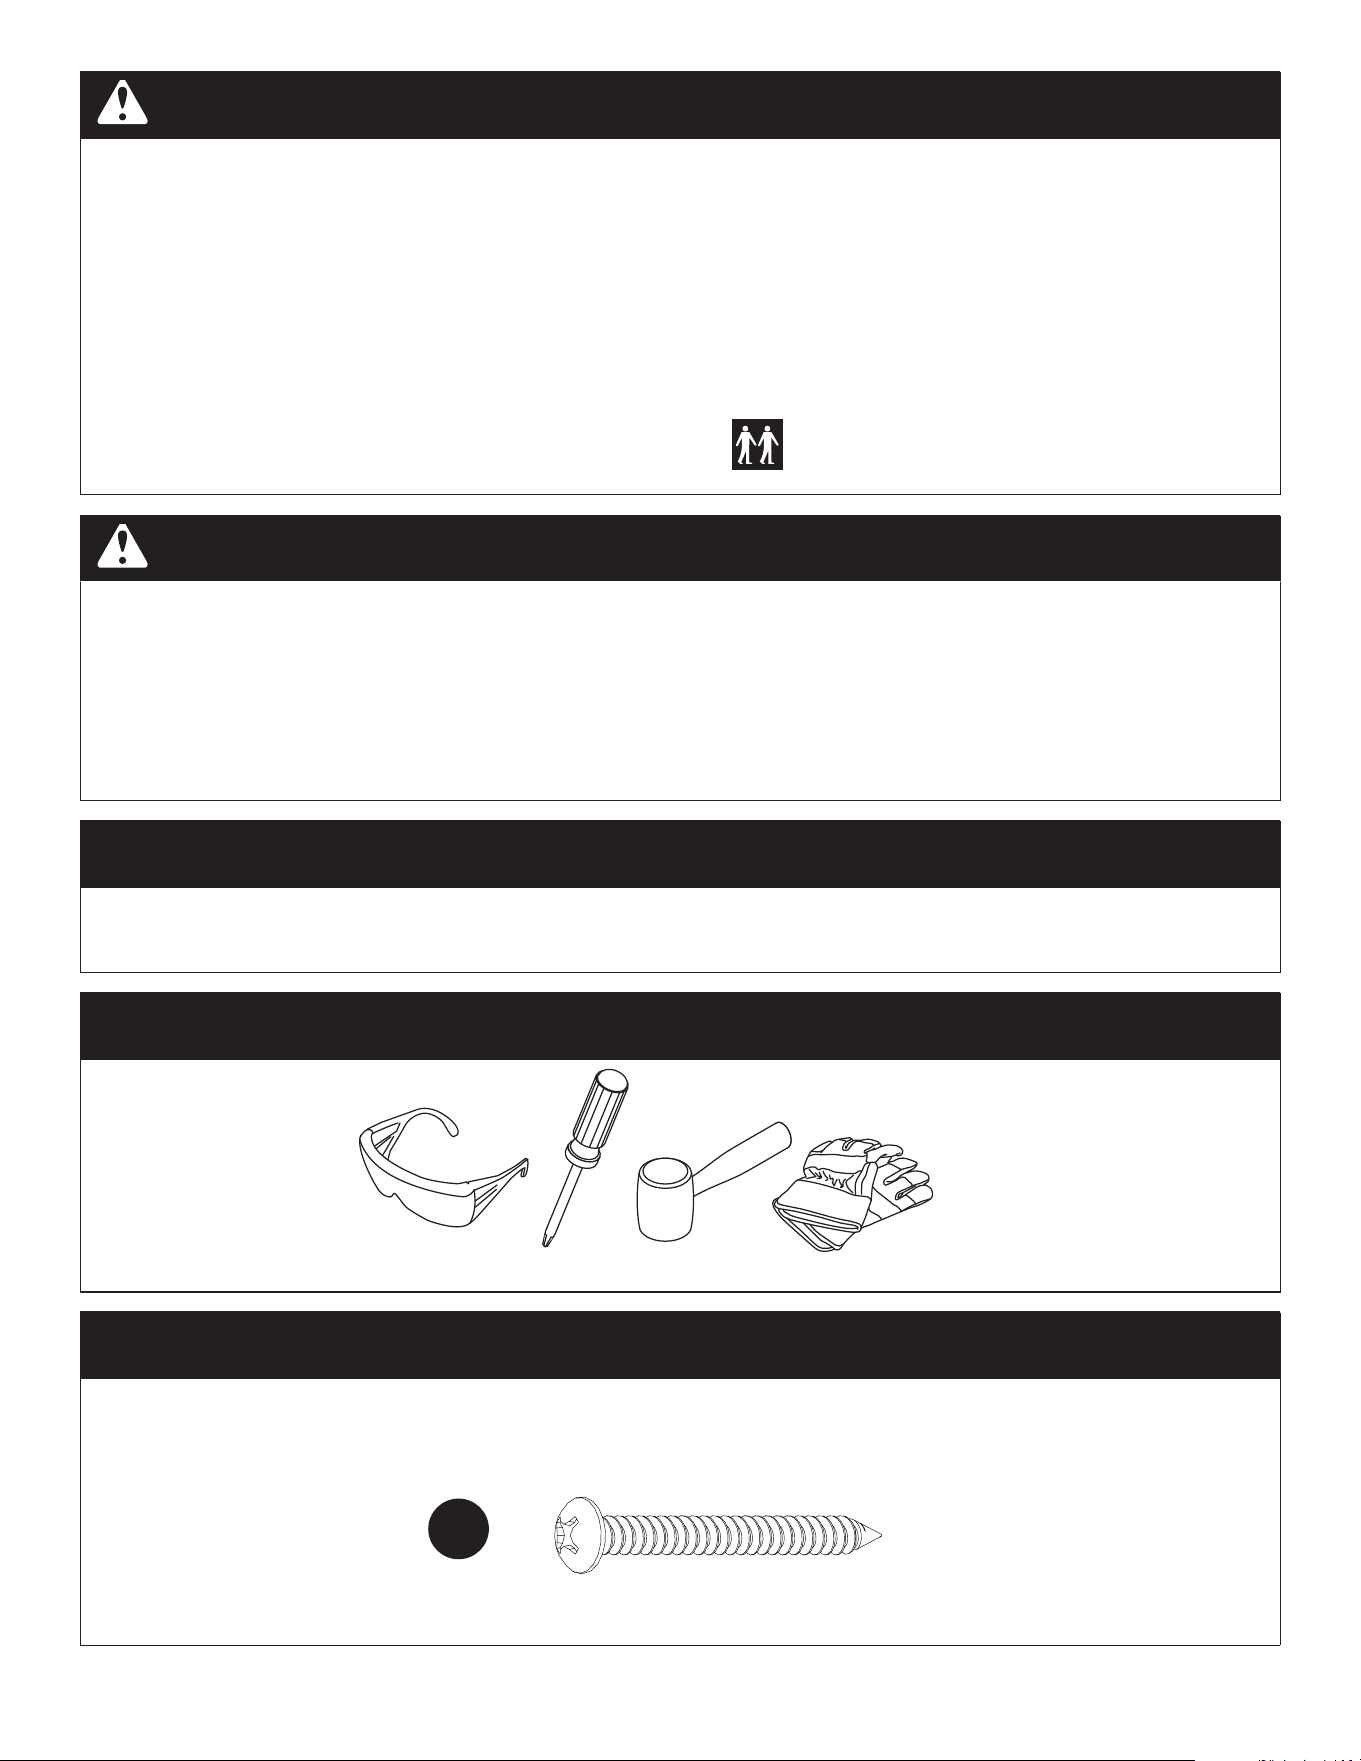
BEFORE YOU BEGI
N
• Read instructions thoroughly prior to assembly.
This kit contains parts that can be damaged if assembled incorrectly or in the wrong
sequence.
• Please follow instructions.
Suncast is not responsible for replacing parts lost or damaged due to incorrect assembly.
• Check for all parts before you begin assembly.
Using the provided parts check list, verify that you have all the parts required to construct
your cart.
• Assistance is required during parts of the assembly.
CAUTION
• This product is not a toy and is not intended for use by children.
• Exercise caution when moving fully loaded product.
• Do not sit or stand on top.
• This contains parts that can be damaged if assembled incorrectly or in the wrong sequence.
Repair or replace broken parts immediately.
• Max load is 300 lbs. 100 lbs. per tray.
CARE INSTRUCTIONS
• We recommend cleaning your product with soap and water. Rinse and dry well before using.
TOOLS NEEDED
HARDWARE NEEDED
C
x4
0480448
3
2
B
G
x4
3
E
x4
B
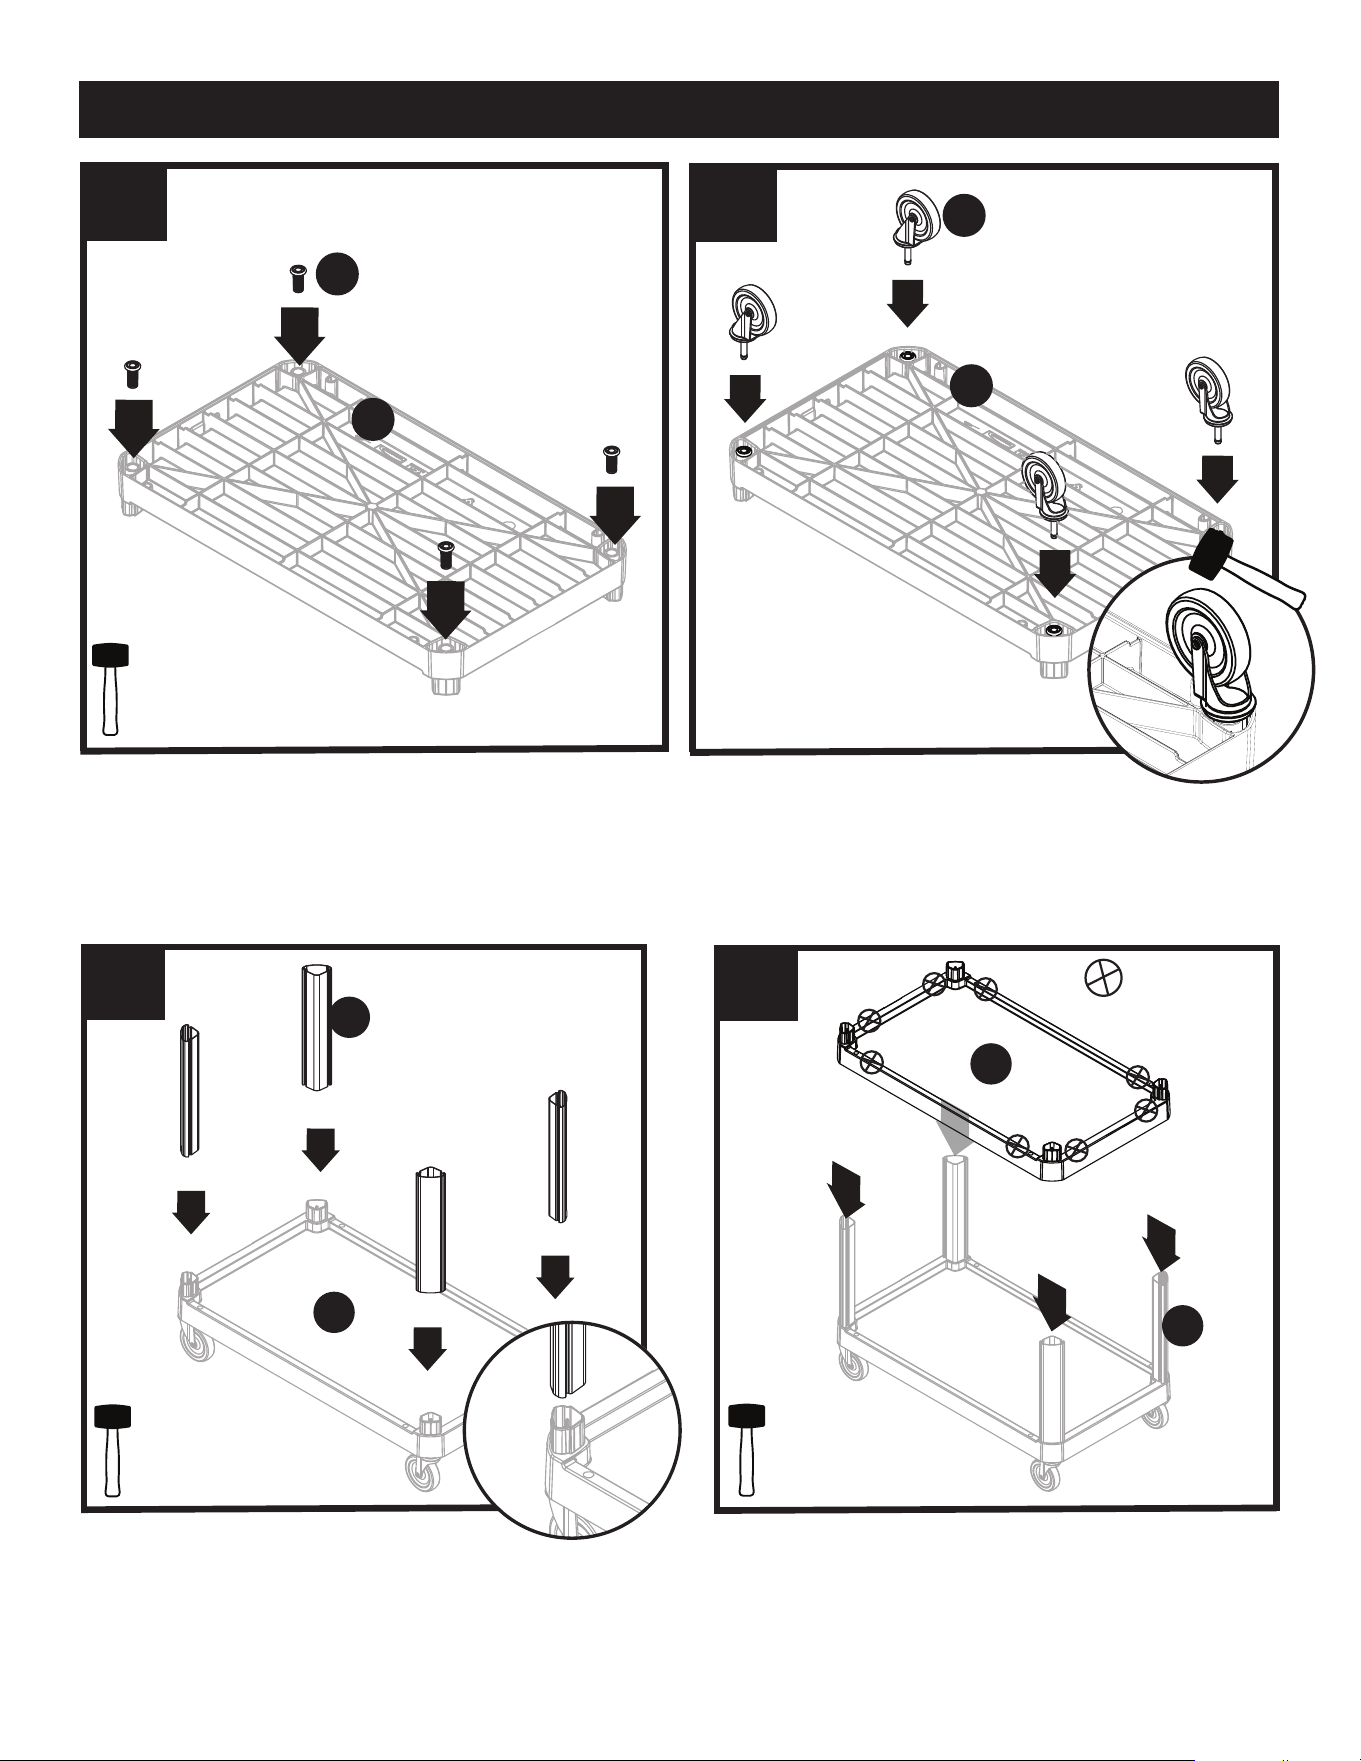
ASSEMBLY
Insert Caster (G) into corner hole in bottom of tray (B).
Repeat for each corner of tray. Evenly tap each wheel with
mallet until fully seated and secure. Turn tray right side up.
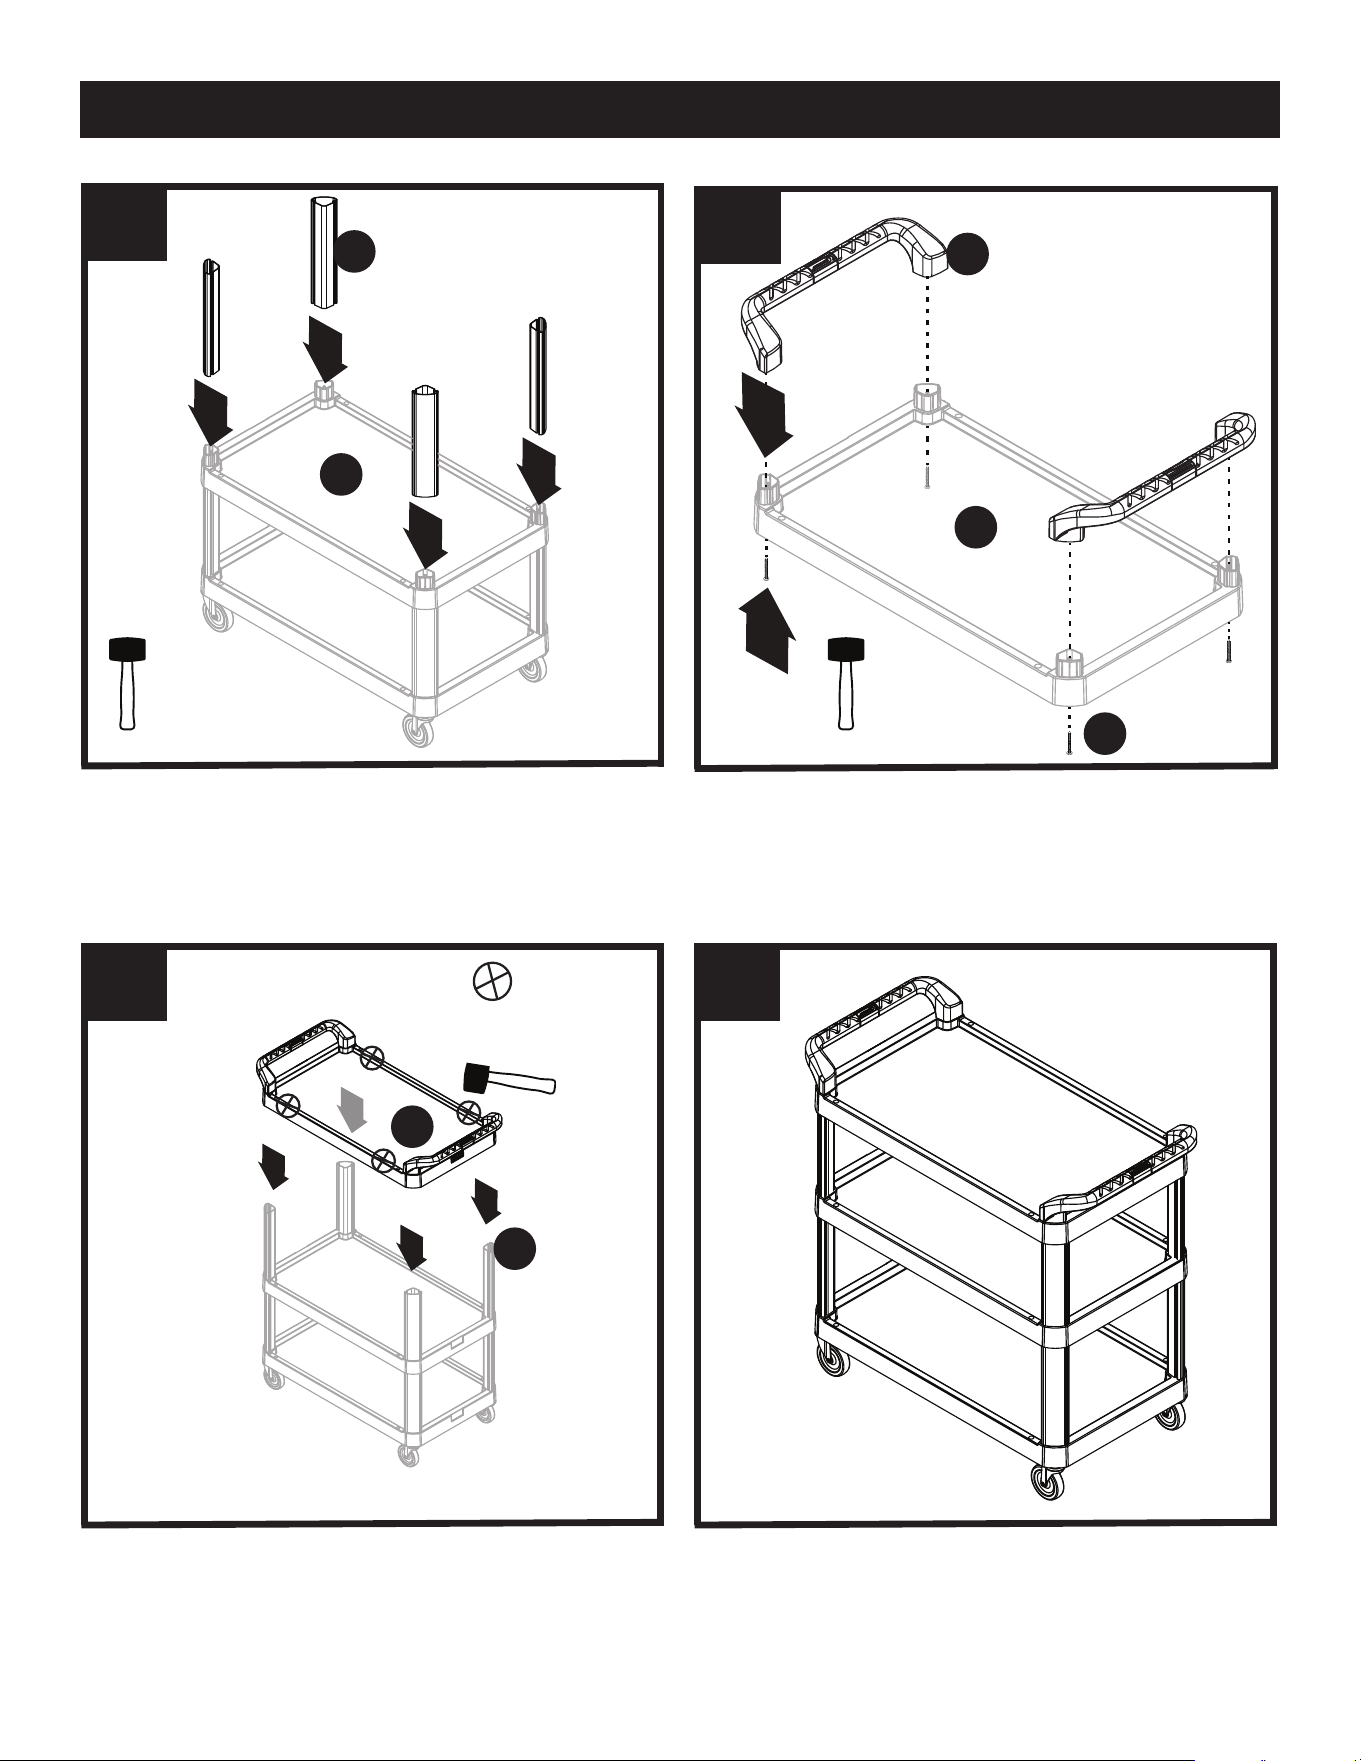
Lower each corner post (E) onto tray (B). For proper
alignment, first push down by hand. Then, evenly tap each
post with mallet until fully seated and secure.
1
B
F
x4
Insert Caster Socket (F) into each corner in bottom tray (B).
Evenly tap each caster socket with mallet until fully seated
and secure.
Tap here
4
B
E
Lower middle tray (B) and insert on top of corner posts (E).
First, push down all four corners evenly by hand. Then,
evenly tap with mallet on locations indicated until fully seated
and secure.
Caution: Mallet should not be used directly on corners.
ASSEMBLY CONTINUED
4
5
E
x4
B
B
E
Tap here
7 8
Complete
6
A
x2
B
C
x4
Insert handle (A) onto tray (B). Gently tap each handle
corner with mallet to secure handle (A) to tray (B). Attach
using 4 screws (C).
Lower each corner post (E) onto tray (B). For proper
alignment, first push down by hand. Then, evenly tap each
post with mallet until fully seated and secure.
Lower top tray (B) and insert on top of corner posts (E).
First, push down all four corners evenly by hand. Then,
evenly tap with mallet on locations indicated until fully seated
and secure.
Caution: Mallet should not be used directly on corners.