LBSI
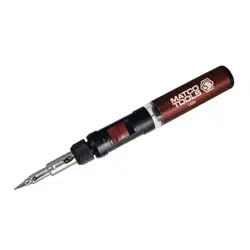
HIERRO O CAUTIN PARA SOLDAR CON BARRIL LARGO
LONG BARREL SOLDERING IRON
Please read the following operational and included
safety information before using this item.
Por favor lea la siguiente información operativa
por completo antes de usar este artículo.
Veuillez lire les informations d'exploitation et les
informations de sécurité suivantes avant d'utiliser cet
article.
1703087-14
Made in Taiwan
to Matco specifications
Matco Tools
Stow, Ohio 44224
www.matcotools.com
IGNITION
1. Make sure the exhaust vent is facing upward to
avoid damage to tabletop.
2. Press the safety lock button and, simultaneously
using your thumb, pull down on the trigger. This
action will ignite the soldering iron.
3. Hold the ignition button and release the safety lock
button. Move the continuous flame switch to right
for a constant flame.
EXTINGUISHING
Move the continuous flame switch to left, and this
will cut off the gas supply and extinguish the flame.
HOT BLOWER
Disassemble the soldering tip by rotating the tip
counterclockwise. The torch will now be used as hot
blower without the soldering tip. Operation will be
the same as above for the soldering iron.
PENCIL TORCH
Disassemble the soldering housing by rotating the
assembly lock counterclockwise. Take off the
soldering housing with the tip attached and install
the metal sleeve back onto the torch. Operation will
be the same as above for the soldering iron.
FLAME ADJUSTMENT
Move the adjustment lever to the right to increase
the flame strength, or left to decrease the flame
strength. When the flame is at “+” position, the
longer flame may cause the torch to flare out of the
exhaust port, or even extinguish. In this situation,
please move the gas adjustment lever to the “-” side
to decrease the flame strength and adjust the flame
for the most effective use.
GAS REFILLING
• Upon initial use, the torch requires gas charging.
Please use high quality butane (gas used by lighters).
WARNING: Refilling must be done in well-ventilated
area away from flames or sparks.
• Before filling, make sure the torch is off and the
flame is out.
• Let torch cool 5 minutes before refilling.
• Hold the torch upside down. Insert and press down
the gas cylinders nozzle into the gas filling valve.
• A complete fill takes about 5-10 seconds.
• Stop refilling once gas starts to overflow.
• Please allow the fuel to stabilize for a few minutes
before lighting the torch.
ENCENDIDO
1. Asegúrese de que el conducto de ventilación esté
orientado hacia arriba para evitar daños en el tablero
de la mesa.
2. Presione el botón de bloqueo de seguridad y
simultáneamente con el pulgar, tire hacia abajo del
gatillo. Esta acción encenderá el hierro de soldar.
3. Sujete el botón de encendido y suelte el botón de
bloqueo de seguridad. Mueva la llama continua a la
derecha para una llama constante.
EXTINGUIR
Mueva el interruptor de llama continuo a la izquierda, y
esto cortará el suministro de gas y extinguirá la llama.
VENTILADOR CALIENTE
Desmonte la punta de soldadura girando la punta en
sentido contrario a las manecillas del reloj. La antorcha
se utilizará ahora como soplador caliente sin la punta de
soldadura. La operación será la misma que la anterior
para soldar.
TORCHA DE LÁPIZ
Desmonte la carcasa de soldadura girando la cerradura
en sentido contrario a las agujas del reloj. Retire la caja
de soldadura con la punta conectada e instale la funda
metálica de nuevo en la antorcha. La operación será la
misma que la anterior para soldar.
AJUSTE DE LLAMA
Mueva la palanca de ajuste hacia la derecha para aumentar
la resistencia de la llama o hacia la izquierda para disminuir
la resistencia de la llama. Cuando la llama está en la posición
"+", la llama más larga puede hacer que la antorcha salte
fuera del puerto de escape, o incluso que se extinga. En
esta situación, mueva la palanca de ajuste de gas hacia el
lado "-" para disminuir la resistencia de la llama y ajustar
la llama para uso más efectivo.
RECARGA DE GAS
• En el uso inicial, la antorcha requiere la carga de gas.
Utilice butano de alta calidad (gas utilizado por encendedores).
ADVERTENCIA: El relleno debe realizarse en un área bien
ventilada, lejos de llamas o chispas.
• Antes del llenado, asegúrese de que la antorcha esté
apagada así como también la llama.
• Dejar enfriar la antorcha 5 minutos antes de rellenar.
• Sostenga la antorcha boca abajo. Inserte y presione
hacia abajo la boquilla de los cilindros de gas en la
válvula de llenado de gas.
• Un relleno completo tarda unos 5 a 10 segundos.
• Deje de rellenar una vez que el gas comience a
desbordarse.
• Permita que el combustible se estabilice durante unos
minutos antes de encender la antorcha.
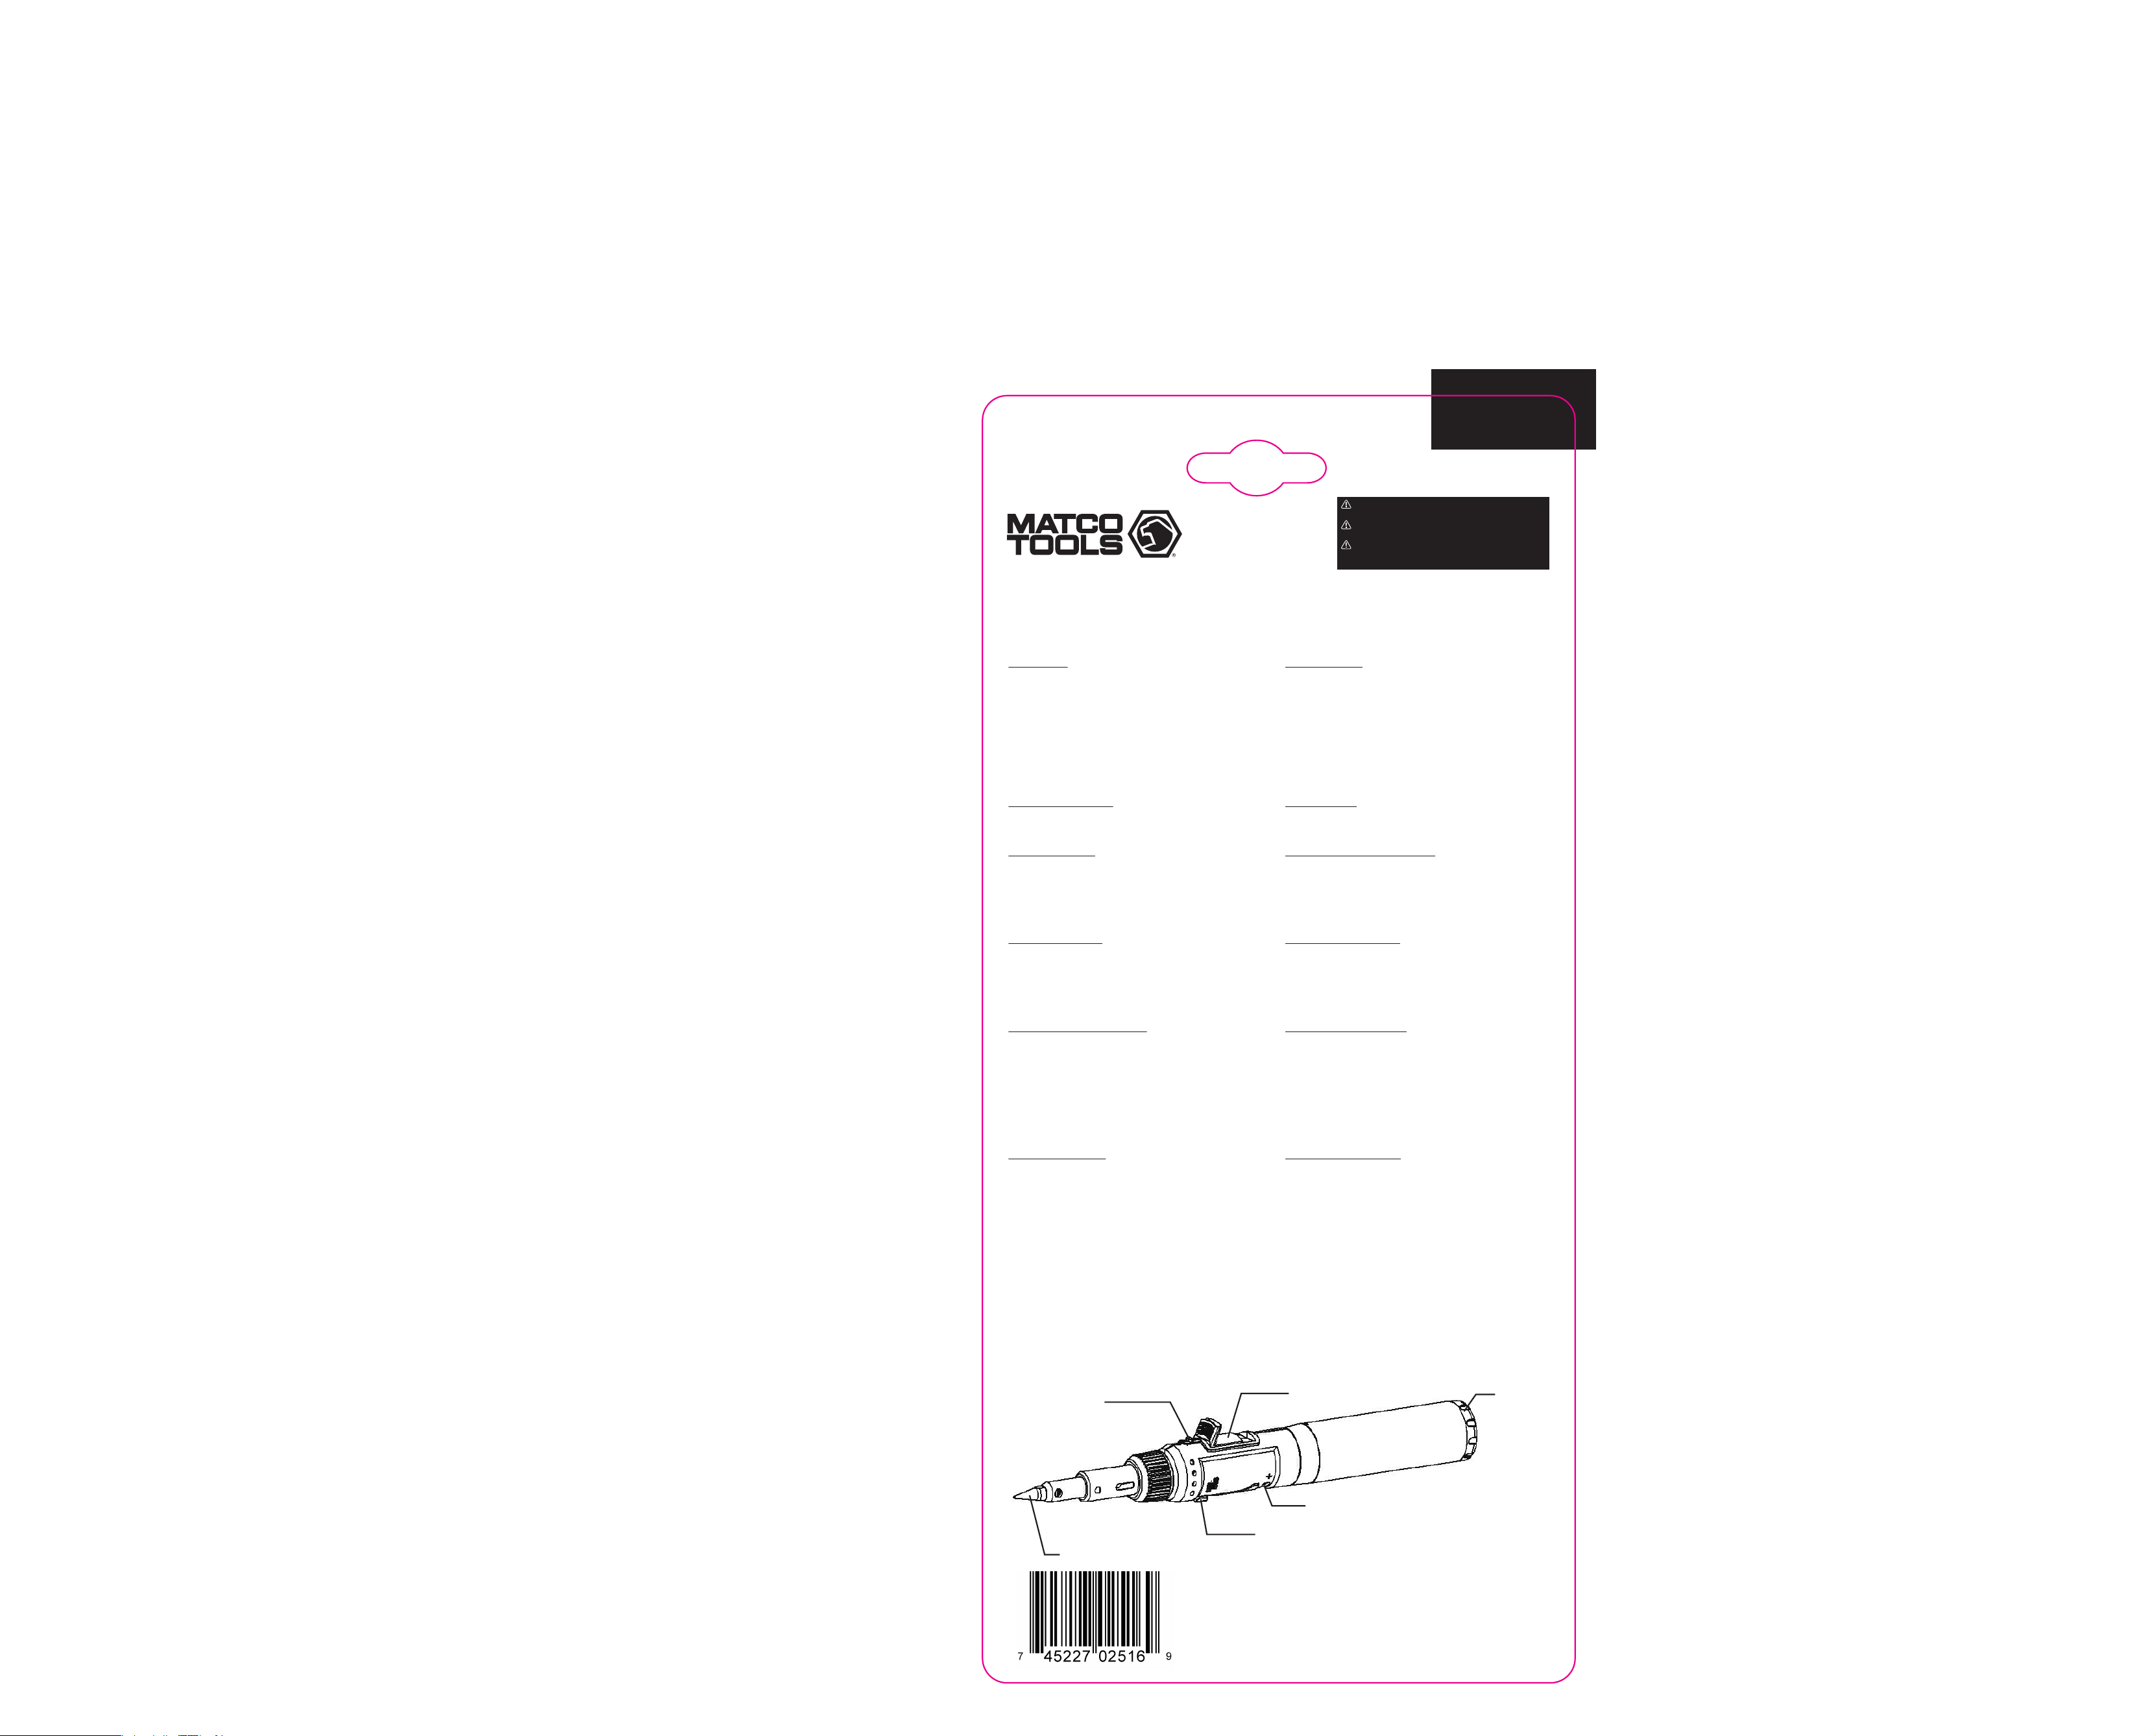
SAFETY LATCH
SOLDERING IRON TIP
CONTINUOUS FLAME SWITCH
GAS ADJUSTMENT DIAL
TRIGGER
REFILLING
VALVE