Thank you for purchasing a Sealey product. Manufactured to a high standard, this product will, if used according to these
instructions, and properly maintained, give you years of trouble free performance.
IMPORTANT: PLEASE READ THESE INSTRUCTIONS CAREFULLY. NOTE THE SAFE OPERATIONAL REQUIREMENTS, WARNINGS & CAUTIONS. USE
THE PRODUCT CORRECTLY AND WITH CARE FOR THE PURPOSE FOR WHICH IT IS INTENDED. FAILURE TO DO SO MAY CAUSE DAMAGE AND/OR
PERSONAL INJURY AND WILL INVALIDATE THE WARRANTY. KEEP THESE INSTRUCTIONS SAFE FOR FUTURE USE.
1. SAFETY
WARNING! Ensure Health & Safety, local authority and general workshop practice regulations are adhered to when using this
equipment.
9 Familiarise yourself with the applications, limitations and potential hazards of this spring compressor.
9 Maintain the spring compressor in good condition. Replace or repair damaged parts. Use genuine parts only. Unauthorised parts may
be dangerous and will invalidate the warranty.
9 Keep the work area clean, uncluttered and ensure there is adequate lighting.
WARNING! Wear approved safety eye protection (standard spectacles are not adequate).
9 Maintain correct balance and footing. Ensure the oor is not slippery and wear non-slip shoes.
9 Remove ill tting clothes. Remove ties, watches, rings and other loose jewellery. Contain or tie back long hair.
9 Wear appropriate protective clothing.
9 Keep children and unauthorised persons away from the working area.
9 Ensure jaws are correctly engaged on spring before commencing compression.
▲ DANGER! Stop compressing the spring before it becomes coil bound.
8 DO NOT leave compressed spring unattended.
8 DO NOT operate spring compressor if parts are damaged or missing as this may cause failure and/or personal injury.
8 DO NOT use the spring compressor for a task it was not designed to perform.
8 DO NOT allow untrained persons to use the spring compressor.
8 DO NOT operate spring compressor if you are tired, or under the inuence of alcohol, drugs or intoxicating medication.
9 When not in use clean and store the spring compressor in a safe, dry, childproof location.
WARNING! The warnings, cautions and instructions discussed in this manual cannot cover all possible conditions and situations that
may occur. It must be understood that common sense and caution are factors which cannot be built into this product, but must be
applied by the operator.
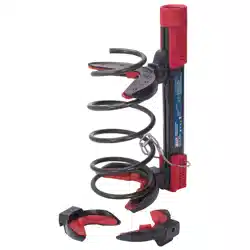
2. INTRODUCTION
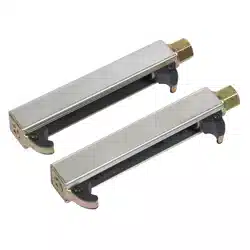
Professional right-handed coil spring compressor designed for use on MacPherson strut coil springs. 300mm Working area suitable for
spring diameters of Ø80-265mm. Supplied with two pairs of yokes. Plastic yoke protectors that protect the spring coating from damage,
which can invalidate the vehicle manufacturer’s guarantee. Safety yokes carefully shaped to stop the spring bowing while under
compression. Features safety clamp to securely hold spring in place whilst
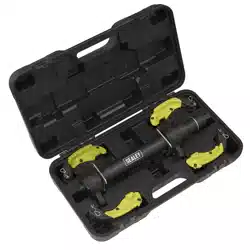
under tension. Supplied in storage case.
3. SPECIFICATION
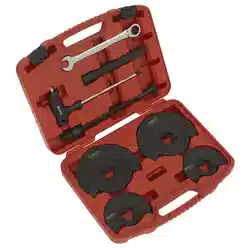
4. CONTENTS
5. ASSEMBLY
5.1. Each Coil Spring Yoke ts into the shoulder of the Main Piston Body.
5.2. Slide the pins through each of the Coil Spring Yokes as shown.
5.3. Attach the R Clips to secure the Coil Spring Yoke to the shoulders of the Main
Coil Piston Body. See g.1.
Original Language Version
© Jack Sealey Limited
Refer to
instructions
Wear protective
gloves
Wear safety
footwear
Wear a face
shield
Warning:
Pinch crush
hazard
RE250 Issue 1 18/12/24
MODEL NO: RE250
Model No: RE250
Nett Weight: 14.5kg
Warning stop
compressing spring
before it becomes
coil-bound
2300KG PROFESSIONAL COIL SPRING
COMPRESSOR SET, MACPHERSON STRUT COIL
SPRING, HEAVY-DUTY
2
5
4
3
1
12
1 RE250-1 Coil Spring Yoke (Bottom Left/Top Right).
2 RE250-2 Coil Spring Yoke (Bottom Right/Top Left).
3 RE250-3 R-Clip.
4 RE250-4 Pin.
5 RE250-5 Main Piston Body.
R Clip
Pin
Coil Spring
Yoke
FIG.1
6. OPERATION
WARNING! Ensure that you read, understand and apply safety instructions
before use.
6.1. PREPARATION
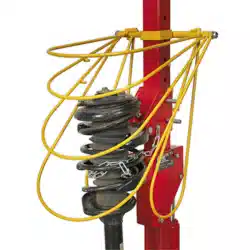
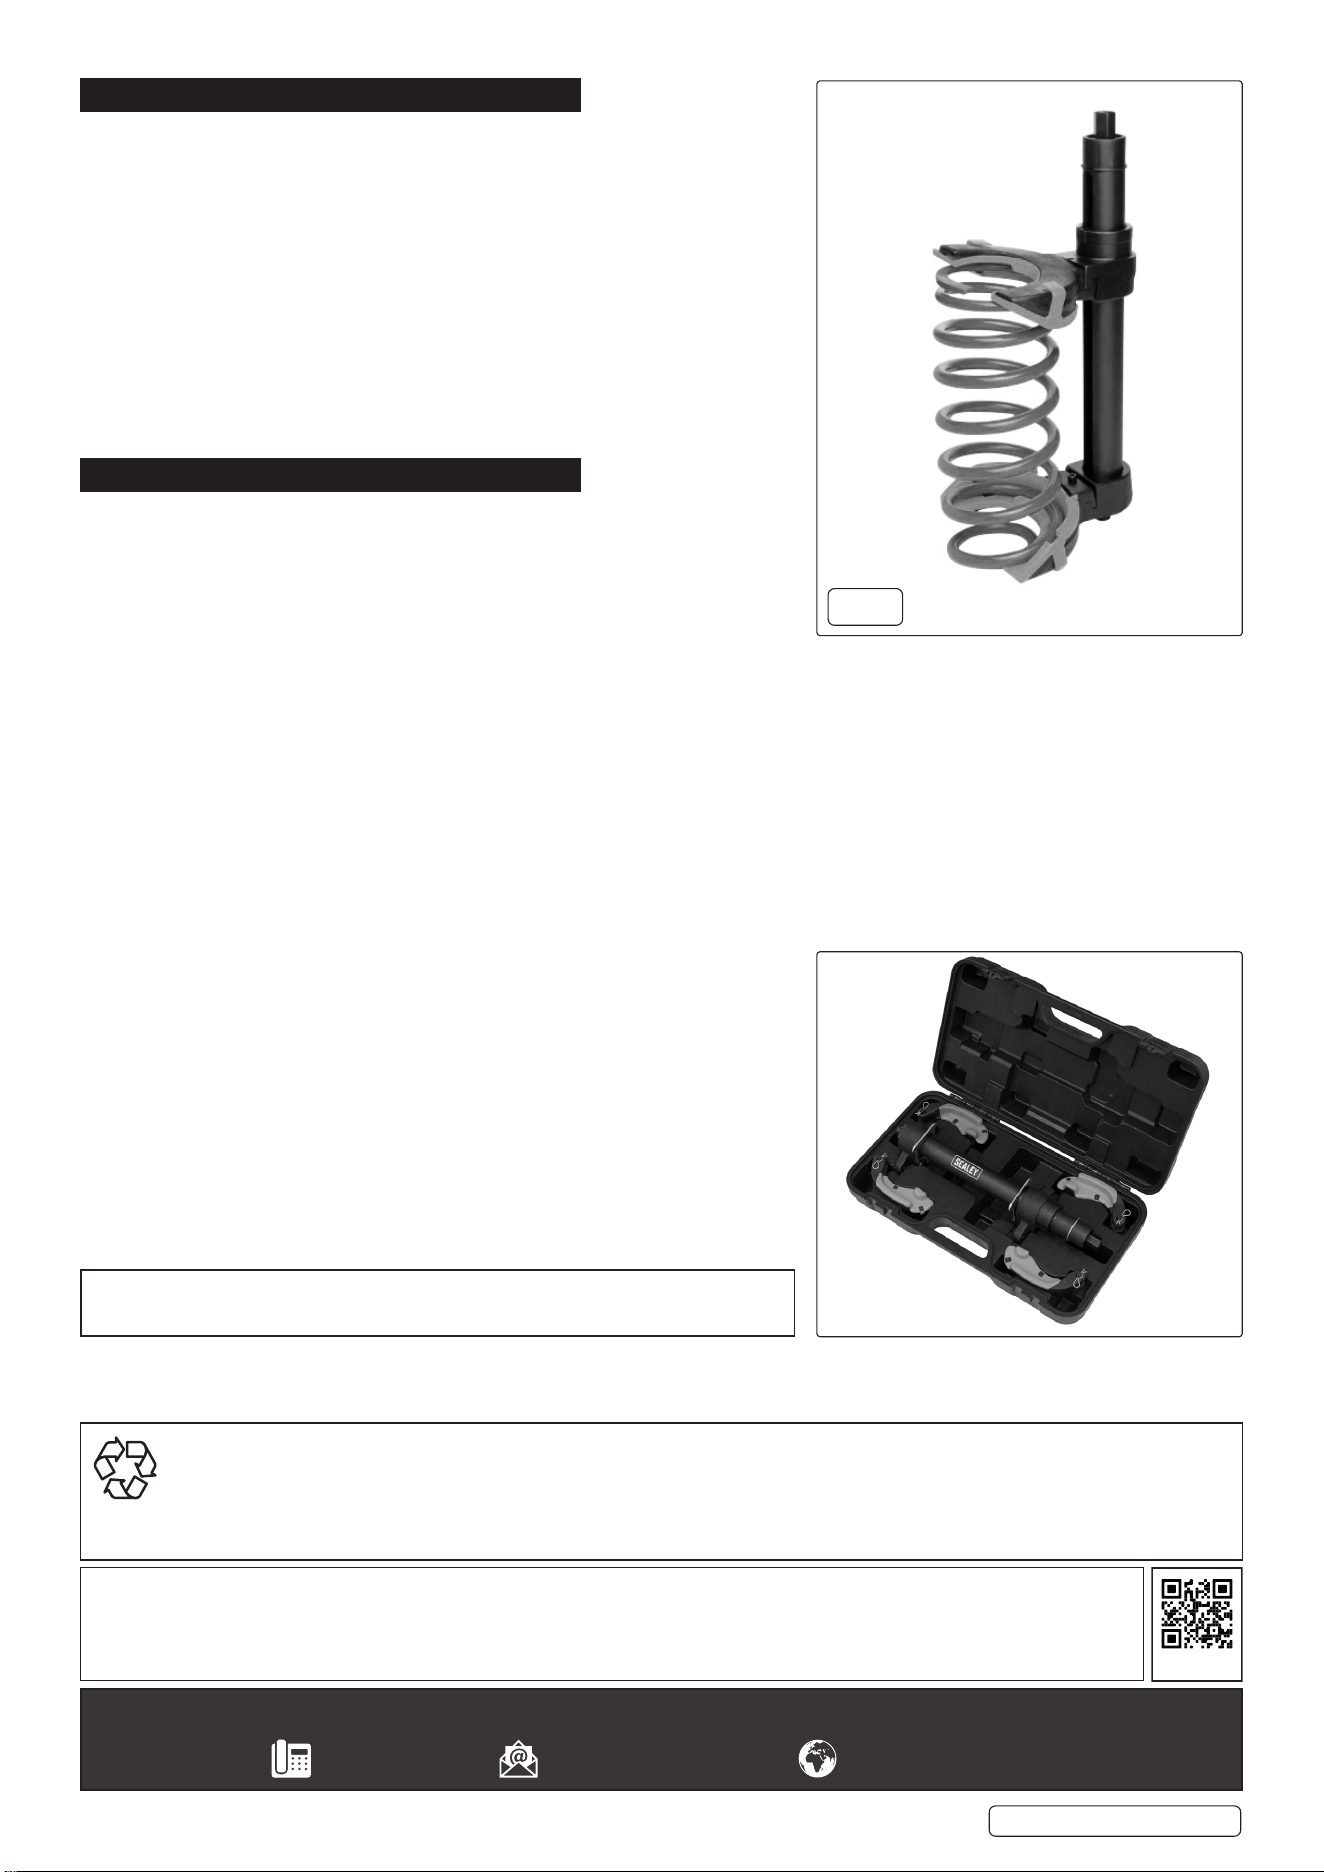
6.1.1. Attach the coil spring compressor on the outer coil spring. See g.2.
6.1.2. Engage the arms so both arms (Coil Spring Yokes) grip the coil towards the top
of the spring.
6.1.3. Insert the fork through the lowest coil possible, ensuring it straddles the screw
shaft and sits evenly on the coil.
6.1.4. Tighten spring compressor gradually using a spanner or ratchet to compress
the spring evenly.
6.1.5. Compress the spring just enough to free the pressure on the strut hat, allowing
removal and replacement of the spring.
6.2. TO DECOMPRESS A STRUT REMOVED FROM A VEHICLE
6.2.1. To decompress the spring, reverse the compress procedure.
7. MAINTENANCE
7.1. GENERAL MAINTENANCE.
7.1.1. Before each use check the coil spring compressor to ensure it is not damaged
or worn.
If suspect, DO NOT use the unit, but contact your local Sealey Stockists who
will be able to advise you regarding repair kits and spare parts.
7.1.2. Grease the coil spring compressor spindle as necessary, at least every six
months.
7.2. STORAGE
7.2.1. Keep the coil spring compressor clean, and when not in use, store in a safe,
dry, childproof location.
Original Language Version
© Jack Sealey Limited
Sealey Group, Kempson Way, Suffolk Business Park, Bury St Edmunds, Suffolk. IP32 7AR
01284 757500 sales@sealey.co.uk www.sealey.co.uk
ENVIRONMENT PROTECTION
Recycle unwanted materials instead of disposing of them as waste. All tools, accessories and packaging should be sorted, taken to
a recycling centre and disposed of in a manner which is compatible with the environment. When the product becomes completely
unserviceable and requires disposal, drain any fluids (if applicable) into approved containers and dispose of the product and fluids
according to local regulations.
Note: It is our policy to continually improve products and as such we reserve the right to alter data, specifications and component parts
without prior notice.
Important: No Liability is accepted for incorrect use of this product.
Warranty: Guarantee is 12 months from purchase date, proof of which is required for any claim.
REGISTER YOUR
PURCHASE HERE
RE250 Issue 1 04/12/24
Parts support is available for this product. To obtain a parts listing and/or diagram, please
log on to www.sealey.co.uk,
email sales@sealey.co.uk or phone 01284 757500.
FIG.2
Illustration only