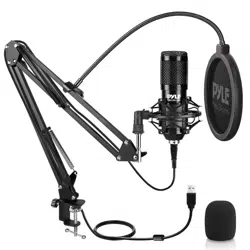

Computer Desktop Microphone
PDMIUSBMT300
4 Polar Patterns Streaming & Pro Audio Recording Mic
with Tripod Stand, Easy USB Plug-and-Play
(for Podcast Recording, Streaming, Gaming)
Questions? Issues?
We are here to help!
Phone: (1) 718-535-1800
Email: suppor[email protected]
www.PyleUSA.com2 www.PyleUSA.com 3
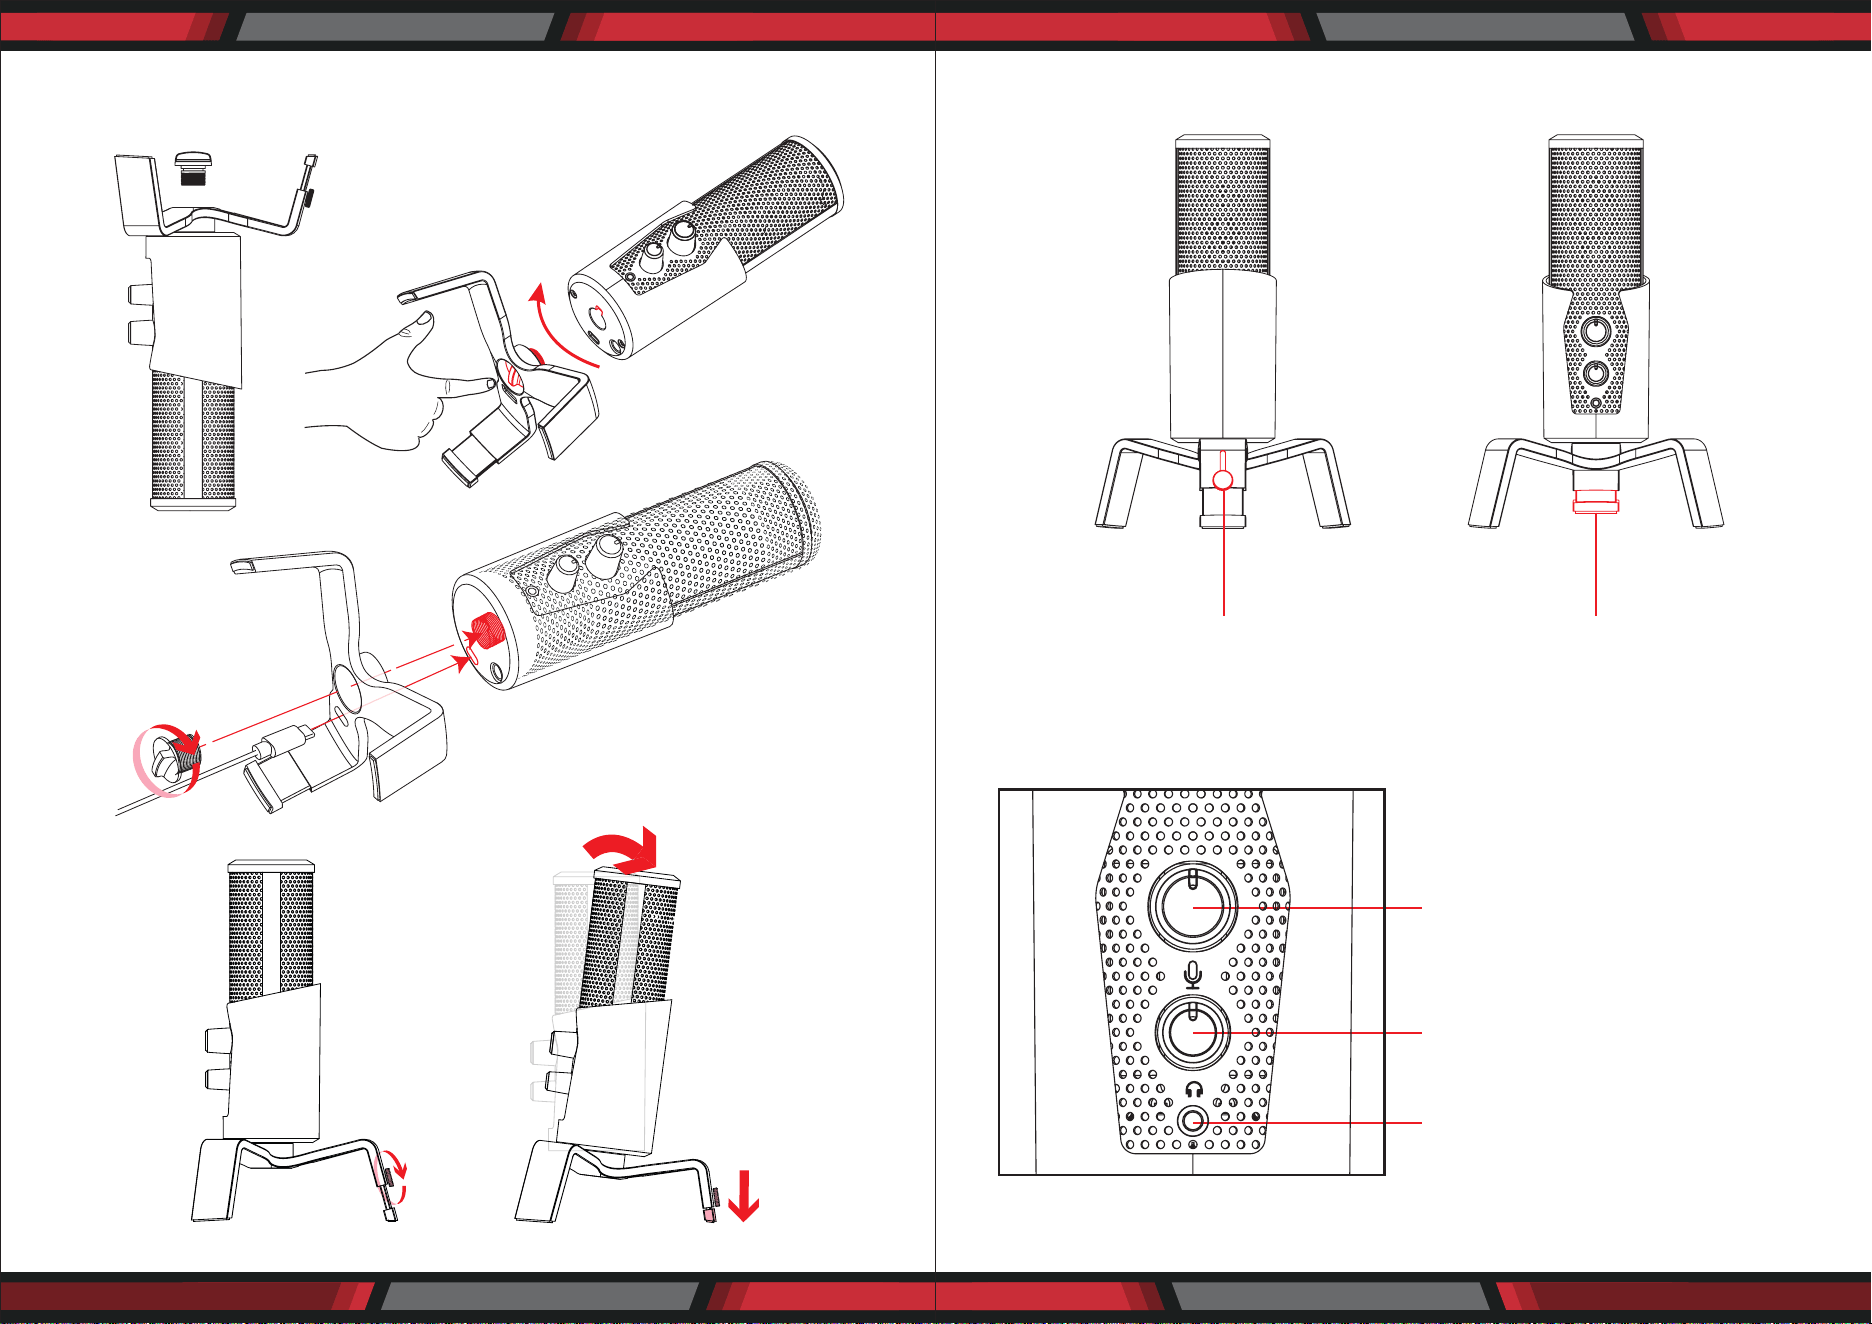
ASSEMBLY - ATTACHING THE STAND STAND ANGLE ADJUSTMENT
1. Twist knob counter-clockwise to loosen.
Adjust leg height and twist clockwise to lock position
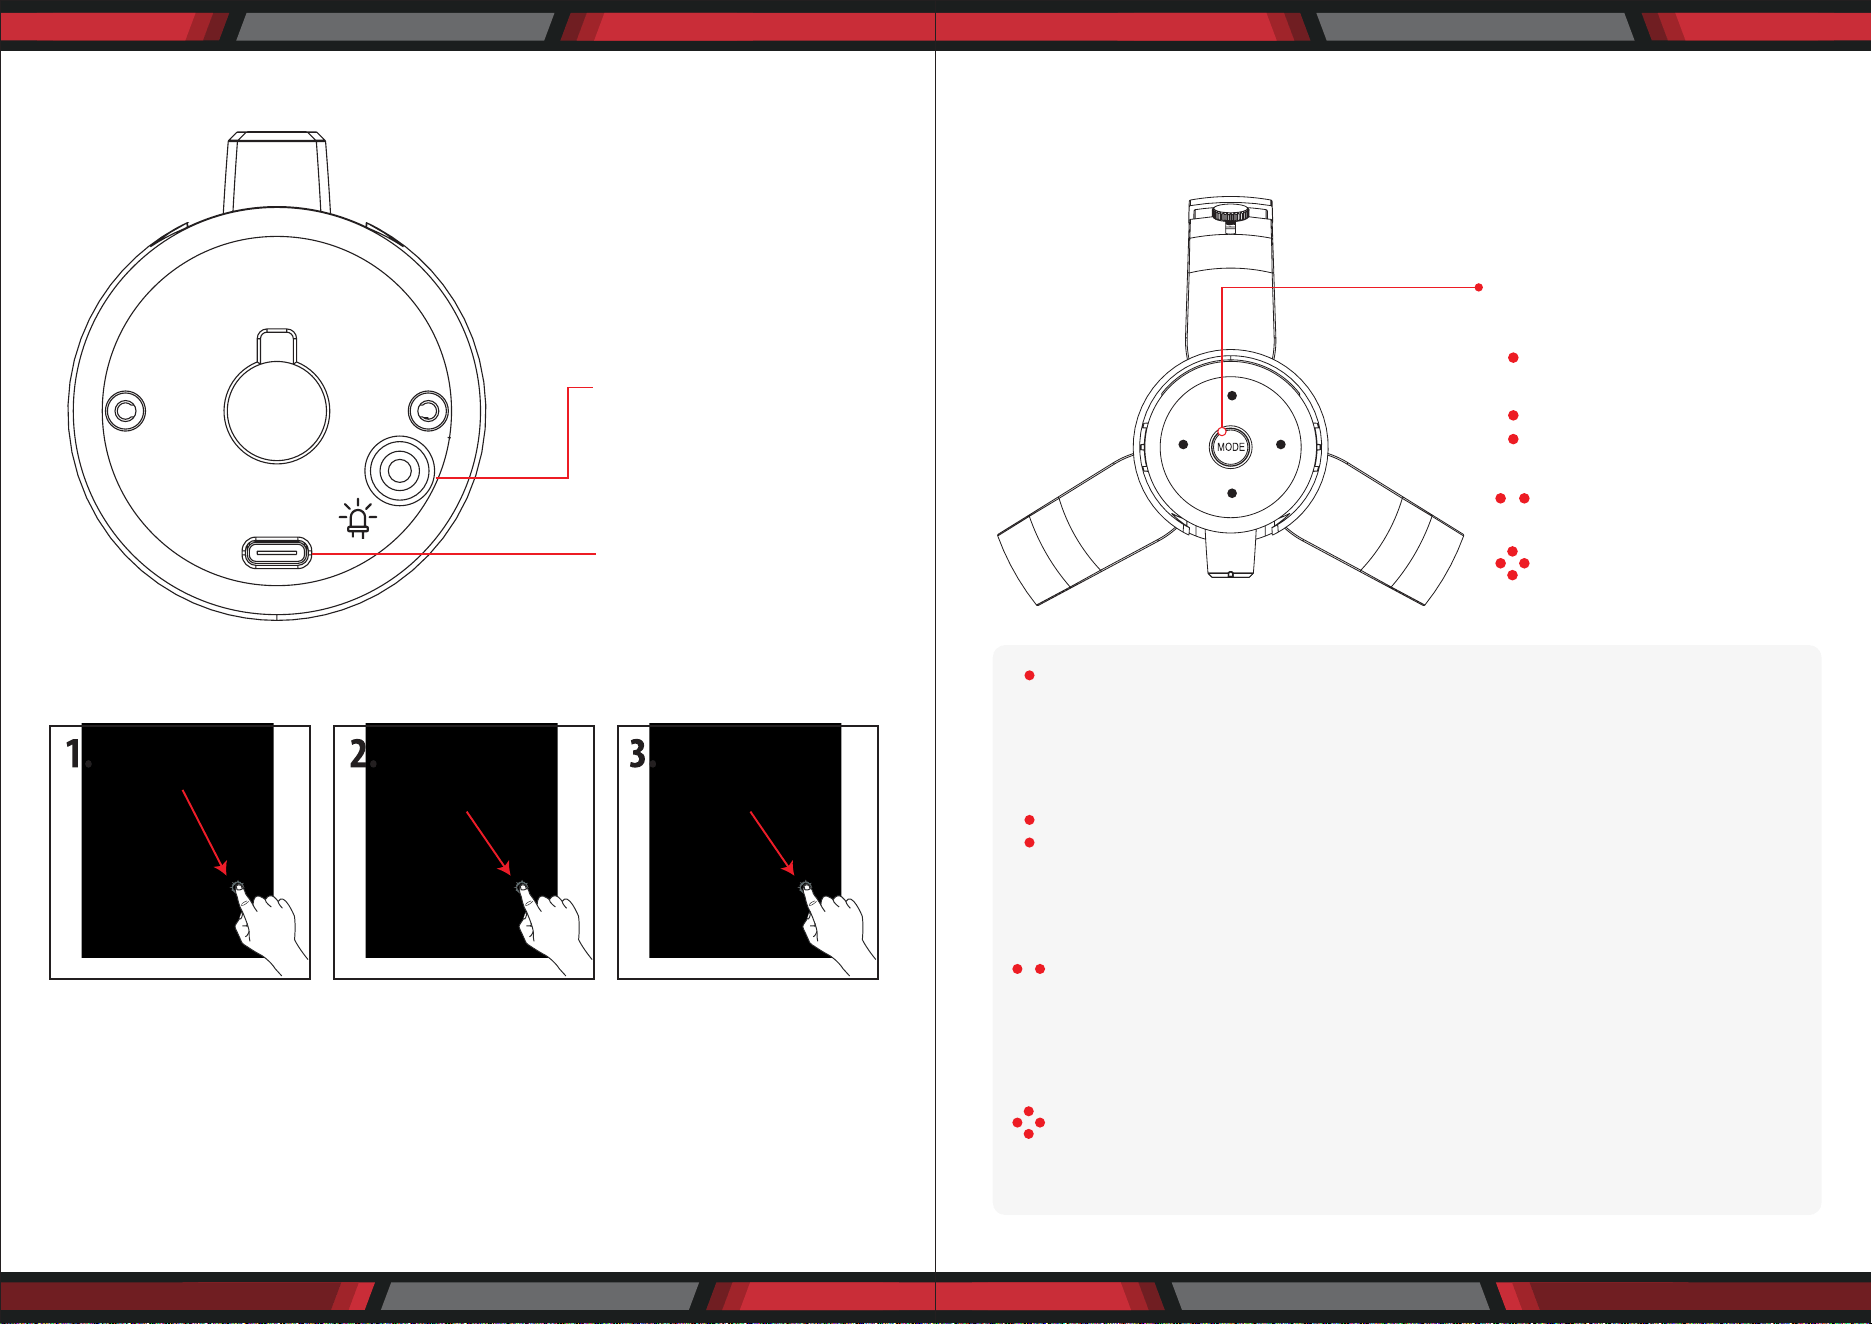
MICROPHONE FUNCTIONS
Dual Function Button
A. Turn left to right to increase gain
B. Press in to mute
(LED glows RED)
Headphone volume controller
Headphone (3.5mm input)
www.PyleUSA.com4 www.PyleUSA.com 5
MICROPHONE FUNCTIONS
LED CONTROLS
SELECT POLAR PATTERN
Press the Mode button to select dierent polar pattern settings.
LED lights will illuminate to show each pattern.
Multi-color Ambient
LED switch
Type C
(Connect to computer)
NORMAL MODE
Press this button to
change LED colors.
The LED will stay
illuminated.
ECO MODE
Hold this button
(for 3 sec) to turn the
LED function o.
RESET
Hold this button again
(3 sec.) to turn the LED
function back on.
(Normal mode)
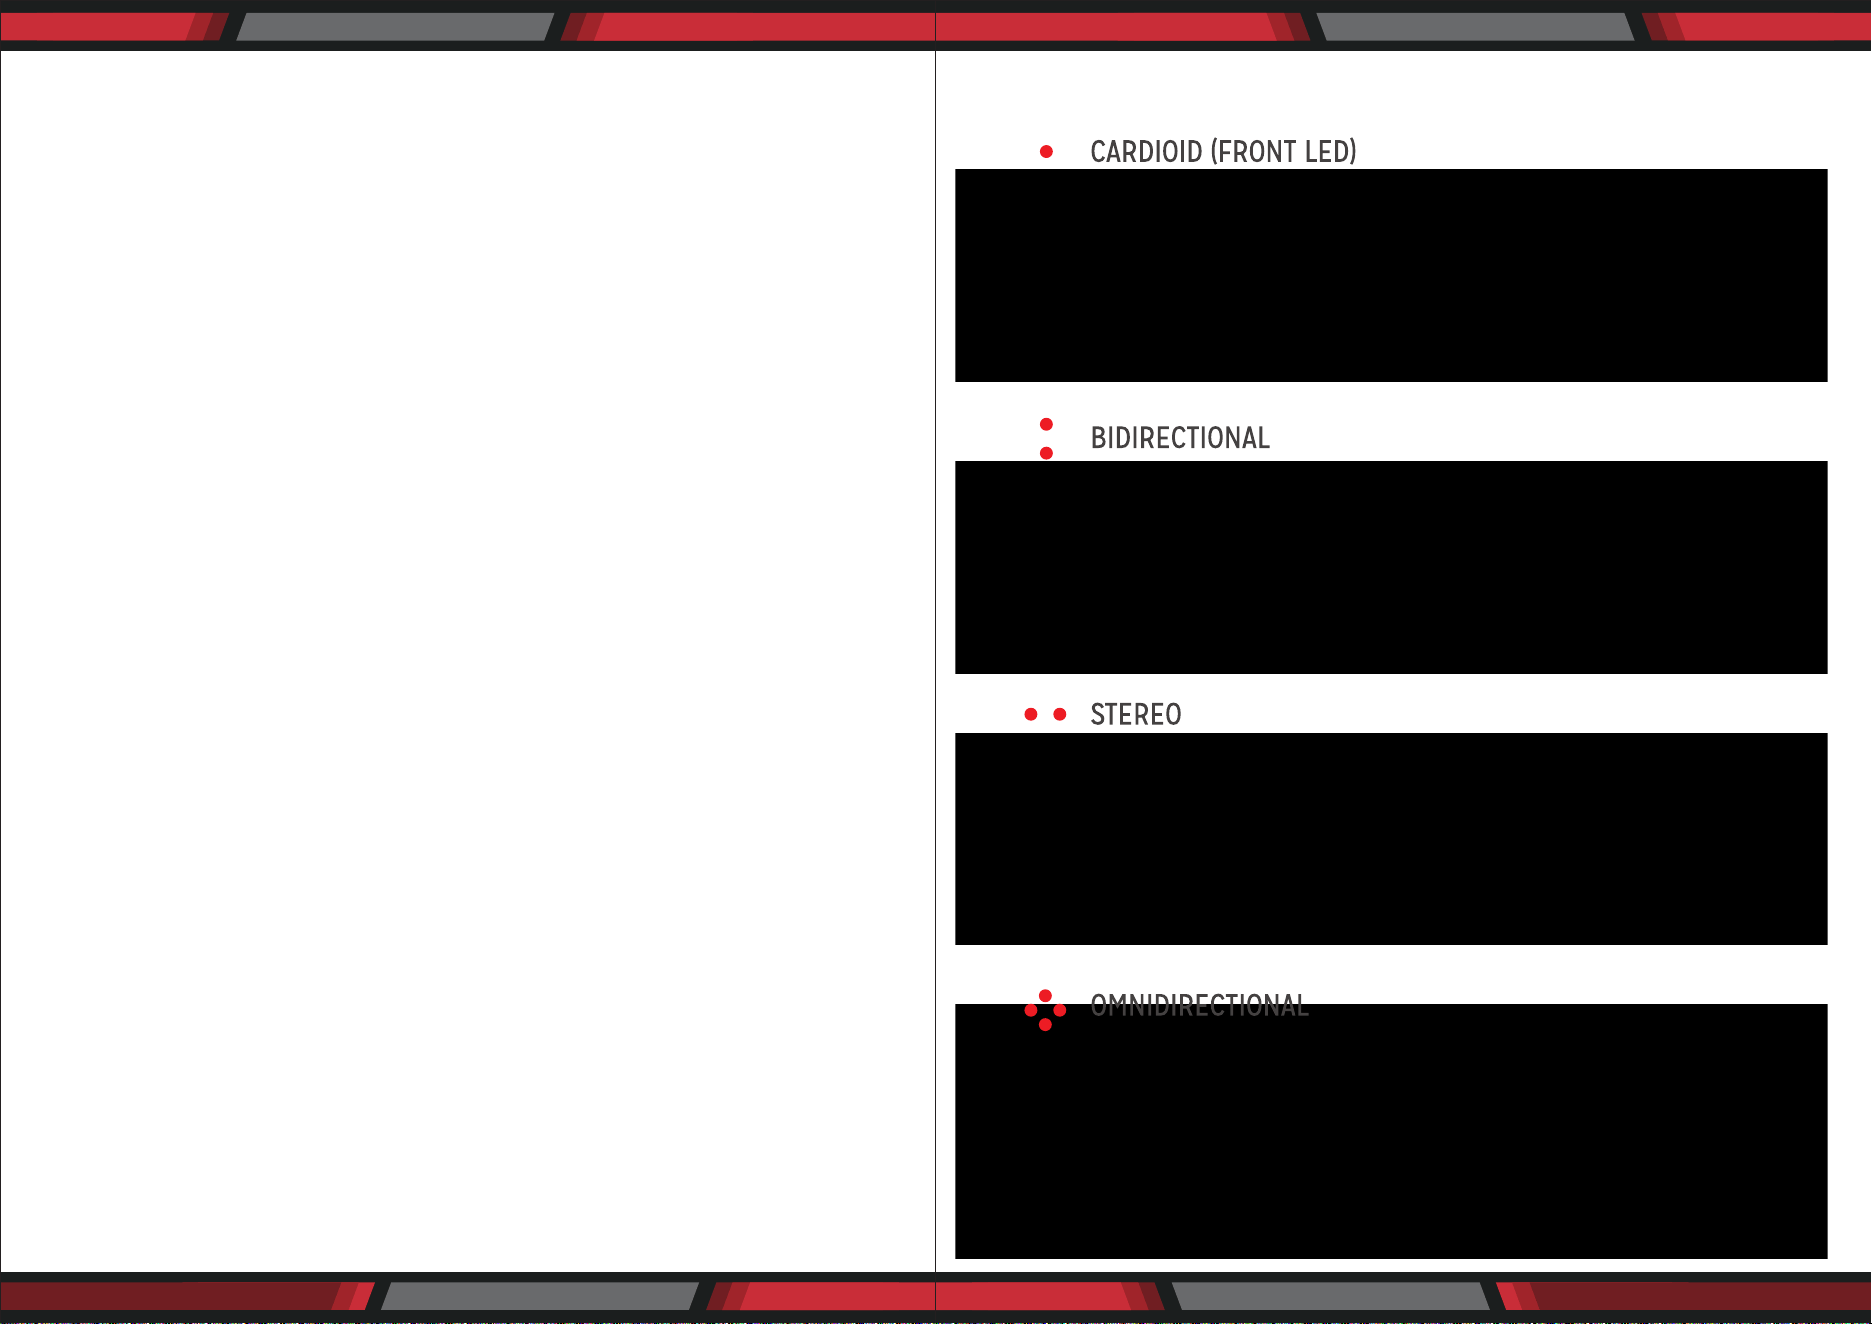
CARDIOID MODE: is perfect for recording sounds directly in front of the
microphone. This is the most used polar pattern. It is the most benecial
and best pattern for streaming and gaming.
BIDIRECTIONAL MODE: records sound from the front and rear of the
microphone. It's typically used for interviews but can be used by anyone
sitting on opposite sides of the mic.
STEREO MODE: uses both left and right channels to capture a realistic
general sound image. It's great for recording musical instruments or
acoustics.
OMNIDIRECTIONAL MODE: picks up sound equally from all directions.
This mode is best for multi-person broadcasts so you can capture
sound from around the room.
POLAR PATTERN SELECTION
CARDIOID (FRONT LED)
BIDIRECTIONAL
STEREO
OMNIDIRECTIONAL
www.PyleUSA.com6 www.PyleUSA.com 7
FREQUENCY RESPONSE DIAGRAMSELECTING SOFTWARE
You have many choices in recording software.
Select the program that will best suit your audio needs and budget.
SETTING YOUR SOFTWARE LEVELS
The correct adjustment of microphone level is Important for optimum performance.
Ideally, the microphone level should be as high as possible without overloading
the input of your computer.
If you hear distortion or if your recording program shows levels that are consist-
ently overloaded (at peak levels), turn the microphone volume or level) down. Do
this using the control panel (or system preferences) settings or through your
recording software.
If your recording program shows insucient level, you can increase the micro-
phone gain either from the control panel (or system preferences) settings or
through your recording program.
POSITIONING YOUR MICROPHONE
It is important to position the microphone directly in line (on axis) with the person
speaking/singing or instrument (or other sound source) to achieve the best
frequency response of the microphone.
This requires the user to speak into the microphone from the Stadium symbol side
positioned towards the mouth. The distance from the mouth should be about 1
inch. or 10 - 40mm for optimal recording.
For use in speaking/singing applications, the ideal placement for the microphone is
directly in front of the person speaking/singing.
The same placement is optimal when you mic an instrument such as an acoustic
guitar, drums or piano. Experiment with dierent mic placements to nd the best
sound for your particular setup based on the Polar pattern selected.

www.PyleUSA.com8 www.PyleUSA.com 9
PDMIUSBMT300 USB
PRELIMINARY SETUP WITH MAC OS X
1. Plug the free end of the provided USB cable into the USB port on your computer.
Your computer will automatically recognize the USB device.
2. To select the PDMIUSBMT300 as your audio input, rst open your System Preferences.
NOTE: Many recording software programs are available online.
3. Next, click Sound to display the Sound Preference panel.
4. Click the input tab and select the PDMIUSBMT300 USB as the device for sound
input.
Your preferences are now set to use the PDMIUSBMT300 on your Mac with
GarageBand or another recording program of your choice.
www.PyleUSA.com10 www.PyleUSA.com 11
PRELIMINARY SETUP WITH WINDOWS XP
1. Plug the free end of the provided USB cable into the USB port on your computer.
Your computer will automatically recognize the USB device.
2. To select the PDMIUSBMT300 as your default recording device, select START
MENU> Control Panel.
4. Select Sounds and Audio Devices.
5. Select the Audio tab, and choose PDMIUSBMT300 as the default device.
6. Adjust computer volume by clicking on the Volume button beneath Sound
recording Default device.
www.PyleUSA.com12 www.PyleUSA.com 13
7. Through the Wave In window, you can set the computer volume or mute the
microphone.
8. Your preferences are now set to use the PDMIUSBMT300 with Windows XP with
the recording program of your choice.
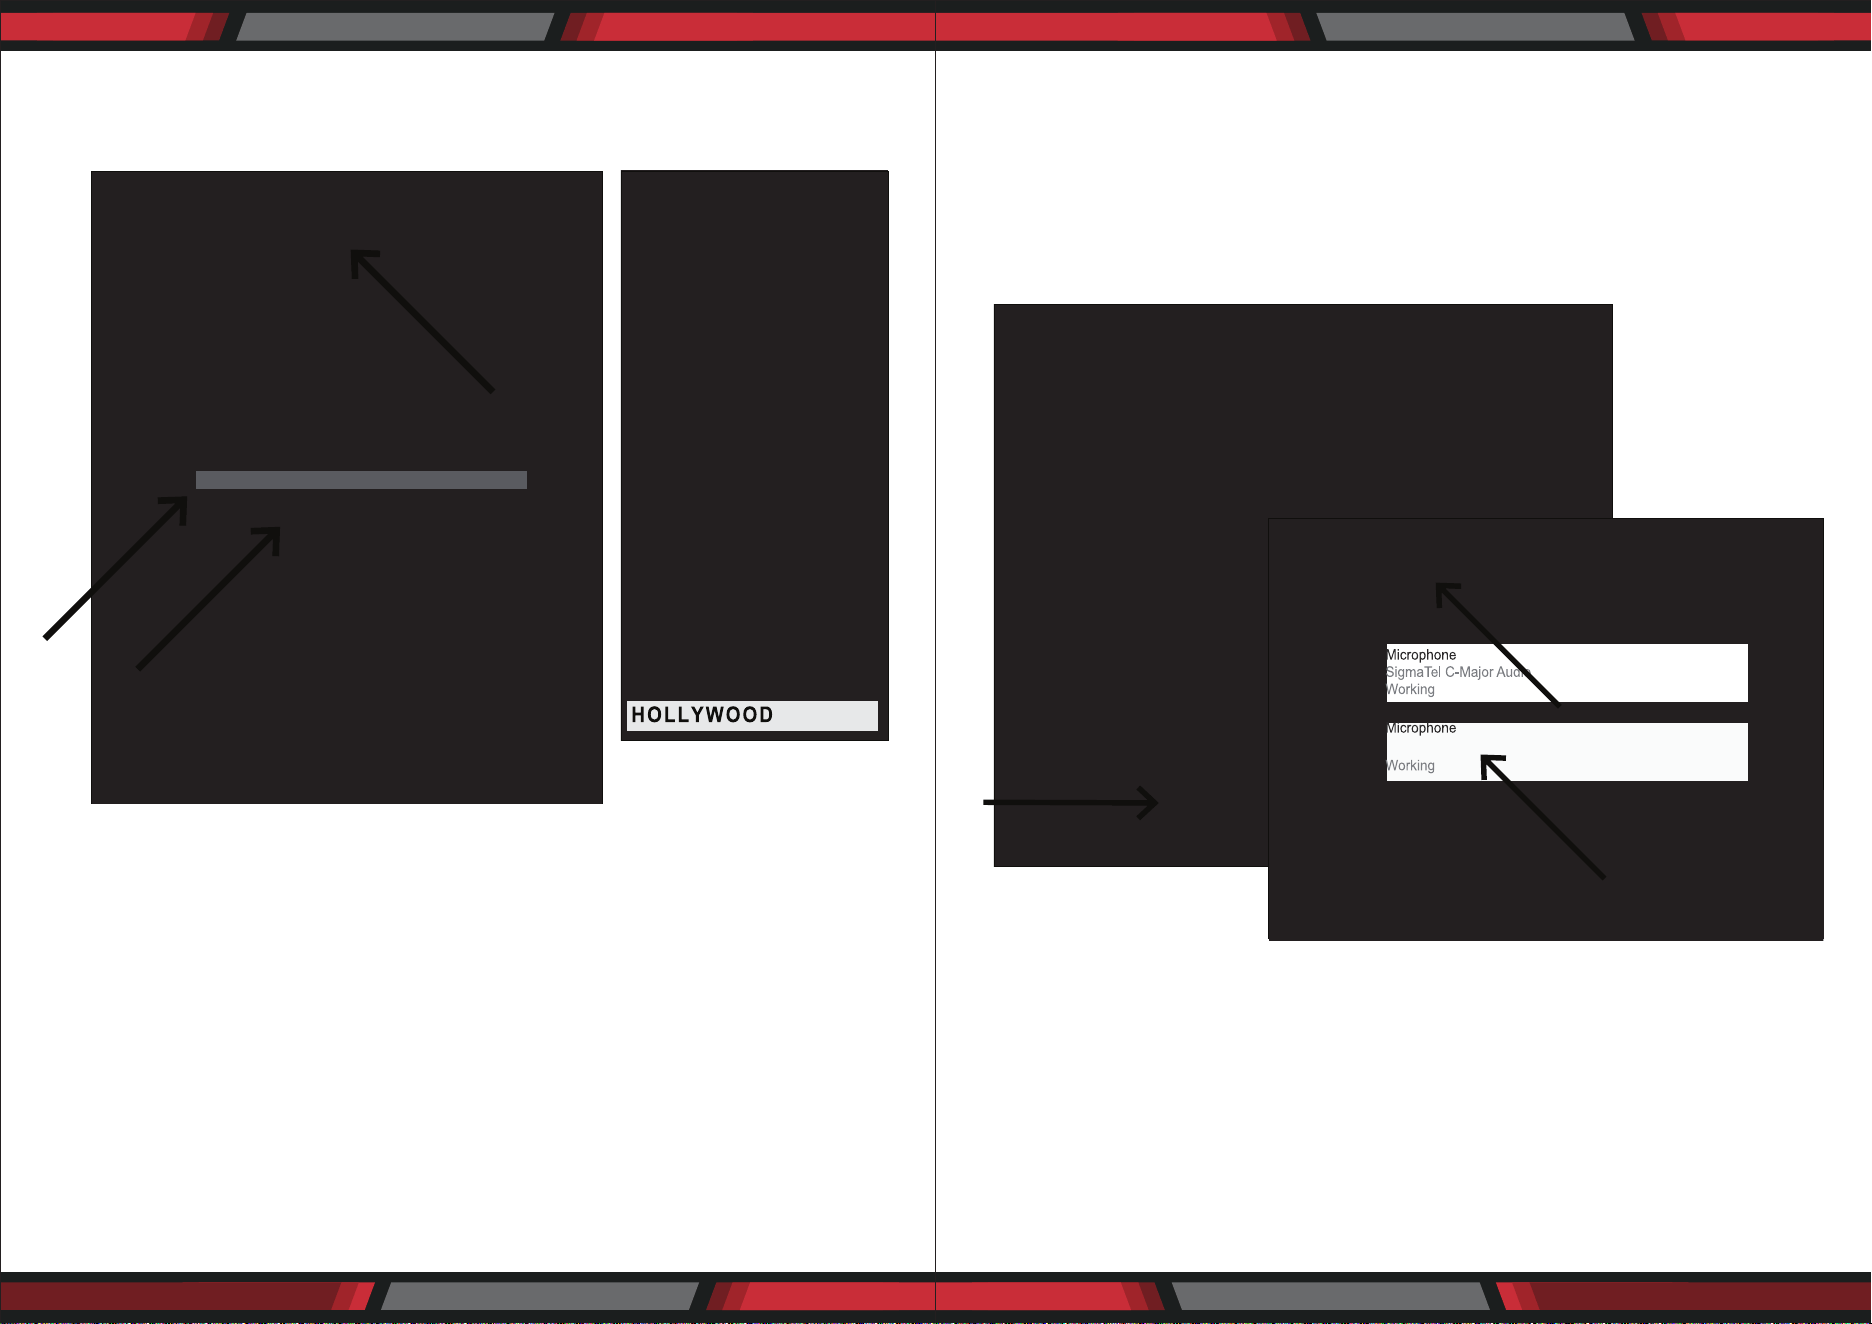
PRELIMINARY SETUP WITH WINDOWS VISTA
1. Plug the free end of the USB cable into the USB port on your computer.
Your computer will automatically recognize the USB device.
2. To select the PDMIUSBMT300 as your default recording device, begin at
START MENU > Control Panel > Sound
3. Select the Recording tab. Make sure that the PDMIUSBMT300 microphone is set
as the default recording device.
(You should see a green check mark beside the USB microphone icon.)
Your preferences are now set to use the PDMIUSBMT300 with Windows Vista with
the recording program of your choice.
PDMIUSBMT300
PDMIUSBMT300

www.PyleUSA.com14 www.PyleUSA.com 15
PRELIMINARY SETUP WITH WINDOWS 7/10
1. Plug the free end of the USB cable into the USB port on your computer.
Your computer will automatically recognize the USB device.
2. START menu > Control Panel > Sound
To select the PDMIUSBMT300 USB as your default recording device, begin at
your START menu. Select Control Panel.
4. Select Sound
5. The following screen will pop up

www.PyleUSA.com16 www.PyleUSA.com 17
6. Select the Recording tab & choose PDMIUSBMT300 USB as the default device.
7. Double click on the PDMIUSBMT300 USB icon to open the Microphone Properties
window. Select the levels tab to adjust microphone level (loudness). You may
need to come back to this window to readjust the level after you begin recording.
SYSTEM REQUIREMENTS
Macintosh
Mac OS X: USB 1.0 or 2.0; 64 MB RAM (minimum)
Windows
XP/Vista/Windows 7: USB 1.0 or 2.0; 64 MB RAM (minimum)
Specications are subject to change without notice.
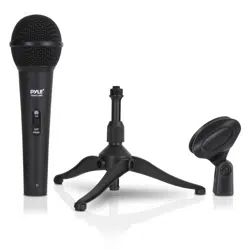
• 1 x USB Microphone
• 1 x Adjustable trifold stand
• 1 x USB cable length:1.8M
This manual is considered correct at time of printing but is subject to change.
For latest manuals and updates refer to the website.
Features:
• Pro Audio Broadcasting Desktop Microphone
• Adjustable 4-in-1 Selector - Cardioid/Bidirectional/Stereo/Omnidirectional
Polar Patterns
• Simple USB ‘Plug-and-Play’ Operation
• Headphone Jack, 3.5mm
• Adjustable Mic Volume/Gain & Headphone Volume Control
• RGB Solid Colors Eect with Eco-mode and Normal-mode
• LED Controls or Functions
• Connects to Your Computer for Hassle-Free Sound Control
• Used for Podcasts, Gaming, Streaming, Recording, Audio Editing
• Lab Tested for Stage & Studio-Quality Performance
• Crisp Vocal Pickup, High-Precision Audio Clarity
• Freestanding Mic Placement on Any Desktop, Counter, Table
• 5.9’ Detachable USB Cable
• Detachable Metal Tripod Mic Stand Mount with angle adjustment
• Universal Computer Compatibility: Works with PC, Mac, Linux
• For Home, Oce & Business Use
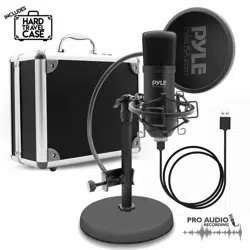
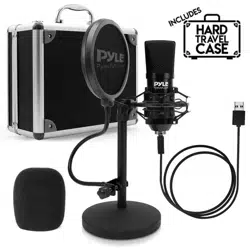
What’s in the Box:
• USB Microphone • Solid Spider Stand • USB Cable
Technical Specs:
• Pickup/Polar Pattern: Cardioid/Bidirectional/Stereo/Omnidirectional Selectable
• Microphone Type: Back Electret Condenser
• Connection Interface: USB 2.0, Powered
• Sensitivity: -36dB +/- 2dB (0dB=1V/Pa at 1KHz)
• Max SPL: 130dB
• Frequency Response: 30-18kHz
• Output Impedance: 32 Ohm
• Bit Depth: 24 bit
• Sampling Rate: Up to 96kHz
• Computer Operating System Support: Windows XP, Vista, 7, 8, 10, Mac OS X, Linux
• Mic Stand Construction Material: Engineered Metal Alloy
• USB Cable Length: 5.9’ ft.
• Power Output: USB-Powered, 100 mA
• Microphone Dimension: 7.1’’ x 2.9’’ x 2.9’’ – inches
• Total Assembled Dimensions (L x W x H): 9.25‘‘ x 5.1‘‘ x 5.1‘‘ -inches
PDMIUSBMT300