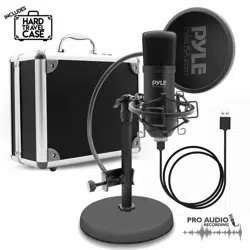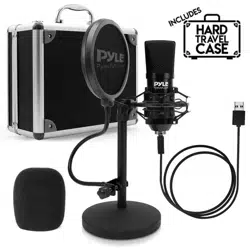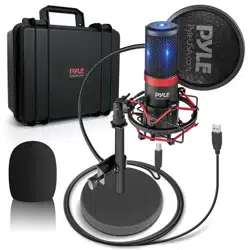
PDMICUSB6 USB Recording Microphone
Before using the PDMICUSB6 in your audio or communications
application you must confirm that the computer’s operating system
recognizes the PDMICUSB6.
Windows XP recognition instructions
1. Connect the PDMICUSB6 to the computer by using the supplied USB
cable
2. The PDMICUSB6 will be automatically installed and recognized as a
windows audio device.
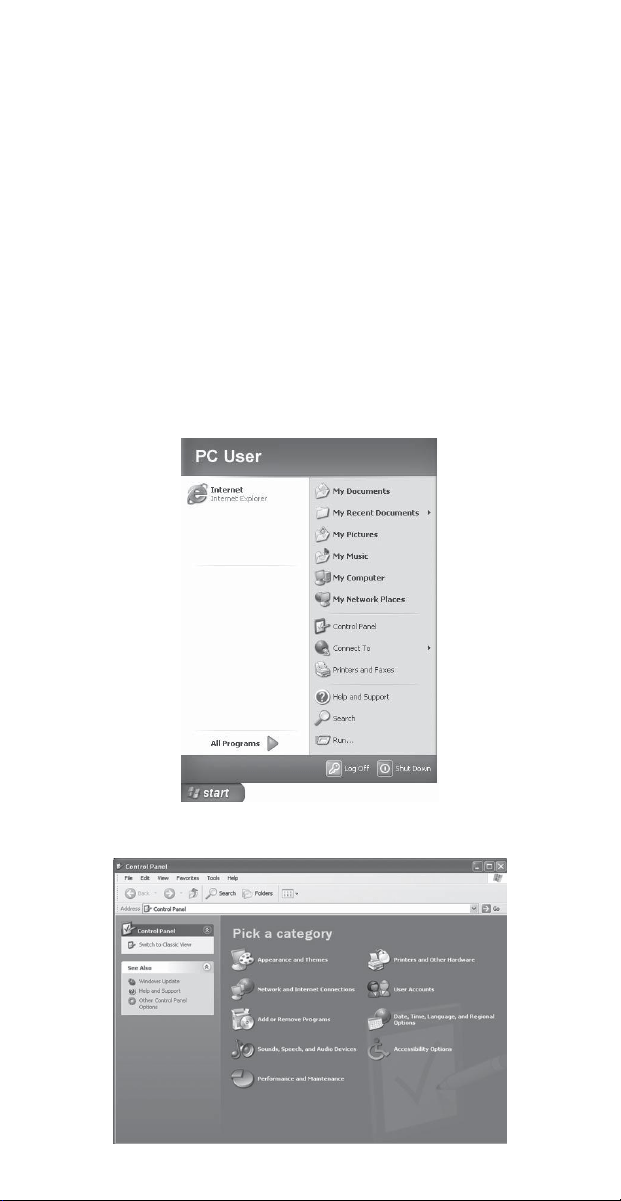
3. Go to the Start Menu, select Control Panel.
4. Select “Sounds, Speech, and Audio Devices”
5. Select “Sounds and Audio Devices”
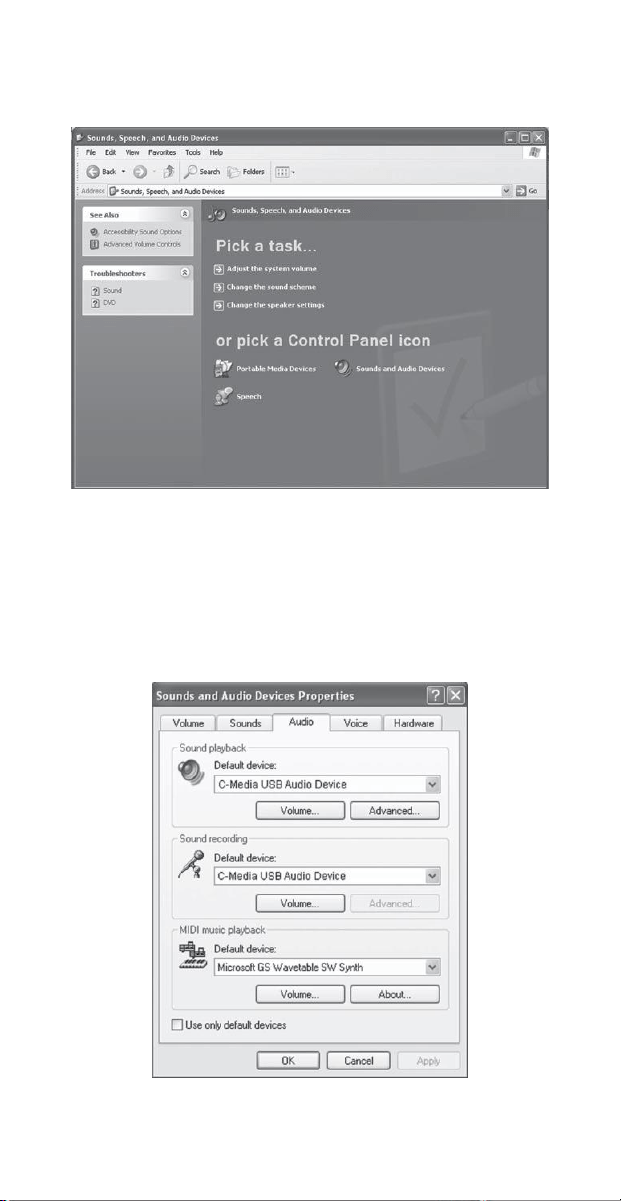
6. Select the “Audio” tab. Confirm that under the “Sound recording”
section the “C-Media USB Audio Device” is selected. (The “Sound
playback” should remain your usual sound output device).
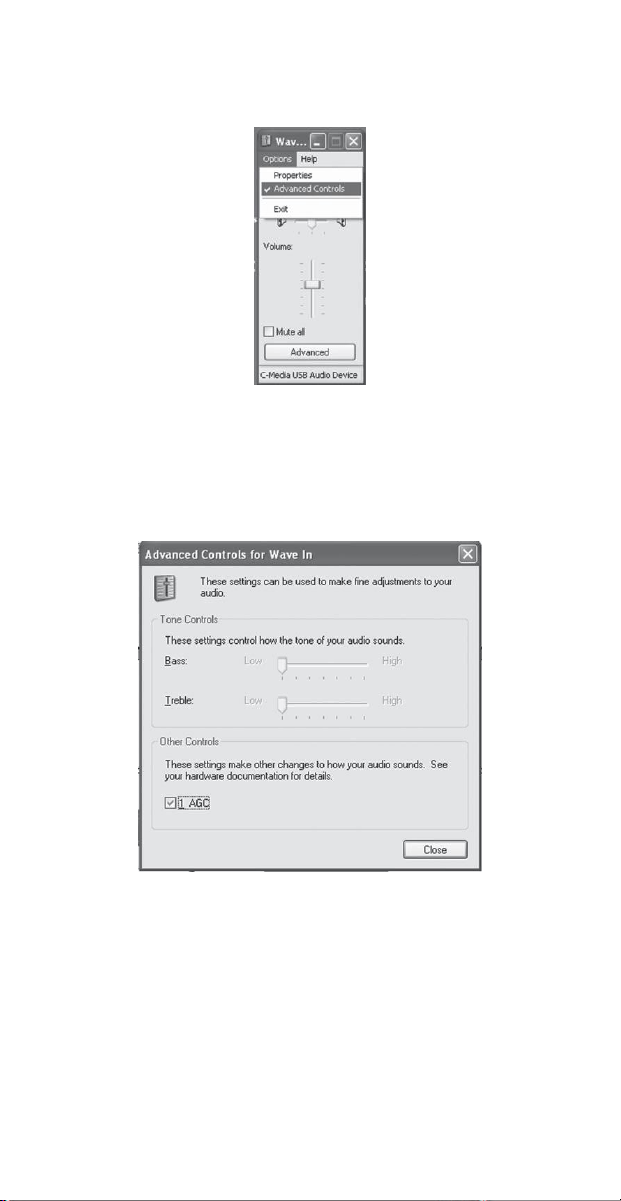
7. Select the “Volume” tab. Then select “Advanced Controls” under the
Sound recording heading.
8. Click the “Advanced” button to open the “Advanced Controls for
Wave In” window. Depending upon your system, you might have the
option of selecting “1 AGC” or “Mic boost”.
9. Launch your audio recording software.
10. Adjust the position of the PDMICUSB6 from the sound source to get
the best results.
11. Locate the preferences in your audio program and select the
“C-Media USB Audio Device”. Adjust the input level in this program so
that the audio signal is not distorted.
12. Now the PDMICUSB6 USB Recording Microphone is working.
Mac OSX Recognition Instructions
1. Connect the PDMICUSB6 to the computer by using the USB cable.
2. The PDMICUSB6 will be automatically installed and recognized as a
windows audio device.
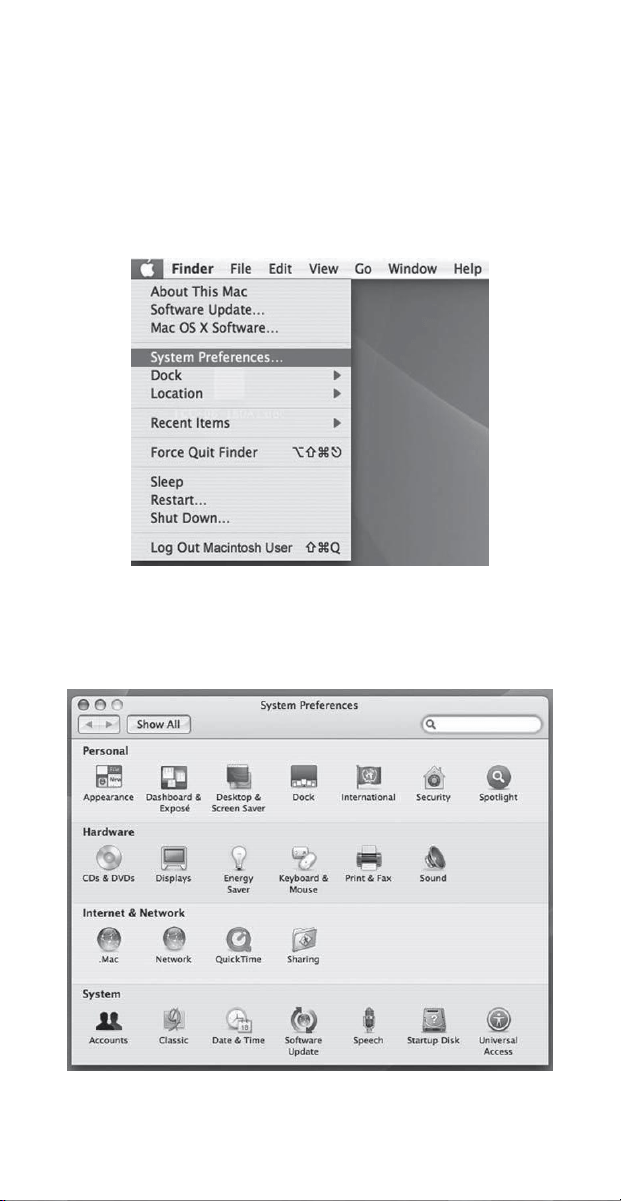
3. Go to the Apple Menu and locate “System Preferences”.
4. Under “Hardware” click on the “Sound” icon.
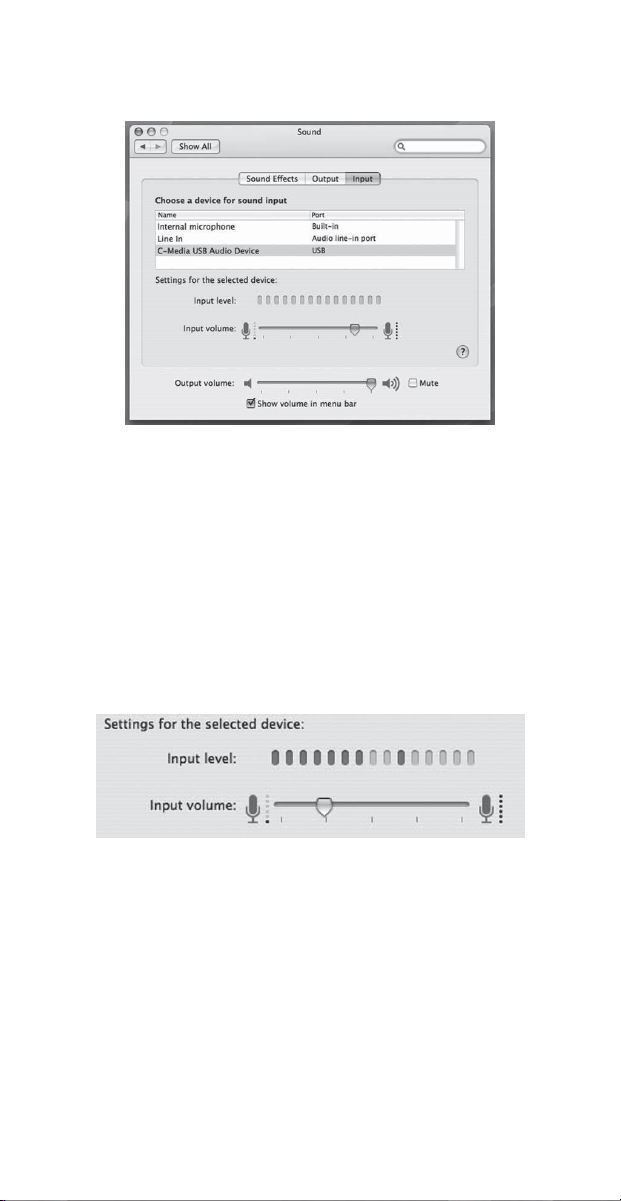
5. Click on the “Input” button and choose the “C-Media USB Audio
Device
6. Click on the “Output” button and choose the internal speakers or the
output speakers of your choice. (The “Sound playback” should remain
your usual sound output device).
7. Position the PDMICUSB6 4 to 6 inches away from your source (your
mouth or music instrument).
8. Test the PDMICUSB6 by speaking or playing into the microphone.
9. You will see activity in the “Input Level” meter.
10.Adjust the “Input Volume” to obtain the best sound quality.
11. Close the System Preferences window to complete the settings.
12. Launch your audio recording software.
13. Adjust the position of the PDMICUSB6 from the sound source to get
the best results.
14. Locate the Preferences in your audio program and select the
“C-Media USB Audio Device”. Adjust the input level.
15. Now the PDMICUSB6 USB Recording Microphone is working.