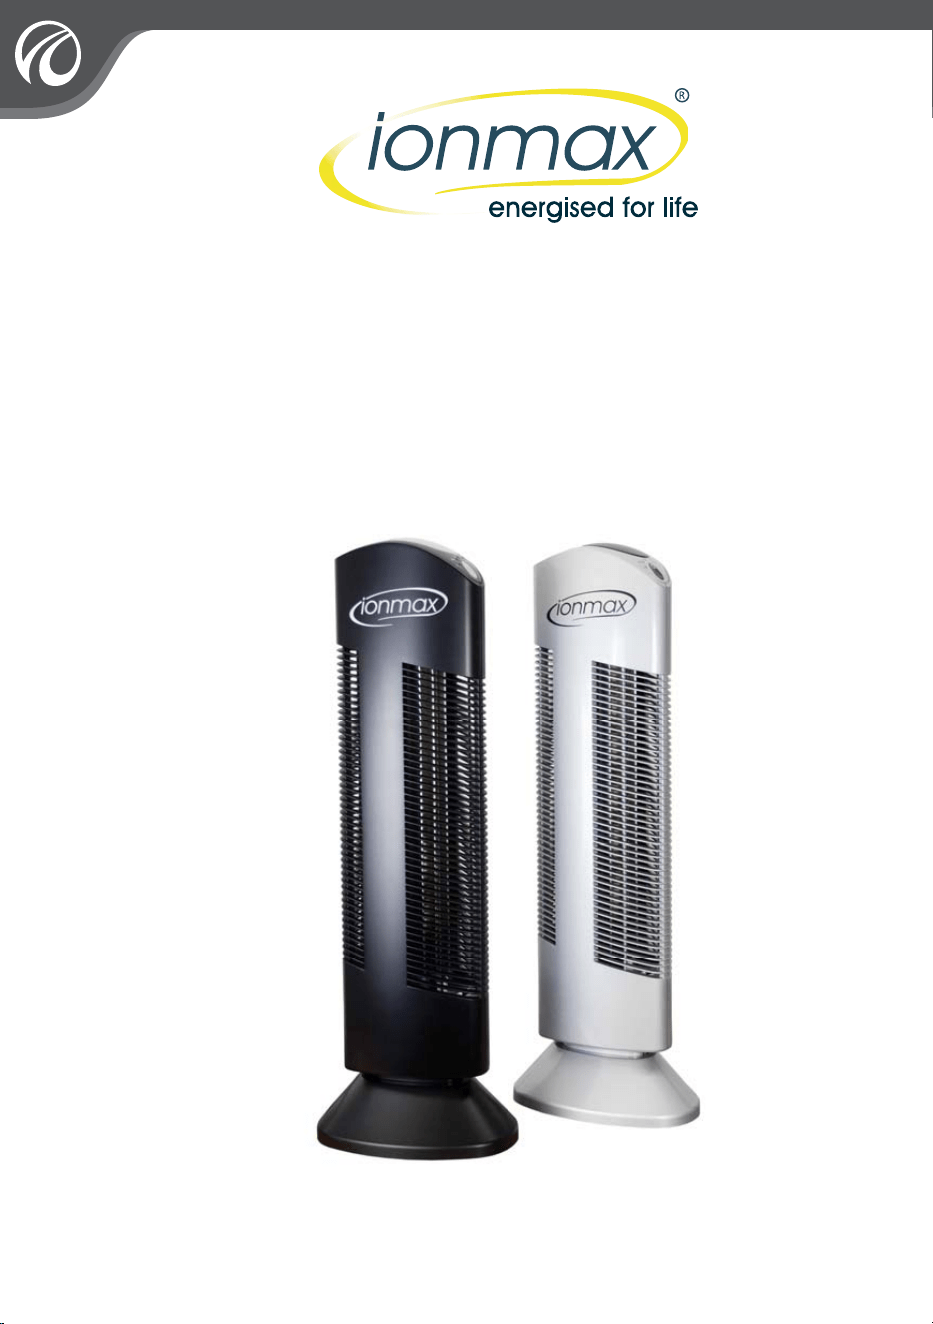
TOWER IONIC
AIR PURIFIER
ION401
USER MANUAL

INDEX
1
1
IMPORTANT SAFETY INSTRUCTIONS
FEATURES
OPERATING THE ICONIC AIR PURIFIER
GETTING STARTED
CONTROLS/ SETTINGS
MODES OF OPERATION
TROUBLESHOOTING
CLEANING AND MAINTENANCE
CLEANING THE DUST COLLECTION BLADES
INSERTING THE DUST COLLECTION BLADES
CLEANING THE IONISING WIRES
WARRANTY
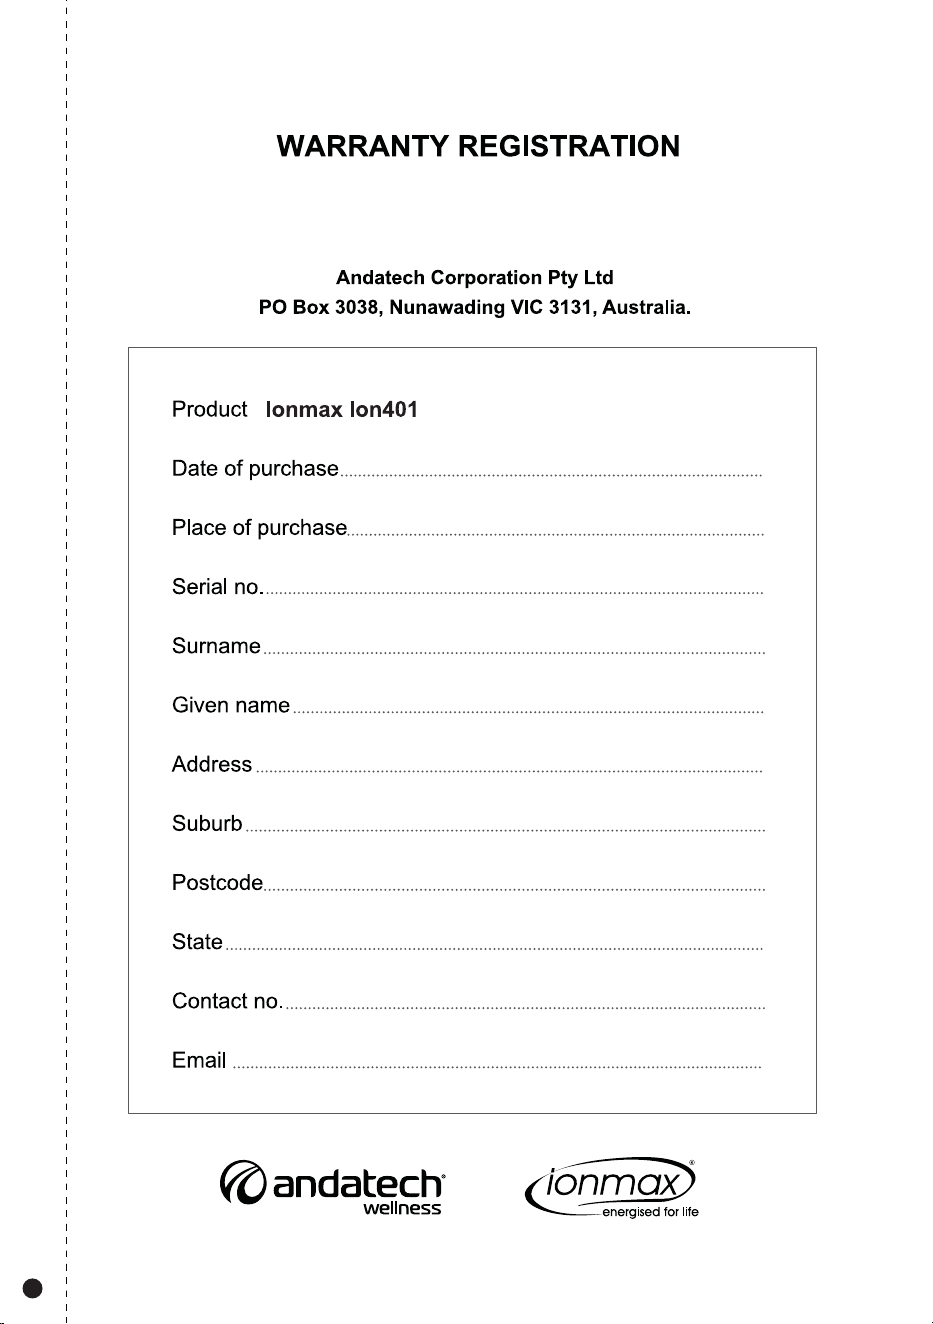
WARRANTY REGISTRATION
2
3
4
5
6
7
7
8
5
8
9
10

IMPORTANT SAFETY INSTRUCTIONS
PLEASE READ ALL INSTRUCTIONS CAREFULLY BEFORE OPERATING.
SAVE AND READ THESE IMPORTANT SAFETY INSTRUCTIONS
This appliance is not intended for use by persons (including children) with reduced physical,
sensory or mental capabilities, or lack of experience and knowledge, unless they have been given
supervision or instruction concerning use of the appliance by a person responsible for their safety.
Children should be supervised to ensure that they do not play with the appliance.
2
IMPORTANT INFORMATION: Please exercise caution when operating this appliance.
Please read the warnings below to prevent any chance of electric shock, injury, fire hazard or
damage.
'RQRWXVHWKHXQLWRXWGRRUV
8VHRQO\WKHYROWDJHZKLFKKDVEHHQVSHFLILHGVXLWDEOHIRUWKLVSURGXFW
'RQRWOHWFKLOGUHQRSHUDWHWKHXQLWZLWKRXWDGXOWVXSHUYLVLRQ
$OZD\VGLVFRQQHFWWKLVSURGXFWIURPLWVSRZHUVXSSO\EHIRUHUHPRYLQJLQWHUQDOSDUWVIRU
cleaning.
'RQRWWRXFKDQ\SDUWVZLWKLQWKHSURGXFWGXULQJRSHUDWLRQ
'RQRWRSHQWKHFDVLQJRIWKLVSURGXFWGRLQJVRFRXOGFDXVHLQMXU\DQGQXOOLI\ZDUUDQW\
1HYHUZDVKWKHSURGXFWZLWKZDWHURUWRXFKLWZLWKZHWKDQGV
'RQRWXVHWKHSURGXFWLQEDWKURRPVKXPLGDUHDVILUHSODFHVRUSODFHLWLQSUR[LPLW\WR
flammable or combustible products.
'RQRWXVHLRQLFDLUSXULILHULQWKHNLWFKHQ$LUERUQHRLOFRRNLQJPD\IROORZDLUFLUFXODWLRQLQWR
the product, leaving oil and dust residues on the unit and its surrounding area
'RQRWSXOOWKHKDQGOHRI'XVW&ROOHFWLRQ%ODGHVZLWKIRUFHZLWKRXWILUVWUHOHDVLQJWKHORFN
to prevent damaging the product.
1HYHURSHUDWHWKHLRQLFDLUSXULILHULIWKHSOXJRUFRUGLVGDPDJHG3OHDVHFRQWDFWDXWKRUL]HG
distributor or qualified personnel to replace the damaged parts.
$OZD\VWXUQRIIDQGXQSOXJWKLVSURGXFWZKHQQRWLQXVHRYHUDORQJSHULRGRIWLPH3OHDVH
hold the secured portion of the plug and remove it from the outlet gently. Do not place the
power cord near any heat sources.
.HHS\RXUVHOIDWDVDIHGLVWDQFHZKLOHWKHXQLWLVUXQQLQJWRSUHYHQWKDLUVILQJHUVFORWKLQJ
and accessories from getting into the unit.
3OHDVHHQVXUHWKDWWKHSOXJKDVDSURSHUJURXQGLQJV\VWHP
3OHDVHFKHFNWKHSURGXFWDQGFOHDQGXVWUHJXODUO\WRSUHYHQWH[FHVVLYHGHSRVLWVIURP
setting off sparks and causing fire.
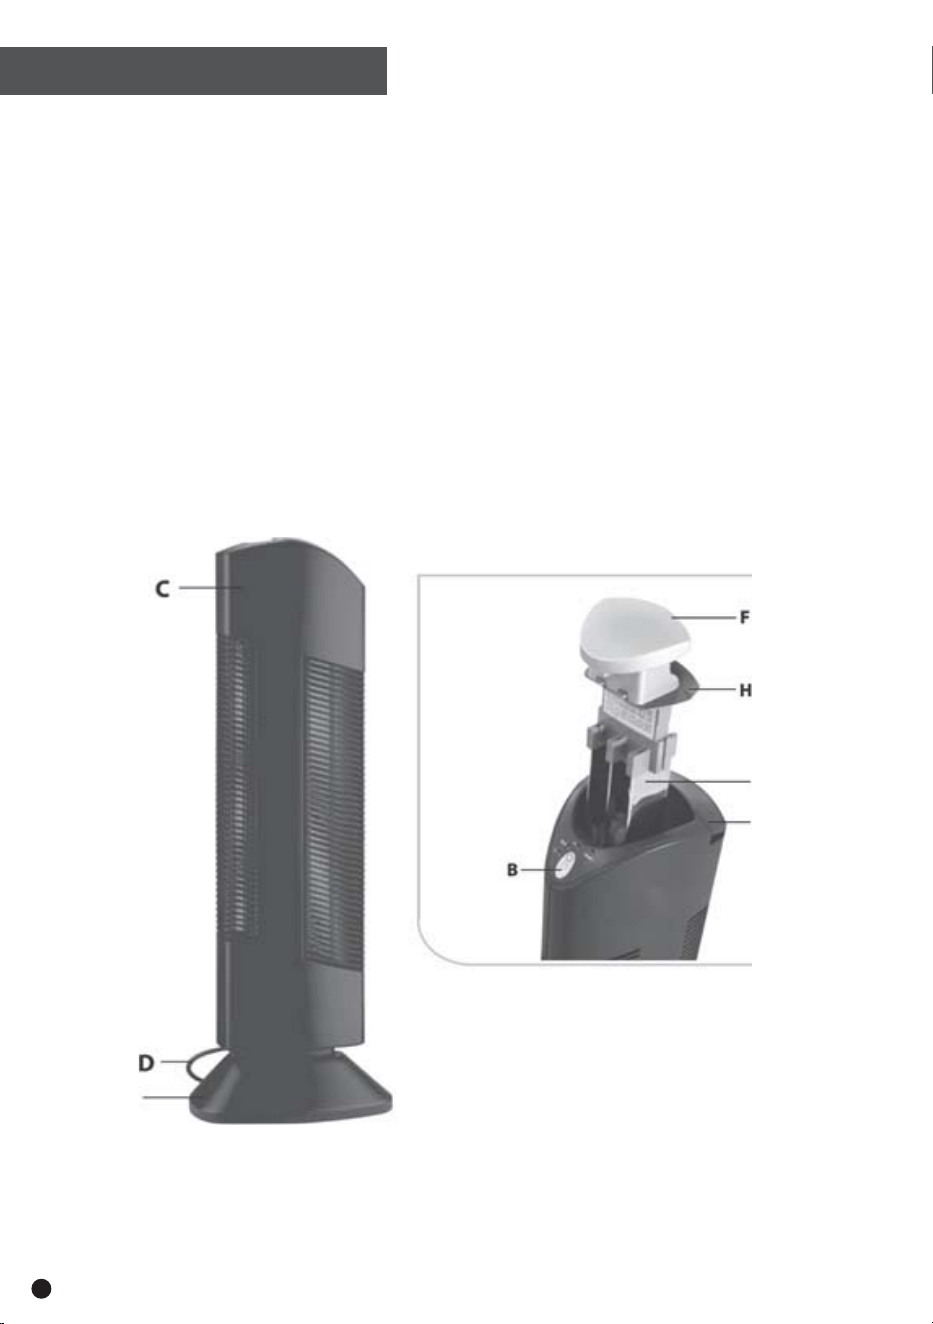
FEATURES
A Cleaning Rod
C Casing
D Power Cord
E Base
B Control Panel
E
G
A
F Handle
H Sliding Lock Button
G Dust Collection Blades
3
4
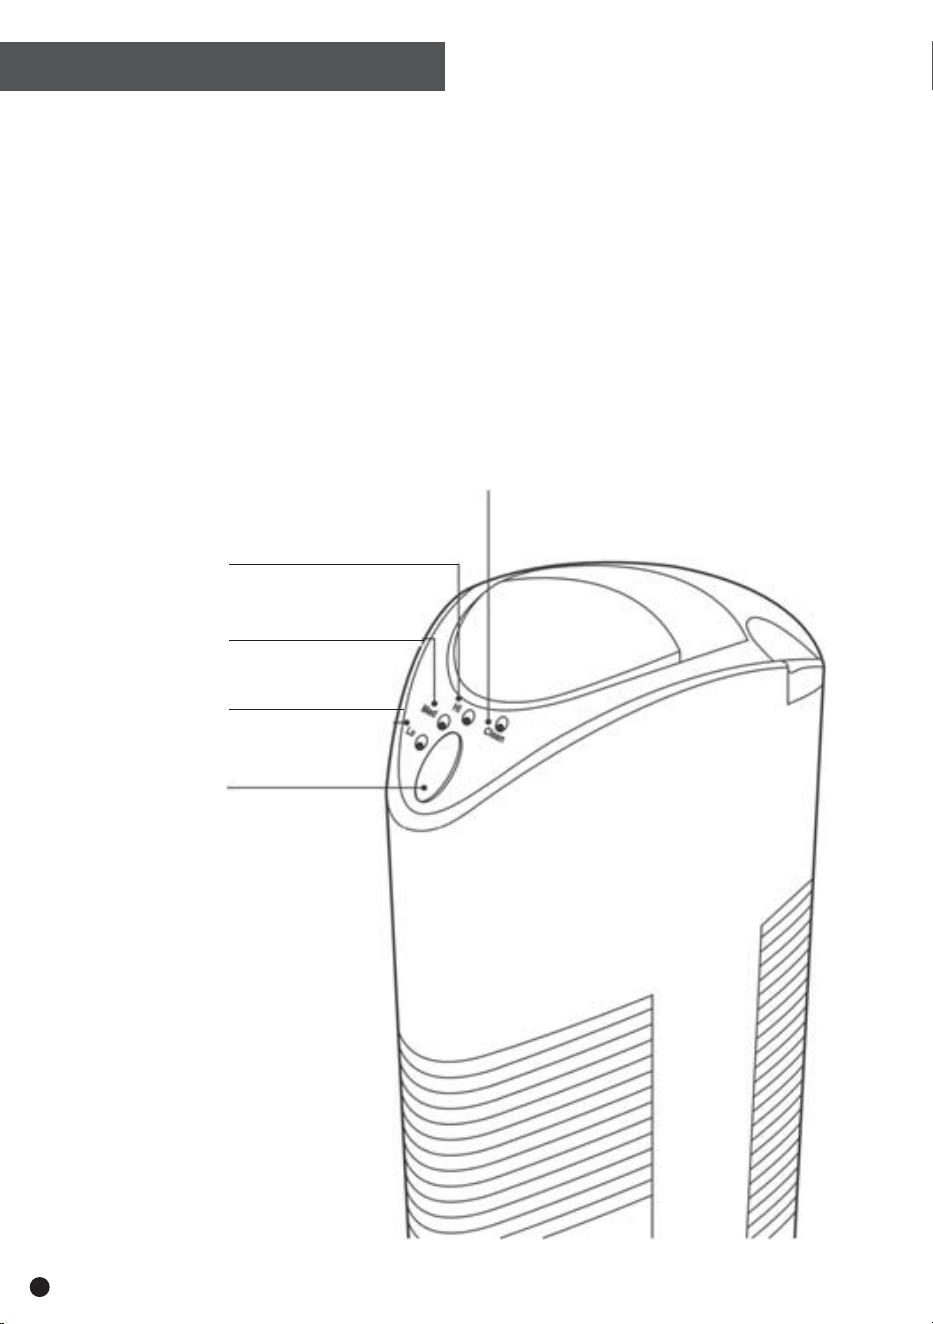
Cleaning
Required
Light
High Output
Indication Light
Low Output
Indication Light
Medium Output
Indication Light
On/ Off Button
Getting Started
1. Place this product on a level surface and choose a proper power outlet, referring to safety
instructions to ensure safe conduct.
2. Position your ION401 at least 30cm away from the wall.
3. Connect it to the power supply.
Your ION401 is now ready for operation.
OPERATION
CONTROLS/ SETTINGS
5
ON/ OFF Button
Turns unit on and off
HI
This indicates that the unit is in high operation mode
MED
This light indicates that the unit is in medium operation mode with 20 second intervals of
rest between every 20 seconds of operation.
LO
This light indicates that the unit is in low operation mode with 80 second intervals of rest
between every 20 seconds of operation.
Cleaning Indicator
If the red light comes on, this is an indication that your ION401 needs to be cleaned, or it is
experiencing other problems. Please refer to the troubleshooting section of this manual for
details.
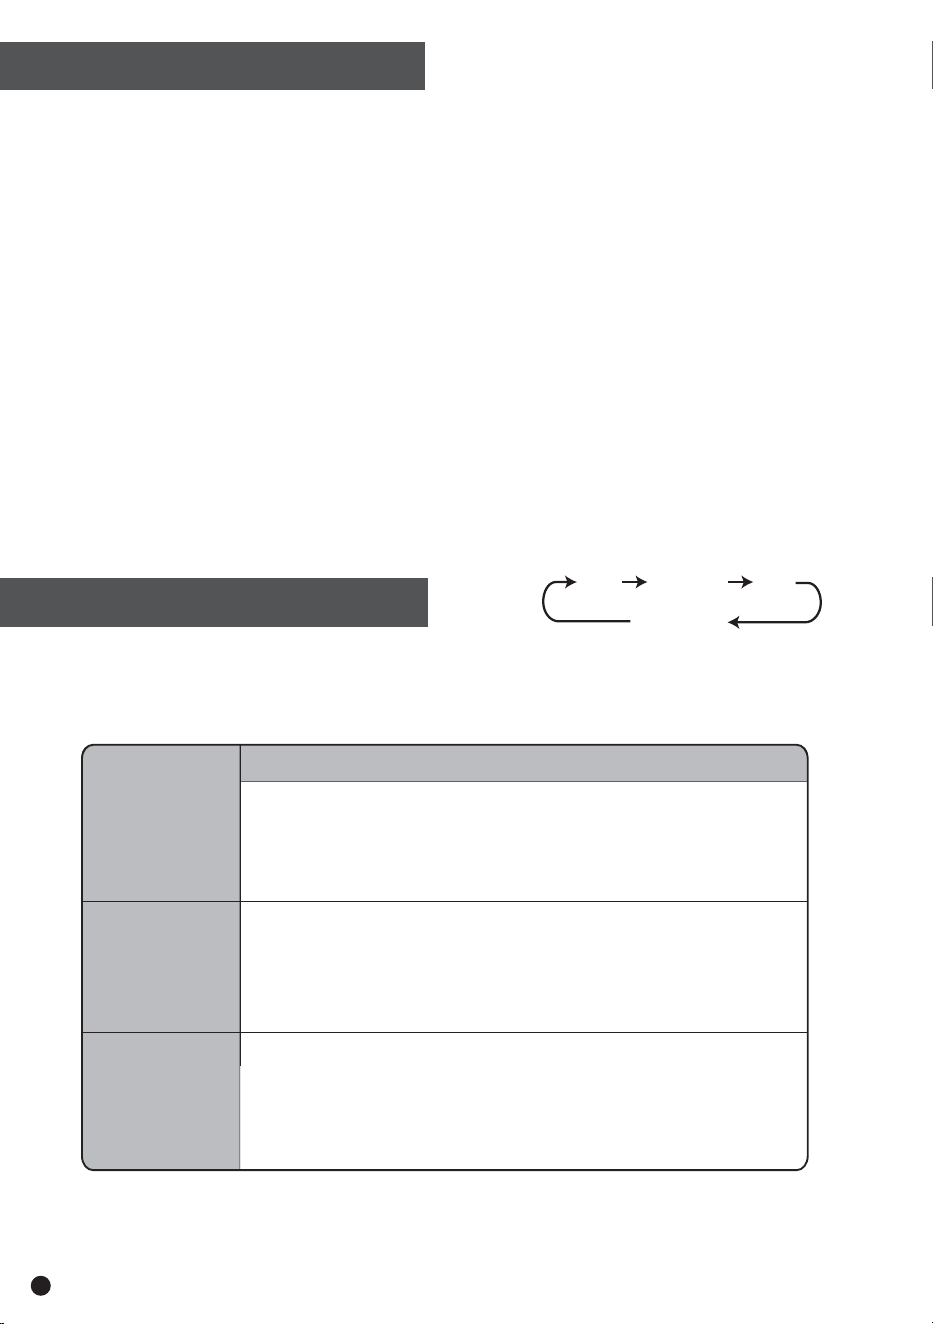
Press the ON/OFF button to activate the unit and select your preferred mode of operation.
Your ION401 starts in HI operation mode by default. Pressing the ON/OFF button cycles the
mode from HI to MED to LO and ON/OFF.
LO
MED
HI
ON / OFF
LO
MED
HI
MODE DESCRIPTION
This economic mode is suitable for small rooms.
This mode is most suited to medium-sized rooms with
frequently closed windows.
HI delivers the most negative ions, making it suitable
for larger rooms.
Note: if the unit is not cleaned for a long period of time, the Cleaning Required light
will turn red and the unit will shut down automatically.
MODES OF OPERATION
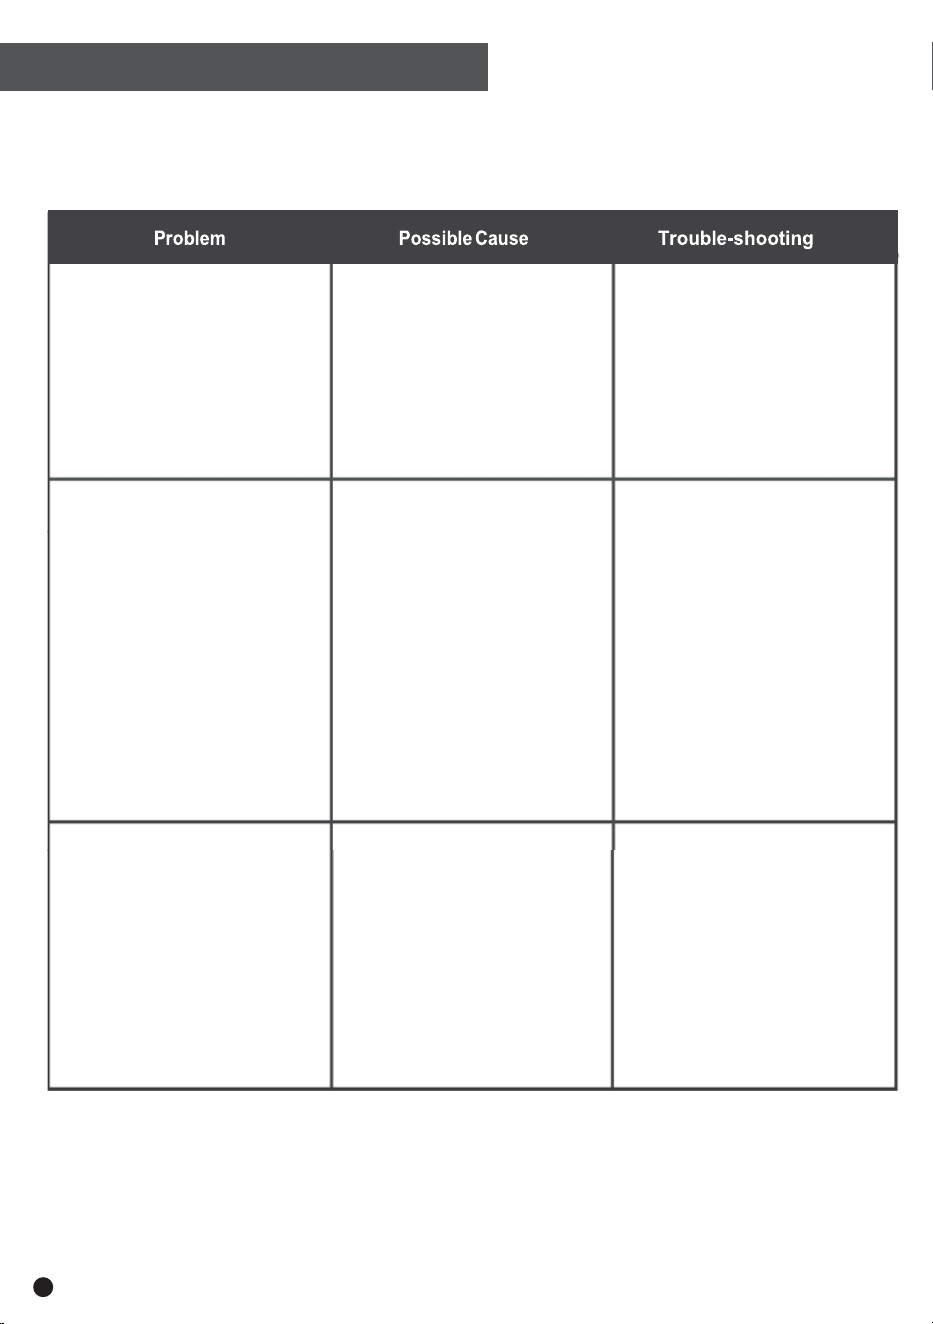
TROUBLESHOOTING
Indication light is not lit
Red light is lit
Unit is noisy
3RZHUFRUGLVQRW
connected properly.
7KH212))EXWWRQKDV
not been correctly pressed.
'XVW&ROOHFWLRQ%ODGHV
are not installed properly
7RRPXFKGXVWKDVEHHQ
accumulated inside the
unit
&ROOHFWLRQEODGHVDUH
jarred or have been
removed suddenly
6KRUWFLUFXLWLQJPD\
have occurred
7RRPXFKGXVWKDV
accumulated inside the
unit.
,QWHUQDOSDUWVDUHZHW
&KHFNLISOXJLVORRVH
3UHVVWKH212))EXWWRQ
to ensure unit is switched on.
5HLQVHUWGXVWFROOHFWLRQ
blades, following instructions.
&OHDQWKHXQLWDFFRUGLQJWR
instructions.
5HPRYHDQGUHLQVHUWGXVW
collection blades and press
ON/OFF button to reset.
3UHVV212))EXWWRQWR
reset.
&OHDQWKHXQLWDFFRUGLQJ
to instructions
,IRSHUDWLQJWKHXQLW
under humid conditions,
turn it off and wait for it to
dry until resuming
operation.
6

CLEANING & MAINTENANCE
This ION401 runs quietly and produces clean, fresh and healthy air. If your product becomes
noisy, this generally indicates that it needs to be cleaned.
Caution:
$OZD\VGLVFRQQHFWWKLVSURGXFWIURPLWVSRZHUVXSSO\EHIRUHGHWDFKLQJRULQVWDOOLQJDQ\
parts.
7KH'XVW&ROOHFWLRQ%ODGHVFDQQRWEHGHWDFKHGZLWKRXWILUVWUHOHDVLQJWKHORFN'RQRWXVH
excessive force to pull out the blades to prevent damaging the product.
7RSUHYHQWGDPDJLQJWKHXQLWDOZD\VDOORZWKHGXVWFROOHFWLRQEODGHVWRGU\WKRURXJKO\
before re-inserting into their original position in the unit.
Recommendations:
In order to keep the unit working properly, we highly recommend the following measures:
&OHDQWKH'XVW&ROOHFWLRQ%ODGHVRQFHHYHU\WRGD\V
&OHDQWKH,RQLVLQJ:LUHVRQFHDZHHNRUZKHQWKHXQLWEHFRPHVQRLV\
,I\RXU,21RSHUDWHVLQDKHDYLO\SROOXWHGHQYLURQPHQWPDNHVXUHWRFOHDQLWPRUH
frequently.
Cleaning the Dust Collection Blades.
1. Hold the handle, as shown in Figure 1 (following page).
2. Next, pull the sliding lock button (see Figure 2 part B) and lift the handle gently upward (see
Figure 2 part A).
3. Place the blades on the ground or floor, leaving them for 10 minutes to discharge any static
currents.
4. Wipe away the trapped particles on the blades with a damp sponge or cloth. Mild detergent and
water may be used if necessary. Note: If detergent and water are used, you must wait at least 24
hours for the blades to dry completely.
5. Leave your unit to dry for 2 to 3 hours.
CLEANING INSTRUCTIONS
7

8
2
CLEANING INSTRUCTIONS
Cleaning the Ionising Wires
Each strand of ionising wire is equipped with a dust removal mechanism and must be
cleaned once a week, or when the unit becomes noisy.
1. Lift the Cleaning Rod (see Figure 4 Part C)
2. Pull the Cleaning Rod up and push it down several times to remove the dust on the
Ionising Wires.
3. Return the Cleaning Rod to its original position by lightly pushing it into place.
Inserting the Dust Collection Blades
After your blades are clean and dry, vertically re-insert the blades into their correct position,
as show in Figure 4. Note: if you use a combination of water and a cleaning product, you
must wait at least 24 hours for the blades to completely dry.
C
9
Email us at [email protected] or call us on 1300 900 200.
Please ensure the product is properly packaged to ensure that no damade occurs during transit.
10
Register your warranty at my.andatech.com.au.
OR
Simply fill out this form and post it with a copy of the receipt to:
Version 2.1. Updated 14.08.2015.