Please give us a chance to make it right and do better !
Contact our friendly customer service department for help first.
Replacements for missing or damaged parts will be shipped ASAP !
Contact Us !
Do NOT return this item.
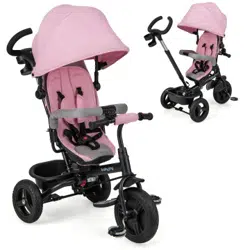
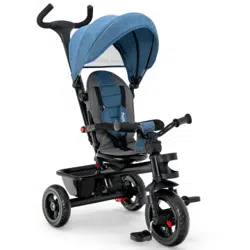
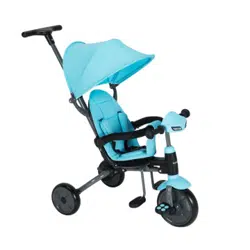
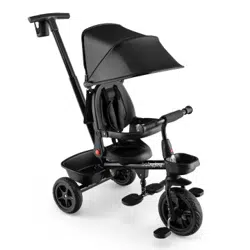
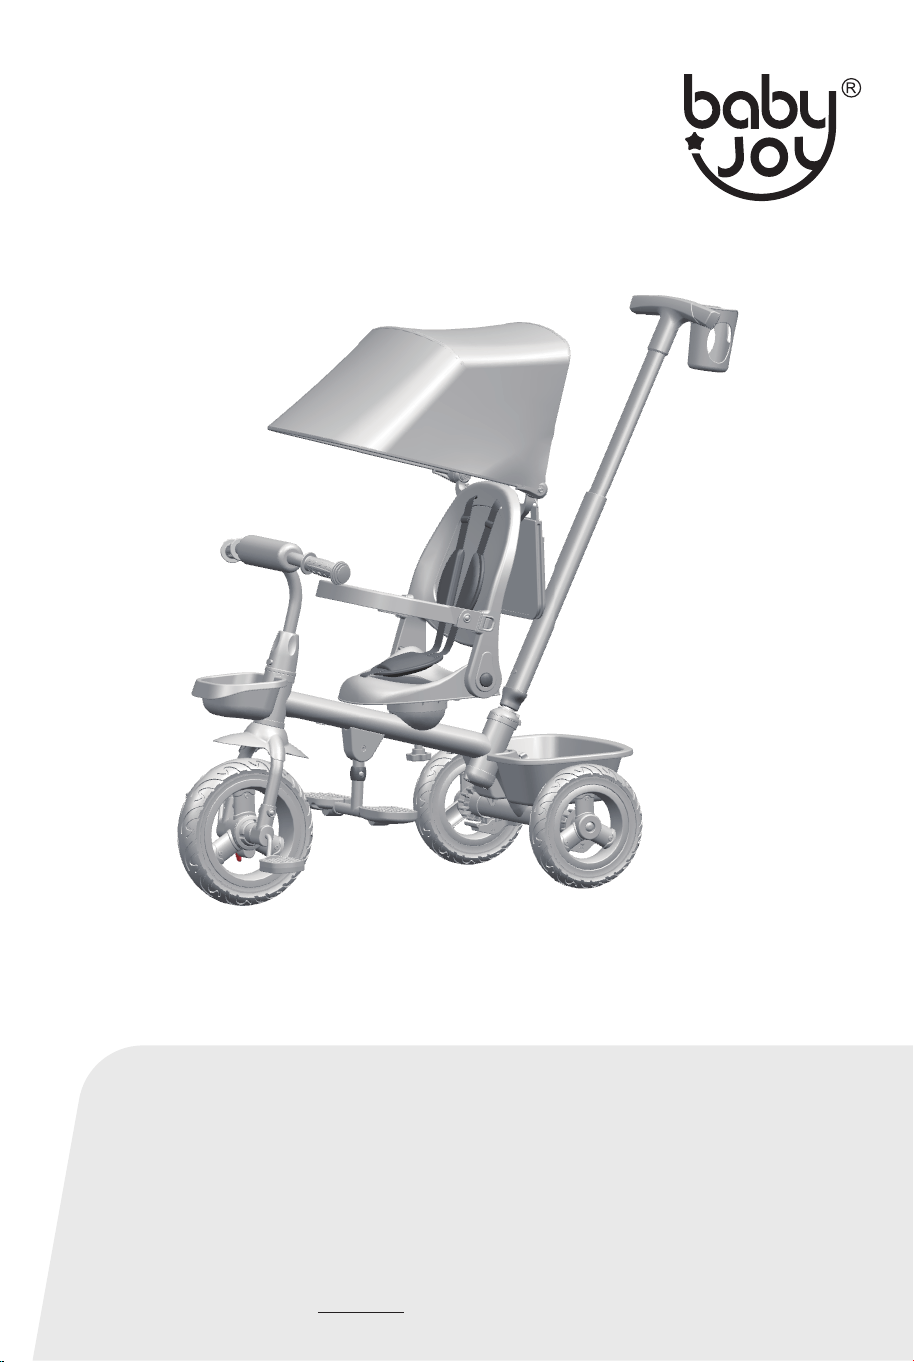
CHILDREN TRICYCLE
BC10026
USER’S MANUAL
THIS INSTRUCTION BOOKLET CONTAINS IMPORTANT SAFETY INFORMATION. PLEASE READ AND KEEP FOR FUTURE REFERENCE.
US:cs.us@costway.com
UK:cs.uk@costway.com
US office: Fontana UK office: Ipswich AU office: Truganina
Before You Start
General Warnings:
Danger! Keep all small parts and packaging materials for this product away from
babies and children, otherwise they may pose a choking hazard.
The product must be installed and used under the supervision of an adult.
Read through each step carefully and follow the proper order.
Remove all Packaging, separate and count all parts and hardware before
installation.
Please ensure that all parts are correctly installed, incorrect installation can lead to
a danger.
We recommend that, where possible, all items are assembled near the area in
which they will be placed in use, to avoid moving the product unnecessarily once
assembled.
Ensure a secure surface during installation, and place the product always on a flat,
steady and stable surface.
Please read all instructions carefully and keep it for future reference.
Annotate:
When we improve the product, tricycle structure and appearance are
subject to change without any notice.
This manual is adapt to tricycle series, pictures for reference only,
subject to our available products.
Maintenance:
In order to guard against damage when baby riding, the adult should
do inspection and maintenance regularly.
1. Clean the tricycle with floppy cloth instead of water to avoid
degenerating.
2. Check the tricycle bearing and add lubricants regularly.
3. Any screw found to be loose or damaged shall be replaced
instantly.
4. Before installation, first read the instruction carefully.
02 03

Warning:
1. We urge you to read all of the instructions thoroughly before
installation or operation of this tricycle. This manual should be
kept for future reference.
2. Adult assembly is required.
3. Keep away from the street, motor vehicle way and the area where
there is near river, swimming pool or obstacles / slopes. Do not
close to the fire.
4. Carrying capacity: 25kg (55lbs), Adapted age: 12-60 months , Do
not over-loading for safety.
5. Must teach your kid how to use before first riding.
6. Before riding, child should wear protective equipment, and adult
should carefully check if the tricycle is damaged.
7. Please keep the kid in view, and ask your kid to keep far away
from other children while riding.
8. Do not put the small parts into the mouth and put away the
package to avoid suffocation when riding.
9. Only can afford one child.
10. Riders should always wear a properly fitted helmet.
11. The maximum permissible load for rear basket is 2kg (4.4lbs).
Excessive weight may cause a hazardous or unstable condition.
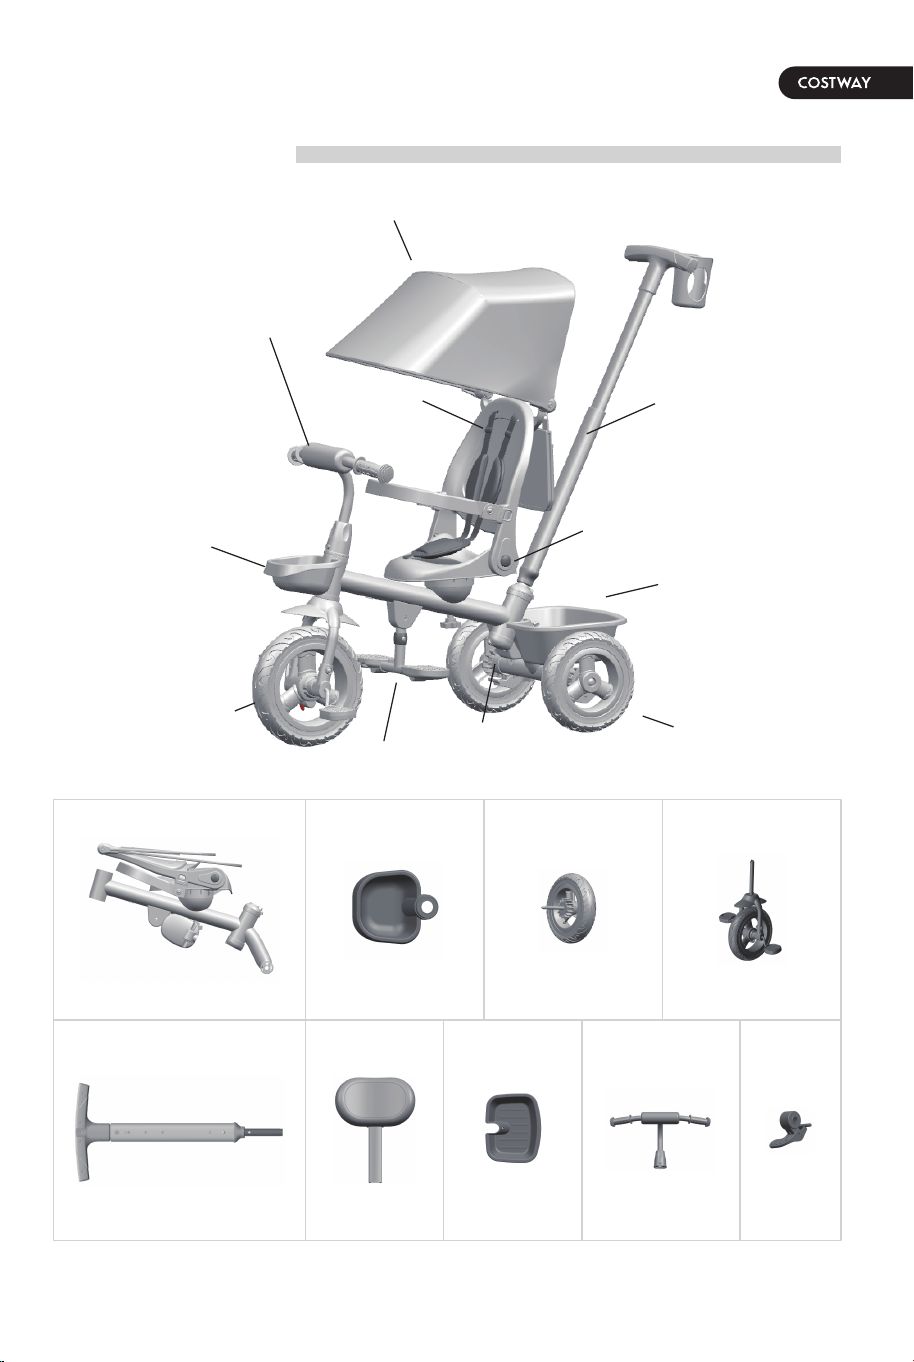
SPARE PARTS
Canopy
Backrest
Push Rod
backrest
adjustment switch
Back basket
Back wheel
Front basket
Front wheel
Handlebar
Brake pedal
Footrest
Frame Front basket Front wheelBack wheel
Back
basket
HandlebarHeadrestPush Rod
Brake
pedal
04 05
Warning:
1. We urge you to read all of the instructions thoroughly before
installation or operation of this tricycle. This manual should be
kept for future reference.
2. Adult assembly is required.
3. Keep away from the street, motor vehicle way and the area where
there is near river, swimming pool or obstacles / slopes. Do not
close to the fire.
4. Carrying capacity: 25kg (55lbs), Adapted age: 12-60 months , Do
not over-loading for safety.
5. Must teach your kid how to use before first riding.
6. Before riding, child should wear protective equipment, and adult
should carefully check if the tricycle is damaged.
7. Please keep the kid in view, and ask your kid to keep far away
from other children while riding.
8. Do not put the small parts into the mouth and put away the
package to avoid suffocation when riding.
9. Only can afford one child.
10. Riders should always wear a properly fitted helmet.
11. The maximum permissible load for rear basket is 2kg (4.4lbs).
Excessive weight may cause a hazardous or unstable condition.
SPARE PARTS
Canopy
Backrest
Push Rod
backrest
adjustment switch
Back basket
Back wheel
Front basket
Front wheel
Handlebar
Brake pedal
Footrest
Frame Front basket Front wheelBack wheel
Back
basket
HandlebarHeadrestPush Rod
Brake
pedal
04 05
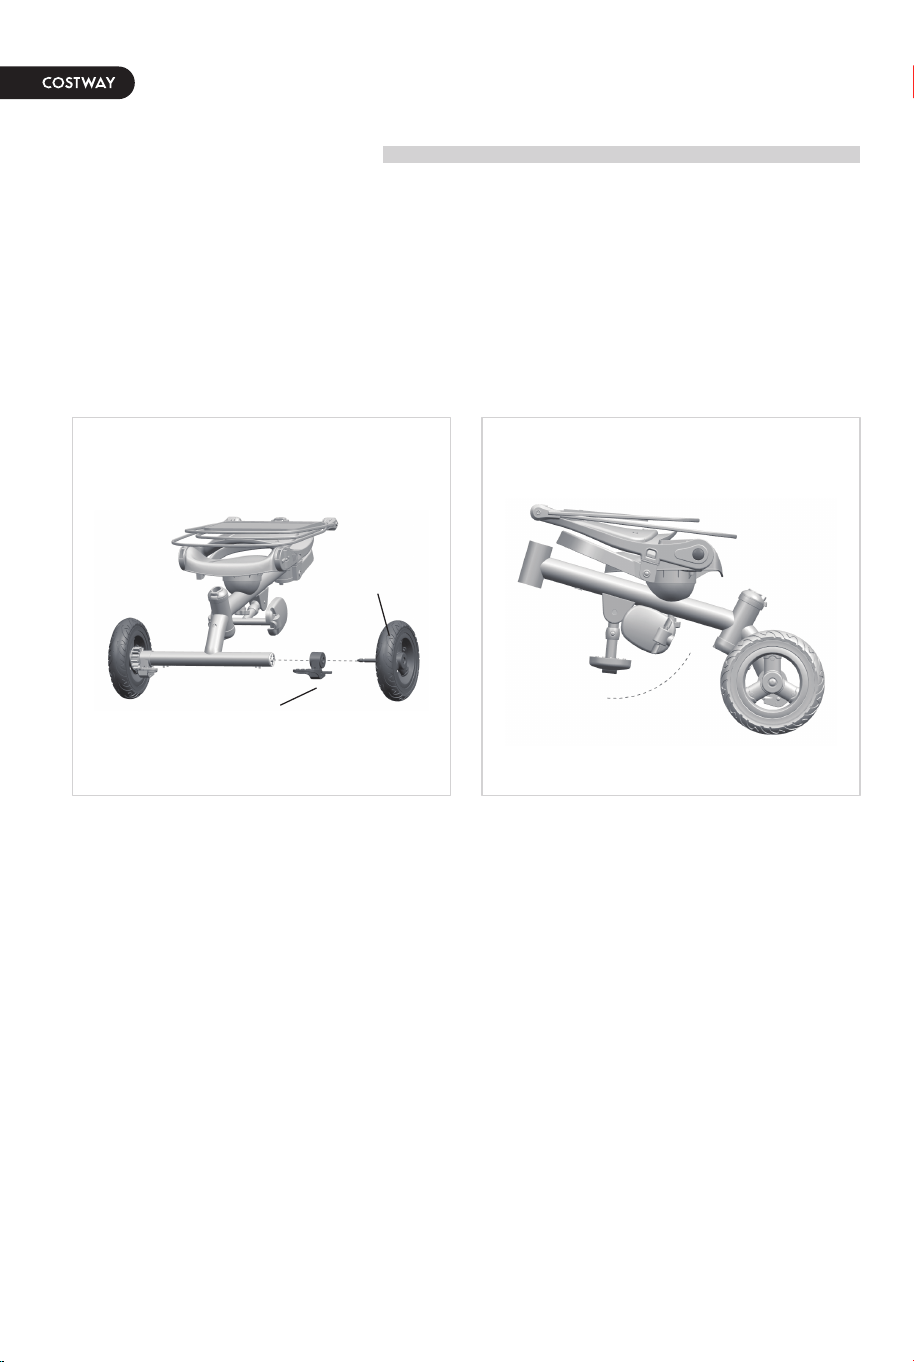
Installation Steps
1. Back wheels Installation
Install the brake pedal into the transverse pipe of the rear wheel
frame, and then insert the rear wheel into the corresponding hole on
the brake pedal to complete the rear wheel installation (pay attention
to distinguish the left and right when installing the brake pedal).
2. Footrest Installation
Open:as shown in Picture 2, pull the pull ring to turn over the
footrest, and left and right pedal can be opened to use.
Close:Pull the pull ring to turn over the footrest, then fold the left and
right pedal.
PICTURE 1
Brake pedal
Back wheel
PICTURE 2
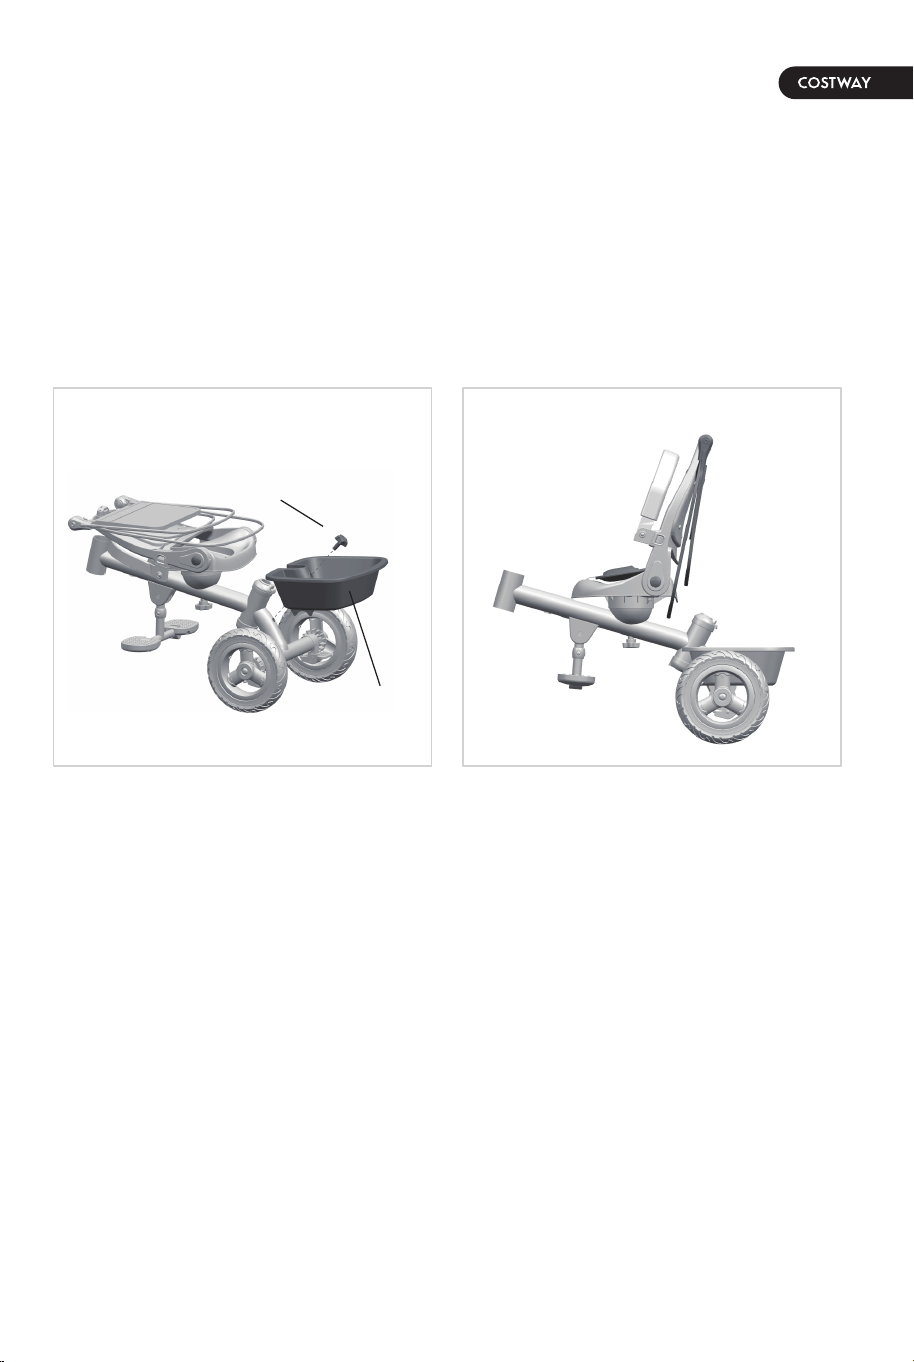
3. Back basket Installation
Put the rear basket on the frame along the dotted line as shown in
Picture 3, align the basket hole with the corresponding hole on the
frame, then fix it with screw.
4. Backrest Adjustment
As shown in Picture 4, hold the buttons on both sides of the backrest
to adjust the angle of the backrest.
PICTURE 3
Back basket
Screw
PICTURE 4
06 07
Installation Steps
1. Back wheels Installation
Install the brake pedal into the transverse pipe of the rear wheel
frame, and then insert the rear wheel into the corresponding hole on
the brake pedal to complete the rear wheel installation (pay attention
to distinguish the left and right when installing the brake pedal).
2. Footrest Installation
Open:as shown in Picture 2, pull the pull ring to turn over the
footrest, and left and right pedal can be opened to use.
Close:Pull the pull ring to turn over the footrest, then fold the left and
right pedal.
PICTURE 1
Brake pedal
Back wheel
PICTURE 2
3. Back basket Installation
Put the rear basket on the frame along the dotted line as shown in
Picture 3, align the basket hole with the corresponding hole on the
frame, then fix it with screw.
4. Backrest Adjustment
As shown in Picture 4, hold the buttons on both sides of the backrest
to adjust the angle of the backrest.
PICTURE 3
Back basket
Screw
PICTURE 4
06 07
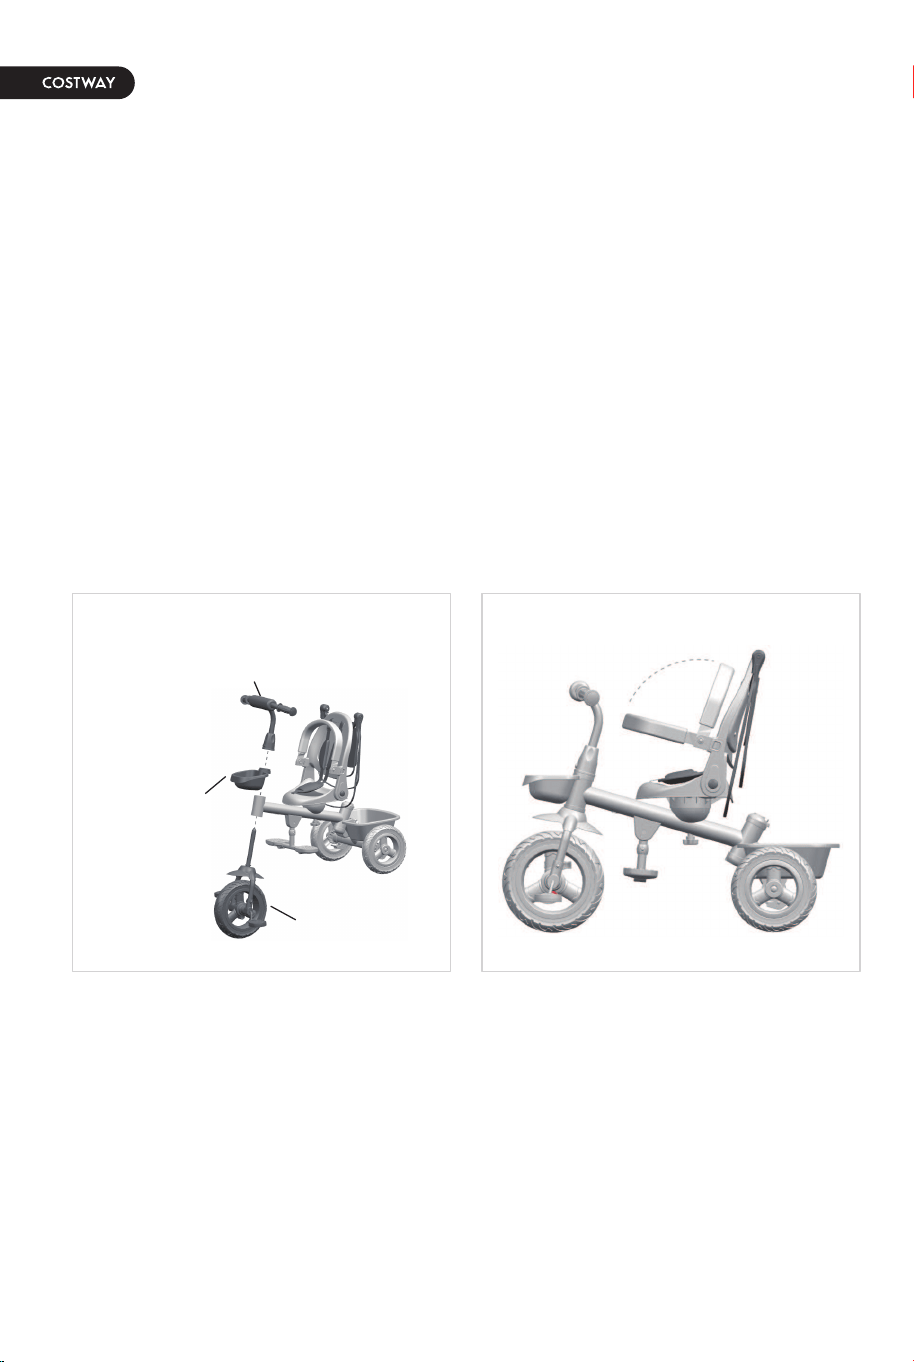
5. Front wheel/Front basket/Handlebar Installation
Insert the front wheel , front basket and handlebar according to the
dashed line shown in Picture 5 in turn.
When inserting the front wheel, the arrow position on the fender
should be forward, and the handlebar button should be installed
forward. Pinch the button and insert it. After the installation, please
check all the parts, the correct position is impossible to disengage.
If necessary, press the front button of the handlebar to remove the
above three parts.
6. Armrest Installation
Press the button on the left and right to remove armrest, then you
can put the baby into the seat, wear the seat belt, and then install
the armrest.
PICTURE 5
Front wheel
Handlebar
Front basket
PICTURE 6
PICTURE 8
PICTURE 9
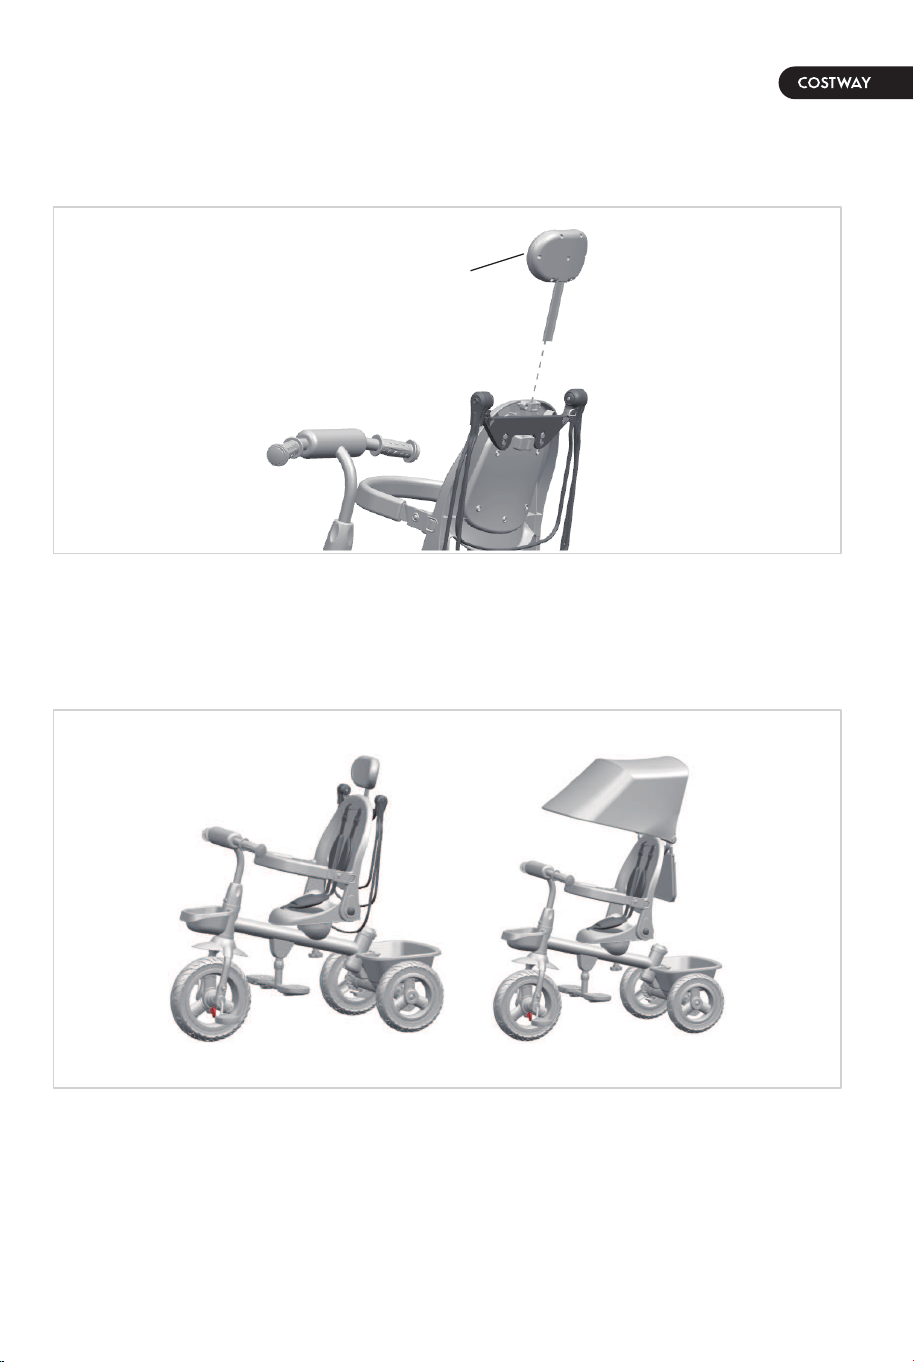
7. Headrest Installation
Insert the headrest into the backrest as shown in Picture 7.
8. Canopy Installation
Open the canopy as shown in PICTURE 8 and PICTURE 9.
PICTURE 7
Headrest
08 09
5. Front wheel/Front basket/Handlebar Installation
Insert the front wheel , front basket and handlebar according to the
dashed line shown in Picture 5 in turn.
When inserting the front wheel, the arrow position on the fender
should be forward, and the handlebar button should be installed
forward. Pinch the button and insert it. After the installation, please
check all the parts, the correct position is impossible to disengage.
If necessary, press the front button of the handlebar to remove the
above three parts.
6. Armrest Installation
Press the button on the left and right to remove armrest, then you
can put the baby into the seat, wear the seat belt, and then install
the armrest.
PICTURE 5
Front wheel
Handlebar
Front basket
PICTURE 6
PICTURE 8
PICTURE 9
7. Headrest Installation
Insert the headrest into the backrest as shown in Picture 7.
8. Canopy Installation
Open the canopy as shown in PICTURE 8 and PICTURE 9.
PICTURE 7
Headrest
08 09
Direction For Use
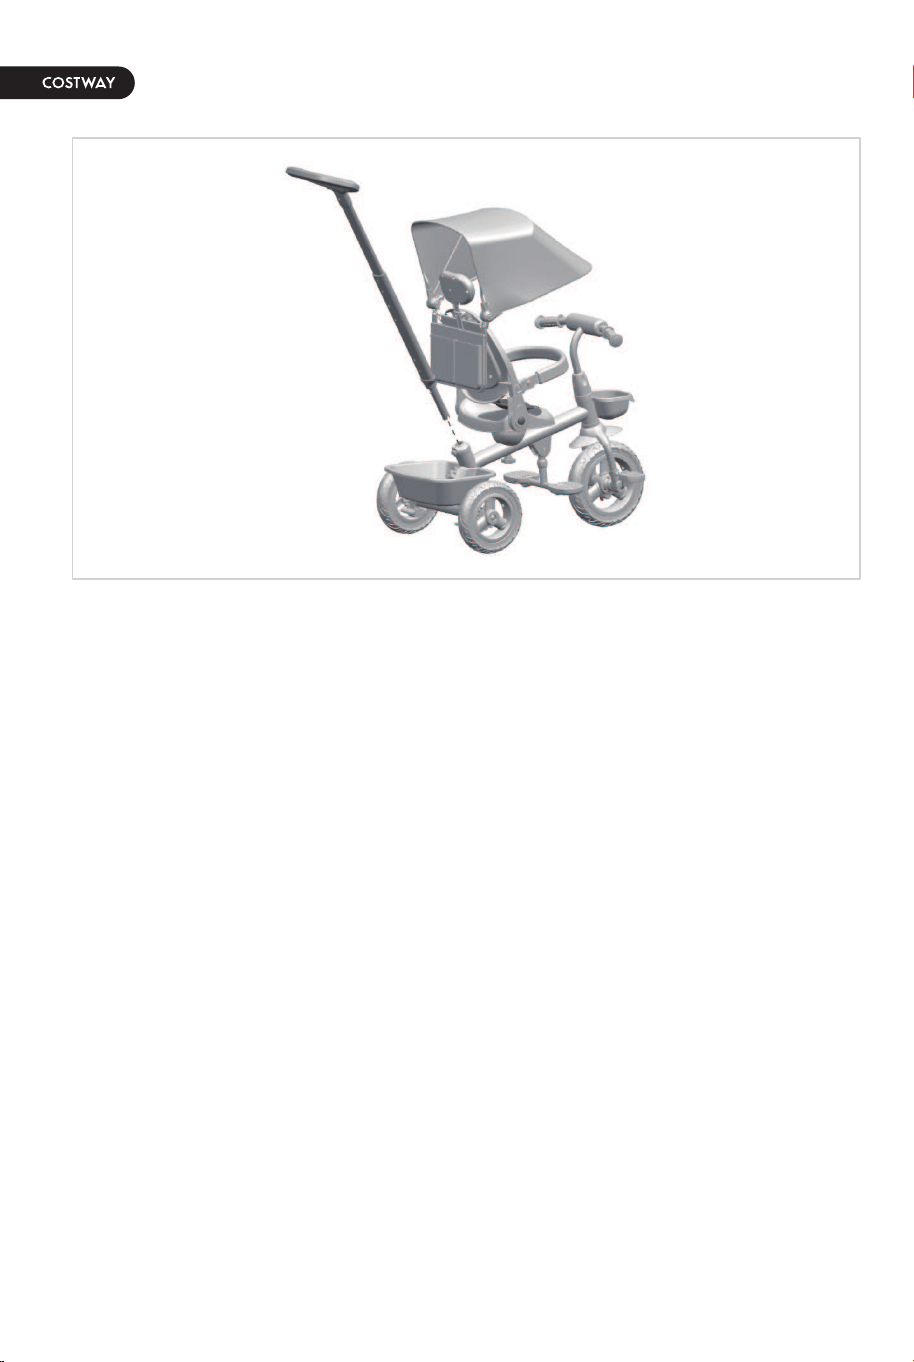
9. Push rod installation
Insert the push rod into the corresponding hole on the frame, as
shown in Picture 10.
1. Unfolded the Footrest Pedal
There is a Footrest Pedal under frame. You can Unfolded the Footrest
Pedal when your baby sits on the tricycle.
2. Backrest adjustment
As shown in Picture 11, hold the buttons on both sides of the backrest
to adjust the angle of the backrest.
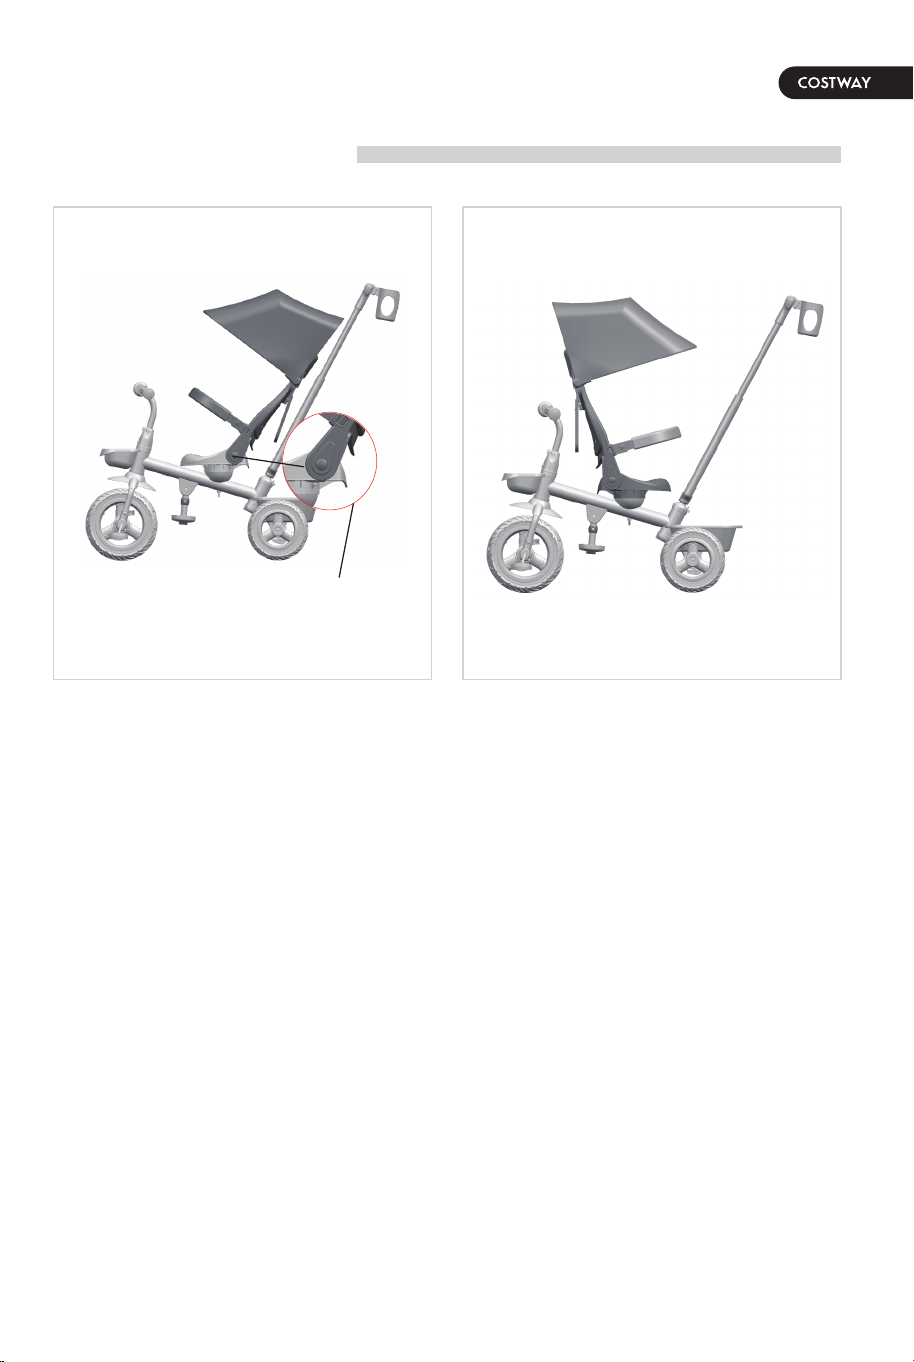
3. Seat rotation adjustment
Press and hold the button to adjust the seat direction.(PICTURE 12)
4. Folding function of the tricycle
Press the button below the push rod to remove the push rod.
Remove handlebars - remove front basket, front wheel - fold
backrest, armrest and canopy - fold footrest.
PICTURE 10
PICTURE 11 PICTURE 12
adjustment switch
Backrest adjustment Seat rotation adjustment
10 11
Direction For Use
9. Push rod installation
Insert the push rod into the corresponding hole on the frame, as
shown in Picture 10.
1. Unfolded the Footrest Pedal
There is a Footrest Pedal under frame. You can Unfolded the Footrest
Pedal when your baby sits on the tricycle.
2. Backrest adjustment
As shown in Picture 11, hold the buttons on both sides of the backrest
to adjust the angle of the backrest.
3. Seat rotation adjustment
Press and hold the button to adjust the seat direction.(PICTURE 12)
4. Folding function of the tricycle
Press the button below the push rod to remove the push rod.
Remove handlebars - remove front basket, front wheel - fold
backrest, armrest and canopy - fold footrest.
PICTURE 10
PICTURE 11 PICTURE 12
adjustment switch
Backrest adjustment Seat rotation adjustment
10 11

Please give us a chance to make it right and do better !
Contact our friendly customer service department for help first.
Replacements for missing or damaged parts will be shipped ASAP !
Contact Us !
Do NOT return this item.
CHILDREN TRICYCLE
BC10026
USER’S MANUAL
THIS INSTRUCTION BOOKLET CONTAINS IMPORTANT SAFETY INFORMATION. PLEASE READ AND KEEP FOR FUTURE REFERENCE.
US:cs.us@costway.com
UK:cs.uk@costway.com
US office: Fontana UK office: Ipswich AU office: Truganina